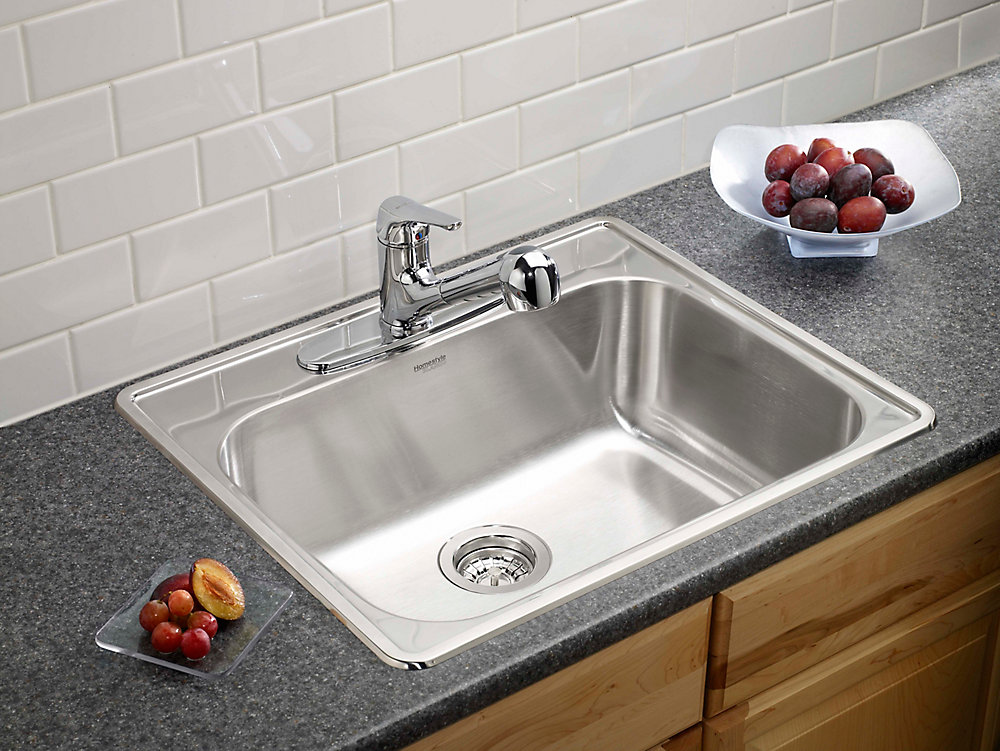
Installing a new kitchen sink drain can seem like a daunting task, especially if you're not familiar with plumbing. But with the right tools and instructions, you can easily install a Kohler kitchen sink drain on your own. In this guide, we'll walk you through the process step by step, so you can have your new sink up and running in no time.How to Install a Kohler Kitchen Sink Drain


How to Install a Kohler Kitchen Sink Drain

:max_bytes(150000):strip_icc()/how-to-install-a-sink-drain-2718789-hero-24e898006ed94c9593a2a268b57989a3.jpg)


/how-to-install-a-sink-drain-2718789-hero-b5b99f72b5a24bb2ae8364e60539cece.jpg)
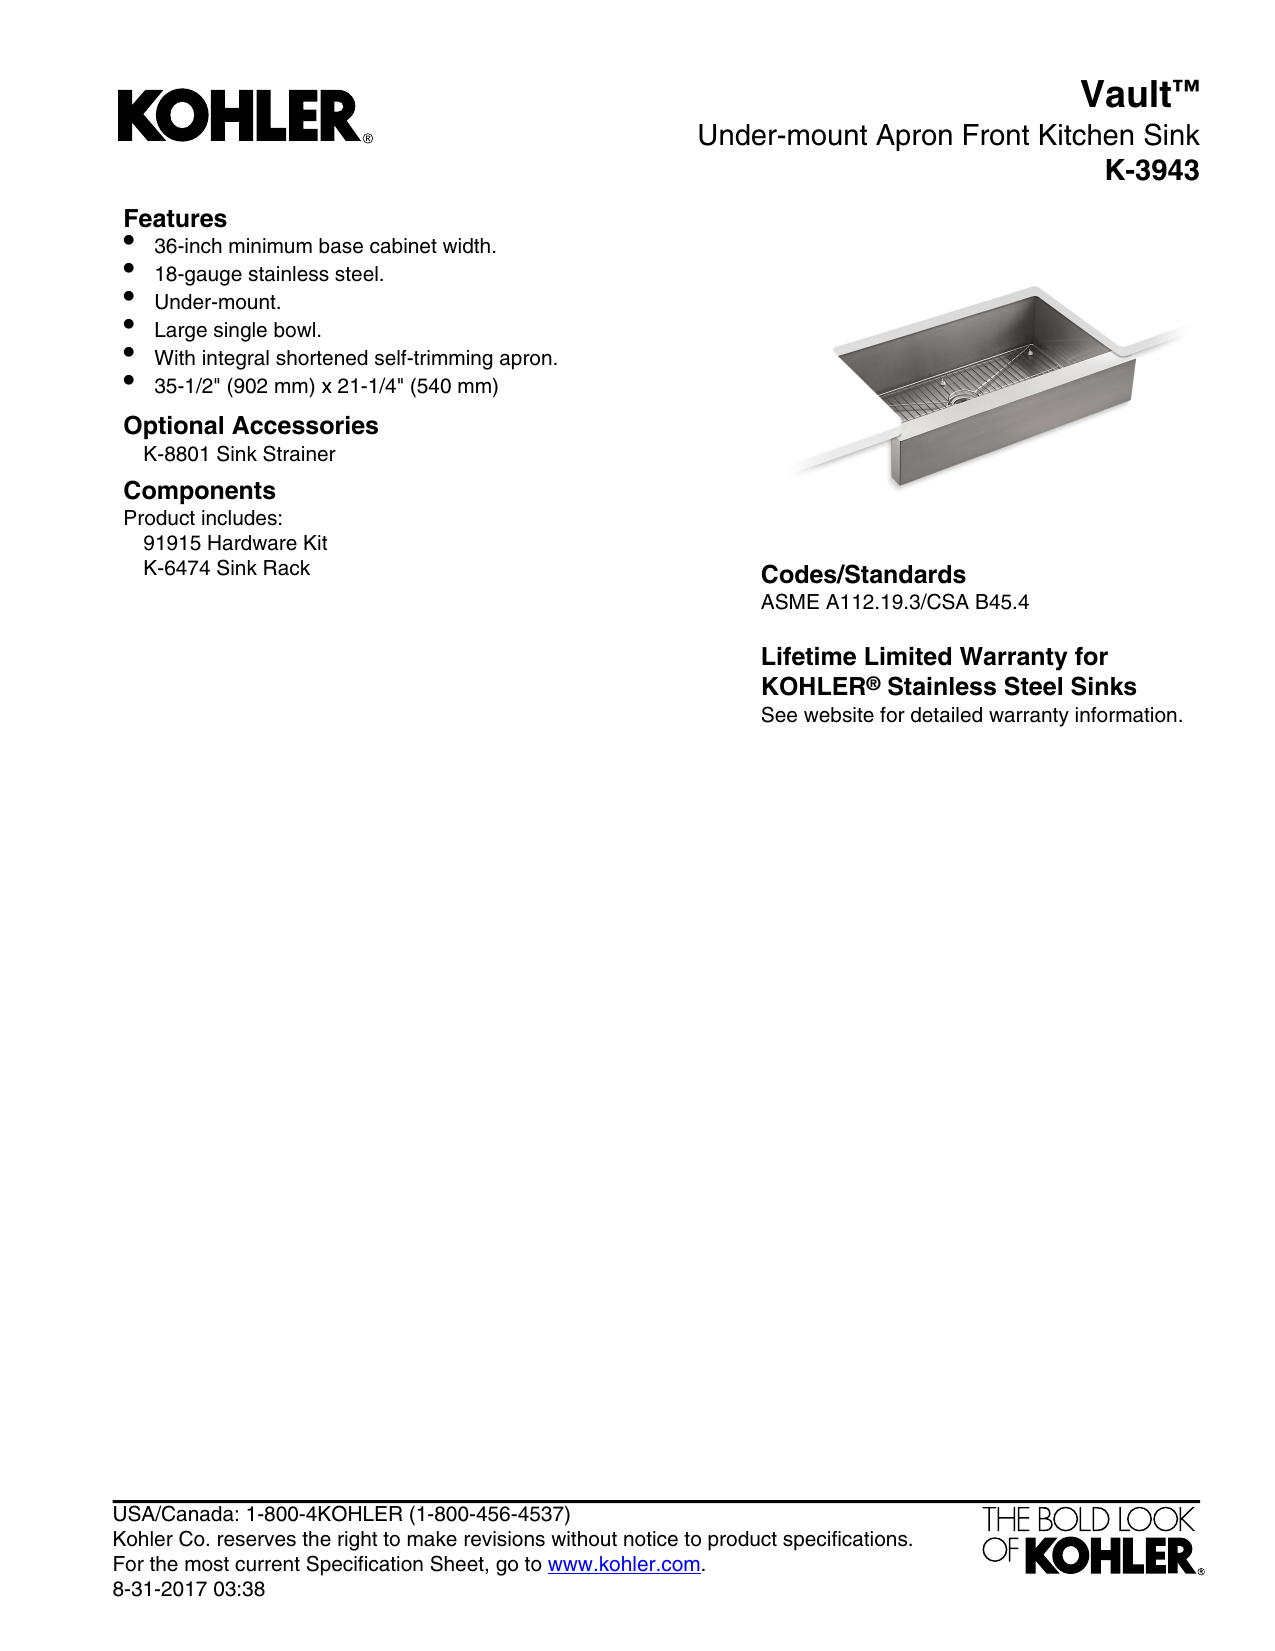
Before you dive into the installation process, it's important to gather all the necessary tools and materials. You'll need a wrench, pliers, plumber's putty, and the Kohler kitchen sink drain kit. Make sure to read through the installation instructions provided by Kohler before starting. This will ensure you have a smooth and successful installation.Kohler Kitchen Sink Drain Installation Instructions


Kohler Kitchen Sink Drain Installation Instructions
Step 1: Prepare the Sink Begin by placing your sink upside down on a flat surface. Apply a thin layer of plumber's putty around the drain opening on the bottom of the sink. This will create a watertight seal when the drain is installed. Step 2: Install the Gasket and Strainer Take the gasket provided in the Kohler drain kit and place it on the bottom of the strainer. Then, insert the strainer into the drain opening on the sink from the top. Make sure it is centered and secure. Step 3: Tighten the Locknut From the underside of the sink, screw the locknut onto the strainer. Use pliers to tighten the locknut firmly, ensuring the strainer is held securely in place. Step 4: Connect the Drain Body Next, attach the drain body to the strainer by screwing it onto the locknut. Again, use pliers to ensure a tight connection. Step 5: Install the Tailpiece Take the tailpiece included in the drain kit and attach it to the drain body. Use a wrench to tighten the connection if necessary. Step 6: Connect the P-Trap Finally, connect the P-trap to the tailpiece and the drain pipe coming out of the wall. Use a wrench to tighten the connections and ensure there are no leaks.Kohler Kitchen Sink Drain Installation Guide


Kohler Kitchen Sink Drain Installation Guide

If you're installing a new sink and need to assemble the drain before installation, here's a quick guide: Step 1: Gather the Parts Collect all the necessary parts for the drain assembly, including the strainer, gasket, locknut, drain body, tailpiece, and P-trap. Step 2: Attach the Gasket and Strainer Place the gasket on the bottom of the strainer and insert it into the drain opening on the sink. Secure it with the locknut from the underside of the sink. Step 3: Connect the Drain Body Attach the drain body to the strainer using the locknut, and then attach the tailpiece to the drain body. Step 4: Attach the P-Trap Finally, connect the P-trap to the tailpiece and the drain pipe coming out of the wall.Kohler Kitchen Sink Drain Assembly Instructions

Kohler Kitchen Sink Drain Assembly Instructions


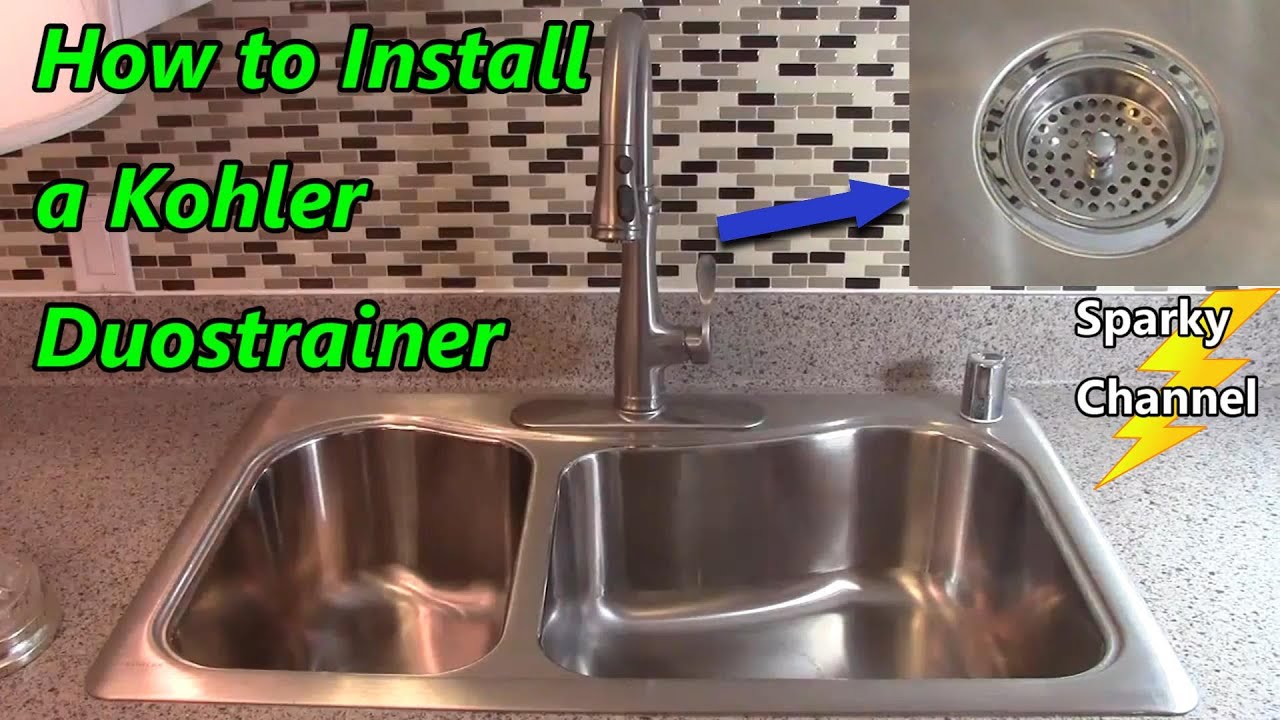
If you're a visual learner, you may find it helpful to watch a video tutorial on how to install a Kohler kitchen sink drain. There are plenty of videos available on YouTube that can guide you through the process step by step.Kohler Kitchen Sink Drain Installation Video


Kohler Kitchen Sink Drain Installation Video

If you prefer written instructions, you can find the Kohler kitchen sink drain installation manual on their website. This manual will provide you with detailed instructions and diagrams to help you successfully install your new sink drain.Kohler Kitchen Sink Drain Installation Manual


Kohler Kitchen Sink Drain Installation Manual

For easy access and printing, you can also find the Kohler kitchen sink drain installation instructions in PDF format on their website. This way, you can have the instructions on hand while you work on the installation.Kohler Kitchen Sink Drain Installation PDF

Kohler Kitchen Sink Drain Installation PDF
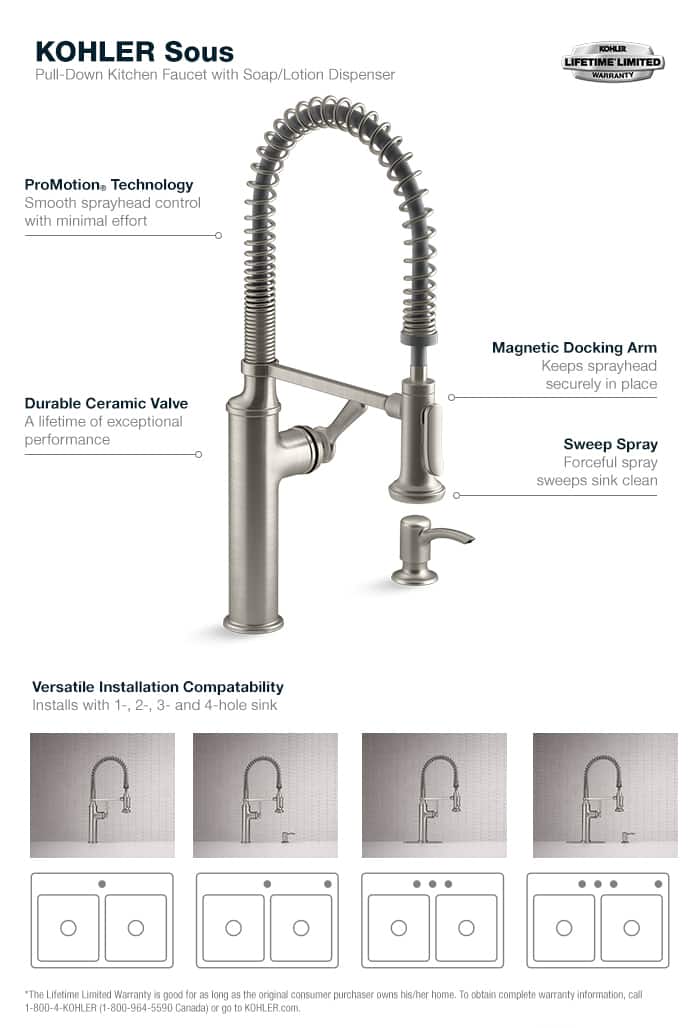
If you're a visual learner, you may find it helpful to have a diagram to reference while installing your sink drain. The Kohler website has a diagram of the drain installation process that you can use as a guide.Kohler Kitchen Sink Drain Installation Diagram

Kohler Kitchen Sink Drain Installation Diagram

Here are some additional tips to keep in mind while installing your Kohler kitchen sink drain: - Make sure to turn off the water supply before starting the installation. - Check for leaks after each connection is made to ensure a watertight seal. - If you encounter any difficulties, refer to the installation instructions or seek the help of a professional plumber.Kohler Kitchen Sink Drain Installation Tips
Kohler Kitchen Sink Drain Installation Tips
If you're experiencing any issues with your Kohler kitchen sink drain installation, here are some common troubleshooting tips: - If you notice a leak, check that all connections are tightened properly. - If water is draining slowly, there may be a clog in the drain. Use a plunger or drain cleaner to clear it out. - If there is an unpleasant odor, there may be food debris stuck in the drain. Use a drain brush to clean it out. With these instructions and tips in hand, you should have no trouble installing your new Kohler kitchen sink drain. Enjoy your new sink and the satisfaction of a DIY project well done!Kohler Kitchen Sink Drain Installation Troubleshooting

Kohler Kitchen Sink Drain Installation Troubleshooting
Installation Process of Kohler Kitchen Sink Drain

Step 1: Prepare the Sink Area
 Before starting the installation process, make sure that the sink area is clean and free from any debris. Remove any old caulk or putty from the area where the new drain will be installed. The sink should also be securely attached to the countertop before proceeding.
Step 2: Assemble the Drain Pieces
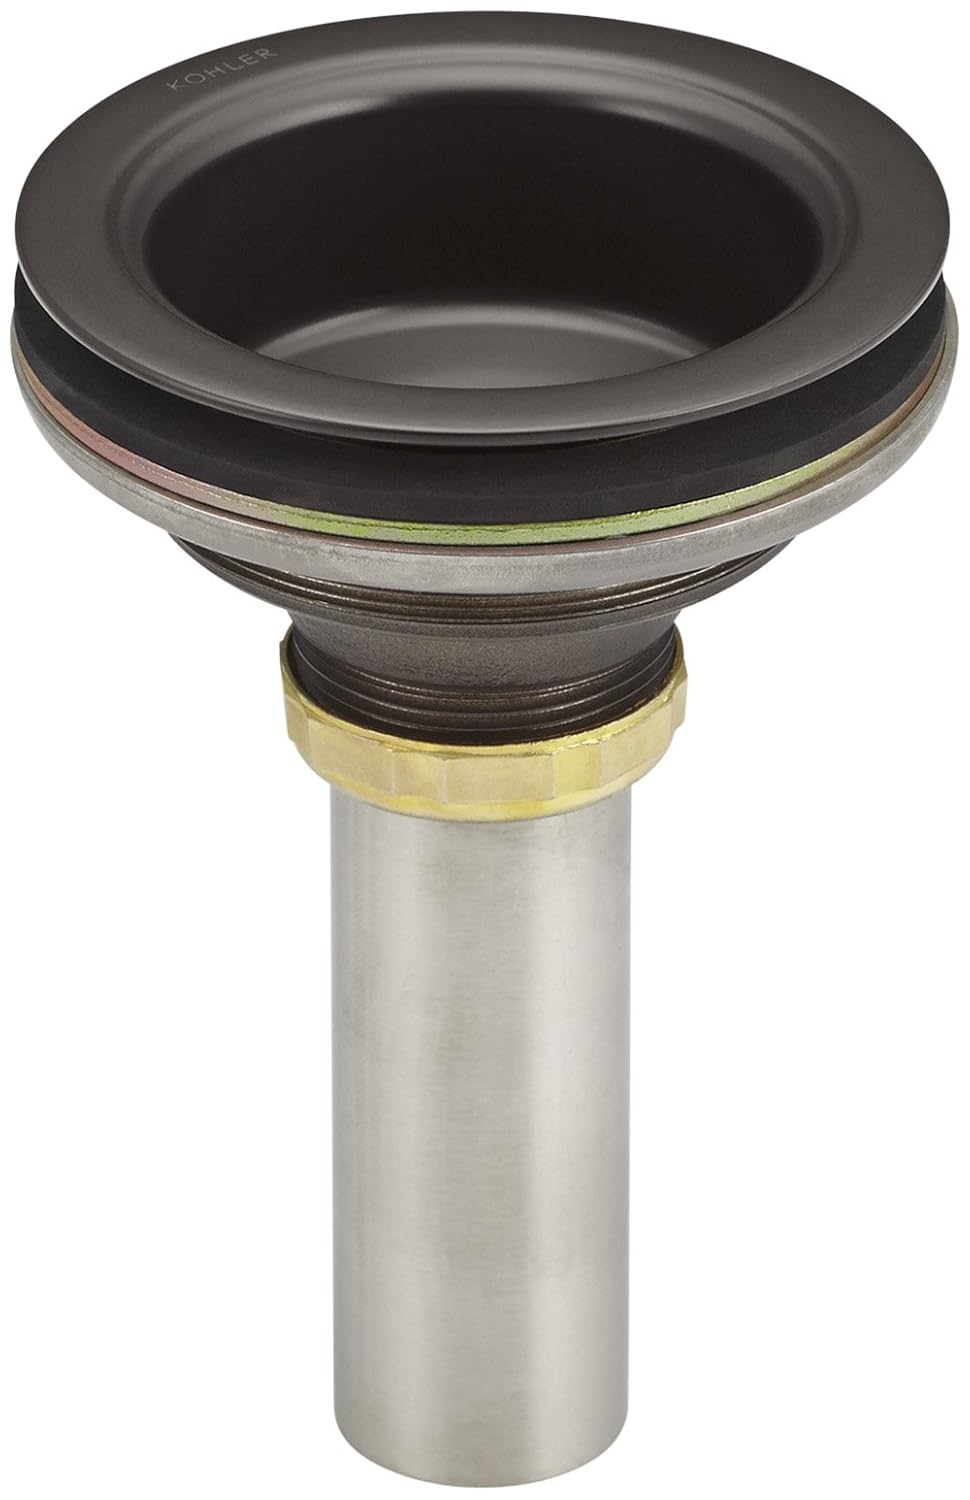
 Carefully unpack the Kohler kitchen sink drain and its accompanying parts. The drain assembly typically consists of a drain flange, a rubber gasket, a paper gasket, and a lock nut. First, place the rubber gasket onto the drain flange, followed by the paper gasket. Then, insert the drain flange through the sink's drain hole.
Step 3: Secure the Drain Flange
 Once the drain flange is in place, secure it by screwing on the lock nut. Make sure to tighten the lock nut firmly, but not too tight as it can cause damage to the sink. Use a pair of pliers or a drain wrench to hold the drain flange in place while tightening the lock nut.
Step 4: Install the Drain Body
 Next, insert the drain body into the drain flange. The drain body is the section of the drain that connects to the plumbing beneath the sink. Make sure the drain body is aligned properly and sits flush with the bottom of the sink.
Step 5: Apply Caulk or Putty
 To ensure a watertight seal, apply a bead of caulk or plumber's putty around the edge of the drain flange where it meets the sink. This will prevent any leaks from occurring.
Step 6: Connect the Drain to Plumbing
/how-to-install-a-sink-drain-2718789-hero-24e898006ed94c9593a2a268b57989a3.jpg) Now it's time to connect the drain to the plumbing underneath the sink. Depending on your plumbing setup, you may need to use a P-trap or other fittings to connect the drain to the main pipe. Make sure all connections are secure and free from any leaks.
Now it's time to connect the drain to the plumbing underneath the sink. Depending on your plumbing setup, you may need to use a P-trap or other fittings to connect the drain to the main pipe. Make sure all connections are secure and free from any leaks.
Step 7: Test the Drain
 Before using the sink, it's important to test the drain to ensure it is functioning properly. Run water through the sink and check for any leaks. If there are any leaks, tighten the connections or add more caulk or putty to the area.
Kohler kitchen sink drain installation
is a straightforward process that can be completed by any homeowner with some basic tools and DIY knowledge. By following these
instructions
, you can easily install a Kohler kitchen sink drain in your home and achieve a professional and functional kitchen design. Remember to always consult the manufacturer's instructions and safety precautions before starting any installation project.
Before using the sink, it's important to test the drain to ensure it is functioning properly. Run water through the sink and check for any leaks. If there are any leaks, tighten the connections or add more caulk or putty to the area.
Kohler kitchen sink drain installation
is a straightforward process that can be completed by any homeowner with some basic tools and DIY knowledge. By following these
instructions
, you can easily install a Kohler kitchen sink drain in your home and achieve a professional and functional kitchen design. Remember to always consult the manufacturer's instructions and safety precautions before starting any installation project.