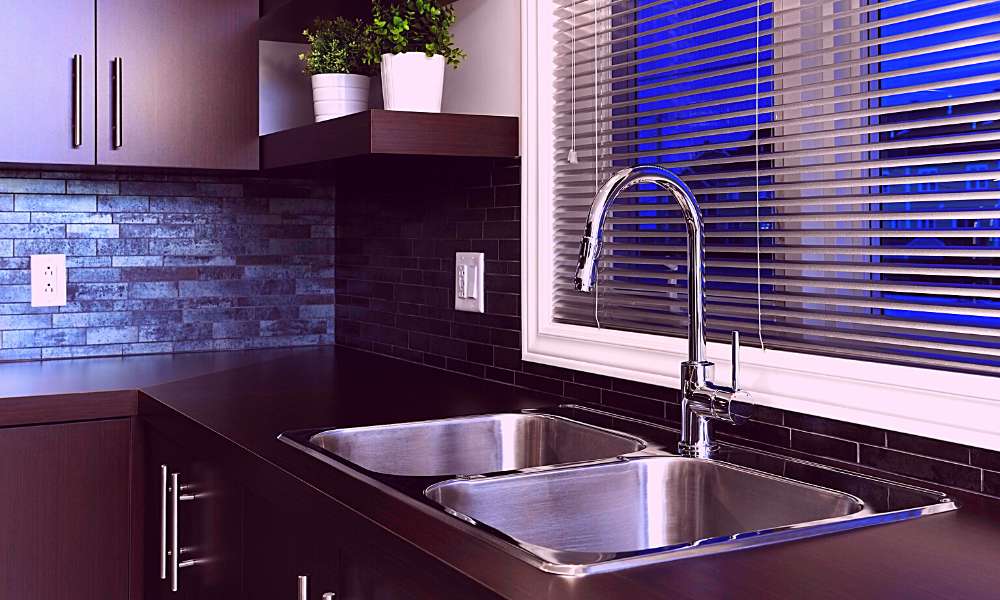
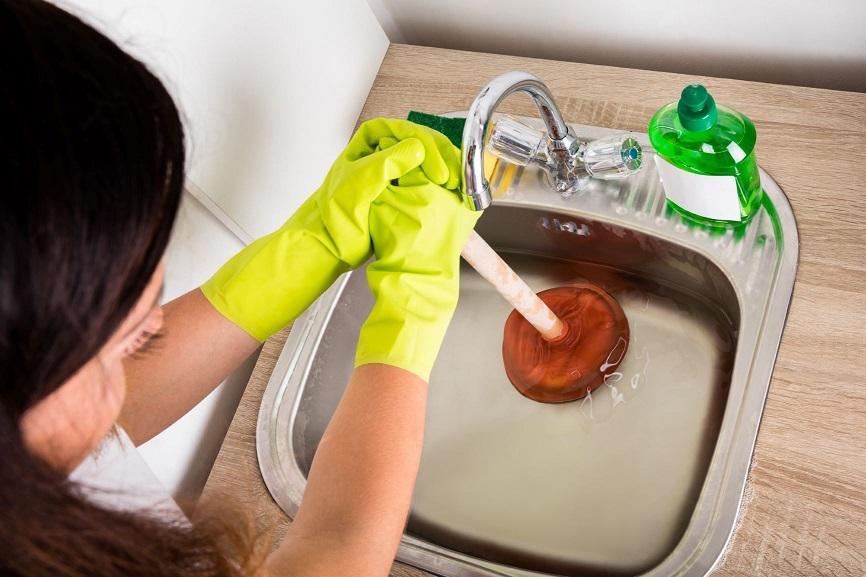
If you're struggling with a weak kitchen sink sprayer, you're not alone. This common household problem can be frustrating, but luckily, it's usually an easy fix. Below, we'll discuss some simple steps you can take to get your kitchen sink sprayer working at full force again.How to Fix a Weak Kitchen Sink Sprayer


How to Fix a Weak Kitchen Sink Sprayer


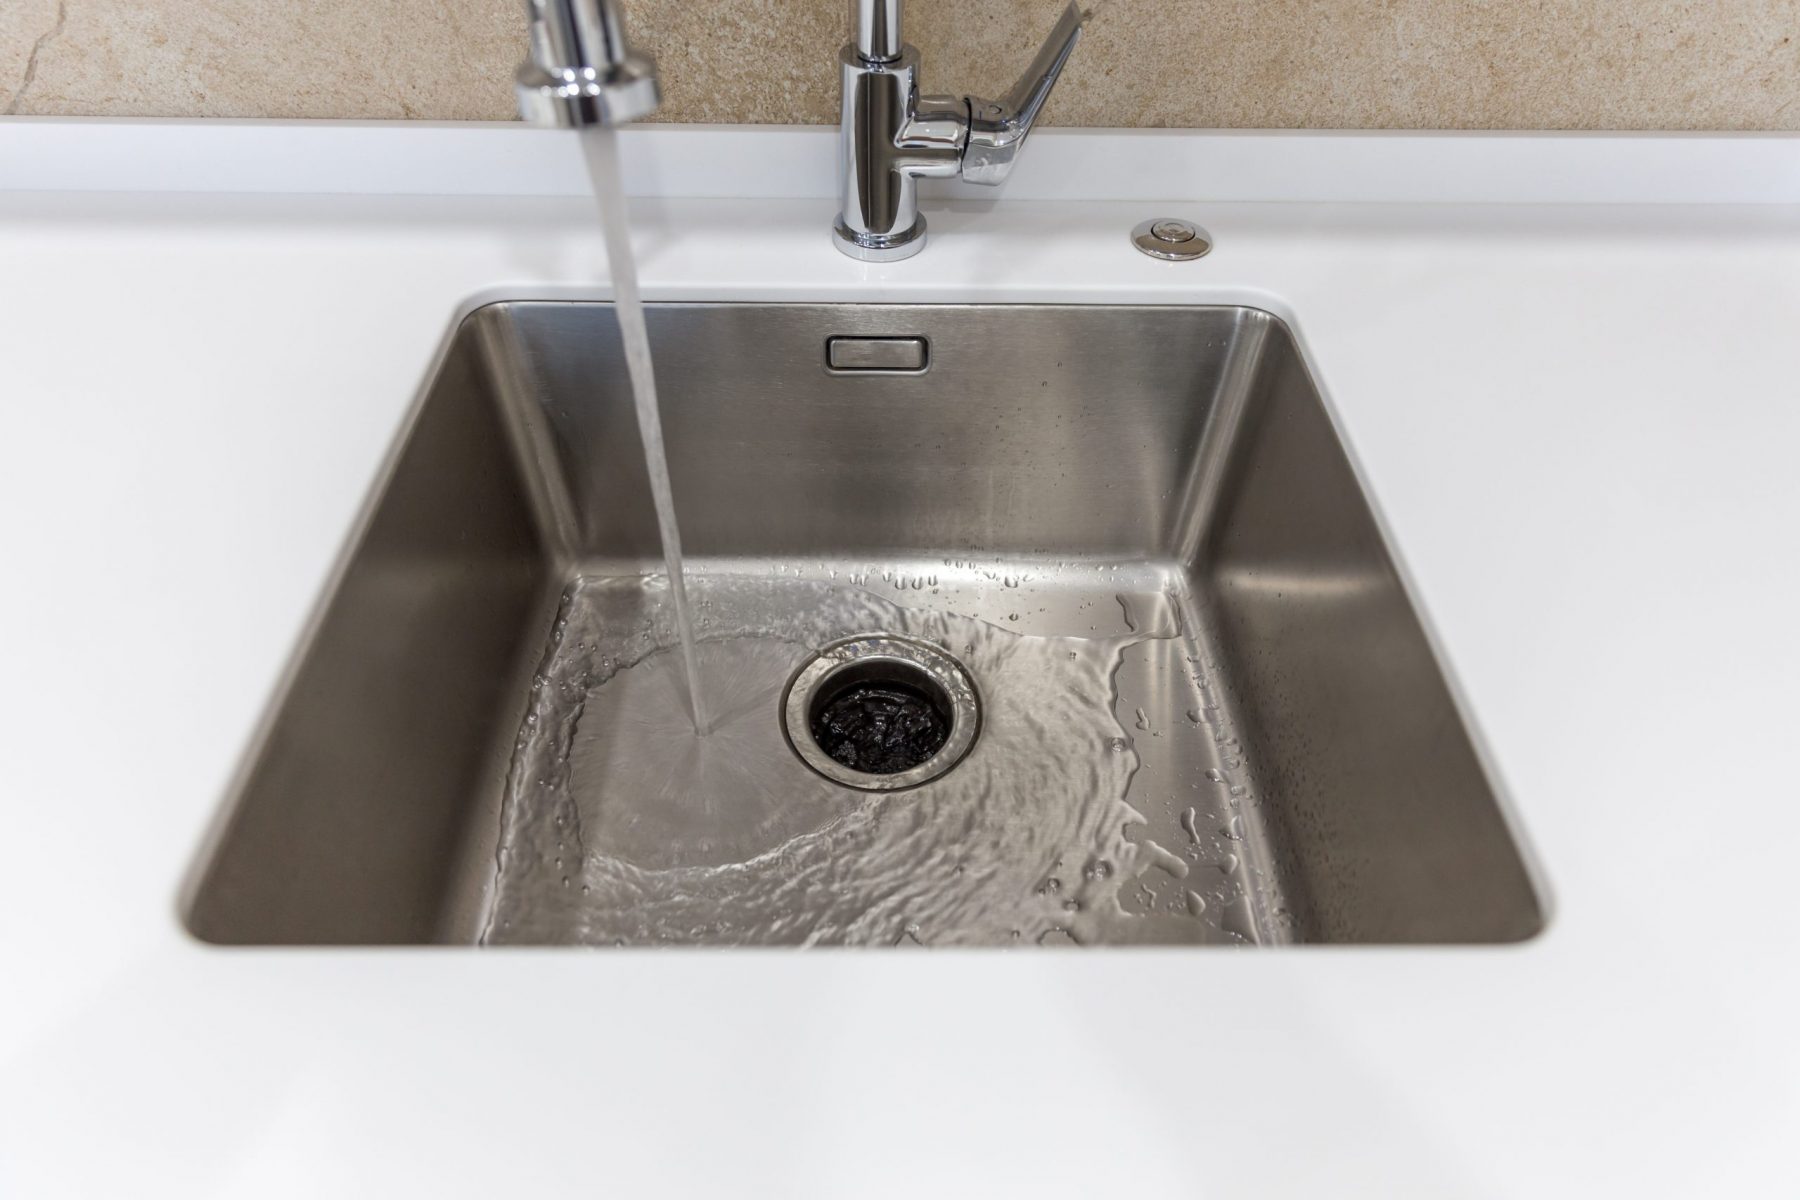
The first step in fixing a weak kitchen sink sprayer is to determine the cause of the low water pressure. It could be due to a clogged nozzle, a faulty sprayer head, or even an issue with the water supply. Once you identify the cause, you can take the appropriate steps to increase the water pressure.How to Increase Water Pressure in a Kitchen Sink Sprayer


How to Increase Water Pressure in a Kitchen Sink Sprayer

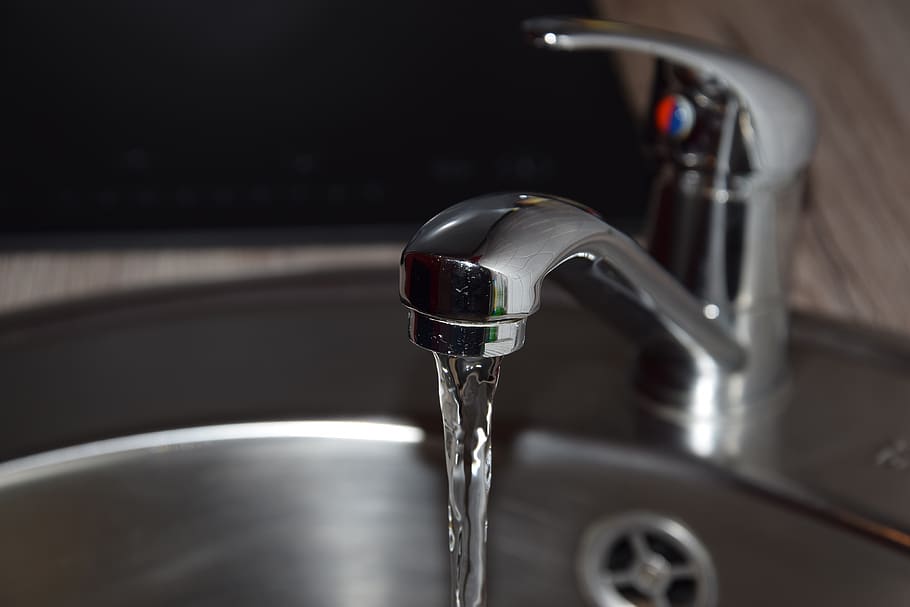


There are a few common causes of a weak kitchen sink sprayer. One of the most common is a clogged nozzle. Over time, mineral deposits and debris can build up in the nozzle, restricting the flow of water. Another possible cause is a faulty sprayer head. If the head is cracked or damaged, it can affect the water pressure. Finally, a problem with the water supply, such as a clogged pipe or low water pressure, can also lead to a weak kitchen sink sprayer.Common Causes of a Weak Kitchen Sink Sprayer


Common Causes of a Weak Kitchen Sink Sprayer


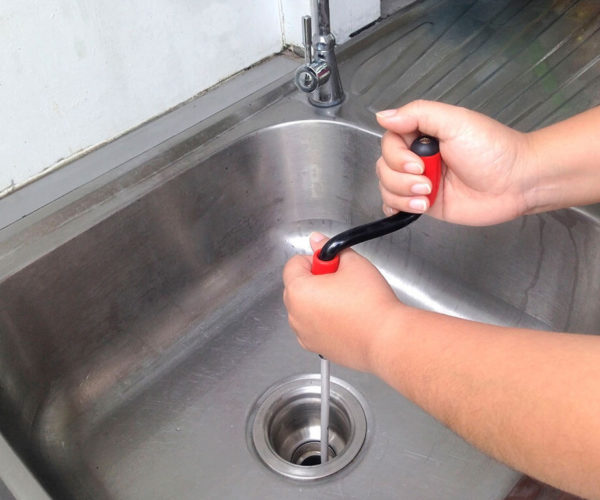
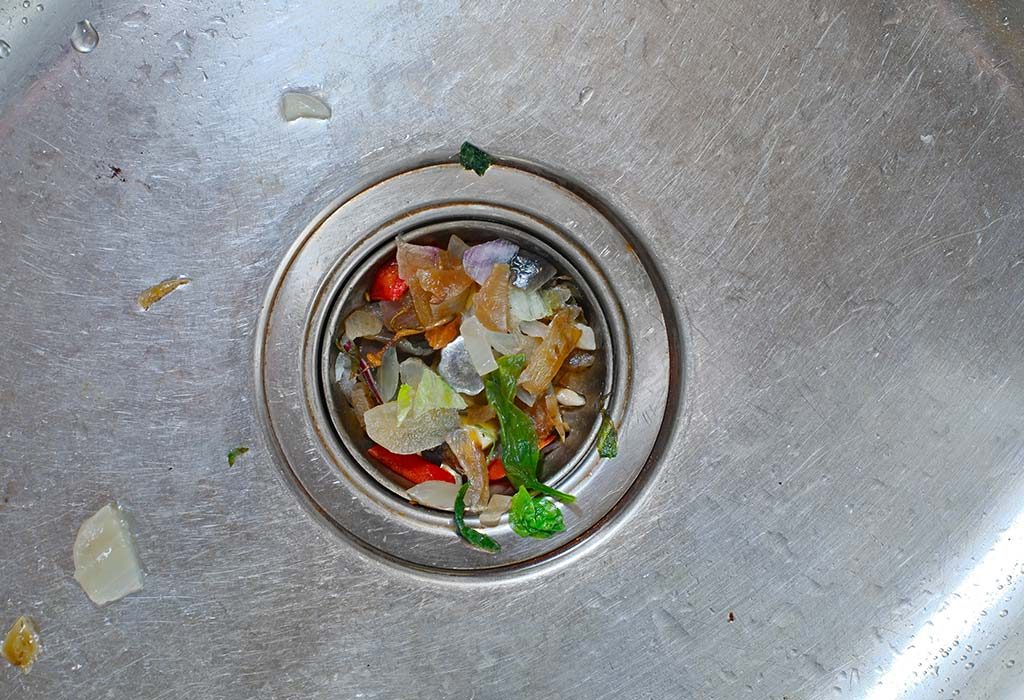
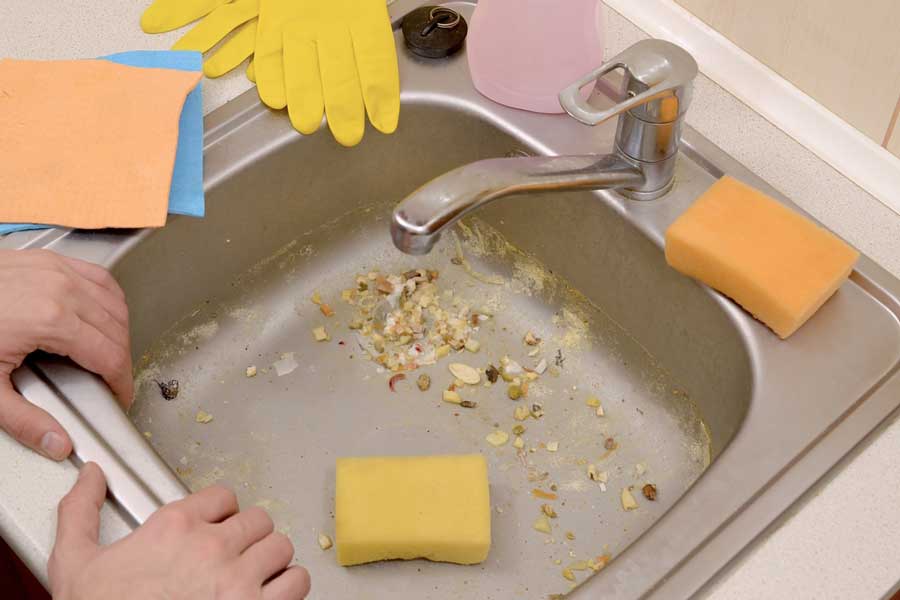
If a clogged nozzle is the culprit of your weak kitchen sink sprayer, you can easily clean it out. Start by unscrewing the sprayer head from the hose. Then, soak the nozzle in a mixture of equal parts vinegar and water for about 30 minutes. After soaking, use a small brush or toothpick to gently remove any debris from the nozzle. Rinse with water and screw the sprayer head back onto the hose.How to Clean a Clogged Kitchen Sink Sprayer Nozzle

How to Clean a Clogged Kitchen Sink Sprayer Nozzle


:max_bytes(150000):strip_icc()/how-to-unclog-a-kitchen-sink-2718799_sketch_FINAL-8c5caa805a69493ab22dfb537c72a1b7.png)

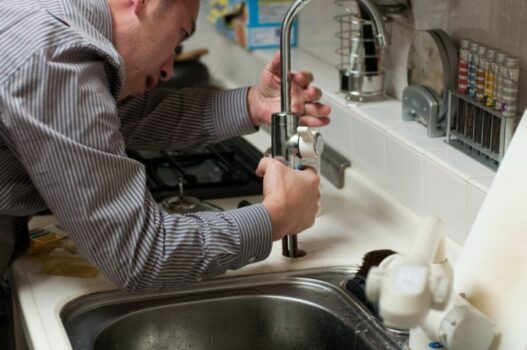
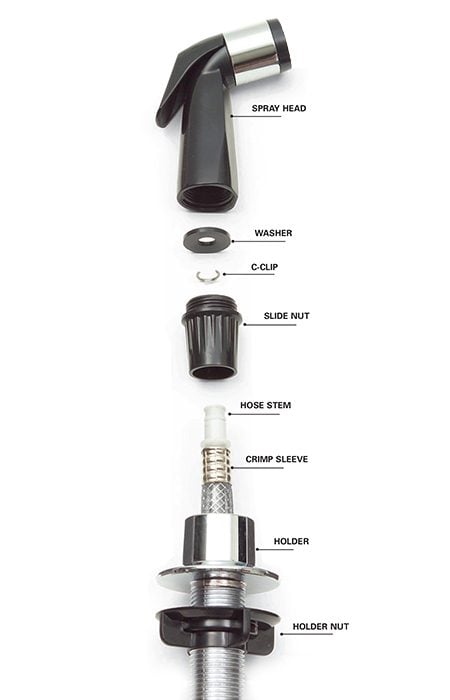
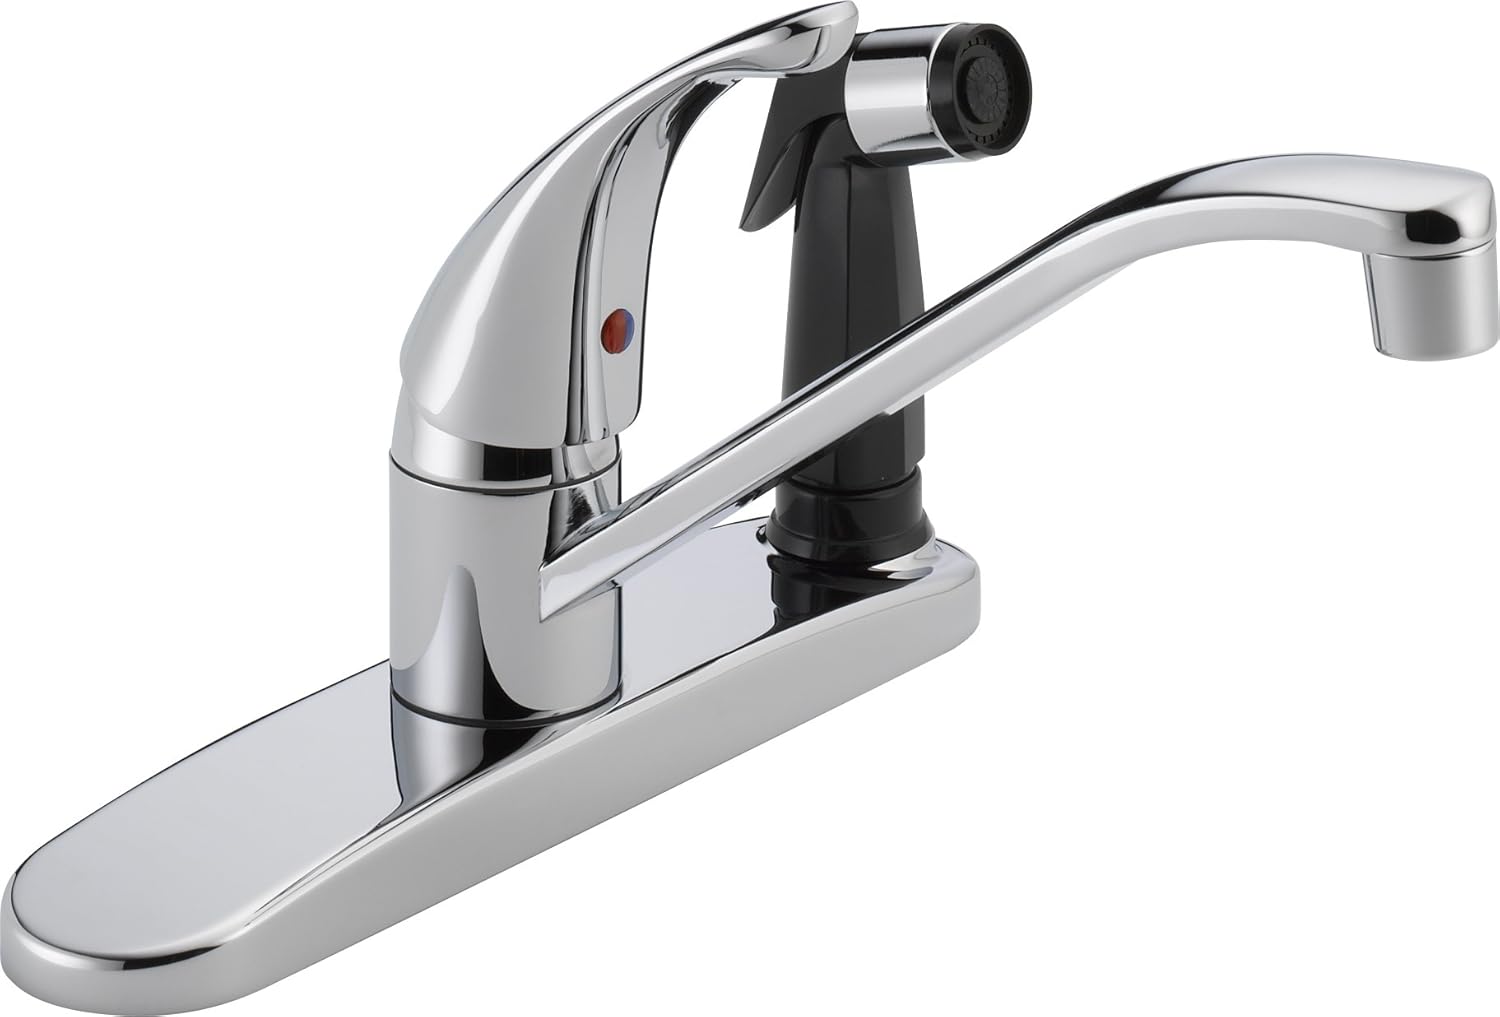
If your sprayer head is cracked or damaged, it will need to be replaced. You can purchase a new sprayer head from your local home improvement store. To replace it, unscrew the old head from the hose and screw on the new one. Be sure to use plumber's tape on the threads for a secure fit.Replacing a Kitchen Sink Sprayer Head


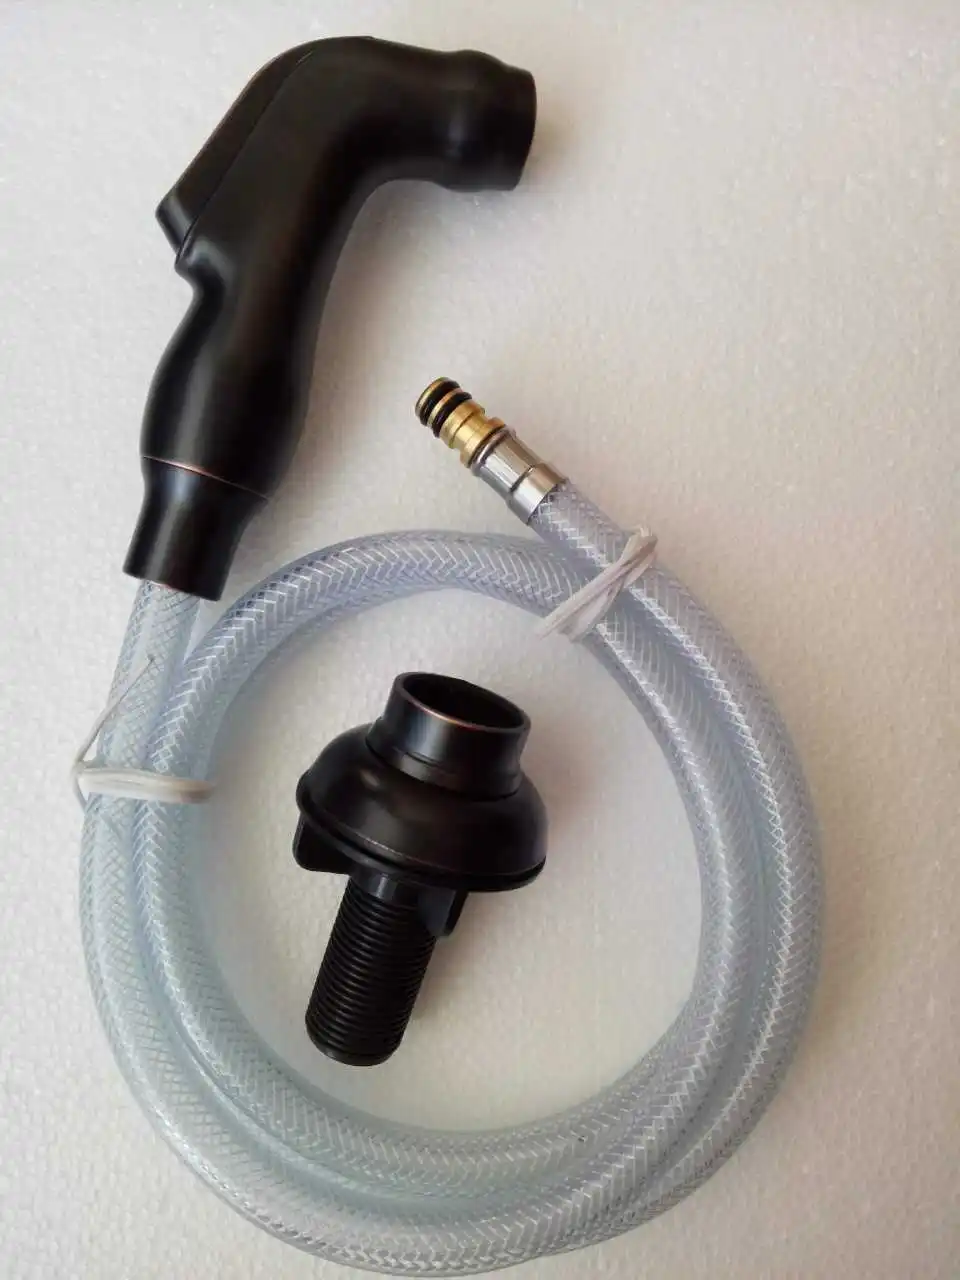
Replacing a Kitchen Sink Sprayer Head


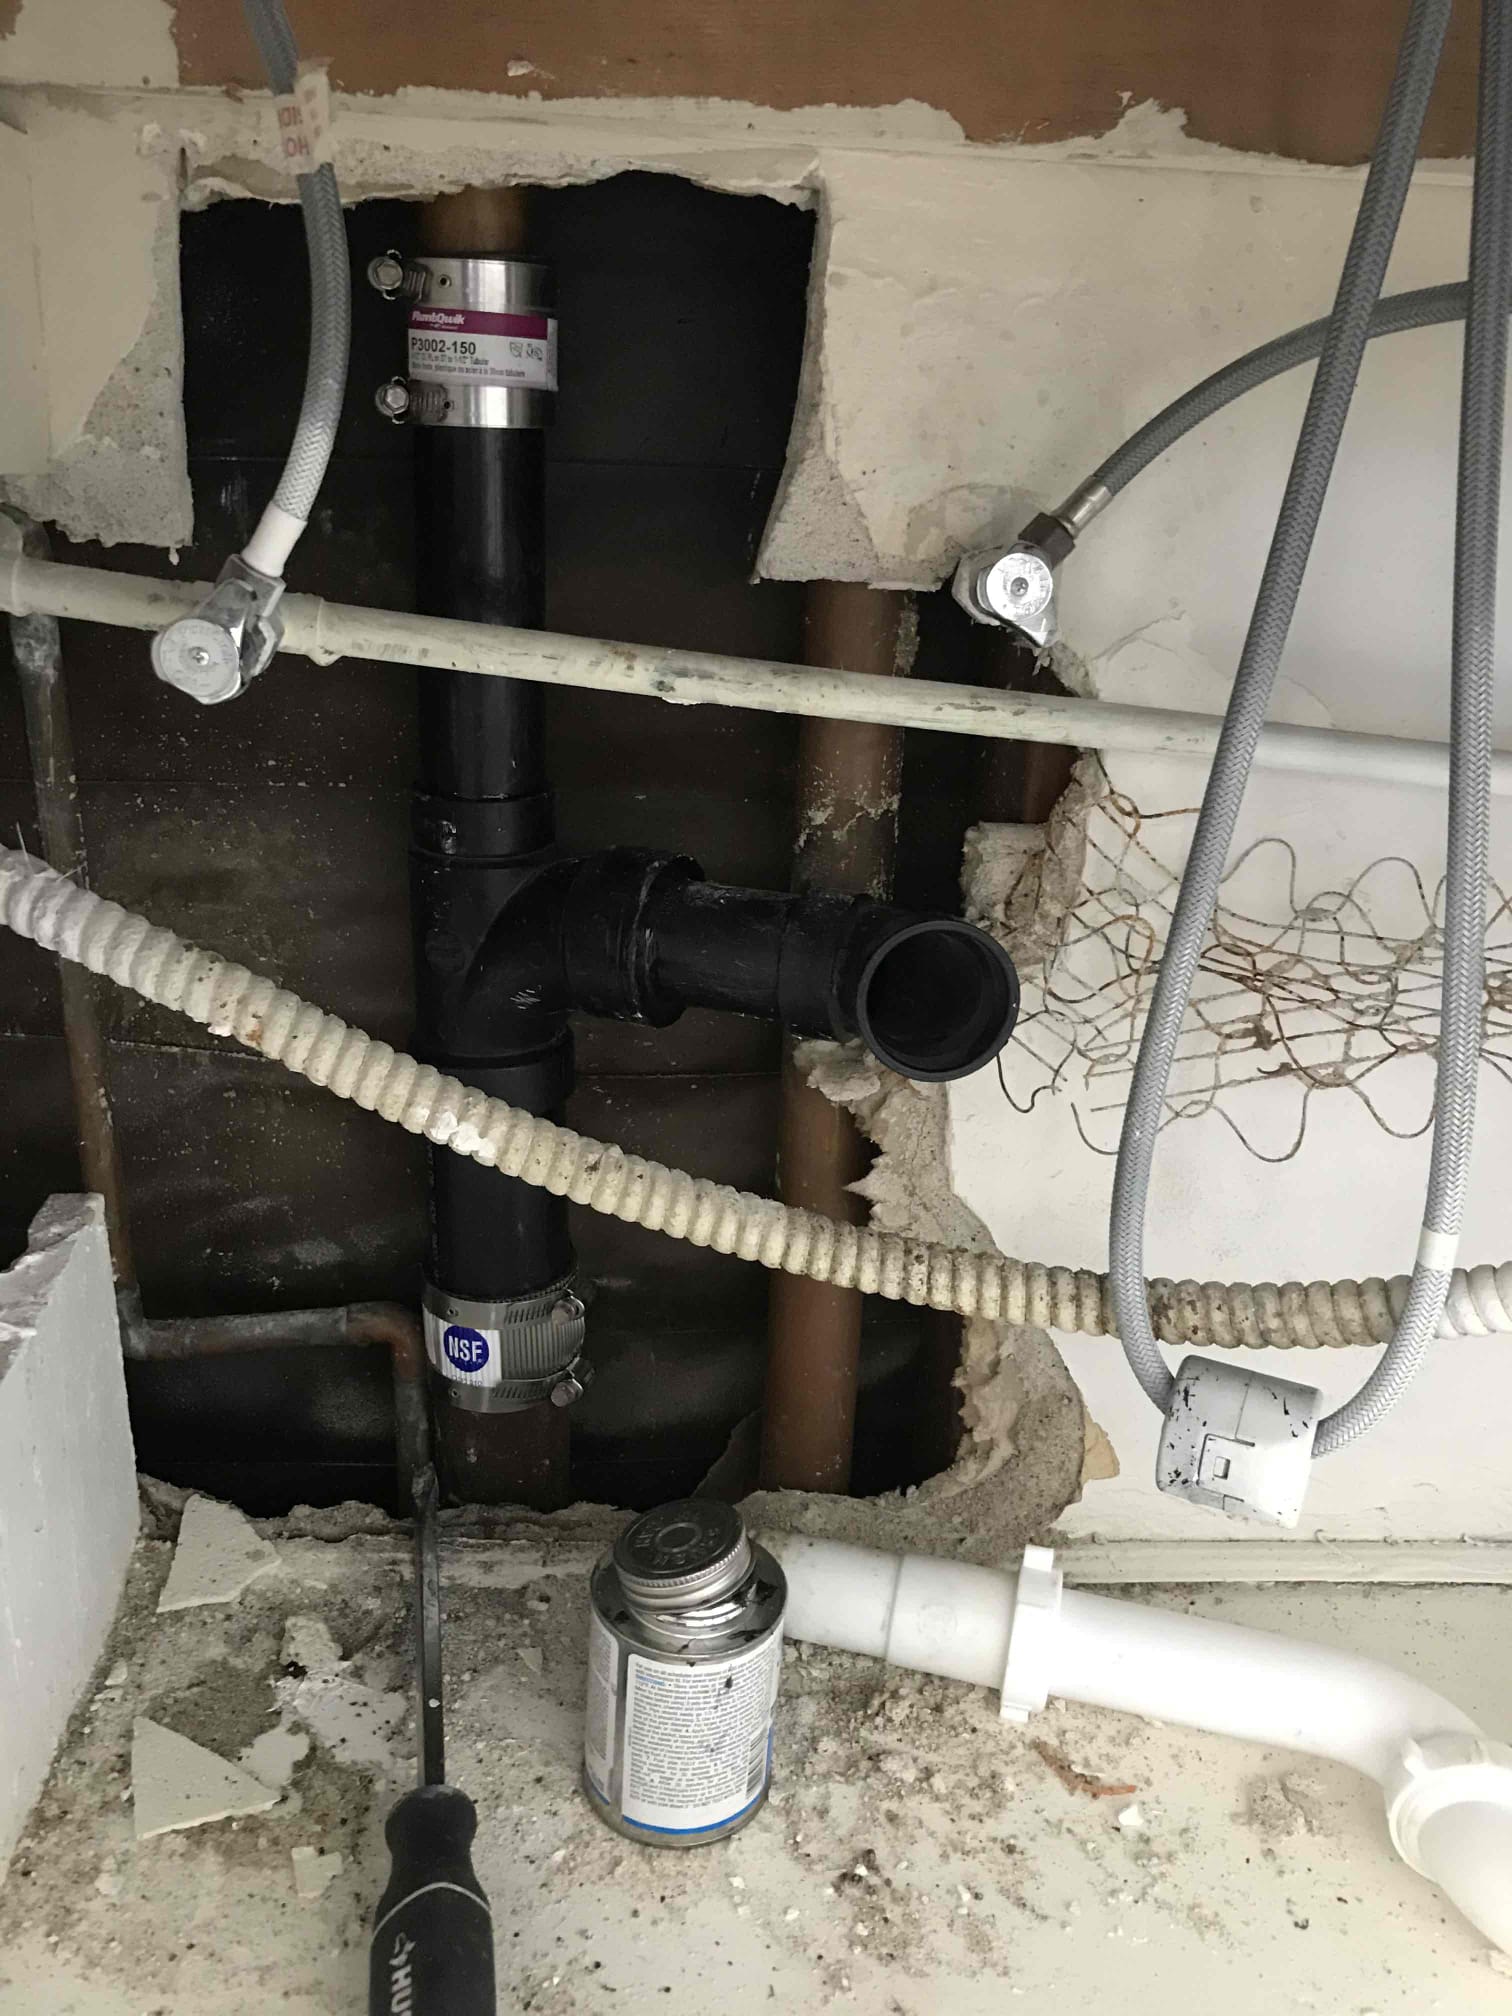
If the water pressure in your kitchen sink sprayer is consistently low, you may need to adjust the water pressure at the source. To do this, locate the water shut-off valve under the sink and turn it counterclockwise to increase the water pressure. Be sure to test the sprayer after making any adjustments to ensure it's working properly.Adjusting the Water Pressure on a Kitchen Sink Sprayer


Adjusting the Water Pressure on a Kitchen Sink Sprayer


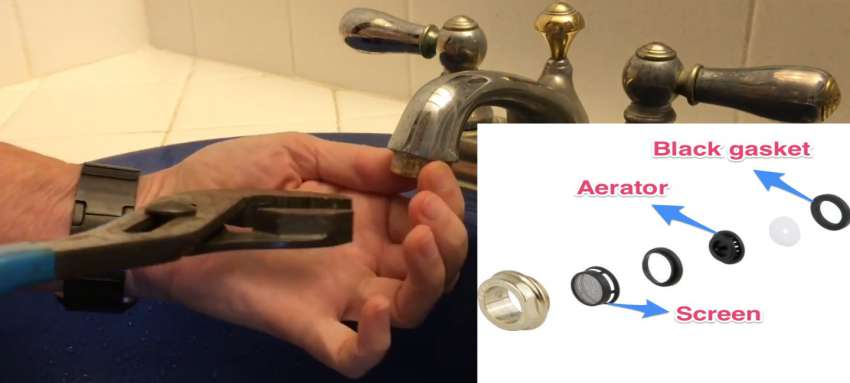


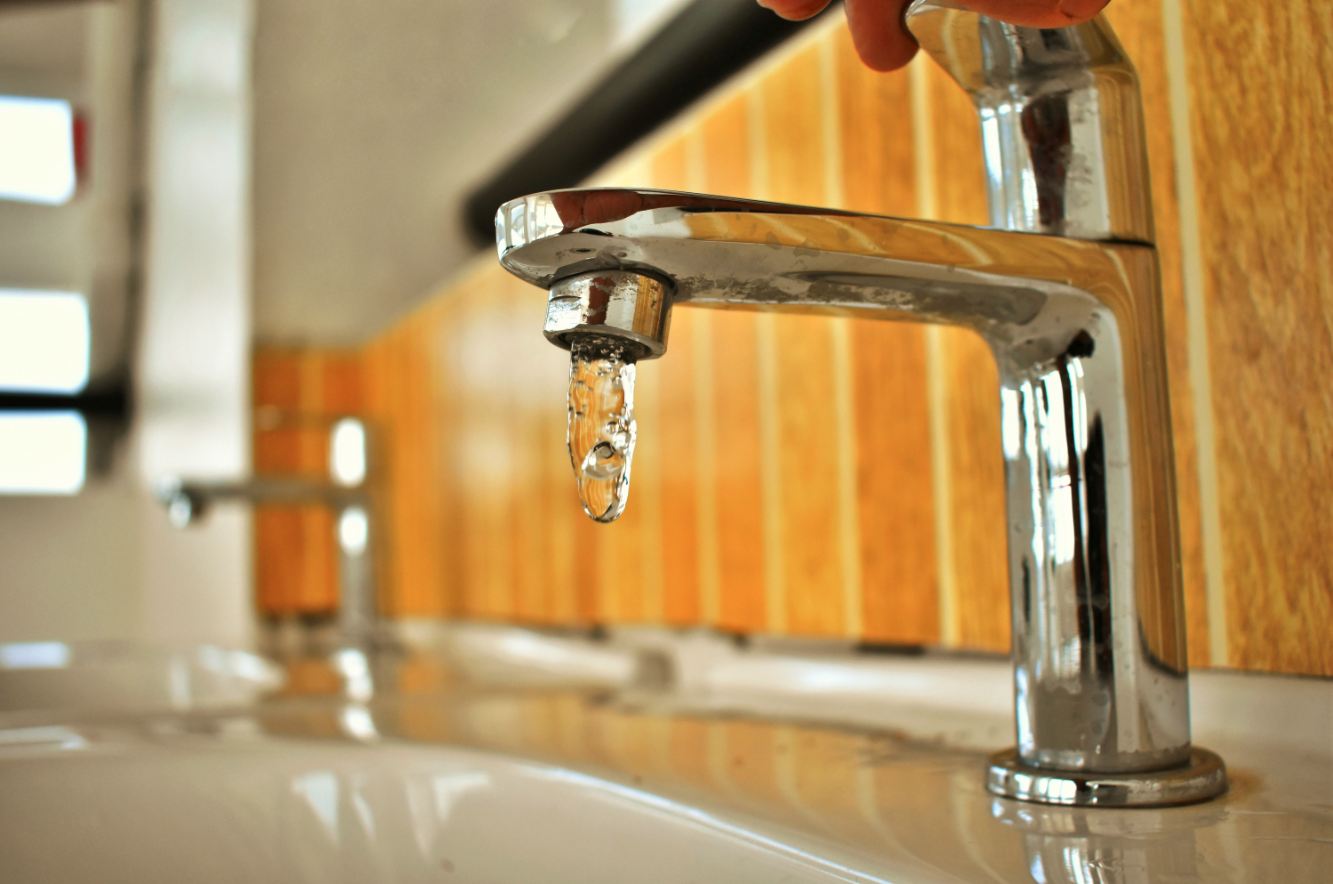
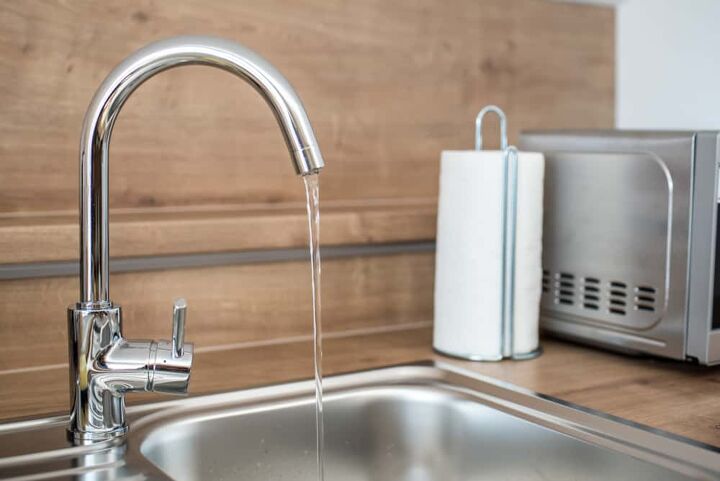
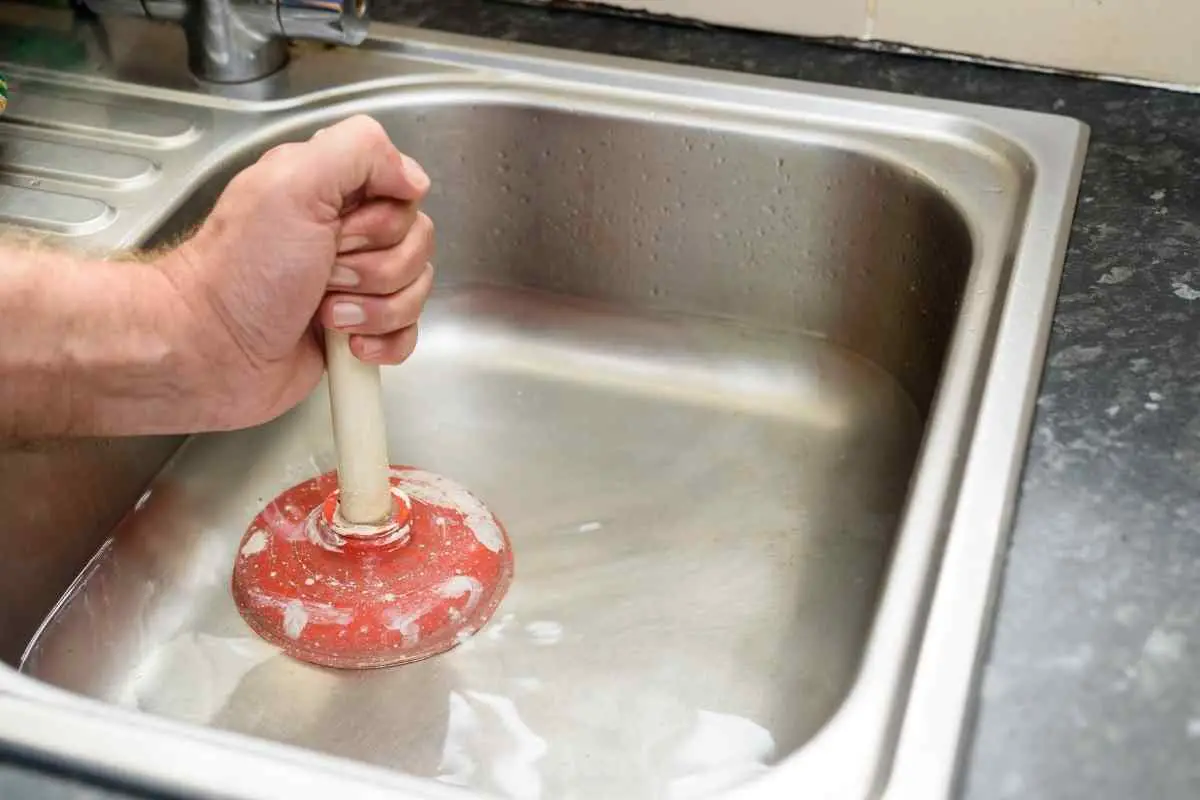
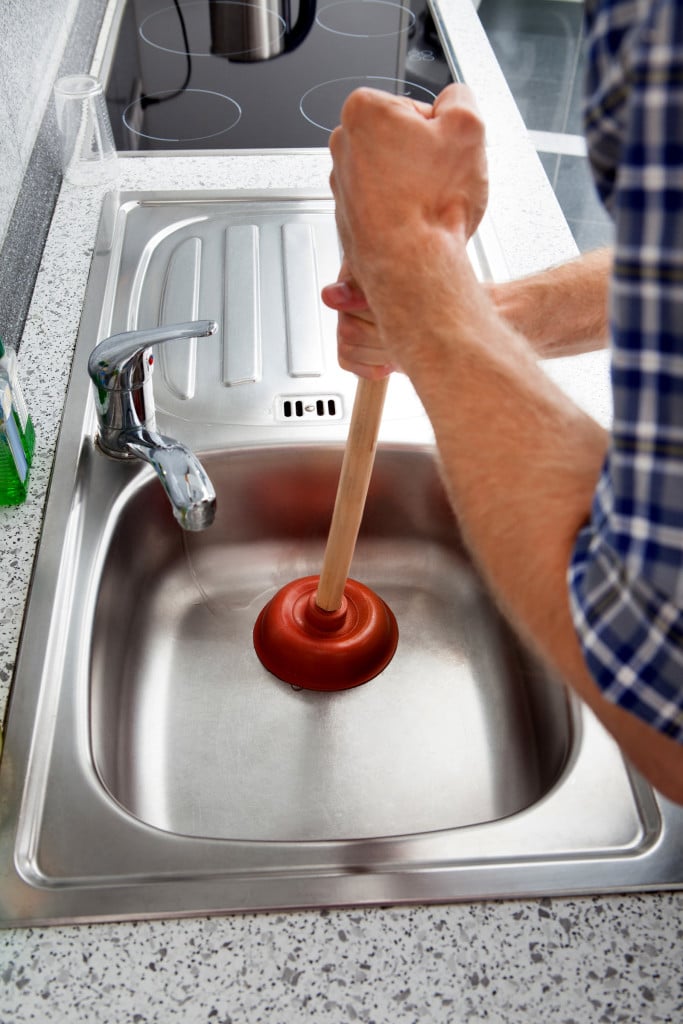
If you're still experiencing low water pressure in your kitchen sink sprayer, it's time to troubleshoot. Check for any kinks or blockages in the hose, as this can also affect the water pressure. You can also try cleaning the aerator, which is the small screen at the end of the sprayer head. If neither of these solutions work, it may be time to replace the entire sprayer unit.How to Troubleshoot a Weak Kitchen Sink Sprayer


How to Troubleshoot a Weak Kitchen Sink Sprayer


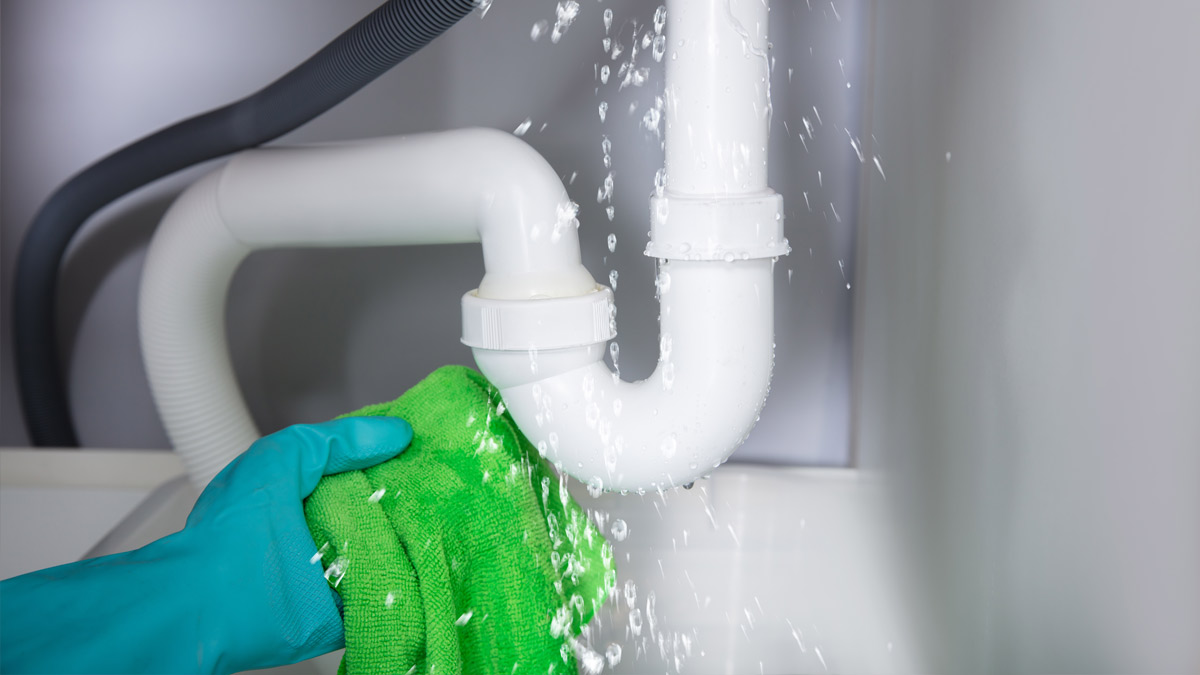
If the hose itself is damaged or leaking, it will need to be replaced. You can purchase a new hose from your local home improvement store. To replace it, unscrew the old hose from both the sprayer head and the water supply. Then, attach the new hose and secure it with plumber's tape on the threads.Replacing a Kitchen Sink Sprayer Hose


Replacing a Kitchen Sink Sprayer Hose


If you're installing a new kitchen sink sprayer, start by turning off the water supply under the sink. Then, remove the old sprayer unit and any attached hoses. Next, install the new sprayer unit and secure it with plumber's tape on the threads. Finally, attach the new hose to both the sprayer head and the water supply.How to Install a New Kitchen Sink Sprayer


How to Install a New Kitchen Sink Sprayer


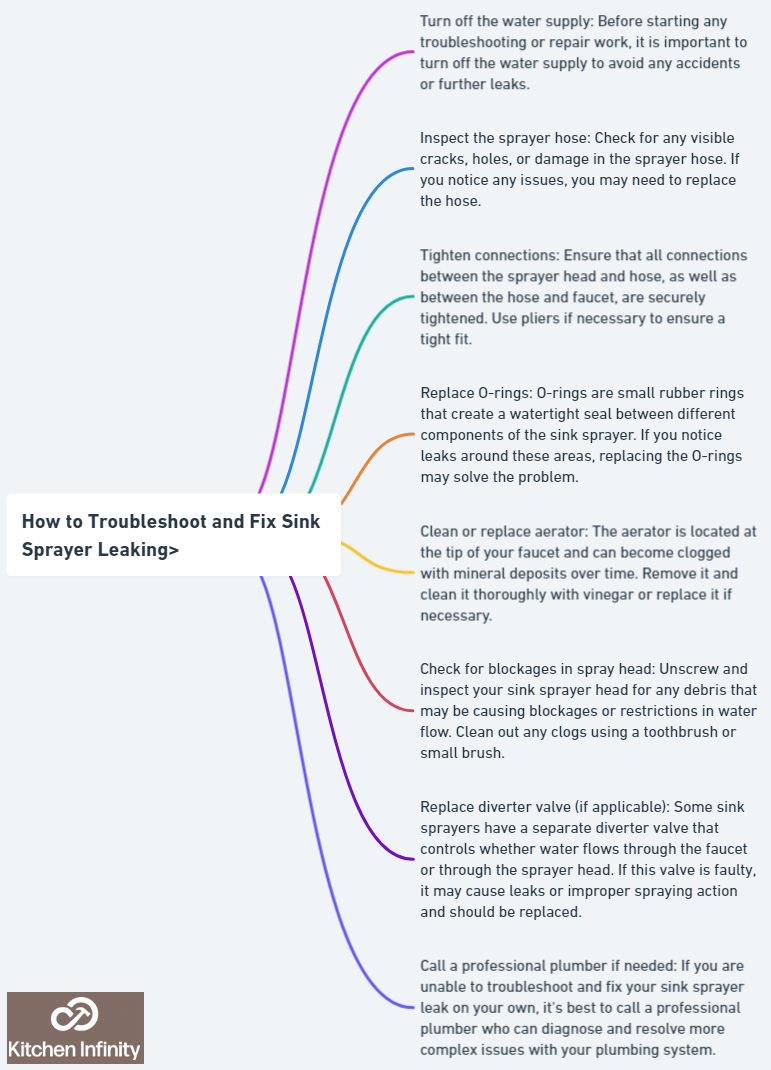
A leaking kitchen sink sprayer can be a major annoyance, but it can also waste a lot of water and increase your water bill. To repair a leak, start by checking all of the connections to ensure they are tight and secure. If the leak persists, you may need to replace the entire sprayer unit. With these tips and tricks, you should be able to fix a weak kitchen sink sprayer in no time. Remember to regularly clean and maintain your sprayer to prevent any future issues. If the problem persists, it may be time to call a professional plumber for further assistance.How to Repair a Leaking Kitchen Sink Sprayer
How to Repair a Leaking Kitchen Sink Sprayer


Improving Your Kitchen Sink Sprayer: Tips and Tricks

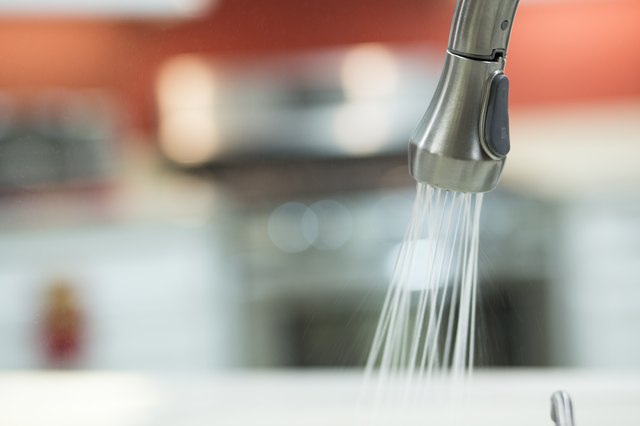
Why Is My Kitchen Sink Sprayer Weak?
 If you're experiencing weak water flow from your kitchen sink sprayer, you're not alone. This is a common issue faced by many homeowners, and it can be quite frustrating. The kitchen sink sprayer is an essential tool in any household, making it easier to clean dishes, rinse off fruits and vegetables, and fill pots with water. When it's not functioning properly, it can disrupt your daily routine and lead to unnecessary stress. But before you call a plumber or replace your sprayer, there are a few things you can try to improve its performance.
The Culprits of Weak Water Flow
 The main cause of a weak kitchen sink sprayer is usually mineral buildup or debris clogging the nozzle. Over time, minerals from hard water can accumulate and block the small holes in the sprayer, reducing water flow. Similarly, food particles and other debris can also get stuck and restrict the water flow. Another culprit could be a faulty or worn-out sprayer head, which can cause leaks and decrease water pressure.
Tips for Improving Your Kitchen Sink Sprayer
 Fortunately, there are some simple and effective ways to fix a weak kitchen sink sprayer. Here are a few tips to help you get your sprayer back to its full potential:
1. Clean the Nozzle
- The first step is to clean the nozzle of your sprayer. You can use a toothbrush or a small wire brush to scrub away any mineral deposits or debris. You can also try soaking the nozzle in a mixture of vinegar and water for a few hours to dissolve any stubborn buildup.
2. Check the Hose
- Sometimes, the problem may lie in the hose connecting the sprayer to the water source. Make sure the hose is not kinked or damaged, as this can restrict water flow. If you notice any holes or cracks, it's best to replace the hose.
3. Replace the Sprayer Head
- If cleaning and checking the hose don't improve the water flow, it may be time to replace the sprayer head. You can easily find a new one at your local hardware store or online. Make sure to choose a sprayer head that is compatible with your sink and has good reviews.
Fortunately, there are some simple and effective ways to fix a weak kitchen sink sprayer. Here are a few tips to help you get your sprayer back to its full potential:
1. Clean the Nozzle
- The first step is to clean the nozzle of your sprayer. You can use a toothbrush or a small wire brush to scrub away any mineral deposits or debris. You can also try soaking the nozzle in a mixture of vinegar and water for a few hours to dissolve any stubborn buildup.
2. Check the Hose
- Sometimes, the problem may lie in the hose connecting the sprayer to the water source. Make sure the hose is not kinked or damaged, as this can restrict water flow. If you notice any holes or cracks, it's best to replace the hose.
3. Replace the Sprayer Head
- If cleaning and checking the hose don't improve the water flow, it may be time to replace the sprayer head. You can easily find a new one at your local hardware store or online. Make sure to choose a sprayer head that is compatible with your sink and has good reviews.
Preventing Future Issues
 To avoid dealing with a weak kitchen sink sprayer in the future, there are a few things you can do. Installing a water softener can help prevent mineral buildup in your sprayer and other appliances. Regularly cleaning the sprayer nozzle and checking the hose for any damage can also help maintain optimal water flow.
Conclusion
 A weak kitchen sink sprayer can be frustrating, but with these simple tips, you can improve its performance and get back to your daily routine. Remember to regularly clean and maintain your sprayer to prevent future issues. If the problem persists, it's best to consult a professional plumber to ensure there are no underlying problems with your plumbing system.