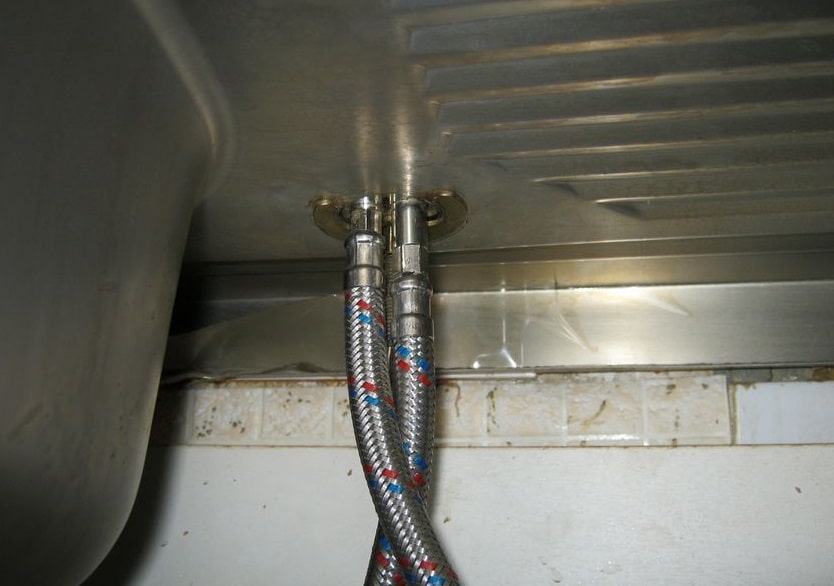
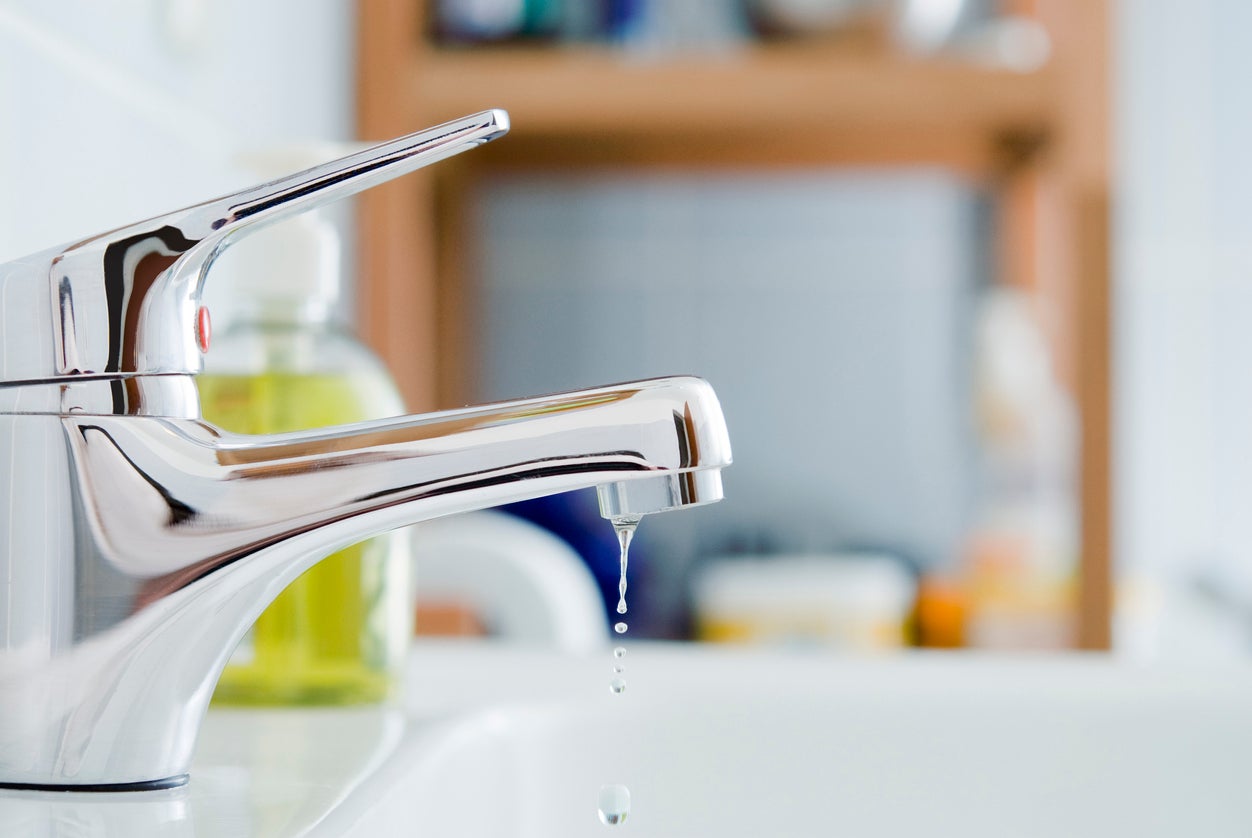
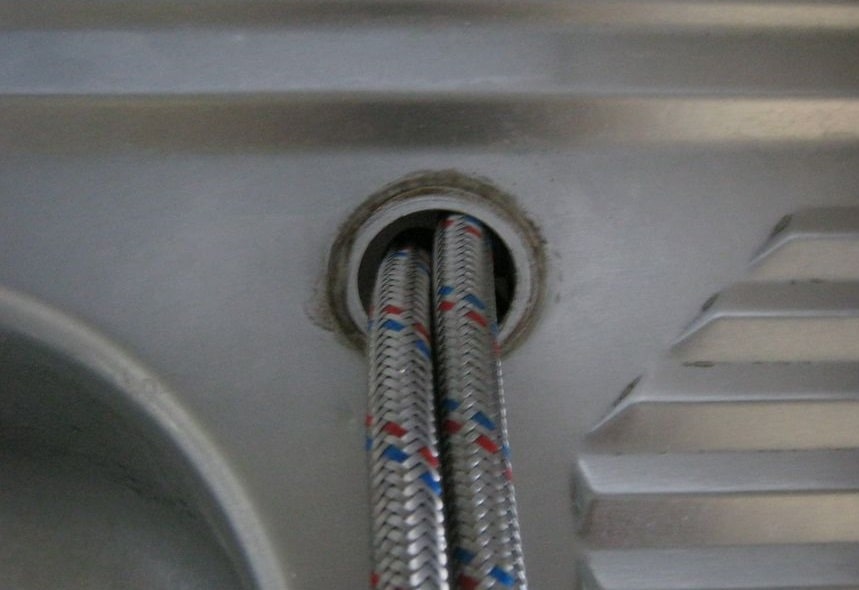
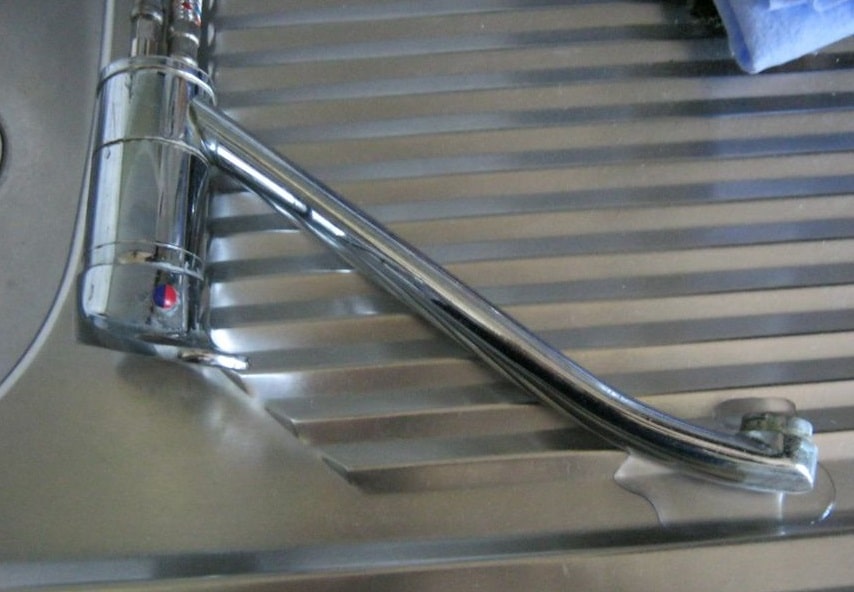
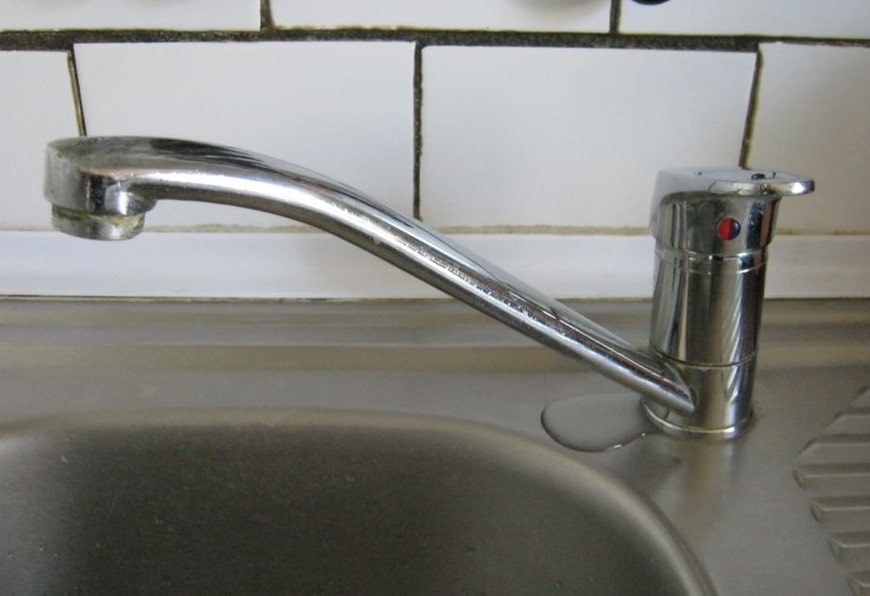
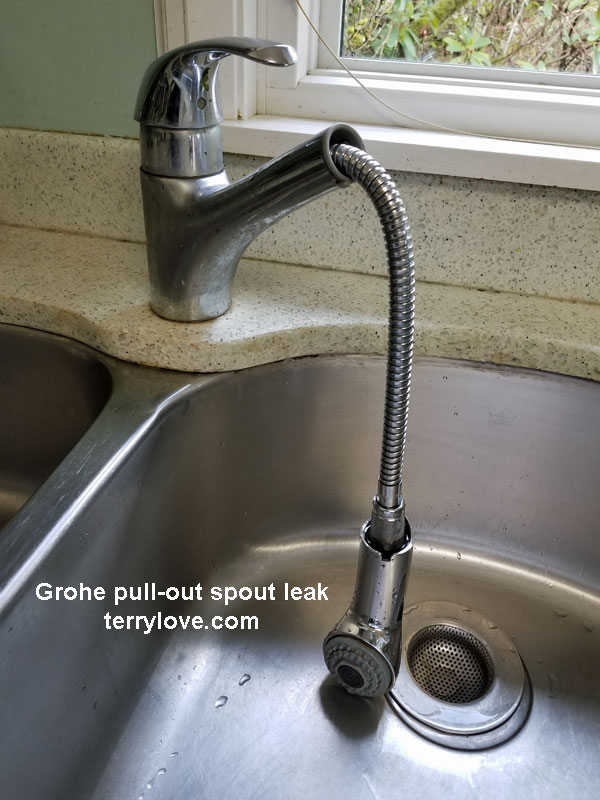
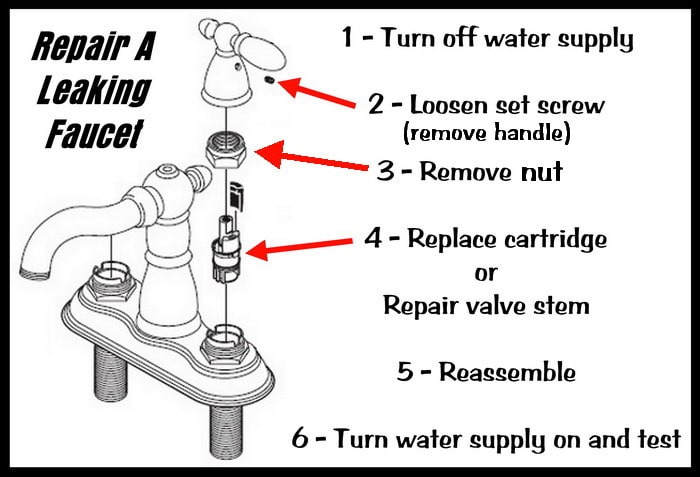
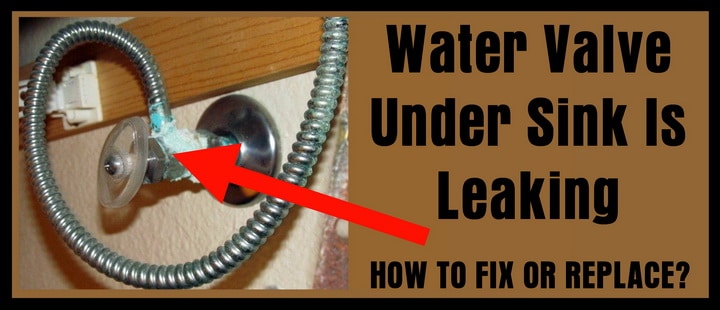
If you notice a constant drip or puddle of water under your kitchen sink faucet, chances are you have a leak. Not only can this be annoying, but it can also lead to wasted water and potentially costly water damage. But don't worry, fixing a leaky kitchen sink faucet is a simple task that you can do on your own. Step 1: Identify the Source of the Leak The first step in fixing a leaky kitchen sink faucet is to determine where the leak is coming from. Check the base of the faucet, the handles, and the spout for any signs of water. This will help you pinpoint the source of the leak and determine the best course of action. Step 2: Gather Your Tools Before you start the repair, make sure you have the necessary tools on hand. These may include an adjustable wrench, screwdriver, and replacement parts such as a new cartridge or O-ring. Step 3: Turn off the Water Supply To avoid any potential mess or accidents, turn off the water supply to your kitchen sink faucet. Look for the shut-off valves under the sink and turn them off by twisting the handles clockwise. Step 4: Disassemble the Faucet Using your adjustable wrench, unscrew the faucet handles and remove them. Then, carefully remove the faucet's spout and any other parts that may be causing the leak. Step 5: Inspect and Replace Parts Inspect all the parts for any signs of damage or wear and tear. This could include cracks, corrosion, or buildup of mineral deposits. If any parts are damaged, replace them with new ones. It's important to use the same type of parts as the original to ensure a proper fit. Step 6: Reassemble the Faucet Once you have replaced any necessary parts, reassemble the faucet in the reverse order that you took it apart. Make sure all the connections are tight and secure. Step 7: Turn the Water Supply Back On Once you have reassembled the faucet, turn the water supply back on and test the faucet for any leaks. If there are still leaks, you may need to repeat the process or call a professional for assistance.How to Fix a Leaky Kitchen Sink Faucet
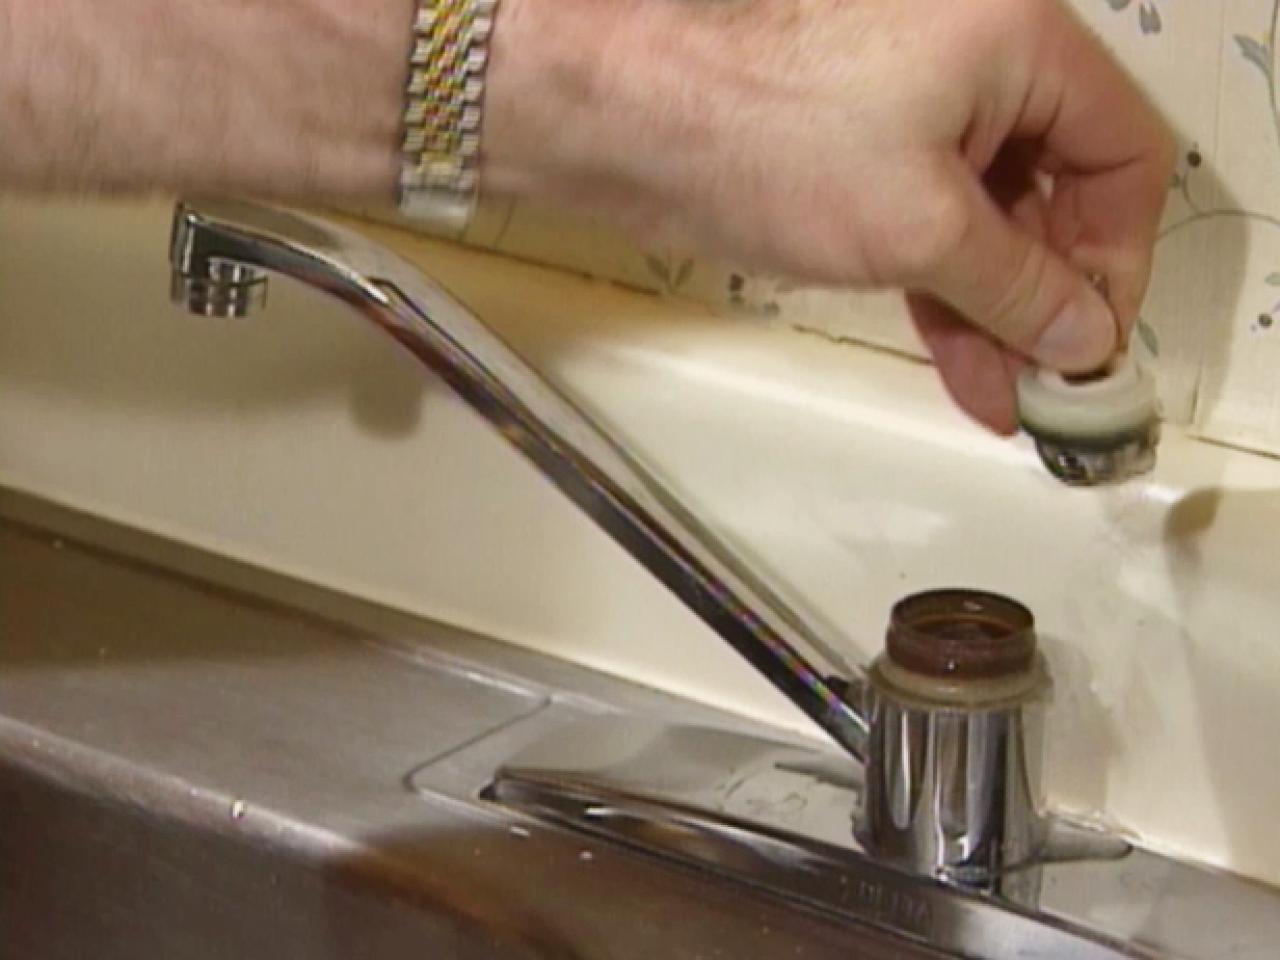
If you have a leaky kitchen faucet, it's important to address the issue as soon as possible. Not only can it lead to wasted water, but it can also cause damage to your sink and cabinets. Here's a step-by-step guide on how to repair a leaky kitchen faucet. Step 1: Shut Off the Water Supply Before you start the repair, turn off the water supply to your kitchen faucet. This will prevent any water from leaking while you work on the faucet. Step 2: Remove the Faucet Handle Using a screwdriver, remove the screw on the top of the faucet handle. Then, carefully remove the handle and set it aside. Step 3: Examine the Cartridge or O-ring Inspect the cartridge or O-ring for any signs of damage or wear. If there are any cracks or corrosion, it will need to be replaced with a new one. Step 4: Replace the Cartridge or O-ring If the cartridge or O-ring is damaged, remove it and replace it with a new one. Make sure to use the same type of part as the original. Step 5: Reassemble the Faucet Once you have replaced the necessary parts, reassemble the faucet in the reverse order that you took it apart. Make sure all the connections are tight and secure. Step 6: Turn the Water Supply Back On Turn the water supply back on and test the faucet for any leaks. If there are still leaks, you may need to repeat the process or seek professional help.How to Repair a Leaky Kitchen Faucet
Kitchen sink faucet leaks can be caused by a variety of factors. Here are some of the most common causes of kitchen sink faucet leaks and how to fix them. 1. Worn Out Parts Over time, the parts of your kitchen sink faucet can wear out and cause leaks. This can include the cartridge, O-ring, or seals. Replace these parts to stop the leak. 2. Loose Connections If the connections in your kitchen sink faucet are loose, it can cause leaks. Make sure to tighten all the connections to prevent any water from escaping. 3. Mineral Buildup Mineral buildup can occur in the aerator or other parts of the faucet, causing leaks. Clean out any buildup to restore the functionality of your faucet. 4. High Water Pressure If your water pressure is too high, it can put strain on the faucet and cause leaks. Consider installing a pressure regulator to prevent this issue. 5. Improper Installation If your kitchen sink faucet was not installed properly, it can lead to leaks. Make sure to follow the manufacturer's instructions or seek professional help for installation.Common Causes of Kitchen Sink Faucet Leaks
If you have a leaky kitchen sink faucet, you may be able to fix it yourself with a few simple tools and replacement parts. Here's a DIY guide on how to repair a kitchen sink faucet leak. Step 1: Turn Off the Water Supply Before you start the repair, turn off the water supply to your kitchen faucet. This will prevent any water from leaking while you work on the faucet. Step 2: Disassemble the Faucet Using a screwdriver and adjustable wrench, remove the faucet handles and any other parts that may be causing the leak. Take note of the order in which you remove the parts for easy reassembly. Step 3: Replace Damaged Parts If any parts are damaged or worn, replace them with new ones. This may include the cartridge, O-ring, or seals. Step 4: Reassemble the Faucet Once you have replaced any necessary parts, reassemble the faucet in the reverse order that you took it apart. Make sure all the connections are tight and secure. Step 5: Turn the Water Supply Back On Turn the water supply back on and test the faucet for any leaks. If there are still leaks, you may need to repeat the process or seek professional help.DIY Kitchen Sink Faucet Leak Repair
If your kitchen sink faucet is old or constantly leaking, it may be time to replace it. Here's a step-by-step guide on how to replace a kitchen sink faucet to stop leaks. Step 1: Gather Your Tools Before you start the replacement, make sure you have the necessary tools on hand. This may include an adjustable wrench, screwdriver, and a new faucet. Step 2: Turn Off the Water Supply To avoid any potential mess or accidents, turn off the water supply to your kitchen sink faucet. Look for the shut-off valves under the sink and turn them off by twisting the handles clockwise. Step 3: Remove the Old Faucet Using your adjustable wrench, unscrew the connections holding the old faucet in place. Then, carefully remove the faucet and set it aside. Step 4: Install the New Faucet Follow the manufacturer's instructions to install the new faucet. Make sure all the connections are tight and secure. Step 5: Turn the Water Supply Back On Turn the water supply back on and test the new faucet for any leaks. If there are still leaks, you may need to tighten the connections or seek professional help.Replacing a Kitchen Sink Faucet to Stop Leaks
The best way to deal with a leaky kitchen sink faucet is to prevent it from happening in the first place. Here are some tips to help you avoid kitchen sink faucet leaks. 1. Regularly Inspect and Maintain Your Faucet Make sure to inspect your kitchen sink faucet regularly for any signs of damage or wear. This will allow you to catch any potential issues before they turn into larger leaks. 2. Avoid Harsh Chemicals Harsh chemicals can cause damage to your faucet, leading to leaks. Instead, use mild soap and water to clean your faucet. 3. Fix Leaks Immediately If you do notice any leaks, make sure to fix them right away. Ignoring a small leak can lead to bigger and more costly issues down the road. 4. Don't Overtighten Faucet Handles Overtightening the handles on your kitchen sink faucet can damage the internal parts and cause leaks. Make sure to only tighten them enough to stop the water flow. 5. Invest in Quality Faucets When purchasing a new kitchen sink faucet, invest in a high-quality one that is built to last. This will save you money in the long run and prevent leaks from occurring.Tips for Preventing Kitchen Sink Faucet Leaks
Not all leaks are obvious, and it's important to catch them early before they turn into bigger issues. Here are some signs that your kitchen sink faucet is leaking. 1. Dripping Sounds If you hear a constant dripping sound coming from your kitchen sink faucet, it's a clear sign that there is a leak. 2. Puddles of Water If you notice puddles of water under your kitchen sink or around the base of the faucet, it's a sign that there is a leak. 3. Higher Water Bills If you notice a sudden increase in your water bill, it could be due to a leaky kitchen sink faucet wasting water. 4. Difficulty Turning Off the Faucet If you have to continuously tighten the handles on your kitchen sink faucet to stop the water flow, it could be a sign of a leak. 5. Mold or Mildew Growth If you notice mold or mildew growing under your sink, it could be a result of a constant leak from the kitchen sink faucet.Signs That Your Kitchen Sink Faucet is Leaking
If you're experiencing a leaky kitchen sink faucet, don't panic. Here are some troubleshooting tips to help you determine the cause of the leak and fix it. 1. Tighten Connections The first step in troubleshooting a leaky kitchen sink faucet is to check all the connections and make sure they are tight. This can often solve the issue. 2. Replace Parts If the connections are tight but the faucet is still leaking, it may be necessary to replace certain parts such as the cartridge or O-ring. 3. Clean Out Mineral Buildup If you notice any mineral buildup in the faucet, clean it out to restore proper functionality and prevent leaks. 4. Adjust Water Pressure High water pressure can cause strain on the faucet and lead to leaks. Consider installing a pressure regulator to adjust the water pressure. 5. Seek Professional Help If you're unable to determine the cause of the leak or fix it yourself, it may be time to seek professional help. A plumber can help identify and fix the issue.How to Troubleshoot a Leaky Kitchen Sink Faucet
If you're experiencing a persistent leak in your kitchen sink faucet, it's best to seek professional help. A plumber can quickly and effectively repair the leak to prevent any further damage. Why Choose a Professional? While DIY repairs can save you money, it's important to know when it's time to call in a professional. A plumber has the necessary tools, knowledge, and experience to quickly and effectively repair a leaky kitchen sink faucet. What to Expect from Professional Repair Services A professional plumber will first assess the issue and determine the best course of action. They will then make the necessary repairs and test the faucet for any leaks to ensure it is functioning properly.Professional Kitchen Sink Faucet Leak Repair Services
Choosing the Right Kitchen Sink Faucet to Avoid Leaks
Signs of a Leaking Kitchen Sink Faucet
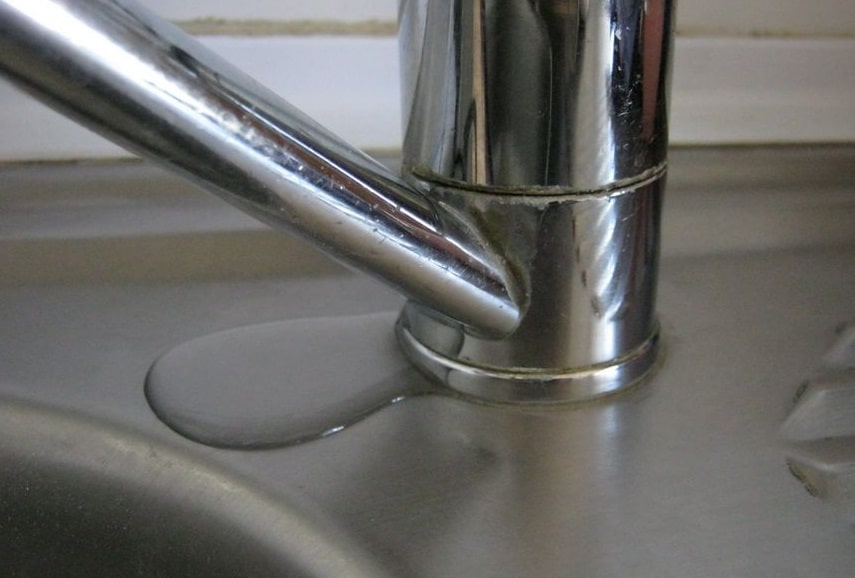
Don't Ignore That Drip-Drip Sound
 Leaking kitchen sink faucets are a common household issue that can be easily overlooked. However, ignoring that constant drip-drip sound can lead to not only wasted water but also potential damage to your kitchen and even mold growth. It's important to address a leaking faucet as soon as possible to avoid further problems and ensure the longevity of your kitchen's design.
Visible Water Stains
 One of the most obvious signs of a leaking kitchen sink faucet is the presence of water stains. These can appear on the sink, countertop, or even on the floor below the sink. These stains may start off small, but if left unaddressed, they can spread and become more difficult to remove. Not only are these stains unsightly, but they can also be a breeding ground for bacteria and mold.
Difficulty Turning Off the Faucet
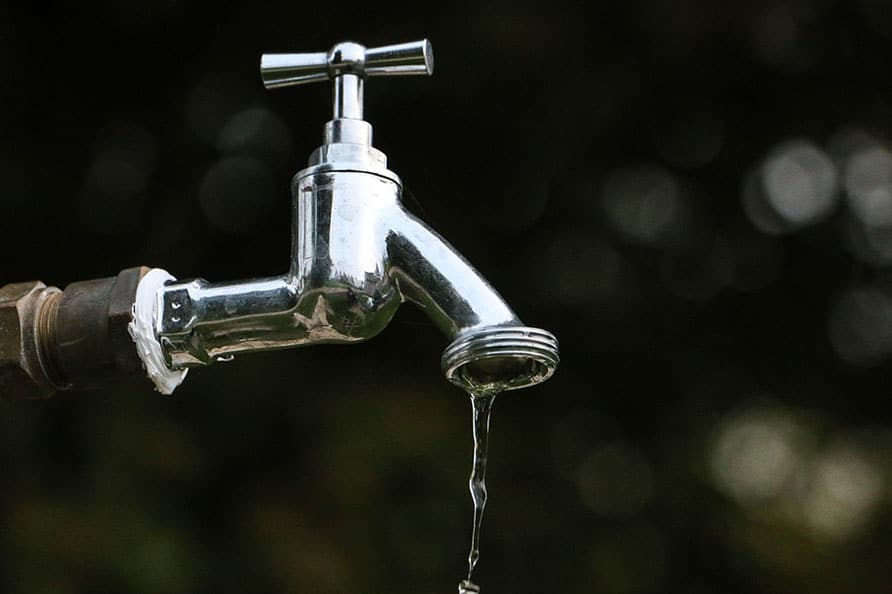 If you find yourself struggling to turn off your kitchen sink faucet completely, it could be a sign of a leak. A leaking faucet may cause the handle to become stiff or difficult to turn, as the water pressure is not being properly contained. This can also lead to an increase in your water bill, as the faucet continues to leak even when it is apparently turned off.
Wear and Tear on Sink and Countertop
 Another indicator of a leaking kitchen sink faucet is wear and tear on your sink and countertop. Over time, water can seep into the crevices and joints of your sink and cause damage to the material. This can lead to discoloration, warping, and even cracks in your sink and countertop. If you notice any changes in the appearance or texture of these surfaces, it may be a result of a leaking faucet.
The Importance of Addressing a Leaking Kitchen Sink Faucet
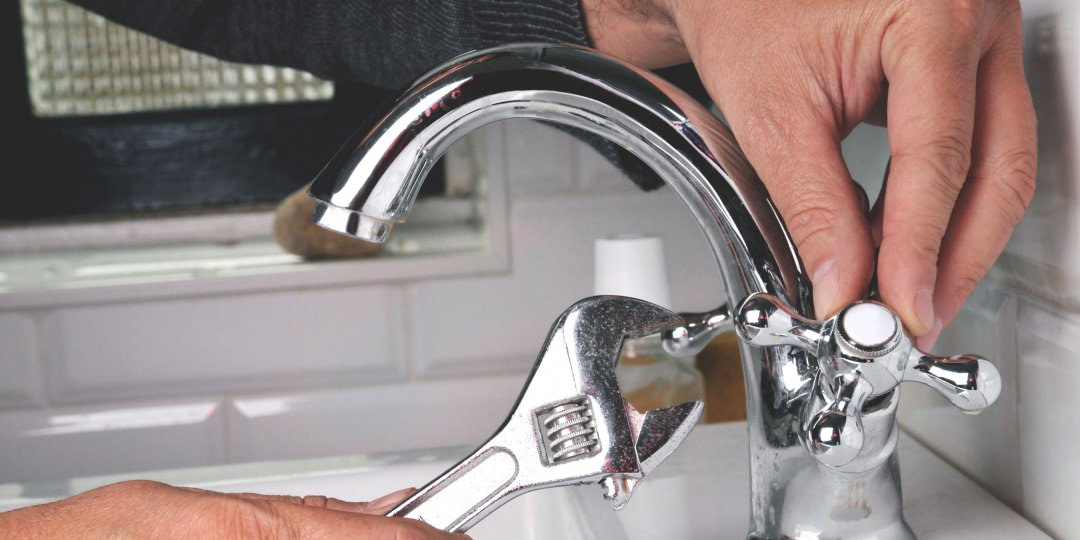
 Fixing a leaking kitchen sink faucet
may seem like a small and insignificant task, but it can have a big impact on your kitchen design and your wallet. By addressing the issue promptly, you can prevent further damage to your kitchen and save money on your water bill. Additionally, a properly functioning faucet can improve the overall aesthetic of your kitchen and make daily tasks, such as dishwashing, more efficient.
If you notice any of the signs mentioned above, it's important to address them as soon as possible. While some faucet leaks may be a simple fix, others may require the assistance of a professional plumber. Don't wait until the issue becomes more serious and costly - take care of that leaky kitchen sink faucet now.






















/header-16x19-image-640w-853h.jpg)

