Shiplap Installation in Living Rooms: Tips and Tricks
Shiplap has become a popular trend in home design, adding a touch of rustic charm to any room. And one of the best places to incorporate shiplap is in the living room. Not only does it give the space a cozy and inviting feel, but it also adds a unique texture and character to the walls. If you're thinking of installing shiplap in your living room, here are some tips and tricks to help you achieve a flawless look.
How to Install Shiplap in Your Living Room: A Step-by-Step Guide
Before diving into the installation process, it's important to have a plan in place. Measure your living room walls and calculate the amount of shiplap needed. Keep in mind that shiplap boards come in various widths and lengths, so choose the ones that best fit your walls.
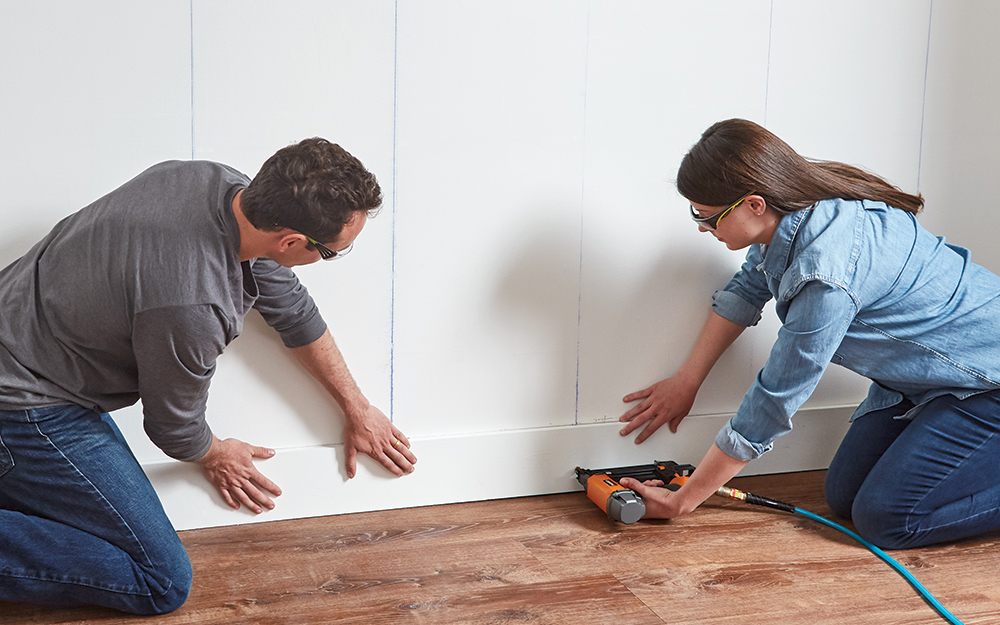
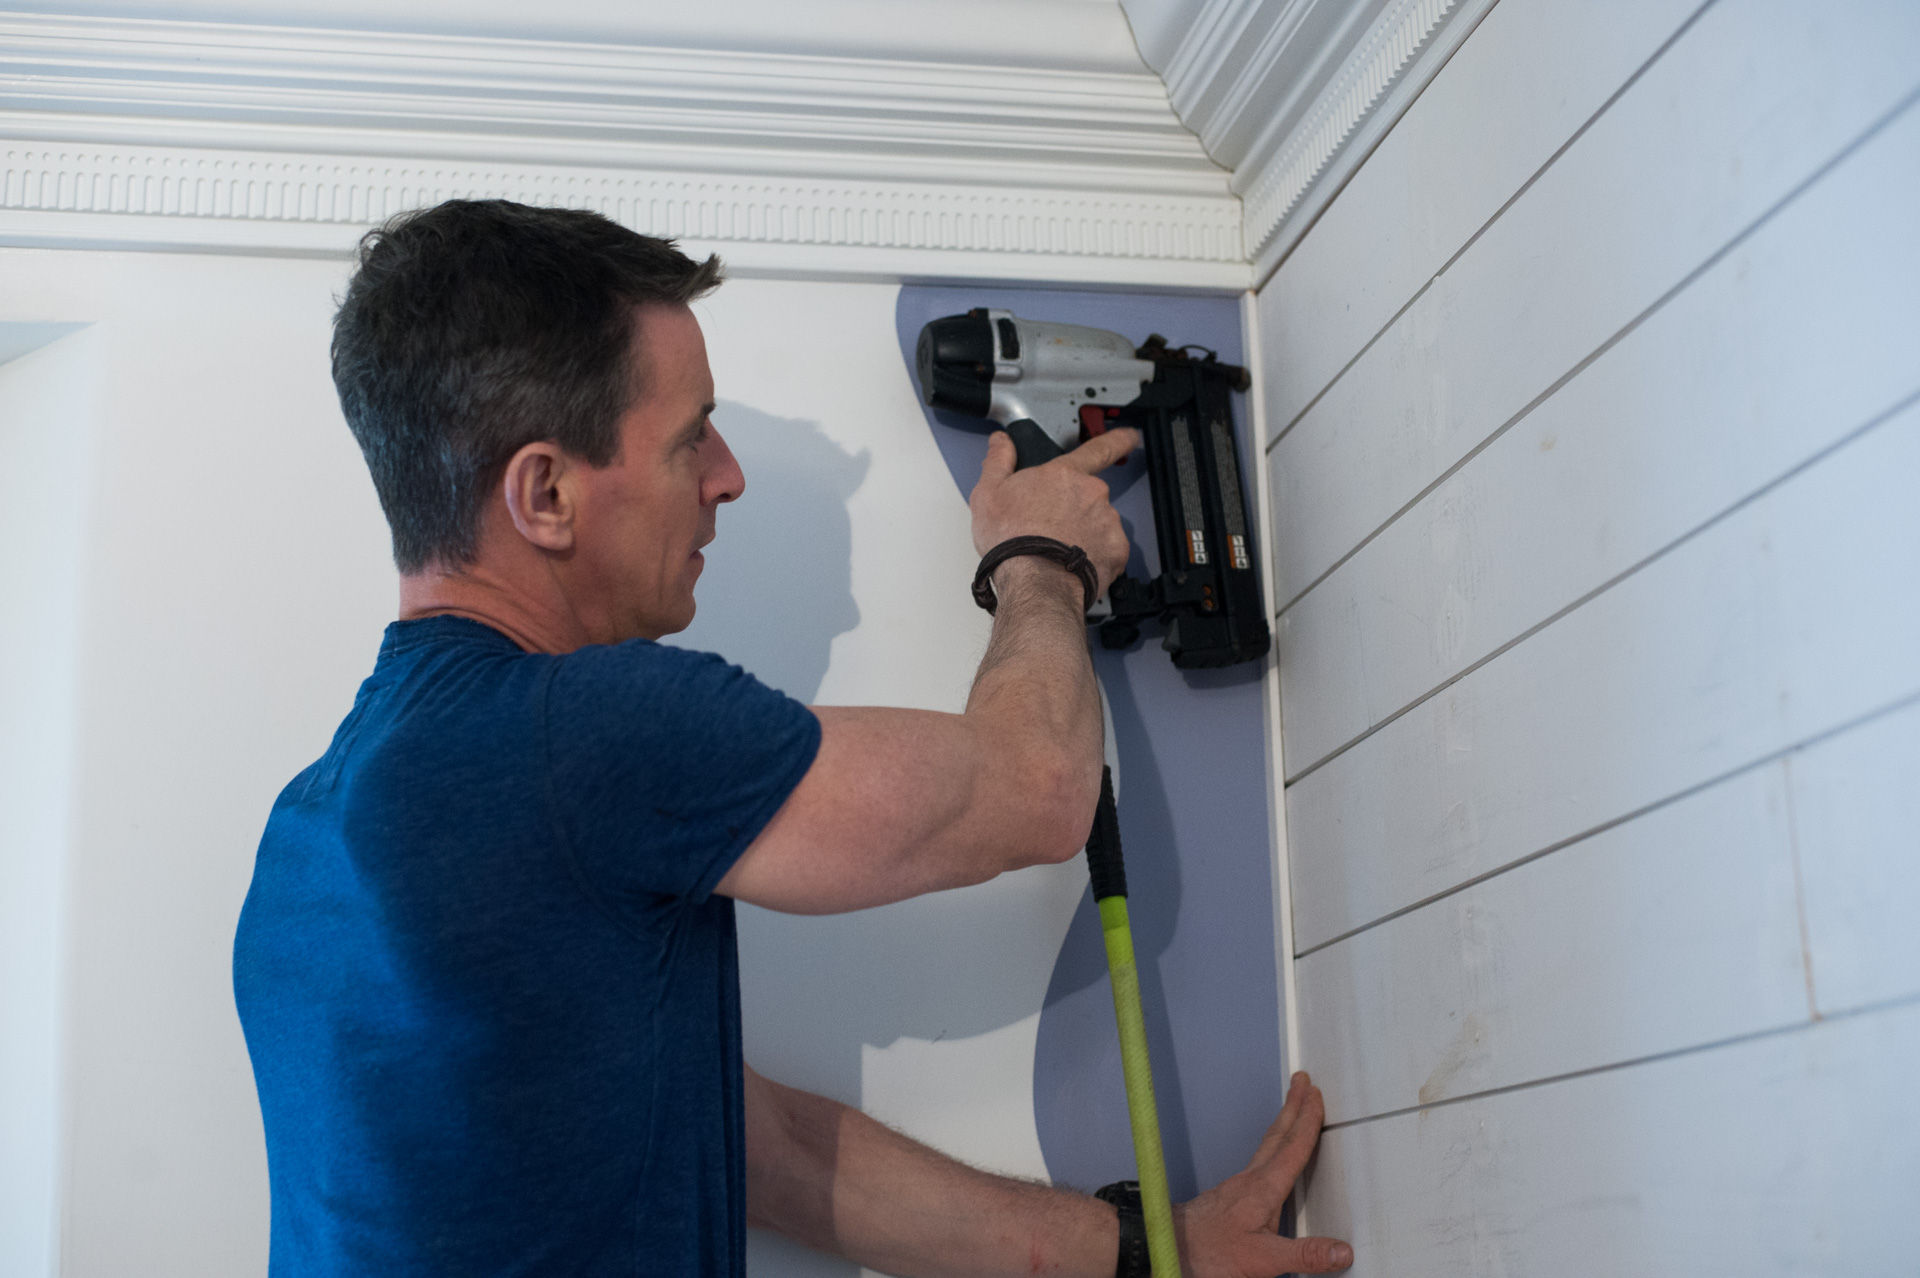
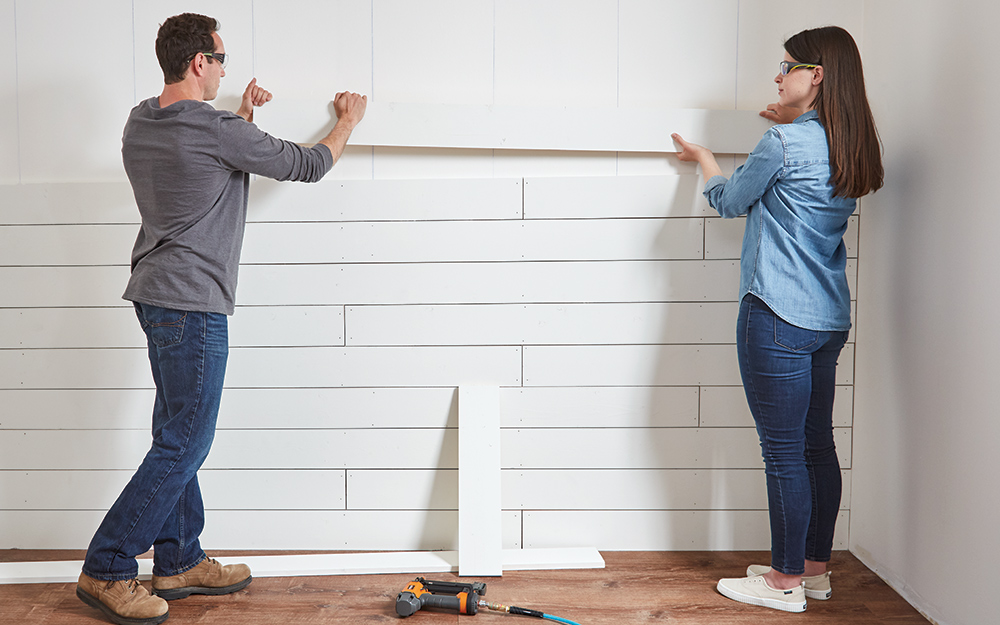
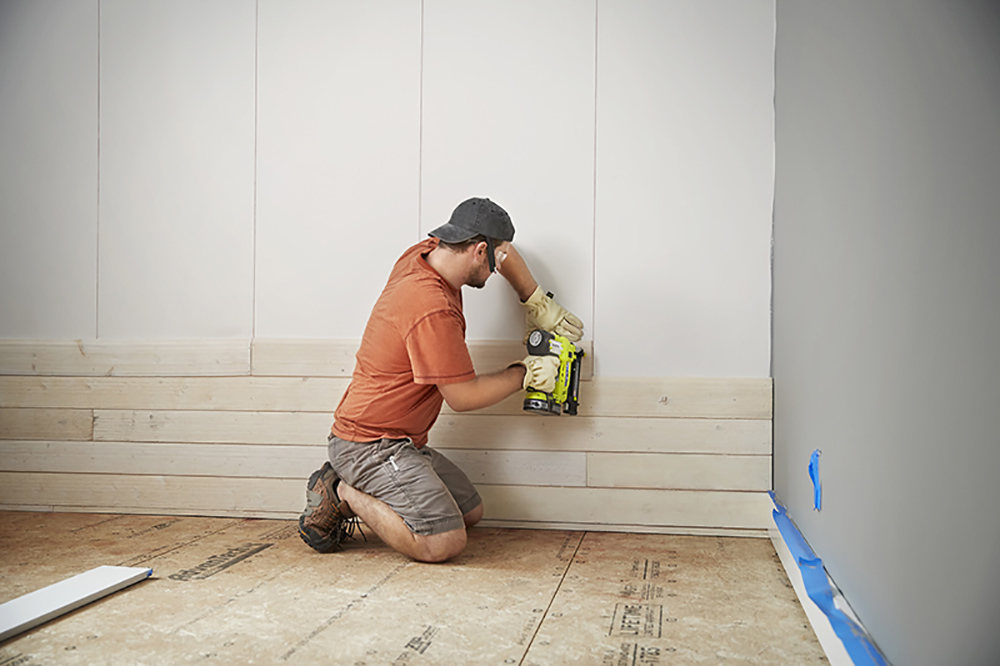
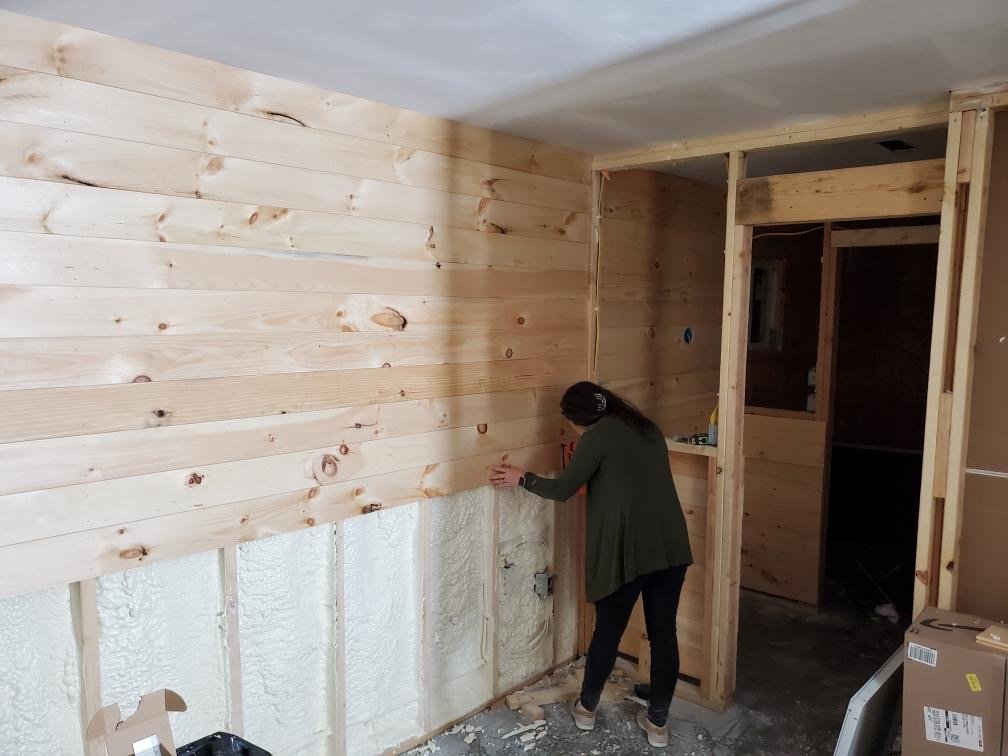
Next, gather your tools and materials, including a level, a saw, shiplap boards, a nail gun, and wood filler. Start by marking a level line on the wall where you want the shiplap to start. This will ensure that your boards are straight and even. Then, begin nailing the boards onto the wall, starting from the bottom and working your way up. Use a level to make sure each board is straight before nailing it in place.
When you reach the end of the wall, you may need to cut a board to fit. Measure and cut it accordingly, and continue the process until the entire wall is covered. Finally, fill in any nail holes with wood filler, let it dry, and sand it down for a smooth finish.
DIY Shiplap Installation for Your Living Room: What You Need to Know
Installing shiplap in your living room is a great DIY project, but there are a few things you should keep in mind. First, choose the right type of wood for your shiplap. Pine is a popular and affordable option, but if you want a more durable and weather-resistant material, consider using cedar or redwood.
Additionally, make sure to properly prepare the surface before installing shiplap. Clean the walls and remove any existing wallpaper or paint. If the walls are uneven, you may need to sand them down to create a smooth surface for the shiplap to adhere to.
Lastly, remember to leave a small gap between each shiplap board to allow for expansion and contraction. This will prevent any buckling or warping of the boards in the future.
Transform Your Living Room with Shiplap: Installation Ideas and Inspiration
Shiplap can instantly transform the look and feel of your living room. Not only does it add a touch of warmth and texture, but it can also be used in various ways to create different design elements.
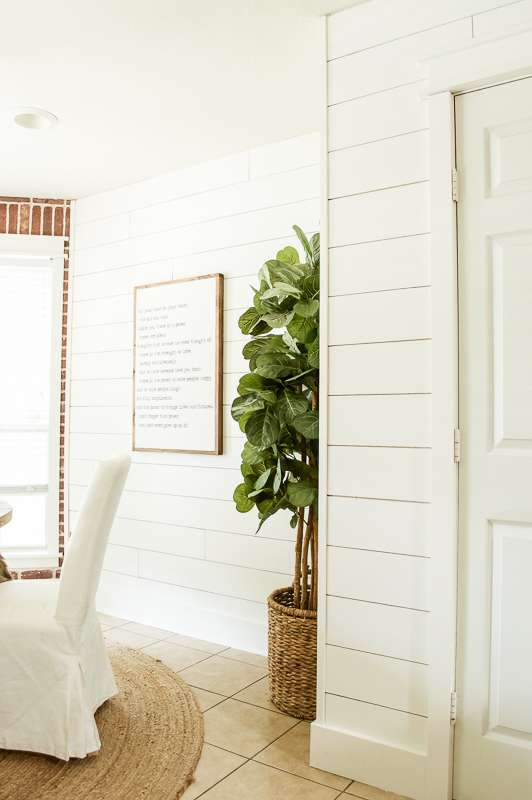
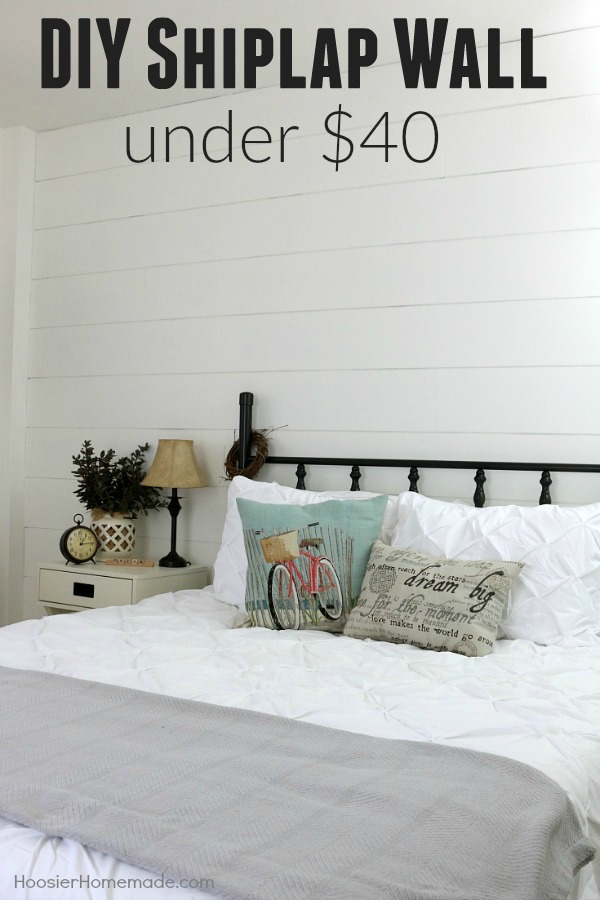
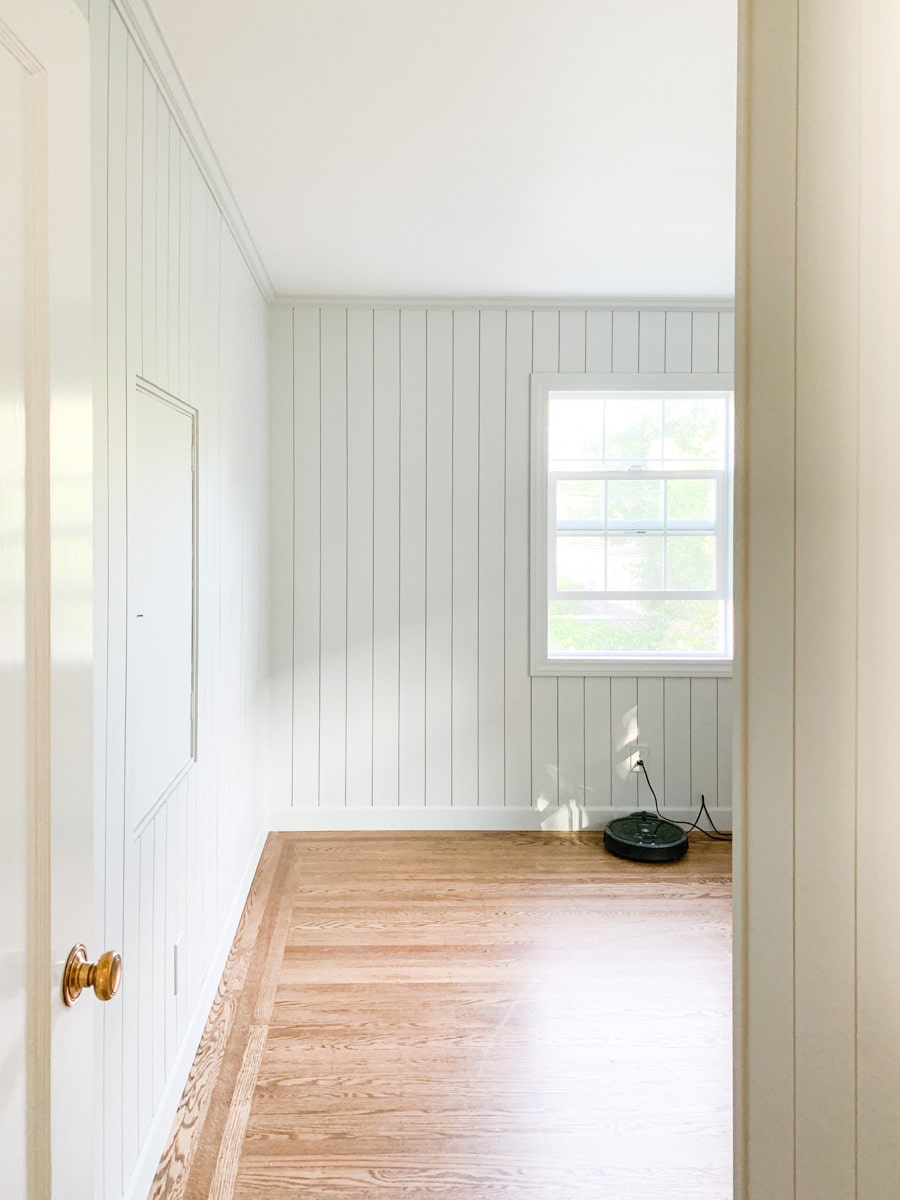
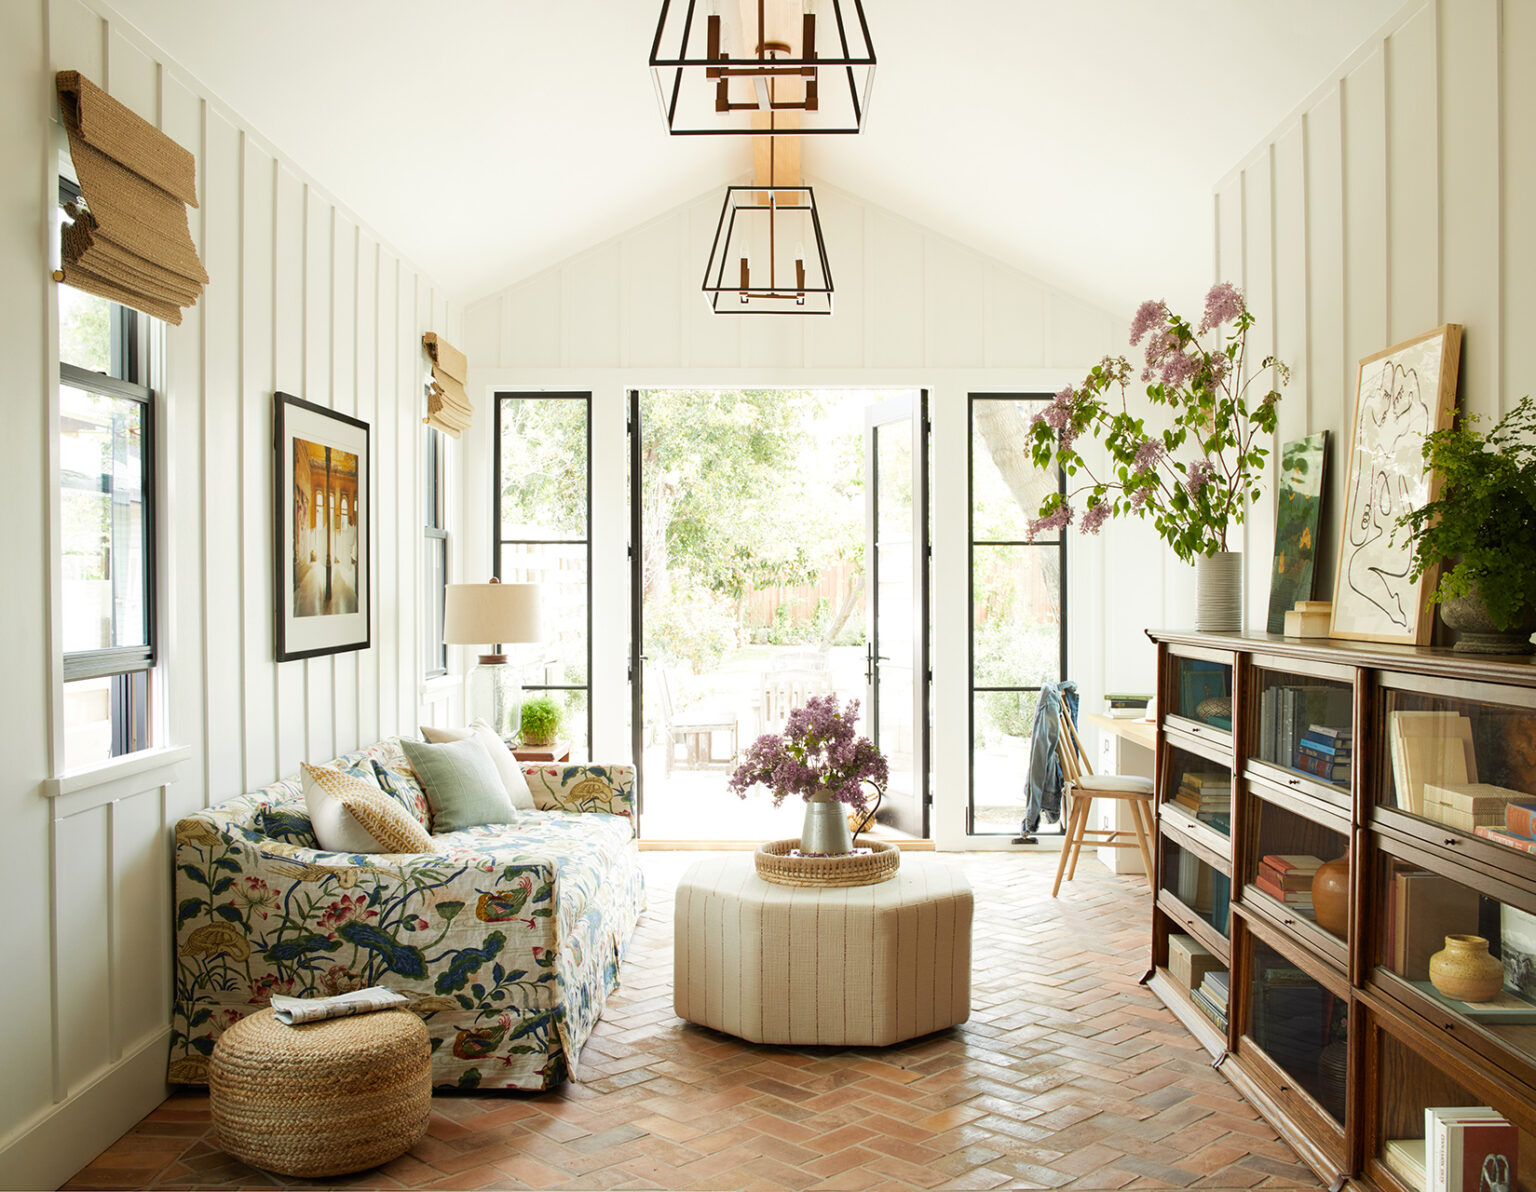
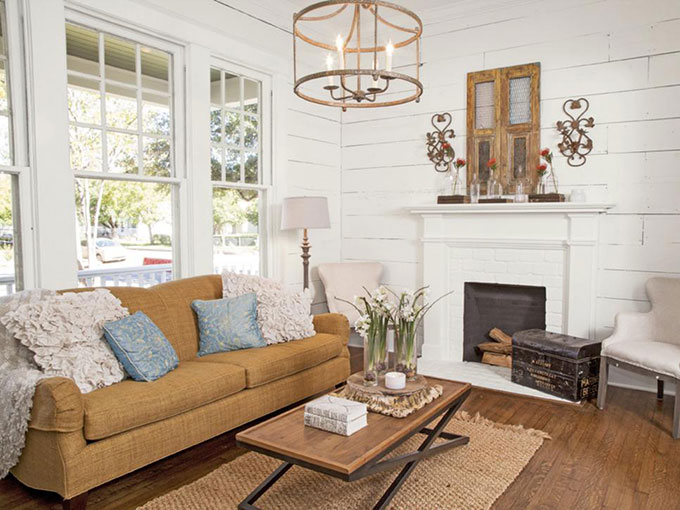
For a traditional farmhouse look, install shiplap vertically and pair it with rustic decor and neutral colors. If you want a more modern and sleek feel, try installing shiplap horizontally and painting it a bold color. You can also mix and match shiplap with other materials, such as brick or stone, to create a unique feature wall.
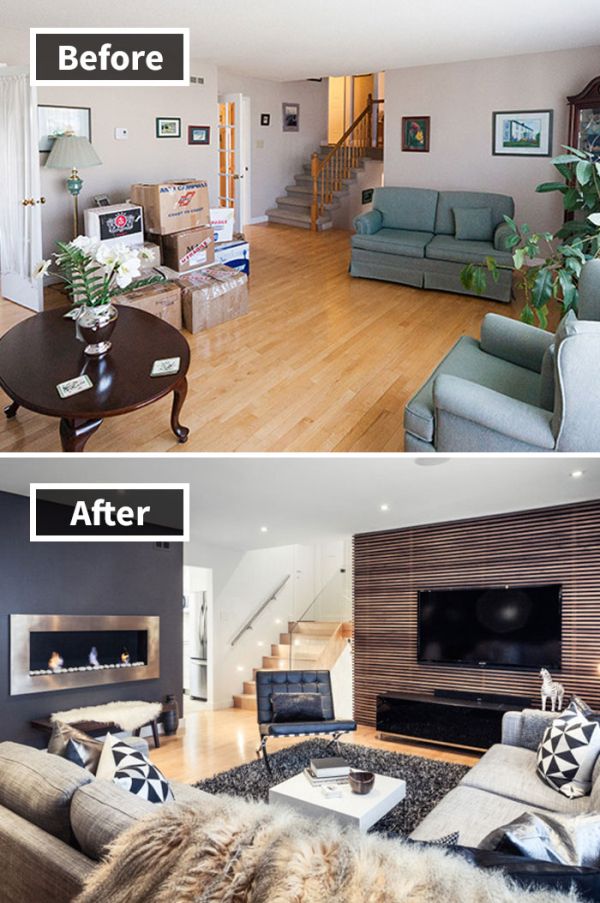
Shiplap Living Room Makeover: Before and After Installation Photos
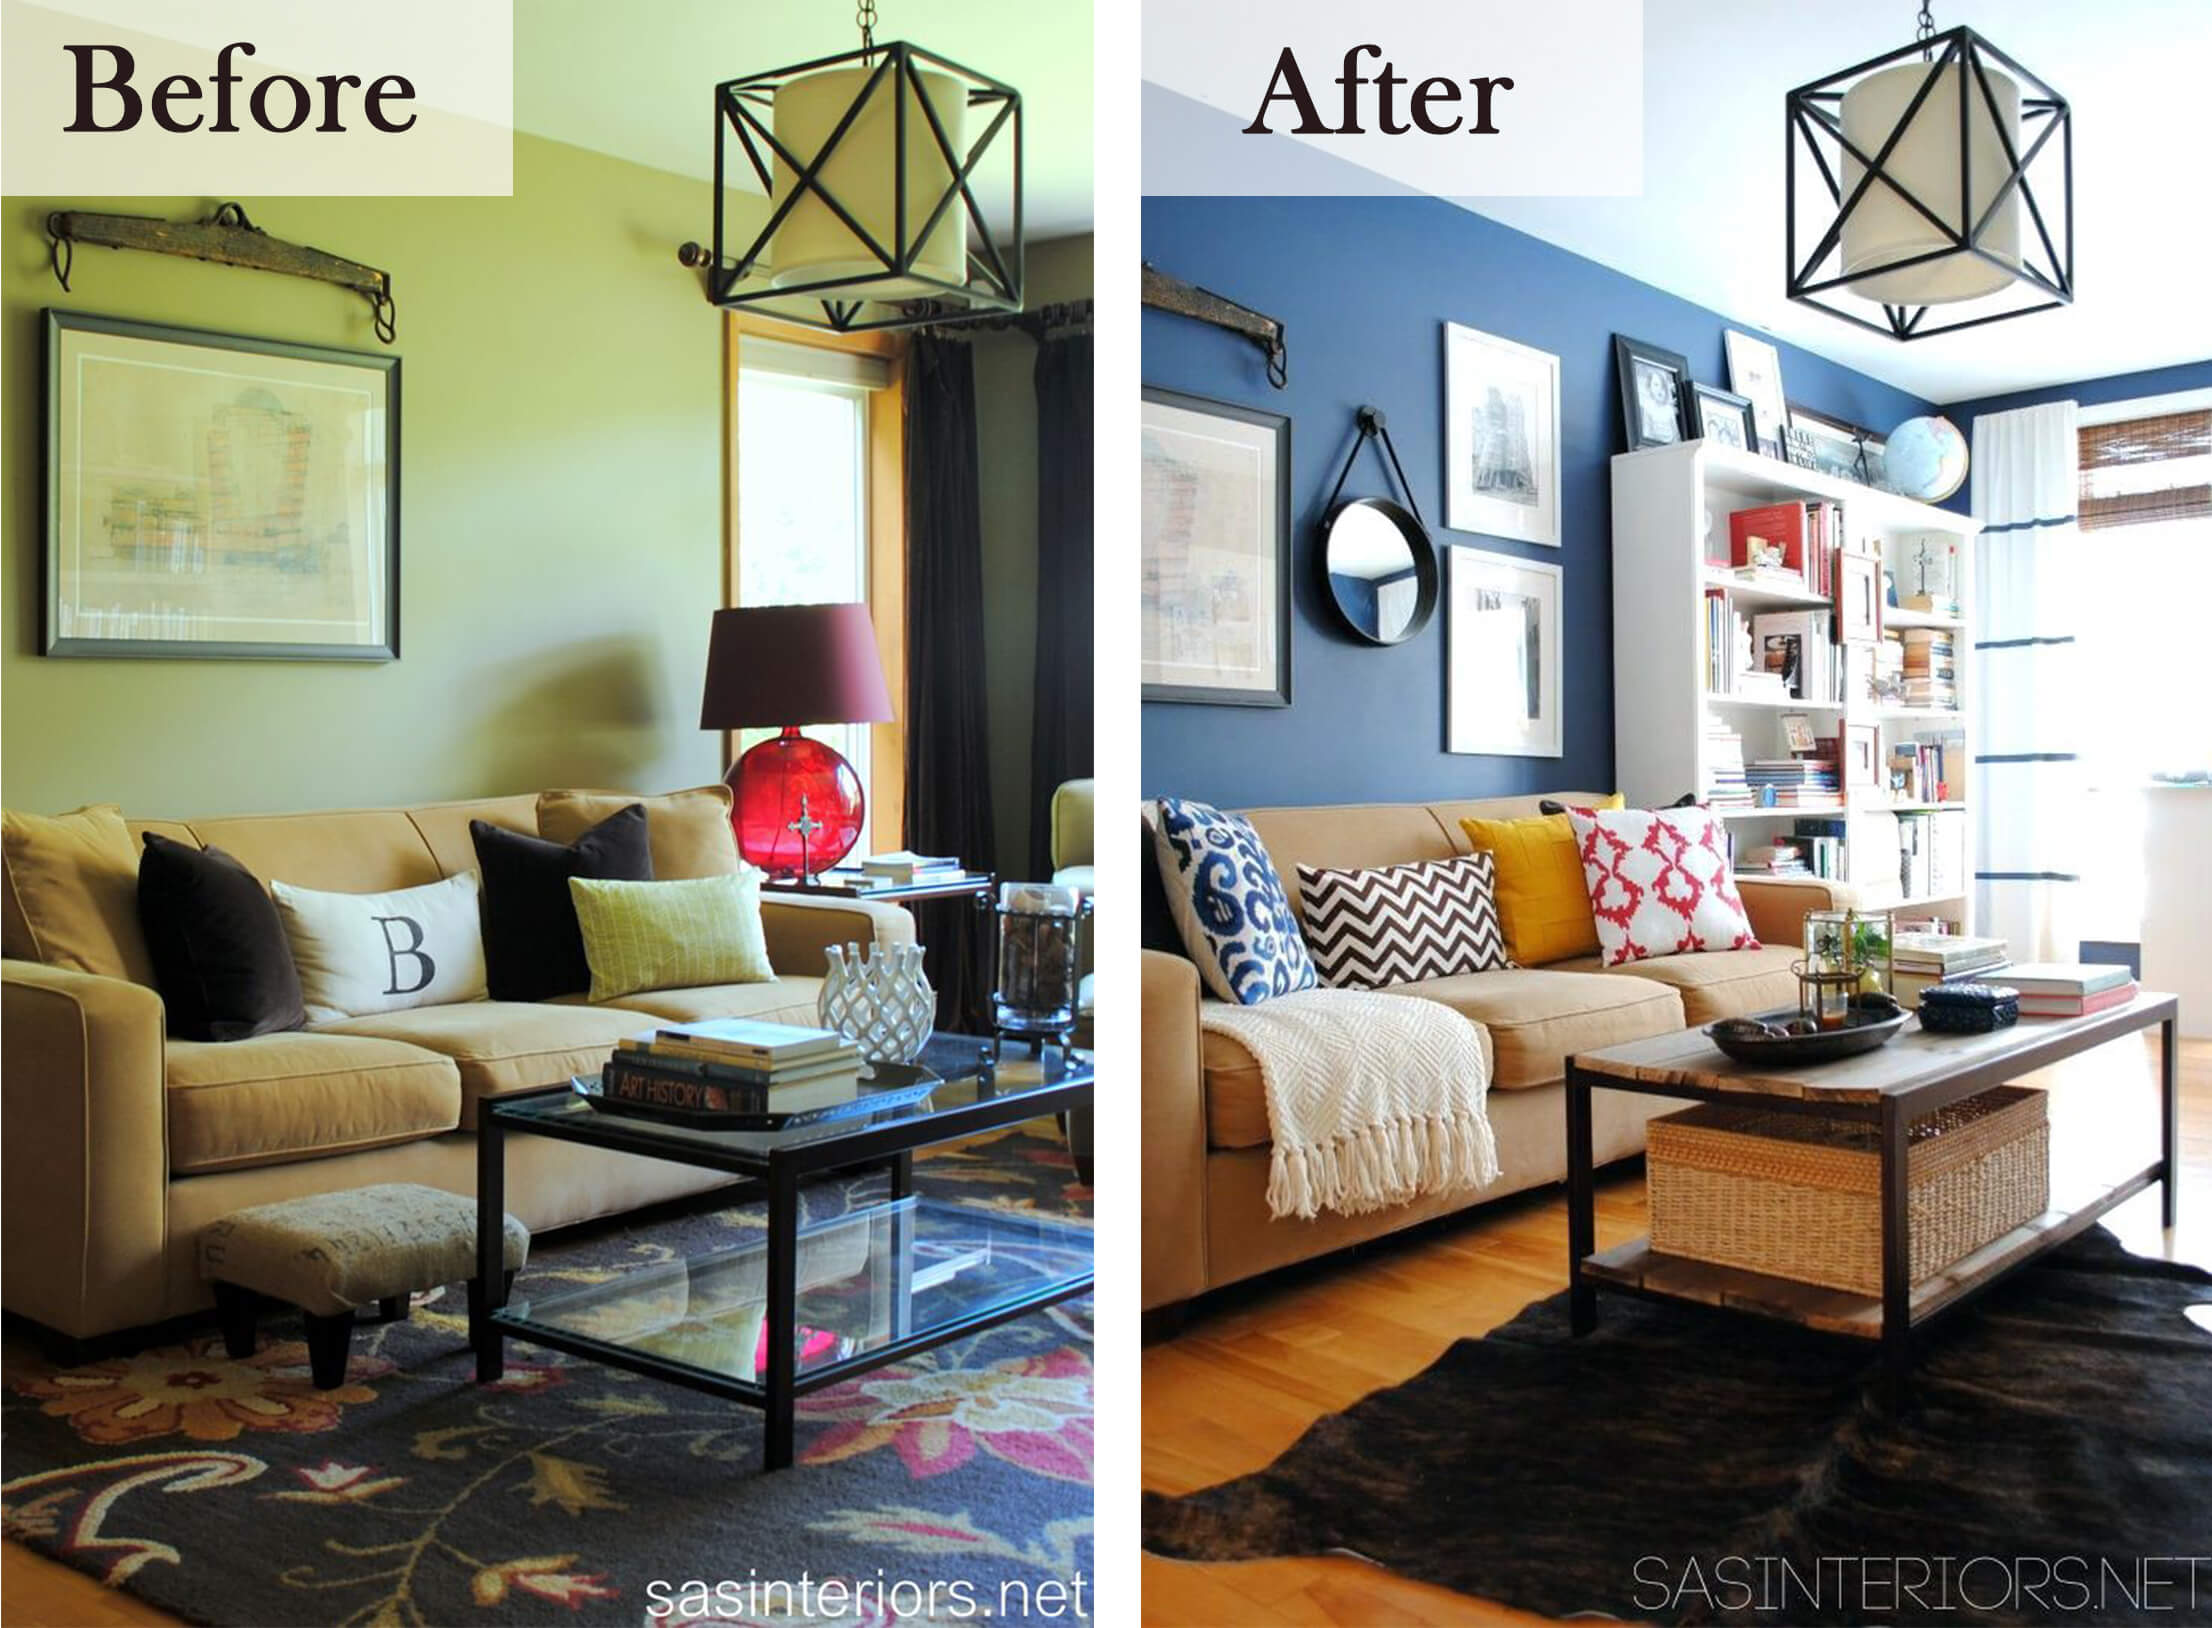
If you're still not convinced about the impact of shiplap, take a look at some before and after photos of living rooms that have undergone a shiplap makeover. The transformation is remarkable, and you'll see how shiplap adds a new dimension to the space.
Before installation, the living room may have looked plain and uninspiring. But after adding shiplap, the room becomes cozy and inviting, with a touch of personality and charm.
Expert Tips for Installing Shiplap in Your Living Room
When it comes to installing shiplap, there are a few tips and tricks that can make the process smoother and ensure a professional-looking result. First, start with the longest wall in the room to minimize the number of cuts you'll need to make. Also, keep in mind that shiplap boards can shrink or expand, so avoid nailing them too tightly to the wall.
Additionally, if you're planning to paint your shiplap, do so before installation. This will save you time and effort, and you can easily touch up any areas that may need it after installation.
Shiplap vs. Traditional Paneling: Which is Better for Your Living Room?
When it comes to wall treatments, shiplap and traditional paneling are two popular options. While both can add texture and depth to a room, shiplap has become a favorite among designers and homeowners for its versatility and rustic charm.
Traditional paneling can give a more formal and traditional look, but it can also be expensive and difficult to install. Shiplap, on the other hand, is budget-friendly and can be easily installed as a DIY project.
How to Choose the Right Shiplap for Your Living Room Installation
There are various types and styles of shiplap to choose from, so it's important to consider your design aesthetic and budget before making a decision. Pine shiplap is the most affordable option, while cedar and redwood shiplap are more expensive but offer more durability and weather resistance.
You should also consider the width and thickness of the boards. Thicker boards will give a more pronounced shiplap look, while thinner boards can create a more subtle texture.
Budget-Friendly Shiplap Installation for Your Living Room
If you're on a tight budget, don't worry – shiplap can still be a viable option for your living room. You can save money by using plywood instead of traditional shiplap boards. Simply cut the plywood into strips and install them as you would with regular shiplap boards. You can also use a cheaper type of wood, such as pine, and paint it to achieve the look of more expensive shiplap materials.
Shiplap Living Room Design Ideas: Inspiration for Your Installation
To help you get started on your shiplap living room installation, here are some design ideas to inspire you:
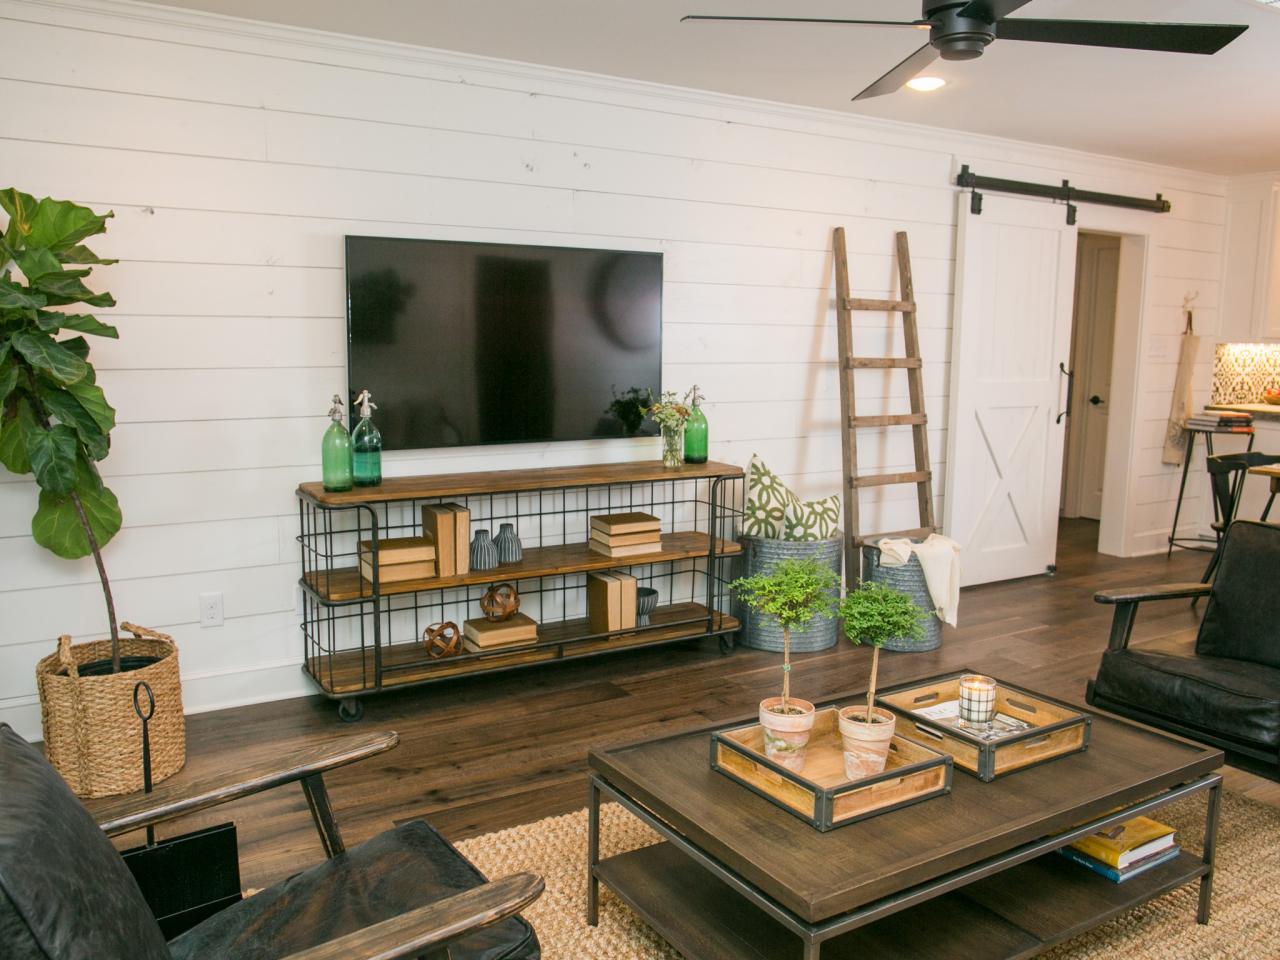
- Create a feature wall behind your TV with shiplap and add some floating shelves for a modern and functional look.
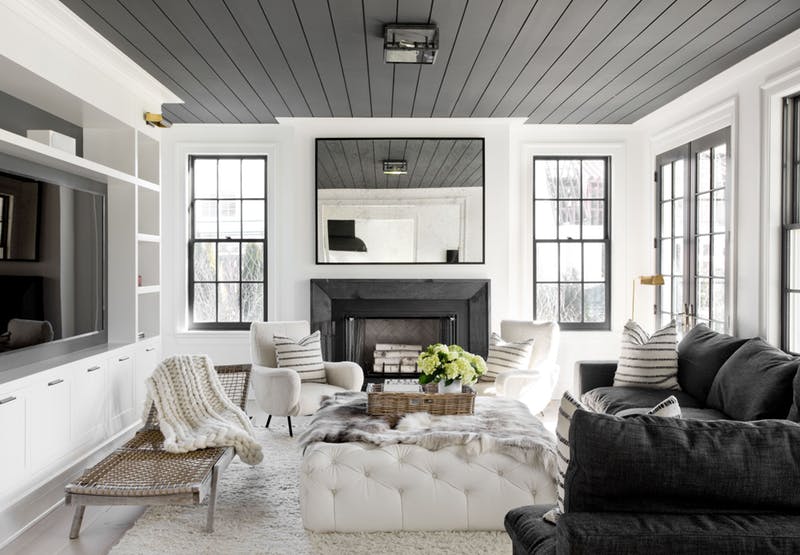
- Install shiplap on the ceiling for a unique and unexpected touch.
- Use a mix of white and gray shiplap for a subtle and elegant look.
- Paint the shiplap in a bold color, like navy or black, for a dramatic and eye-catching accent wall.
- Combine shiplap with other materials, such as stone or tile, to create a textured and visually interesting feature wall.
With these tips and ideas, you're ready to transform your living room with a beautiful shiplap installation. Remember to take your time and plan carefully for a seamless and professional-looking result. Happy shiplapping!
The Versatility of Shiplap in Living Rooms

Why Shiplap is the Perfect Addition to Your Living Room
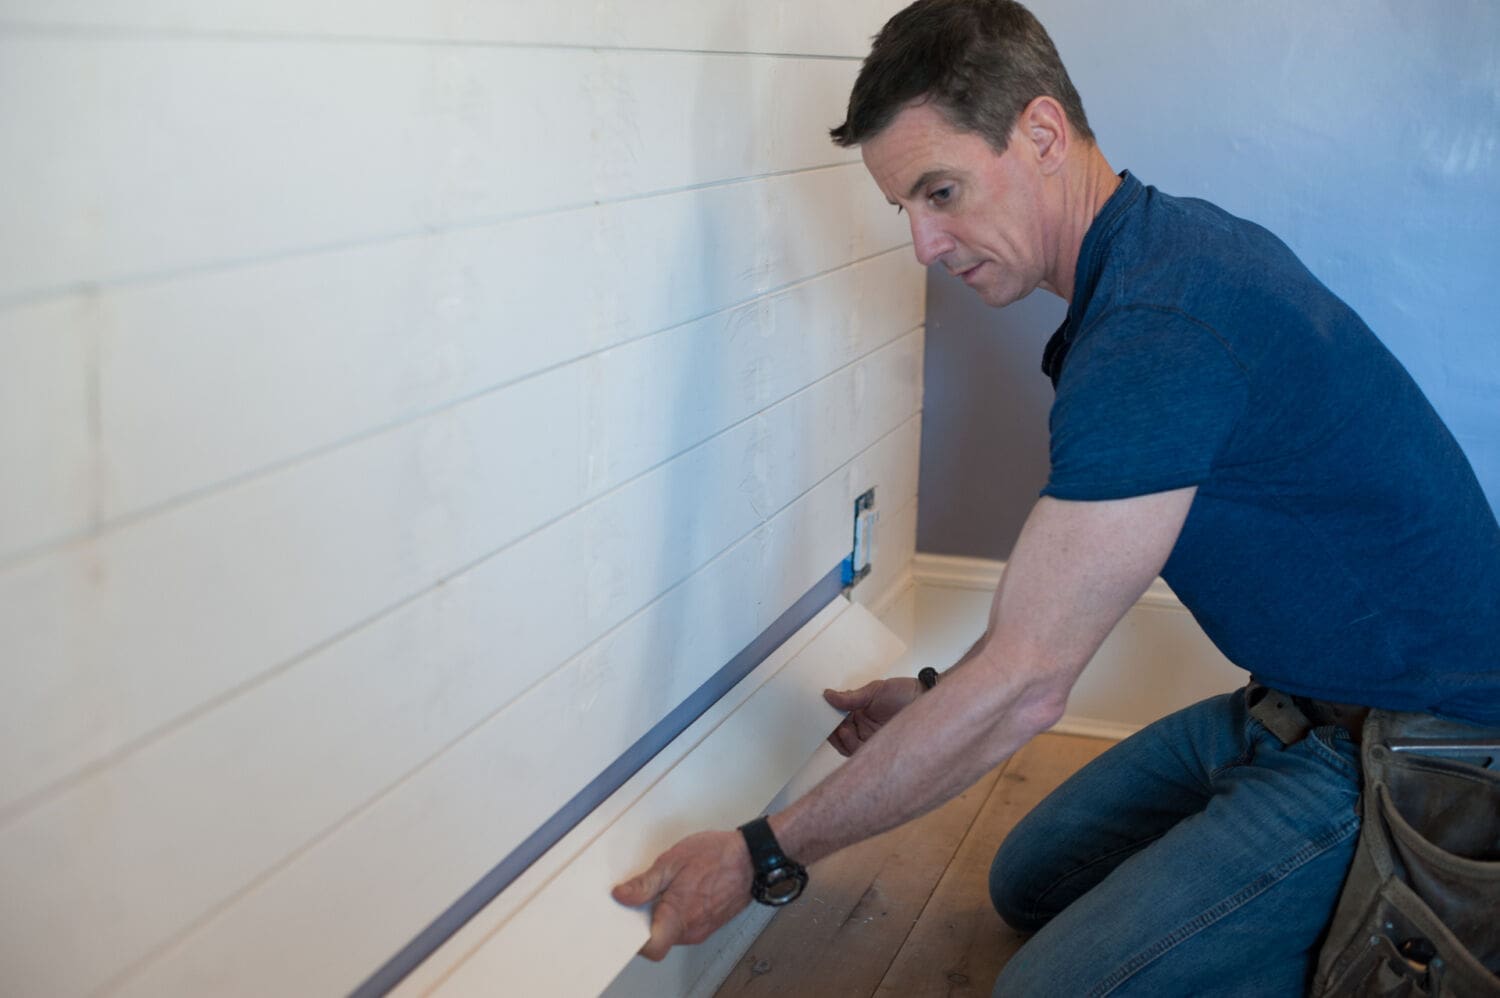 Looking to add some character and charm to your living room? Look no further than shiplap. This versatile and timeless design element has become a popular choice for homeowners looking to upgrade their living spaces. With its clean lines and rustic appeal, shiplap can instantly transform a plain and boring living room into a cozy and inviting space. Plus, its easy installation process makes it a practical and budget-friendly option for any home improvement project.
How to Install Shiplap in Your Living Room
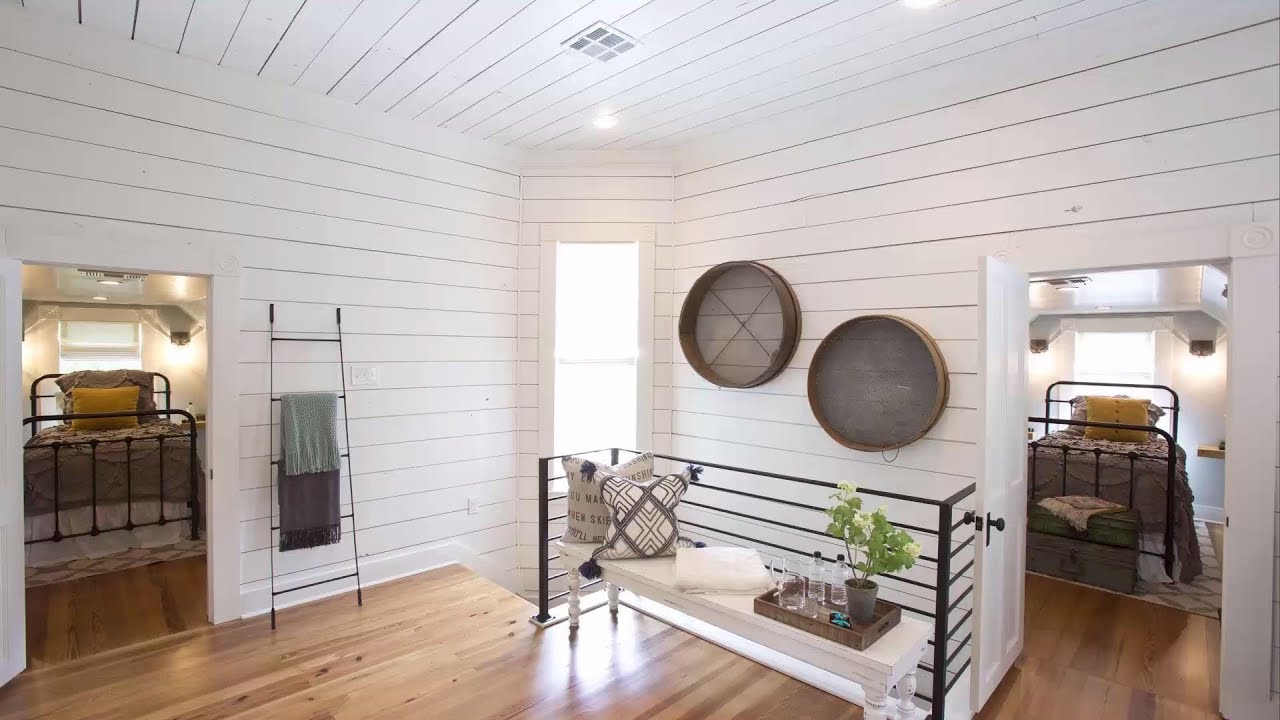 Installing shiplap in your living room may seem like a daunting task, but with the right tools and techniques, it can be a DIY project that anyone can tackle. First, you will need to gather your materials, which include shiplap boards, a saw, a level, nails, and a hammer. Next, you will need to measure and cut the shiplap boards to fit your living room walls. Make sure to leave a small gap between each board to allow for expansion. Once your boards are cut, you can start nailing them to the wall, making sure to use a level to ensure they are straight. You can also use adhesive for added stability. And just like that, your living room will have a brand new look in no time.
Ways to Incorporate Shiplap Into Your Living Room Design
 One of the best things about shiplap is its versatility. There are countless ways to incorporate it into your living room design, depending on your personal style and preference. You can opt for a classic all-white shiplap look for a bright and airy feel, or you can paint it in a bold color to make a statement. You can also use shiplap on just one accent wall to create a focal point in the room, or you can cover all the walls for a more cohesive look. Additionally, you can use shiplap on your fireplace, ceiling, or even as an accent on your furniture. The possibilities are endless when it comes to incorporating shiplap into your living room design.
In conclusion,
adding shiplap to your living room is a simple and effective way to elevate your home's interior design. Its versatility, easy installation, and budget-friendly nature make it a popular choice among homeowners. So why not give your living room a shiplap makeover and see the transformation for yourself? With a little bit of creativity and some handy tools, you can create a cozy and stylish living room that you'll love spending time in.


