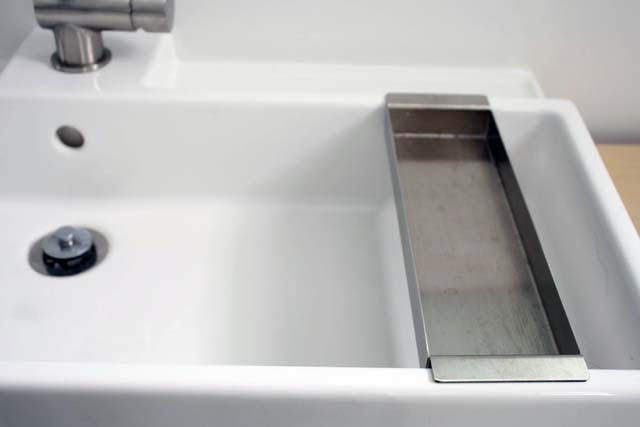
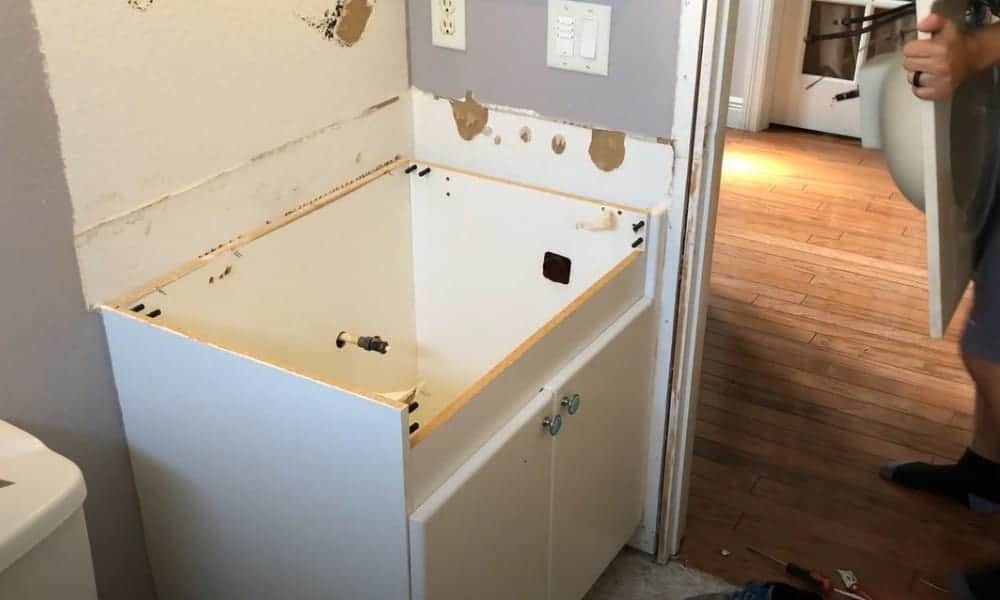
Adding legs to a bathroom vanity can give it a whole new look and add some extra style and functionality. While it may seem like a daunting task, installing legs on a bathroom vanity is actually a simple DIY project that can be completed in just a few steps.How to Install Legs on a Bathroom Vanity


How to Install Legs on a Bathroom Vanity
:max_bytes(150000):strip_icc()/8_IMG_3767-56a4a2753df78cf772835b72.JPG)
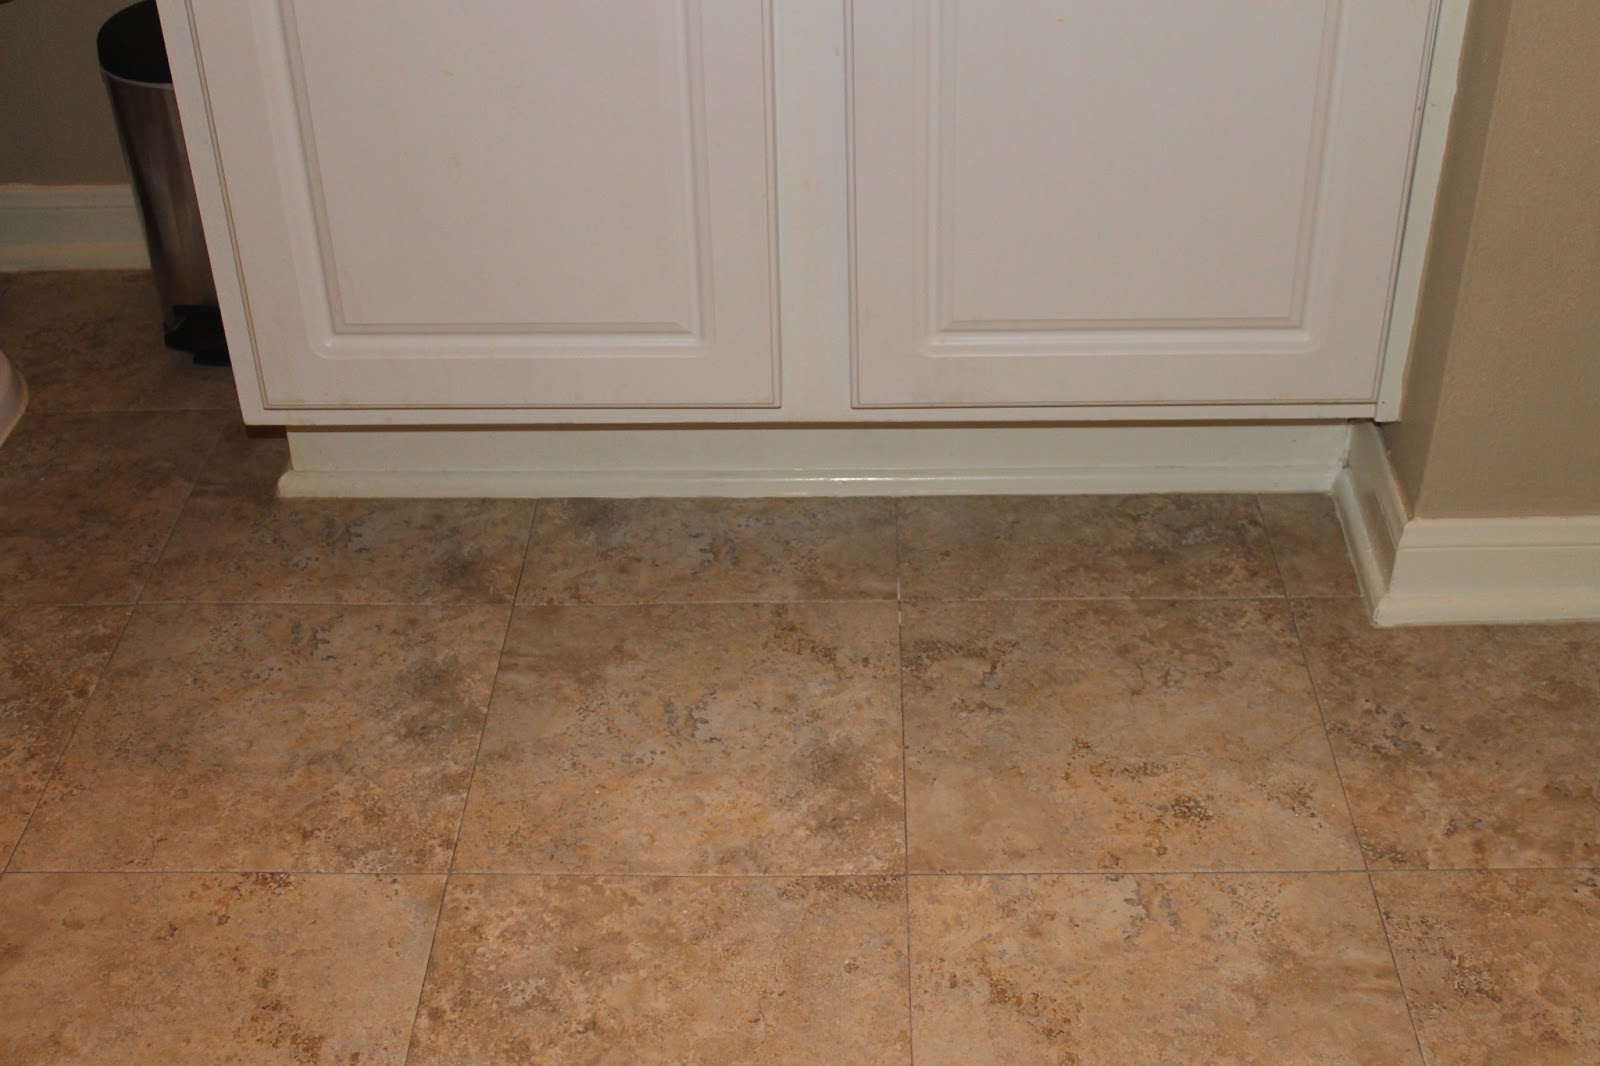


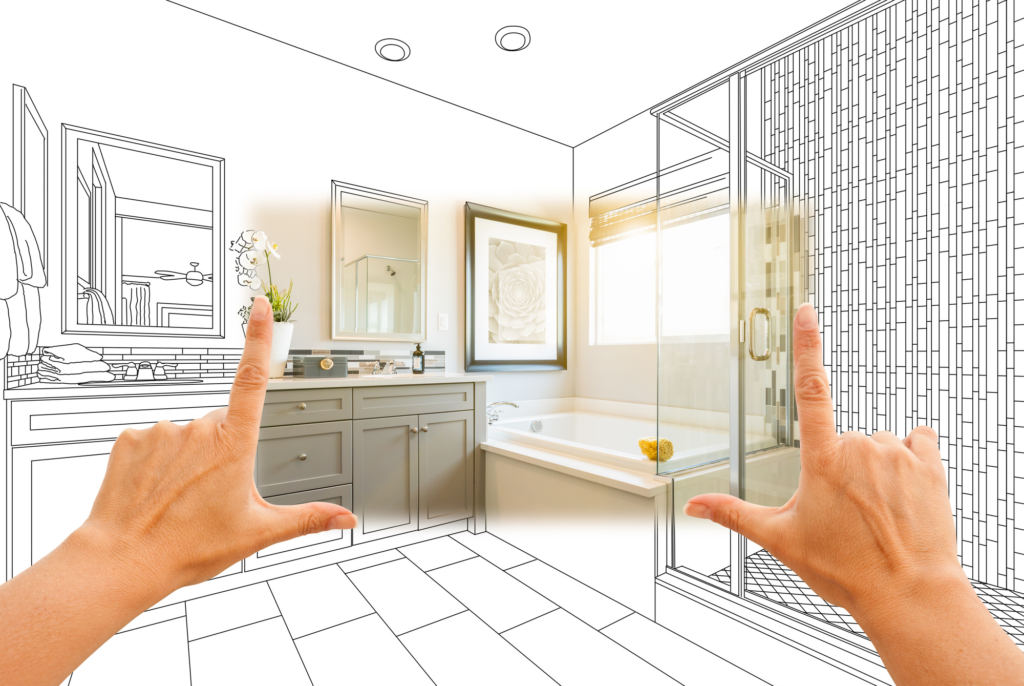
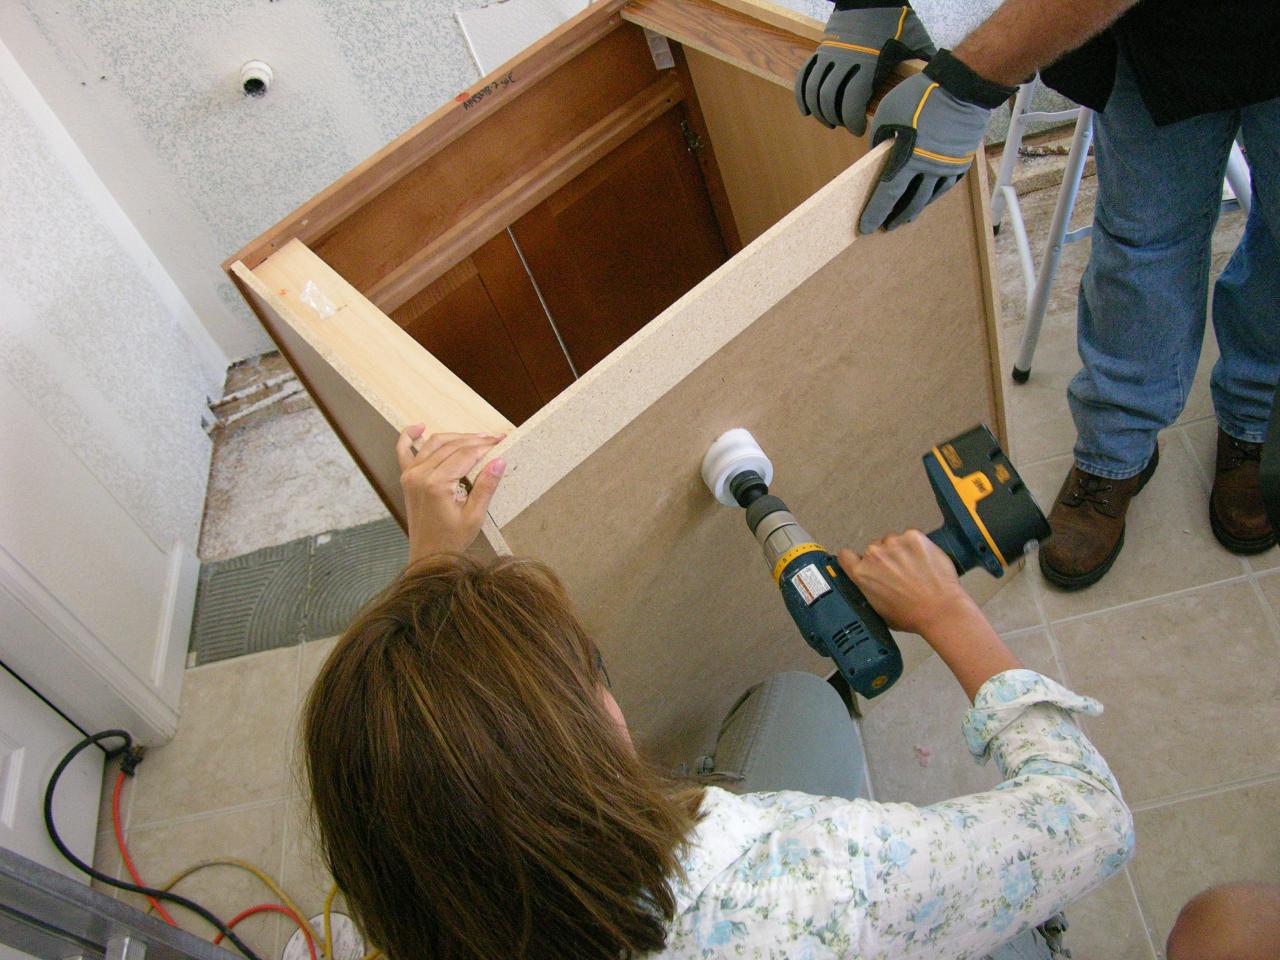
Before you begin the installation process, make sure you have all the necessary tools and materials. You will need a drill, screws, a level, and of course, the legs for your vanity. Once you have everything, follow these steps: Step 1: Measure and mark the placement of the legs on the bottom of your vanity. Use a level to ensure the legs will be evenly spaced and straight. Step 2: Using a drill, make pilot holes on the marked spots for the legs. This will make it easier to screw in the legs later on. Step 3: Attach the legs to the vanity using screws. Make sure they are securely fastened to the bottom of the vanity. Step 4: Once all the legs are attached, check to see if the vanity is level. If it is not, make adjustments by adding or removing screws. Step 5: Once the vanity is level, tighten the screws to secure the legs in place. Congratulations, you have successfully installed legs on your bathroom vanity!Step-by-Step Guide for Installing Legs on a Bathroom Vanity


Step-by-Step Guide for Installing Legs on a Bathroom Vanity


Installing legs on a bathroom vanity is a simple and cost-effective way to upgrade your bathroom. It is a great DIY project for those who enjoy hands-on tasks and want to save some money on professional installation fees. With the right tools and materials, anyone can tackle this project and add a touch of style and functionality to their bathroom.DIY: Installing Legs on a Bathroom Vanity

DIY: Installing Legs on a Bathroom Vanity
:max_bytes(150000):strip_icc()/build-something-diy-vanity-594402125f9b58d58ae21158.jpg)


Don't be intimidated by the thought of installing legs on your bathroom vanity. With the right tools and a little bit of patience, it can be a quick and easy process. By following the step-by-step guide mentioned above, you can easily install legs on your bathroom vanity in no time. Plus, the end result will be a stylish and functional addition to your bathroom.Easy Bathroom Vanity Leg Installation


Easy Bathroom Vanity Leg Installation


The tools and materials needed for this project are relatively simple and can be found at your local hardware store. You will need: Drill Screws Level Bathroom vanity legs Make sure to choose legs that are appropriate for the weight and size of your vanity. If you are unsure, consult with a professional at the hardware store.Tools and Materials Needed for Installing Legs on a Bathroom Vanity


Tools and Materials Needed for Installing Legs on a Bathroom Vanity


Here are some additional tips to keep in mind when installing legs on your bathroom vanity: Tip 1: If you are using wooden legs, pre-drill the holes to prevent the wood from splitting. Tip 2: Use a level throughout the installation process to ensure the legs are straight and even. Tip 3: If your vanity has a back panel, make sure to attach the legs to it for added stability. Tip 4: Consider painting or staining the legs to match the rest of your bathroom decor.Tips for Installing Legs on a Bathroom Vanity


Tips for Installing Legs on a Bathroom Vanity

While installing legs on a bathroom vanity may seem like a simple task, there are some common mistakes that can happen. These include: Mistake 1: Not measuring and marking the placement of the legs before drilling. Mistake 2: Using the wrong size or type of screws for the legs. Mistake 3: Not using a level to ensure the legs are straight and even. Mistake 4: Not tightening the screws enough, resulting in wobbly legs. To avoid these mistakes, make sure to follow the steps carefully and double check your work before moving on to the next step.Common Mistakes to Avoid When Installing Legs on a Bathroom Vanity


Common Mistakes to Avoid When Installing Legs on a Bathroom Vanity


If you prefer visual instructions, there are plenty of video tutorials available online that can guide you through the process of installing legs on a bathroom vanity. Watching a video can give you a better idea of the steps involved and help you avoid any mistakes. Just make sure to choose a reputable source for your tutorial and follow the steps carefully.Video Tutorial: Installing Legs on a Bathroom Vanity


Video Tutorial: Installing Legs on a Bathroom Vanity


Hiring a professional to install legs on your bathroom vanity can be expensive. By opting for a DIY approach, you can save money and have the satisfaction of completing the project yourself. However, if you are not confident in your DIY skills or do not have the necessary tools, it may be worth investing in professional installation to ensure the job is done correctly.Professional vs. DIY: Installing Legs on a Bathroom Vanity

Professional vs. DIY: Installing Legs on a Bathroom Vanity


:max_bytes(150000):strip_icc()/steam-cleaning-professional-vs-diy-2908776-hero-24ffd77737924bca908036dabcdcbbad.jpg)

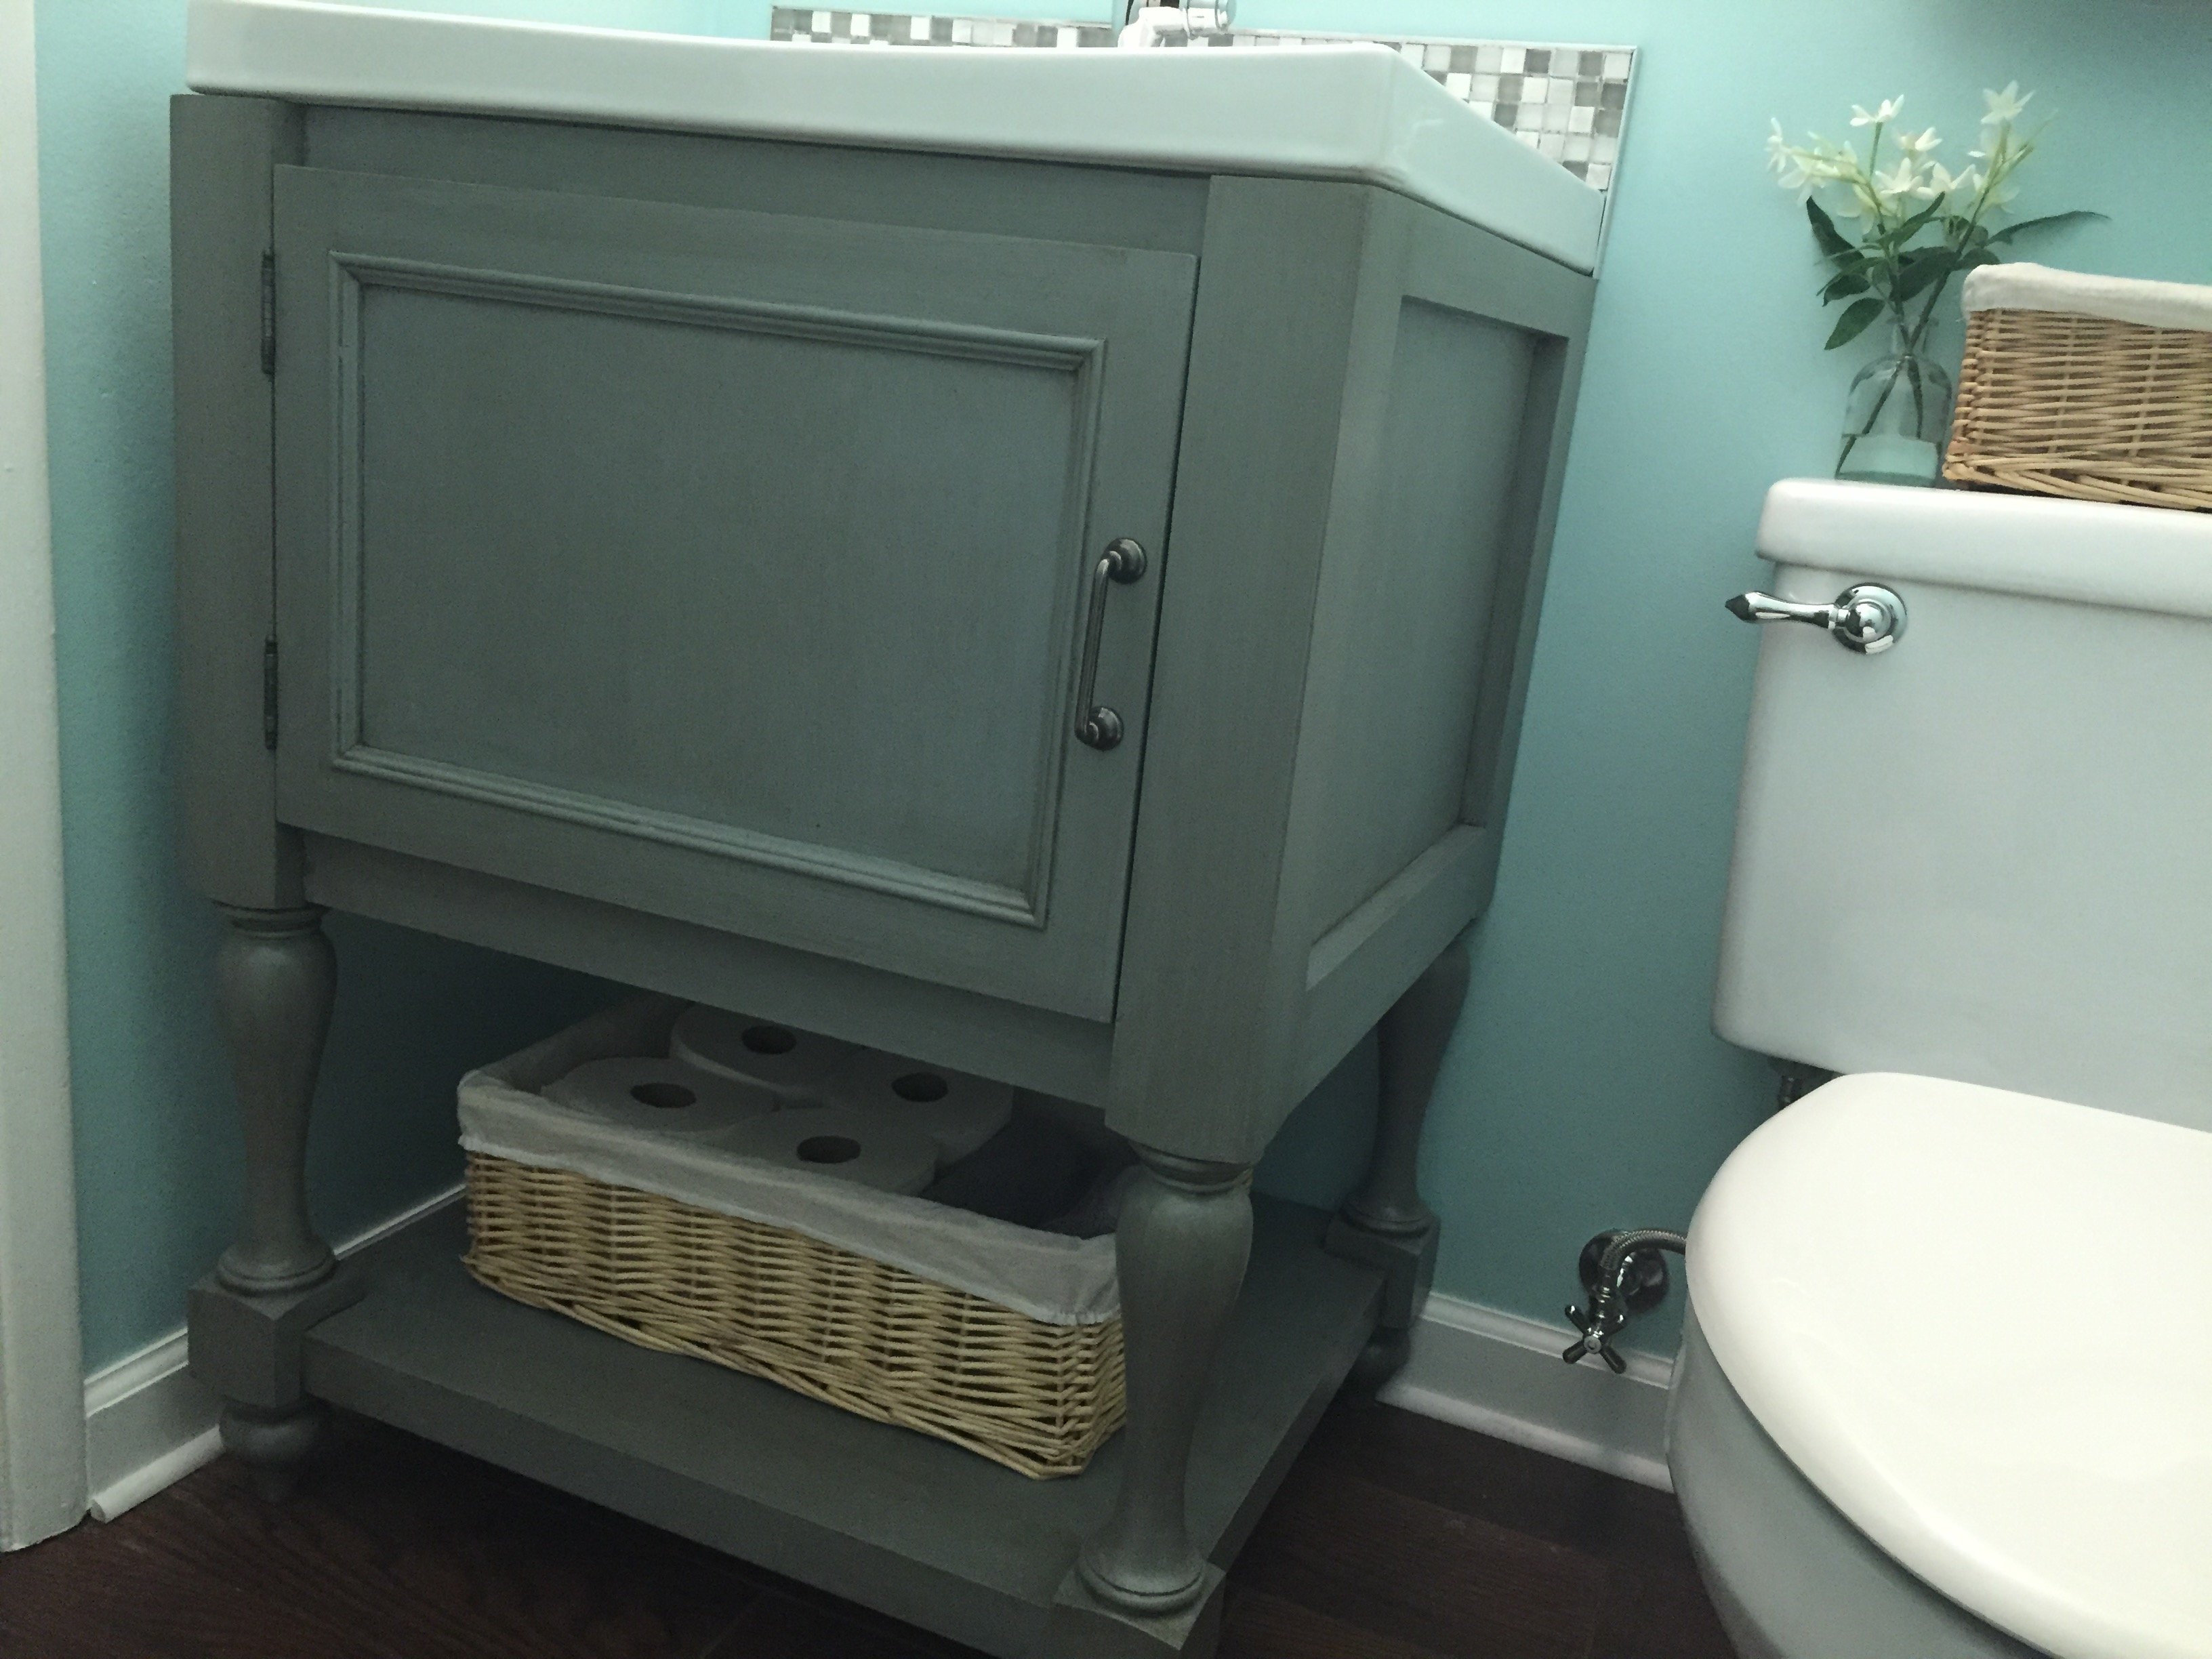
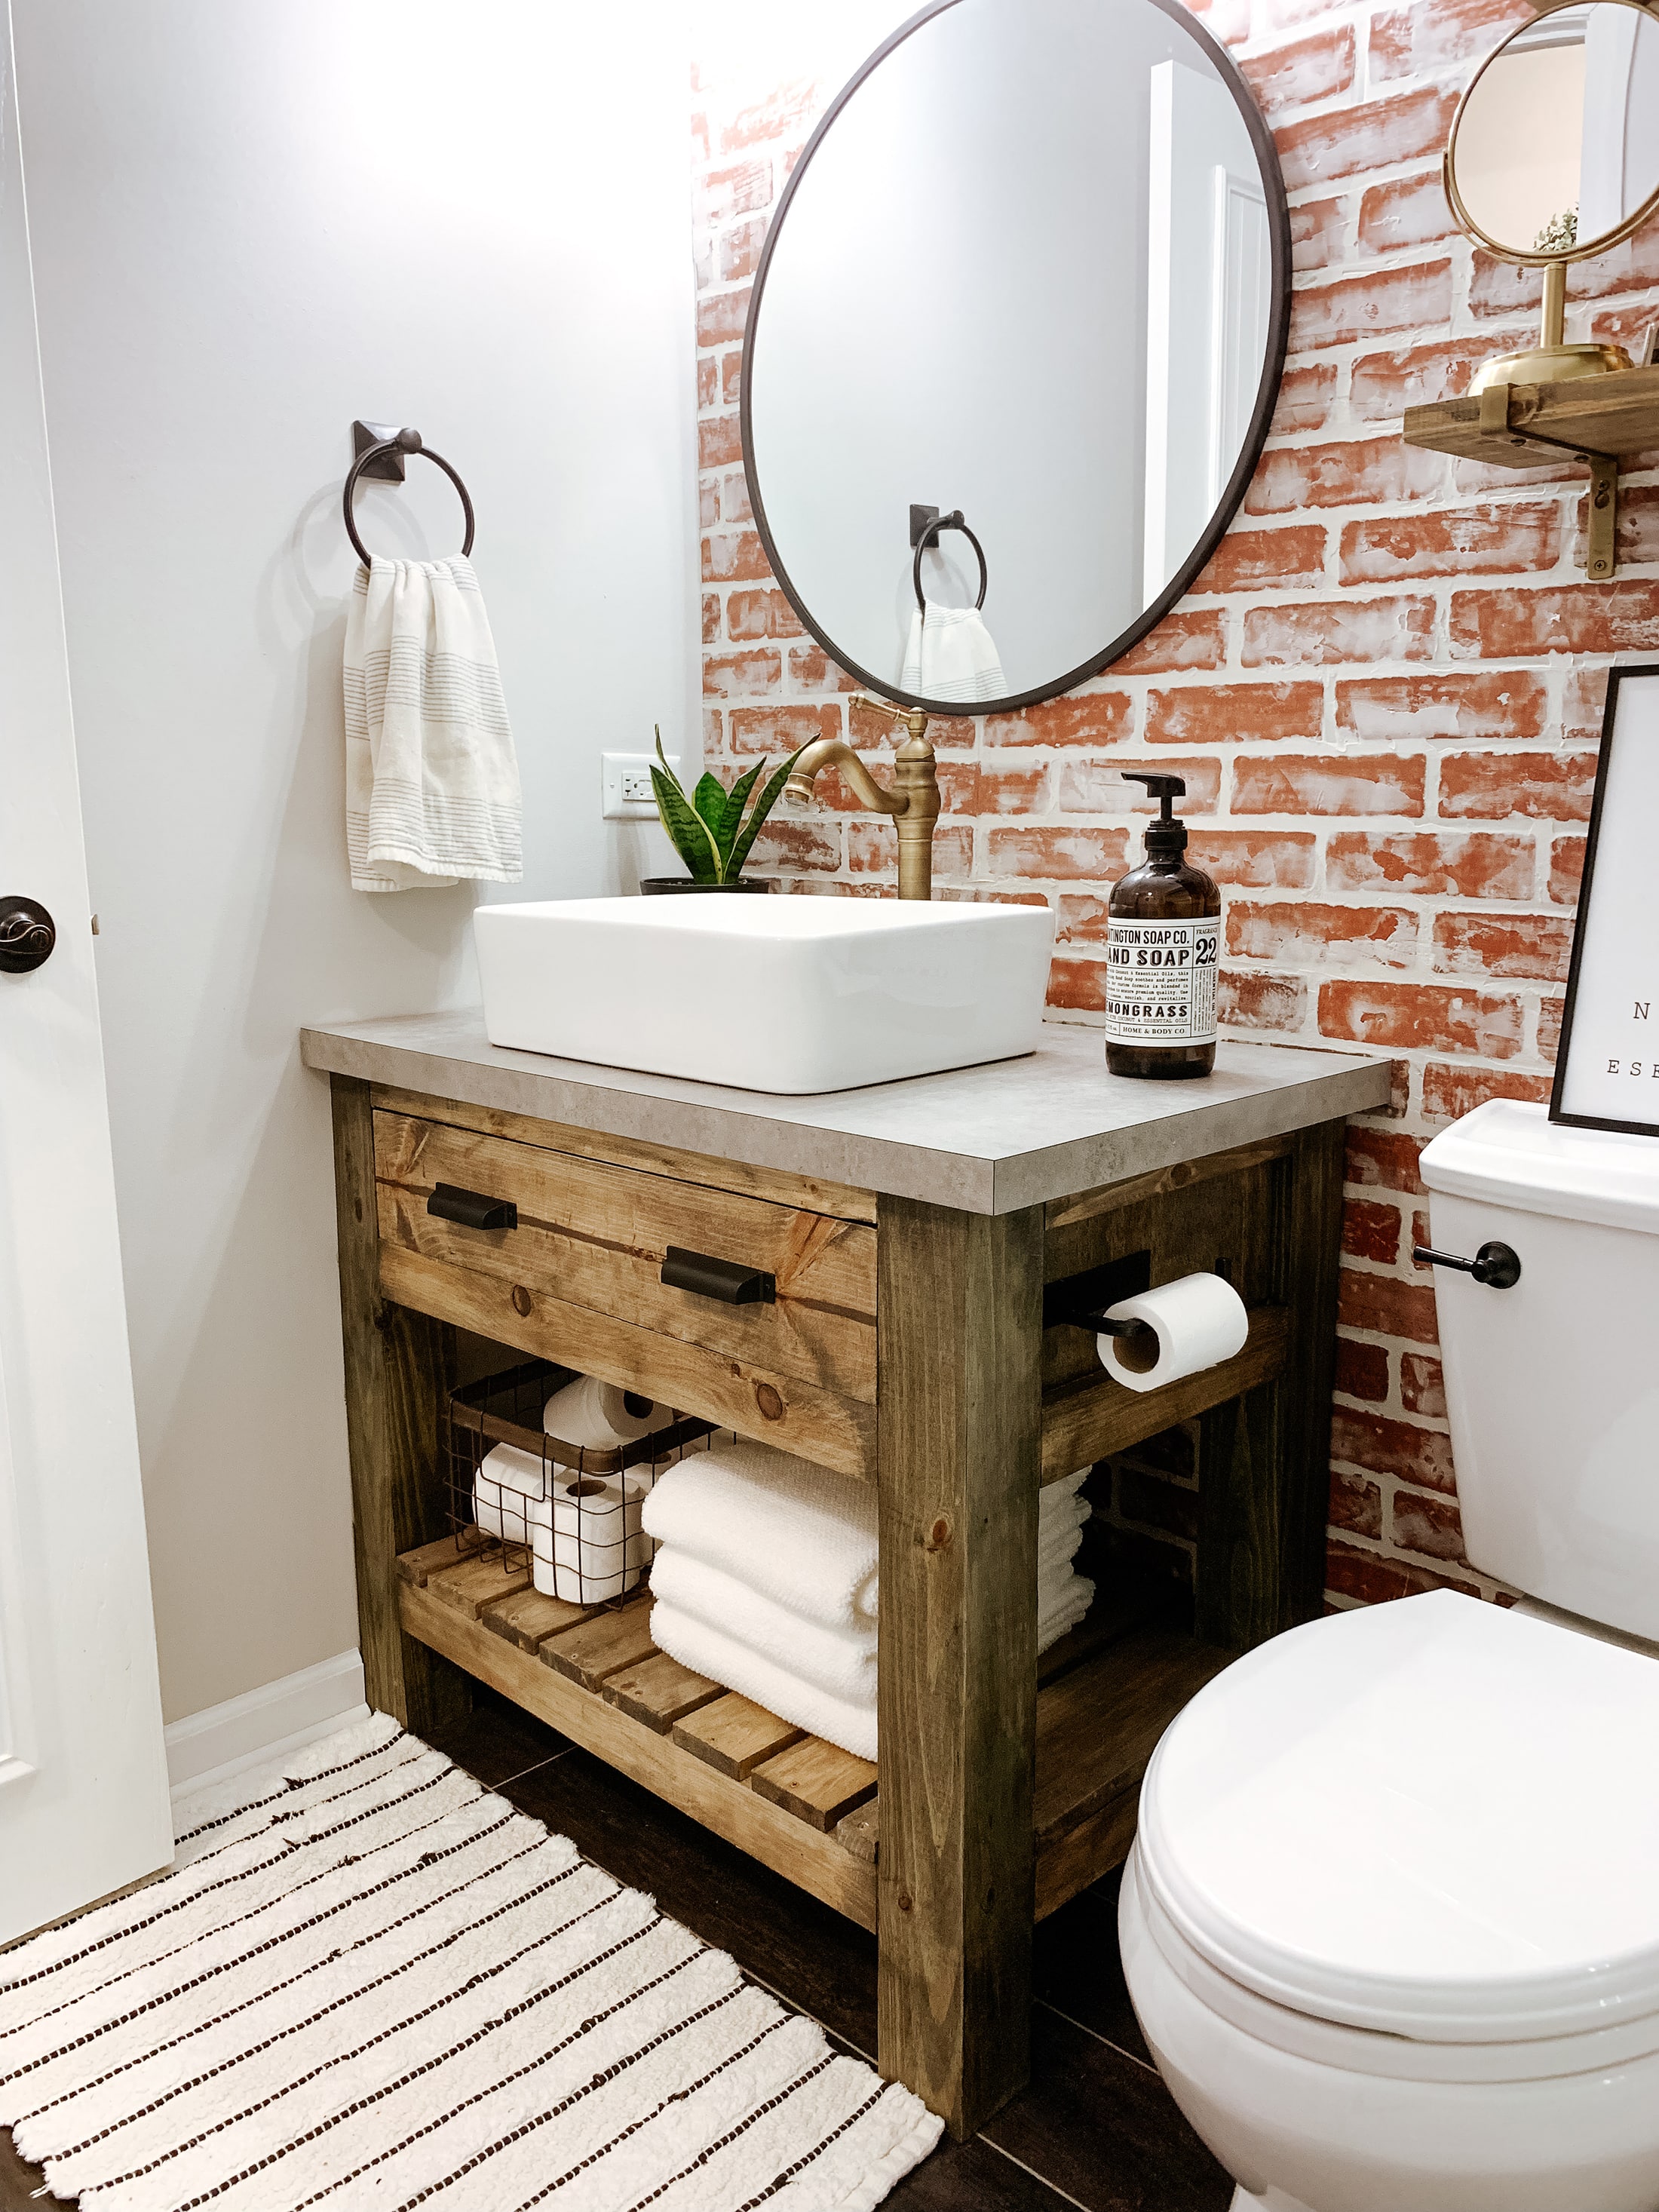
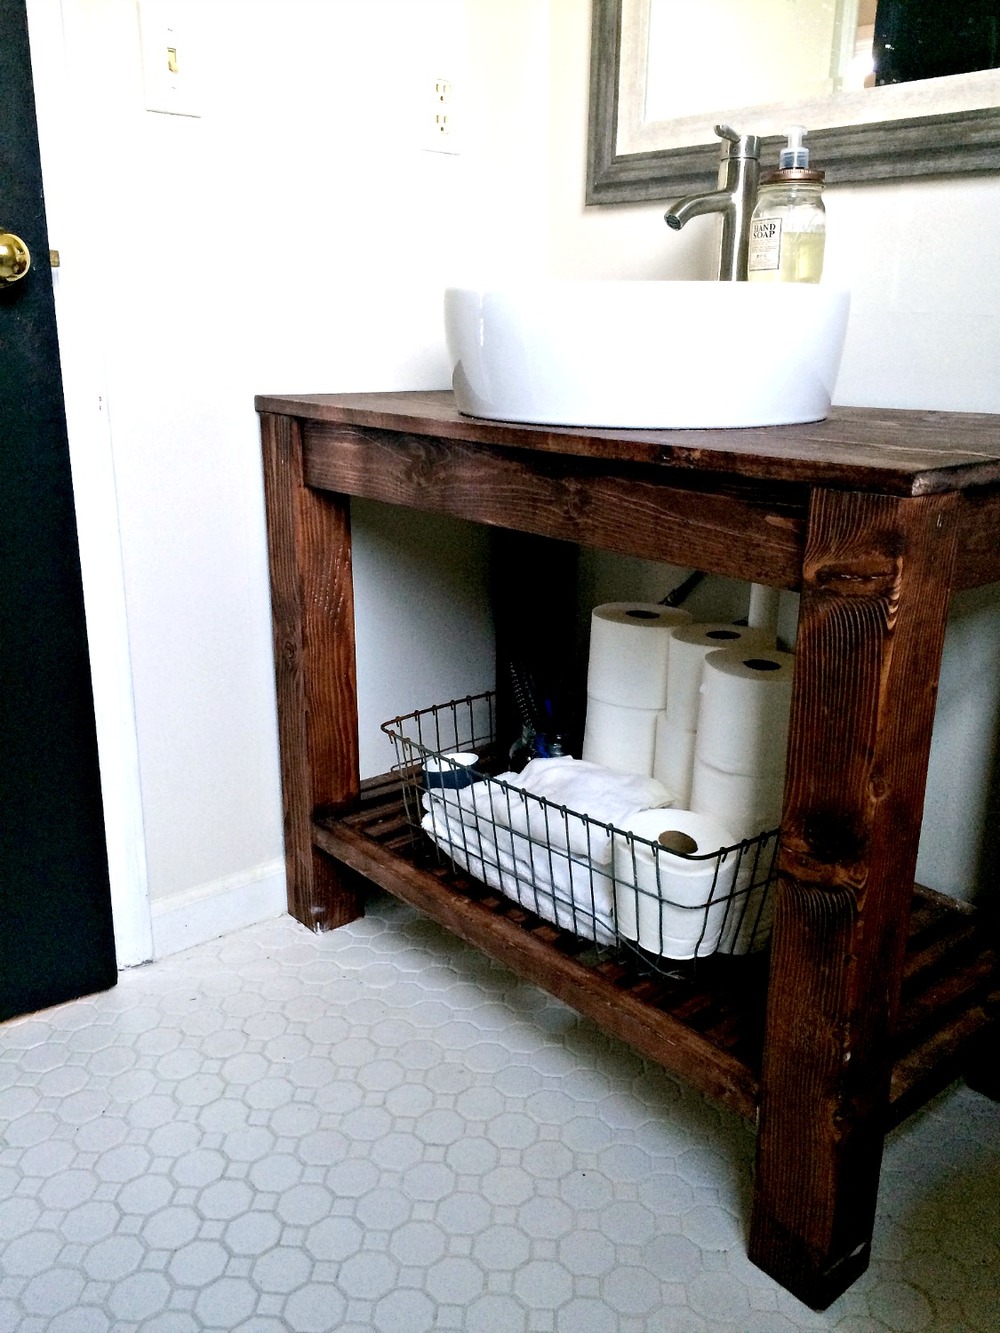
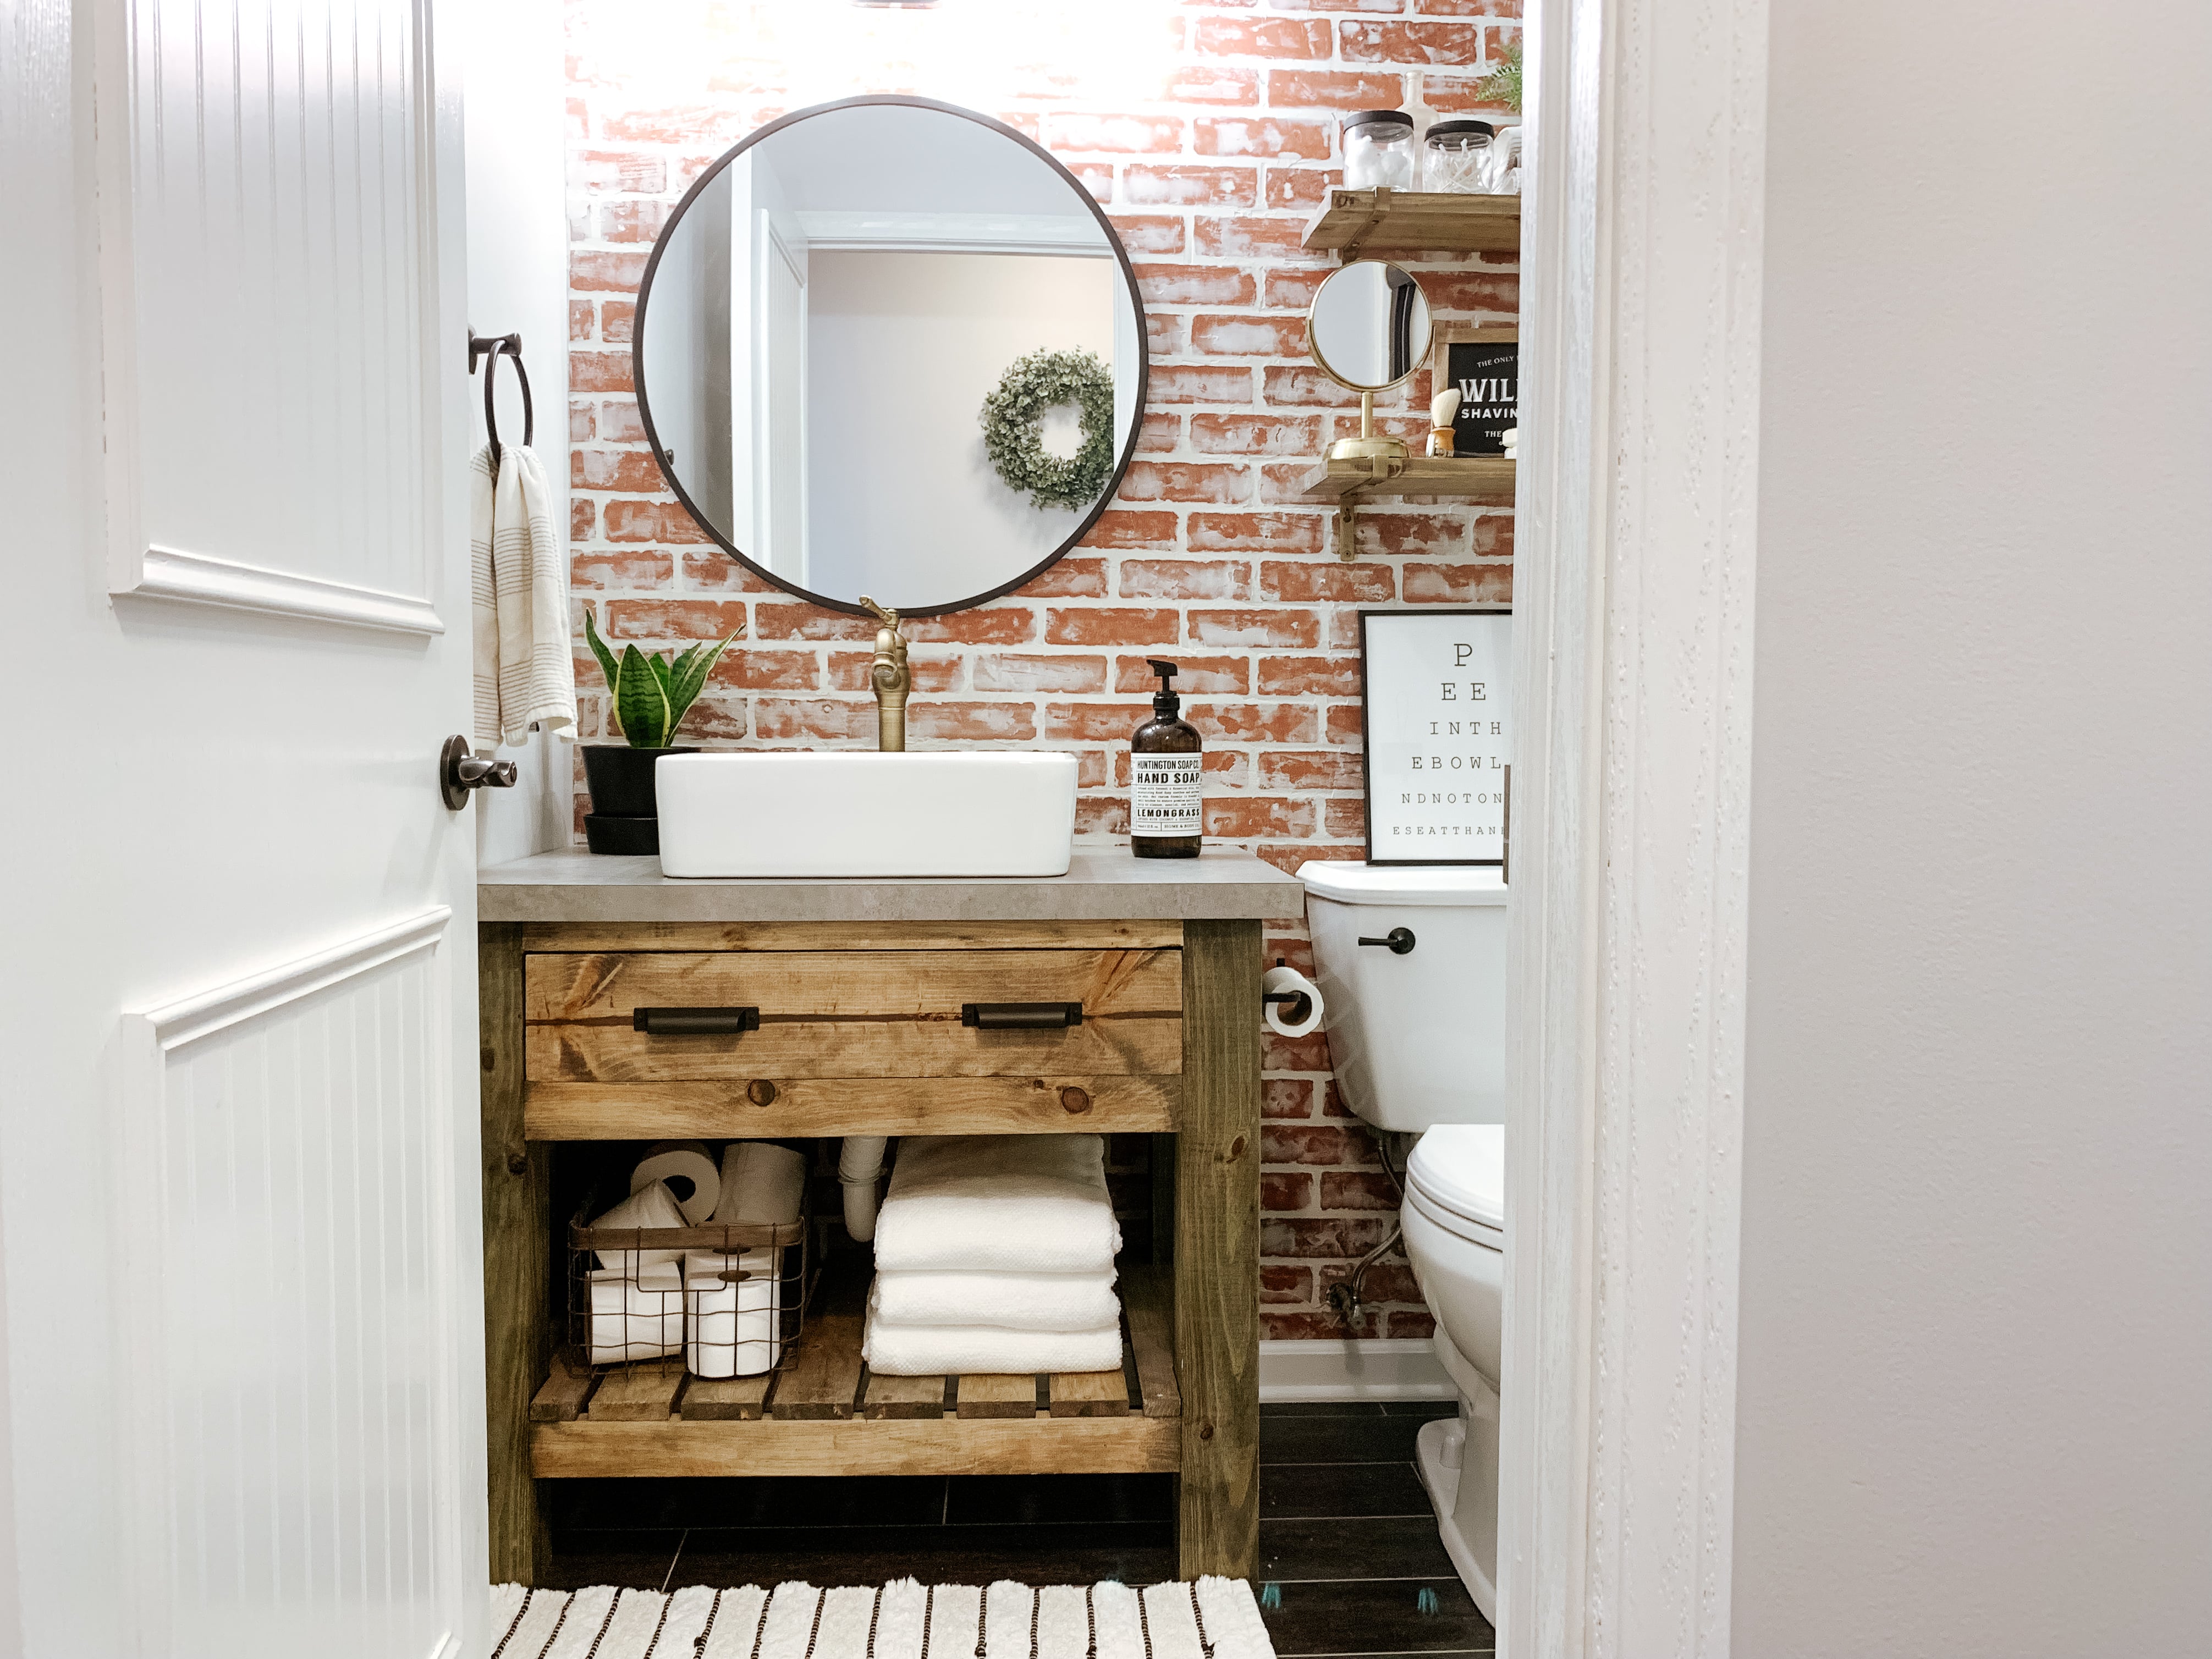
Installing legs on a bathroom vanity is an easy and affordable way to give your bathroom a fresh new look. It can also add some extra functionality by raising the vanity off the ground, making it easier to clean underneath. With the right tools and a little bit of effort, you can transform your bathroom and create a stylish and functional space.Adding Style and Functionality: Installing Legs on a Bathroom Vanity

Adding Style and Functionality: Installing Legs on a Bathroom Vanity


Adding Stability and Style: Installing Legs on a Bathroom Vanity

Why Legs Are Important for Bathroom Vanities
 When it comes to designing a bathroom, every detail matters. From the tiles to the fixtures, everything needs to be carefully chosen to create a cohesive and functional space. One important element that is often overlooked is the vanity legs. These seemingly small additions can make a big impact on the overall look and stability of your vanity.
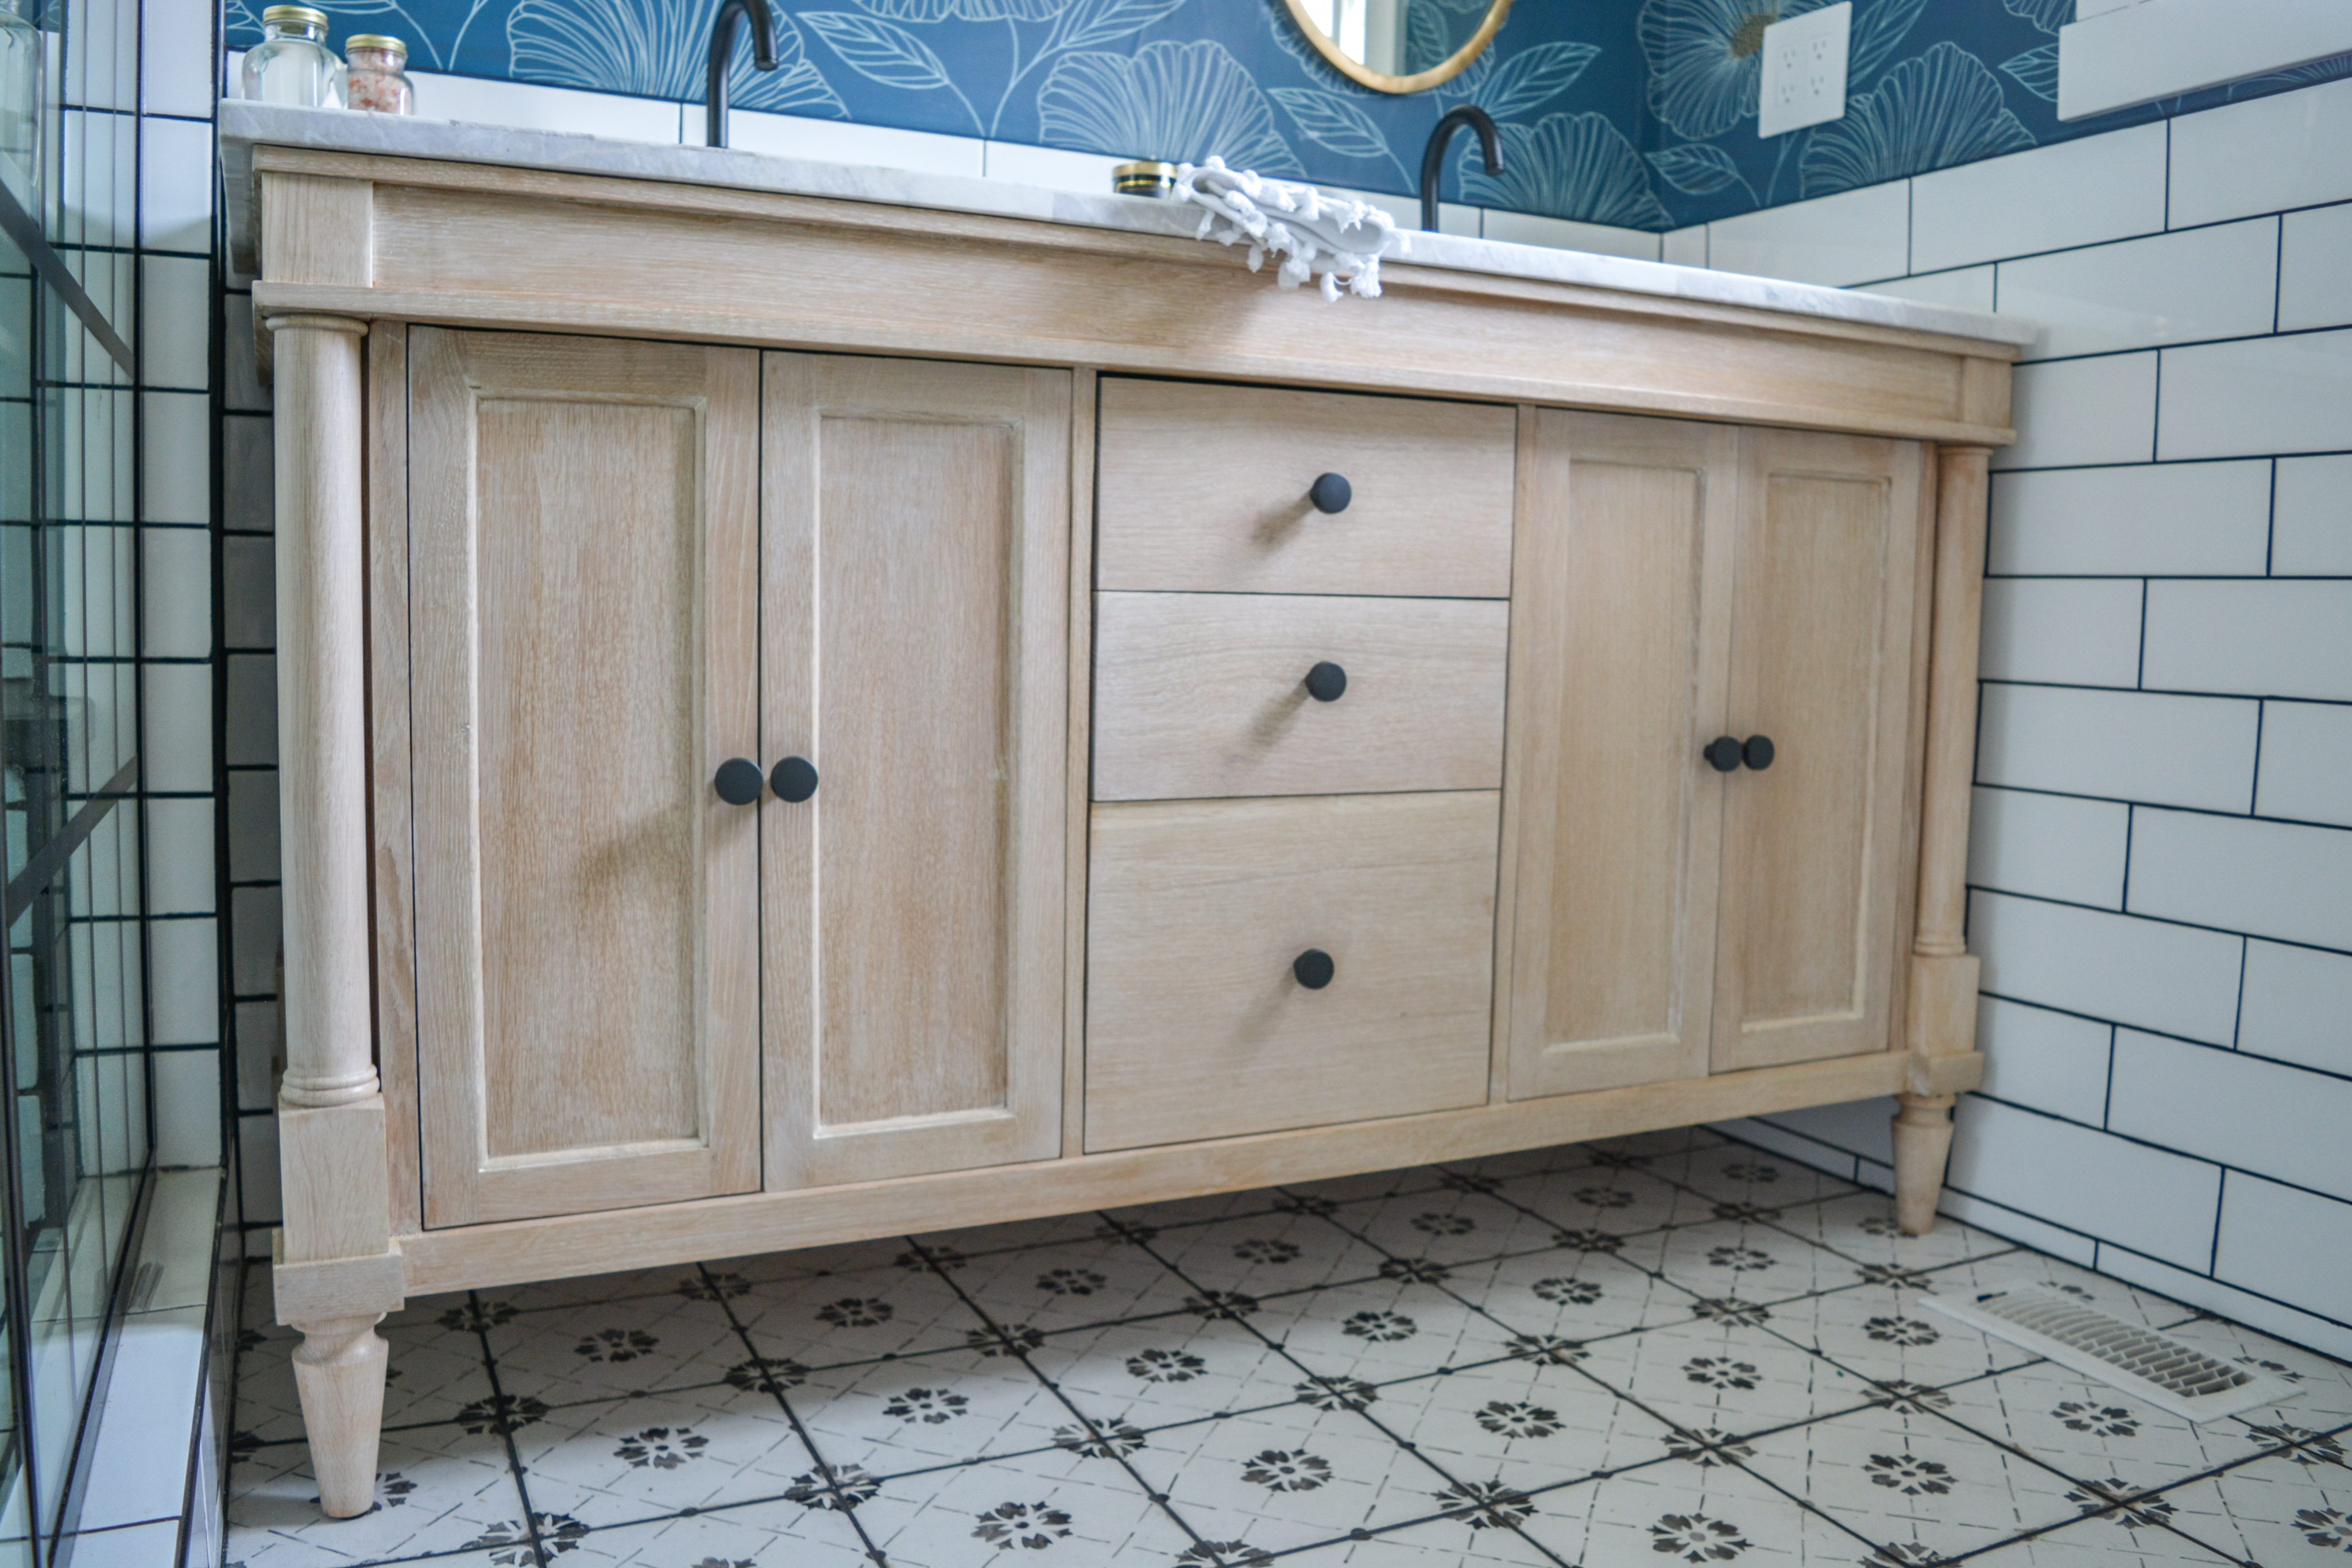
Bathroom vanity legs
provide support for the heavy countertop and sink, while also adding a touch of style to the design. In this article, we will discuss the importance of
installing legs on a bathroom vanity
and provide a step-by-step guide on how to do it yourself.
When it comes to designing a bathroom, every detail matters. From the tiles to the fixtures, everything needs to be carefully chosen to create a cohesive and functional space. One important element that is often overlooked is the vanity legs. These seemingly small additions can make a big impact on the overall look and stability of your vanity.
Bathroom vanity legs
provide support for the heavy countertop and sink, while also adding a touch of style to the design. In this article, we will discuss the importance of
installing legs on a bathroom vanity
and provide a step-by-step guide on how to do it yourself.
Choosing the Right Vanity Legs
 Before you start
installing legs on your bathroom vanity
, it is important to choose the right ones for your space.
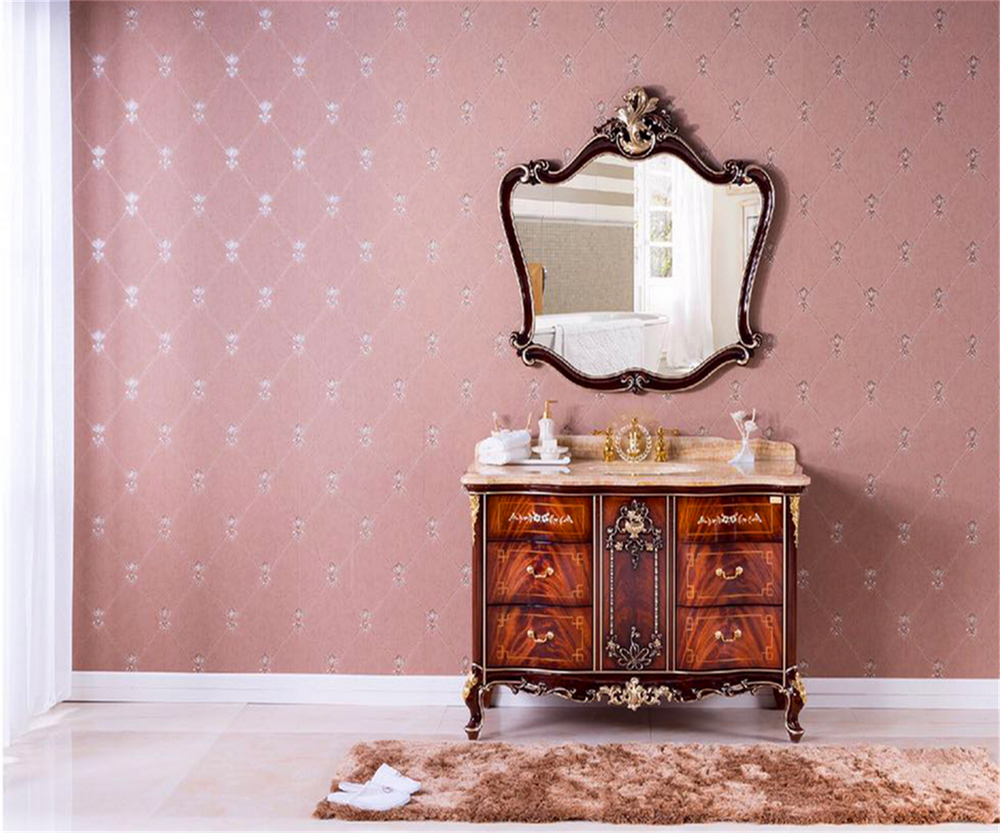
Legs for bathroom vanities
come in various styles, materials, and sizes, so you need to consider the overall design and dimensions of your vanity. For a modern and sleek look,
metal legs
are a great option. If you want a more traditional or rustic vibe,
wooden legs
can add warmth and character to your vanity.
Adjustable legs
are also available for uneven floors, ensuring stability and balance for your vanity.
Before you start
installing legs on your bathroom vanity
, it is important to choose the right ones for your space.
Legs for bathroom vanities
come in various styles, materials, and sizes, so you need to consider the overall design and dimensions of your vanity. For a modern and sleek look,
metal legs
are a great option. If you want a more traditional or rustic vibe,
wooden legs
can add warmth and character to your vanity.
Adjustable legs
are also available for uneven floors, ensuring stability and balance for your vanity.
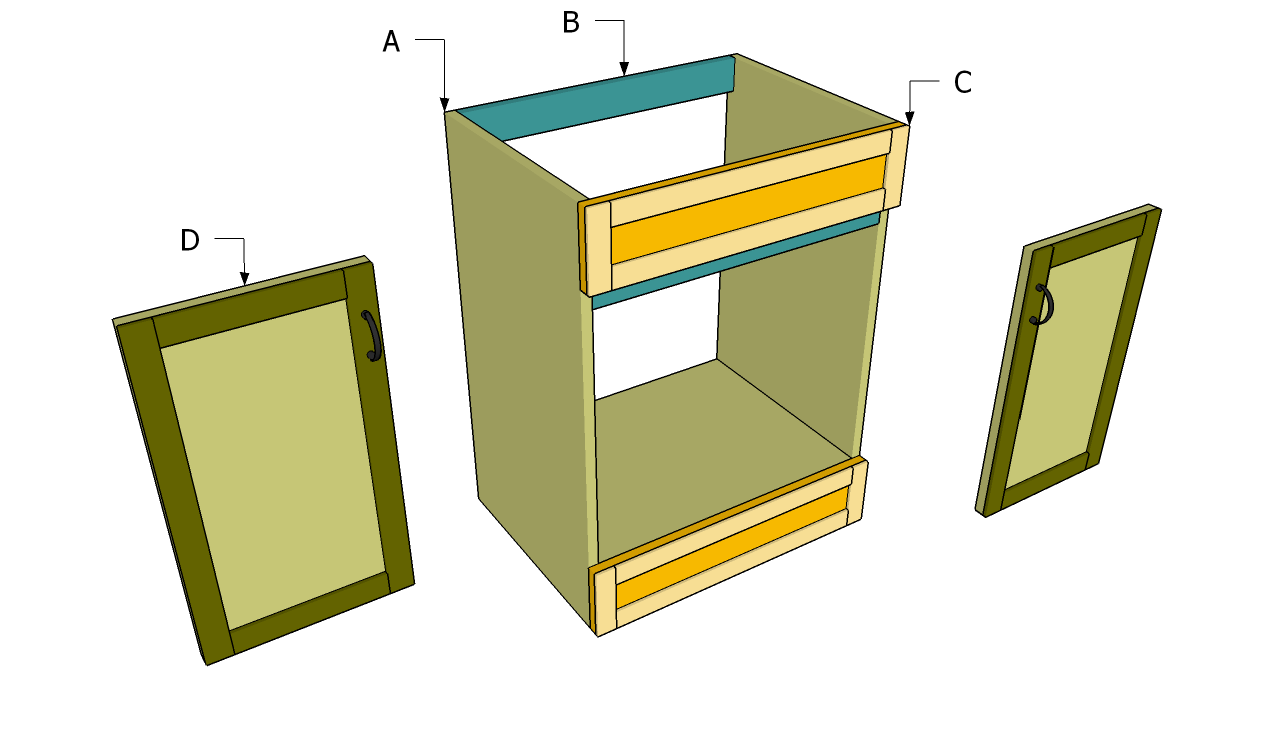
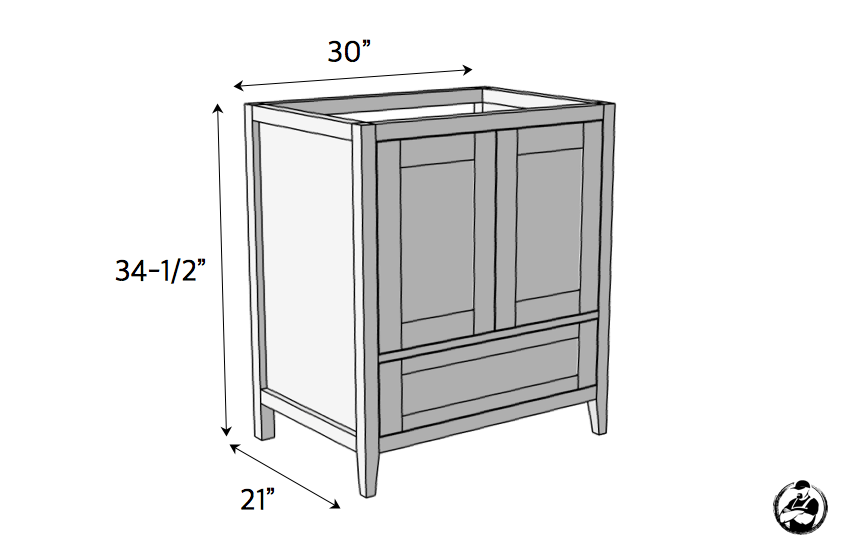
How to Install Vanity Legs
 Now that you have chosen the perfect legs for your vanity, it's time to install them. Here are the steps to follow:
1. Start by assembling the legs according to the manufacturer's instructions. This usually involves attaching the mounting plates to the legs.
2. Measure and mark the placement of the legs on the bottom of your vanity. Make sure they are evenly spaced and aligned with the edges of the vanity.
3. Using a drill, create holes for the mounting screws on the marked spots. Make sure to use a drill bit that is slightly smaller than the screws to ensure a secure fit.
4. Place the legs on the marked spots and secure them with the mounting screws using a screwdriver.
5. Once all the legs are attached, flip the vanity over and check for stability. If any of the legs are wobbly, adjust the screws until the vanity is level and secure.
Now that you have chosen the perfect legs for your vanity, it's time to install them. Here are the steps to follow:
1. Start by assembling the legs according to the manufacturer's instructions. This usually involves attaching the mounting plates to the legs.
2. Measure and mark the placement of the legs on the bottom of your vanity. Make sure they are evenly spaced and aligned with the edges of the vanity.
3. Using a drill, create holes for the mounting screws on the marked spots. Make sure to use a drill bit that is slightly smaller than the screws to ensure a secure fit.
4. Place the legs on the marked spots and secure them with the mounting screws using a screwdriver.
5. Once all the legs are attached, flip the vanity over and check for stability. If any of the legs are wobbly, adjust the screws until the vanity is level and secure.
Final Thoughts
 In addition to providing support and stability,
bathroom vanity legs
also add a touch of sophistication and style to your space. By choosing the right legs and properly installing them, you can elevate the design of your bathroom and make it a functional and beautiful space. Follow the steps outlined in this article to
install legs on your bathroom vanity
and enjoy the benefits of a well-designed and stable vanity for years to come.
In addition to providing support and stability,
bathroom vanity legs
also add a touch of sophistication and style to your space. By choosing the right legs and properly installing them, you can elevate the design of your bathroom and make it a functional and beautiful space. Follow the steps outlined in this article to
install legs on your bathroom vanity
and enjoy the benefits of a well-designed and stable vanity for years to come.