How to Install an Undermount Kitchen Sink in Granite
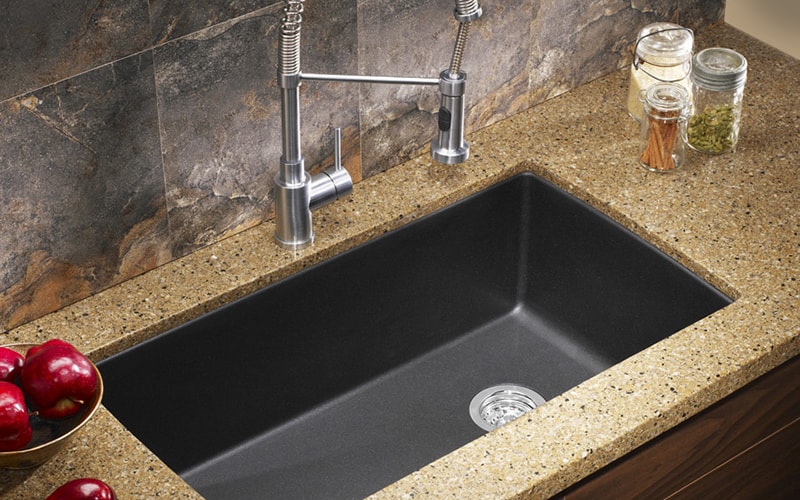
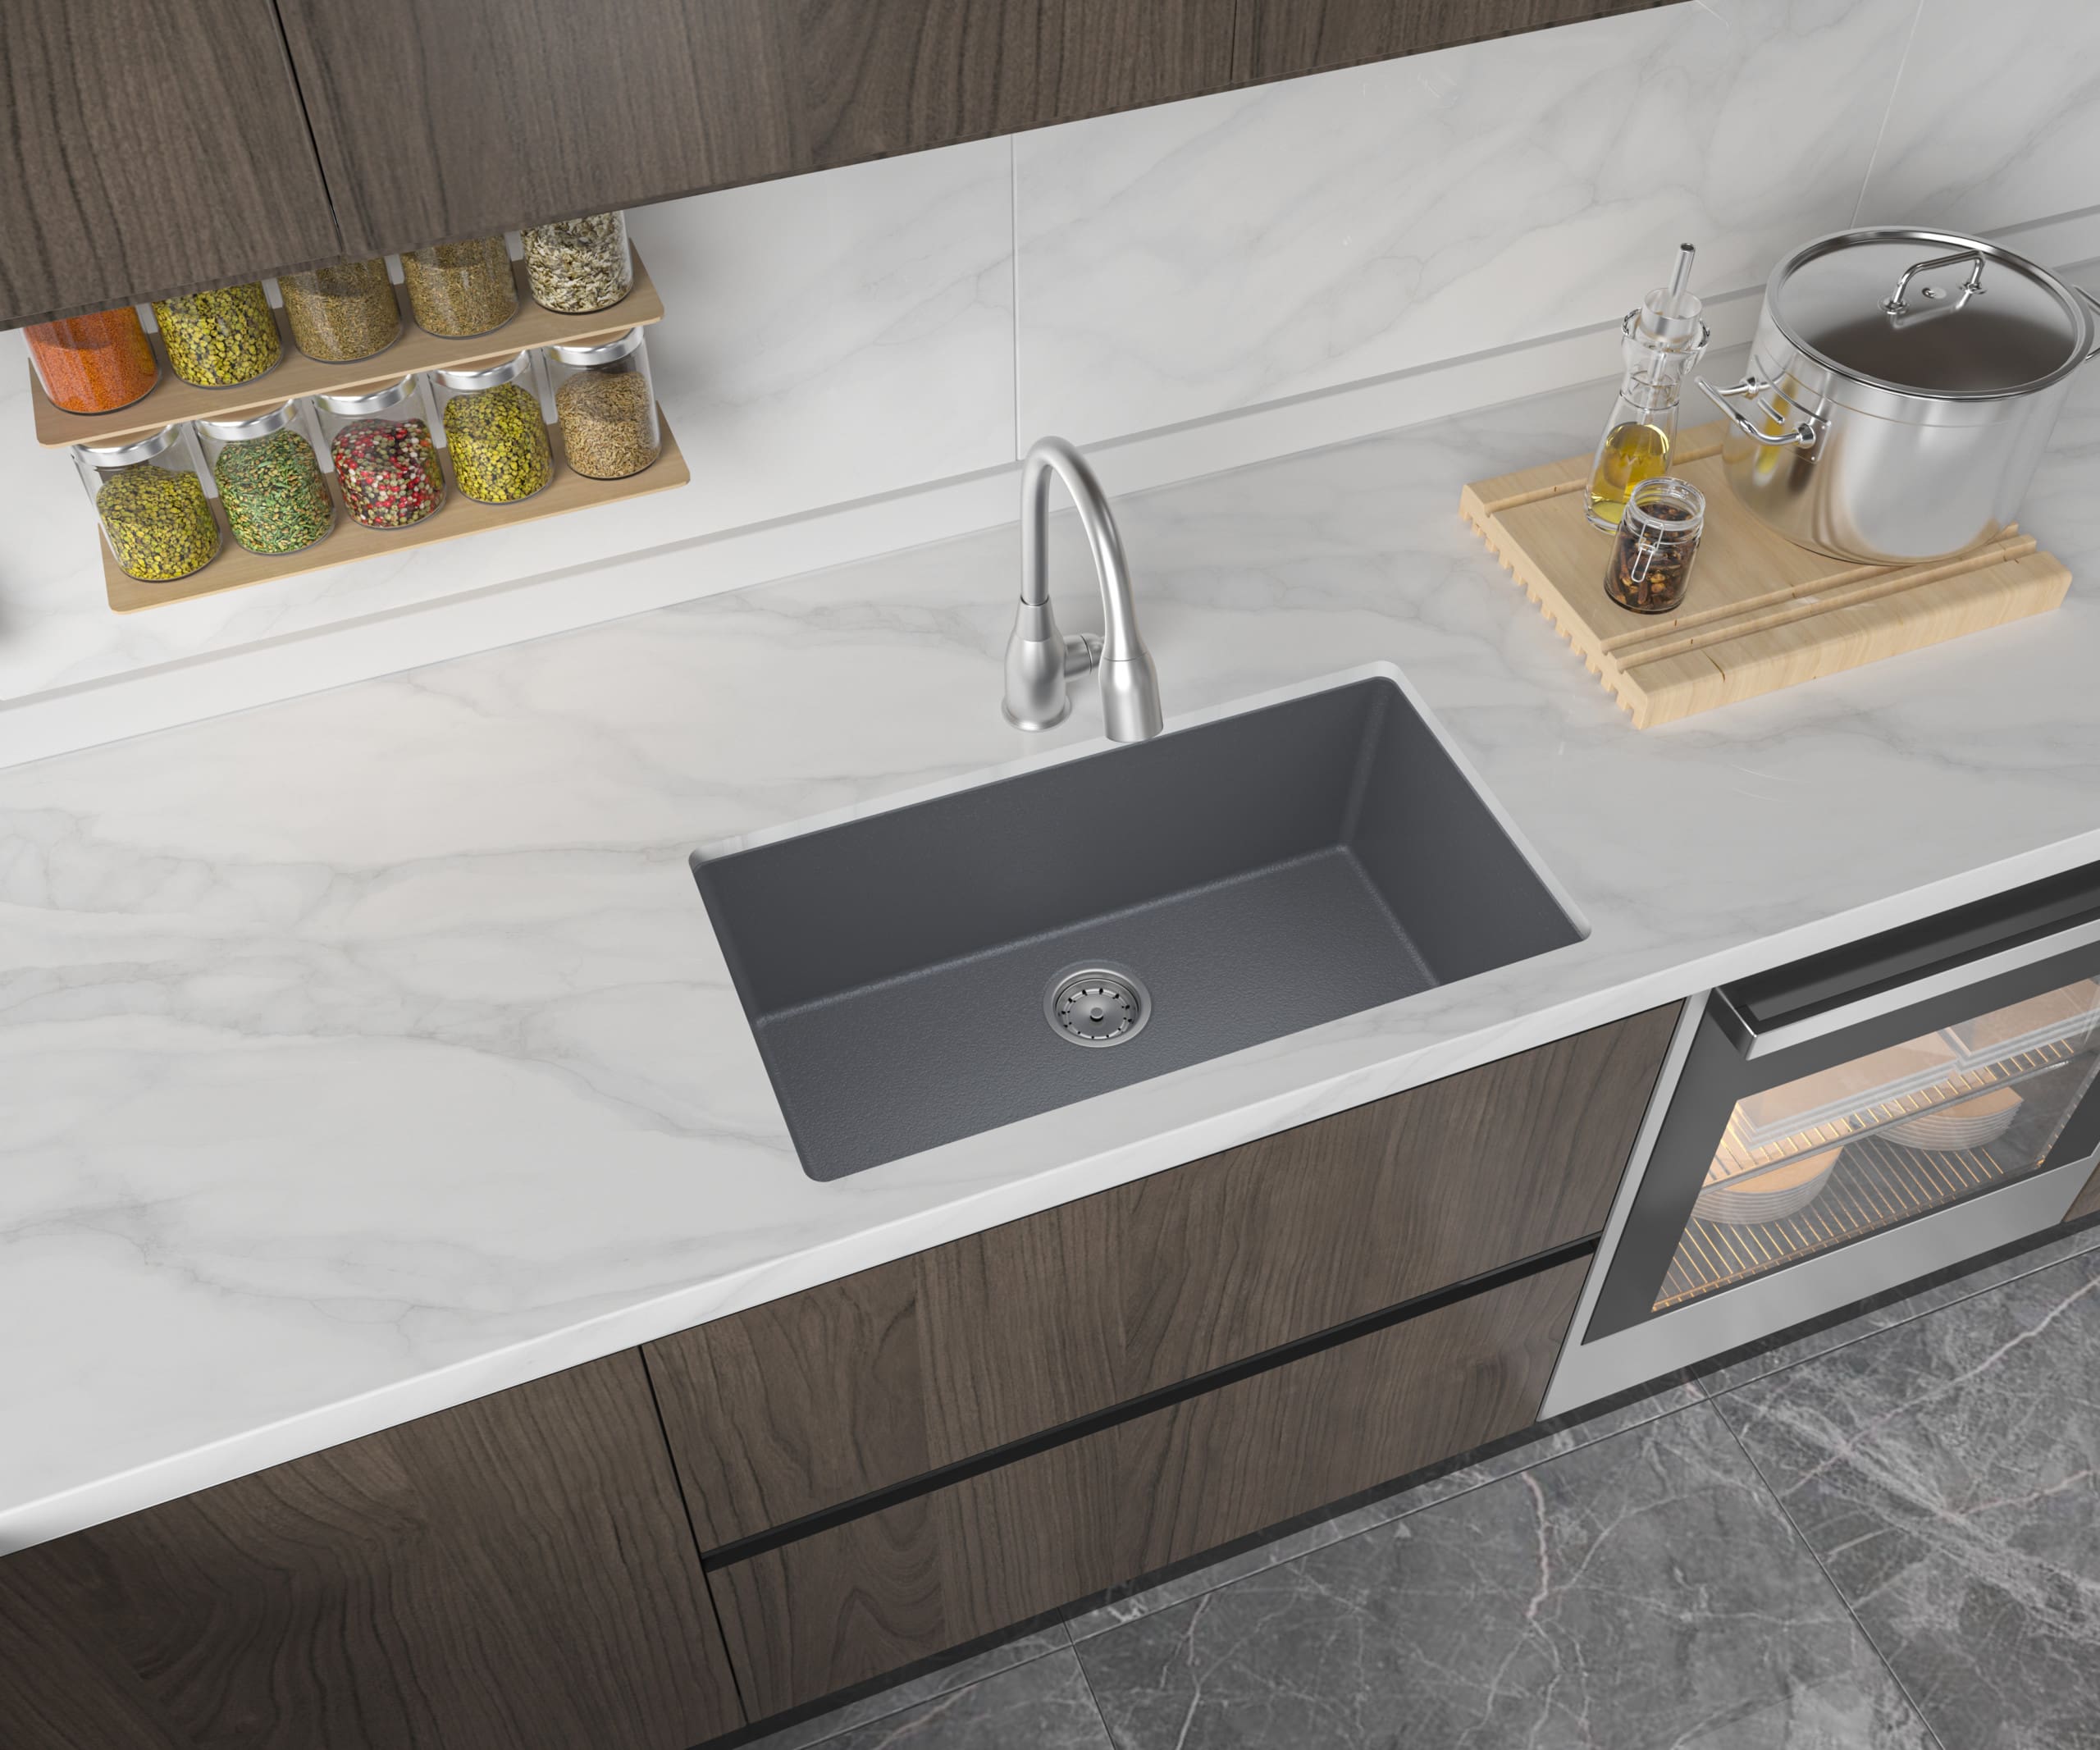
Are you looking to upgrade your kitchen with a sleek and modern undermount kitchen sink? Installing an undermount kitchen sink in granite countertops is a popular choice for many homeowners due to its seamless and stylish look. In this step-by-step guide, we will walk you through the process of installing an undermount kitchen sink in granite, from preparation to completion.
Preparing for the Installation
The first step in installing an undermount kitchen sink in granite is to gather all the necessary tools and materials. You will need a drill, drill bits, a jigsaw, a putty knife, a caulk gun, silicone caulk, plumber’s putty, and a sink installation kit. Make sure to also have a helper on hand to assist with lifting and positioning the sink.
Before starting the installation, shut off the water supply and disconnect the plumbing from the old sink. Next, remove the old sink and clean the area thoroughly. Measure the dimensions of the sink and mark the outline on the granite countertop using a pencil.
Installing the Sink Clips
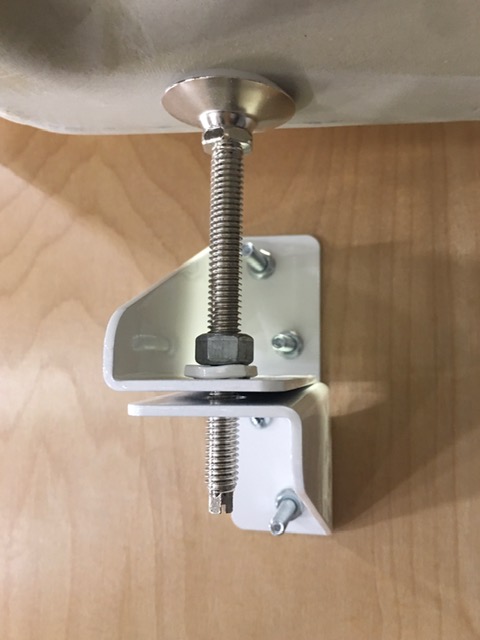
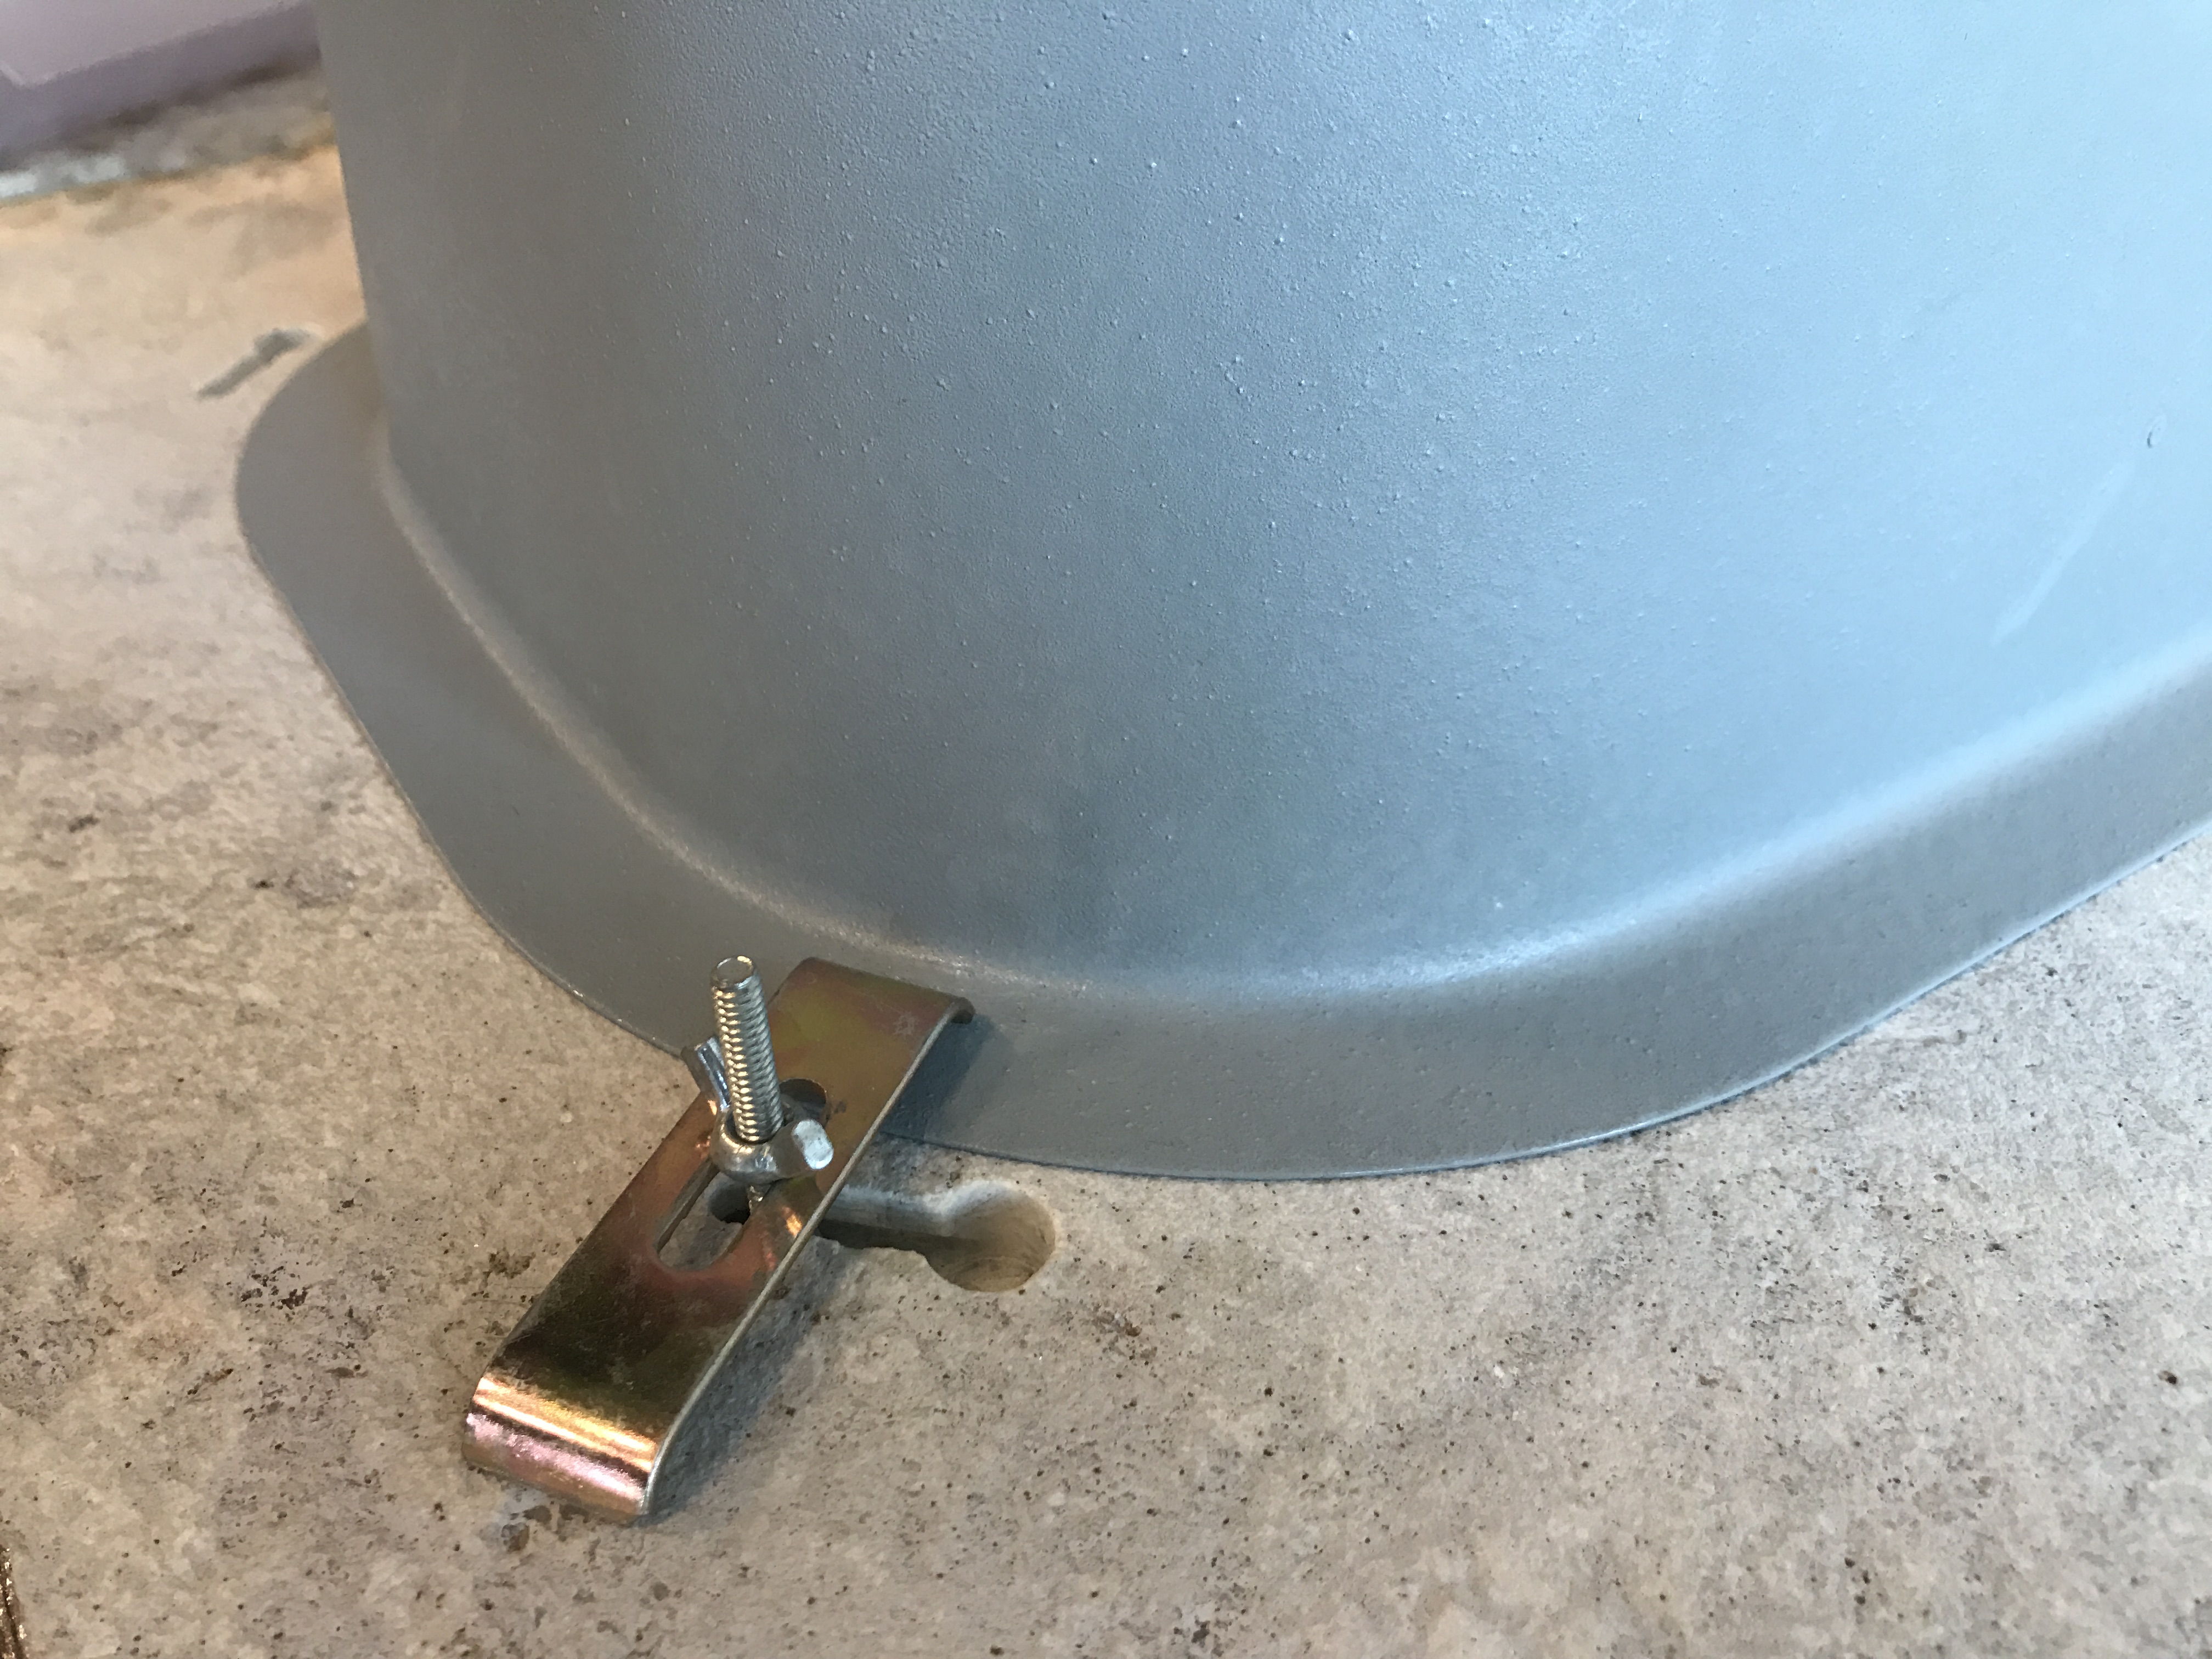
Now, it’s time to install the sink clips onto the underside of the granite countertop. These clips will hold the sink in place and prevent it from shifting. Use a drill and the provided screws to secure the clips onto the countertop, following the marked outline.
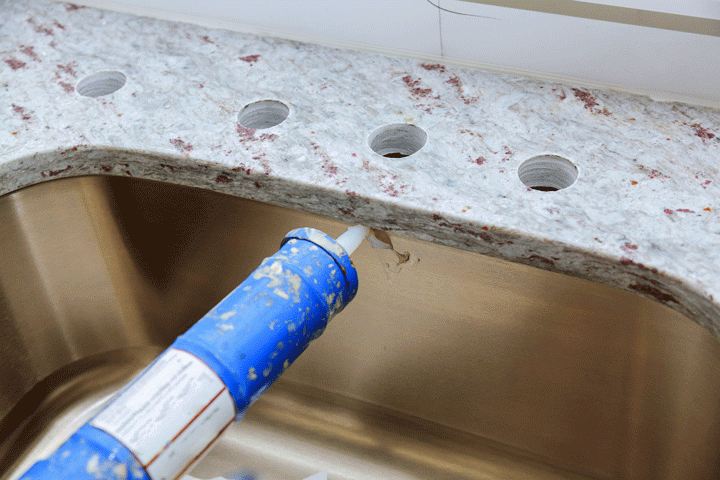
Once the sink clips are installed, apply a bead of silicone caulk around the perimeter of the sink cutout. This will act as a sealant and prevent water from seeping through the gap between the sink and the countertop.
Attaching the Sink to the Countertop
With the sink clips and silicone caulk in place, it’s time to attach the sink to the countertop. Enlist the help of your assistant to carefully lift the sink and position it onto the sink cutout. Make sure it is centered and level before pressing it firmly against the countertop.
Once the sink is in place, use the provided screws to secure the sink clips to the sink from the underside. This will hold the sink securely in place and prevent any movement.
Connecting the Plumbing
With the sink now installed, it’s time to reconnect the plumbing. Apply plumber’s putty around the drain opening and insert it into the sink. From underneath the sink, attach the drain assembly and tighten it with a wrench.
Next, connect the water supply lines to the faucet and turn the water supply back on. Check for any leaks and make sure the sink is draining properly before moving on to the final step.
Applying the Finishing Touches
The final step in installing an undermount kitchen sink in granite is to apply the finishing touches. Use a putty knife to remove any excess silicone caulk around the edges of the sink. Wipe down the sink and countertop with a clean, damp cloth to remove any residue.
For added protection, you can also apply a sealant to the sink and countertop. This will help protect the granite from stains and water damage.
Final Thoughts
Installing an undermount kitchen sink in granite may seem like a daunting task, but with the right tools and preparation, it can be done easily and efficiently. By following these steps, you can achieve a professional-looking installation that will elevate the look of your kitchen and provide a functional and stylish workspace for years to come. So go ahead and take the plunge into upgrading your kitchen with an undermount sink in granite!
Why Choose an Undermount Kitchen Sink in Granite?

Enhance Your Kitchen Aesthetics
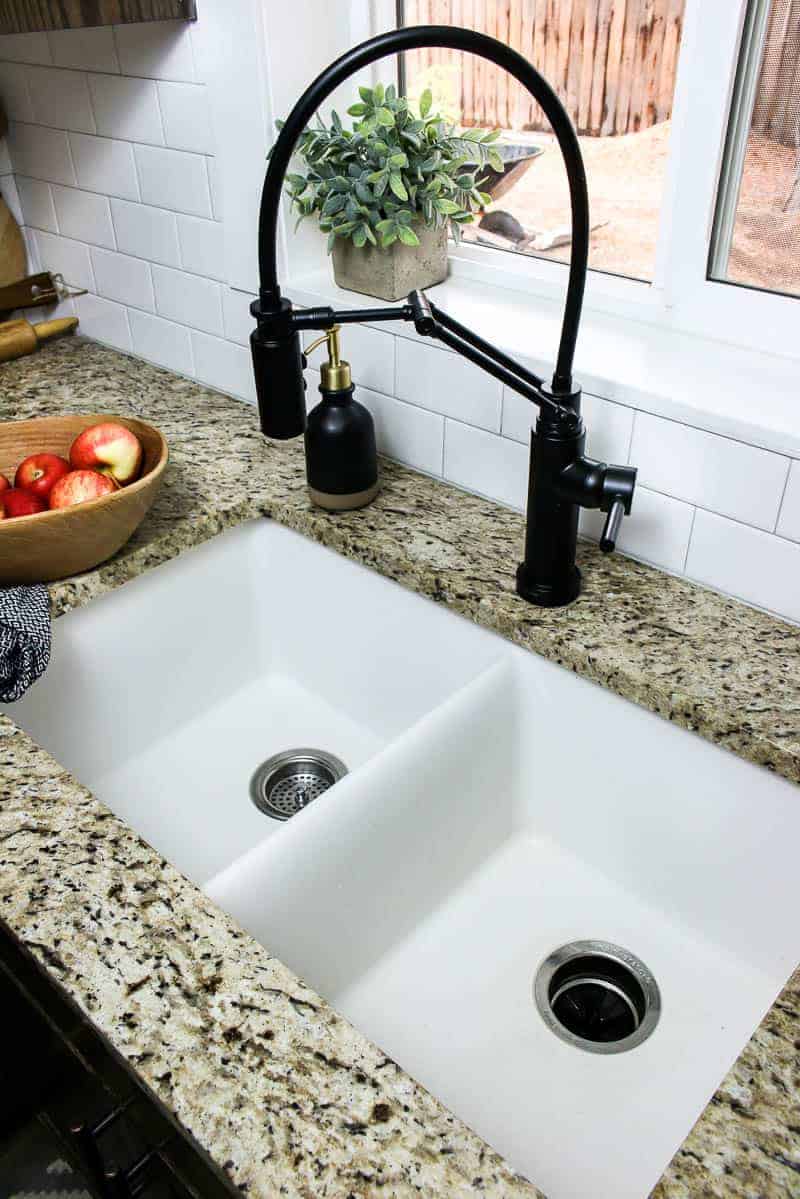
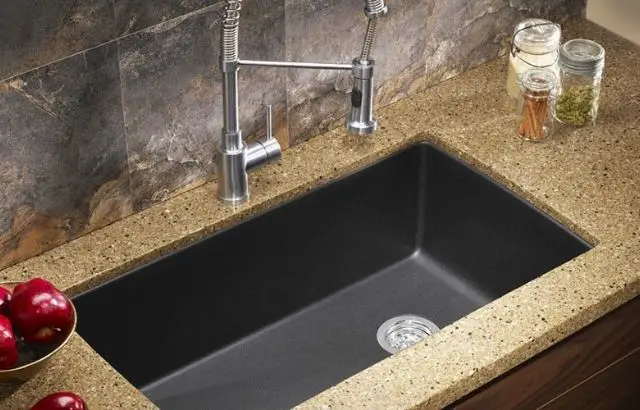
 One of the main reasons to choose an undermount kitchen sink in granite is to enhance the overall aesthetics of your kitchen. Granite is a natural stone that adds a touch of elegance and sophistication to any space. The sleek and seamless design of an undermount sink allows for a clean and modern look, making it the perfect addition to a contemporary kitchen design. The natural variations in the granite also add depth and texture to your kitchen, making it stand out from other materials such as stainless steel or porcelain. With a wide range of colors and patterns to choose from, you can easily find a granite sink that complements your kitchen's style and color scheme.
Durable and Long-lasting
 Another benefit of installing an undermount kitchen sink in granite is its durability and longevity. Granite is a tough and resilient material that can withstand daily wear and tear, making it the perfect choice for a busy kitchen. It is resistant to scratches, stains, and heat, making it a practical option for a sink that is constantly exposed to hot water and heavy pots and pans. Additionally, granite is a low-maintenance material that only requires occasional sealing to maintain its shine and protect it from any potential damage.
Seamless Integration
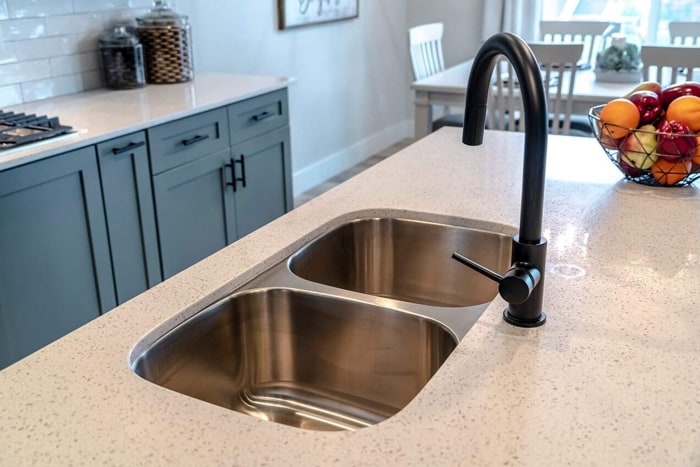
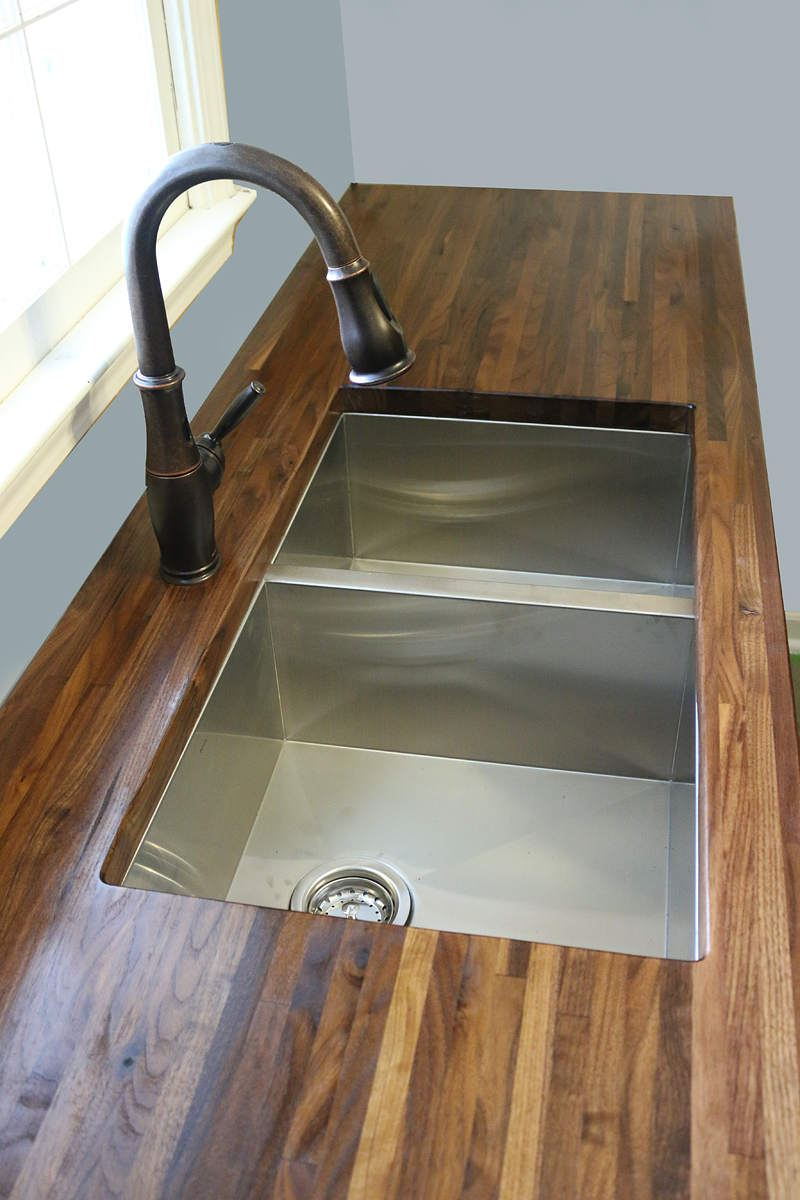
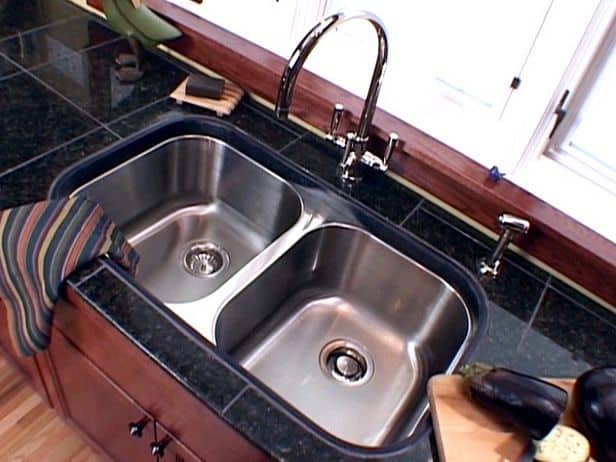
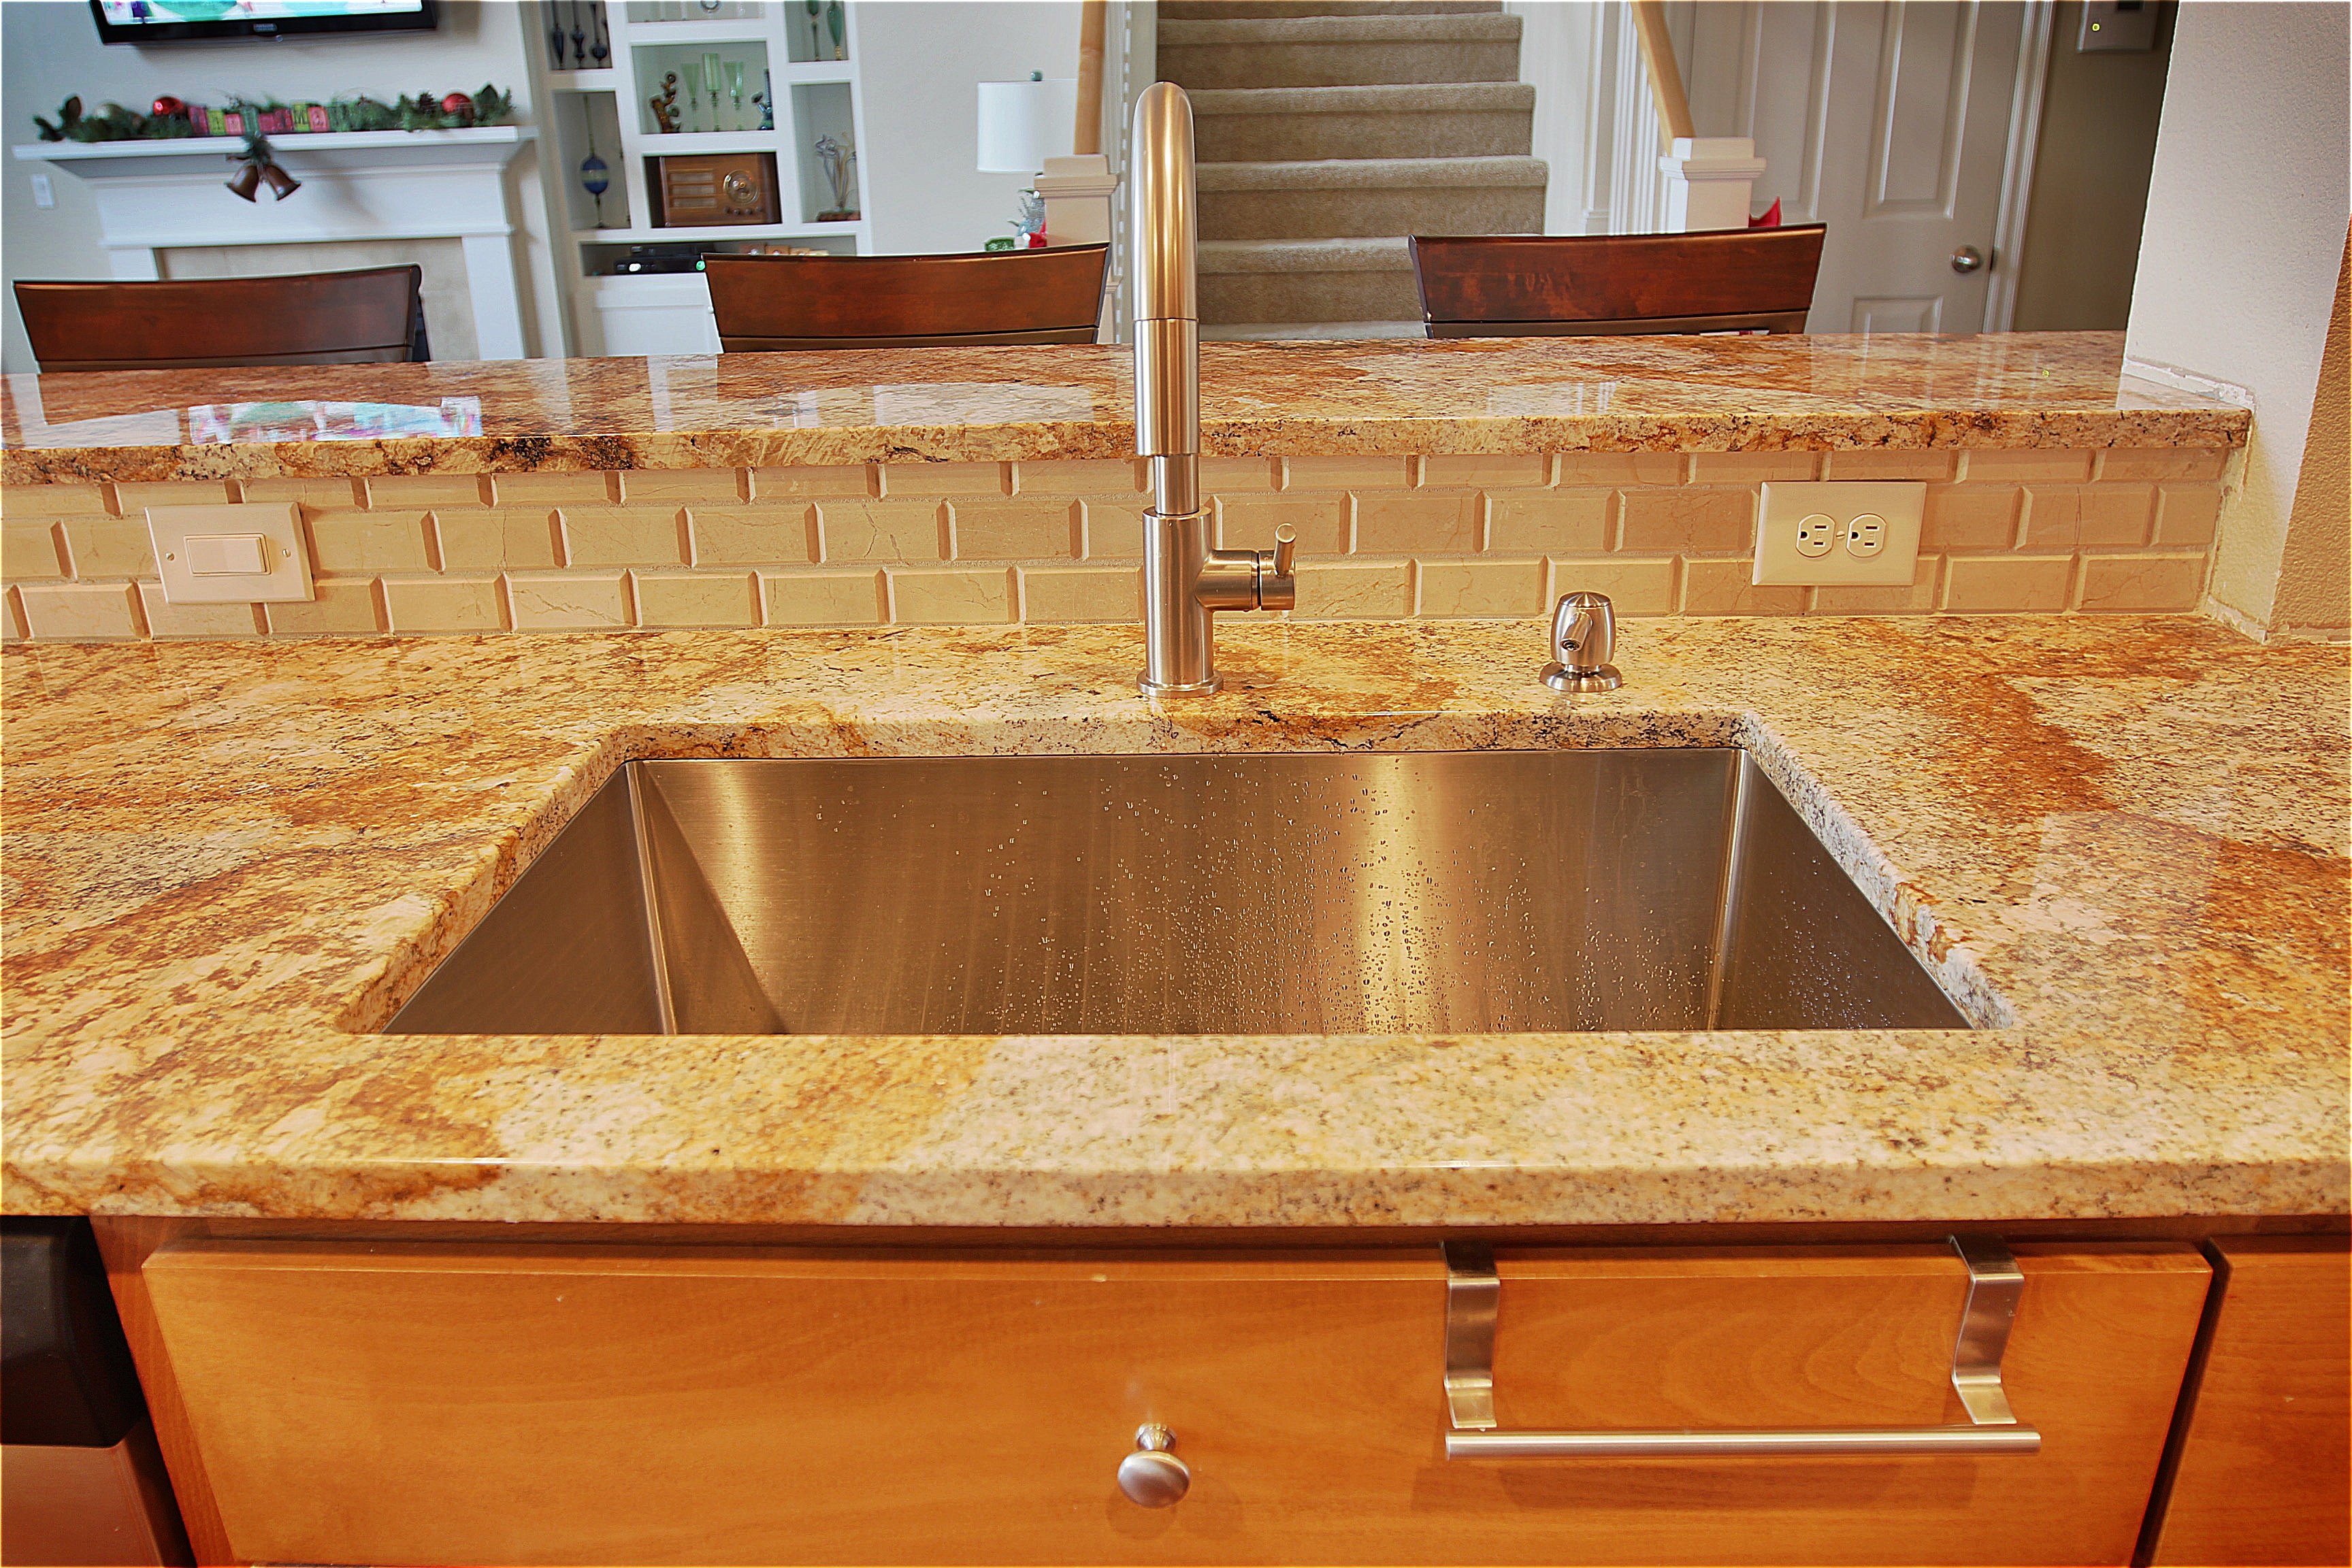
 Installing an undermount kitchen sink in granite allows for a seamless integration with your countertop. The sink is mounted underneath the countertop, creating a smooth and uninterrupted surface that is easy to clean and maintain. This also eliminates any raised edges or seams that can trap dirt and grime, making it a more hygienic option for your kitchen. The seamless integration also adds to the overall aesthetic appeal of your kitchen, giving it a cohesive and polished look.
Increases Property Value
 Investing in a high-quality undermount kitchen sink in granite can also increase the value of your property. Granite is a popular and sought-after material in kitchen design, and potential buyers will appreciate the added luxury and durability that it brings to the kitchen. This can make your property stand out and attract more potential buyers, increasing its market value. Additionally, granite is a timeless material that will never go out of style, ensuring that your kitchen remains modern and desirable for years to come.
In conclusion, choosing an undermount kitchen sink in granite is a great way to enhance the aesthetics, durability, and value of your kitchen. With its sleek design, durability, seamless integration, and property value-boosting benefits, it is a practical and attractive option for any kitchen renovation project.

