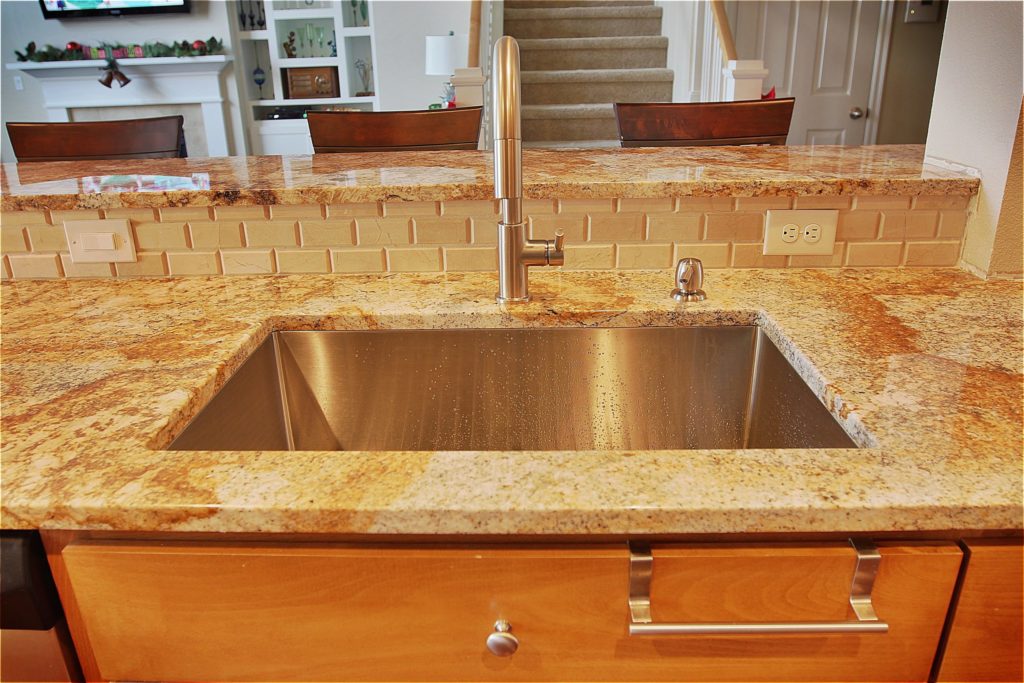
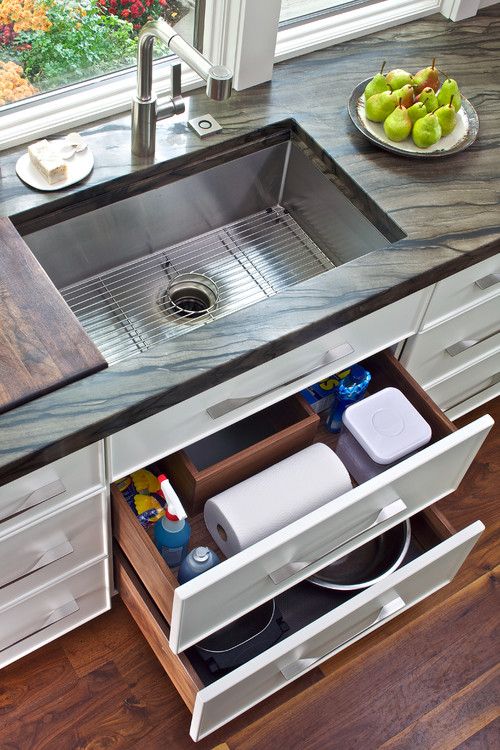
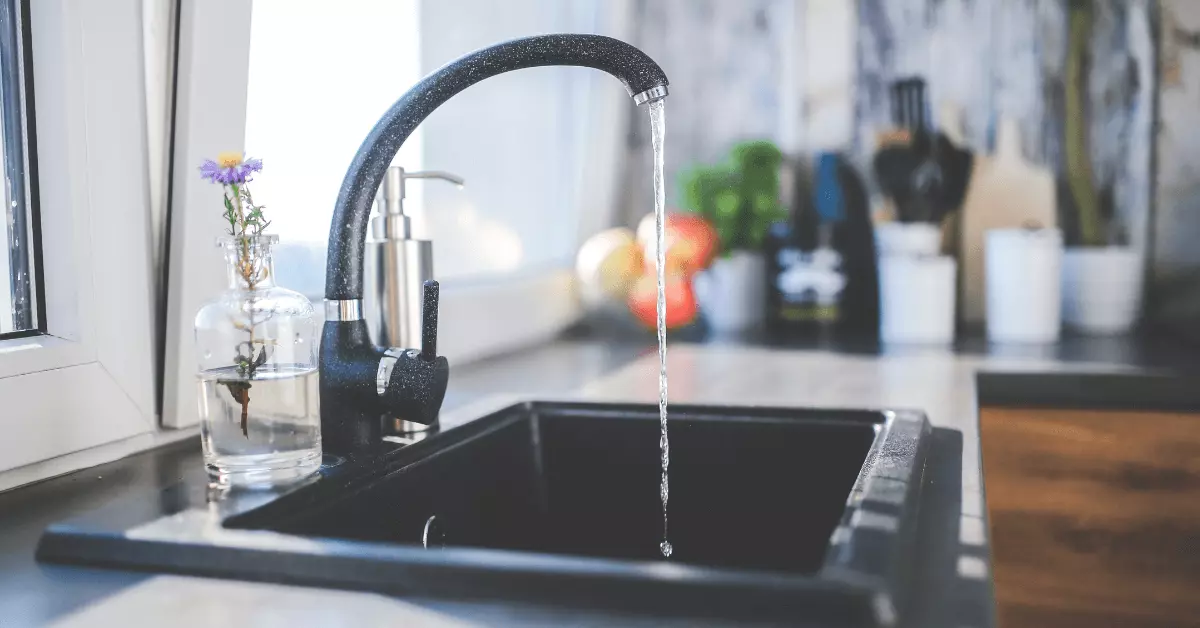
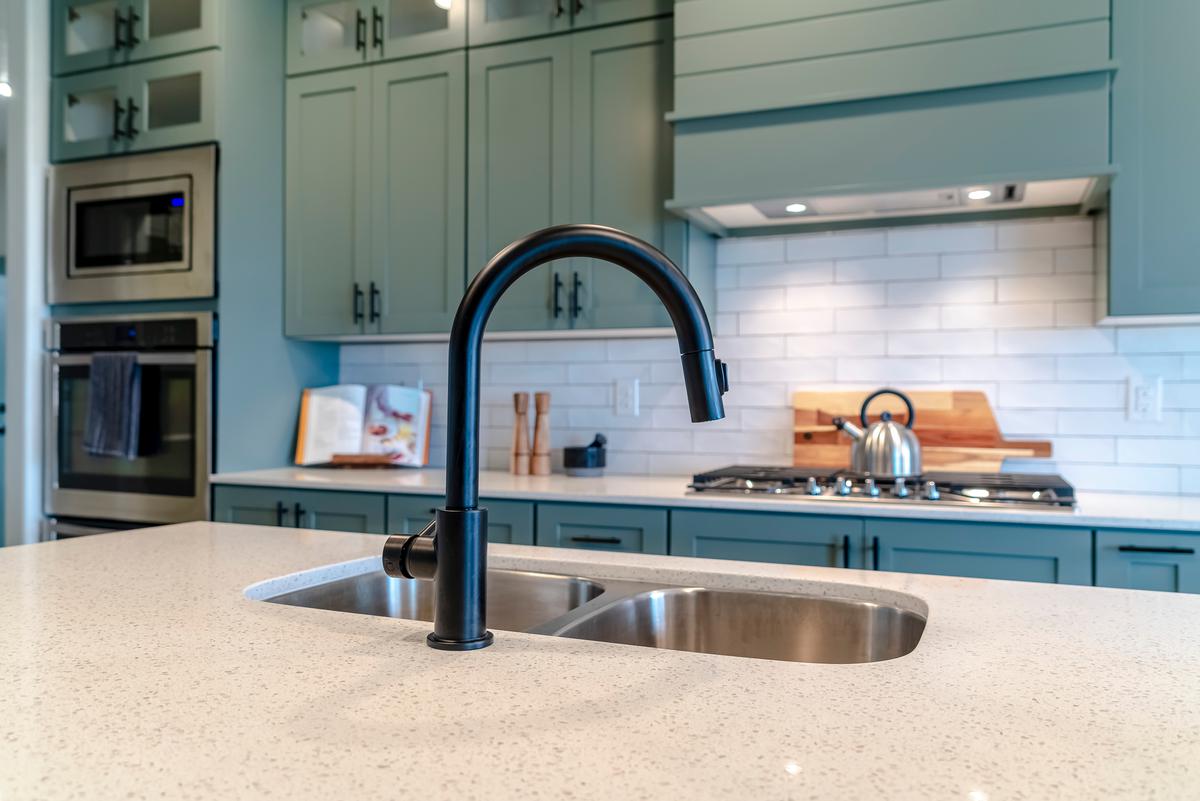
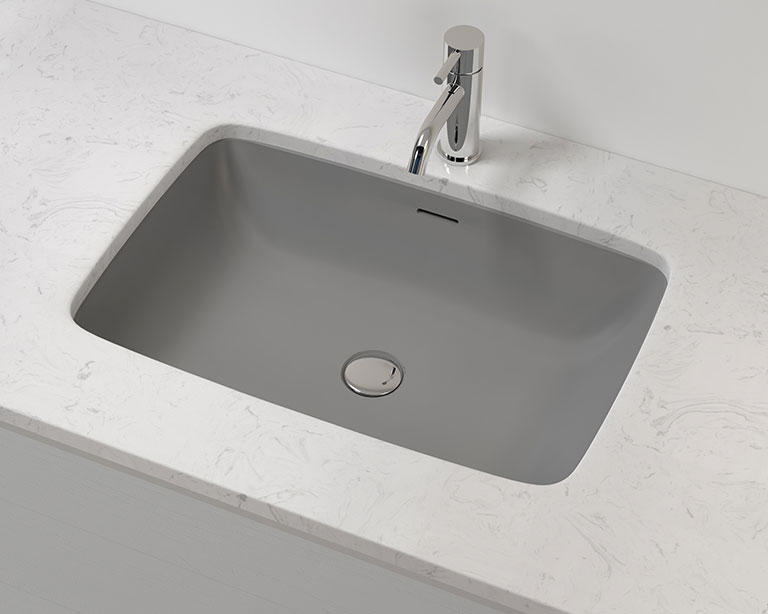
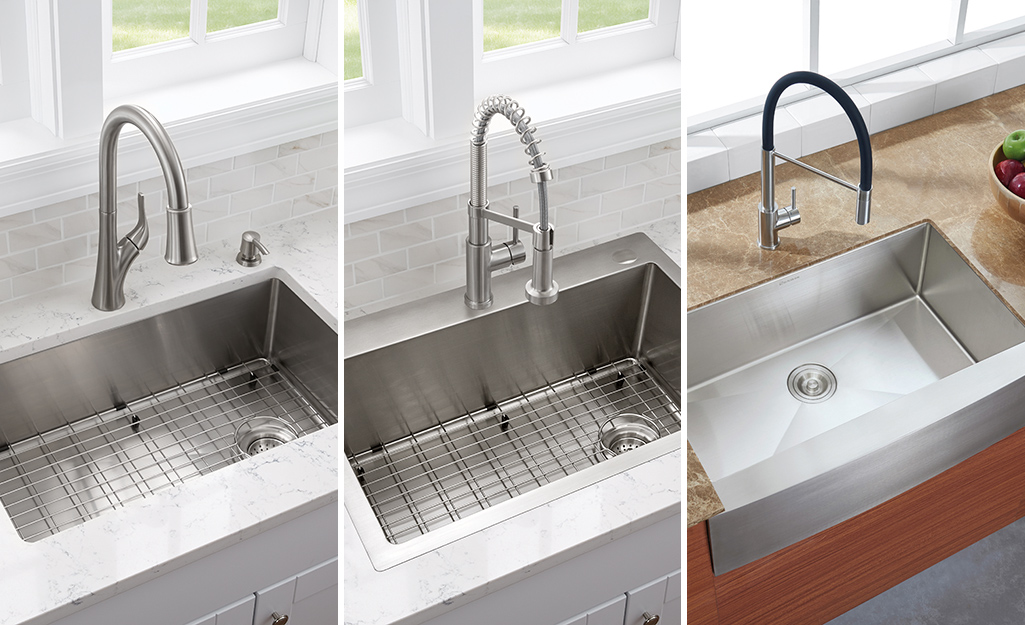
Are you looking to update your kitchen with a sleek and modern look? Installing an undermount kitchen sink can be a great way to achieve this. Undermount sinks are becoming increasingly popular due to their clean and seamless appearance, as well as their practicality. In this guide, we will walk you through the steps of installing an undermount kitchen sink so you can have a professional looking finish in your kitchen.How to Install an Undermount Kitchen Sink
Installing an undermount sink may seem like a daunting task, but with the right tools and knowledge, it can be a straightforward process. Here are the steps to follow when installing an undermount kitchen sink:How to Install an Undermount Sink
Step 1: Prepare the area for installation - Make sure the cabinet where the sink will be installed is clean and free of any debris or old caulking. Measure the cabinet to ensure it can accommodate the size of the sink you have chosen. Step 2: Gather your tools and materials - You will need a drill, silicone caulk, a putty knife, a jigsaw, a waterproof countertop sealant, and a mounting hardware kit. Make sure you have everything you need before starting the installation. Step 3: Install the mounting hardware - Follow the instructions provided with the mounting hardware kit to attach the brackets to the underside of the countertop. These brackets will hold the sink in place. Step 4: Cut the hole for the sink - Using a jigsaw, carefully cut along the marked lines to create the opening for the sink. Be sure to wear protective eyewear. Step 5: Apply silicone caulk - Apply a generous amount of silicone caulk around the edges of the opening in the countertop. This will create a waterproof seal between the sink and the countertop. Step 6: Place the sink in the opening - Carefully lower the sink into the opening, making sure it is centered and level. The silicone caulk will hold the sink in place while the sealant dries. Step 7: Secure the sink - Using the mounting hardware, secure the sink to the underside of the countertop. Be sure to follow the instructions provided with the hardware kit. Step 8: Apply waterproof sealant - Once the sink is securely in place, apply a waterproof sealant around the edges of the sink. This will ensure that no water can seep between the sink and the countertop. Step 9: Clean up - Wipe away any excess sealant or caulk and clean the area around the sink. Leave the sealant to dry for at least 24 hours before using the sink.Step-by-Step Guide for Installing an Undermount Kitchen Sink
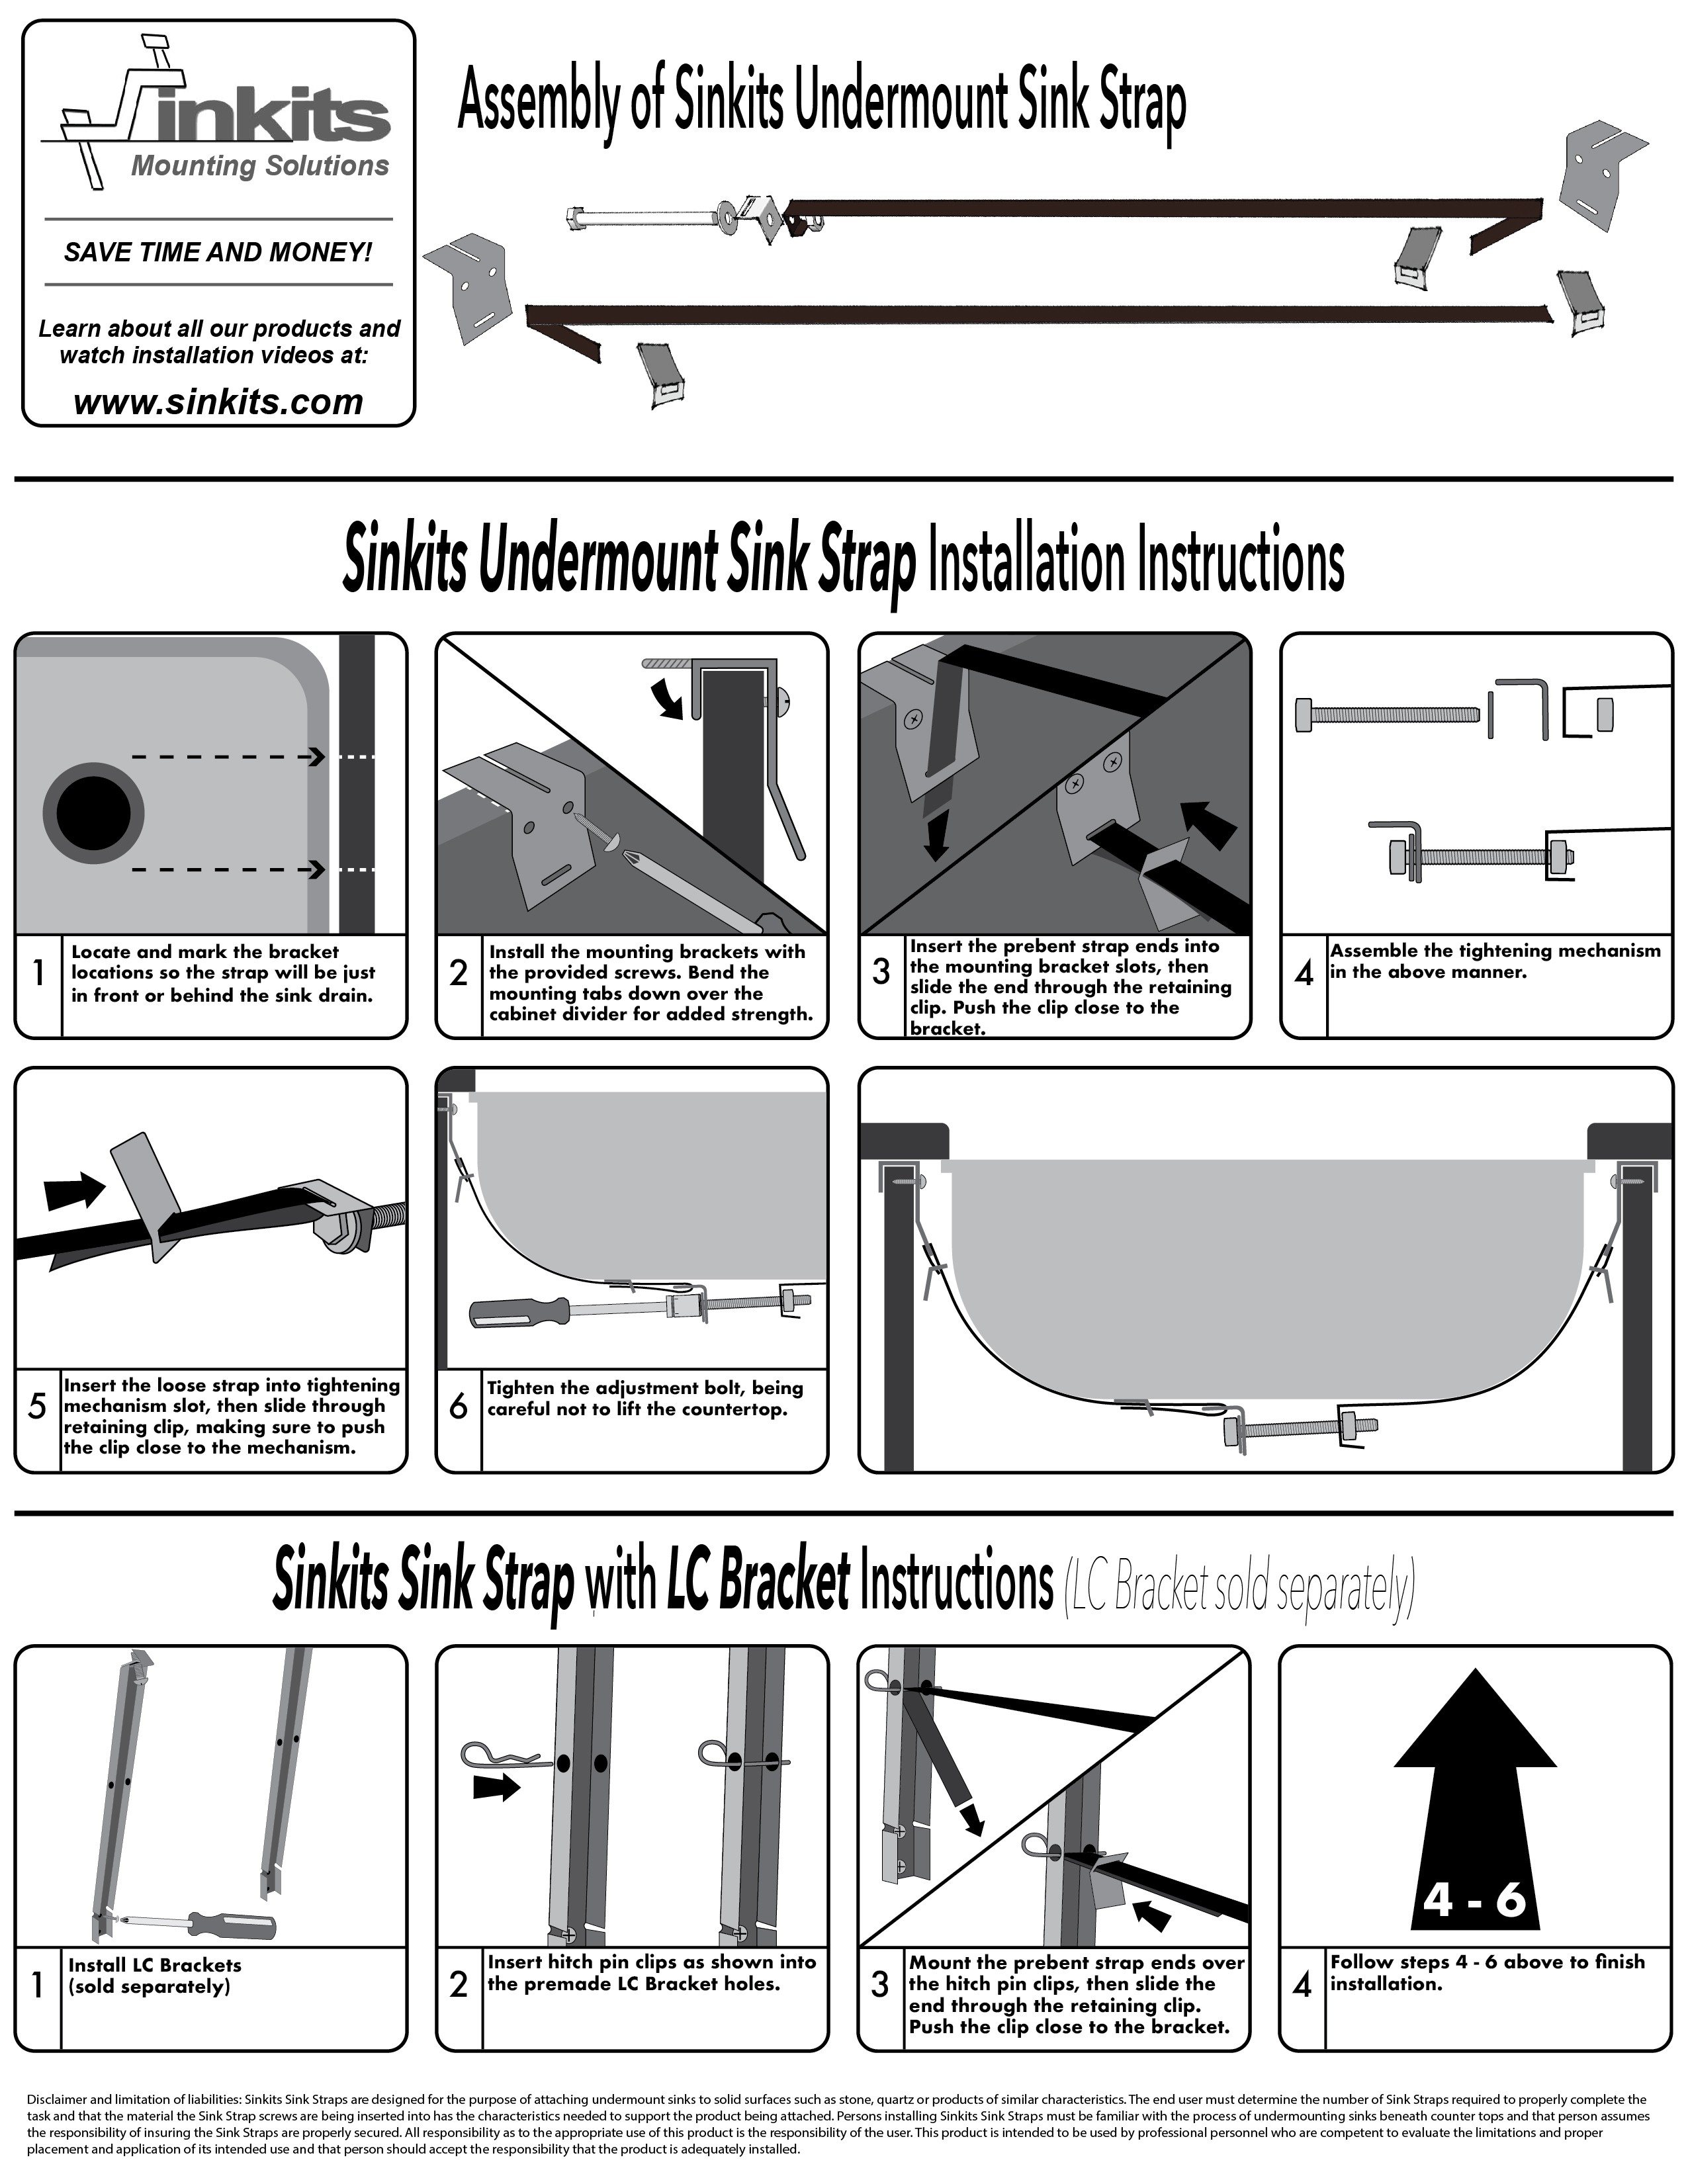
If you are a handy person and enjoy DIY projects, then installing an undermount kitchen sink can be a satisfying task. By following the above steps and taking your time, you can achieve a professional-looking finish without the need for a professional plumber.DIY Undermount Kitchen Sink Installation
To successfully install an undermount kitchen sink, you will need the following tools and materials: Tools: drill, jigsaw, putty knife Materials: silicone caulk, waterproof countertop sealant, mounting hardware kit Having these tools and materials on hand will make the installation process much smoother and quicker.Tools and Materials Needed for Installing an Undermount Kitchen Sink
Here are a few tips to keep in mind when installing an undermount kitchen sink: Measure twice, cut once: Take your time when measuring the opening for the sink. It is important to get the measurements right to ensure a perfect fit. Use a jigsaw with a fine-tooth blade: A jigsaw with a fine-tooth blade will give you clean and precise cuts in the countertop. Don't skimp on the sealant: Using a waterproof sealant is crucial for preventing any water damage to your countertop or cabinets. Be generous when applying the sealant.Tips for Installing an Undermount Kitchen Sink
While installing an undermount kitchen sink is a straightforward process, there are a few common mistakes that people make. Here are some mistakes to avoid: Not following the instructions: It is important to follow the instructions provided with your sink and mounting hardware to ensure a proper installation. Not measuring correctly: As mentioned earlier, taking accurate measurements is crucial for a successful installation. Double-check your measurements before making any cuts. Rushing the process: Installing an undermount sink takes time and patience. Rushing through the process can lead to mistakes or an uneven installation.Common Mistakes to Avoid When Installing an Undermount Kitchen Sink
Before deciding to install an undermount kitchen sink, it is important to weigh the pros and cons: Pros: - Sleek and modern look - Easy to clean - Creates more counter space - Can accommodate larger pots and pans Cons: - More expensive than drop-in sinks - Requires professional installation in some cases - Can be more difficult to replace if damagedPros and Cons of Undermount Kitchen Sinks
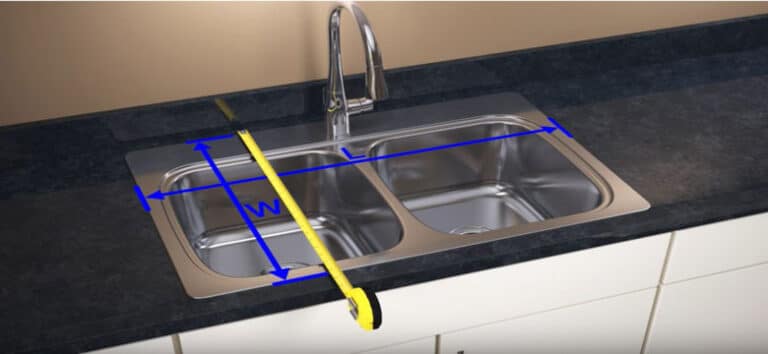
As mentioned earlier, measuring accurately is crucial when installing an undermount kitchen sink. Follow these steps to get the correct measurements: Step 1: Measure the depth of your cabinet - Measure the depth of the cabinet where you will be installing the sink. This will determine the maximum depth of the sink you can choose. Step 2: Measure the width of the cabinet - Measure the width of the cabinet from the inside edges. This will determine the maximum width of the sink you can choose. Step 3: Measure the length of the cabinet - Measure the length of the cabinet from the inside edges. This will determine the maximum length of the sink you can choose. Step 4: Measure the depth of the sink - Measure the depth of the sink from the bottom of the sink to the top of the rim. This will determine how much space you will have beneath the sink for plumbing. Step 5: Account for the lip - Undermount sinks have a lip that sits beneath the countertop. When measuring, account for this lip to ensure a proper fit.How to Measure for an Undermount Kitchen Sink
The cost of installing an undermount kitchen sink can vary depending on the size and material of the sink, as well as the complexity of the installation. On average, homeowners can expect to pay between $200 to $500 for the sink and installation. Keep in mind that if you choose to hire a professional plumber, the cost may be higher. Now that you have all the information you need, you can confidently install an undermount kitchen sink in your home. With its sleek and modern appearance, as well as its practicality, an undermount sink is a great addition to any kitchen. Follow the steps outlined in this guide and enjoy your new beautiful and functional sink. Cost of Installing an Undermount Kitchen Sink
Additional Considerations for Installing an Undermount Kitchen Sink

Proper Support and Installation

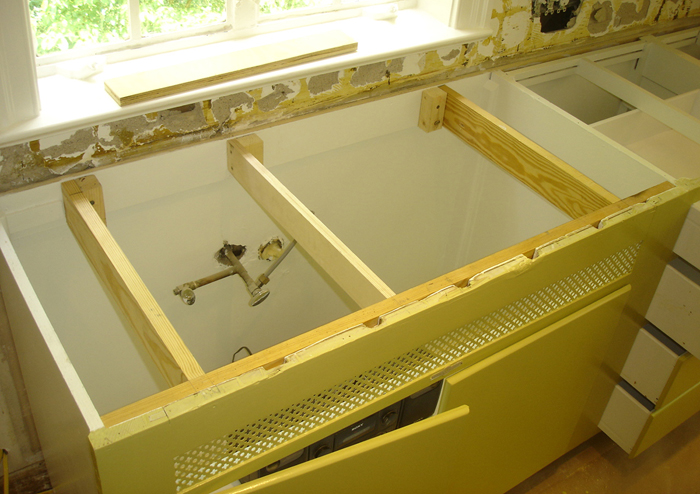
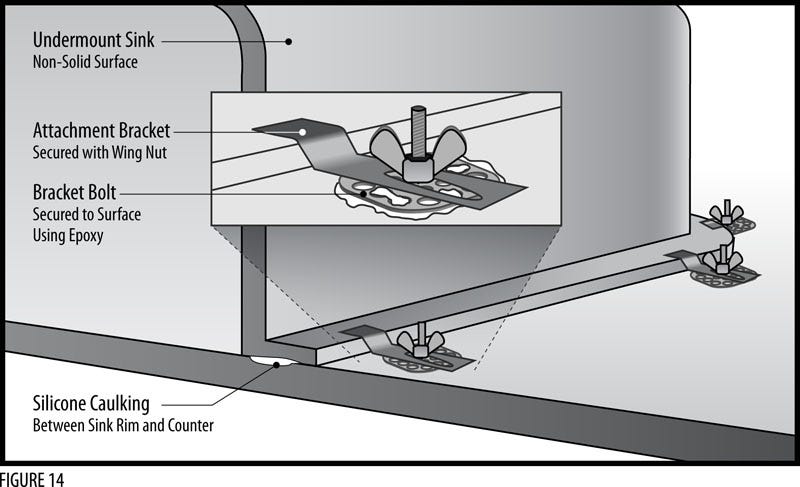
When installing an undermount kitchen sink, it is important to ensure that the sink is properly supported. Unlike top-mounted sinks, undermount sinks are not supported by the countertop. Instead, they are attached to the underside of the countertop, making it crucial to have proper support in place. This can be achieved by using support brackets or a special adhesive designed for undermount sinks.
Additionally, it is important to follow the manufacturer's instructions for installation. Each sink may have specific requirements for proper support and installation, so be sure to read the instructions carefully before beginning the installation process.
Sealing and Waterproofing

Proper sealing and waterproofing are essential for undermount kitchen sinks to prevent water damage and mold growth. The main keyword , undermount kitchen sinks, are installed below the countertop, leaving the edges exposed. This means that any water that splashes onto the countertop can seep into the sink's edges and potentially cause damage.
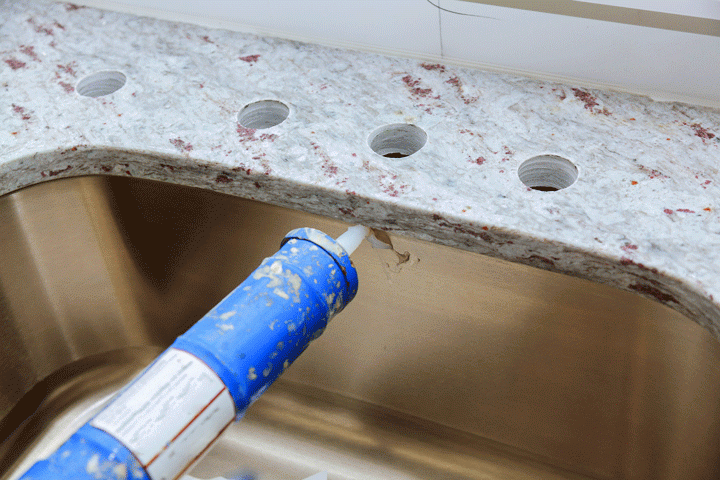
To prevent this, it is important to use a high-quality sealant around the edges of the sink before installation. This will create a waterproof barrier and prevent any water from seeping in. Additionally, regularly inspect and reseal the sink as needed to ensure it remains watertight.
Choosing the Right Material

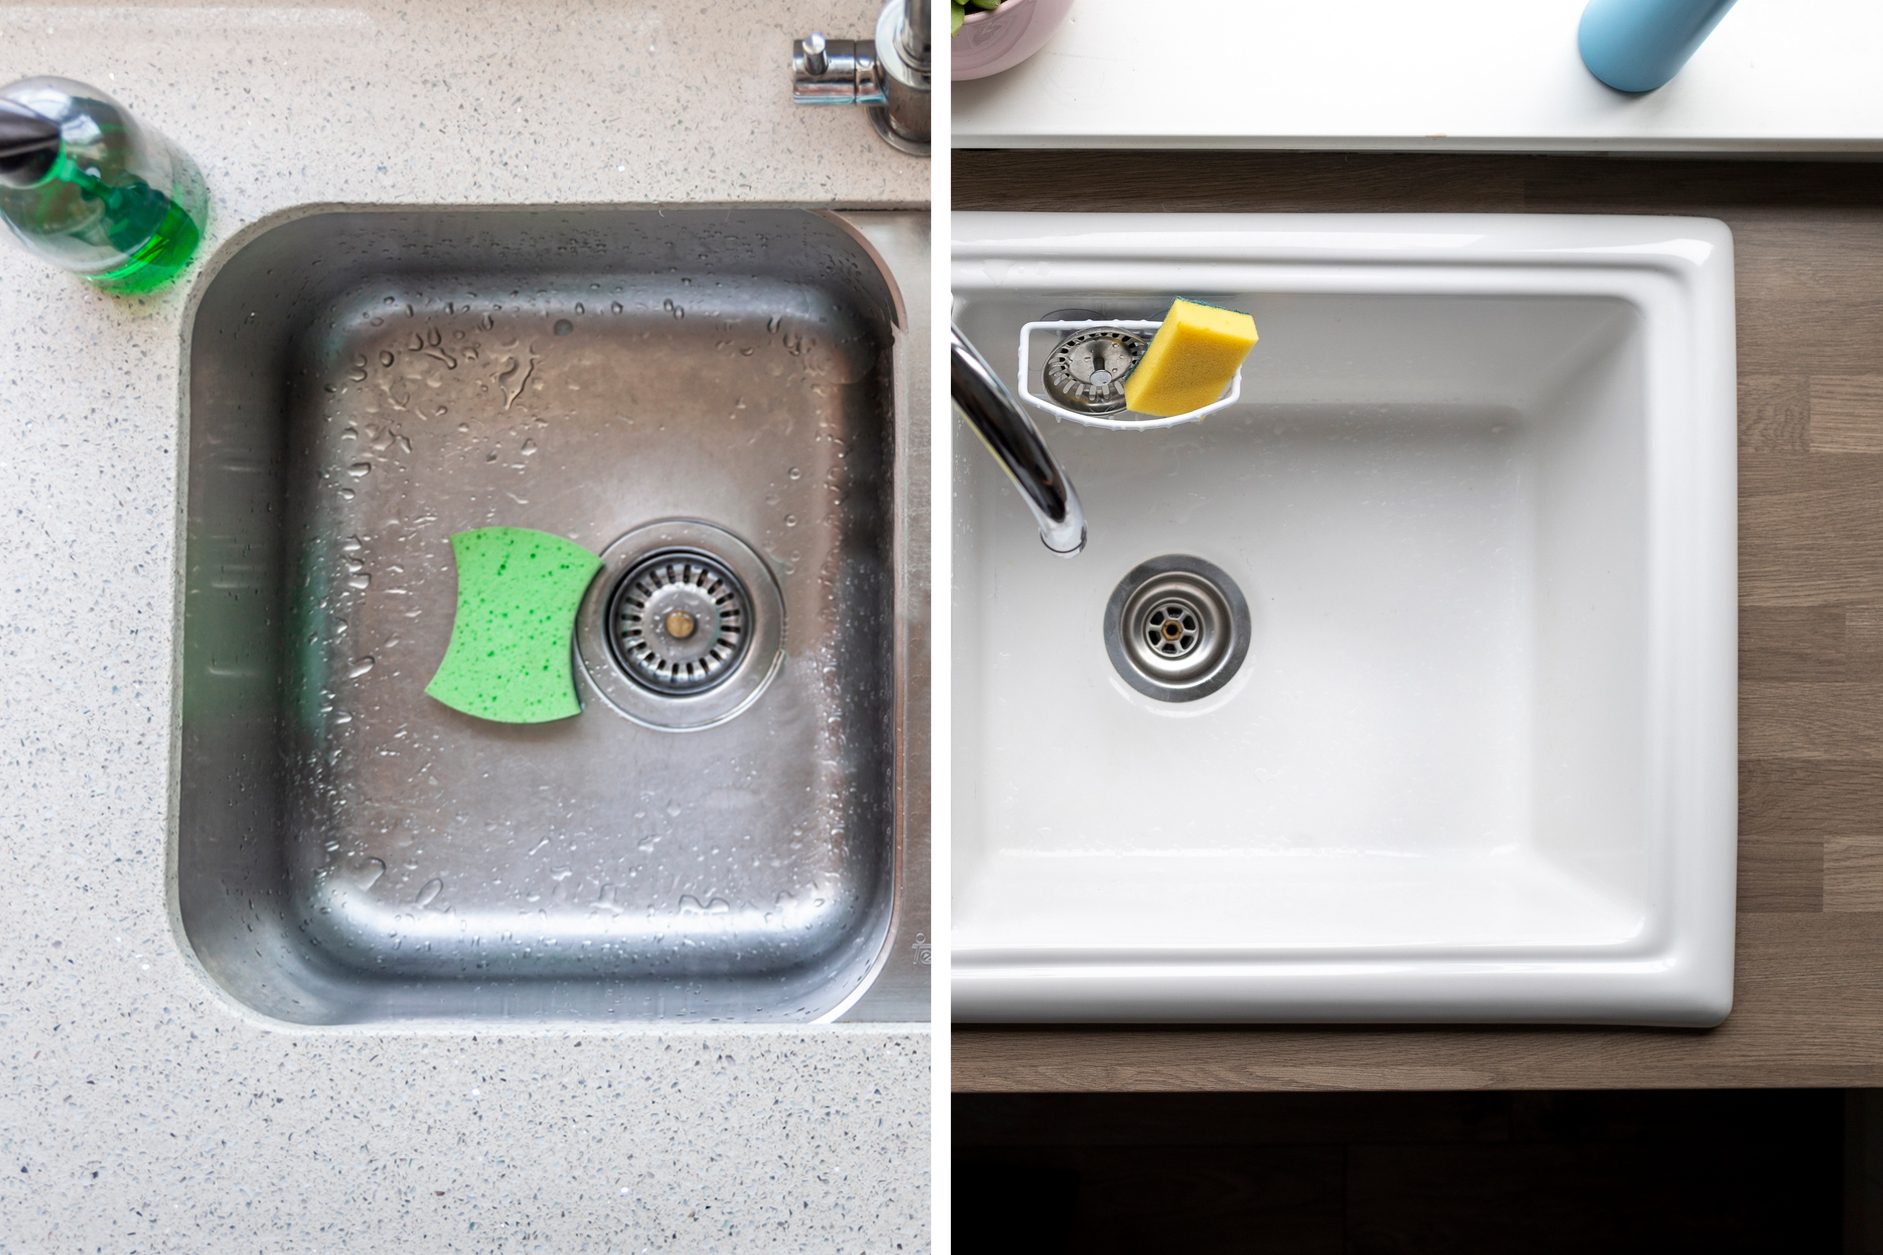
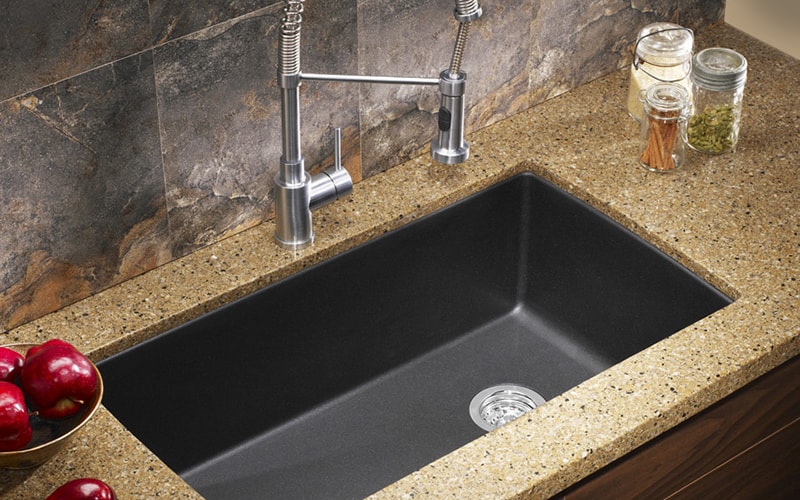
Undermount kitchen sinks come in a variety of materials, including stainless steel, granite, and porcelain. Each material has its own pros and cons, so it is important to consider your needs and preferences when choosing the right sink for your kitchen.
Stainless steel sinks are durable and easy to clean, but they can be noisy and may show water spots. Granite sinks are more expensive but offer a stylish and durable option. Porcelain sinks are also a popular choice, but they may be prone to chipping and staining.
Ultimately, the related main keyword , choosing the right material for your undermount kitchen sink, will depend on your budget, desired aesthetic, and maintenance preferences.
By following these additional considerations, you can ensure a successful and long-lasting installation of your undermount kitchen sink. With the proper support, sealing, and material choice, your new sink will not only enhance the functionality of your kitchen but also add a touch of style to your home design.








:no_upscale()/cdn.vox-cdn.com/uploads/chorus_asset/file/19495086/drain_0.jpg)

