How to Install an Aerator on a Kitchen Sink
If you're looking to improve the water flow and reduce your water usage in the kitchen, installing an aerator on your kitchen sink is a simple and effective solution. Not only does it save you money on your water bill, but it also helps the environment by conserving water. In this guide, we'll walk you through the steps to successfully install an aerator on your kitchen sink.
How to Troubleshoot Common Issues with Kitchen Sink Aerators
While installing an aerator on your kitchen sink may seem like a straightforward task, there can be some common issues that may arise. These can include a leaking aerator, low water pressure, or the aerator not staying in place. We'll provide tips and solutions to these problems so you can have a hassle-free experience with your new aerator.
Step-by-Step Guide for Installing a Kitchen Sink Aerator
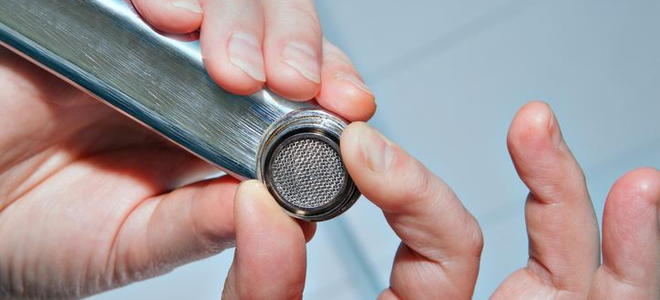
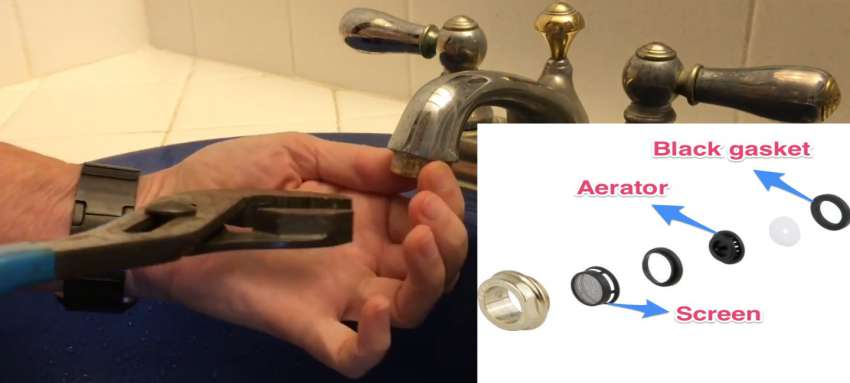
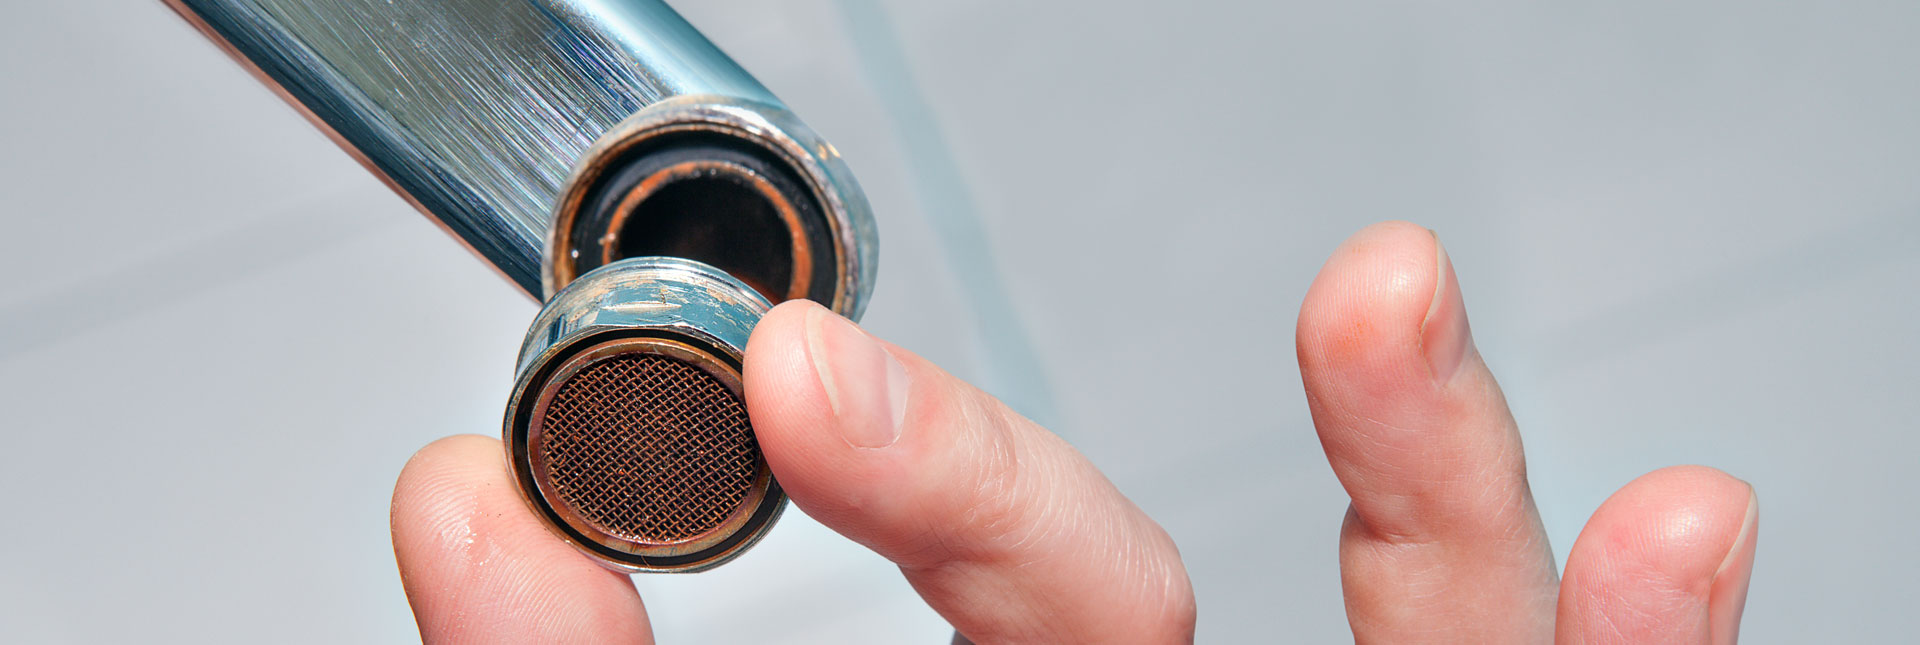
Before you begin, make sure you have all the necessary tools and materials. You will need an adjustable wrench, plumber's tape, and the aerator itself. The first step is to remove the old aerator if there is one. Use your adjustable wrench to loosen and unscrew the old aerator. Then, wrap plumber's tape around the threads on the faucet to ensure a tight seal. Finally, screw on the new aerator and use your adjustable wrench to tighten it in place.
Common Problems When Installing a Kitchen Sink Aerator
One of the most common issues with installing a kitchen sink aerator is a leaking aerator. This can be caused by a damaged or incorrectly installed aerator. To fix this, make sure the aerator is screwed on tightly and replace it if it is damaged. Another common problem is low water pressure. This can be due to a clogged aerator, in which case you can clean it out with a toothbrush and running water. If the low water pressure persists, it may be an issue with your plumbing system.
How to Fix a Leaking Kitchen Sink Aerator
If you notice that your kitchen sink aerator is leaking, it's important to address it as soon as possible to avoid wasting water and potential water damage. First, make sure the aerator is screwed on tightly. If it continues to leak, try using plumber's tape to create a tighter seal. If the leak persists, it may be necessary to replace the aerator altogether.
Tips for Installing an Aerator on a Kitchen Sink with Low Water Pressure
If you have low water pressure in your kitchen sink, installing an aerator can help improve it. However, if the low water pressure persists even after installing the aerator, there are a few things you can try. First, check for any clogs in the aerator and clean it if necessary. You can also check your plumbing system for any issues and consider installing a water pressure regulator if needed.
What to Do When Your Kitchen Sink Aerator Won't Stay in Place
If you find that your kitchen sink aerator keeps coming loose and won't stay in place, there are a few solutions to try. First, make sure it is screwed on tightly. If that doesn't work, you can use plumber's tape or a rubber gasket to create a tighter seal. If the problem persists, it may be necessary to replace the aerator with a new one that fits your sink properly.
How to Remove and Replace a Kitchen Sink Aerator
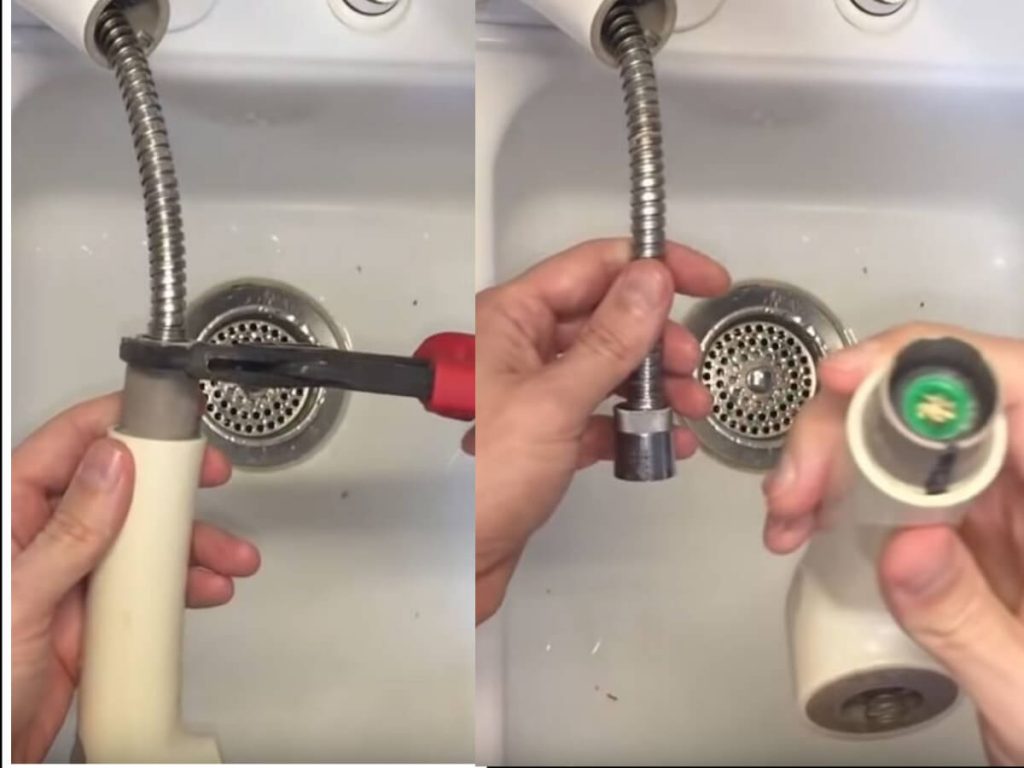
If you need to replace your kitchen sink aerator, the process is fairly simple. Use an adjustable wrench to unscrew and remove the old aerator. Clean the faucet threads and wrap plumber's tape around them. Then, screw on the new aerator and use your adjustable wrench to tighten it in place. Make sure to check for any leaks and adjust the aerator as needed.
Troubleshooting Tips for a Clogged Kitchen Sink Aerator
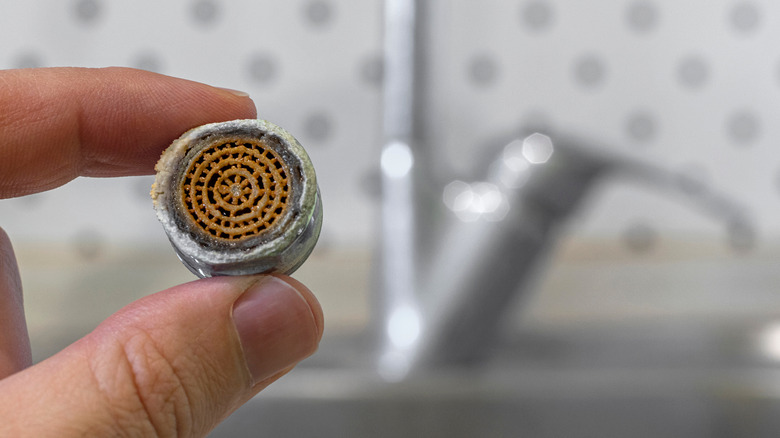
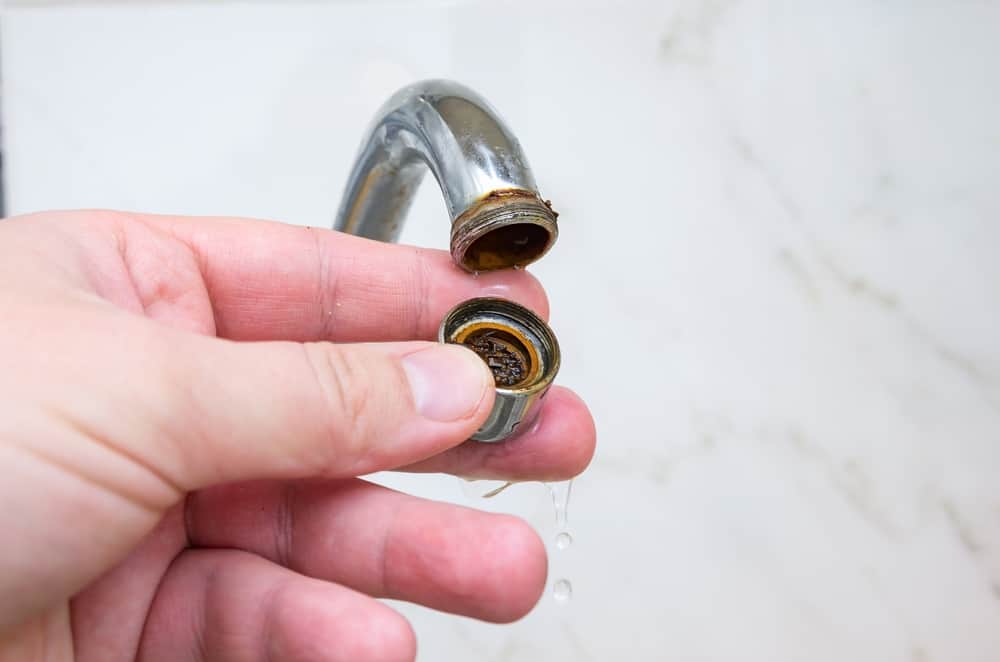
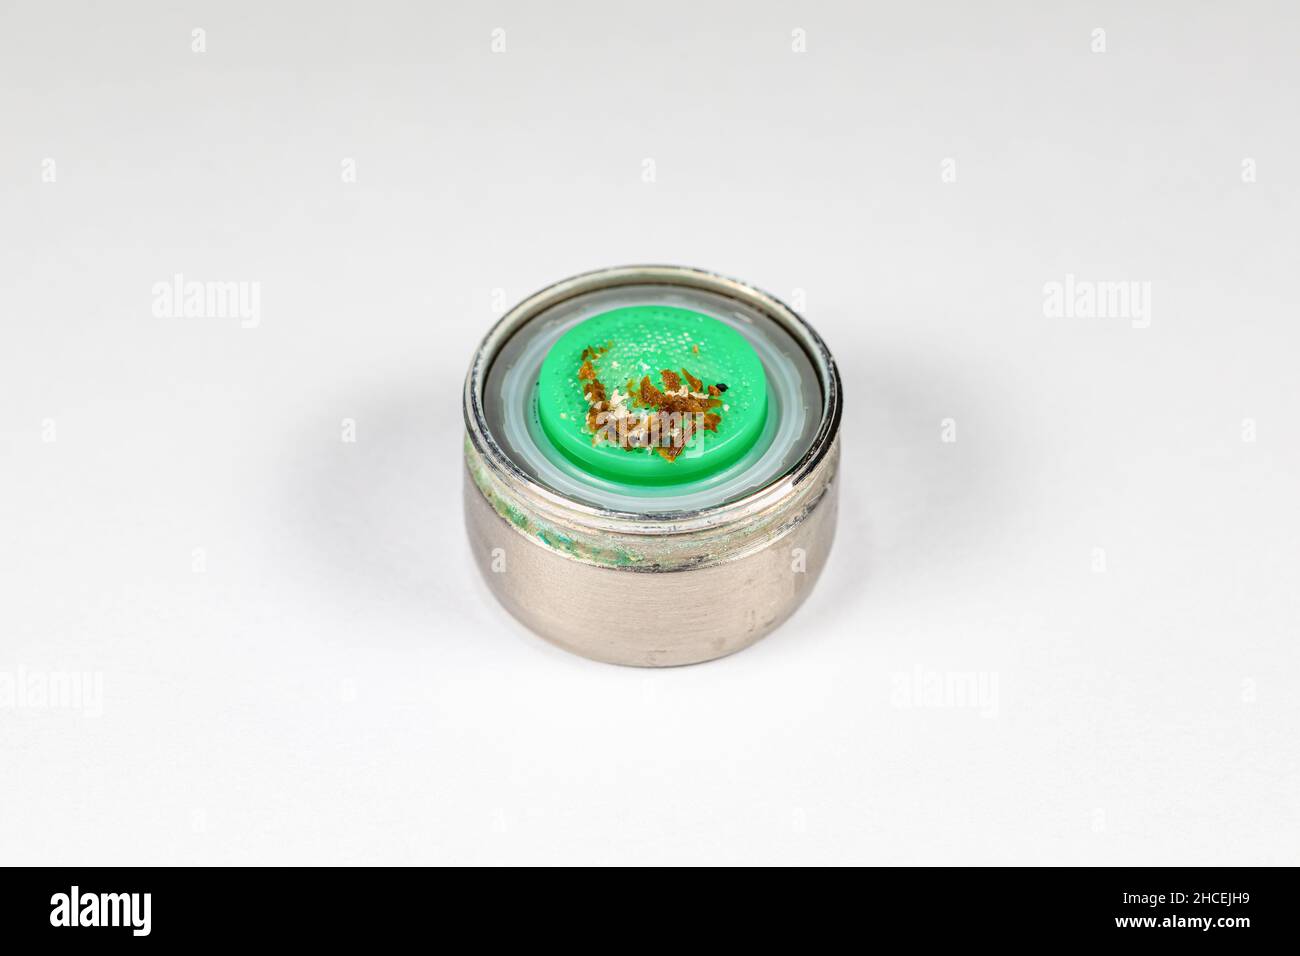
A clogged aerator can cause low water pressure and reduced water flow in your kitchen sink. To troubleshoot this issue, remove the aerator and clean it with a toothbrush and running water. If the clog persists, you may need to replace the aerator. Regularly cleaning and maintaining your aerator can prevent this problem from occurring in the future.
How to Properly Clean and Maintain Your Kitchen Sink Aerator
To ensure your kitchen sink aerator continues to work effectively, it's important to clean and maintain it regularly. Every few months, remove the aerator and clean it with a toothbrush and running water. This will prevent any buildup or clogs from occurring. You can also use a mixture of white vinegar and water to soak the aerator for a more thorough cleaning. Regular maintenance will prolong the lifespan of your aerator and keep your water flow at its best.
Why Installing an Aerator in Your Kitchen Sink is Worth the Trouble

Improves Water Efficiency
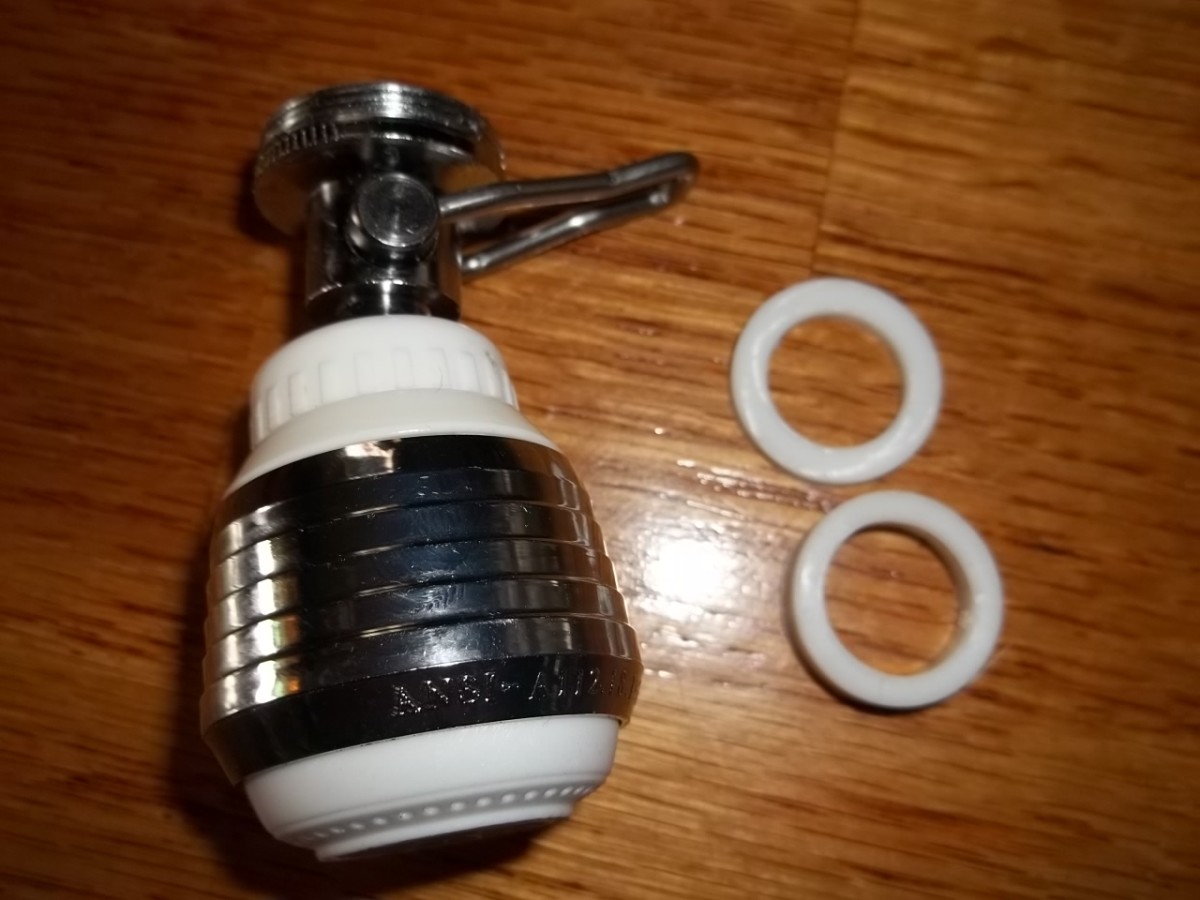 One of the main benefits of installing an aerator in your kitchen sink is the improvement in water efficiency.
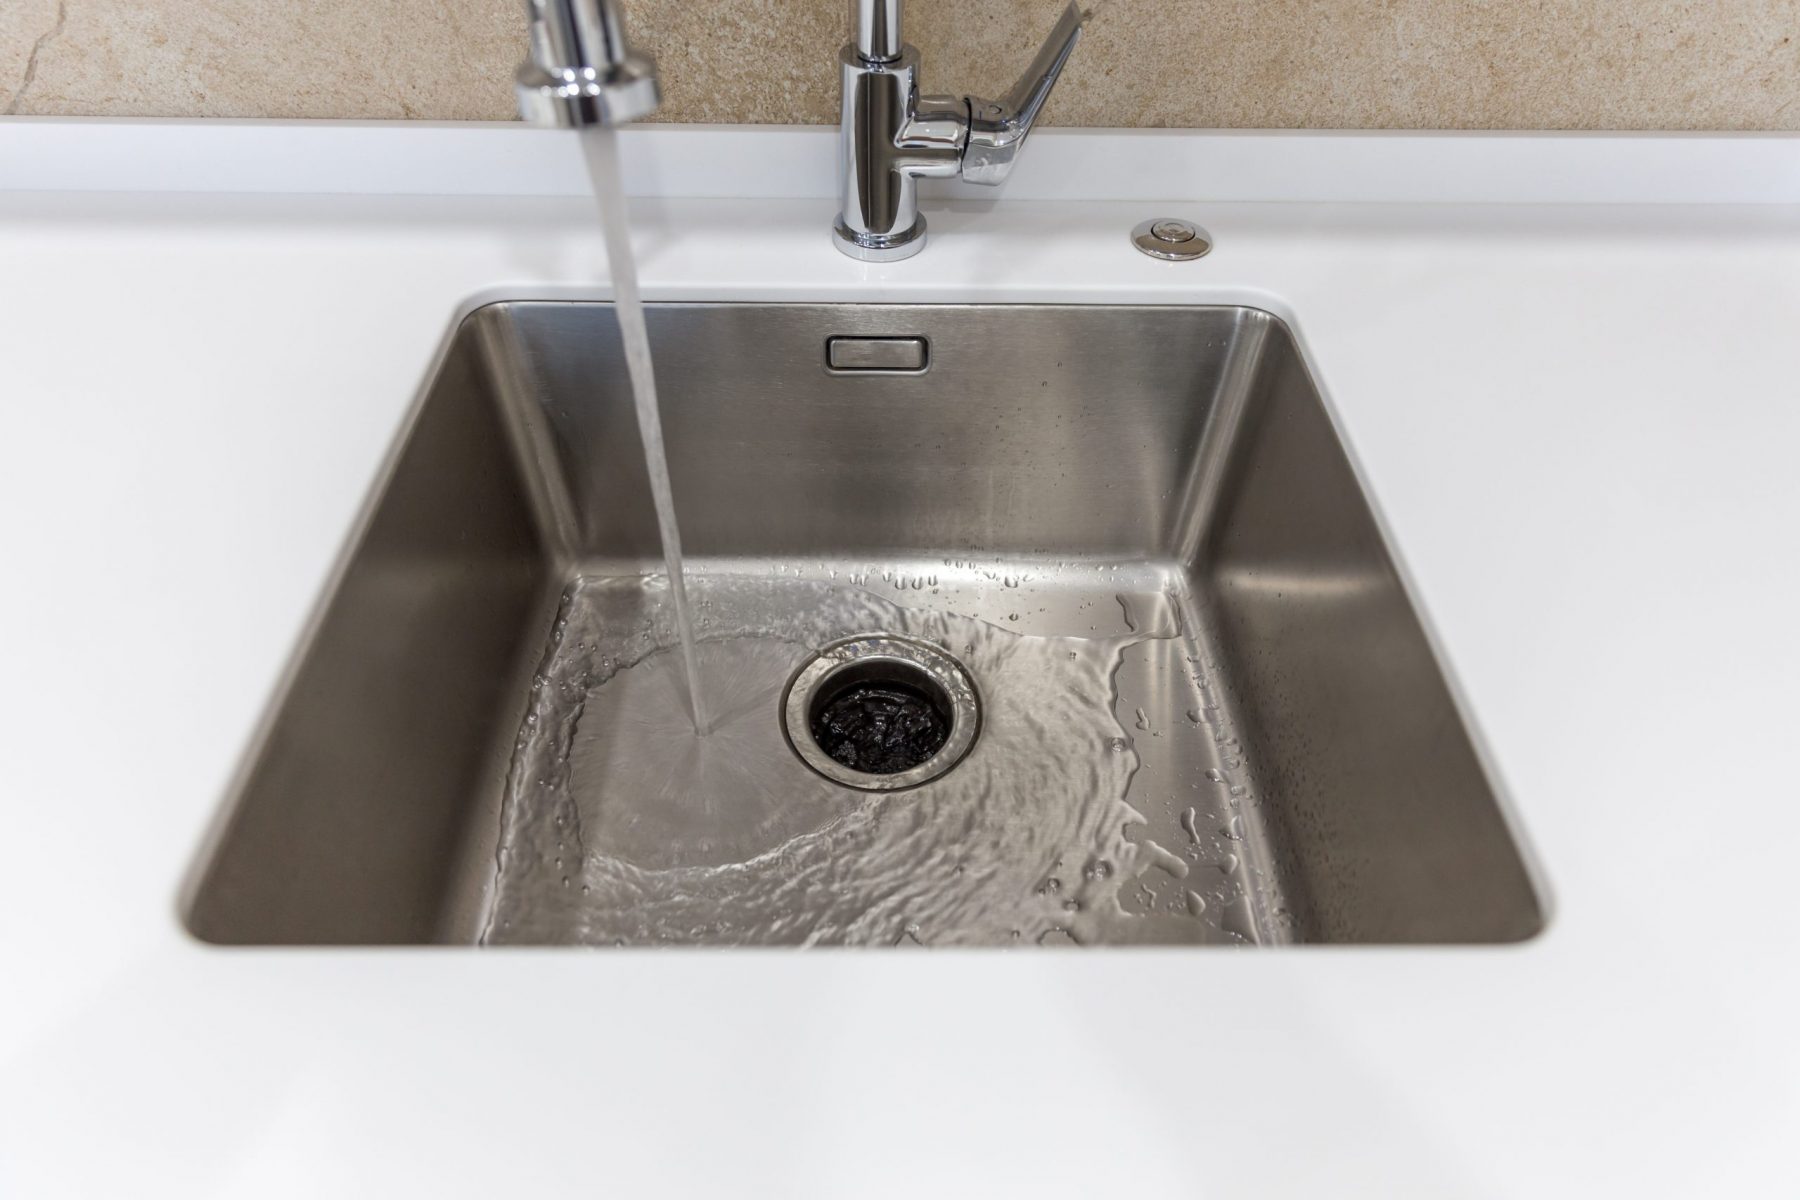
Aerators mix air with the water flow, reducing the amount of water that comes out of the faucet while maintaining the same pressure
. This means you can save both water and money on your utility bills. In fact,
installing an aerator can save up to 50% of water usage
, making it an environmentally-friendly and cost-effective choice for your household.
Reduces Splashing and Noise
 Another common issue with kitchen sinks is the splashing and noise that occurs when the water hits the bottom of the sink. This can be a nuisance and even lead to water stains on nearby surfaces.
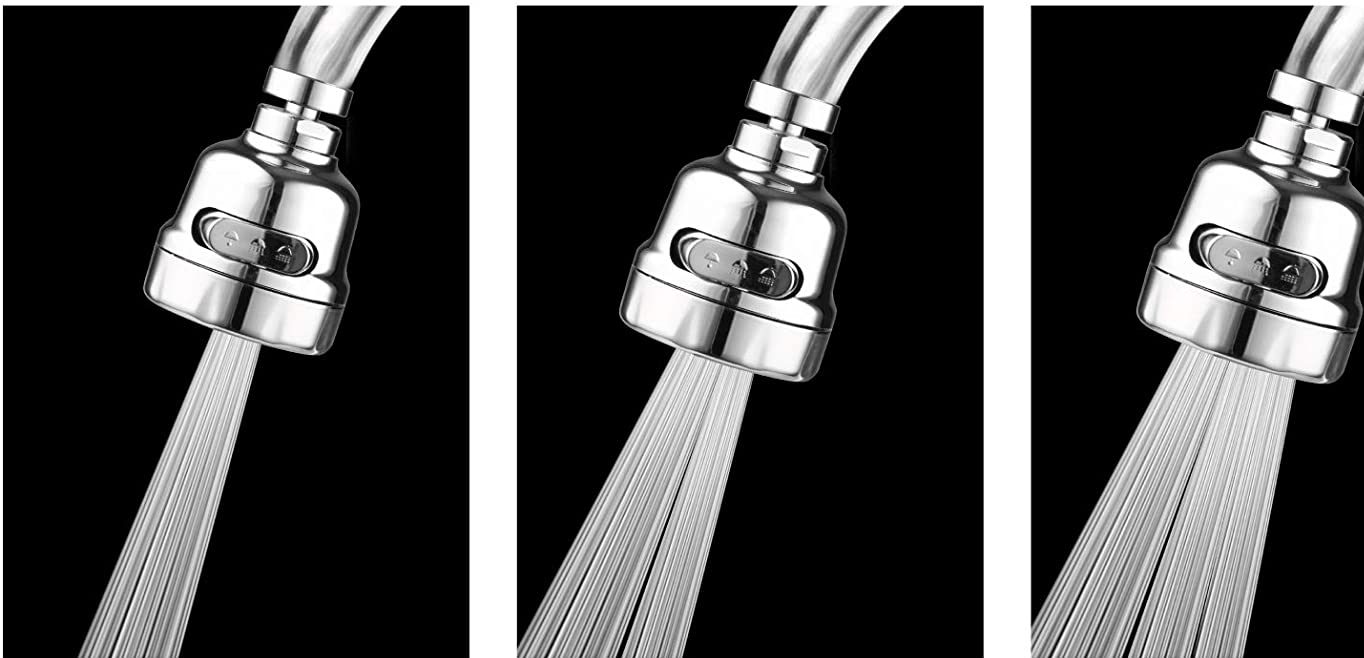
Installing an aerator can help reduce the splashing and noise by breaking the stream of water into smaller droplets
. This not only makes for a quieter and less messy experience, but it also prevents water from being wasted.
Easy to Install
:max_bytes(150000):strip_icc()/clearing-a-blocked-faucet-aerator-2718807-07-b5a90554991f4bb69efb45a472df7f23.jpg) Some homeowners may be hesitant to install an aerator in their kitchen sink, thinking it will be a difficult and time-consuming process. However, the truth is that
installing an aerator is a quick and easy DIY task
. Most aerators come with simple instructions and can be installed in just a few minutes with basic tools. Plus, there are a variety of aerator styles and sizes to choose from, making it easy to find one that fits your sink.
Some homeowners may be hesitant to install an aerator in their kitchen sink, thinking it will be a difficult and time-consuming process. However, the truth is that
installing an aerator is a quick and easy DIY task
. Most aerators come with simple instructions and can be installed in just a few minutes with basic tools. Plus, there are a variety of aerator styles and sizes to choose from, making it easy to find one that fits your sink.
Improves the Overall Look of Your Sink
 In addition to the practical benefits, installing an aerator in your kitchen sink can also improve the overall look and design of your sink.
There are many modern and stylish aerator designs available that can add a touch of elegance to your sink area
. Plus, with the added benefits of water efficiency and reduced splashing, your sink will not only look better but also function better.
Conclusion
:max_bytes(150000):strip_icc()/cleaning-the-aerator-from-deposits--the-girl-hand-washes-a-dirty-limestone-aerator-with-water-1126244919-72868100964f42d5aa564a928371fea5.jpg) In conclusion,
installing an aerator in your kitchen sink is a simple and cost-effective solution that offers many benefits
. From saving water and money to reducing splashing and improving the overall look of your sink, an aerator is a worthwhile addition to any household. So if you're experiencing trouble with your kitchen sink, consider installing an aerator and see the difference it can make for yourself.
In conclusion,
installing an aerator in your kitchen sink is a simple and cost-effective solution that offers many benefits
. From saving water and money to reducing splashing and improving the overall look of your sink, an aerator is a worthwhile addition to any household. So if you're experiencing trouble with your kitchen sink, consider installing an aerator and see the difference it can make for yourself.

/RemovingAeratorAssembly-99881d30169b43cebc3fe72f6d4b25b9.jpg)


/fixing-a-tap-459986221-5afc675431283400371f7872.jpg)






:no_upscale()/cdn.vox-cdn.com/uploads/chorus_asset/file/19495086/drain_0.jpg)













:max_bytes(150000):strip_icc()/RemovingAeratorAssembly-99881d30169b43cebc3fe72f6d4b25b9.jpg)

:max_bytes(150000):strip_icc()/InstallRemoveAerator2-f30bbe2fb3514b7aa88f8b1fcb504a6e.jpg)


