If you're planning on upgrading your kitchen, one of the first things you might consider is replacing your old sink with a new, modern, and durable acrylic kitchen sink. Not only does an acrylic sink add a sleek and stylish touch to your kitchen, but it is also easy to install and maintain. In this guide, we'll take you through the step-by-step process of installing an acrylic kitchen sink, so you can enjoy a beautiful and functional new addition to your kitchen in no time.Acrylic Kitchen Sink Installation Guide
Before you begin the installation process, there are a few things you'll need to prepare. These include a new acrylic kitchen sink, a drill, screwdriver, plumber's putty, silicone sealant, and a wrench. Once you have all the necessary tools and materials, follow these steps to install your new acrylic kitchen sink:How to Install an Acrylic Kitchen Sink
Step 1: Prepare the Sink Area Start by removing the old sink, disconnecting all the plumbing, and cleaning the area thoroughly. Make sure to also remove any old caulk or putty from the surrounding countertop. Step 2: Measure and Mark the Sink Area Place your new acrylic sink upside down on the countertop and trace its outline with a pencil. Use a measuring tape to ensure that the sink is centered and level. Step 3: Drill Faucet and Drain Holes Using a drill, create holes for the faucet and drain in the designated areas on the sink. Refer to the manufacturer's instructions for the correct hole sizes. Step 4: Apply Plumber's Putty Roll plumber's putty into thin ropes and place them around the edges of the sink's holes. This will help create a watertight seal once the sink is installed. Step 5: Install the Faucet Place the faucet through the designated hole and secure it with the mounting hardware provided by the manufacturer. Step 6: Install the Drain Apply plumber's putty around the drain hole and place the drain in the sink. Secure it from underneath with the provided mounting hardware. Step 7: Apply Silicone Sealant Run a bead of silicone sealant around the edges of the sink's outline on the countertop. This will help create a watertight seal once the sink is installed. Step 8: Place the Sink Carefully place the sink in the designated area and press down to ensure a good seal with the silicone. Wipe off any excess sealant with a damp cloth. Step 9: Connect the Plumbing Connect the plumbing to the new sink, making sure all connections are secure and tight. Turn on the water and check for any leaks. Step 10: Clean Up Once everything is installed and working properly, clean up the area and enjoy your new acrylic kitchen sink!Step-by-Step Guide for Installing an Acrylic Kitchen Sink
If you're a DIY enthusiast, installing an acrylic kitchen sink can be a fun and satisfying project. With the right tools and materials, and by following the steps outlined above, you can easily install your own acrylic kitchen sink and save money on professional installation fees.DIY Acrylic Kitchen Sink Installation
Here are a few tips and tricks that can help make your acrylic kitchen sink installation even easier: Tip 1: When removing the old sink, be careful not to damage the surrounding countertops or cabinets. Tip 2: Use a level to ensure that the sink is installed evenly and avoid any potential water pooling. Tip 3: Before applying silicone sealant, make sure the area is clean and dry to ensure a good seal. Tip 4: If your sink doesn't come with a template, you can create one by tracing the outline of the sink on a piece of cardboard.Acrylic Kitchen Sink Installation Tips and Tricks
Before purchasing an acrylic kitchen sink, it's important to do your research and understand the different types and styles available. You should also consider the size and configuration of your kitchen to ensure that the sink you choose fits perfectly and meets your needs.Installing an Acrylic Kitchen Sink: What You Need to Know
Installing an acrylic kitchen sink requires some basic plumbing and DIY skills. If you're not confident in your abilities, it's always best to seek professional help to ensure a proper and secure installation.Acrylic Kitchen Sink Installation: A Comprehensive Guide
Installing an acrylic kitchen sink involves measuring, drilling, applying sealant, and connecting plumbing. It's important to follow each step carefully and use the right tools and materials to ensure a successful installation.The Process of Installing an Acrylic Kitchen Sink
Here are some common mistakes to avoid when installing an acrylic kitchen sink: Mistake 1: Not properly measuring and marking the sink area, resulting in an uneven installation. Mistake 2: Using the wrong size drill bit for the faucet and drain holes, causing them to be too big or too small. Mistake 3: Not applying enough silicone sealant, resulting in leaks and potential water damage.Acrylic Kitchen Sink Installation: Common Mistakes to Avoid
If you're not confident in your DIY skills, it's always best to seek the help of a professional plumber or contractor. They can ensure a proper and secure installation, and save you time and potential headaches in the long run.Expert Tips for Installing an Acrylic Kitchen Sink
Why Choose an Acrylic Kitchen Sink for Your Home?

Durability and Longevity
 When it comes to choosing a kitchen sink, durability and longevity are key factors to consider.
Acrylic kitchen sinks
are made from a strong and durable plastic material, making them resistant to scratches, stains, and heat. This means they can withstand the everyday wear and tear of a busy kitchen and maintain their appearance for years to come. Unlike traditional porcelain or stainless steel sinks, acrylic sinks are less prone to chipping or denting, making them a practical choice for any household.
Easy Maintenance
 One of the biggest advantages of
acrylic kitchen sinks
is their low maintenance requirements. They are non-porous, which means they do not absorb liquids or bacteria, making them easy to clean and maintain. A simple wipe down with a mild soap and water solution is all it takes to keep your sink looking brand new. Additionally, the smooth surface of acrylic sinks makes it difficult for dirt and grime to build up, making them a hygienic choice for your kitchen.
Design and Style Options
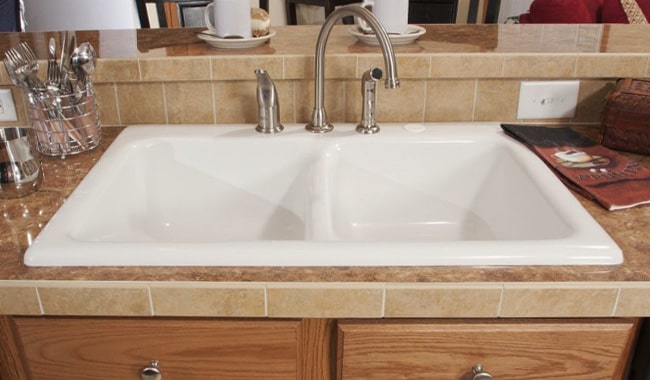
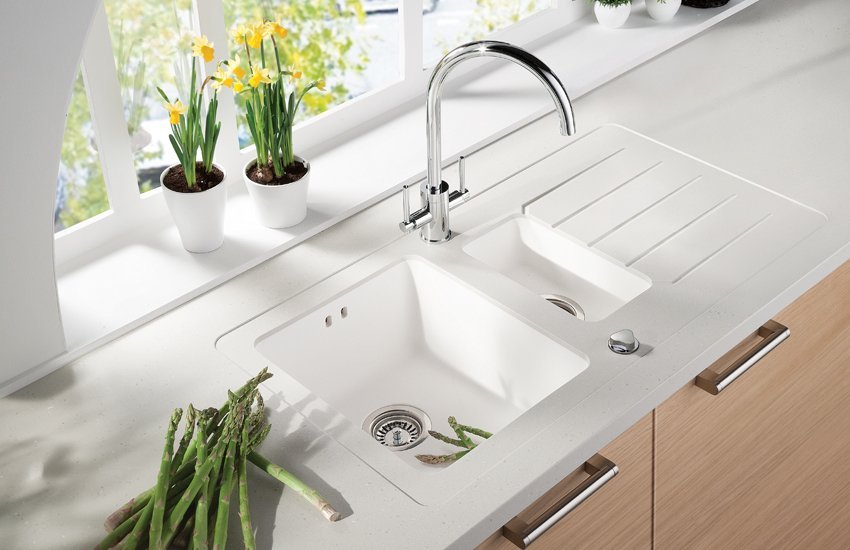
 Acrylic sinks come in a variety of styles and colors, giving you the freedom to choose one that complements your kitchen design. Whether you prefer a classic white sink or a bold, modern color, acrylic sinks offer a wide range of options to suit any taste. They can also be molded into different shapes and sizes, making them a versatile choice for any kitchen layout.
Budget-Friendly Option
 Renovating a kitchen can be an expensive endeavor, but acrylic sinks offer a budget-friendly option without compromising on quality. They are generally more affordable than other sink materials, making them a popular choice for homeowners looking to update their kitchen without breaking the bank.
Conclusion
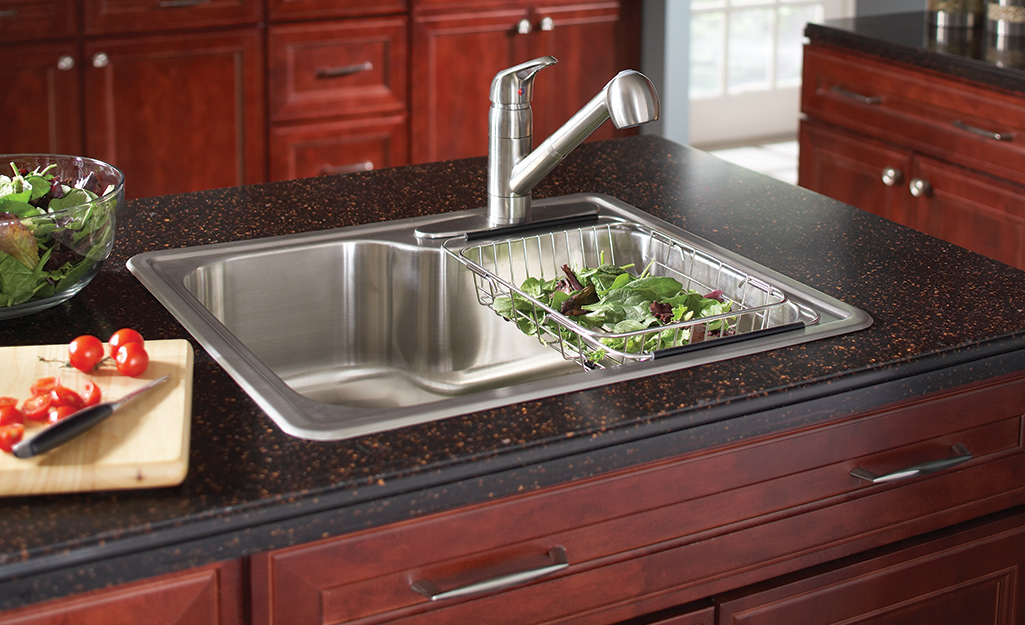 Overall,
installing an acrylic kitchen sink
is a smart choice for any homeowner looking for a durable, low maintenance, and stylish sink option for their kitchen. With its many benefits and design options, an acrylic sink is a practical and cost-effective addition to any household. So if you're in the process of renovating your kitchen, be sure to consider an acrylic sink as your top choice.













/how-to-install-a-sink-drain-2718789-hero-24e898006ed94c9593a2a268b57989a3.jpg)







/AMI089-4600040ba9154b9ab835de0c79d1343a.jpg)


