Installing a Bathroom Corner Sink
Installing a bathroom corner sink can be a great way to save space and add a unique touch to your bathroom design. Whether you’re renovating your entire bathroom or just looking for a small update, a corner sink can be a practical and stylish choice. In this guide, we’ll walk you through the steps of installing a bathroom corner sink and provide some helpful tips along the way.
How to Install a Corner Bathroom Sink
Before you begin the installation process, it’s important to take some time to plan out your design and make sure you have all the necessary tools. Installing a corner sink can be a bit more complicated than a traditional sink, so it’s important to have a clear understanding of the process before you start.
The first step is to remove the existing sink and any plumbing fixtures in the area. Then, measure the space where the sink will go to ensure that your new sink will fit properly. You may need to make adjustments to the plumbing or the surrounding walls to accommodate the new sink.
Step-by-Step Guide for Installing a Corner Bathroom Sink
Once you have everything planned out and your space is ready, it’s time to start the installation process. Here are the basic steps to follow:
Step 1: Assemble the Sink and Faucet
Before you install the sink, it’s important to assemble it first. This includes attaching the faucet and any other fixtures that come with the sink. Make sure to follow the manufacturer’s instructions carefully to ensure everything is assembled correctly.
Step 2: Install the Drain
Next, you’ll need to install the drain. This involves attaching the drain pipe to the sink and connecting it to the existing plumbing. Make sure to use plumber’s tape to ensure a tight seal.
Step 3: Mount the Sink
Once the drain is installed, you can mount the sink to the wall. If you’re installing a pedestal sink, you’ll need to use a mounting bracket to secure it to the wall. If you’re installing a wall-mounted sink, make sure to use heavy-duty anchors to support the weight of the sink.
Step 4: Connect the Water Supply
After the sink is mounted, you can connect the water supply. This involves attaching the hot and cold water pipes to the faucet. Make sure to use the appropriate fittings for your pipes and tighten them securely.
Step 5: Test the Sink
Before finishing the installation, it’s important to test the sink to make sure there are no leaks. Turn on the water and check for any drips or leaks. If everything looks good, you can move on to the final step.
Step 6: Seal the Sink
Finally, you’ll want to seal around the edges of the sink to prevent any water from getting in between the sink and the wall. Use a silicone caulk to create a watertight seal.
DIY Bathroom Corner Sink Installation
If you’re a handy person and have some experience with plumbing, you may be able to install a bathroom corner sink on your own. However, keep in mind that this can be a more challenging project than installing a traditional sink, so it’s important to have the right tools and knowledge before attempting it on your own.
Make sure to carefully read the instructions and follow all safety precautions to avoid any mishaps. If you’re unsure about any step of the process, it’s best to consult a professional to ensure the sink is installed correctly and safely.
Corner Bathroom Sink Installation Tips
Here are some helpful tips to keep in mind when installing a corner bathroom sink:
Choose the Right Location: Before you start installing the sink, make sure you have chosen the best location for it. Consider the layout of your bathroom and the location of existing plumbing and electrical outlets.
Pay Attention to Measurements: It’s important to measure carefully and accurately to ensure the sink will fit in the designated space. You may need to make adjustments to the plumbing or walls to accommodate the sink.
Use the Right Tools: Installing a corner sink may require some specialized tools, such as a hacksaw or a basin wrench. Make sure to have all the necessary tools on hand before starting the installation.
Don’t Forget to Seal: Sealing around the edges of the sink is an important step to prevent water damage. Use a silicone caulk and smooth it out evenly for a professional finish.
Tools Needed for Installing a Bathroom Corner Sink
Here are some of the tools you may need for installing a bathroom corner sink:
Hacksaw
Basin Wrench
Screwdrivers
Adjustable Wrench
Level
Plumber’s Tape
Silicone Caulk
Choosing the Right Corner Sink for Your Bathroom
When it comes to choosing the right corner sink for your bathroom, there are a few factors to consider:
Size: Make sure to measure the available space in your bathroom to ensure the sink will fit properly.
Style: There are many styles of corner sinks to choose from, so consider the overall design of your bathroom and choose a sink that will complement it.
Material: Corner sinks come in a variety of materials, such as porcelain, ceramic, and glass. Choose a material that is both durable and visually appealing.
Functionality: Consider how you will be using the sink and choose one with the appropriate number of bowls and faucet options.
Common Mistakes to Avoid When Installing a Corner Bathroom Sink
Here are some common mistakes to avoid when installing a corner bathroom sink:
Not Following Instructions: It’s important to carefully read and follow the manufacturer’s instructions for the sink and any fixtures that come with it.
Forgetting to Turn Off the Water: Before starting the installation, make sure to turn off the water supply to avoid any potential flooding.
Incorrect Measurements: Measuring accurately is crucial when installing a corner sink. Double-check your measurements to ensure the sink will fit properly.
Using the Wrong Tools: Using the wrong tools can make the installation process more difficult and may lead to mistakes. Make sure to use the appropriate tools for the job.
Professional vs. DIY Installation for a Bathroom Corner Sink
Deciding whether to hire a professional or attempt a DIY installation for a bathroom corner sink can depend on a few factors:
Experience: If you have experience with plumbing and feel confident in your abilities, you may be able to tackle the installation on your own.
Time and Effort: Installing a corner sink can be a time-consuming and labor-intensive process, so consider whether you have the time and energy to do it yourself.
Budget: Hiring a professional can be more expensive, but it may be worth it if you’re not confident in your DIY skills.
Cost Breakdown for Installing a Bathroom Corner Sink
The cost of installing a bathroom corner sink can vary depending on the specific sink and materials you choose, as well as the cost of labor if you decide to hire a professional. Here is a breakdown of potential costs:
Sink and Fixtures: $200-$800
Tools and Supplies: $50-$100
Labor: $200-$500
Keep in mind that these costs are just estimates and may vary depending on your location and the specific details of your project.
Why Choose a Bathroom Corner Sink?

Maximize Space and Functionality
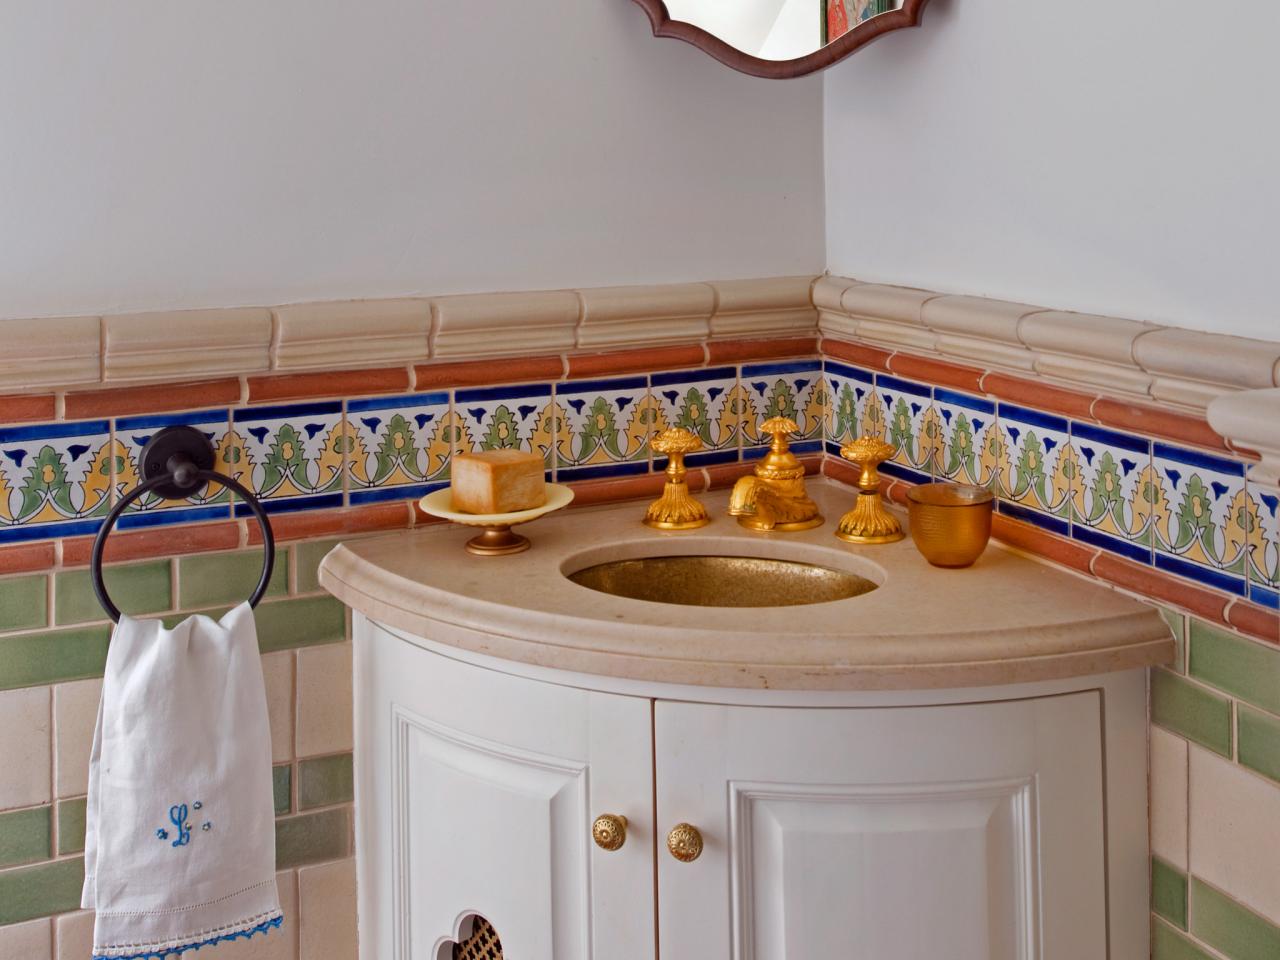
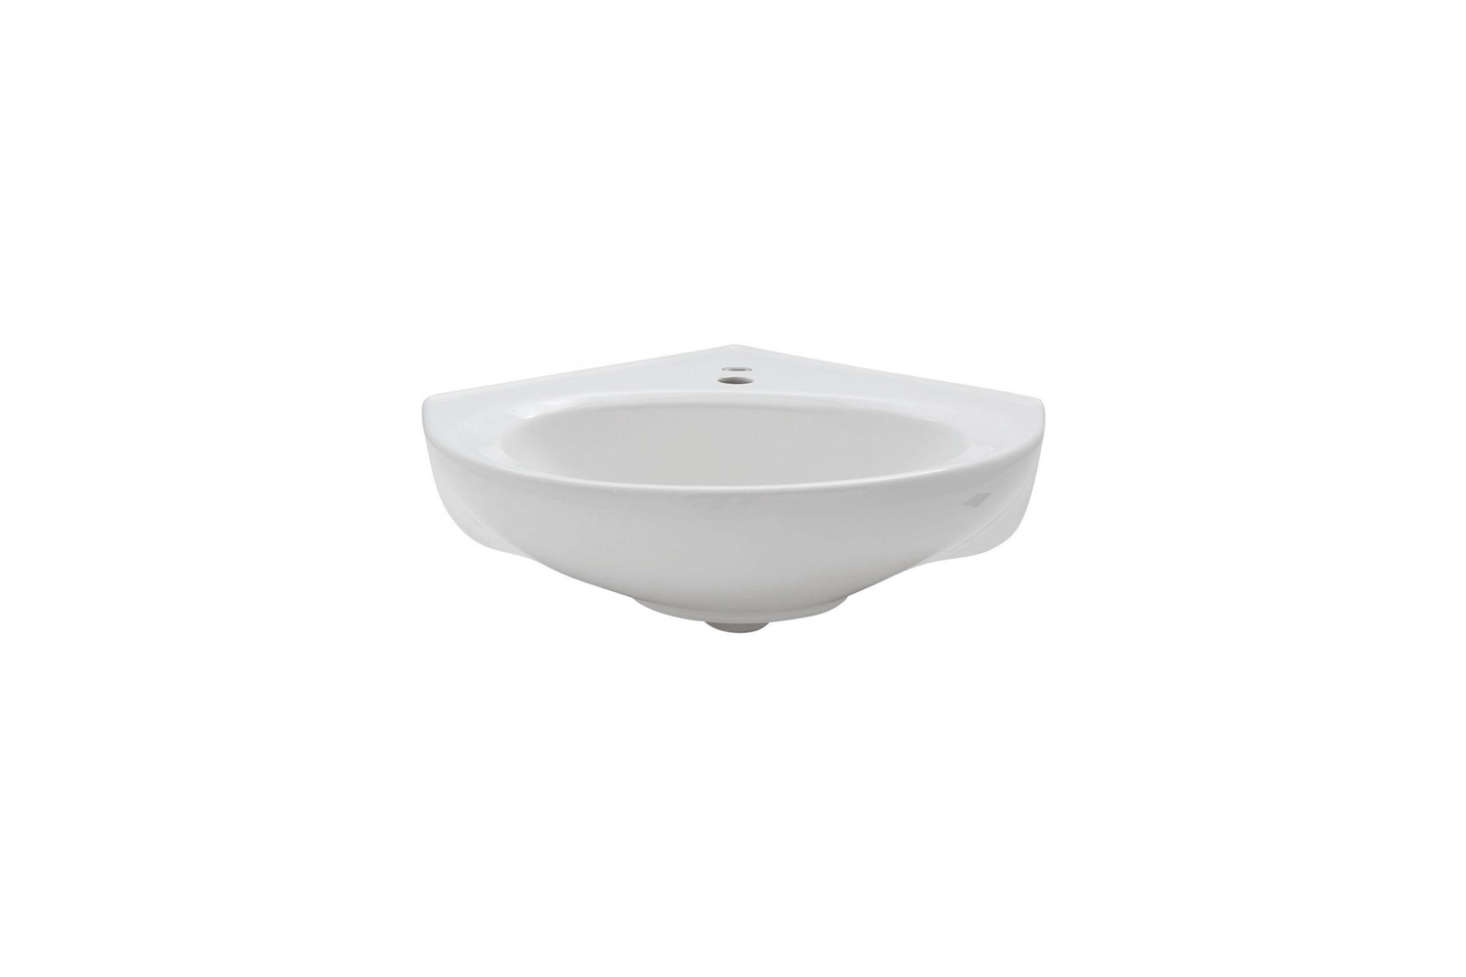
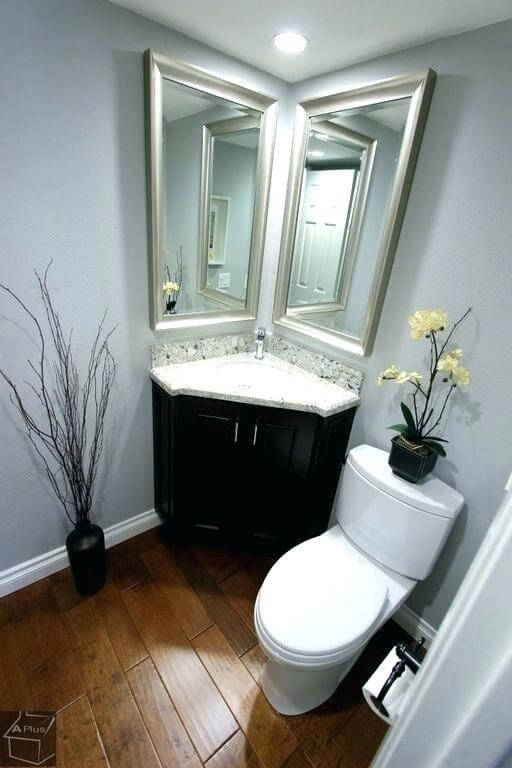
 A bathroom corner sink is an excellent choice for those looking to maximize space and functionality in their bathroom design. As the name suggests, these sinks are specifically designed to fit in the corner of a bathroom, making use of otherwise unused space. This can be particularly beneficial in smaller bathrooms or powder rooms where space is at a premium. With a corner sink, you can still have all the necessary components of a fully functional bathroom without sacrificing valuable floor space.
Aesthetically Pleasing
 In addition to their practicality, bathroom corner sinks can also add a unique and stylish touch to your bathroom design. By placing the sink in the corner, it creates a visually appealing asymmetry that can add interest to the overall look of the room. There are also a variety of styles and designs available, from traditional to modern, so you can find the perfect corner sink to complement your existing bathroom decor.
Easy Installation
 Another advantage of a bathroom corner sink is its relatively easy installation process. Most corner sinks come with a template for cutting the countertop, making it a straightforward DIY project for those with some basic plumbing and carpentry skills. This can save you time and money compared to installing a traditional sink, which may require professional help.
Functional Design
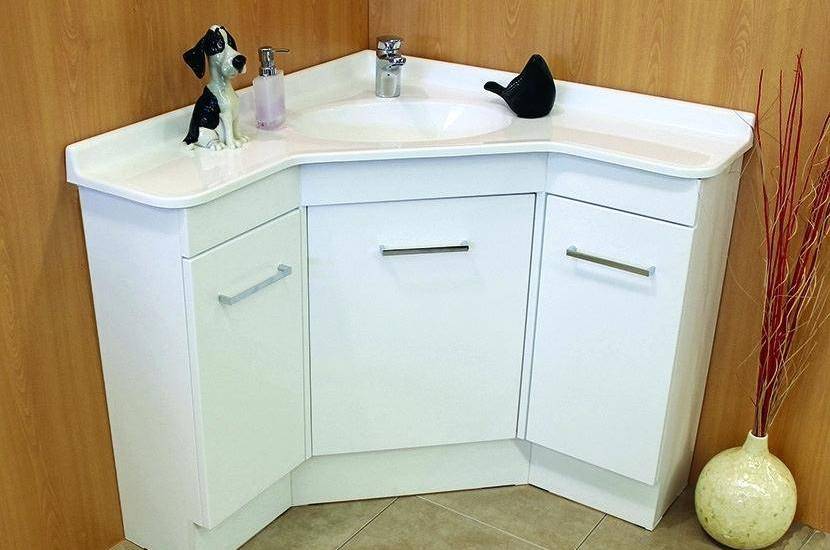 Many bathroom corner sinks also come with built-in storage options, such as cabinets or shelves, to further maximize the functionality and space-saving benefits. This allows you to keep necessary bathroom items close at hand while still keeping your countertops clutter-free. Additionally, the compact design of a corner sink allows for easier maneuvering in the bathroom, making it a practical choice for those with limited mobility.
Conclusion
 In conclusion, a bathroom corner sink offers numerous benefits that make it a smart choice for any bathroom design. With its space-saving capabilities, aesthetic appeal, easy installation, and functional design, it is a practical and stylish addition to any home. So if you're looking to upgrade your bathroom, consider choosing a corner sink to add both functionality and style to your space.













:max_bytes(150000):strip_icc()/steam-cleaning-professional-vs-diy-2908776-hero-24ffd77737924bca908036dabcdcbbad.jpg)


