Are you tired of constantly reaching for the soap bottle on your kitchen counter? Installing a soap dispenser in your kitchen sink can make your daily tasks much more convenient and efficient. Not only does it free up counter space, but it also adds a touch of elegance to your kitchen. Follow these easy steps to install a soap dispenser in your kitchen sink.How to Install a Soap Dispenser in Your Kitchen Sink
The first step in installing a soap dispenser is to gather all the necessary materials. This includes a soap dispenser kit, a drill, a 1 ¼ inch hole saw, silicone caulking, and a screwdriver. Make sure to choose a soap dispenser kit that matches the style of your kitchen sink.Step 1: Gather Your Materials
Before you start drilling, make sure to clean the area where you want to install the soap dispenser. Use rubbing alcohol to remove any residue or dirt from the surface. This will ensure that the silicone caulking adheres properly to the sink.Step 2: Prepare the Sink
Using a pencil, mark the spot where you want to install the soap dispenser on your sink. Make sure to choose a location that is easily accessible and not too close to the edge of the sink. This will prevent any potential leaks or spills.Step 3: Mark the Spot
Using the 1 ¼ inch hole saw, carefully drill a hole at the marked spot on your sink. It is important to go slowly and steadily to prevent any damage to the sink. You can also use a small piece of wood underneath the sink to support the drill and prevent the sink from getting scratched.Step 4: Drill the Hole
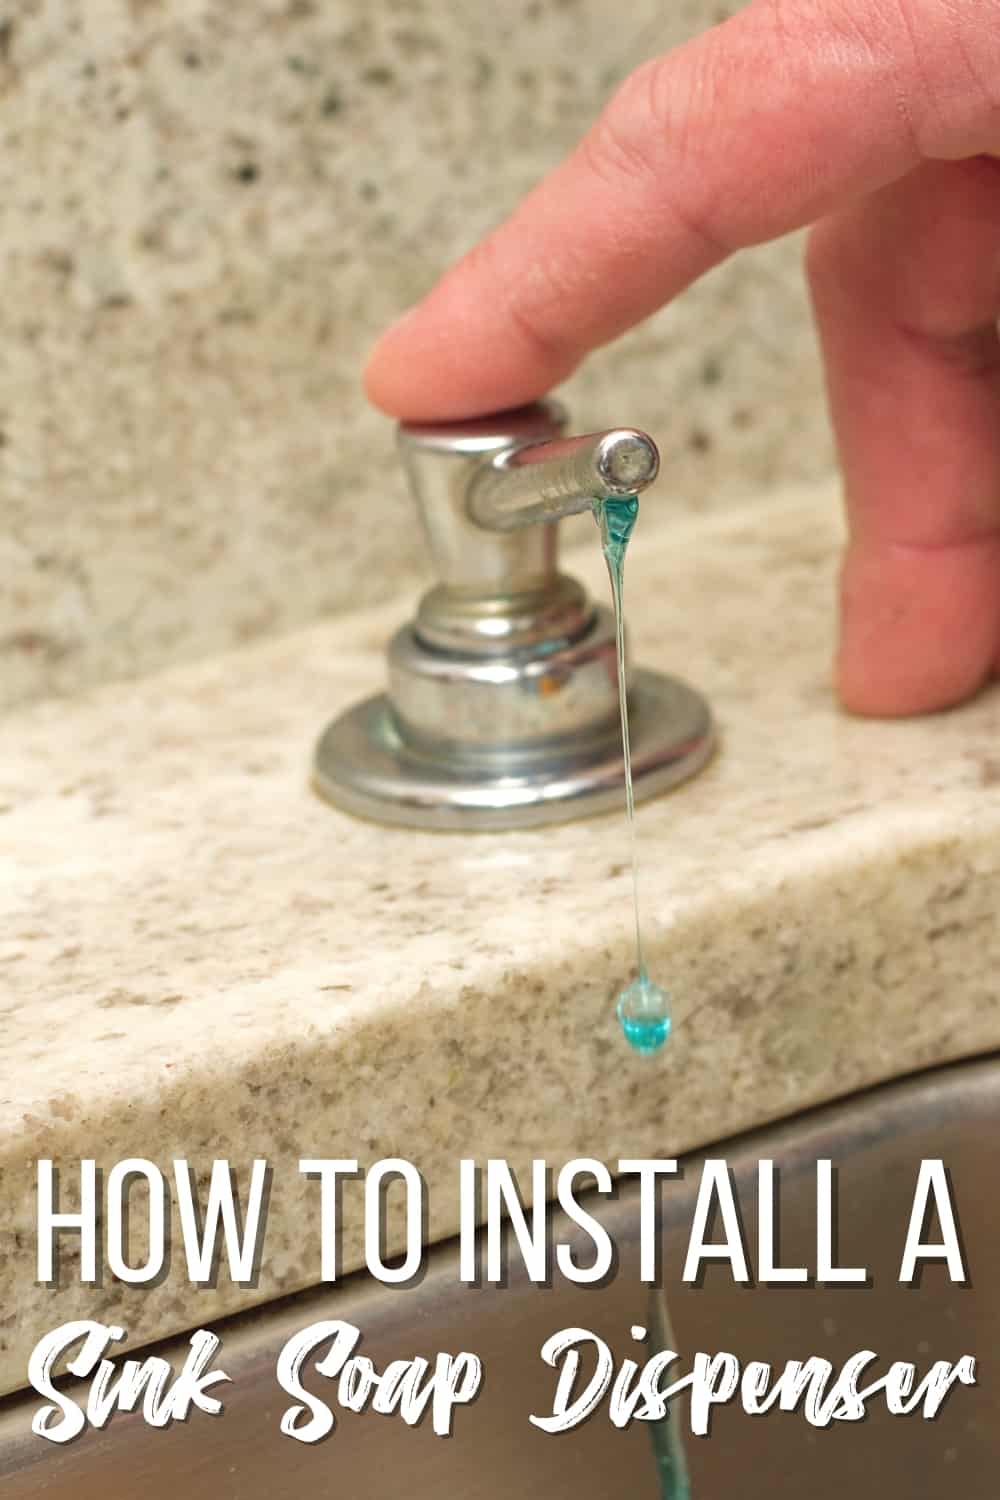
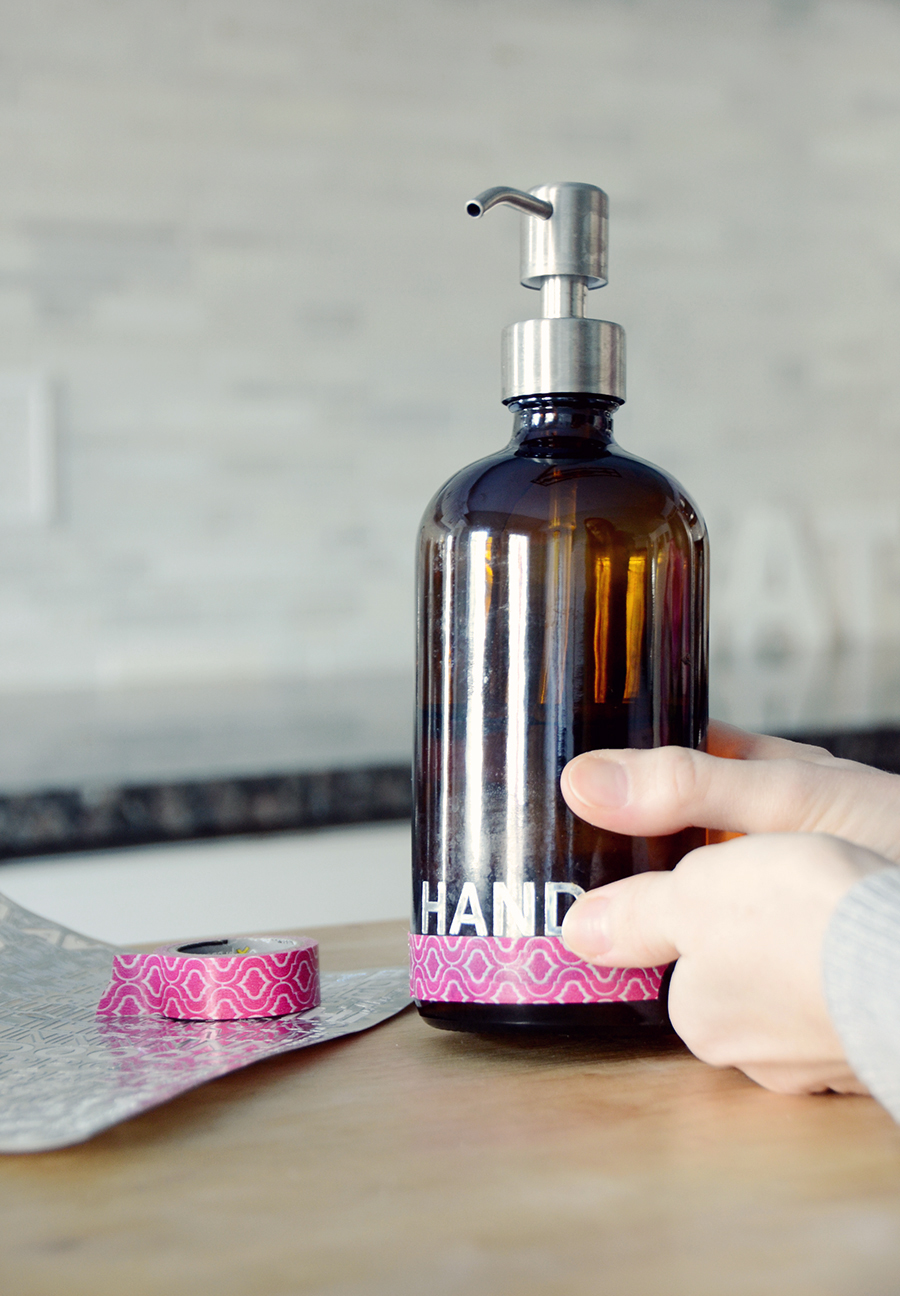
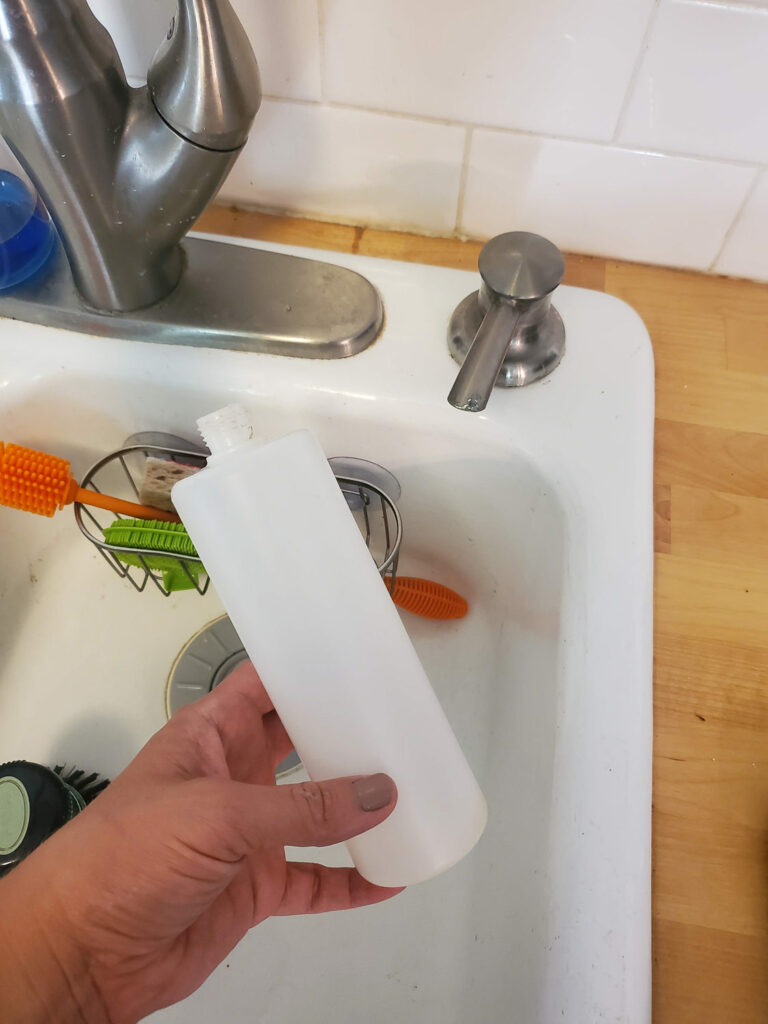
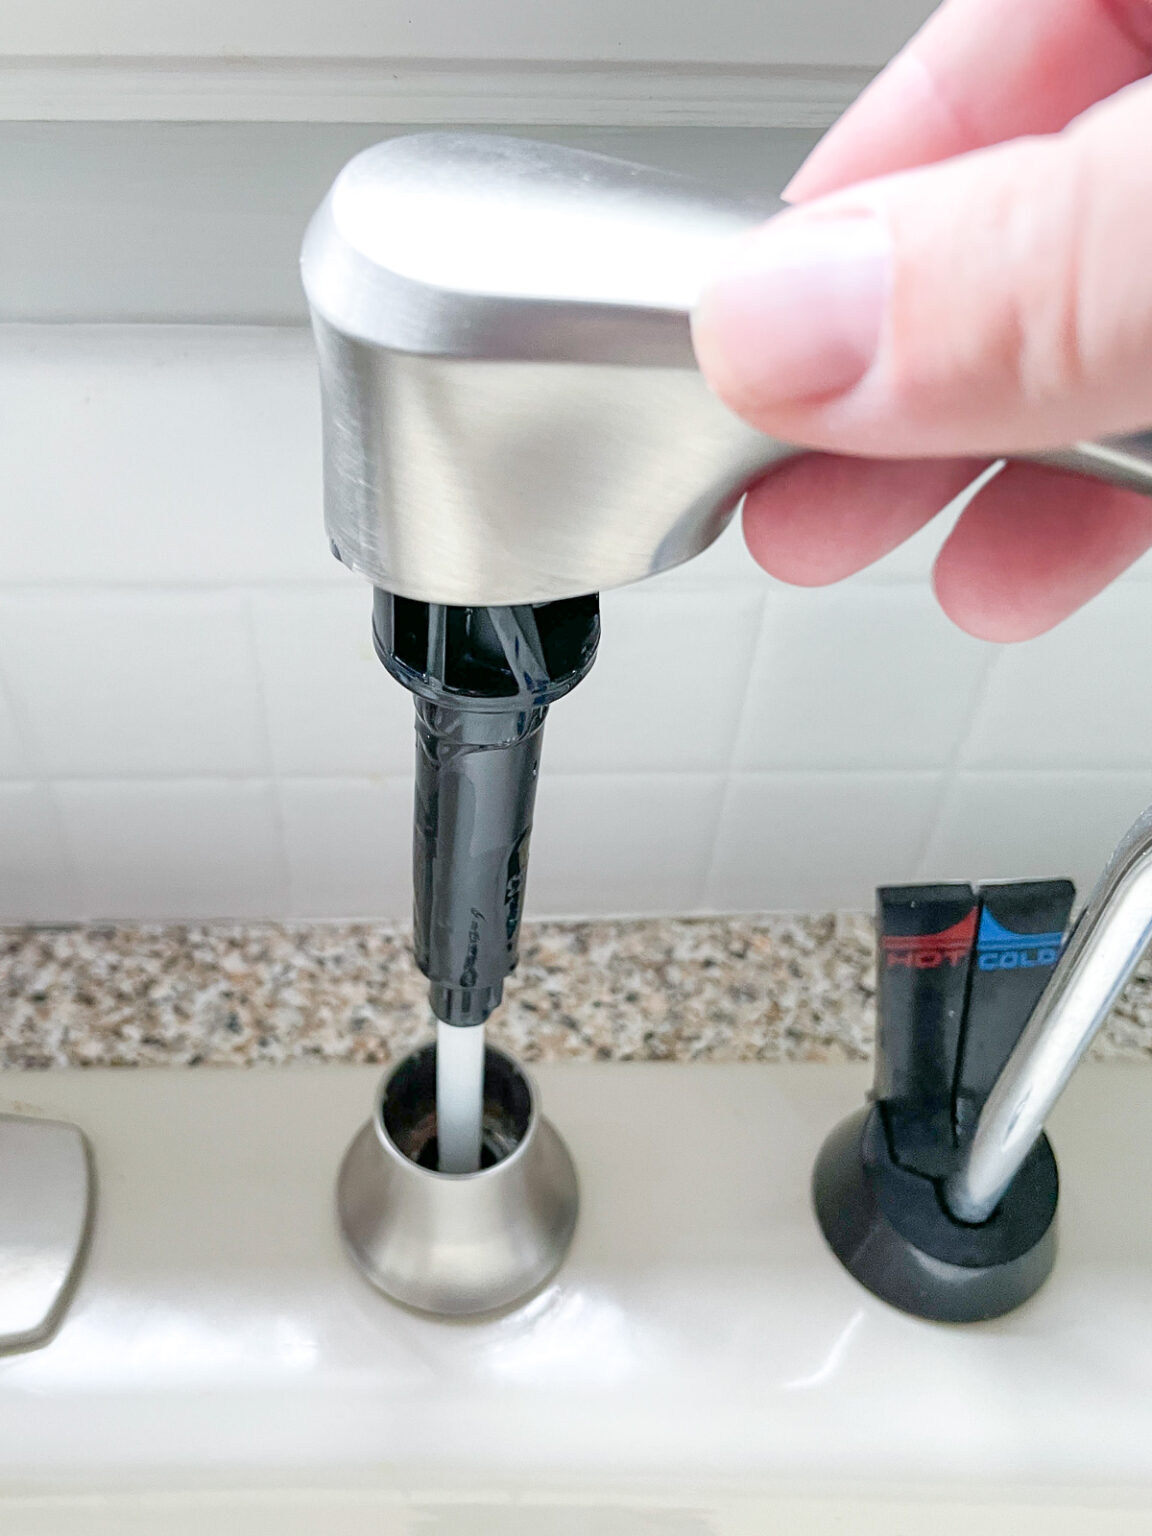
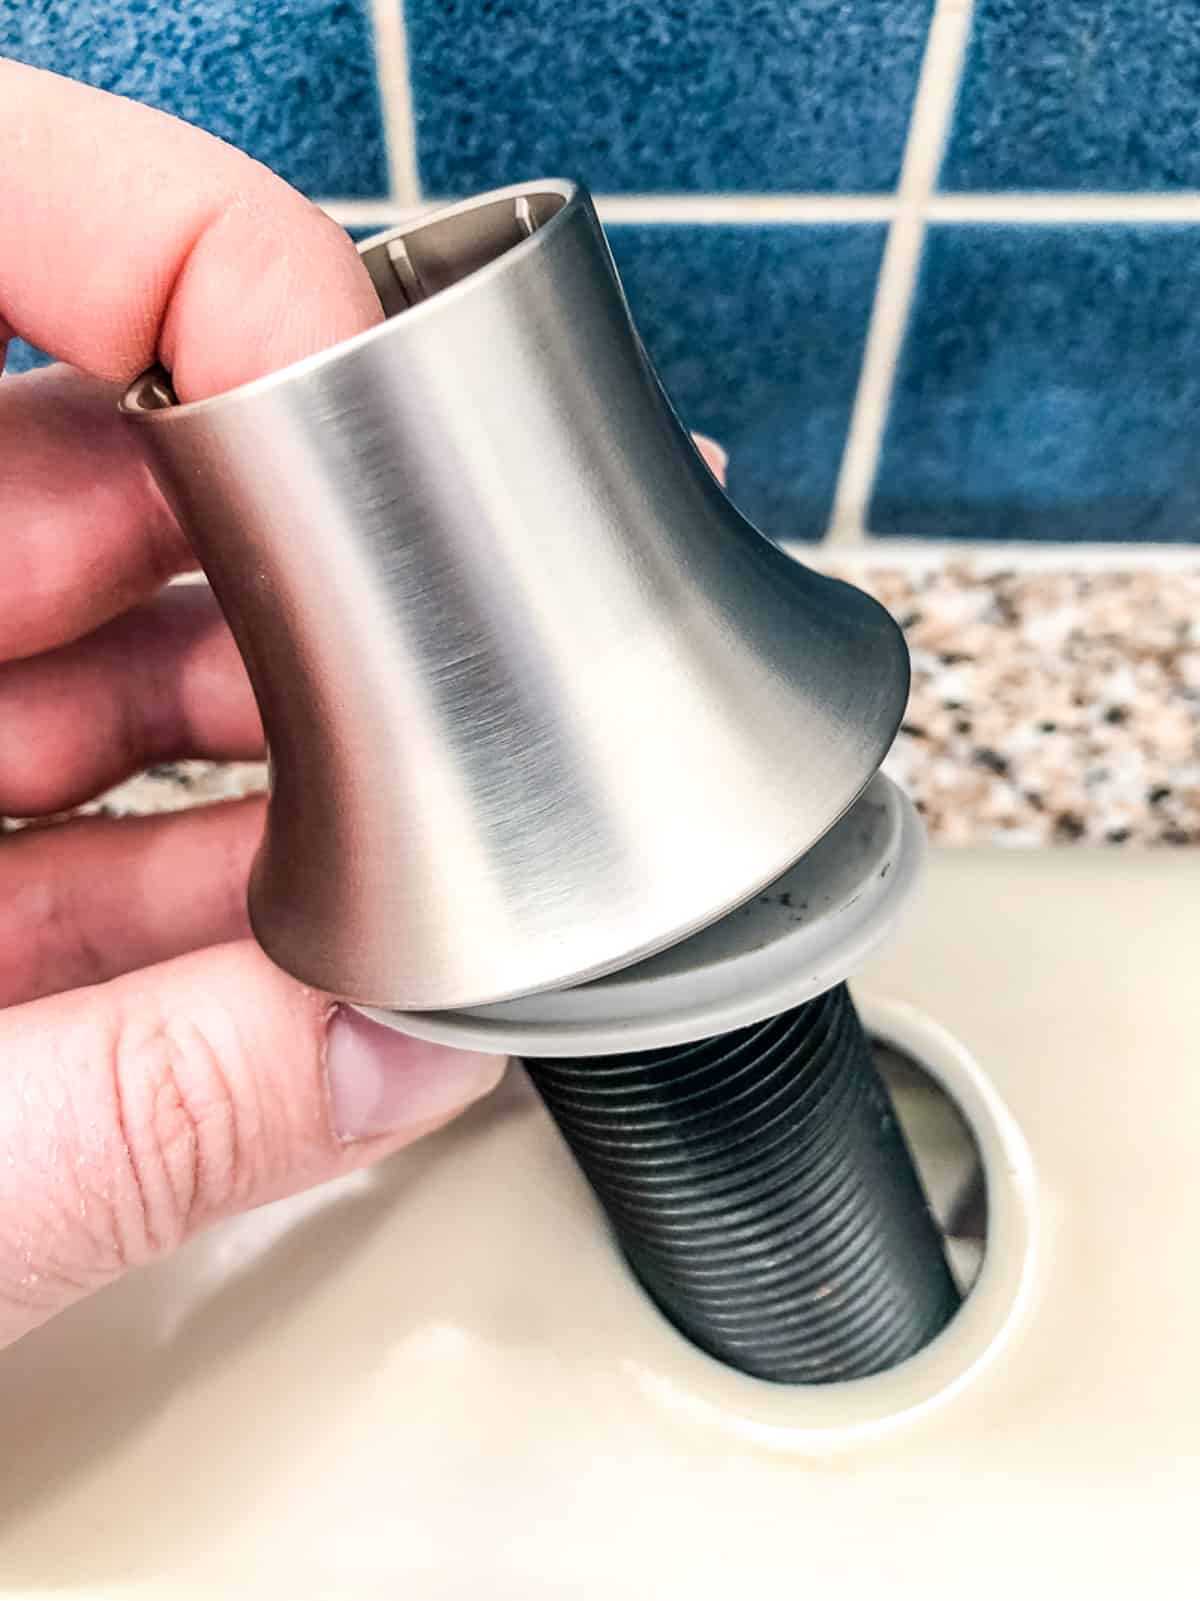
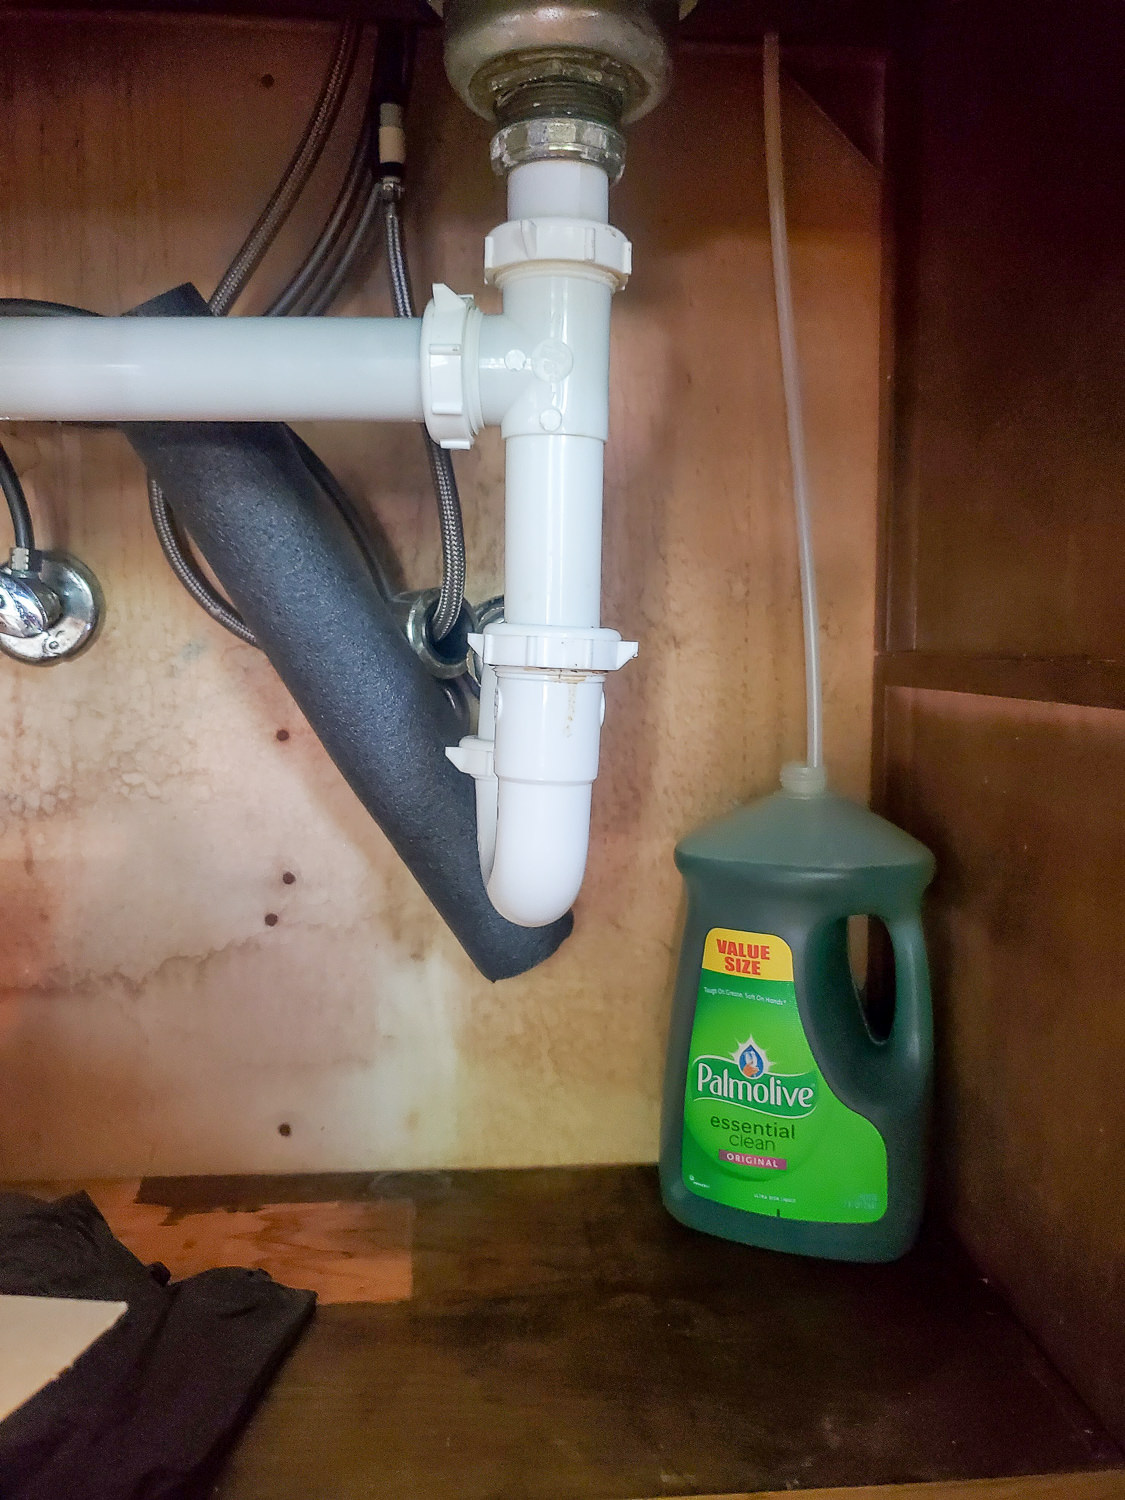
Insert the soap dispenser into the hole and secure it in place with the mounting hardware provided in the kit. Make sure to follow the instructions included in the kit to properly install the dispenser. Once it is securely in place, add the soap bottle and pump to complete the installation.Step 5: Install the Soap Dispenser
To prevent any leaks, use silicone caulking around the base of the soap dispenser. This will create a watertight seal and ensure that the dispenser stays in place. Wipe off any excess caulking with a damp cloth and let it dry for at least 24 hours before using the dispenser.Step 6: Apply Silicone Caulking
When choosing a soap dispenser kit, make sure to measure the thickness of your sink to ensure that the dispenser will fit properly. If you have a thicker sink, you may need to purchase a longer threaded shank to secure the dispenser in place. If you have a stainless steel sink, you can use a self-tapping sheet metal screw to secure the dispenser instead of the mounting hardware provided in the kit. This will create a stronger hold and prevent any potential wobbling. For added convenience, consider installing a soap dispenser on both sides of a double sink. This will allow you to have soap readily available on both sides and prevent you from constantly reaching across the sink.Tips and Tricks for Installing a Soap Dispenser
Installing a soap dispenser in your kitchen sink is a simple and easy DIY project that can make your daily tasks more efficient. With just a few materials and some basic tools, you can have a functional and stylish soap dispenser in your kitchen in no time. Follow these steps and tips to properly install a soap dispenser in your kitchen sink.Final Thoughts
Why Install a Soap Dispenser in Your Kitchen Sink?

Functionality and Convenience
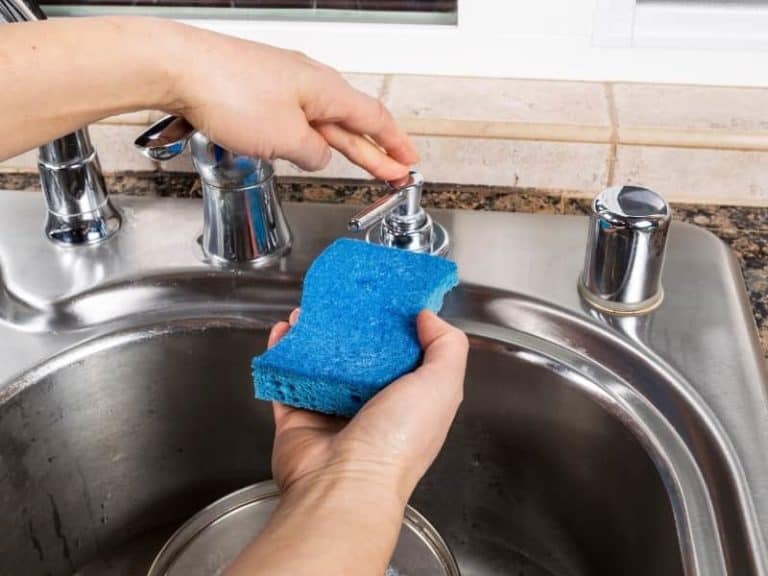
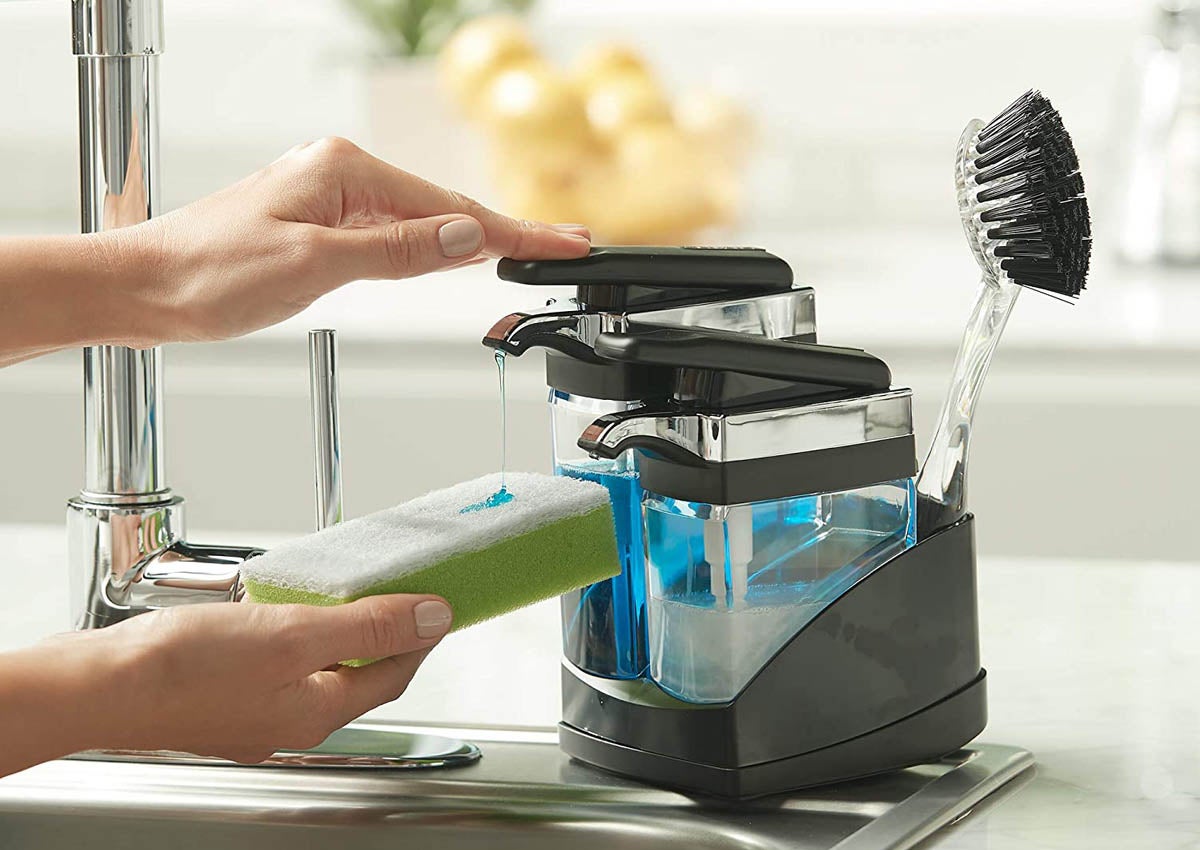
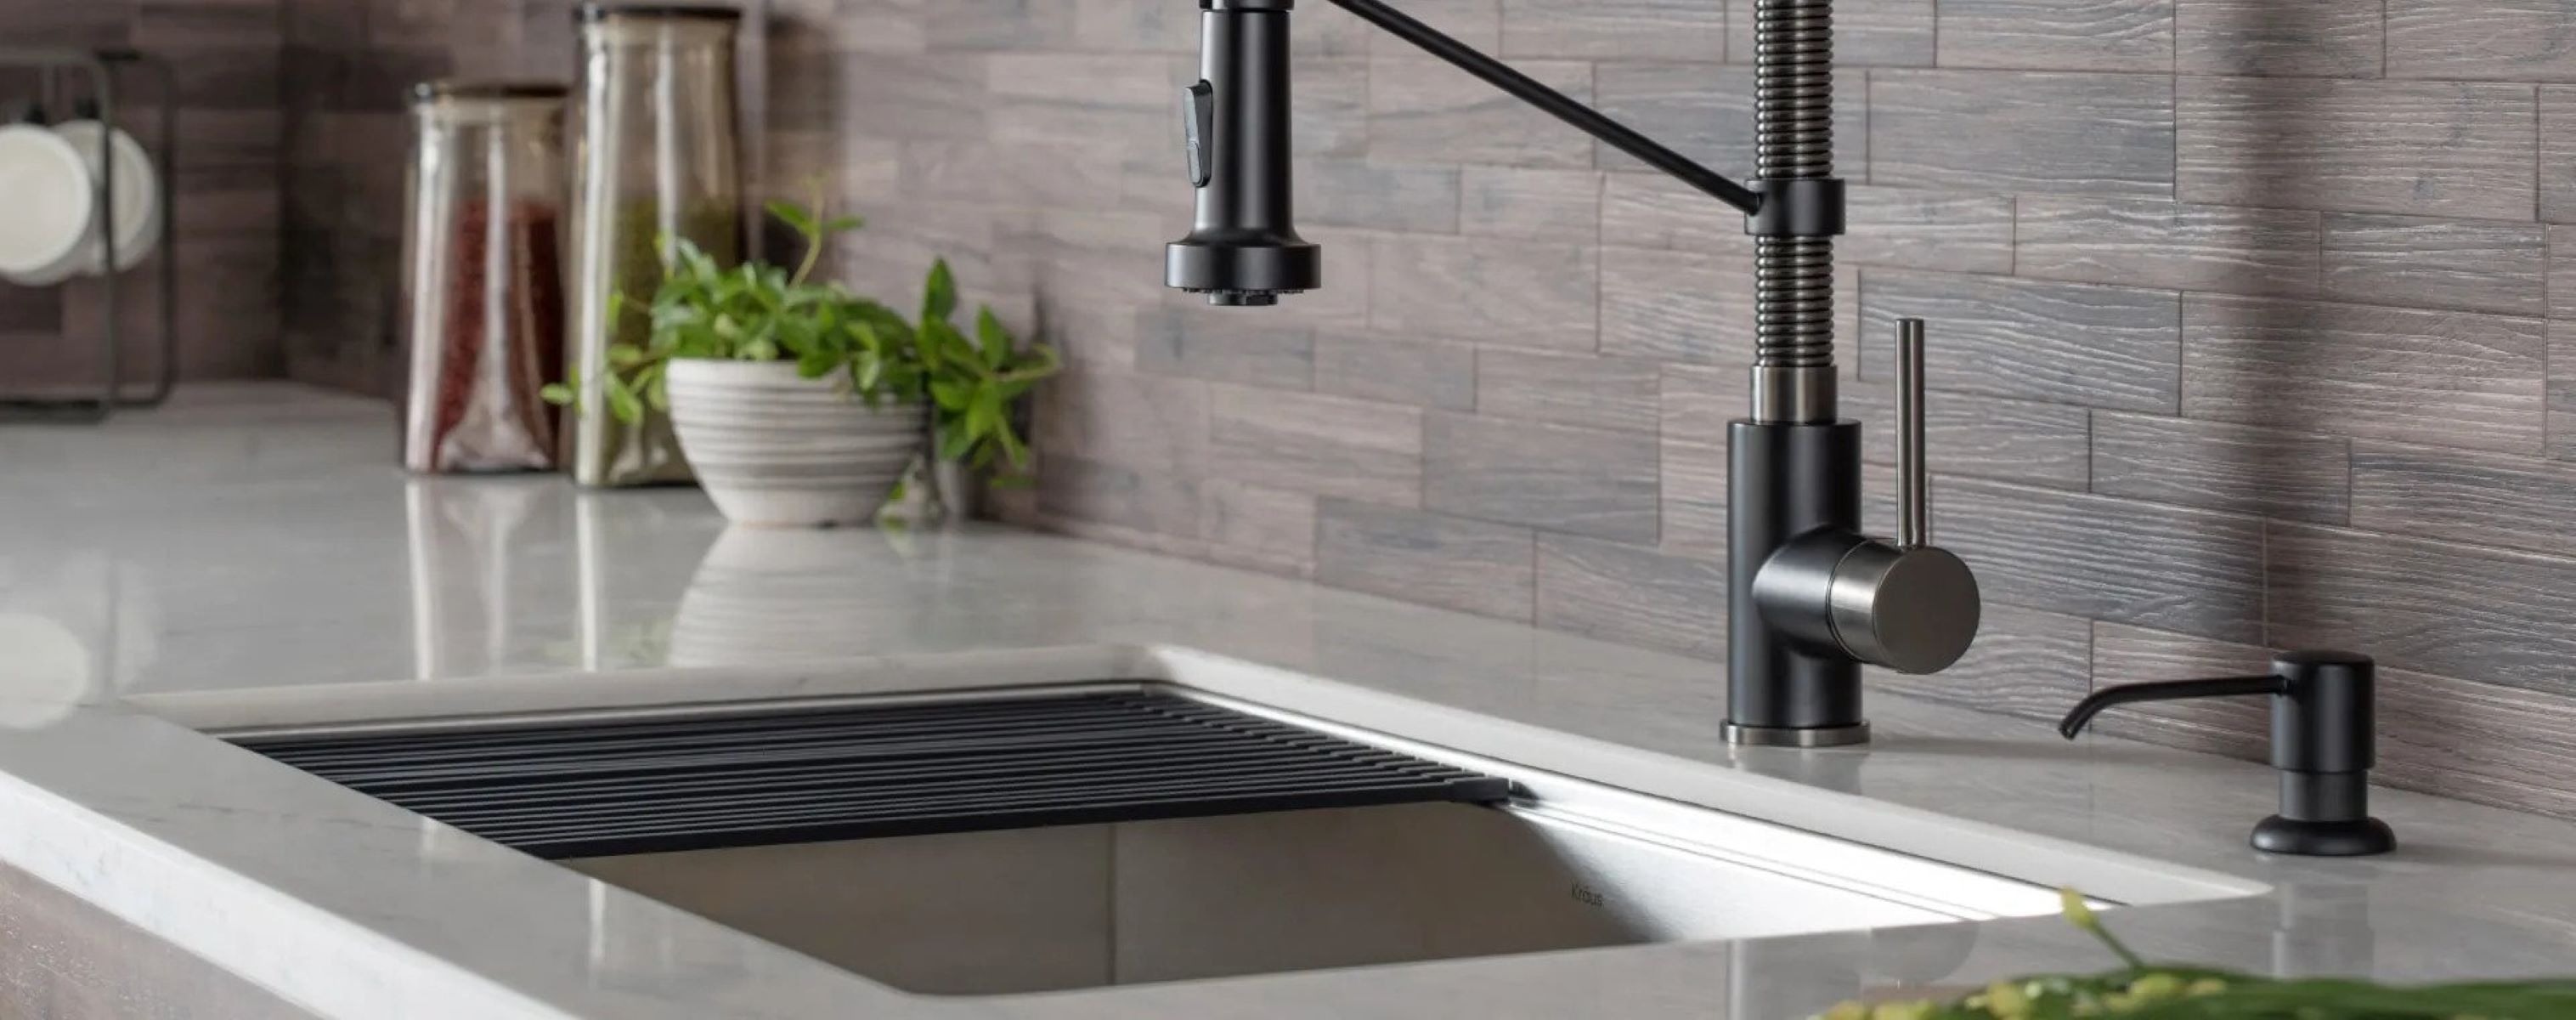 One of the main reasons to install a soap dispenser in your kitchen sink is for its functionality and convenience. Having a soap dispenser right next to your sink eliminates the need to keep a bottle of soap on the counter or continuously reaching under the sink for a bottle. It also allows for a hands-free option for washing your hands, which can be especially useful when handling raw meat or other messy ingredients while cooking.
Aesthetics and Organization
 In addition to its practical benefits, a soap dispenser can also enhance the overall design and organization of your kitchen. With a sleek and modern design, a soap dispenser can add a touch of sophistication to your sink area. It also helps to minimize clutter on your countertop and keep your sink area looking clean and tidy.
Hygienic and Eco-Friendly
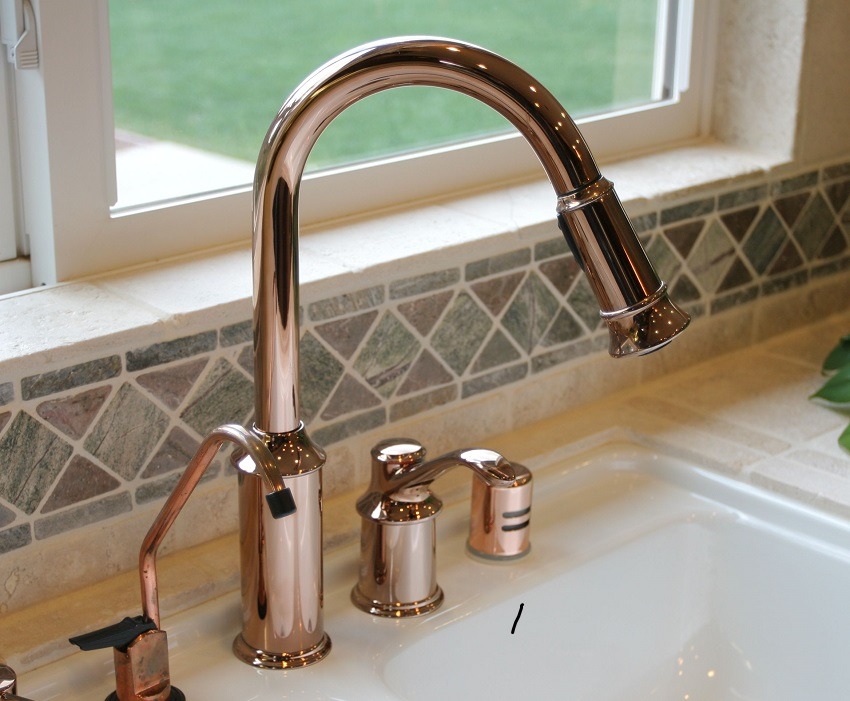
/Kitchensinksoapdispenser-GettyImages-91206440-59e82279054ad90011101a01.jpg) Not only does a soap dispenser add convenience and style to your kitchen, but it also promotes hygiene and eco-friendliness. With a designated soap dispenser, you can avoid cross-contamination from sharing a soap bottle with others. It also allows you to use eco-friendly and refillable soap options, reducing plastic waste from constantly buying new bottles.
Installing a soap dispenser in your kitchen sink is a simple and cost-effective way to enhance the functionality and aesthetics of your kitchen while promoting hygiene and sustainability. With various designs and options available, it's easy to find the perfect soap dispenser to complement your house design and make your kitchen routine more efficient. So, why not consider adding this small but impactful addition to your kitchen?
Not only does a soap dispenser add convenience and style to your kitchen, but it also promotes hygiene and eco-friendliness. With a designated soap dispenser, you can avoid cross-contamination from sharing a soap bottle with others. It also allows you to use eco-friendly and refillable soap options, reducing plastic waste from constantly buying new bottles.
Installing a soap dispenser in your kitchen sink is a simple and cost-effective way to enhance the functionality and aesthetics of your kitchen while promoting hygiene and sustainability. With various designs and options available, it's easy to find the perfect soap dispenser to complement your house design and make your kitchen routine more efficient. So, why not consider adding this small but impactful addition to your kitchen?


:max_bytes(150000):strip_icc()/Kitchensinksoapdispenser-GettyImages-91206440-59e82279054ad90011101a01.jpg)


:no_upscale()/cdn.vox-cdn.com/uploads/chorus_asset/file/19495086/drain_0.jpg)
.jpg)

