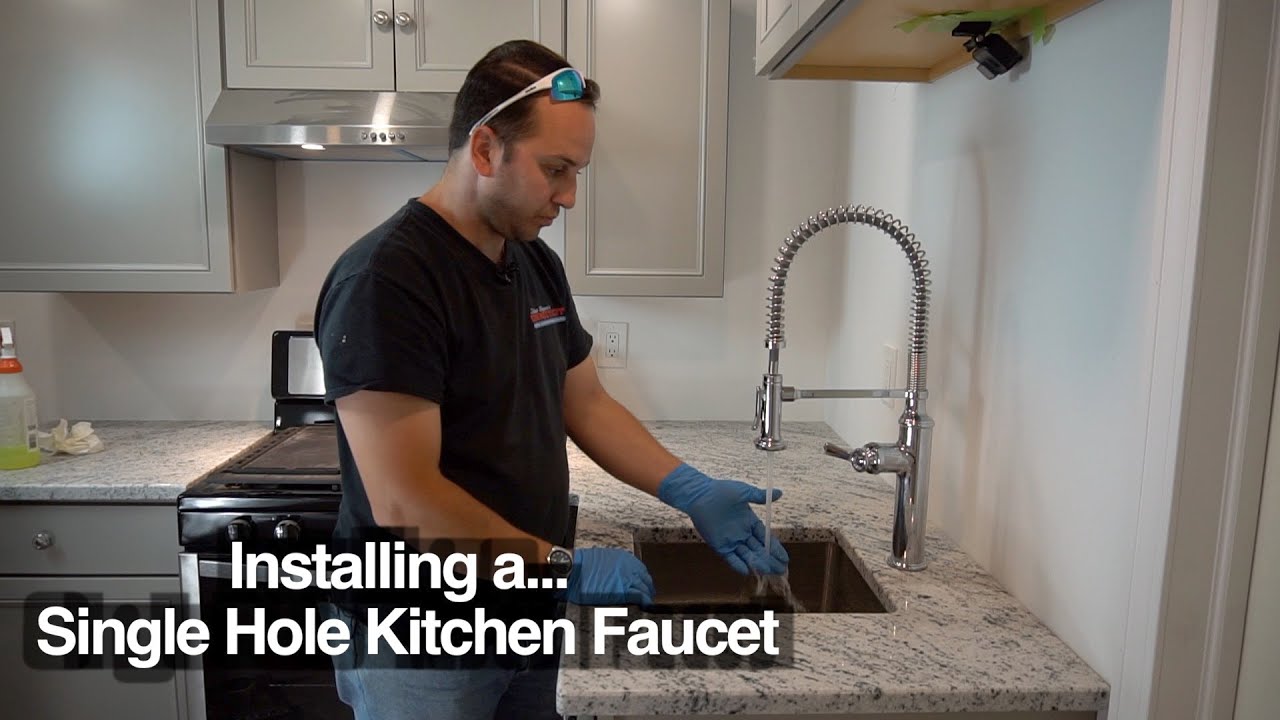
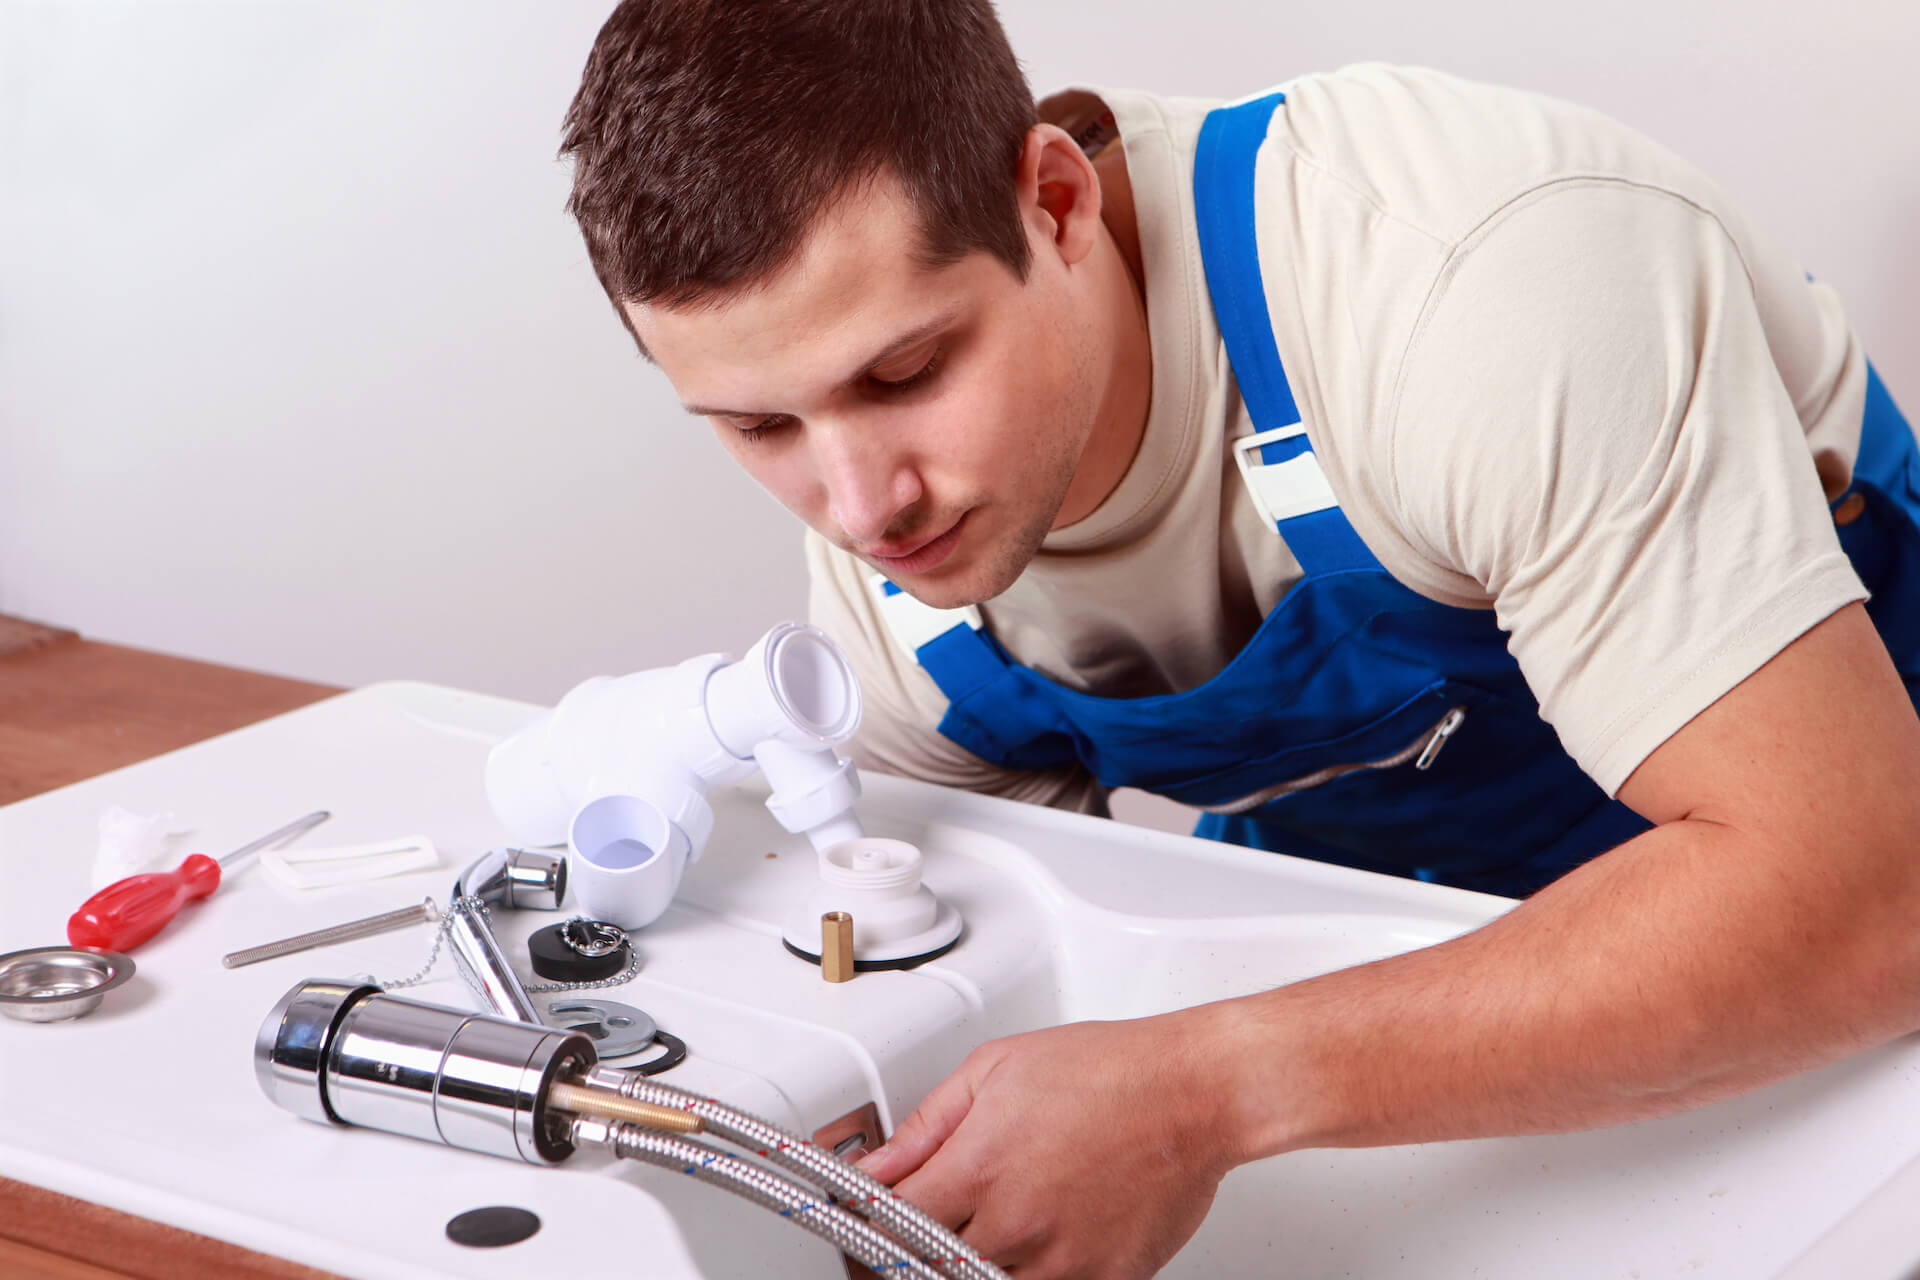
Installing a new kitchen sink faucet can be a great way to update the look of your kitchen and make it more functional. However, the thought of tackling such a project may seem daunting. Don't worry, with the right tools and some basic knowledge, you can easily install a kitchen sink faucet yourself. In this article, we will walk you through the steps of installing a kitchen sink faucet with putty, ensuring a secure and professional-looking installation.How to Install a Kitchen Sink Faucet


How to Install a Kitchen Sink Faucet


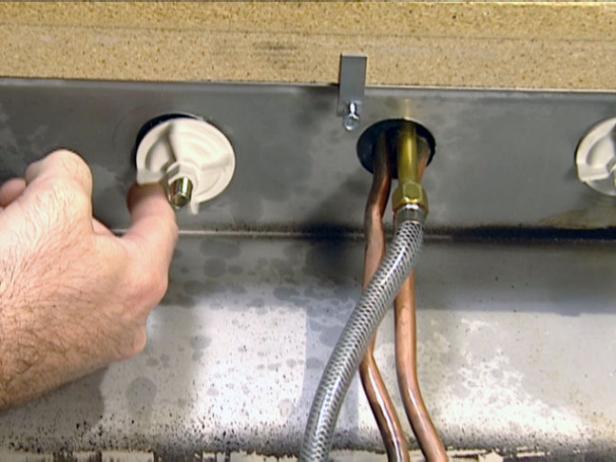
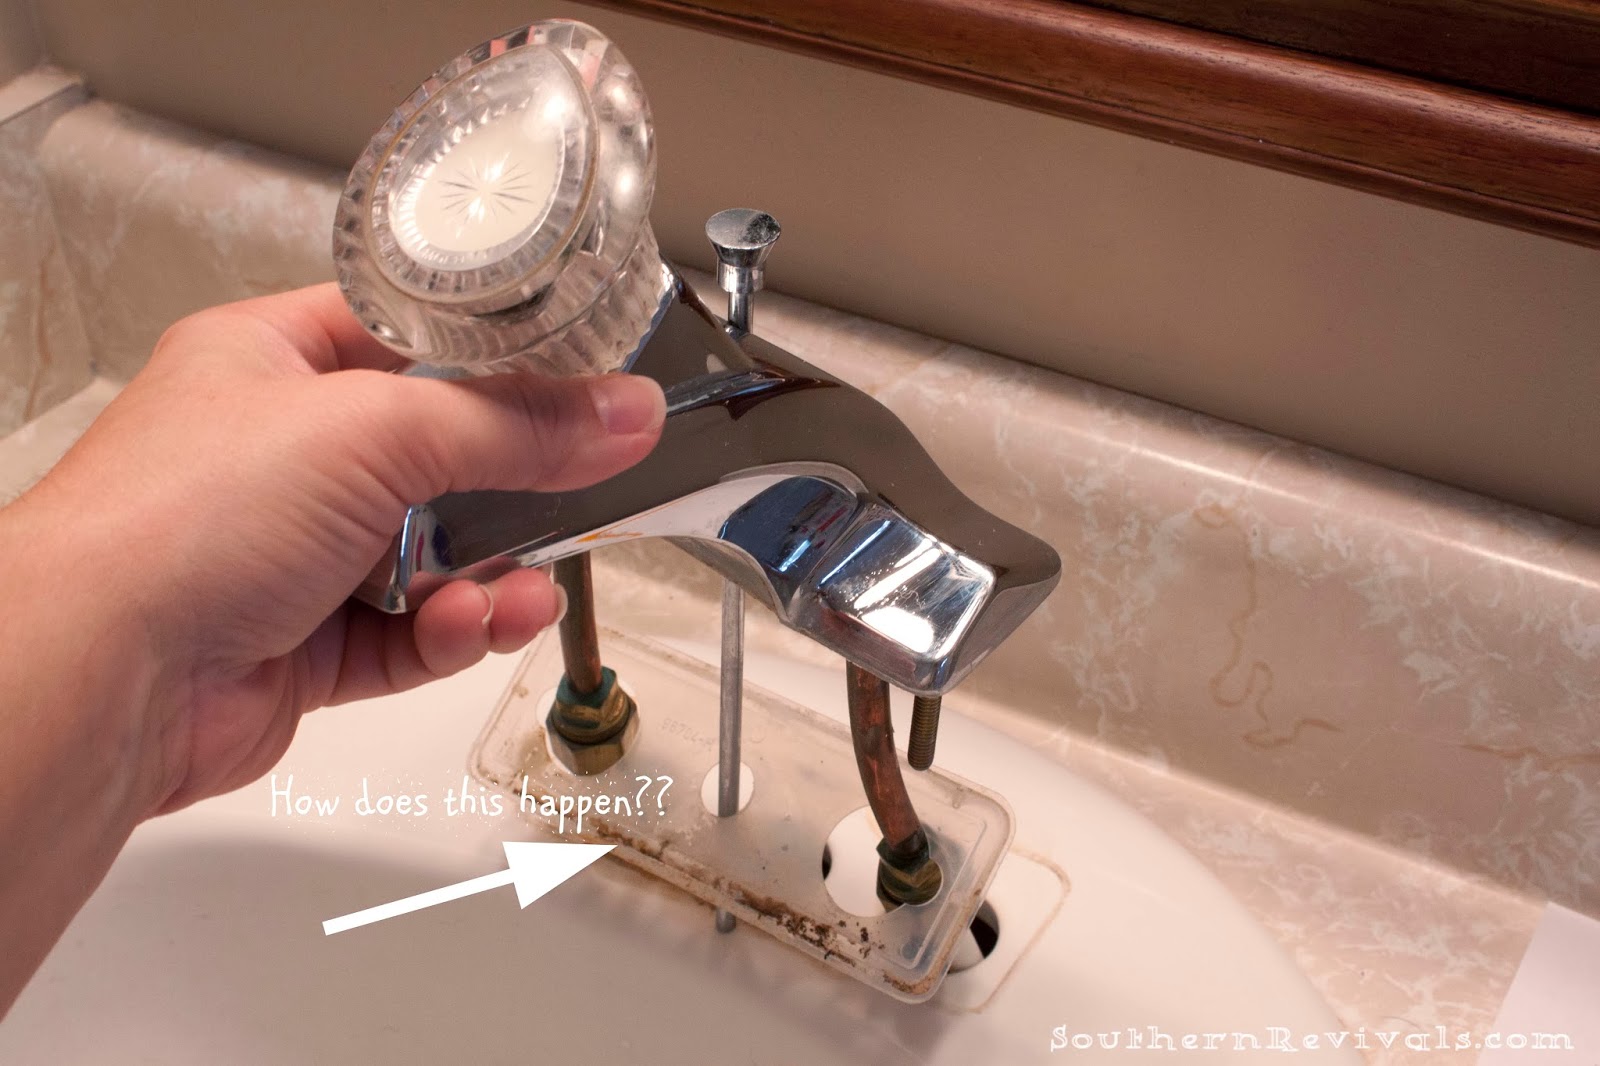
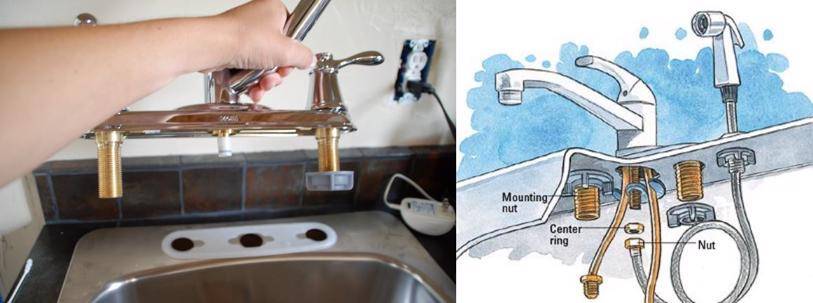
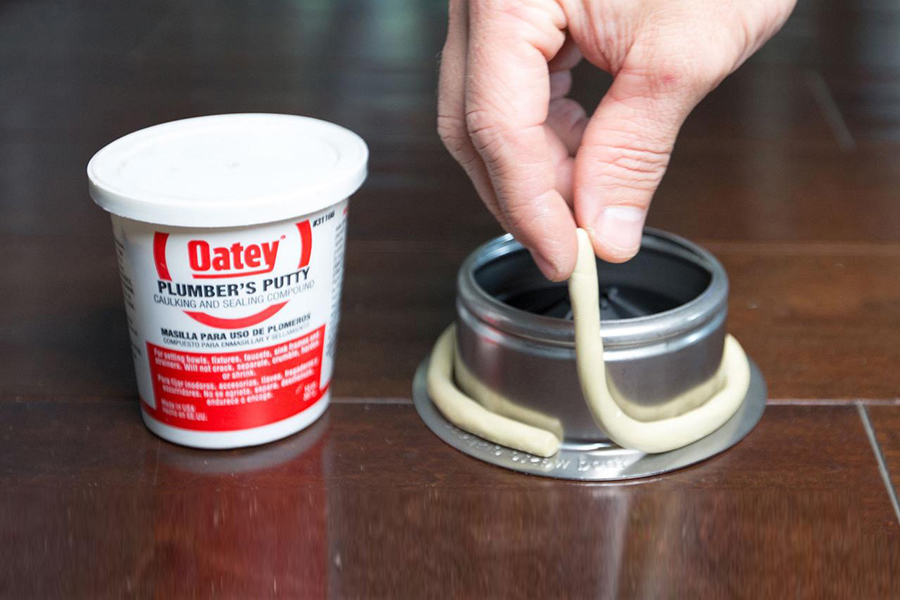
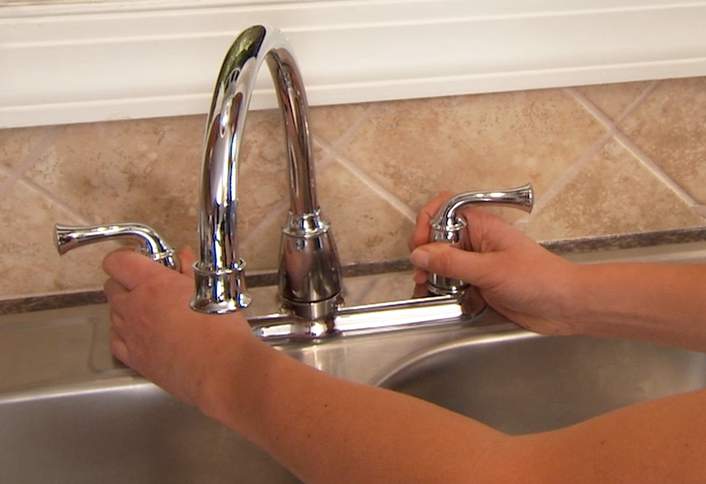
Putty is a versatile and popular material used for sealing and securing plumbing fixtures. It is an ideal choice for installing a kitchen sink faucet as it provides a strong and watertight seal. Follow these steps to install your new kitchen sink faucet using putty: Step 1: Gather Your Tools and Materials Before you begin, make sure you have all the necessary tools and materials. This includes a new kitchen sink faucet, putty, a basin wrench, adjustable wrench, plumber's tape, and a bucket or bowl to catch any excess water. You may also need a screwdriver, depending on the type of faucet you are installing. Step 2: Remove the Old Faucet If you are replacing an old faucet, start by turning off the water supply to your sink. Then, using a basin wrench, loosen and remove the nuts securing the old faucet to the sink. Once the old faucet is removed, clean the area thoroughly to prepare for the new installation. Step 3: Prepare the Putty Take a small amount of putty and roll it into a long, thin strip. The putty should be soft and pliable, but not sticky. You can warm it up with your hands if it feels too hard to work with. Ensure you have enough putty to go around the base of the faucet. Step 4: Apply the Putty Place the putty around the base of the faucet, ensuring it is evenly distributed and covers the entire base. This will help create a watertight seal and prevent any leaks. If your faucet has multiple holes, you can also apply putty to the bottom of the mounting plate to secure it in place. Step 5: Install the Faucet Place the faucet into the desired position on the sink and press down firmly to secure it in place. If your faucet has a mounting plate, ensure it is properly aligned with the holes in the sink. Use the nuts provided to tighten the faucet onto the sink, using an adjustable wrench to ensure a snug fit. Step 6: Connect the Water Supply Once the faucet is securely installed, it's time to connect the water supply. Use plumber's tape to wrap the threads of the water supply lines to ensure a watertight seal. Then, connect the water supply lines to the corresponding hot and cold water valves under the sink. Use an adjustable wrench to tighten the connections. Step 7: Test for Leaks Turn the water supply back on and check for any leaks. If you notice any, tighten the connections or add more putty as needed. Once you are satisfied that there are no leaks, turn the water back off. Step 8: Finish the Installation Finally, install any additional components, such as the aerator or handles, according to the manufacturer's instructions. Once everything is in place, turn the water supply back on and test your new kitchen sink faucet. Congratulations, you have successfully installed a kitchen sink faucet with putty!How to Install a Kitchen Sink Faucet with Putty


How to Install a Kitchen Sink Faucet with Putty


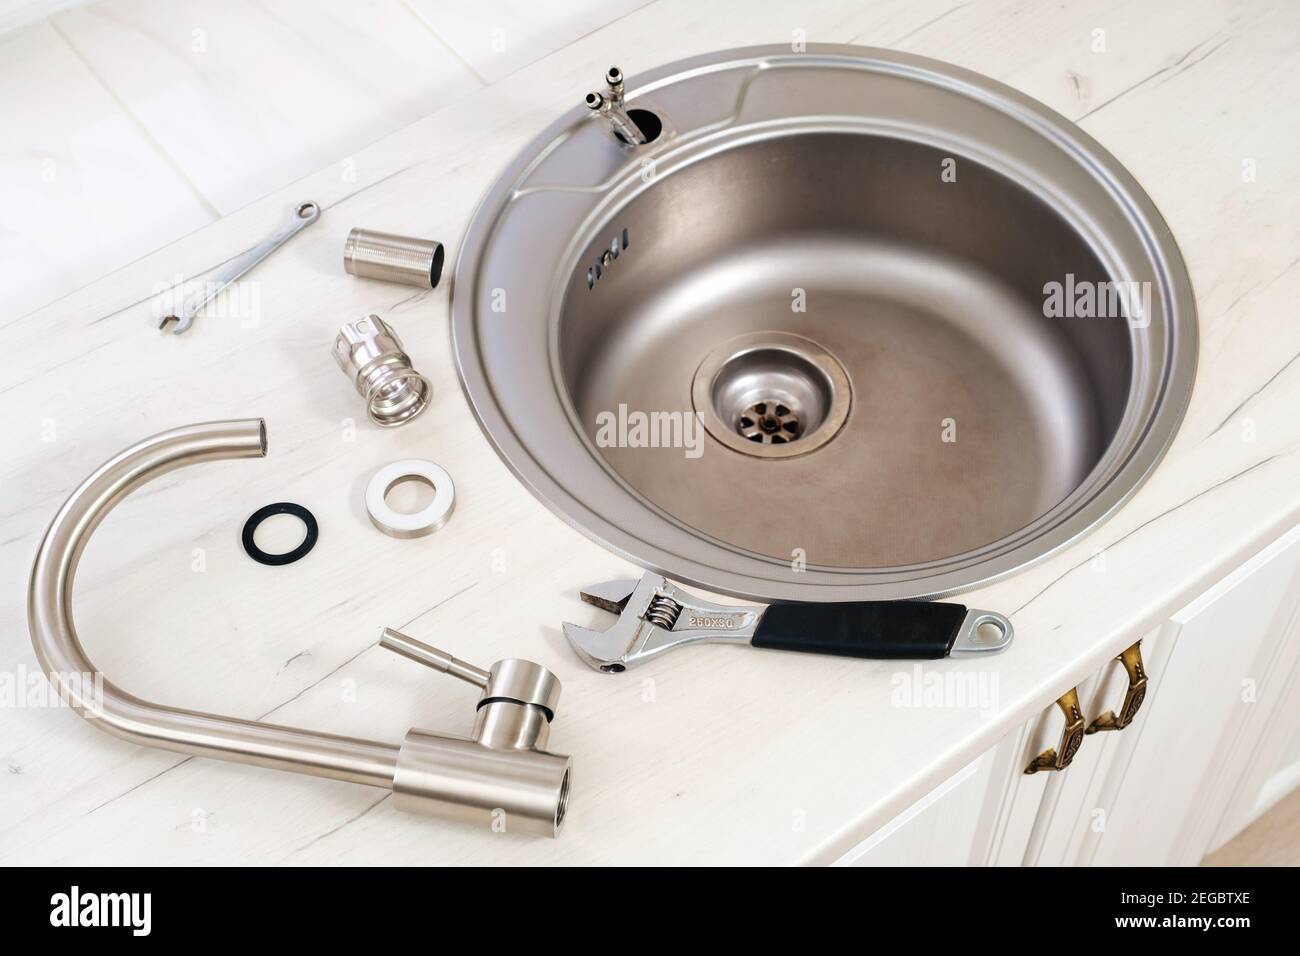
- New kitchen sink faucet - Putty - Basin wrench - Adjustable wrench - Plumber's tape - Screwdriver (if needed) - Bucket or bowlTools and Materials Needed for Installing a Kitchen Sink Faucet


Step-by-Step Guide for Installing a Kitchen Sink Faucet

:no_upscale()/cdn.vox-cdn.com/uploads/chorus_asset/file/19495086/drain_0.jpg)


- Carefully read the manufacturer's instructions before beginning the installation process. - Use putty sparingly, as too much can cause excess to squeeze out and create a messy appearance. - If your faucet has multiple holes, make sure to align the holes on the mounting plate with the holes in the sink to ensure a secure fit. - Always use plumber's tape to prevent leaks. - Double-check all connections for tightness before turning the water supply back on.Tips for a Successful Kitchen Sink Faucet Installation


DIY Kitchen Sink Faucet Installation with Putty


- Not turning off the water supply before beginning the installation process. - Overtightening or undertightening connections, which can lead to leaks. - Skipping the step of applying plumber's tape. - Not properly aligning the holes on the mounting plate with the holes in the sink. - Using too much putty, which can create a messy appearance and cause leaks.Common Mistakes to Avoid When Installing a Kitchen Sink Faucet


Tools and Materials Needed for Installing a Kitchen Sink Faucet


Putty is an excellent choice for installing a kitchen sink faucet as it provides a strong and watertight seal. To ensure a secure installation, make sure to use enough putty to cover the entire base of the faucet and apply it evenly. You can also add putty to the bottom of the mounting plate for additional support.How to Use Putty for a Secure Kitchen Sink Faucet Installation


Tips for a Successful Kitchen Sink Faucet Installation


If you encounter any leaks after installing your kitchen sink faucet with putty, first check that all connections are tight and properly aligned. If the leak persists, you may need to add more putty to the affected area. If you are still having trouble, it may be best to consult a professional plumber.Troubleshooting Tips for Kitchen Sink Faucet Installation with Putty


Common Mistakes to Avoid When Installing a Kitchen Sink Faucet


While installing a kitchen sink faucet with putty is a relatively straightforward process, it may not be the right choice for everyone. If you are uncomfortable with DIY projects or do not have the necessary tools and materials, it may be best to hire a professional plumber. However, if you are confident in your abilities and have the necessary tools, installing a kitchen sink faucet with putty can be a cost-effective and rewarding project.Professional vs. DIY Kitchen Sink Faucet Installation: Which is Right for You?

How to Use Putty for a Secure Kitchen Sink Faucet Installation


Why Properly Installing Kitchen Sink Faucet Putty is Essential for Your Home

Creating a Strong and Secure Seal
 If you're in the process of designing or renovating your kitchen, one important aspect you shouldn't overlook is the installation of your kitchen sink faucet. While it may seem like a small detail, using the right tools and techniques can make a big difference in the overall functionality and appearance of your kitchen. One of the most crucial steps in installing a kitchen sink faucet is using putty to create a strong and secure seal.
Kitchen sink faucet putty
is a type of pliable, waterproof sealant that is used to fill in any gaps or spaces between the sink and the faucet. This not only helps to prevent leaks and water damage, but it also ensures a polished and professional look for your kitchen.
If you're in the process of designing or renovating your kitchen, one important aspect you shouldn't overlook is the installation of your kitchen sink faucet. While it may seem like a small detail, using the right tools and techniques can make a big difference in the overall functionality and appearance of your kitchen. One of the most crucial steps in installing a kitchen sink faucet is using putty to create a strong and secure seal.
Kitchen sink faucet putty
is a type of pliable, waterproof sealant that is used to fill in any gaps or spaces between the sink and the faucet. This not only helps to prevent leaks and water damage, but it also ensures a polished and professional look for your kitchen.
Preventing Water Leaks and Damage
 One of the main reasons why installing
kitchen sink faucet putty
is essential is to prevent water leaks and damage to your kitchen. Without a proper seal, water can easily seep through the gaps between the sink and faucet, leading to a potential mess and costly repairs. By using putty, you are creating a tight seal that will effectively keep water from leaking out onto your countertops or under your sink. This not only saves you from potential headaches in the future, but it also helps to maintain the integrity of your kitchen and its design.
One of the main reasons why installing
kitchen sink faucet putty
is essential is to prevent water leaks and damage to your kitchen. Without a proper seal, water can easily seep through the gaps between the sink and faucet, leading to a potential mess and costly repairs. By using putty, you are creating a tight seal that will effectively keep water from leaking out onto your countertops or under your sink. This not only saves you from potential headaches in the future, but it also helps to maintain the integrity of your kitchen and its design.
Ensuring a Professional and Aesthetically Pleasing Look
 Aside from its practical benefits, using
kitchen sink faucet putty
also helps to enhance the overall appearance of your kitchen. The seamless and clean finish that putty provides creates a professional and polished look for your sink area. This is especially important if you have opted for a high-end or designer faucet, as you want it to be properly showcased in your kitchen. With the use of putty, you can achieve a sleek and modern look for your kitchen that will impress any guests or potential buyers if you ever decide to sell your home.
Aside from its practical benefits, using
kitchen sink faucet putty
also helps to enhance the overall appearance of your kitchen. The seamless and clean finish that putty provides creates a professional and polished look for your sink area. This is especially important if you have opted for a high-end or designer faucet, as you want it to be properly showcased in your kitchen. With the use of putty, you can achieve a sleek and modern look for your kitchen that will impress any guests or potential buyers if you ever decide to sell your home.
Proper Installation for Long-Lasting Results
 In order to reap the benefits of using
kitchen sink faucet putty
, it is important to install it properly. This includes thoroughly cleaning and drying the area where the putty will be applied, as well as evenly distributing and pressing the putty around the base of the faucet. It is also important to use a high-quality putty that is specifically designed for use with kitchen sink faucets. With proper installation, you can expect long-lasting results that will save you time, money, and stress in the future.
In conclusion, the installation of
kitchen sink faucet putty
is a crucial step in creating a functional and aesthetically pleasing kitchen. By creating a strong and secure seal, preventing water leaks and damage, and achieving a professional look, using putty is an essential part of house design. Make sure to follow proper installation techniques for the best results and enjoy a beautiful and functional kitchen for years to come.
In order to reap the benefits of using
kitchen sink faucet putty
, it is important to install it properly. This includes thoroughly cleaning and drying the area where the putty will be applied, as well as evenly distributing and pressing the putty around the base of the faucet. It is also important to use a high-quality putty that is specifically designed for use with kitchen sink faucets. With proper installation, you can expect long-lasting results that will save you time, money, and stress in the future.
In conclusion, the installation of
kitchen sink faucet putty
is a crucial step in creating a functional and aesthetically pleasing kitchen. By creating a strong and secure seal, preventing water leaks and damage, and achieving a professional look, using putty is an essential part of house design. Make sure to follow proper installation techniques for the best results and enjoy a beautiful and functional kitchen for years to come.