If you love the sound and sight of running water, installing a fountain bubbler in your kitchen sink is a great way to bring that soothing element into your home. Not only does it add a touch of elegance to your kitchen, but it also provides a convenient source of drinking water. In this guide, we’ll walk you through the step-by-step process of installing a fountain bubbler in your kitchen sink.How to Install a Fountain Bubbler in Your Kitchen Sink
Installing a kitchen sink fountain bubbler may seem like a daunting task, but with the right tools and instructions, it can be a relatively easy DIY project. Follow these steps to get your bubbler up and running in no time:Step-by-Step Guide for Installing a Kitchen Sink Fountain Bubbler
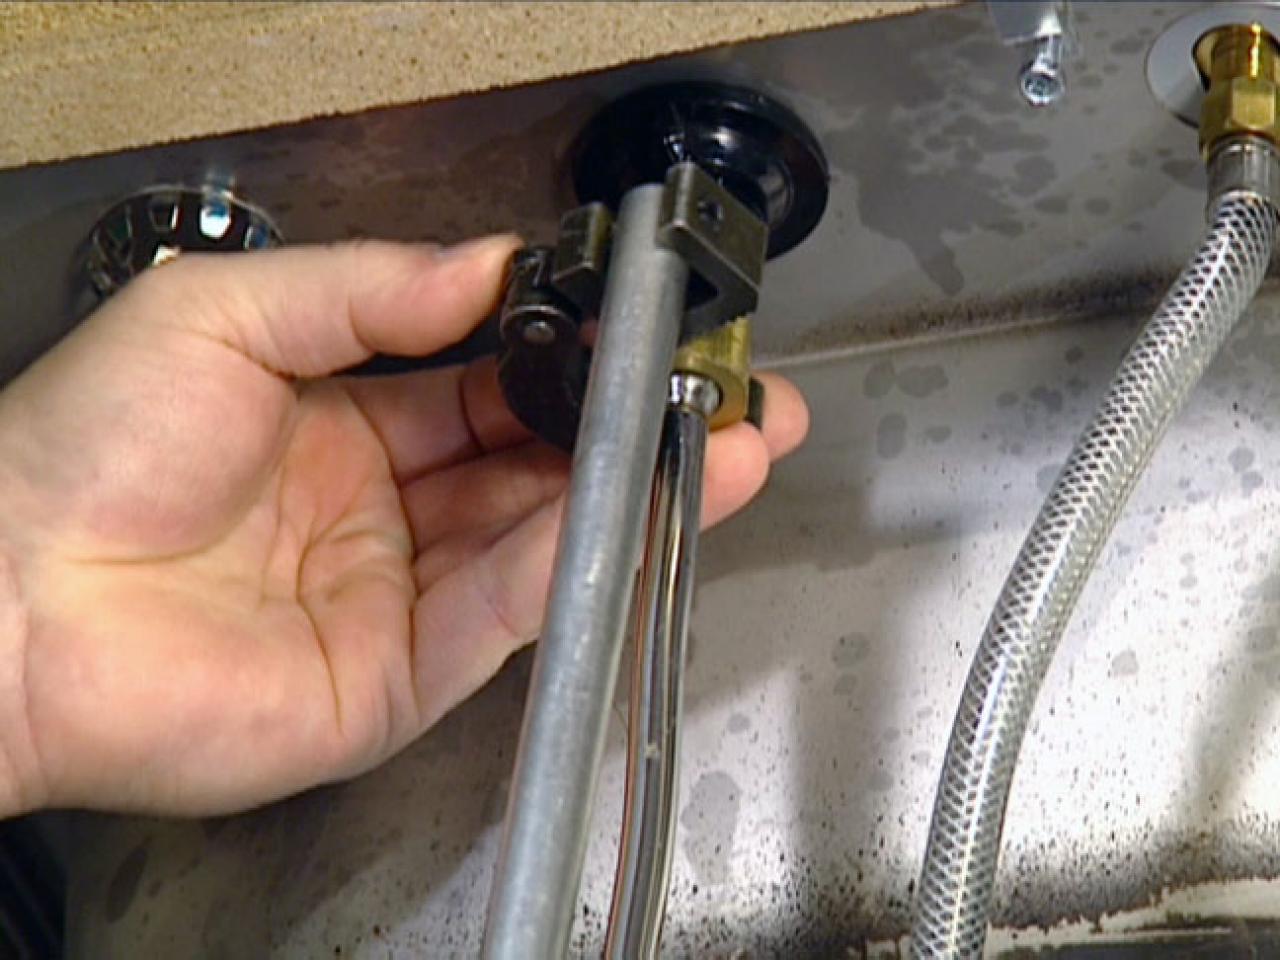
Before you begin, make sure you have all the necessary tools and materials. This includes a fountain bubbler kit, adjustable wrench, pipe cutter, plumber’s tape, and a bucket to catch any excess water. Step 1: Turn off the water supply to your sink. This can usually be done by shutting off the main water valve to your home. Step 2: Remove the existing faucet from your sink, including the supply lines and mounting hardware. Step 3: Measure and cut the existing water supply line to fit the new faucet. Use the pipe cutter to ensure a clean and precise cut. Step 4: Attach the new faucet to the sink using the mounting hardware provided in the kit. Step 5: Connect the water supply line to the new faucet using the adjustable wrench. Make sure all connections are tight and secure. Step 6: Install the fountain bubbler attachment to the end of the faucet. This can usually be done by simply screwing it on. Step 7: Turn the water supply back on and check for any leaks. Use the plumber’s tape to secure any loose connections. Step 8: Test the fountain bubbler by turning on the water and adjusting the flow to your desired level.DIY Kitchen Sink Fountain Bubbler Installation
If you already have a faucet with a removable aerator, you can easily add a bubbler attachment to your kitchen sink. Follow these simple steps: Step 1: Remove the existing aerator from your faucet by unscrewing it. Step 2: Attach the bubbler attachment to the end of the faucet, making sure it is secure. Step 3: Turn on the water and adjust the flow to your liking.Installing a Bubbler Attachment on Your Kitchen Sink
Here are a few tips to make your kitchen sink bubbler installation even easier: Use plumber’s tape: This will help create a tight seal and prevent any leaks. Have a bucket ready: When removing the existing faucet, there may be excess water that needs to be caught. Having a bucket handy will prevent any messes. Read the instructions: Every faucet and bubbler kit may have slightly different installation instructions, so make sure to read them carefully before starting.Easy Kitchen Sink Bubbler Installation Tips
If you prefer a more traditional look, you can also install a bubbler faucet in your kitchen sink. Here’s how: Step 1: Remove the existing faucet from your sink, including the supply lines and mounting hardware. Step 2: Measure and cut the existing water supply line to fit the new faucet. Use the pipe cutter to ensure a clean and precise cut. Step 3: Install the new faucet by attaching it to the sink with the mounting hardware provided. Step 4: Connect the water supply line to the new faucet using the adjustable wrench. Step 5: Turn the water supply back on and check for any leaks.Installing a Bubbler Faucet in Your Kitchen Sink
Adding a bubbler to your kitchen sink can be a simple and cost-effective way to upgrade your kitchen. Here are a few things to keep in mind: Choose the right location: Consider where you want your bubbler to be located on your sink. Make sure there is enough space and that it won’t interfere with any other fixtures. Check for compatibility: Before purchasing a bubbler attachment, make sure it is compatible with your existing faucet and sink. Invest in quality: While you may be tempted to go for a cheaper option, investing in a high-quality faucet and bubbler attachment will ensure long-term durability and functionality.Adding a Bubbler to Your Kitchen Sink: A Simple Guide
Installing a bubbler on your kitchen sink is a simple and rewarding DIY project. By following these steps and tips, you can enjoy the soothing sound and convenience of a fountain bubbler in your own home. Remember to always read the instructions carefully and have the necessary tools and materials before starting your installation. And for added convenience, consider hiring a professional plumber if you’re not comfortable with the installation process.How to Install a Bubbler on Your Kitchen Sink
Why You Should Consider Installing a Fountain Bubbler Kitchen Sink in Your Home
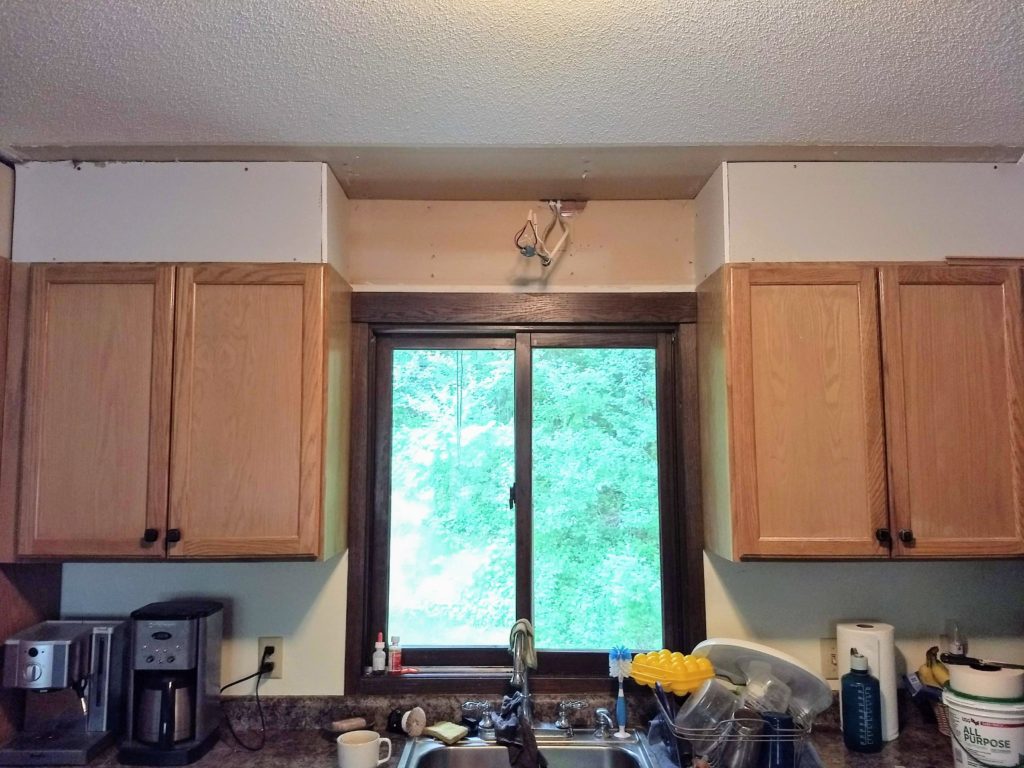
Adding a Touch of Elegance to Your Kitchen
 A kitchen is not just a place for cooking and preparing meals, it is also a space for socializing and entertaining guests. As such, many homeowners invest in designing a beautiful and functional kitchen. One way to elevate the overall look and feel of your kitchen is by installing a fountain bubbler kitchen sink. This unique and stylish feature will add a touch of elegance and sophistication to your kitchen, making it a more inviting and enjoyable space for both you and your guests.
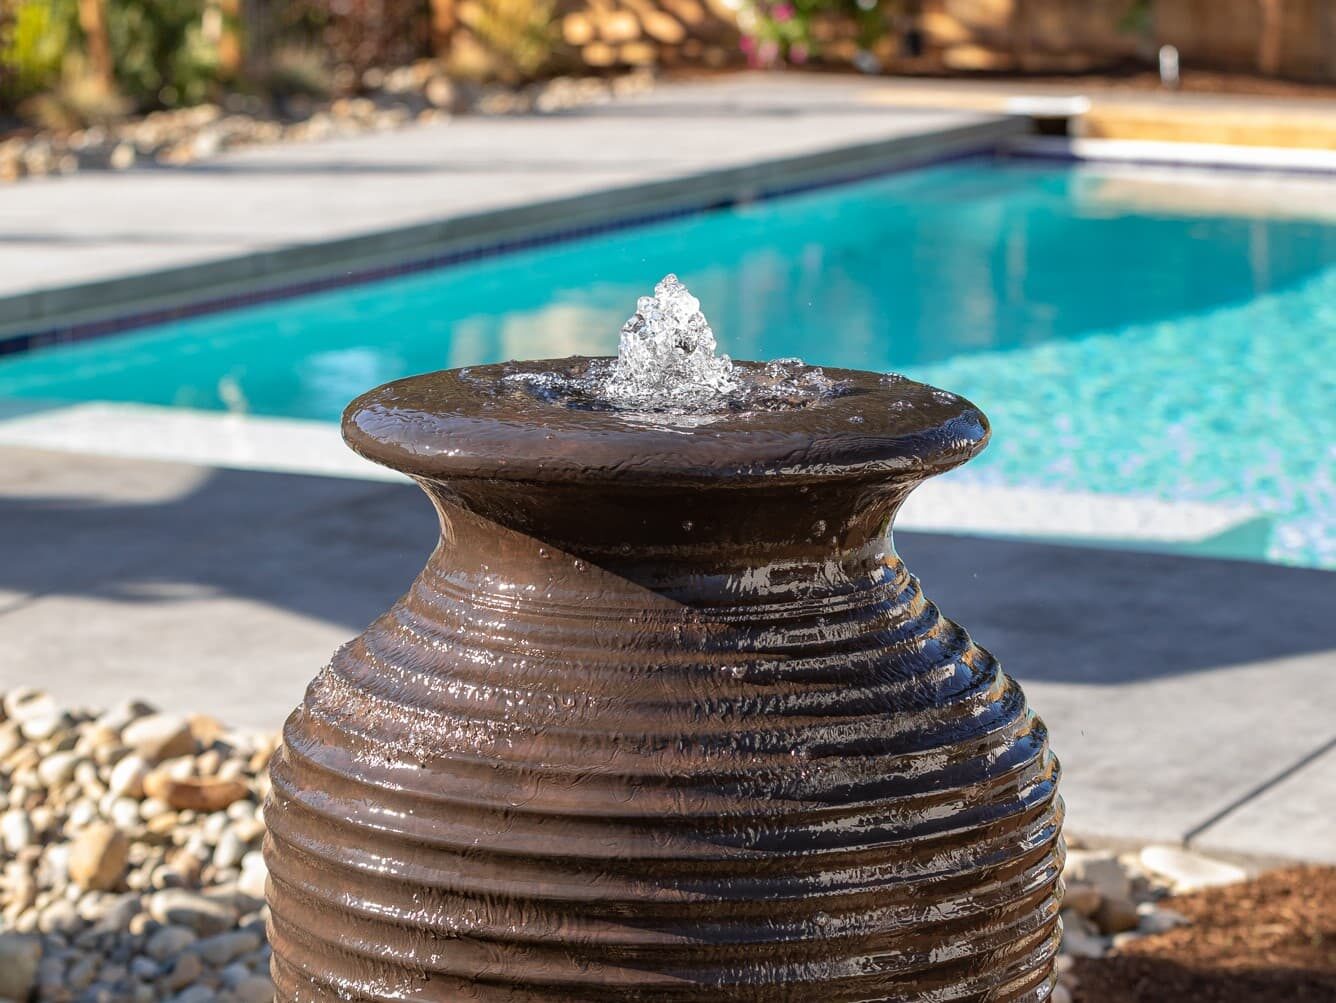
Fountain bubbler kitchen sinks
are designed to mimic the look of a
luxurious fountain
by incorporating a
water feature
into your kitchen sink. The water flows from a small faucet, creating a soothing and soothing sound that can help to relax and de-stress you while you go about your daily kitchen tasks. This feature not only adds a unique design element to your kitchen but also makes it a more tranquil and peaceful space.
Practical Benefits of a Fountain Bubbler Kitchen Sink
 Aside from its aesthetic appeal, a fountain bubbler kitchen sink also offers practical benefits. The continuous flow of water from the faucet helps to keep your sink clean and free from bacteria, making it a more hygienic option compared to traditional kitchen sinks. It also provides a convenient way to wash and rinse dishes, as the water is always readily available at the touch of a button.
Moreover,
fountain bubbler kitchen sinks
are often made with
durable materials
such as stainless steel or granite, making them a long-lasting and sustainable addition to your home. These sinks are also easy to maintain, requiring only simple cleaning and upkeep to keep them looking and functioning like new.
Customize Your Kitchen with a Fountain Bubbler Sink
 One of the best things about
fountain bubbler kitchen sinks
is that they come in a variety of styles and designs, allowing you to
customize
your kitchen to your personal taste. You can choose from different shapes, sizes, and finishes to match your existing kitchen decor or create a statement piece that stands out.
In addition, some fountain bubbler sinks also come with features such as built-in soap dispensers and garbage disposals, adding even more convenience and functionality to your kitchen. With so many options to choose from, you can easily find a fountain bubbler sink that fits your needs and complements your kitchen design.
In conclusion, a fountain bubbler kitchen sink is more than just a functional fixture, it is a
stylish and practical addition
to your kitchen that can elevate its overall look and feel. By installing one in your home, you can enjoy the benefits of a beautiful and tranquil kitchen that is sure to impress your guests and make your daily tasks more enjoyable. So why wait? Consider installing a fountain bubbler kitchen sink in your home today and take your kitchen design to the next level.













/how-to-install-a-sink-drain-2718789-hero-24e898006ed94c9593a2a268b57989a3.jpg)











/how-to-install-a-sink-drain-2718789-hero-b5b99f72b5a24bb2ae8364e60539cece.jpg)


