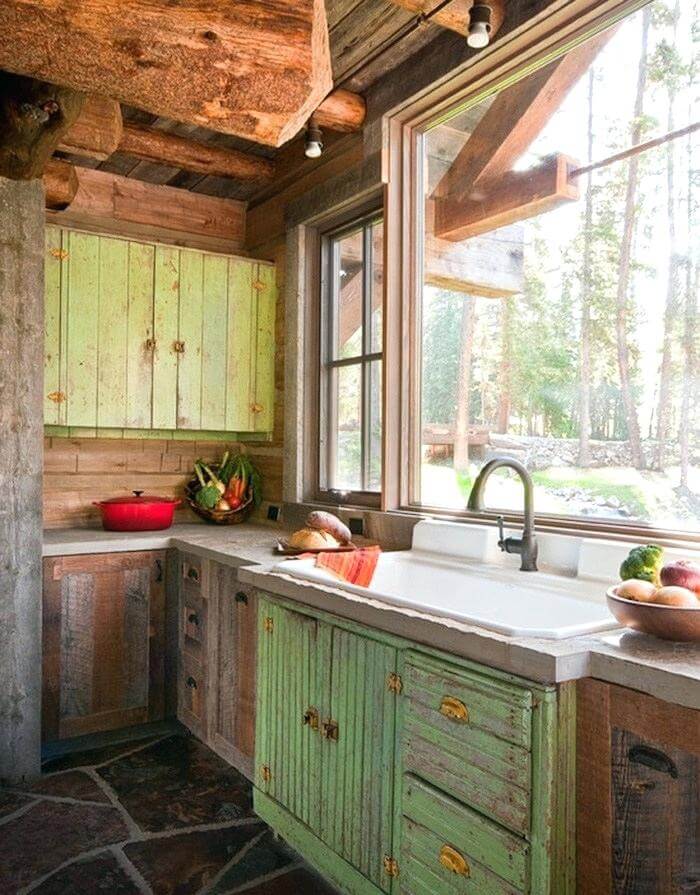
Are you looking for a unique and budget-friendly way to spruce up your kitchen bar? Consider using old boards to create a rustic and charming look. Not only will this add character to your space, but it's also a sustainable option by repurposing materials. Follow our step-by-step guide to learn how to put old boards on your kitchen bar and transform your space into a cozy gathering spot.How to Put Old Boards on Kitchen Bar
Don't let the word "DIY" intimidate you. Adding old boards to your kitchen bar is a simple and fun project that anyone can do. Not to mention, it's a great opportunity to unleash your creativity and showcase your personal style. Plus, the end result is a one-of-a-kind kitchen bar that will impress your guests and make you proud of your DIY skills.DIY Kitchen Bar with Old Boards
If you have old boards lying around from a previous project or salvaged from a demolition, why not give them a new purpose? Repurposing old boards for your kitchen bar is not only environmentally friendly, but it also adds a touch of history and character to your space. You can also find affordable old boards at flea markets, garage sales, or even ask friends and family if they have any they no longer need.Repurposing Old Boards for Kitchen Bar
Now, let's get into the nitty-gritty of how to put old boards on your kitchen bar. Follow these steps for a successful and beautiful end result: Step 1: Measure the length and width of your kitchen bar to determine how many boards you will need and what size they should be. Keep in mind that the boards will need to be cut to fit around the edges and corners. Step 2: Choose the type of boards you want to use. You can opt for weathered and distressed boards for a more rustic look or clean and polished boards for a more modern touch. Step 3: Clean the boards thoroughly to remove any dirt or debris. Sand them down if needed to create a smooth surface. Step 4: Apply a sealant or stain to the boards to protect them from moisture and give them a finished look. You can also paint or distress them for a more unique look. Step 5: Once the boards are dry, use a saw to cut them to the appropriate size to fit on your kitchen bar. Step 6: Apply a layer of construction adhesive to the back of each board and press them onto the kitchen bar, starting from one end and working your way to the other. Use clamps to hold the boards in place while the adhesive dries. Step 7: For the edges and corners, use a jigsaw to cut the boards to fit perfectly. Sand down the edges for a smooth finish. Step 8: Once all the boards are in place, use a sander to smooth out any imperfections and create a cohesive look. Step 9: Apply another layer of sealant or stain to the entire kitchen bar to protect the boards and give them a polished look. Step 10: Let the kitchen bar dry completely before using it.Step-by-Step Guide for Adding Old Boards to Kitchen Bar
Salvaged boards are a great option for adding a unique and rustic touch to your kitchen bar. These boards have a story and add a sense of history to your space. Plus, using salvaged materials is an eco-friendly way to add character to your home. So next time you come across some old boards, consider using them for your kitchen bar project.Using Salvaged Boards for Kitchen Bar
Adding old boards to your kitchen bar is an excellent way to transform it into a statement piece. These boards add texture, warmth, and personality to your space, making it feel more inviting and cozy. Don't be afraid to mix and match different types of boards to create a unique and eclectic look.Transforming Your Kitchen Bar with Old Boards
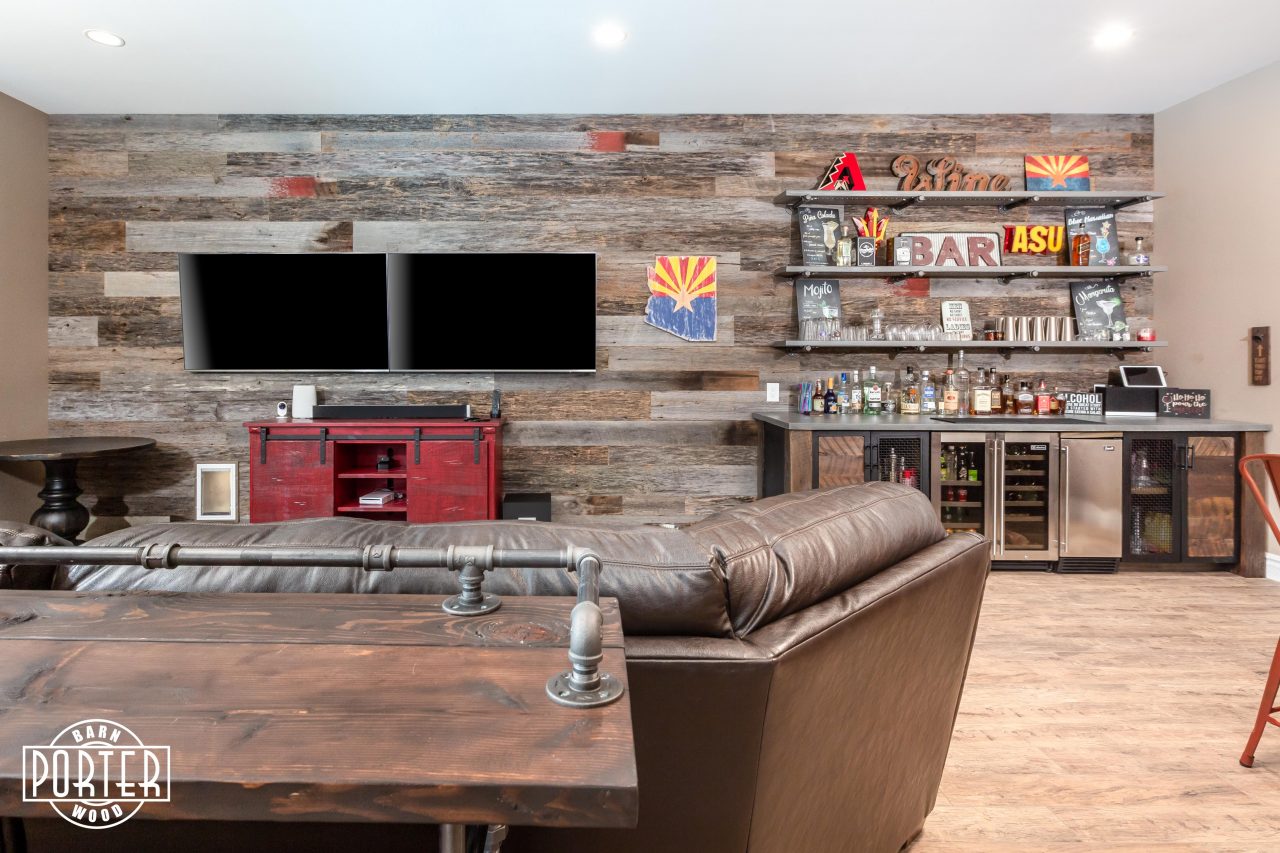
The possibilities are endless when it comes to using old boards for your kitchen bar. Here are some creative ideas to inspire you: - Use different colored or patterned boards for a more eclectic look - Cut the boards into different shapes and sizes for a more dynamic look - Use old barn wood for a truly rustic and charming touch - Paint a design or quote onto the boards for a personalized touch - Mix and match different types of boards for a unique and eclectic lookCreative Ideas for Incorporating Old Boards into Kitchen Bar
Installing old boards on your kitchen bar may seem like a daunting task, but with these tips, it will be a breeze: - Start from one end and work your way to the other to ensure a seamless and even look - Use clamps to hold the boards in place while the adhesive dries - Measure and cut the boards carefully to ensure a perfect fit - Sand down the edges and imperfections for a smooth finish - Use a sealant or stain to protect the boards and give them a polished lookTips for Installing Old Boards on Kitchen Bar
Reclaimed boards are an excellent choice for adding a touch of history and character to your kitchen bar. These boards have a story and bring a sense of warmth and charm to your space. Plus, using reclaimed materials is a sustainable and eco-friendly option for your home improvement projects.Enhancing Your Kitchen Bar with Reclaimed Boards
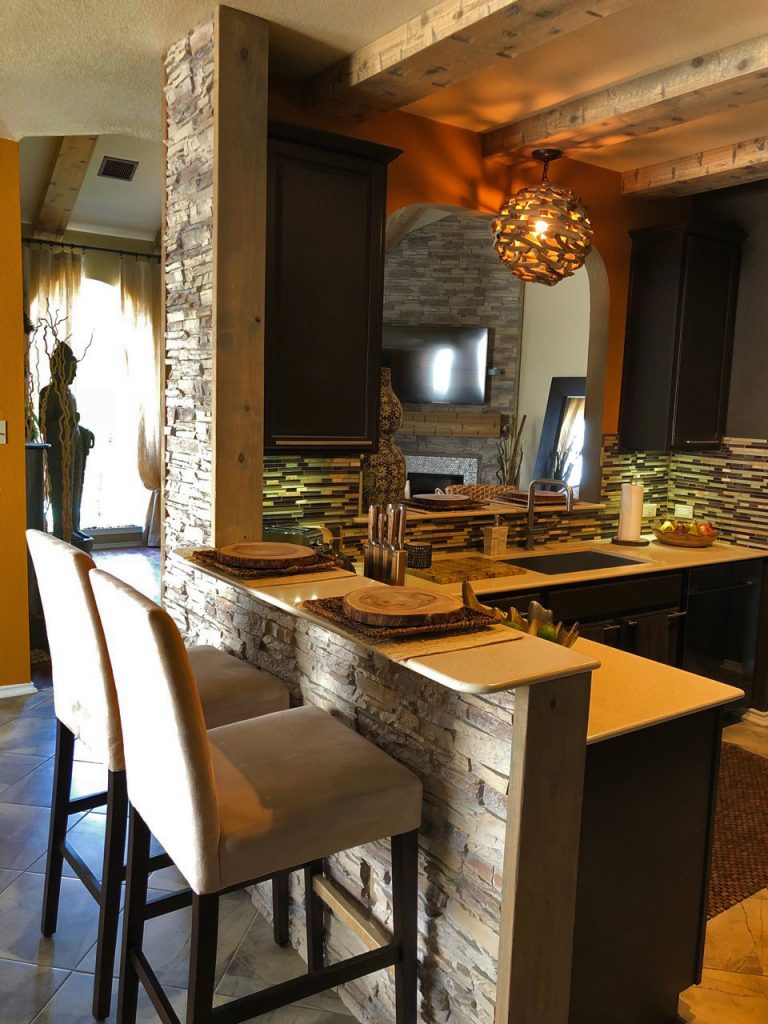
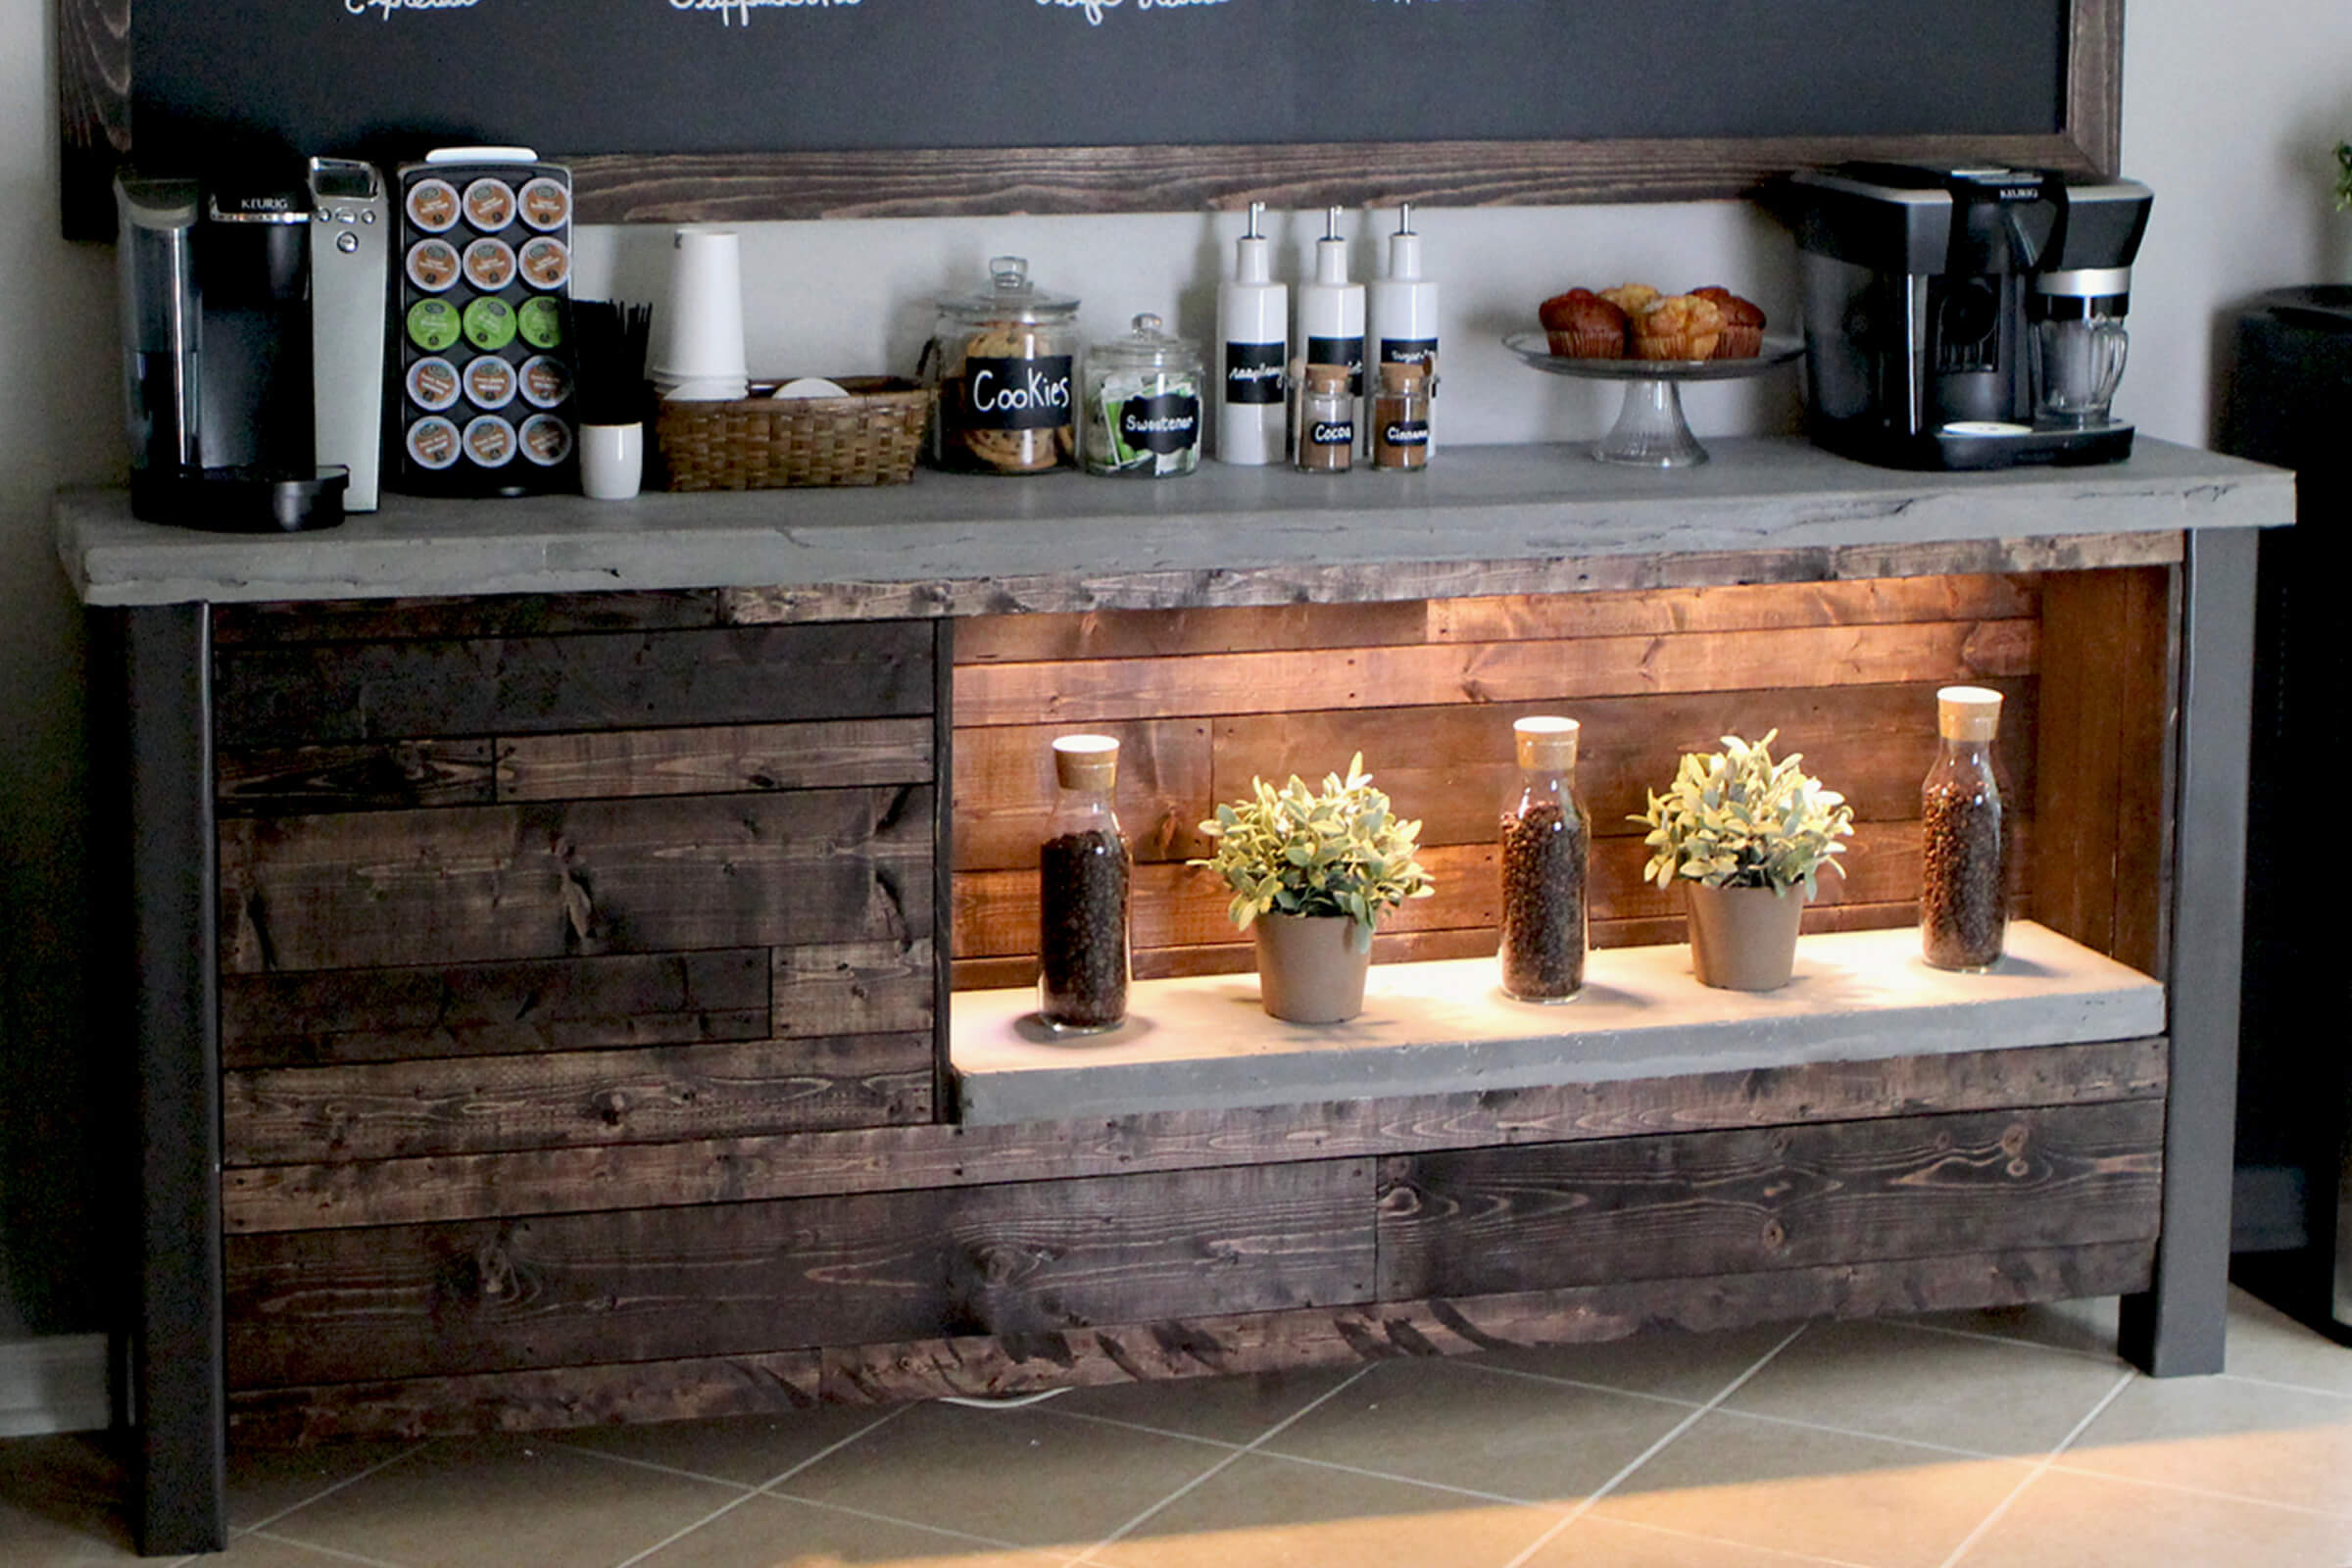
If you're going for a rustic or farmhouse look in your kitchen, old boards are a must-have for your kitchen bar. Their weathered and distressed look adds a touch of nostalgia and warmth to your space. Pair them with other rustic elements such as metal accents, mason jar lights, and wooden stools for the perfect rustic kitchen bar. Now that you know how to put old boards on your kitchen bar, it's time to get creative and transform your space into a cozy and charming gathering spot. With these tips and ideas, you'll have a unique and budget-friendly kitchen bar in no time.How to Create a Rustic Kitchen Bar with Old Boards
How to Put Old Boards on Kitchen Bar: A Creative and Sustainable House Design Idea

Creating a Unique and Eco-Friendly Kitchen Bar
 In today's world, sustainability and eco-friendliness have become important factors in our daily lives, including in our homes. Many people are looking for ways to incorporate sustainable and creative elements into their house design. One way to do this is by using old boards to create a unique and eco-friendly kitchen bar. Not only does this add character and charm to your kitchen, but it also reduces waste and promotes a more sustainable lifestyle. Here's how you can put old boards on your kitchen bar.
Gathering the Materials
 The first step in this DIY project is to gather the necessary materials. You will need old boards, a saw, sandpaper, wood glue, screws, and a drill. Look for old boards in salvage yards, flea markets, or even your own backyard. The more weathered and distressed the boards are, the better. This will give your kitchen bar a rustic and charming look.
Preparing the Boards
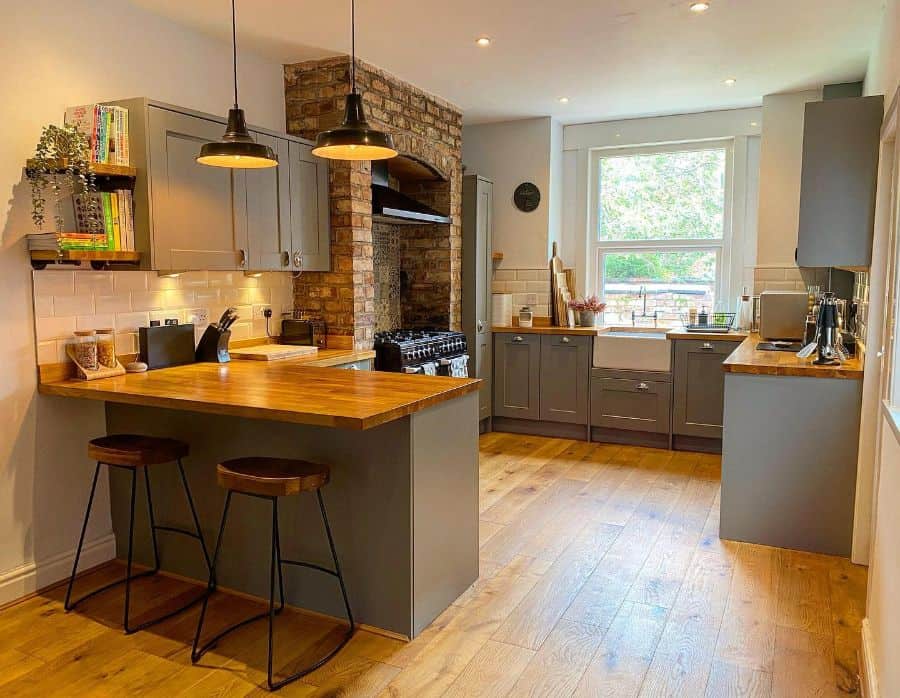 Once you have your old boards, it's time to prepare them for the kitchen bar. Start by cleaning them thoroughly with soap and water to remove any dirt or debris. Then, use a saw to cut the boards to the desired size for your kitchen bar. Next, use sandpaper to smooth out any rough edges or splinters. This will also help to bring out the natural texture and character of the old boards.
Assembling the Kitchen Bar
 Now it's time to assemble your kitchen bar. Begin by laying out the boards on a flat surface to create the countertop. Use wood glue to secure the boards together, and then clamp them in place until the glue dries. Next, use screws and a drill to attach the countertop to the base of your kitchen bar. This can be made from old cabinets, crates, or even cinder blocks for a more industrial look.
Finishing Touches
 Finally, it's time to add some finishing touches to your kitchen bar. You can choose to leave the natural color and texture of the old boards, or you can stain or paint them to match your kitchen's color scheme. You can also add a coat of polyurethane to protect the wood and give it a glossy finish. To add some extra charm, consider attaching hooks to hang kitchen utensils or adding a shelf underneath for storage.
Conclusion
 Incorporating old boards into your kitchen bar not only adds a unique and creative element to your house design, but it also promotes sustainability and reduces waste. With a little bit of creativity and DIY skills, you can create a beautiful and eco-friendly kitchen bar that will be the centerpiece of your kitchen. So next time you come across some old boards, don't throw them away - turn them into a one-of-a-kind kitchen bar instead.


/kitchen-bars-15-pure-salt-magnolia-31fc95f86eca4e91977a7881a6d1f131.jpg)

