How to Fix a Rip in a Leather Sofa
Leather sofas add a touch of sophistication and elegance to any living space. But unfortunately, accidents happen and your beautiful leather sofa may end up with a rip or tear. However, don't worry, as repairing a rip in a leather sofa is not as daunting as it may seem. With just a few simple steps and some basic materials, you can easily fix a rip in your leather sofa and make it look as good as new. Follow this DIY guide and say goodbye to your leather sofa woes.
Leather Sofa Repair: How to Fix a Rip
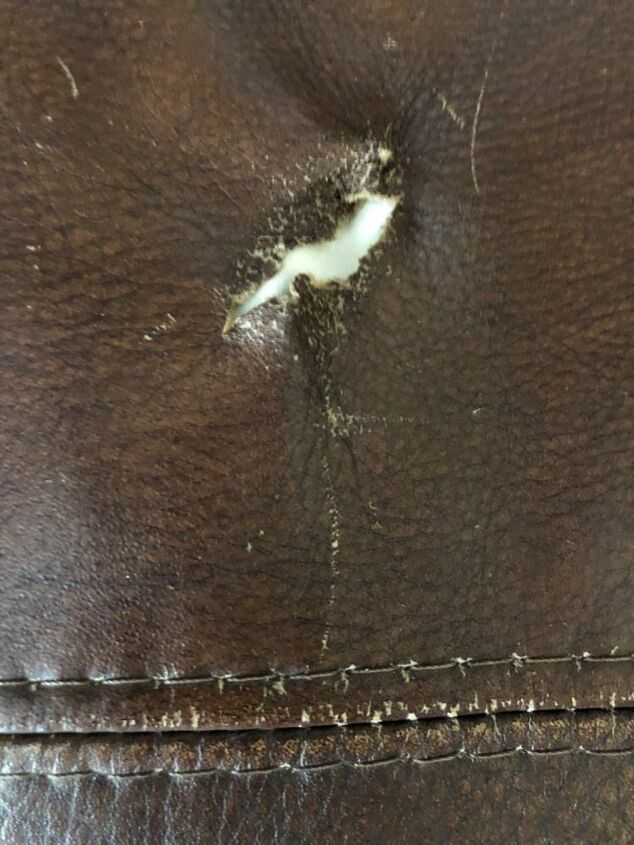
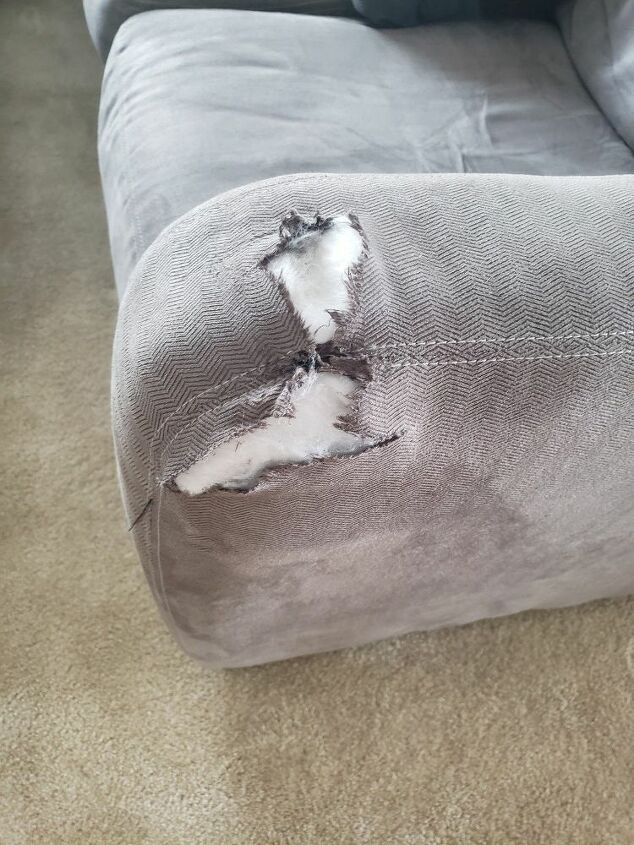
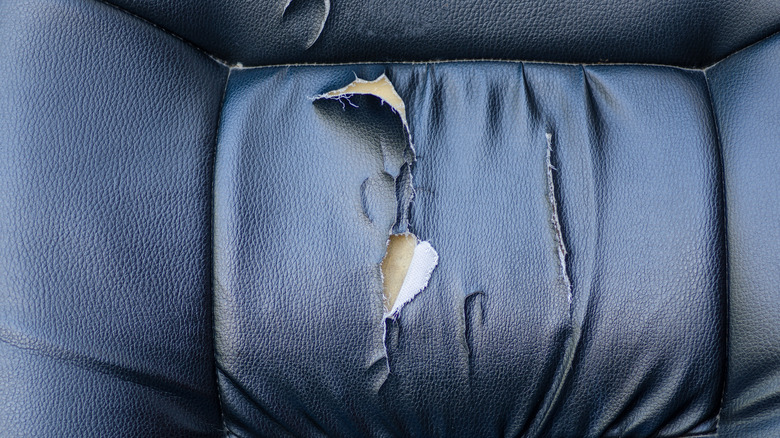
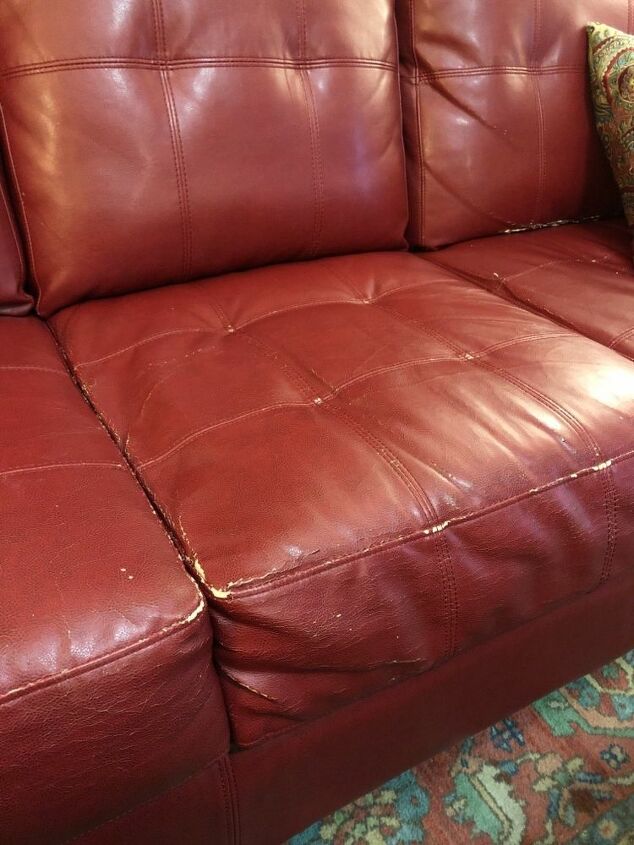
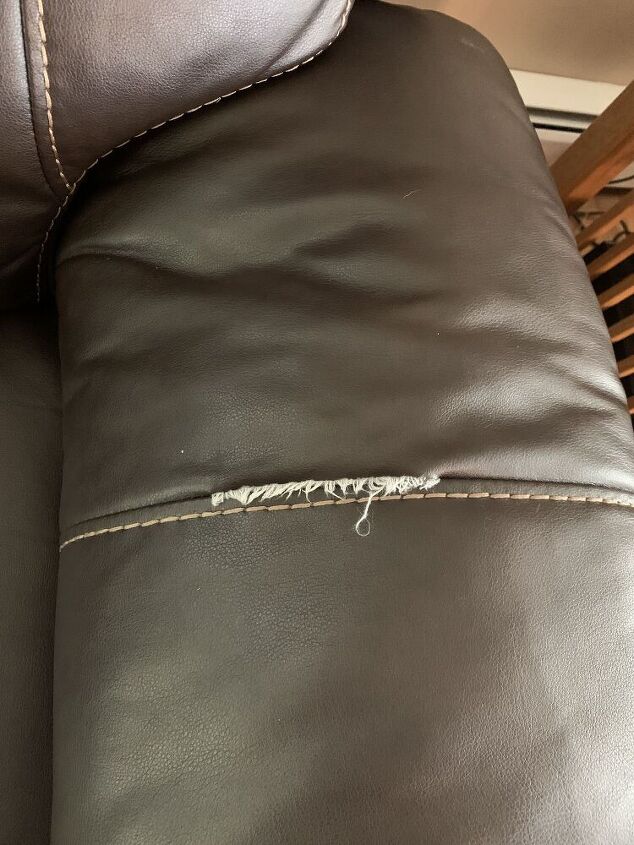
The first step in fixing a rip in your leather sofa is to assess the damage. Is the rip small or large? Is it on a visible part of the sofa or can it be hidden? This will determine the method you will use to repair the rip. If the rip is small and on a less visible part of the sofa, you can use a leather repair kit. But if it's a large and noticeable rip, you may need to call in a professional.
DIY Guide: Fixing a Rip in a Leather Sofa
If you decide to repair the rip yourself, here's what you'll need:
Quick and Easy Steps to Fix a Rip in Your Leather Sofa
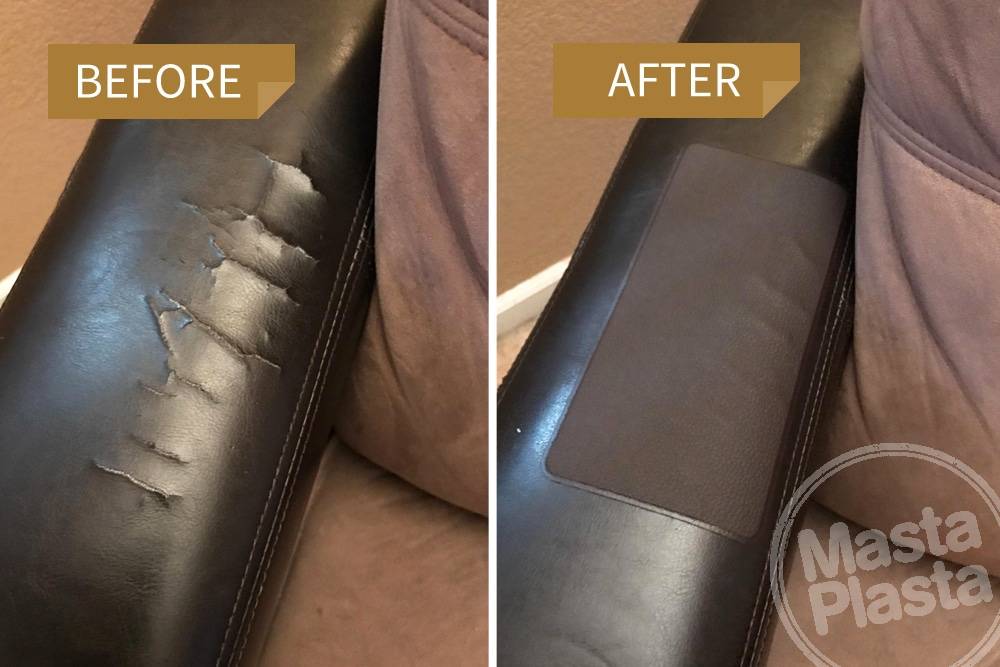
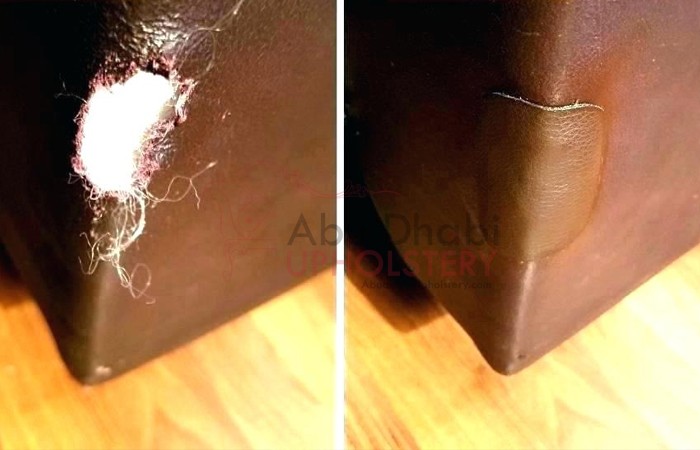
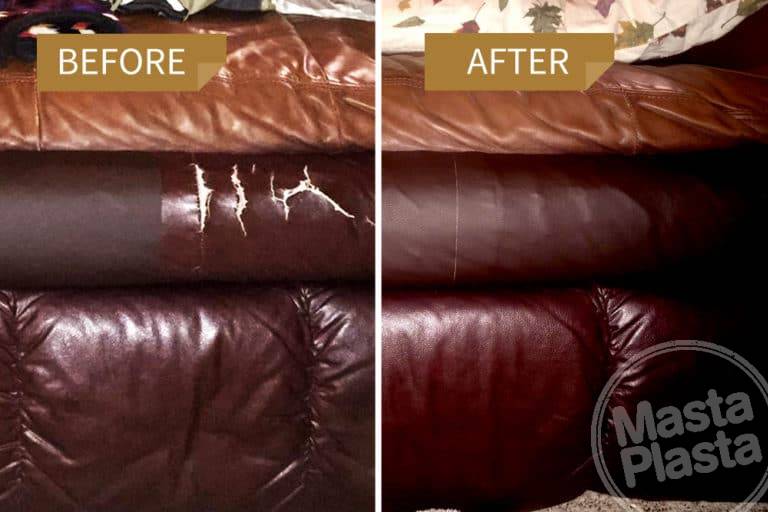
Now it's time to use the leather repair kit. Follow the instructions carefully to mix the adhesive and apply it to the edges of the rip. Then, place a patch of leather over the rip and press down firmly. Use a hairdryer to speed up the drying process. Once the adhesive is dry, use sandpaper to smooth out any rough edges. Finally, use a leather dye that matches the color of your sofa to cover the patch and blend it in with the rest of the leather.
Leather Sofa Rip Repair: Tips and Tricks
If the rip is on a visible part of the sofa, like the seat or armrest, you can use a leather patch instead of a repair kit. Cut a piece of leather from a hidden or less visible part of the sofa, making sure it's slightly bigger than the rip. Then, follow the same steps as before, but instead of using the adhesive, use a leather glue to attach the patch to the rip. Again, use a hairdryer to speed up the drying process and then use sandpaper and leather dye to blend the patch with the rest of the sofa.
Step-by-Step Guide to Fixing a Rip in Your Leather Sofa
To summarize, here's a step-by-step guide to fixing a rip in your leather sofa:
Expert Tips for Repairing a Rip in Your Leather Sofa
If you're using a leather repair kit, always test the adhesive on a small, hidden area of the sofa first to make sure it doesn't damage the leather. Also, make sure to read and follow the instructions carefully. If you're using a leather patch, make sure to cut it in a shape that matches the rip for a seamless repair. And finally, remember to take your time and be patient, as repairing a rip in a leather sofa may take a few attempts to get it right.
Fixing a Rip in Your Leather Sofa: What You Need to Know
While it's always best to leave major repairs to a professional, fixing a rip in a leather sofa is a simple enough task that you can do yourself. Just make sure to carefully follow the steps and use the right materials. With a bit of time and effort, you can easily make your leather sofa look as good as new and save yourself the cost of buying a new one.
Leather Sofa Rip Repair: Common Mistakes to Avoid
One common mistake people make when repairing a rip in their leather sofa is using the wrong color dye. Make sure to test the dye on a small, hidden area of the sofa before applying it to the patch to ensure it matches. Another mistake is not waiting for the adhesive to fully dry before using the sofa, which can cause the repair to come apart. Be patient and wait for the recommended drying time before using your sofa again.
How to Repair a Rip in Your Leather Sofa Like a Pro
With these tips and tricks, you can easily repair a rip in your leather sofa like a pro. Remember to assess the damage, use the right materials, and take your time. And before you know it, your leather sofa will be looking as good as new again. So don't panic the next time your leather sofa gets a rip, just follow this DIY guide and you'll have it fixed in no time.
How to Fix a Rip in a Leather Sofa: A Comprehensive Guide
The Importance of Maintaining Your Leather Sofa
 Leather sofas are a staple in many households due to their durability and timeless aesthetic appeal. However, they also require proper maintenance to keep them looking their best. This includes addressing any minor damages, such as rips, immediately to prevent them from becoming bigger and more expensive problems in the future. In this article, we'll be focusing on how to fix a rip in a leather sofa and restore it to its former glory.
Assess the Damage
 The first step in fixing a rip in a leather sofa is to assess the extent of the damage. If the rip is small and only affects the surface layer of the leather, you can easily fix it on your own. However, if the rip is larger and has gone through the entire thickness of the leather, it's best to seek professional help to ensure a proper and long-lasting repair.
Gather Necessary Materials
 Before beginning the repair, make sure you have all the necessary materials on hand. These include a leather repair kit, which typically includes a patch, adhesive, and color-matching dye, a pair of scissors, and a clean cloth. It's also important to choose a repair kit specifically designed for the color and type of leather your sofa is made of to achieve the best results.
Clean and Prepare the Area
 Before applying the patch, it's crucial to clean and prepare the area around the rip. Use a damp cloth to gently clean the surrounding area and remove any dirt or dust. Then, use the scissors to trim any loose threads or flaps of leather around the rip. This will ensure a smooth and seamless repair.
Apply the Patch
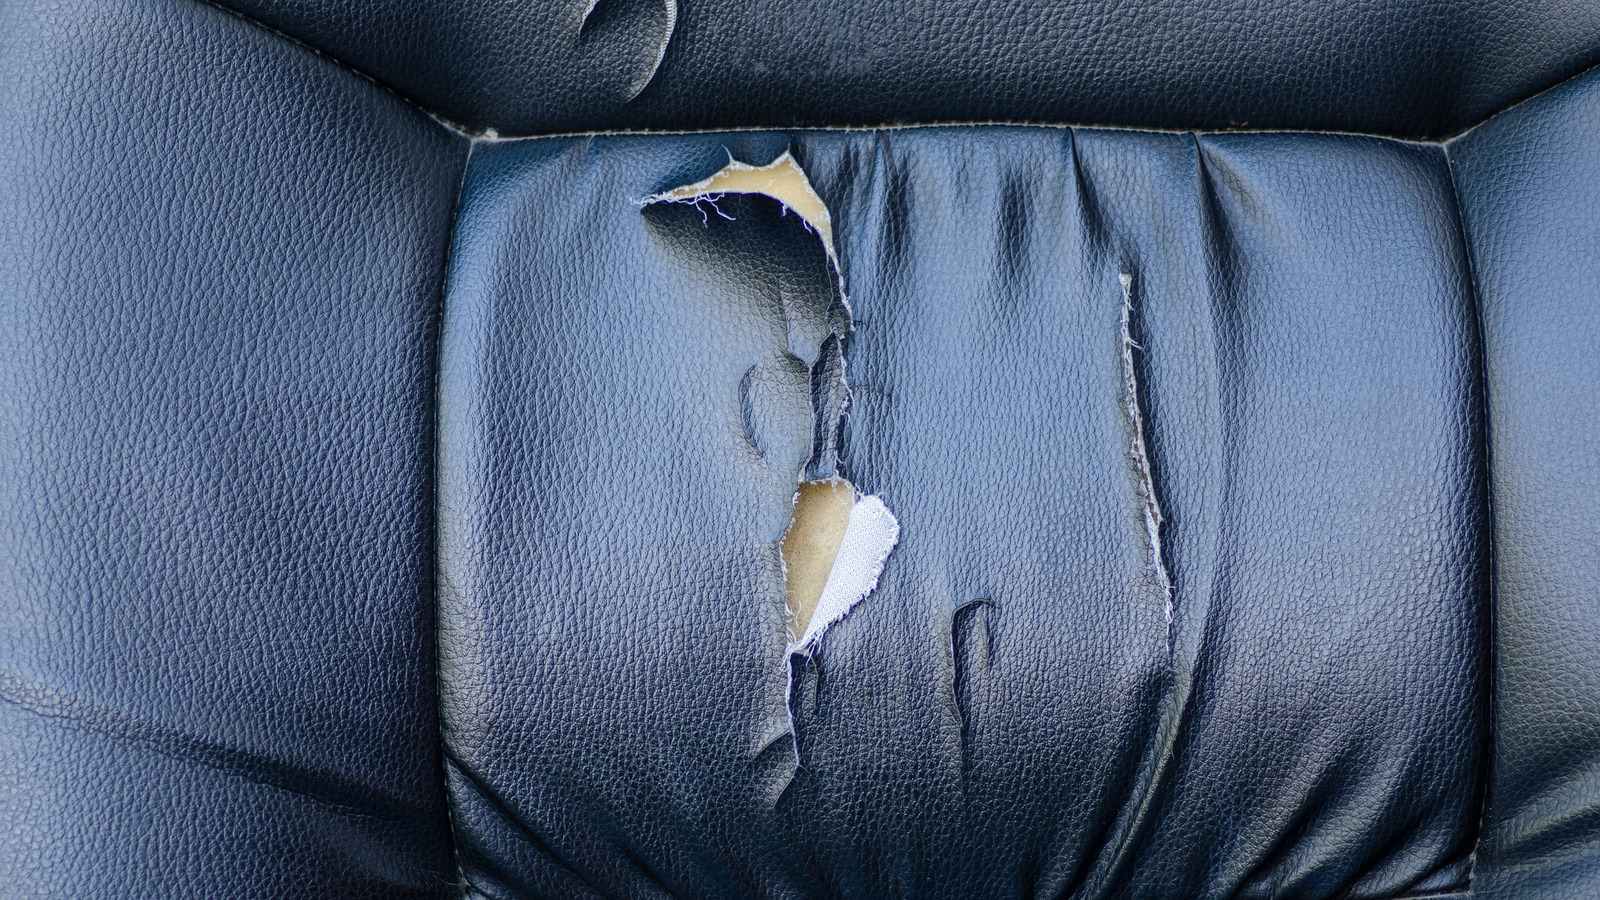 Take the patch included in your repair kit and cut it to a size slightly larger than the rip. This will help ensure that the patch covers the entire damaged area. Apply a thin layer of adhesive to the back of the patch and place it over the rip, pressing down firmly to secure it in place. Let it dry according to the instructions on the adhesive.
Color-Match the Dye
 Once the patch is completely dry, it's time to color-match the dye to the rest of your sofa. Use a small amount of the dye included in the repair kit on a clean cloth and gently rub it onto the patch, blending it with the surrounding leather. Keep adding small amounts of dye until you achieve the desired color match.
Finish with Leather Conditioner
 To ensure the repaired area stays supple and protected, finish off by applying a small amount of leather conditioner to the entire sofa, including the repaired area. This will help prevent future damage and keep your sofa looking like new.
Conclusion
 Fixing a rip in a leather sofa may seem like a daunting task, but with the right materials and techniques, it can be easily done at home. However, for larger and more complex rips, it's always best to seek professional help. Remember to regularly maintain and care for your leather sofa to keep it looking beautiful and lasting for years to come.

