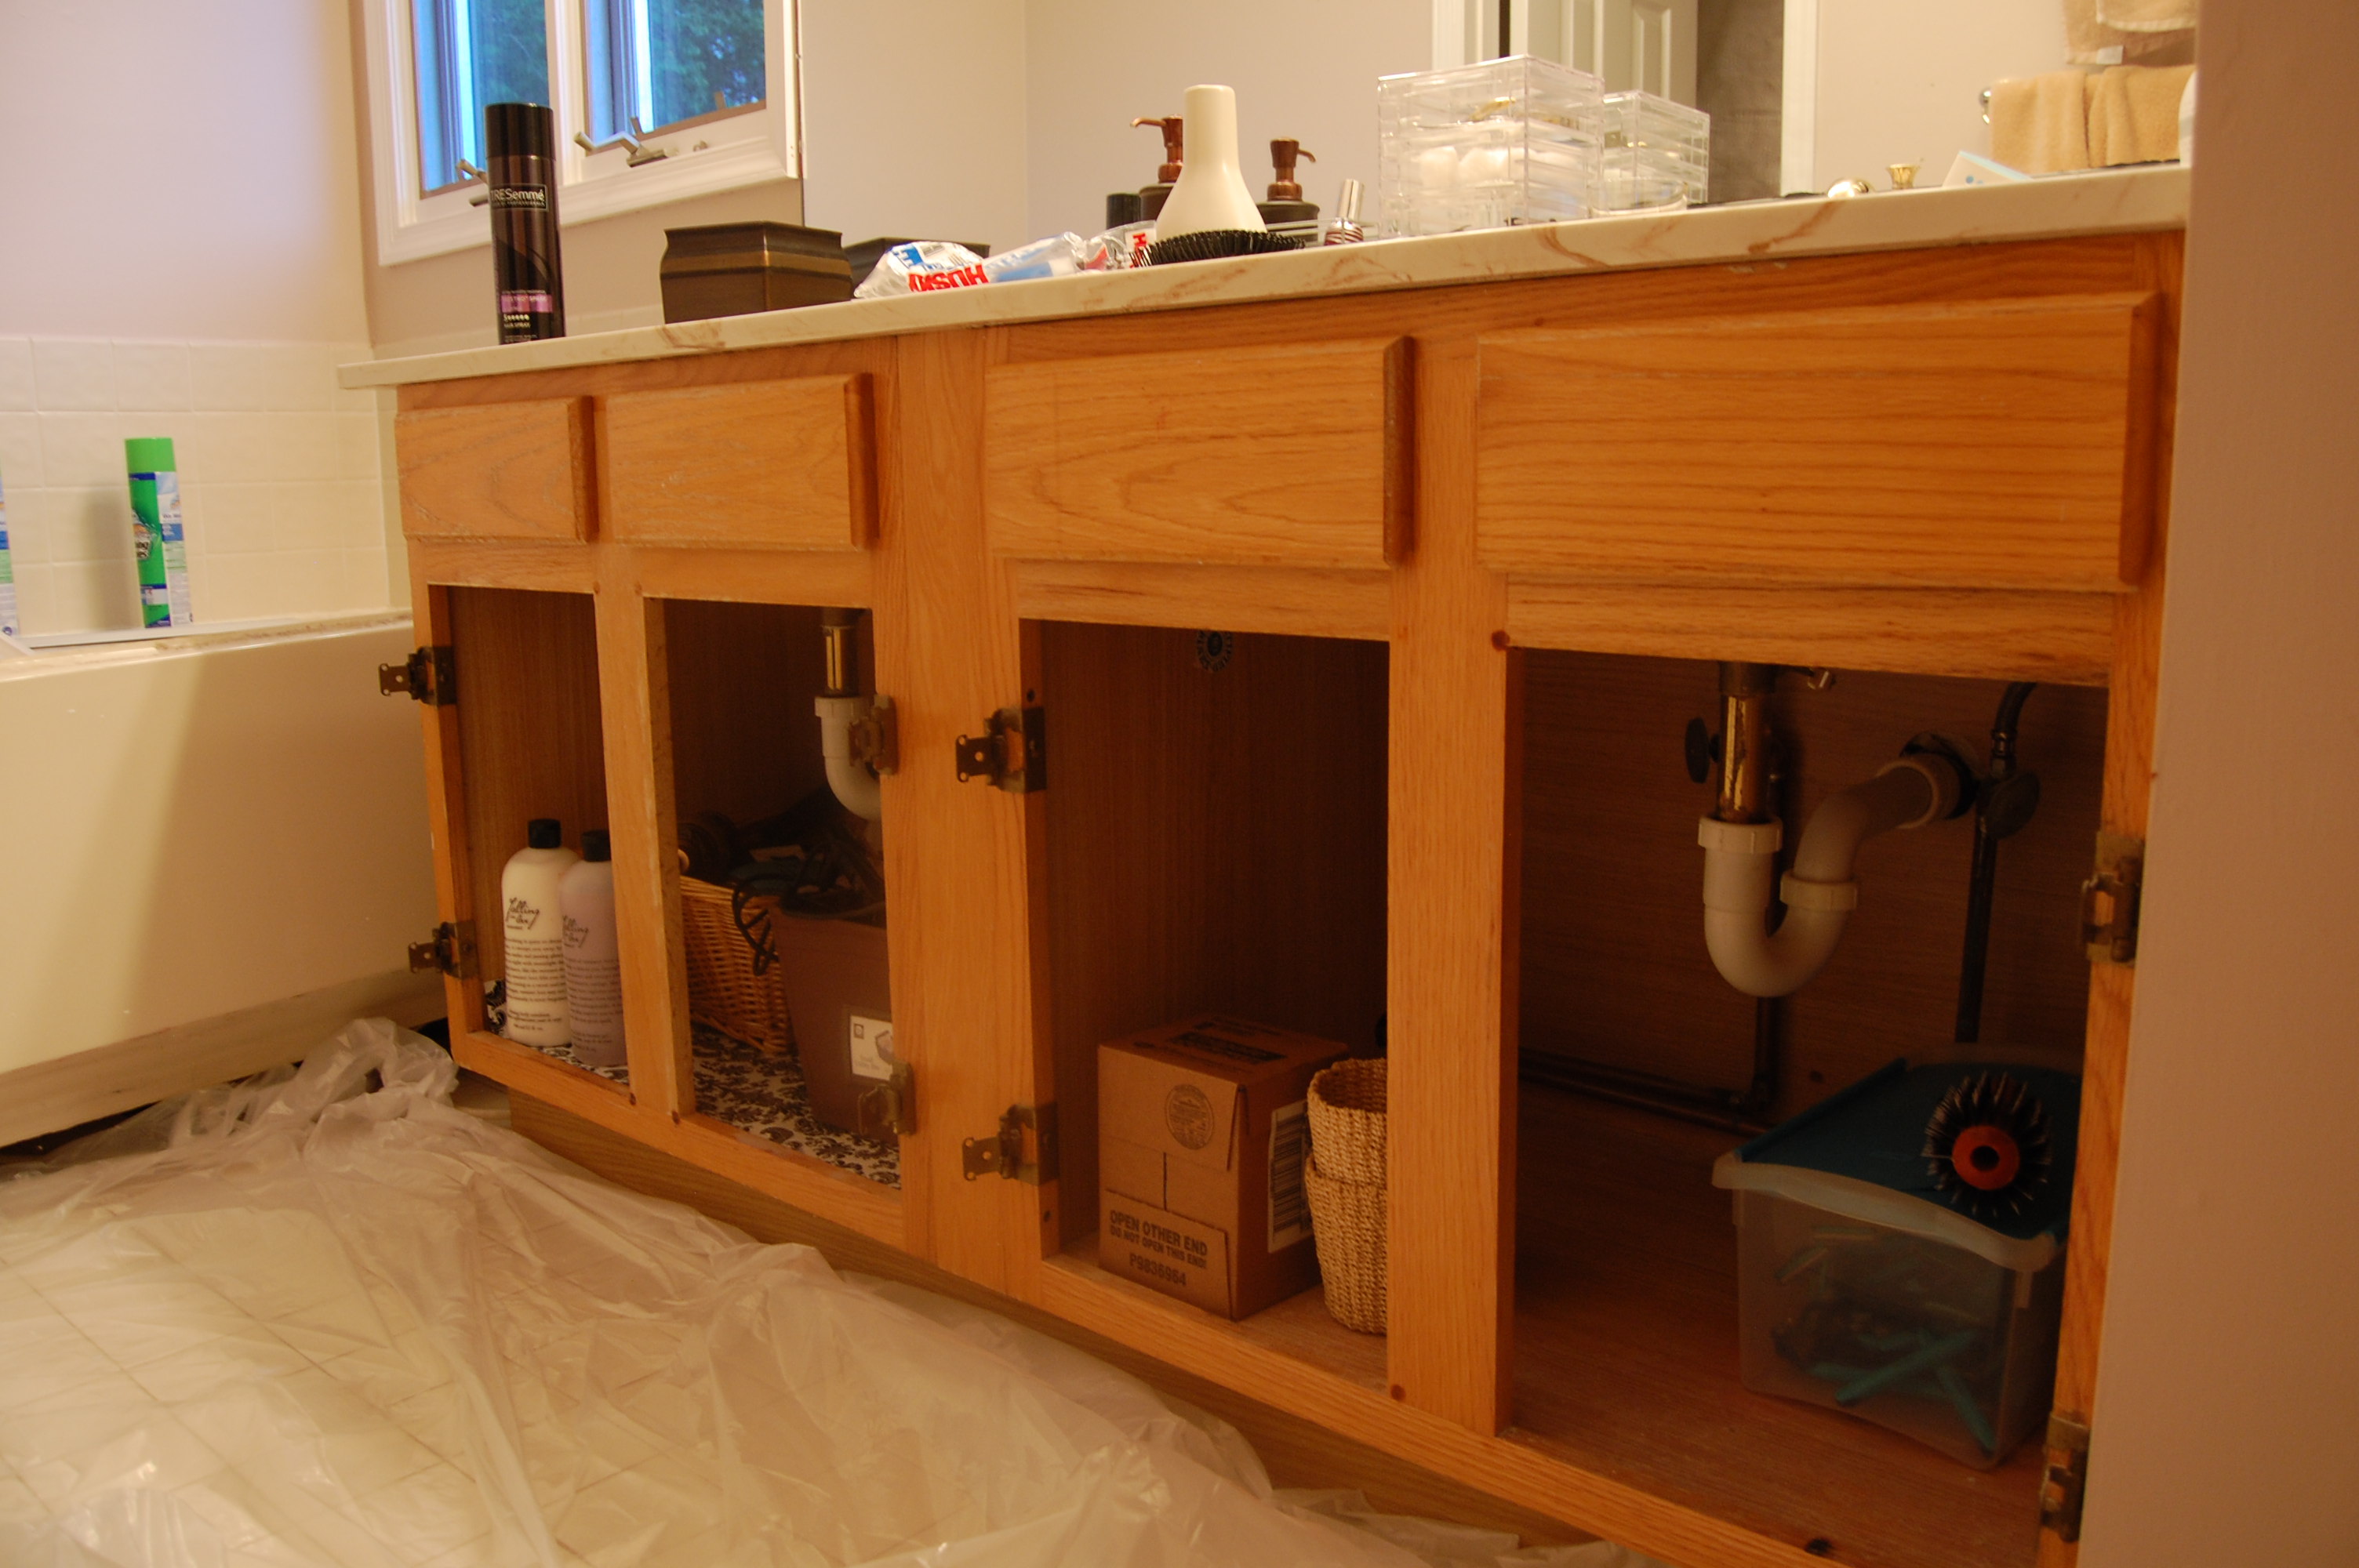
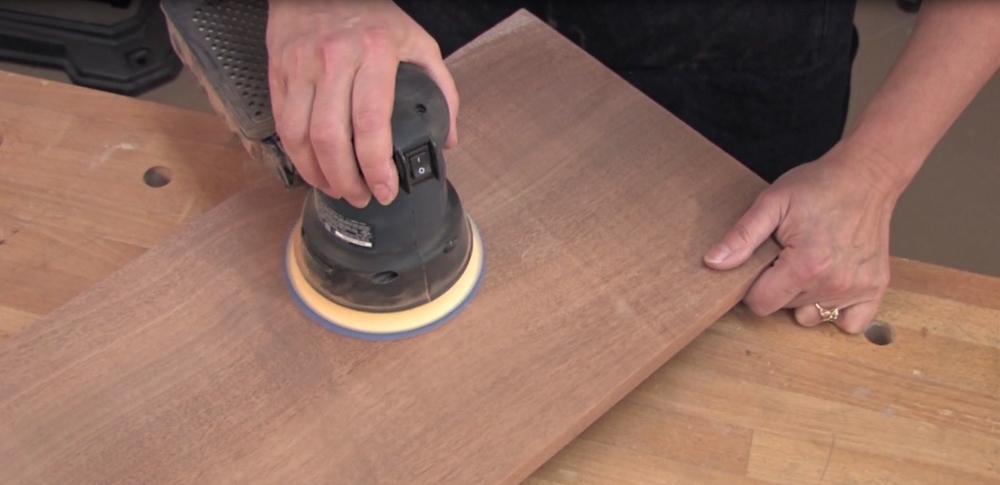
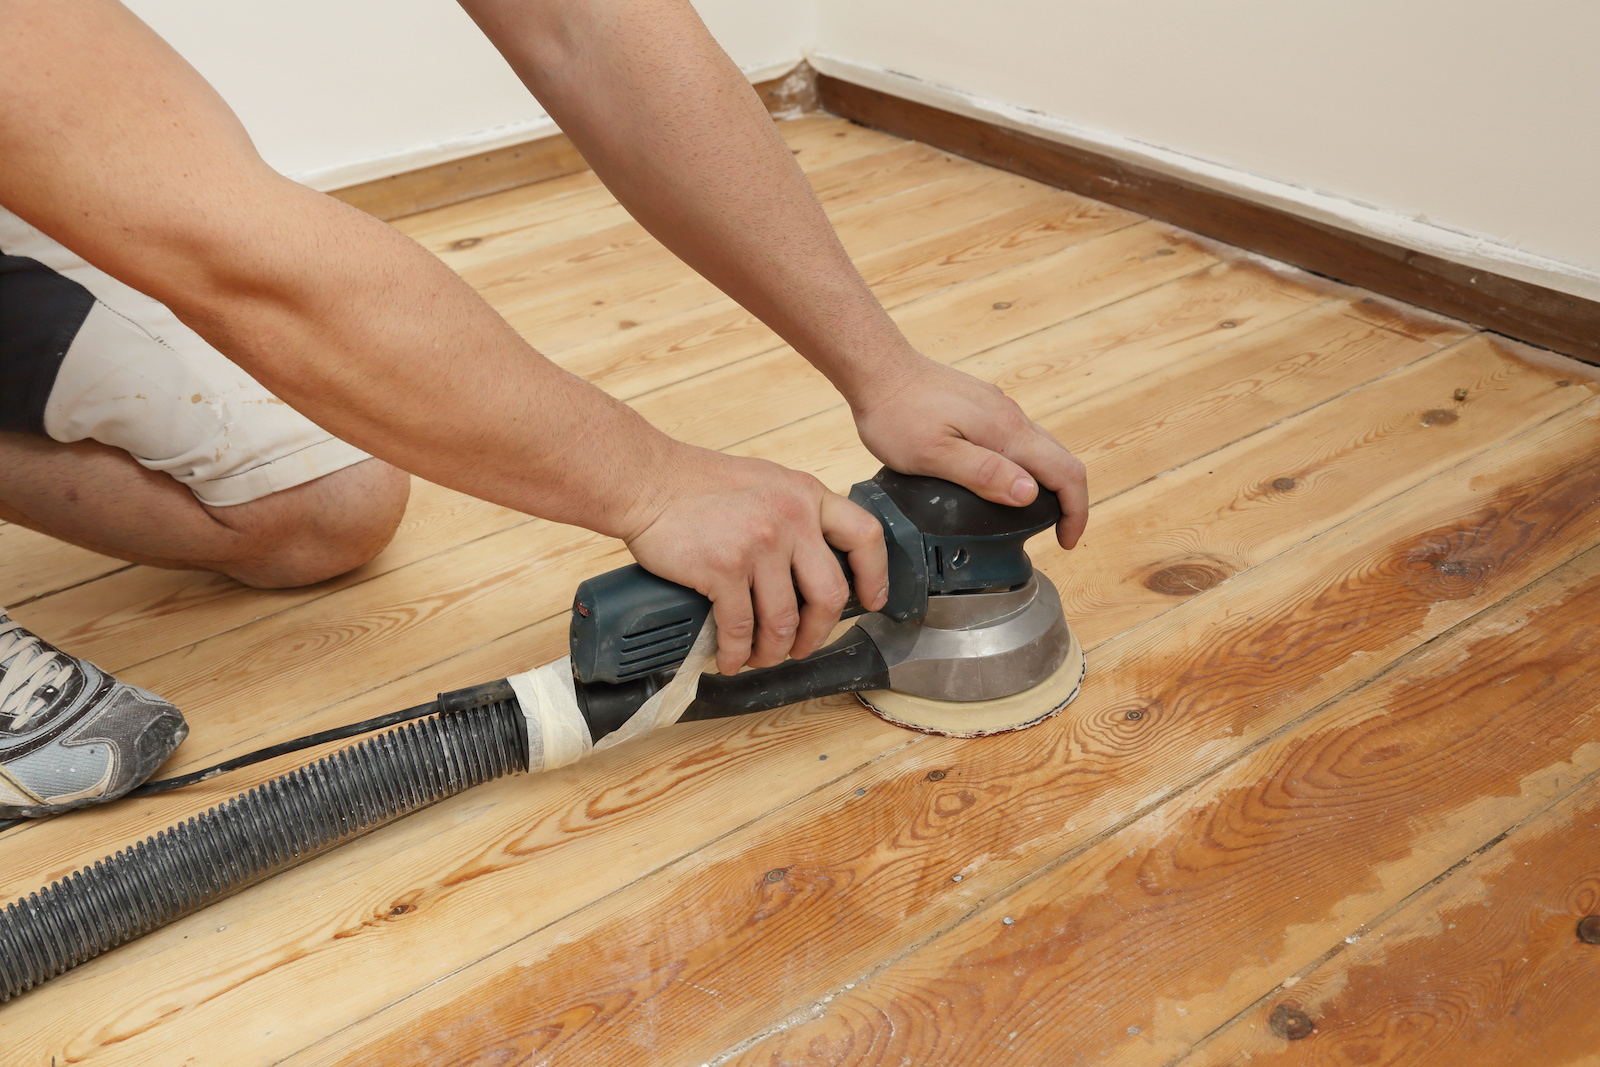
Before you can begin the painting process, it's important to properly prepare your bathroom vanity. This includes removing any hardware such as knobs or handles, as well as cleaning the surface of any dust, dirt, or grime. If your vanity has a glossy finish, you'll also want to lightly sand it to create a better surface for the paint to adhere to.1. Prepping Your Bathroom Vanity
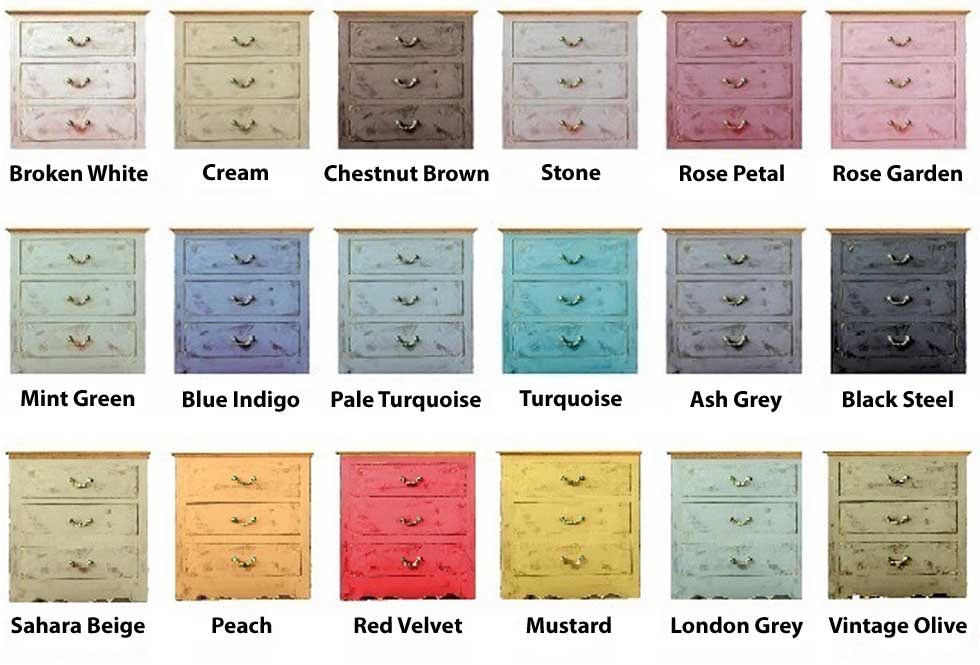
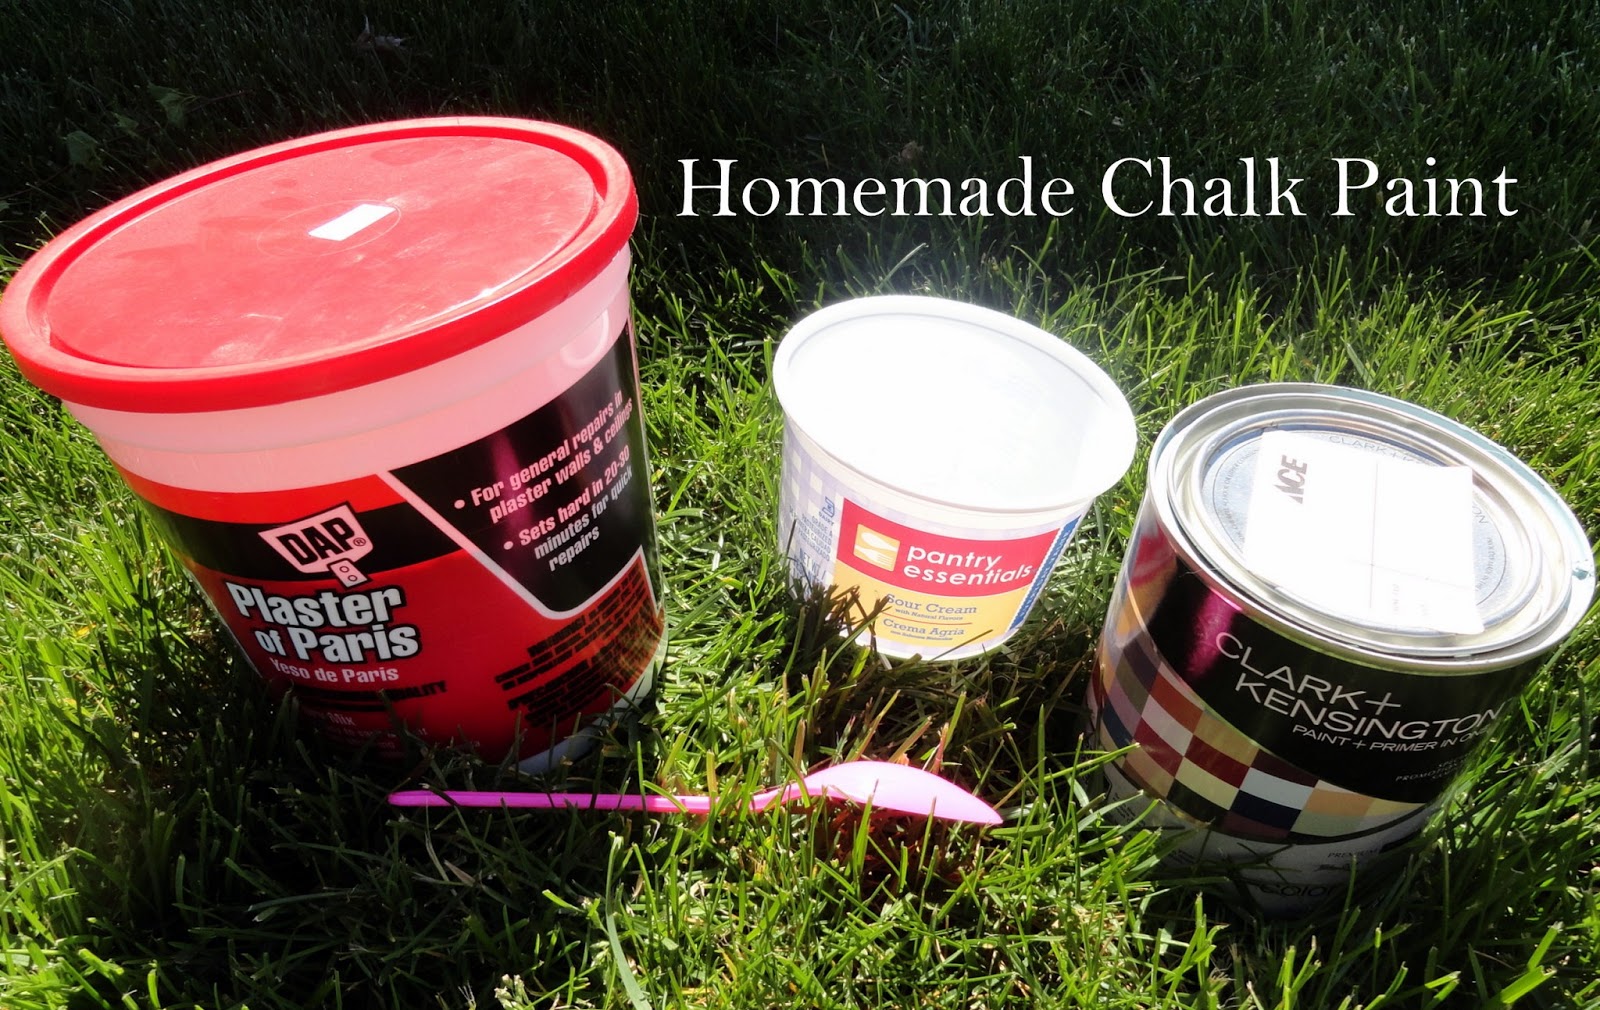
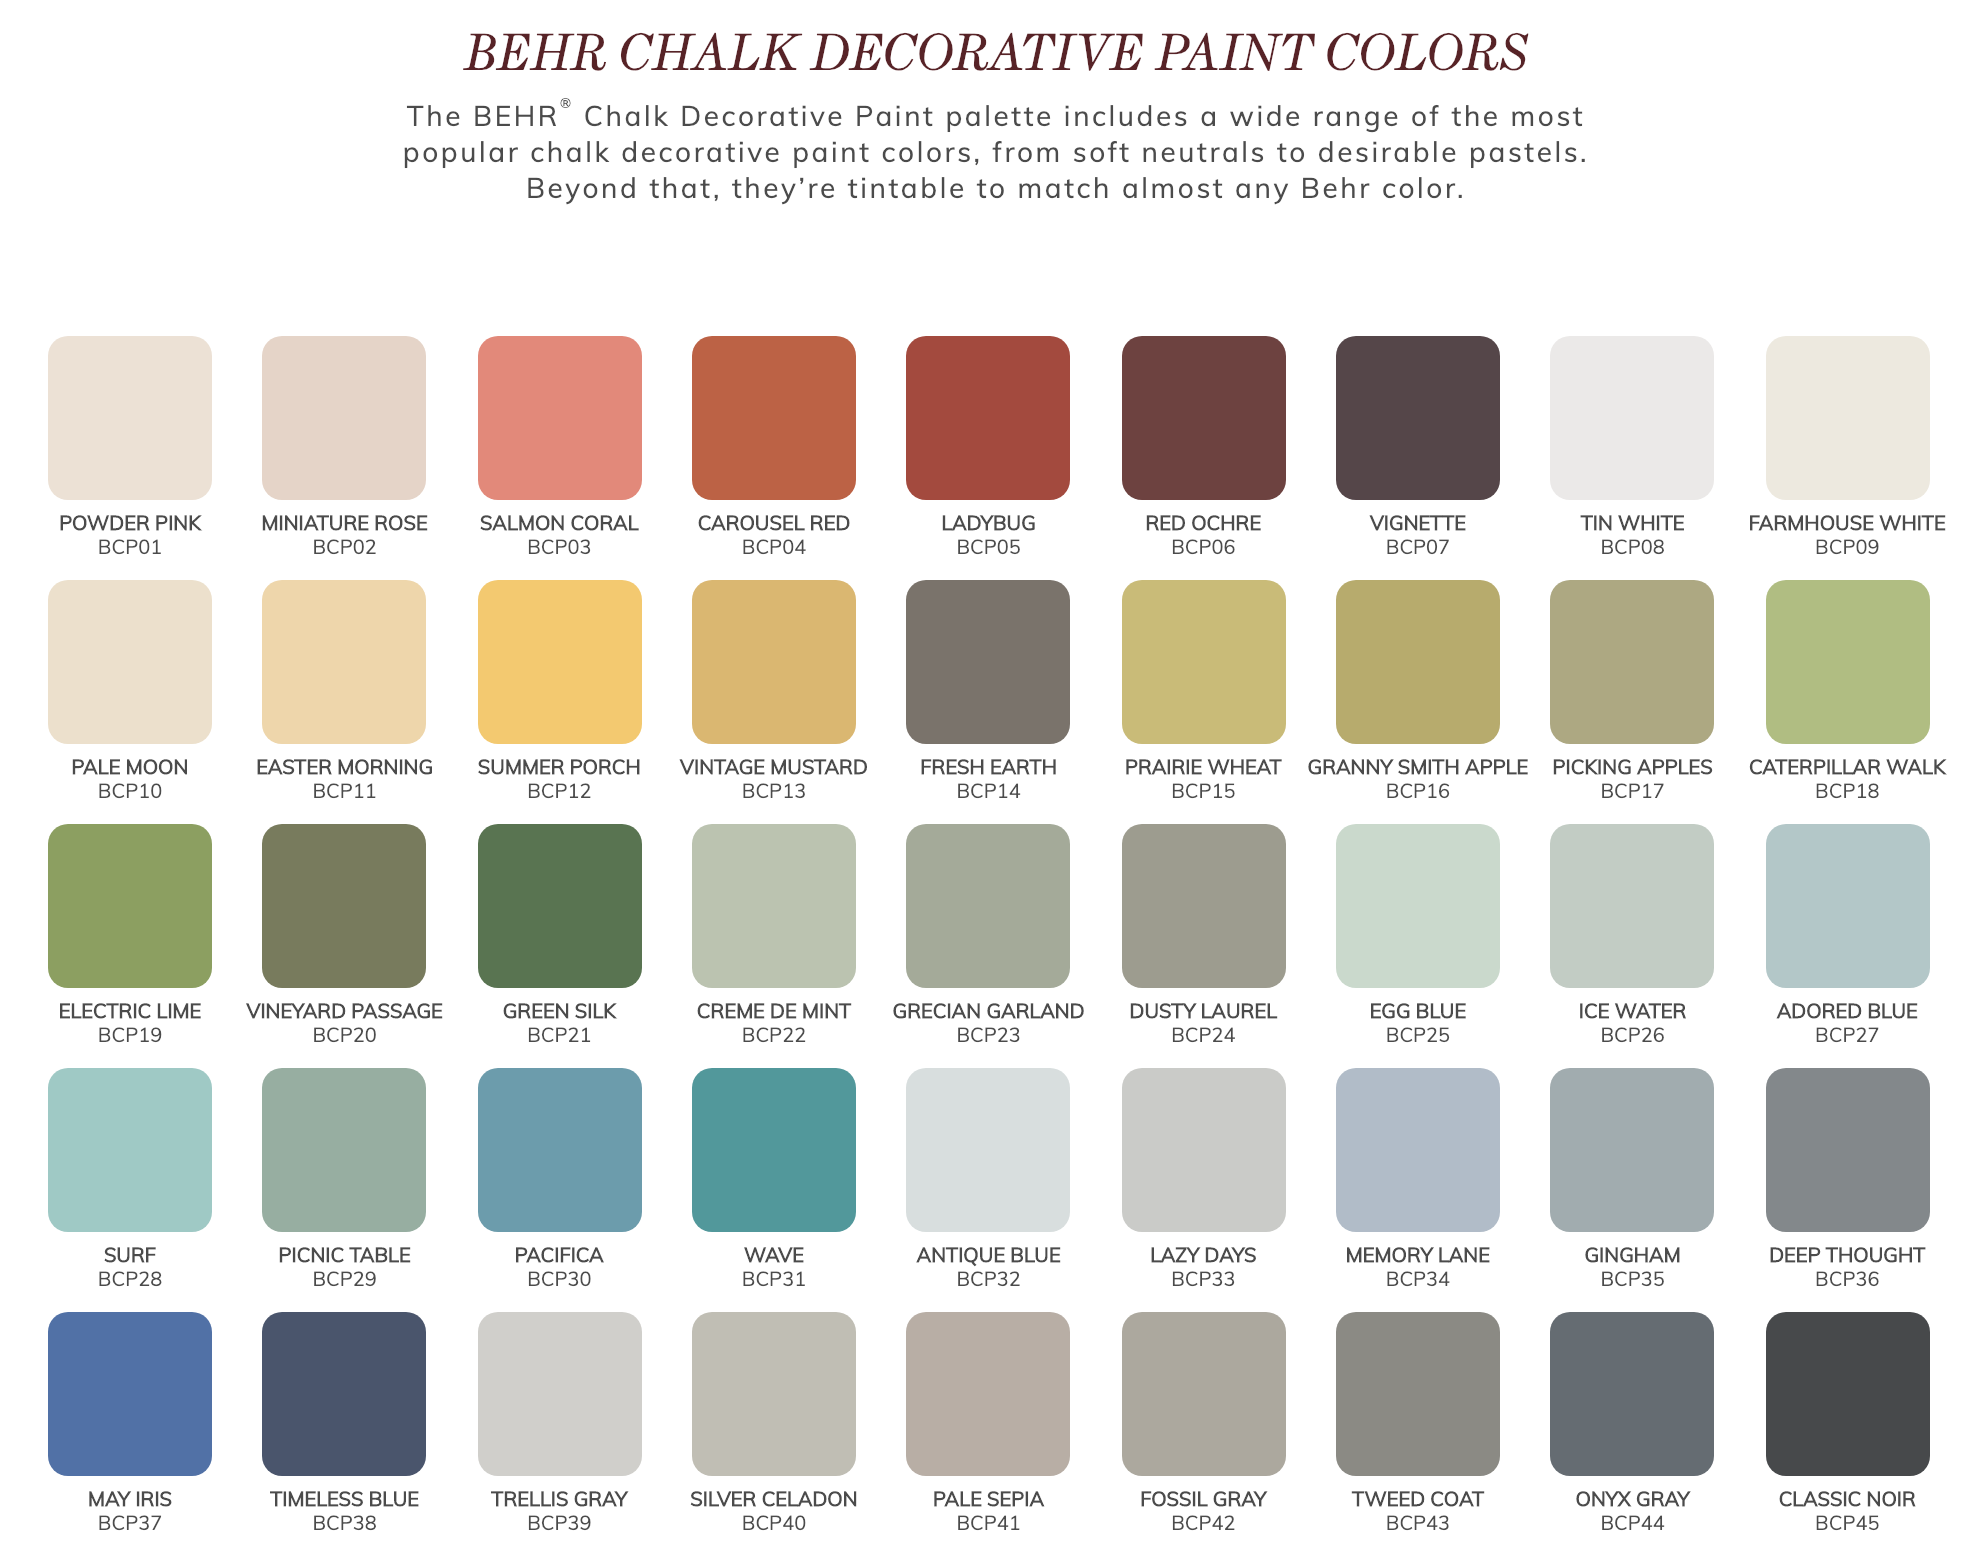
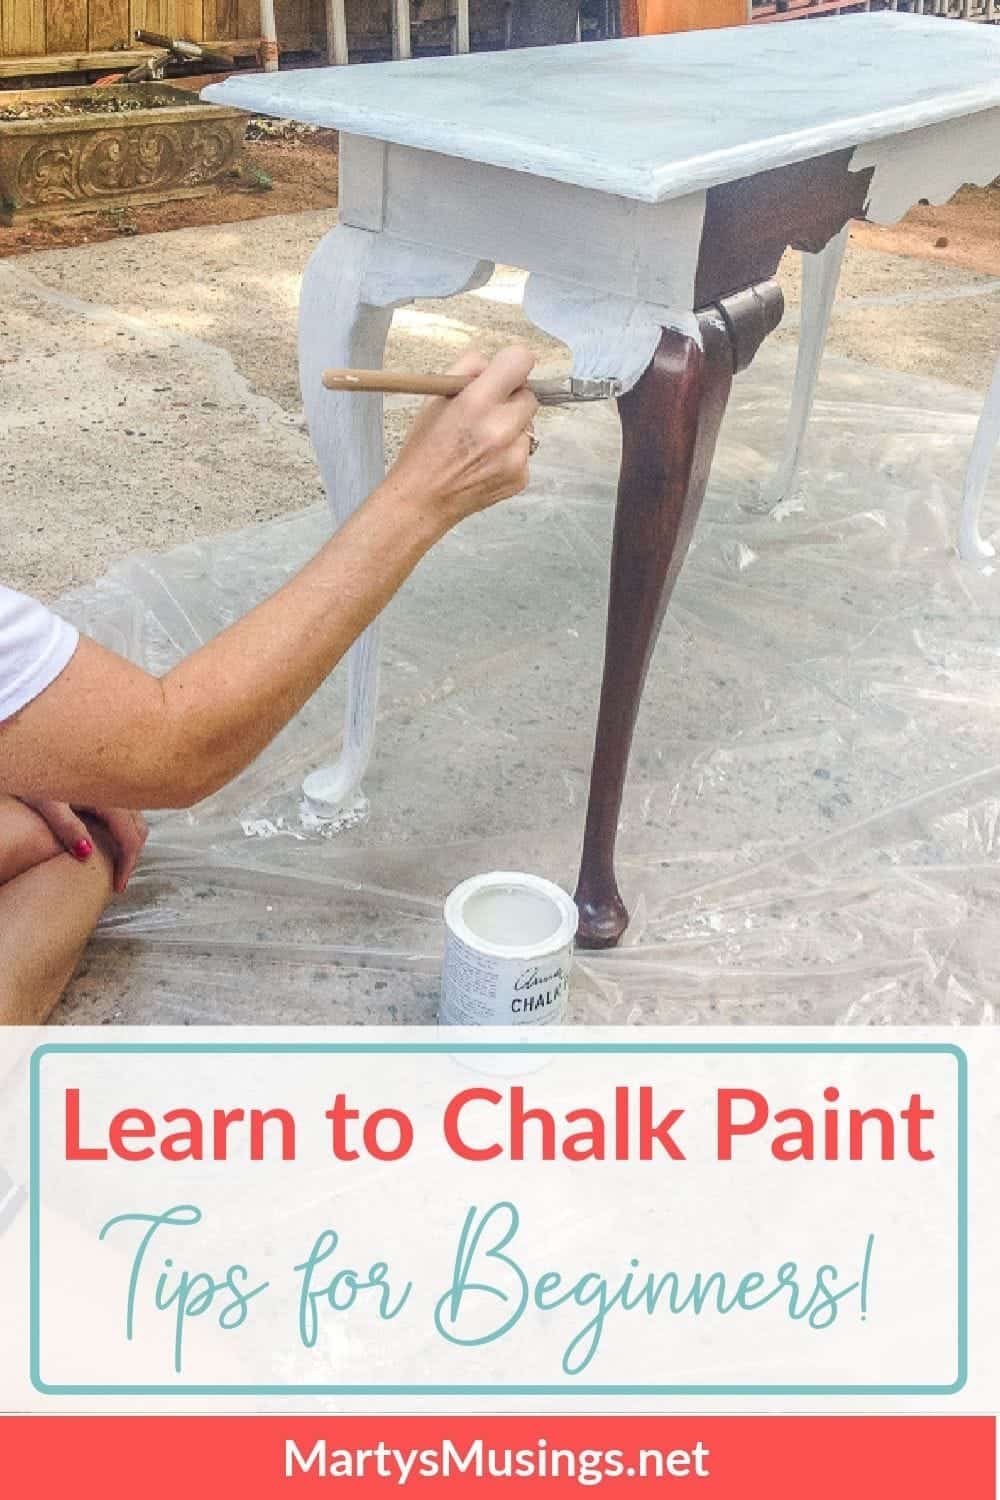
The type of paint you choose will greatly affect the outcome of your project. For an easy and durable finish, consider using chalk paint. This type of paint adheres well to most surfaces and requires minimal prep work. Plus, it comes in a variety of colors and finishes to suit your style.2. Choosing the Right Paint
While chalk paint generally doesn't require a primer, it's always a good idea to use one for better coverage and longevity. Look for a primer specifically designed for use on furniture and make sure to apply it evenly and let it dry completely before moving on to the next step.3. Using a Primer
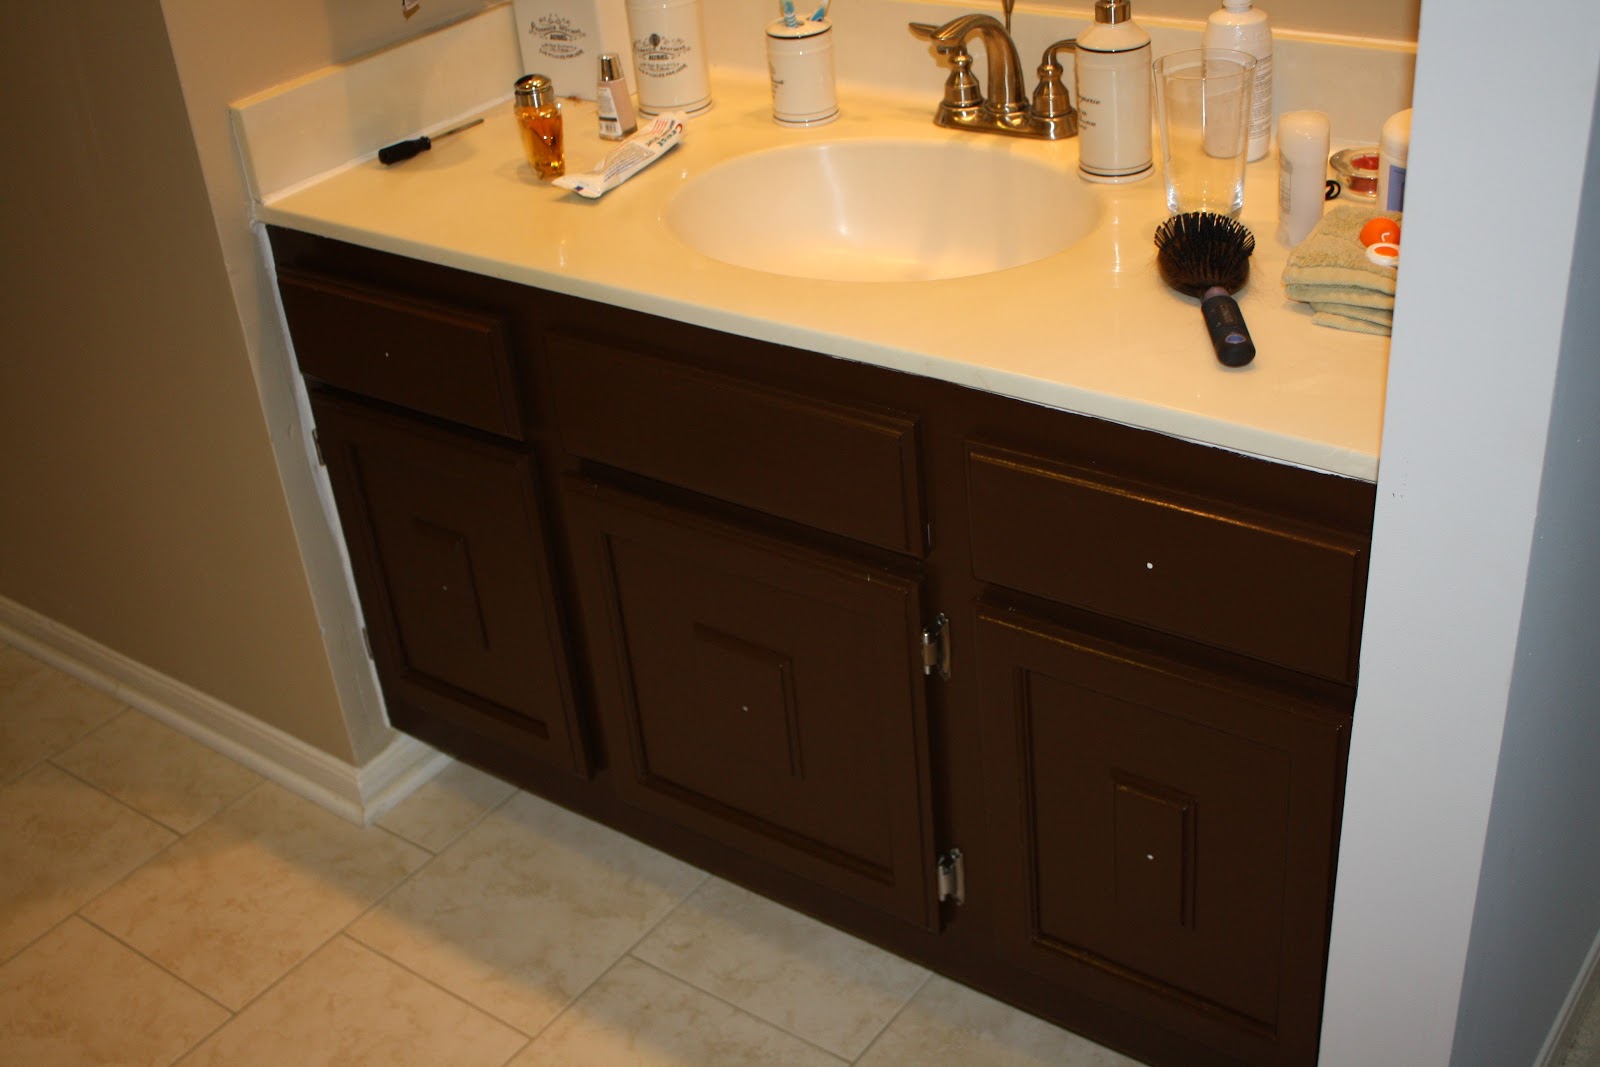
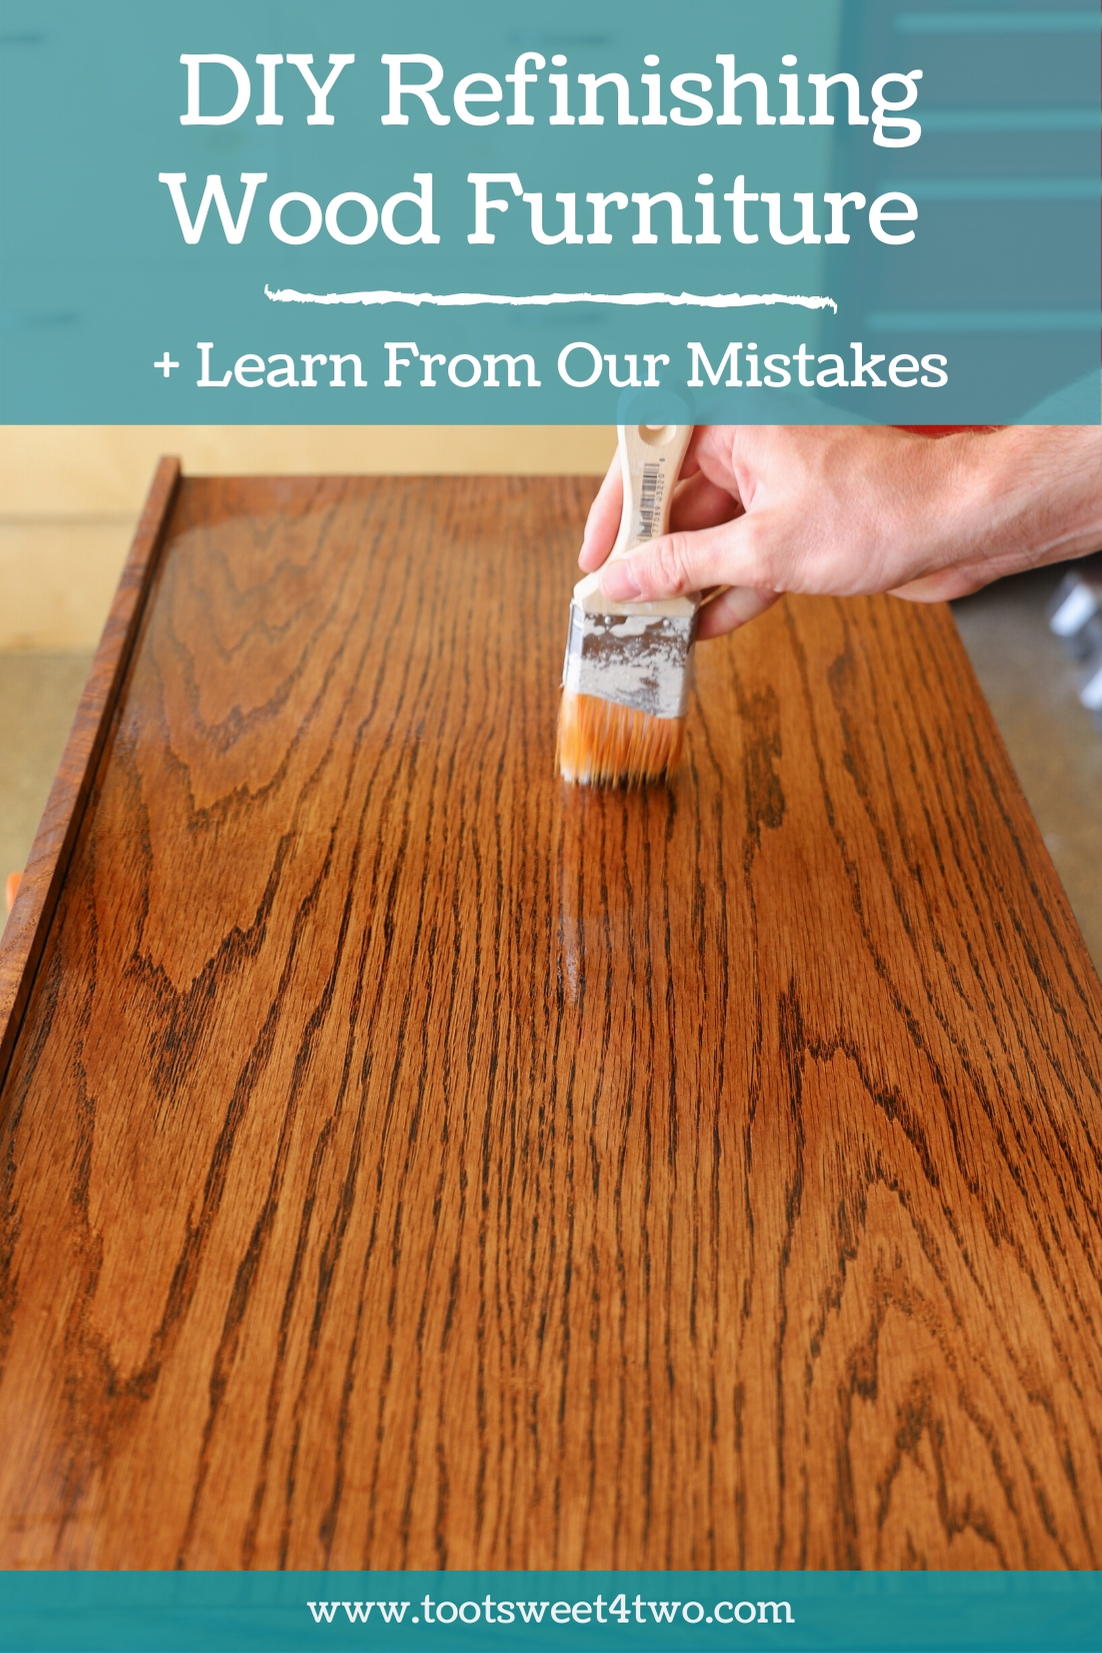
When it comes to painting your bathroom vanity, there are a few tips to keep in mind for the best results. Start with a small amount of paint on your brush or roller and apply thin, even coats. This will prevent drips and give you better control over the coverage. Also, make sure to paint in the direction of the wood grain for a smoother finish.4. Painting Tips
After each coat of paint, it's important to let it dry completely before adding another layer. This can take anywhere from a few hours to overnight, depending on the type of paint and the humidity level in your bathroom. If you're in a rush, you can use a hairdryer on the cool setting to speed up the drying process.5. Letting the Paint Dry
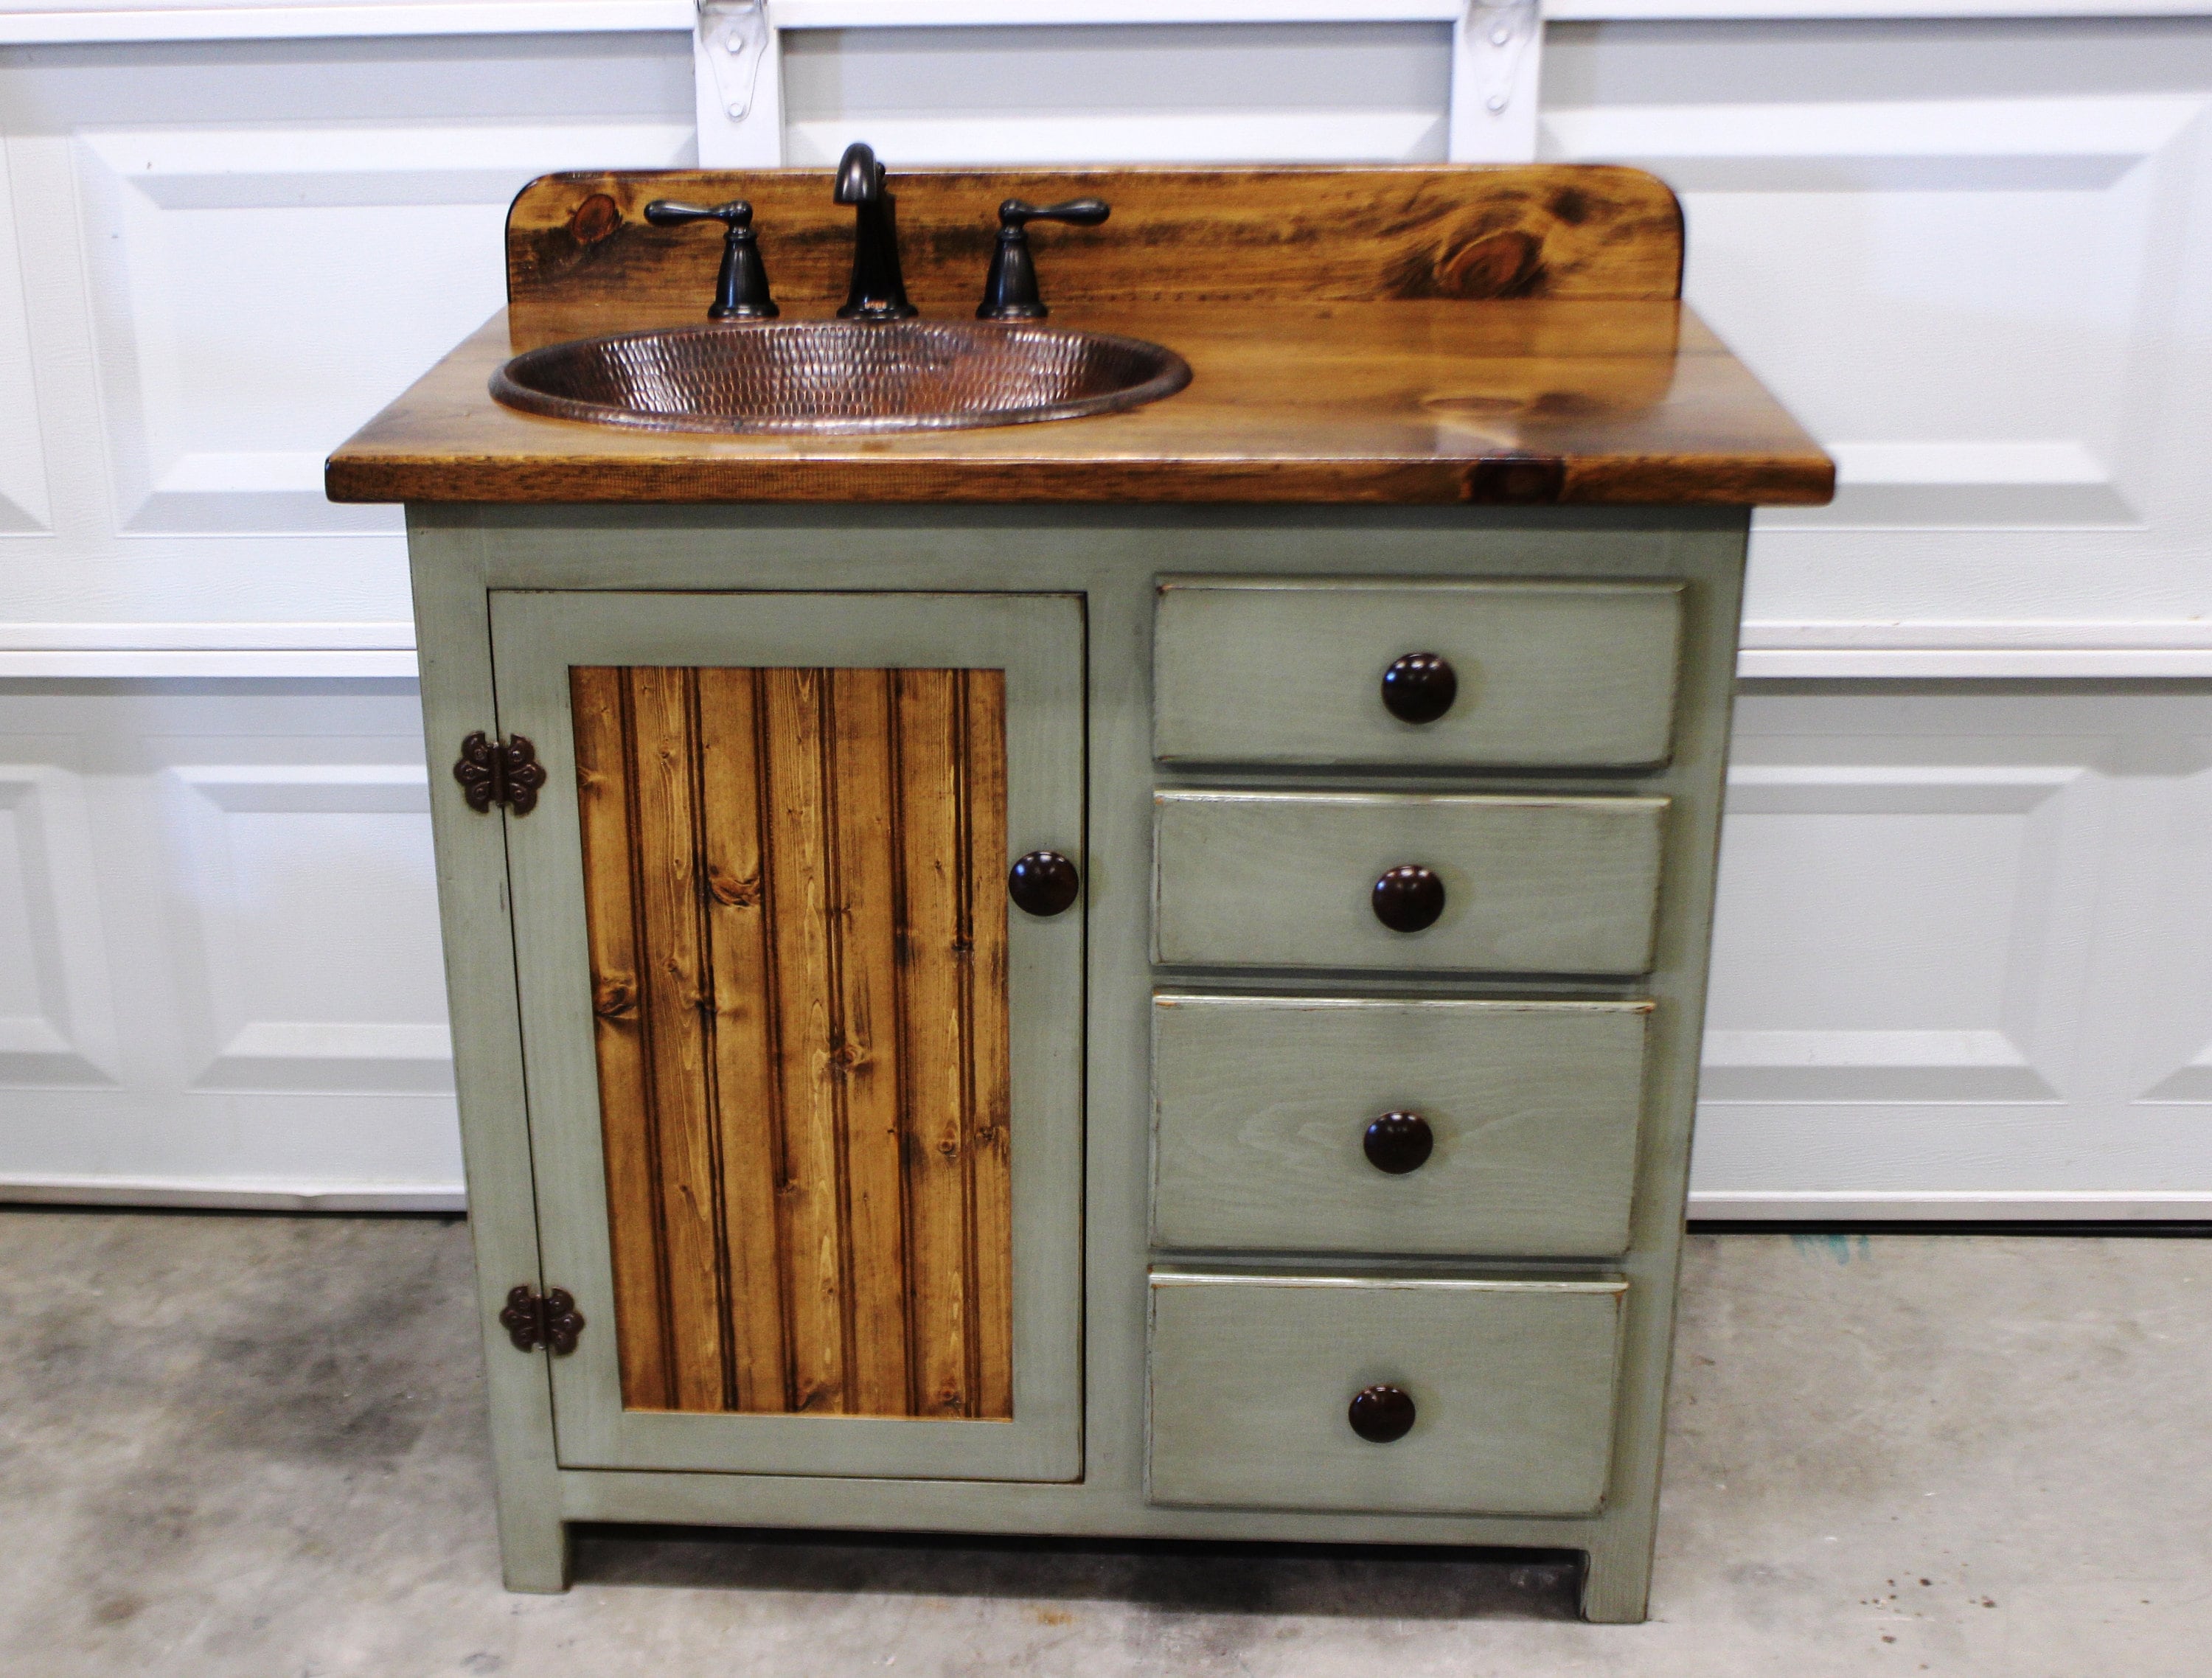
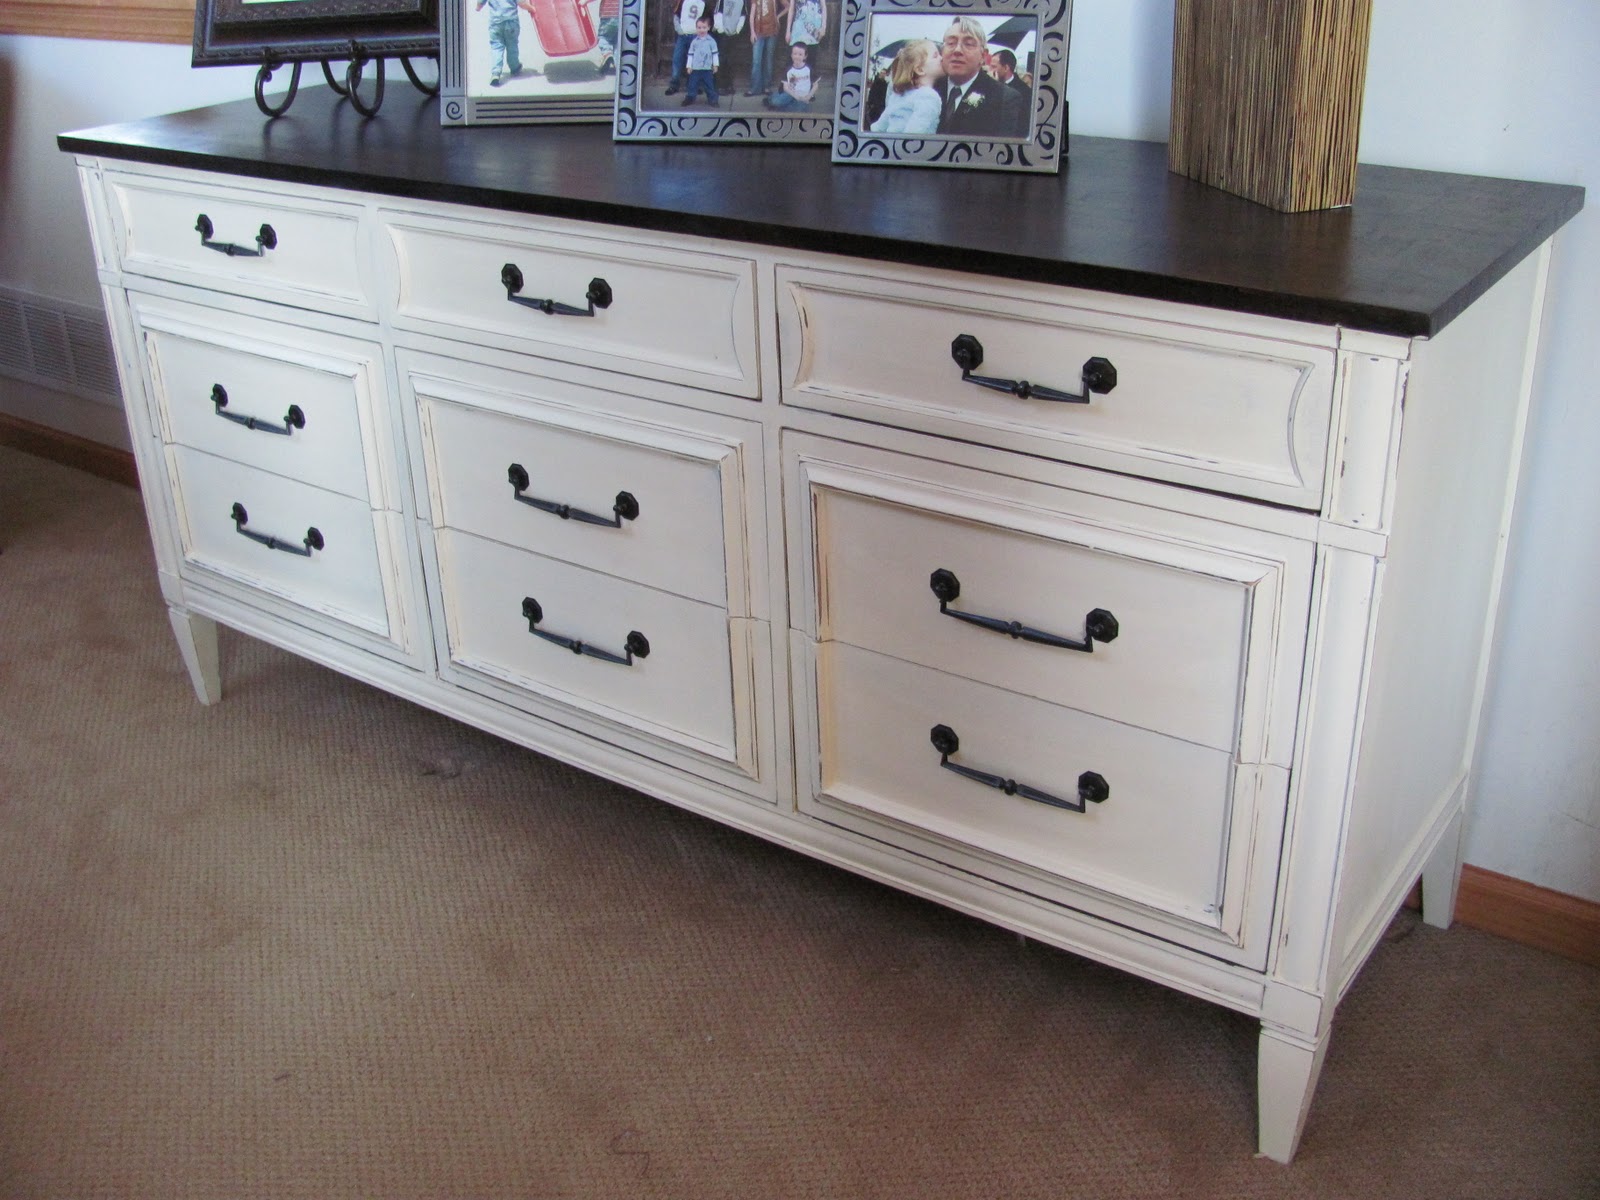
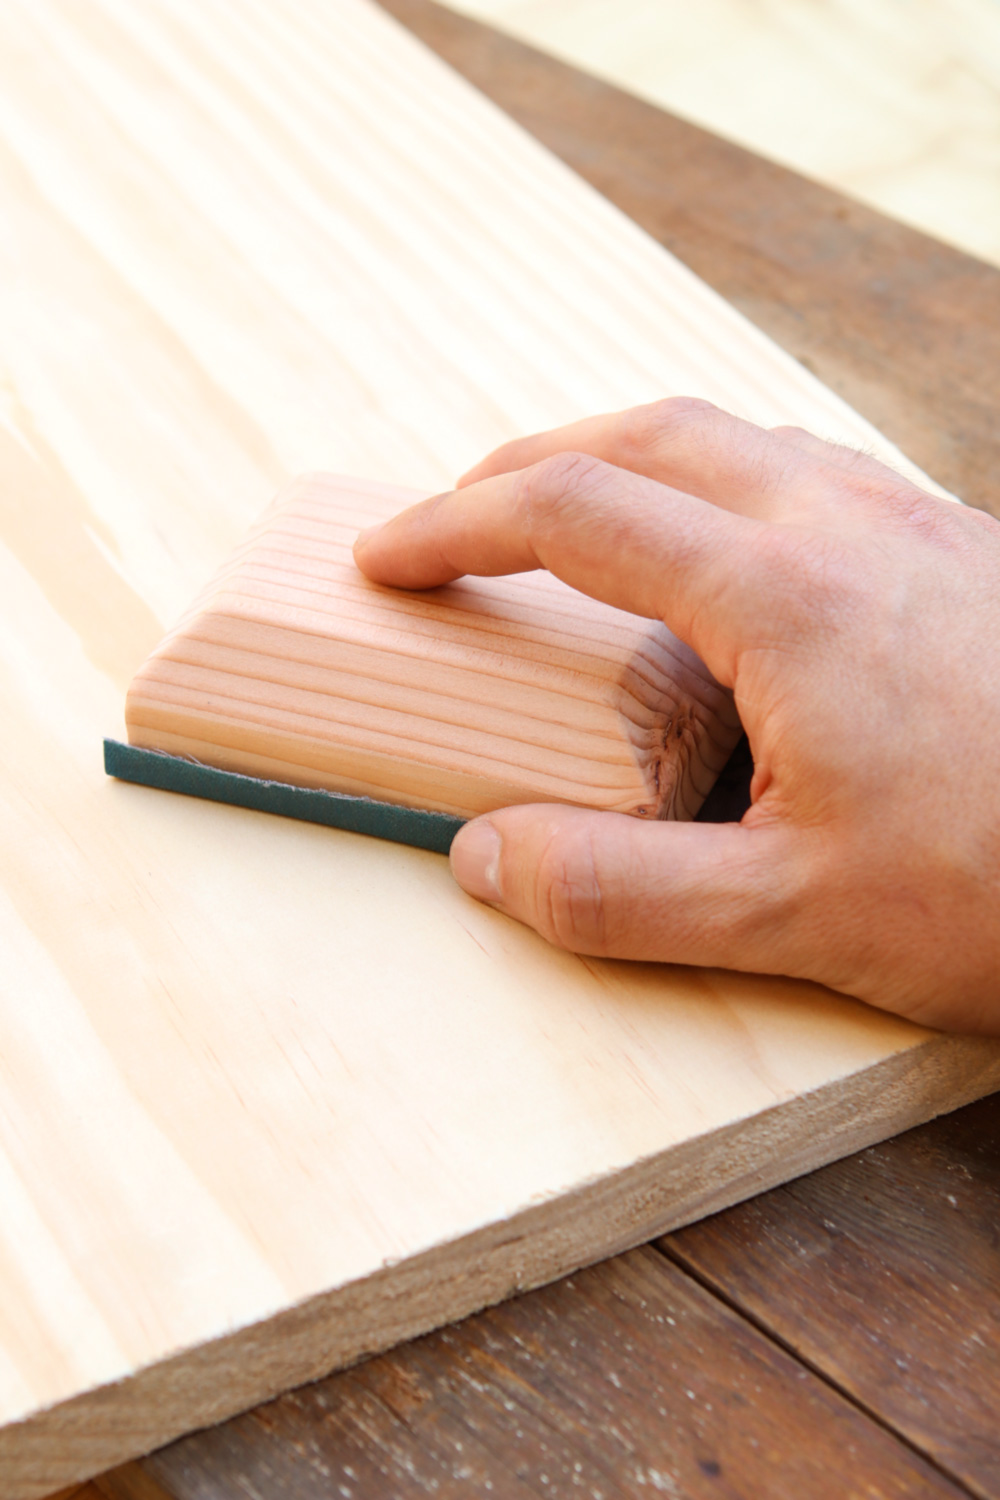
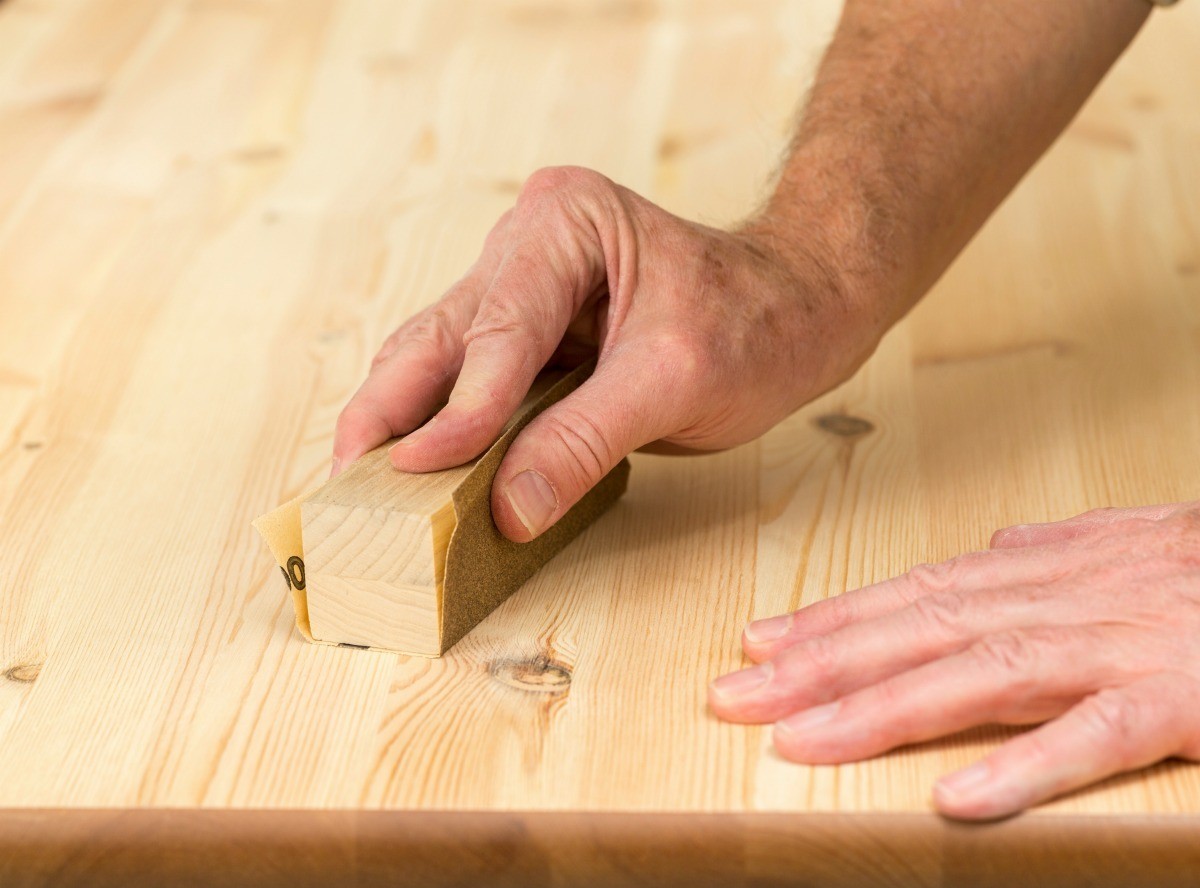
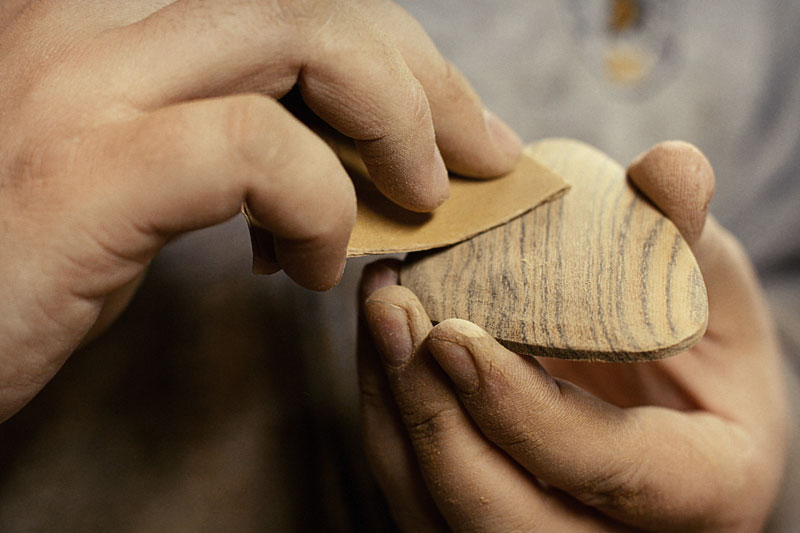
If you want to give your bathroom vanity a more rustic or vintage look, consider distressing it. This involves sanding down certain areas of the vanity to reveal the wood underneath the paint. This can be done with a sanding block or sandpaper, and can be as subtle or dramatic as you'd like.6. Adding a Distressed Look
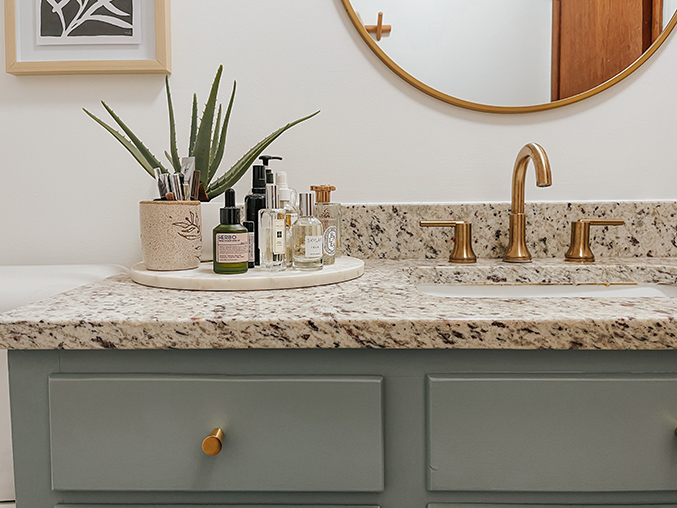
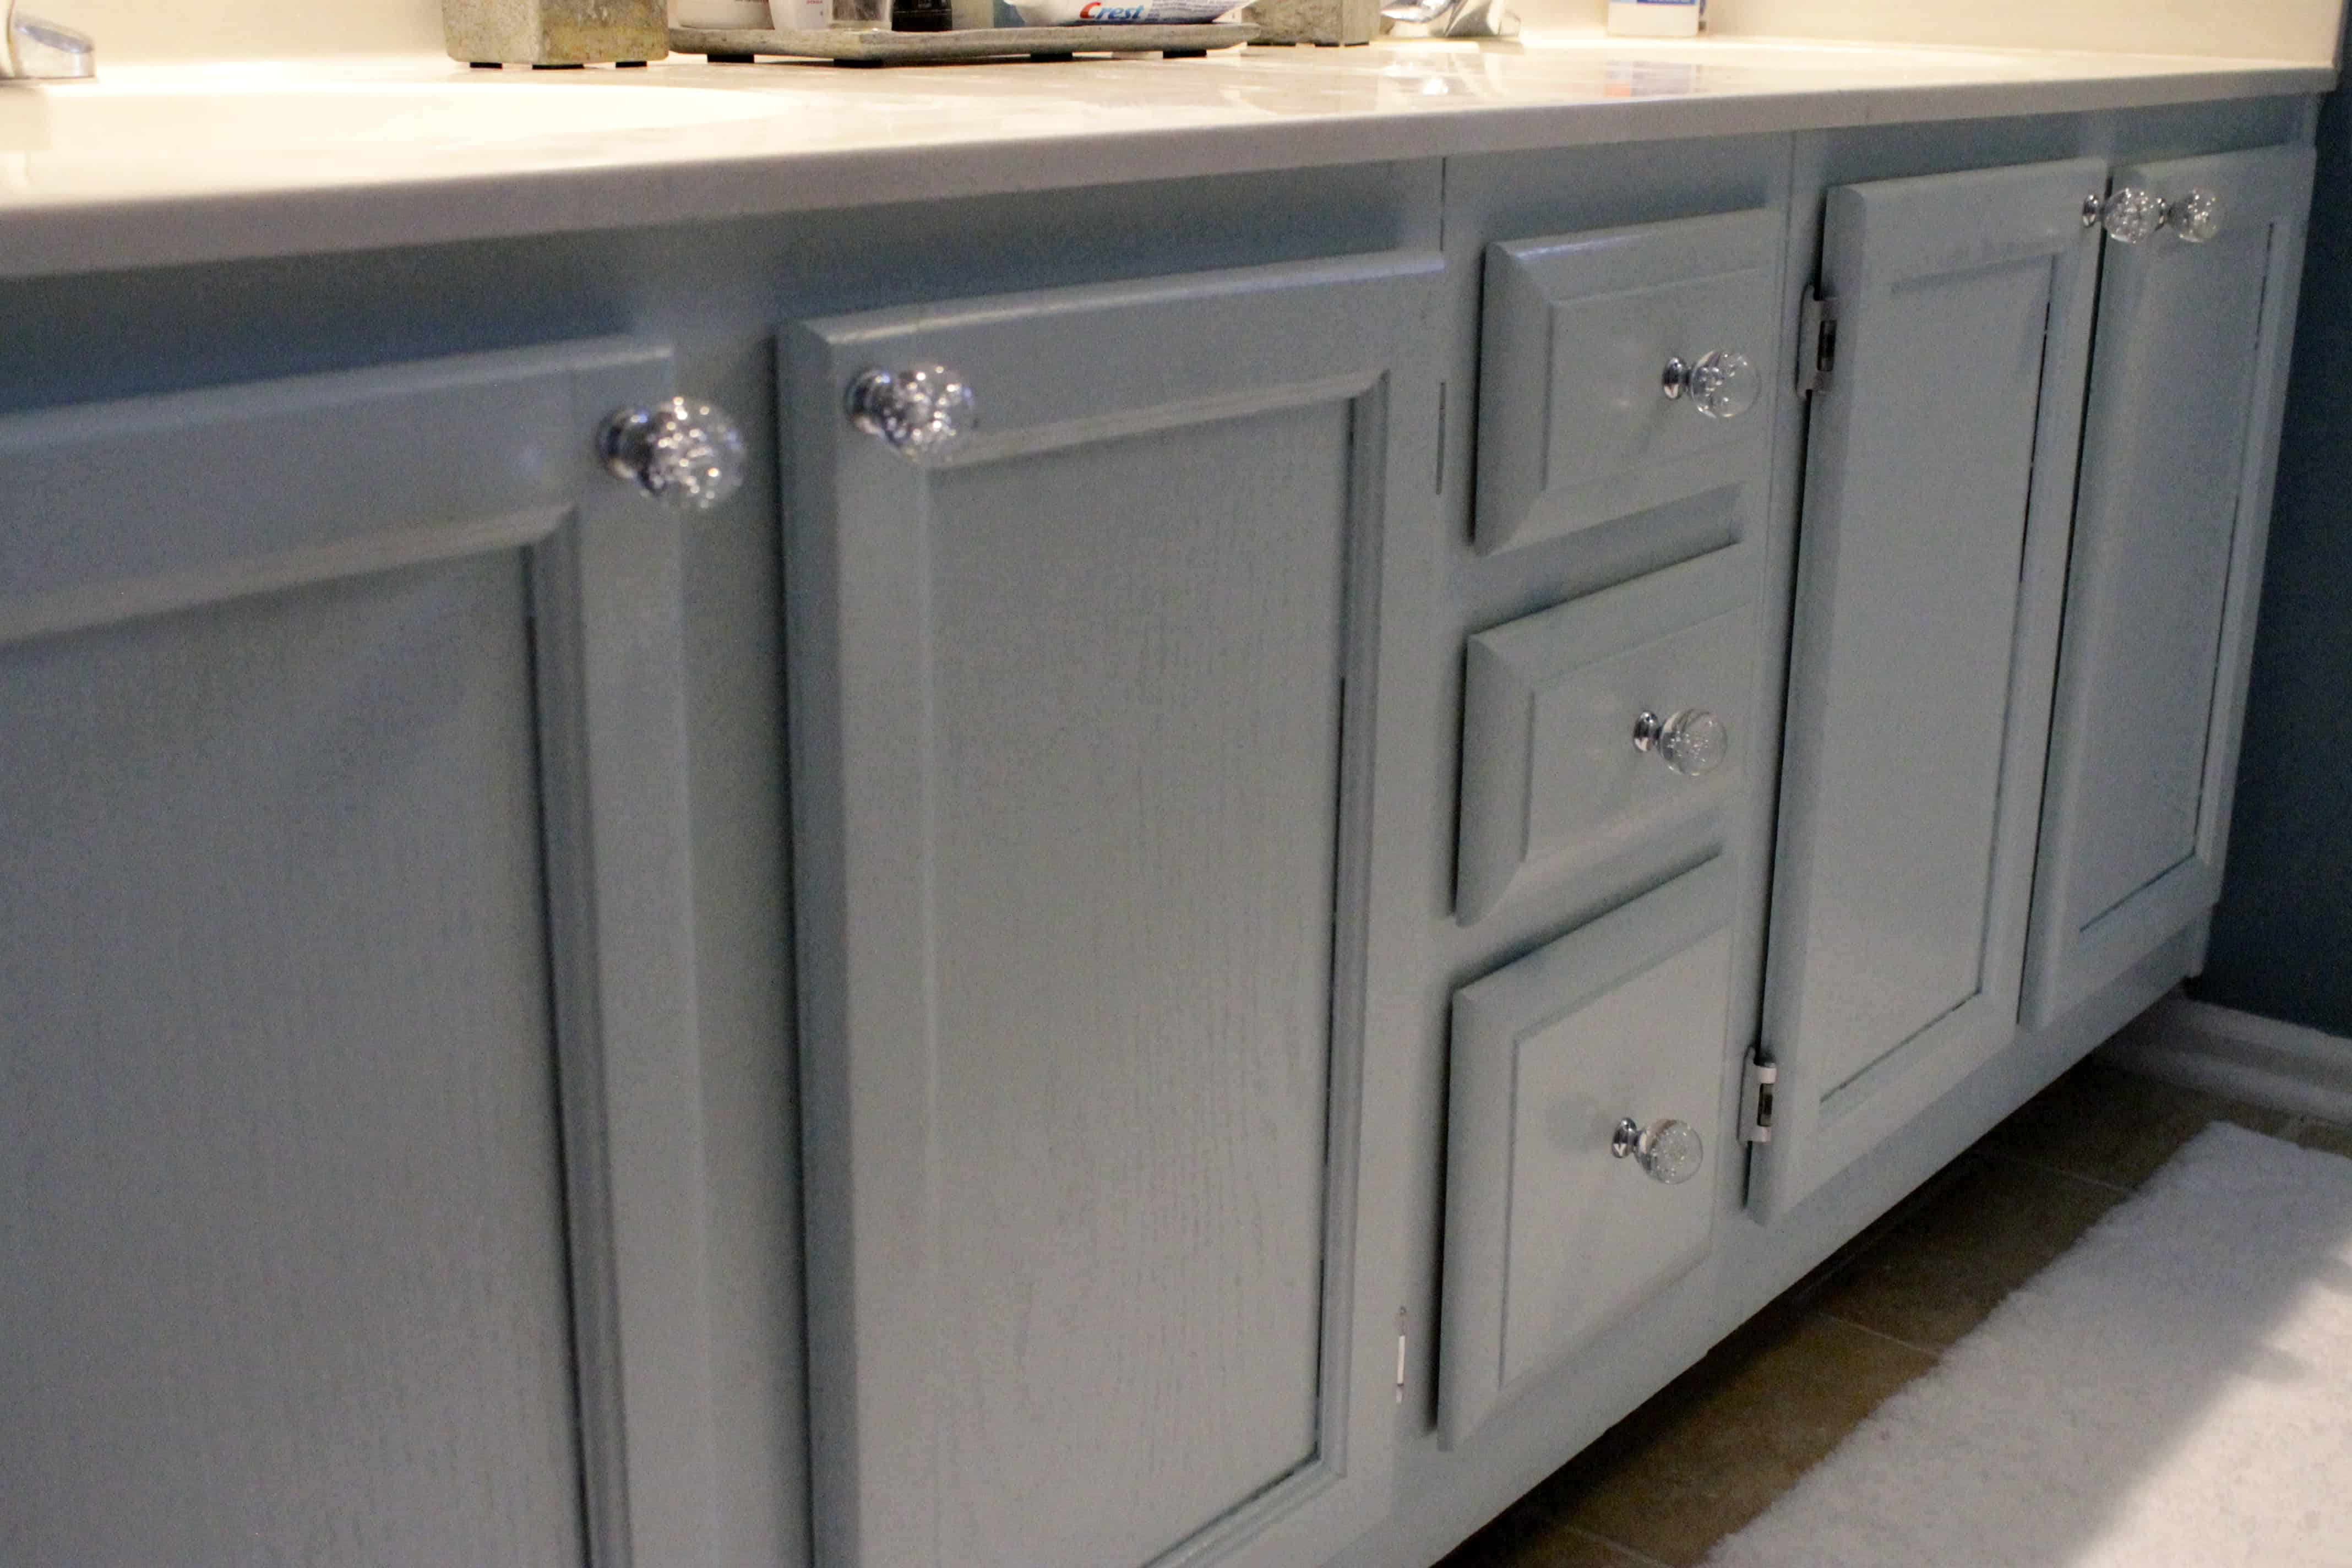
Once your vanity is completely painted and dry, it's time to add back the hardware. If you want to give your vanity a new look, consider replacing the knobs or handles with something different. This is a quick and easy way to update the overall look of your vanity.7. Replacing the Hardware
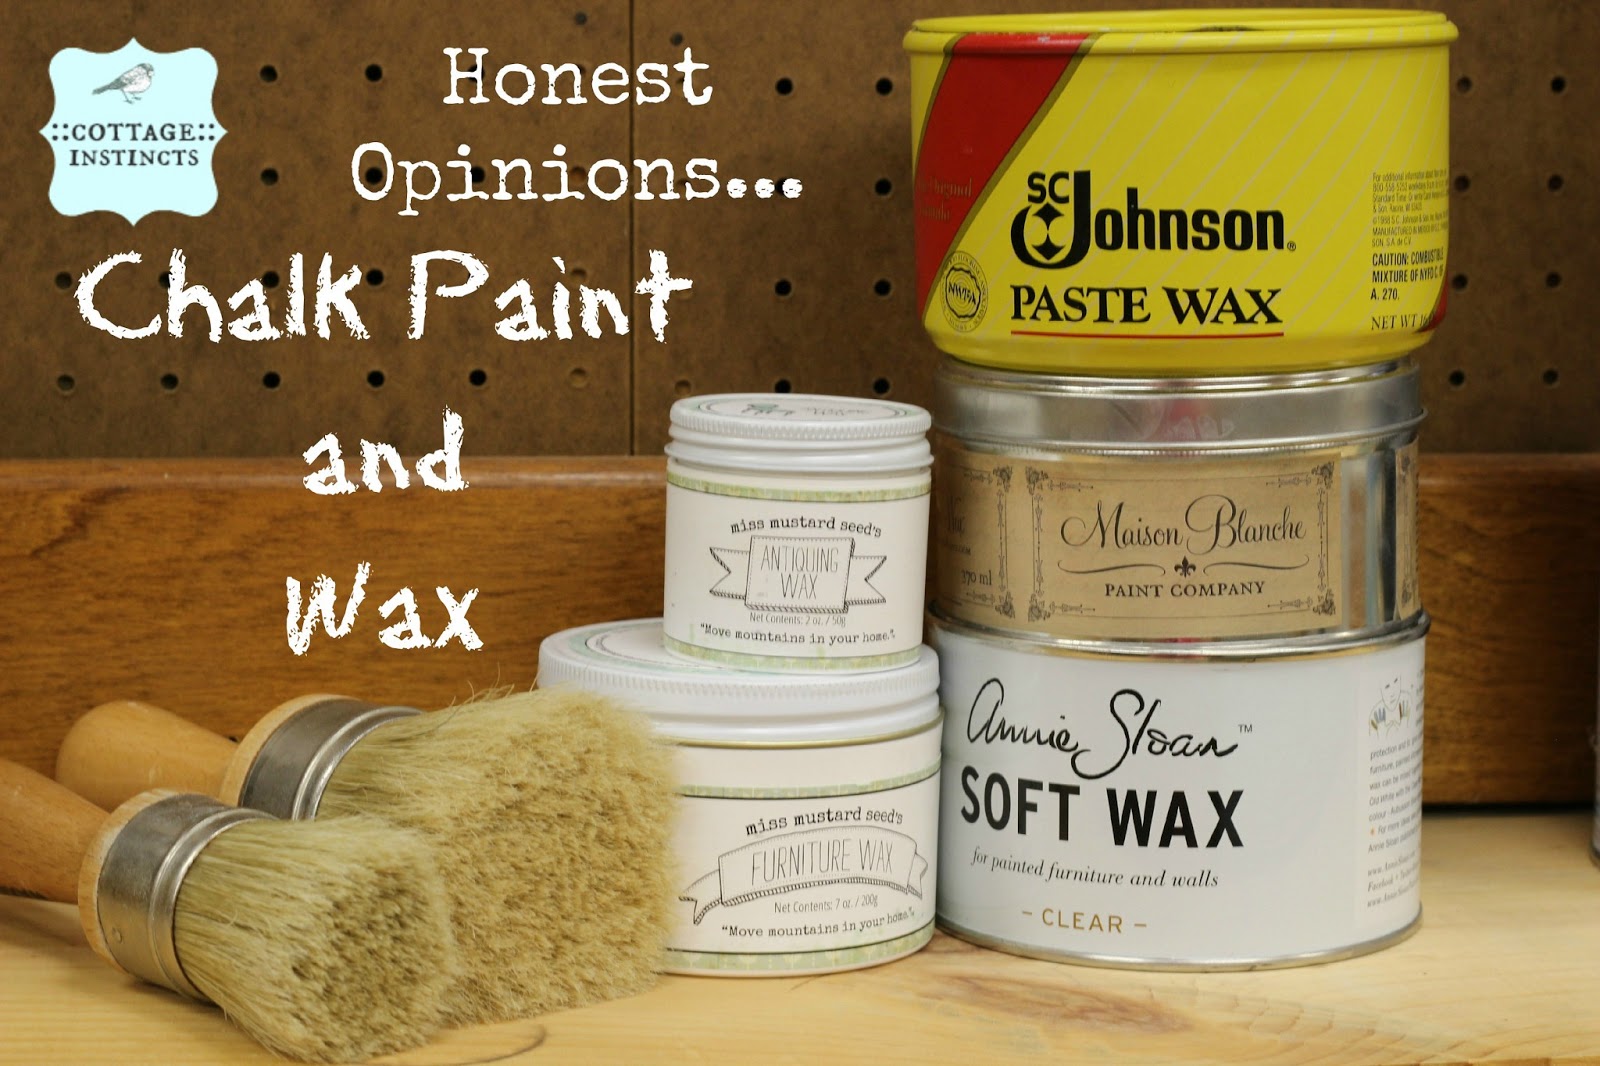
After all the painting and distressing is done, you may want to add a protective finish to your bathroom vanity. This will help seal the paint and protect it from water and other bathroom elements. A clear wax or polyurethane can be applied with a brush or cloth, and will add a subtle sheen to your vanity.8. Finishing Touches
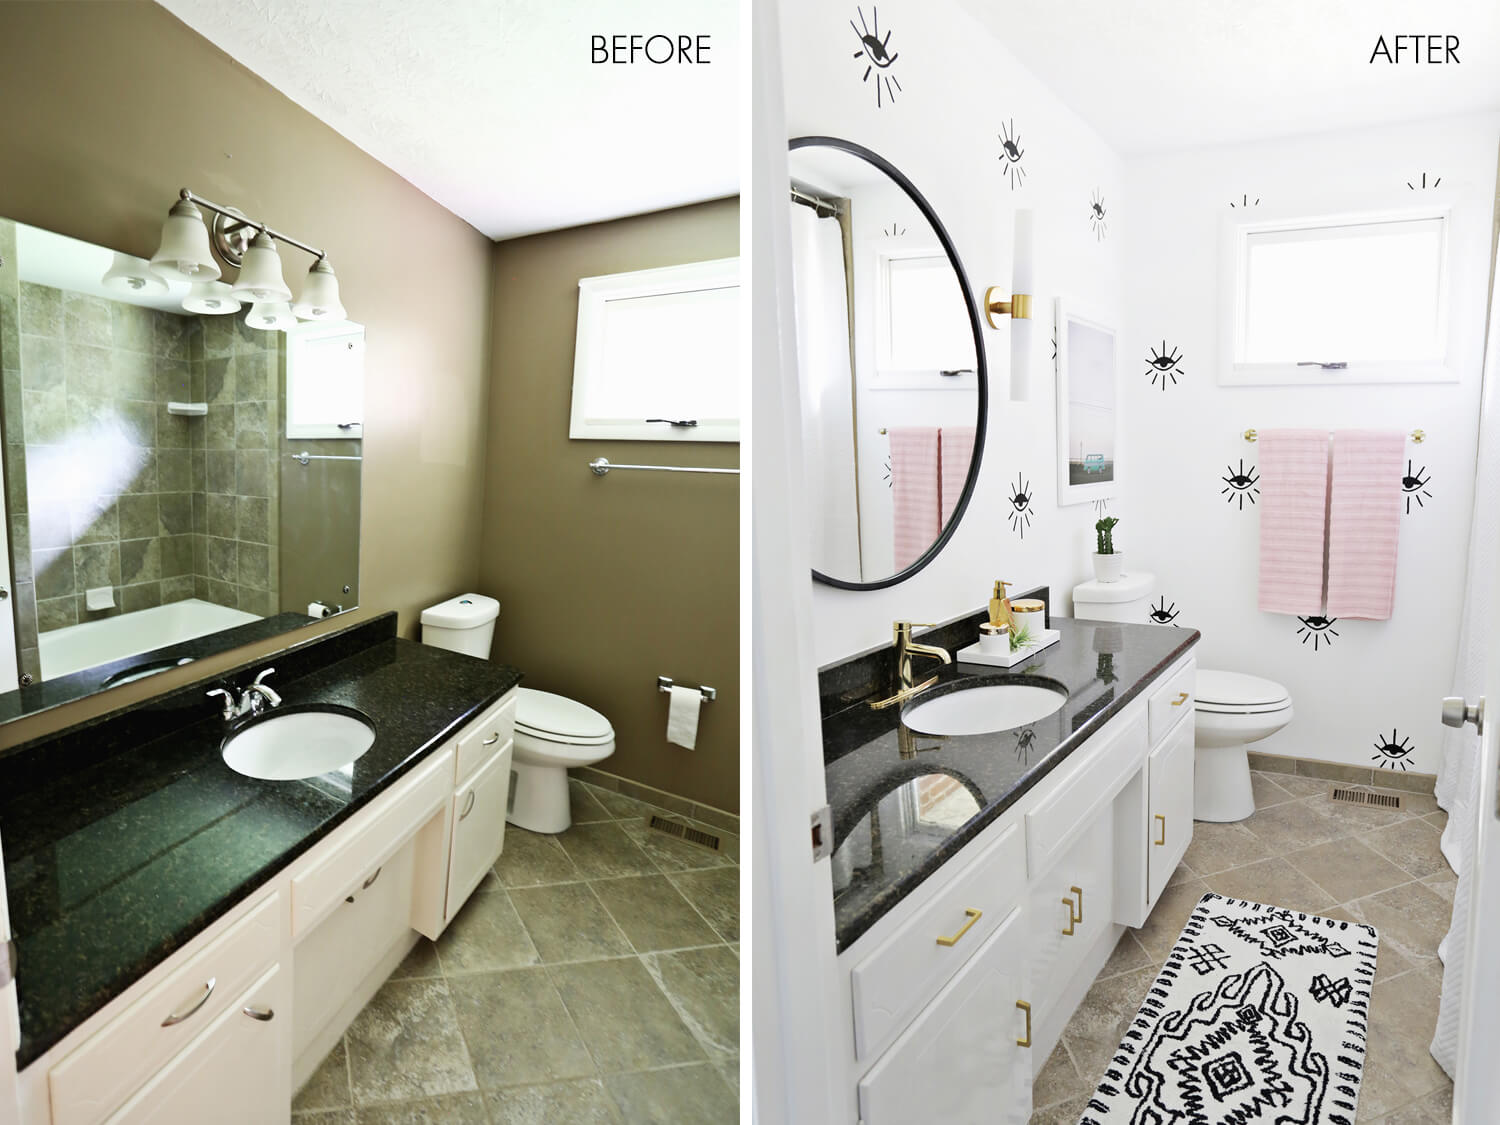
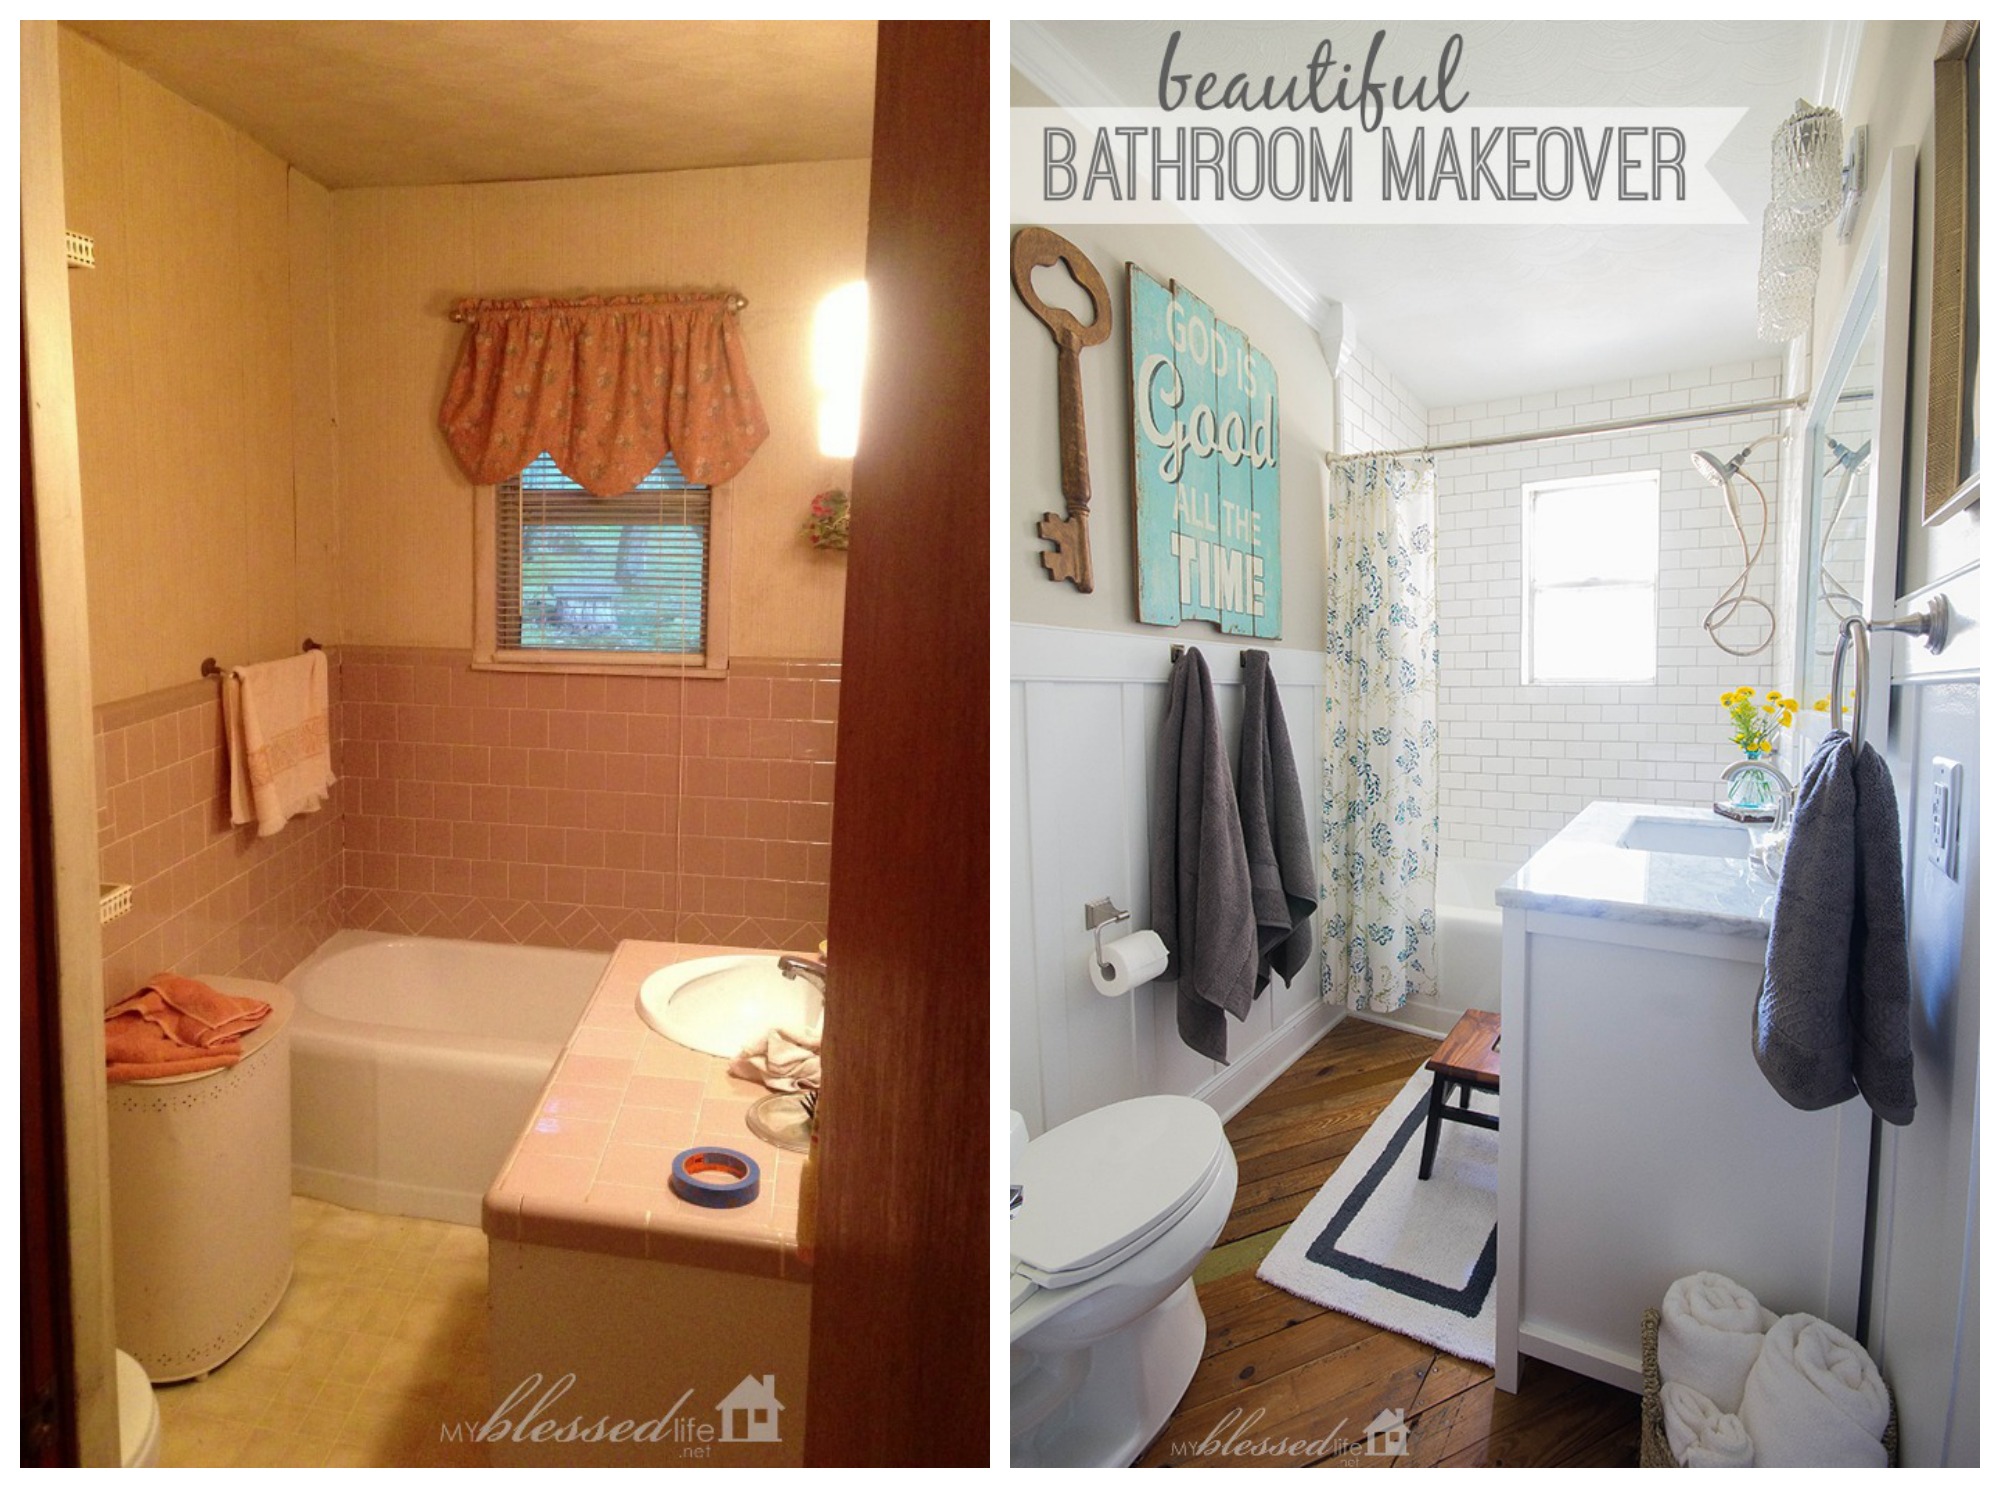
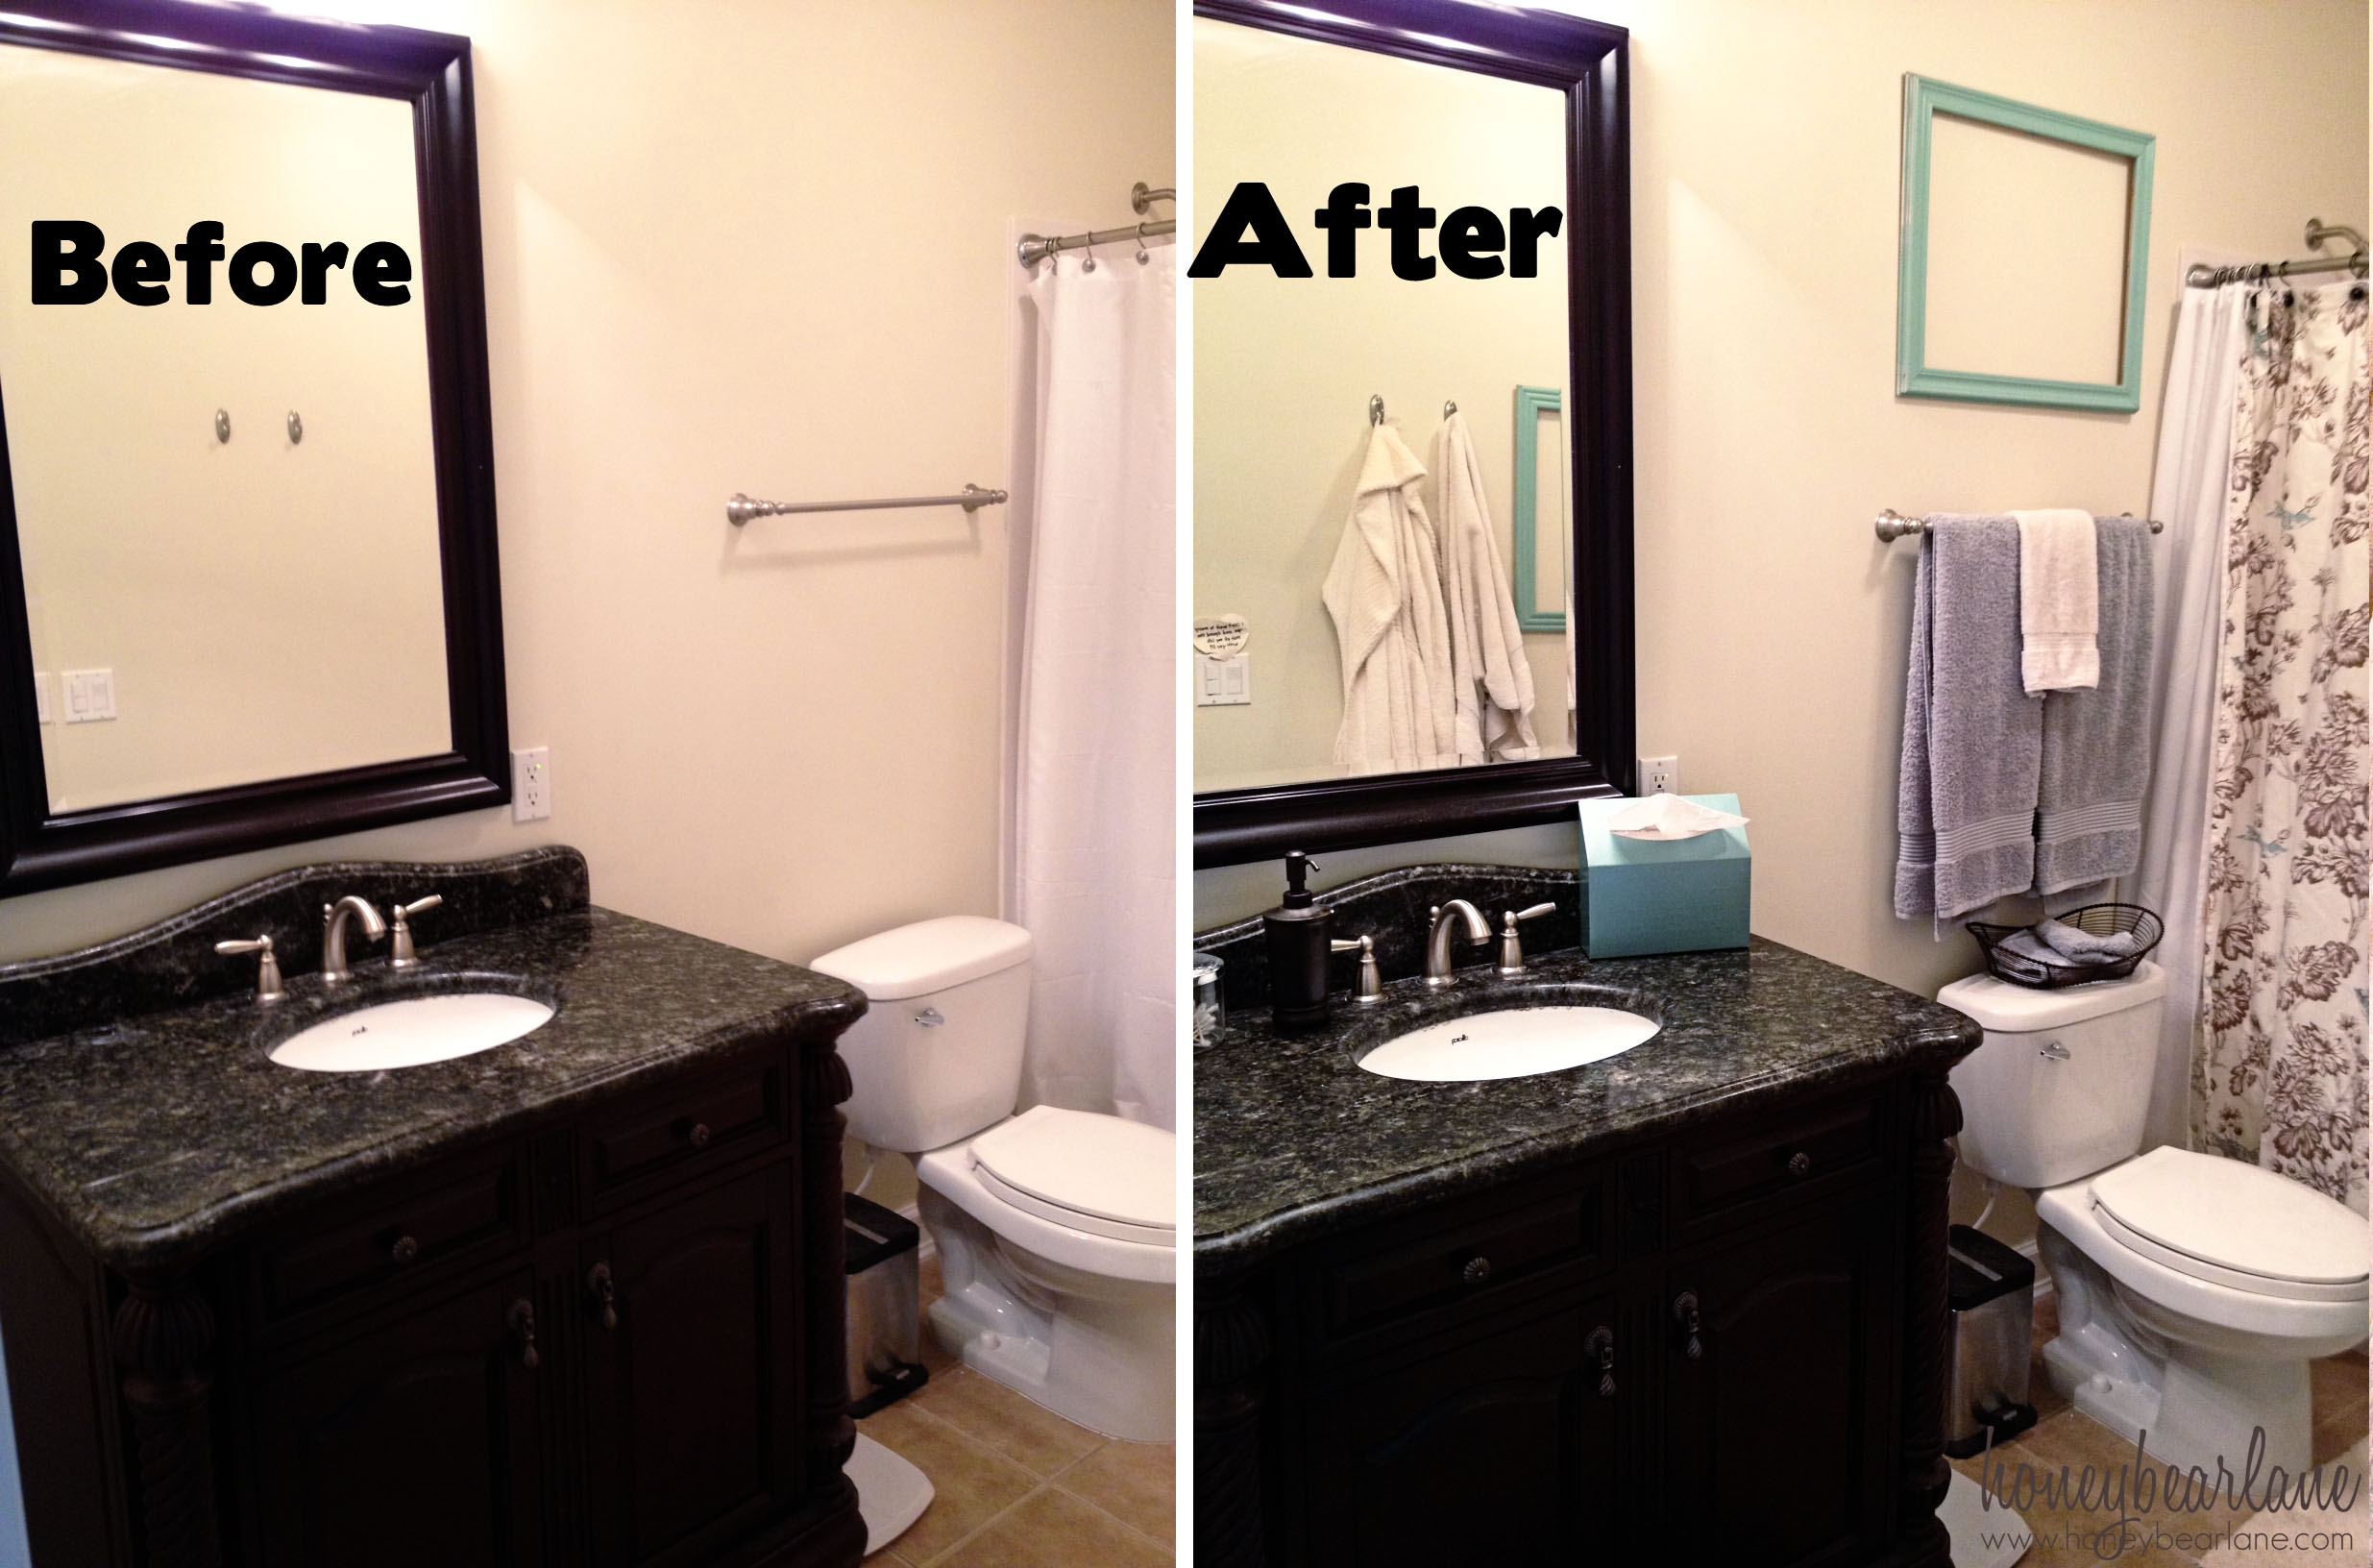
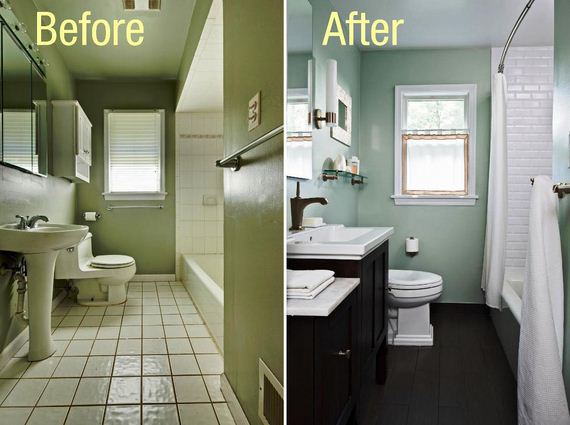
Painting your bathroom vanity is a great way to refresh the look of your bathroom without breaking the bank. To complete the makeover, consider adding a fresh coat of paint to the walls, updating the shower curtain or adding new accessories. These small changes can make a big impact on the overall look of your bathroom.9. Completing the Bathroom Makeover
Once all the hard work is done, it's time to step back and admire your newly painted bathroom vanity. Not only is it a fun and budget-friendly DIY project, but it's also a great way to add your personal touch to your bathroom. So grab a cup of coffee, sit back, and enjoy your beautiful new vanity!10. Enjoy Your Newly Painted Vanity
Transform Your Bathroom with a Fresh Coat of Paint

The Power of Paint in Home Design
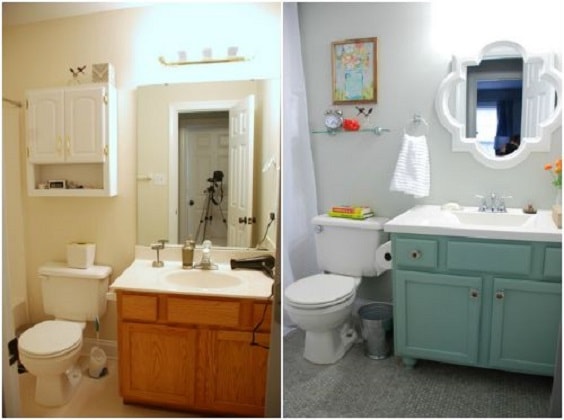
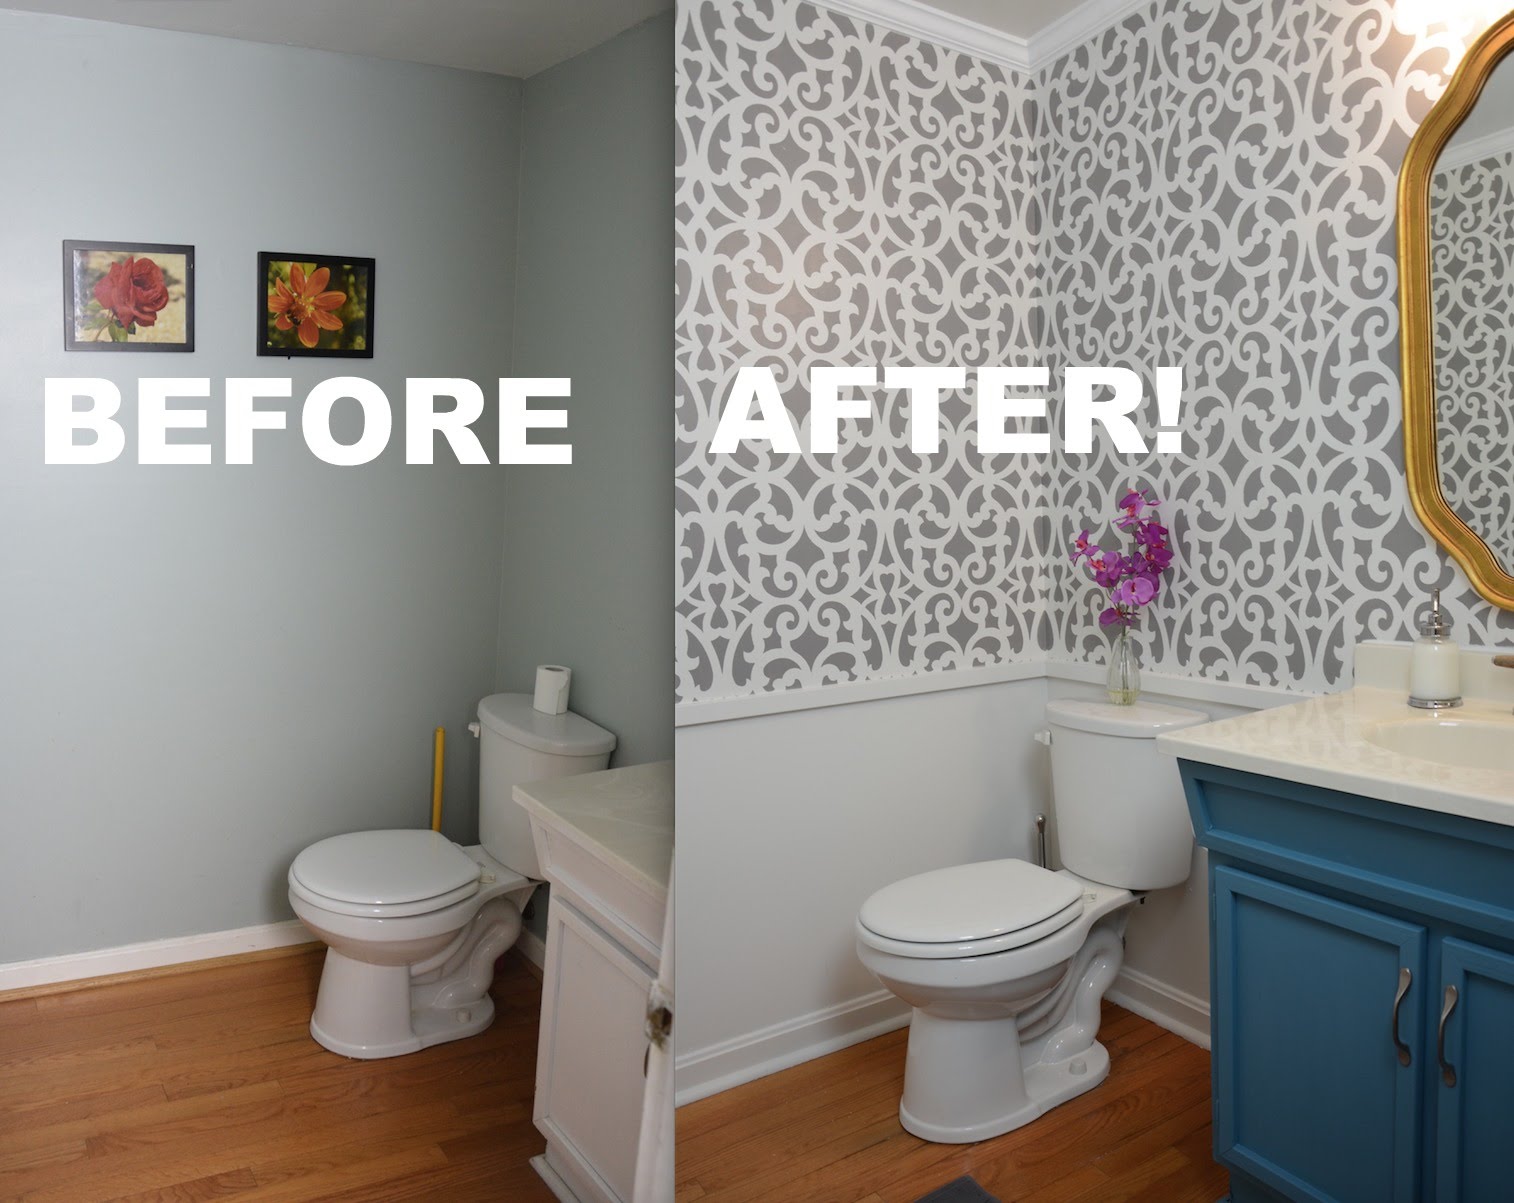
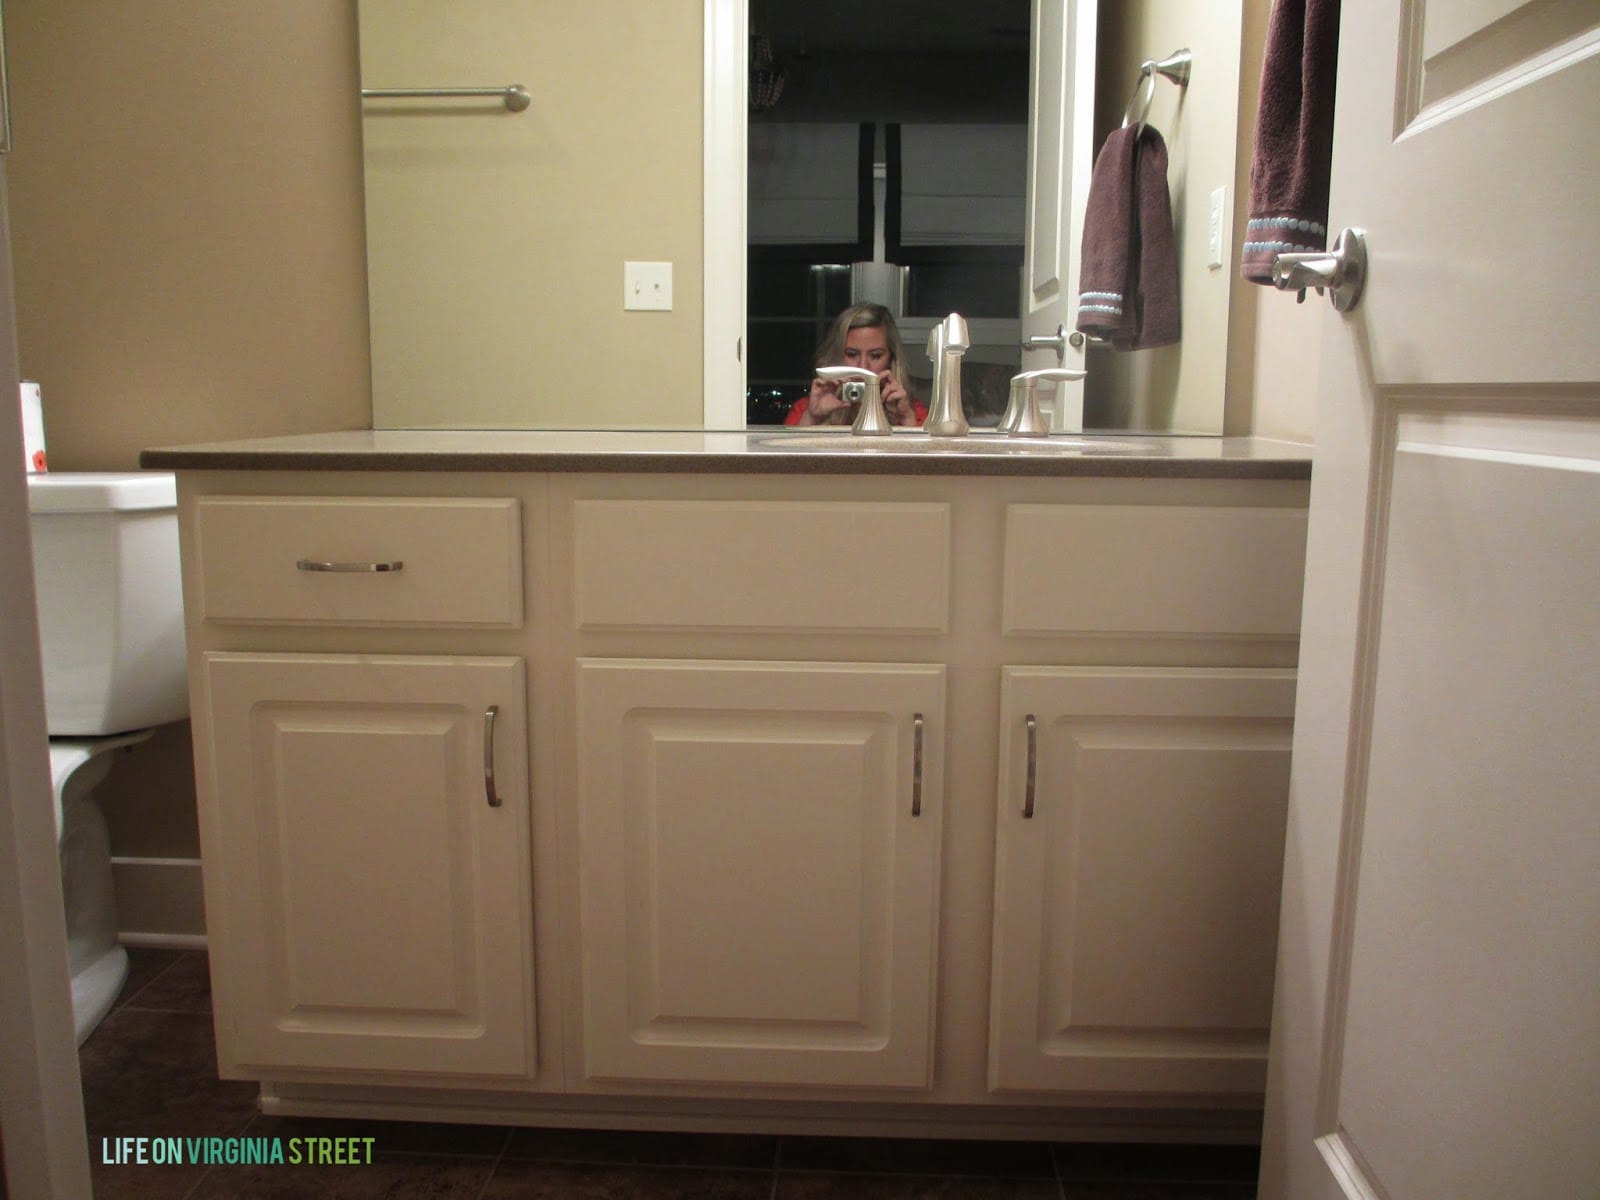 When it comes to home design, paint is often the unsung hero. It has the power to completely transform a space, making it feel brand new and giving it a whole new look and feel. And this is especially true in the bathroom. As one of the most frequently used rooms in the house, the bathroom deserves some attention when it comes to design. And what better way to give it a facelift than with a fresh coat of paint on your vanity? Not only is it an easy and affordable way to update your bathroom, but it also allows for endless creative possibilities.
Easiest Way To Paint A Bathroom Vanity
Step-by-Step Guide to Painting Your Bathroom Vanity
 If you're ready to give your bathroom vanity a fresh new look, follow these simple steps for a hassle-free and professional finish:
Step 1: Prepare Your Vanity
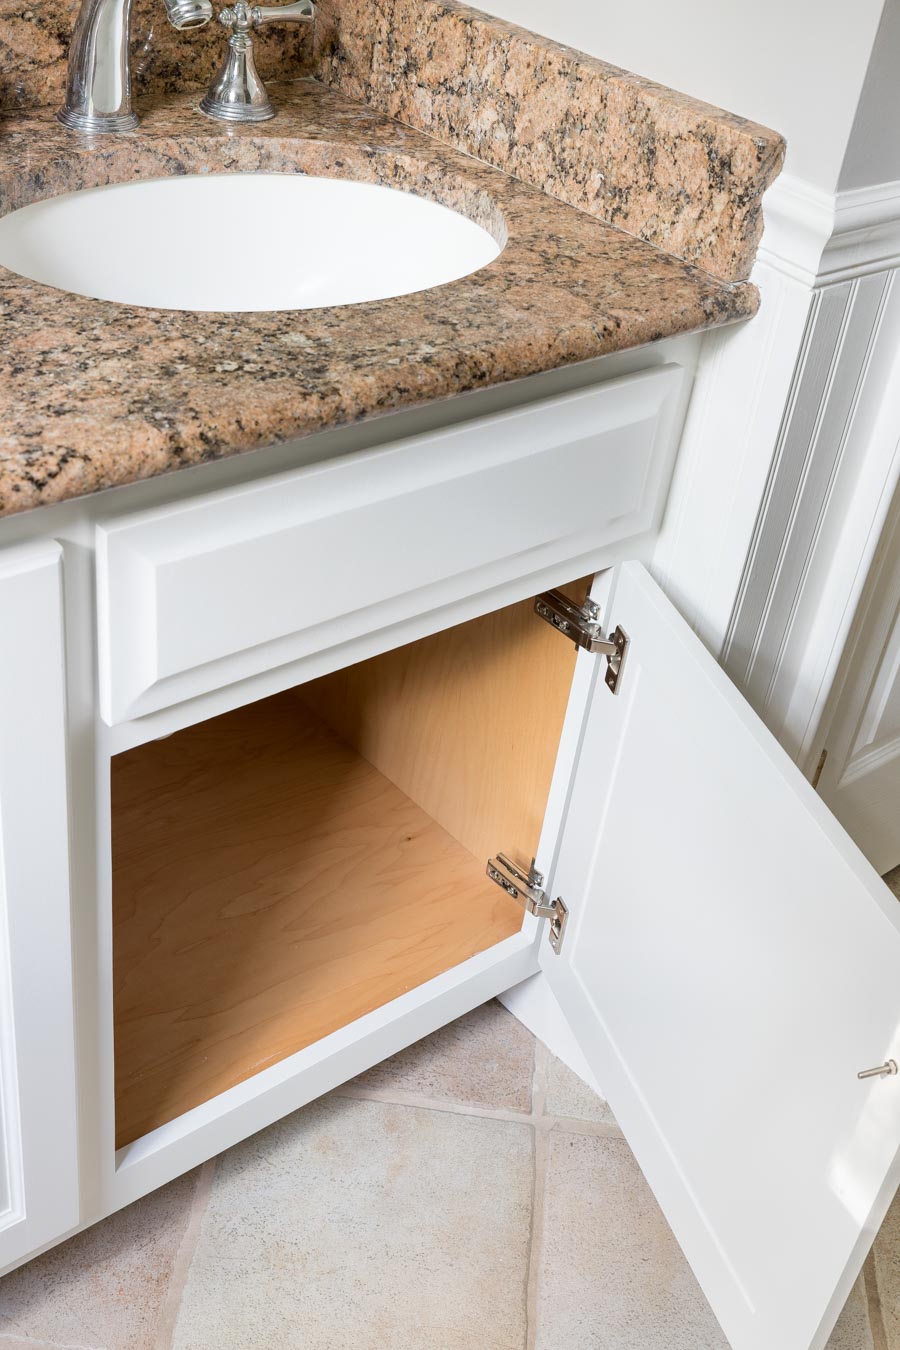
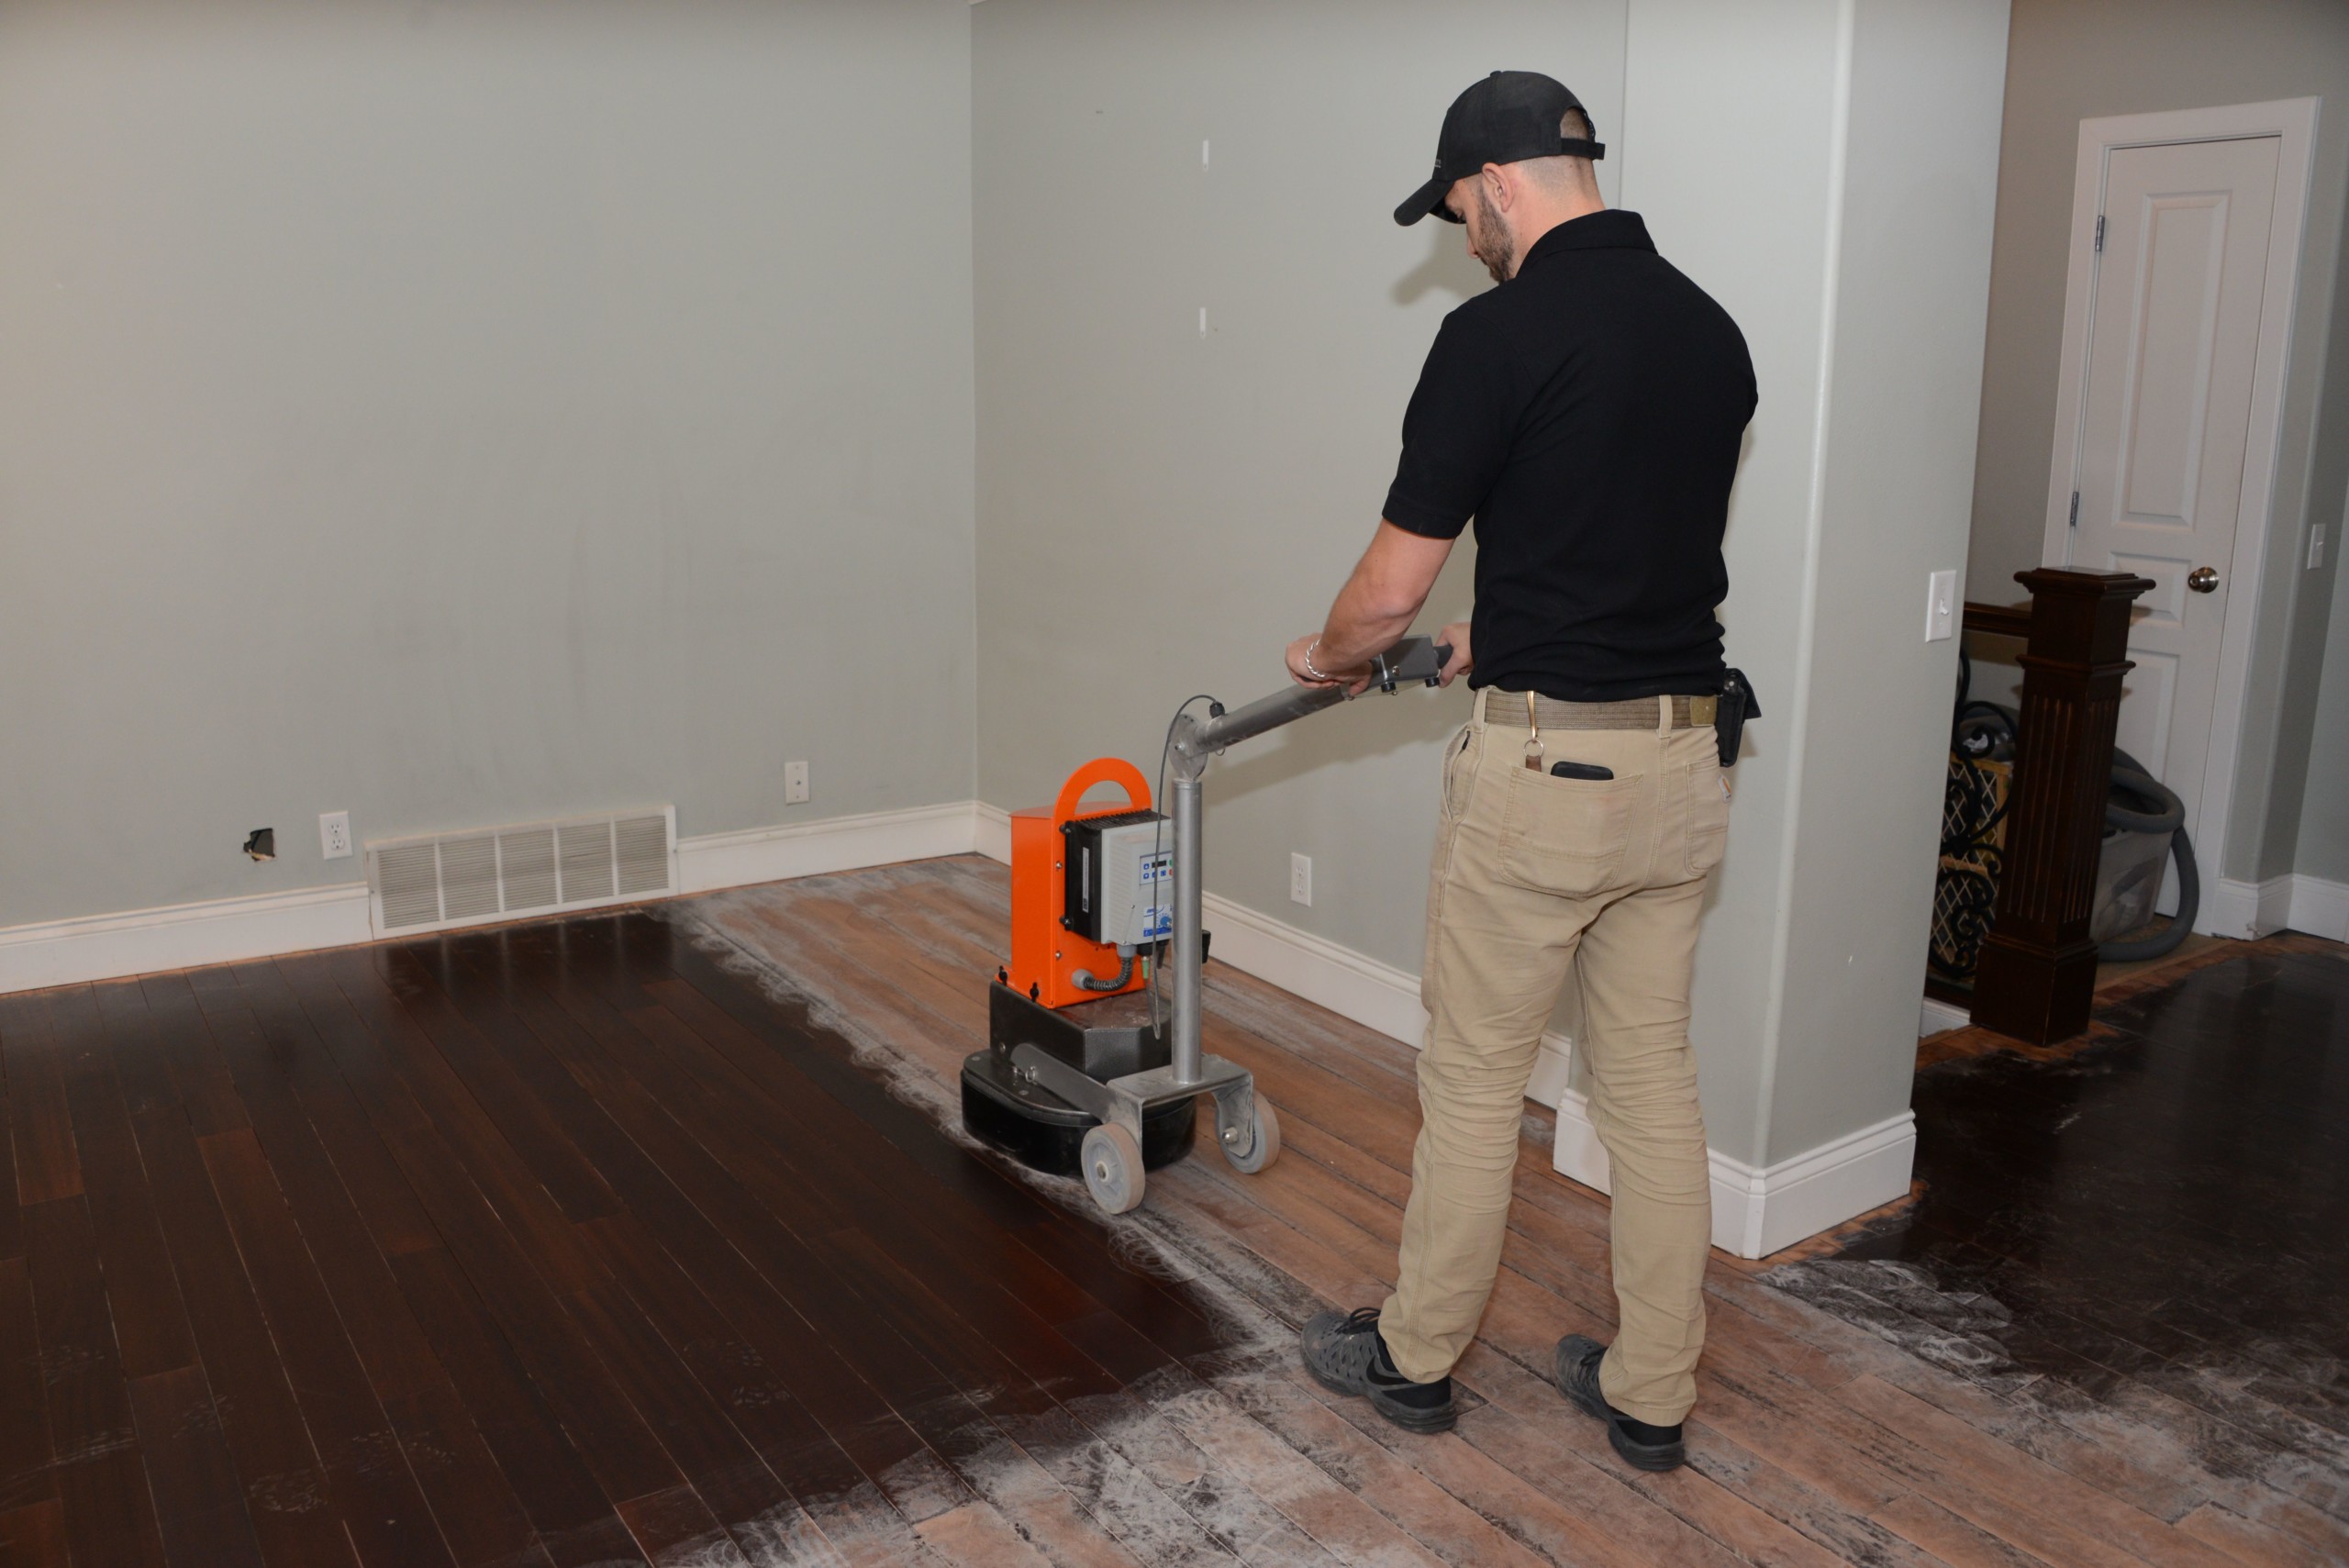
 Before you begin painting, make sure to properly prepare your vanity. Remove all hardware, such as handles and knobs, and set them aside. Clean the surface of the vanity thoroughly with a mild cleaner and let it dry completely. Sand down any rough areas or imperfections to create a smooth surface for the paint to adhere to.
Step 2: Prime the Surface
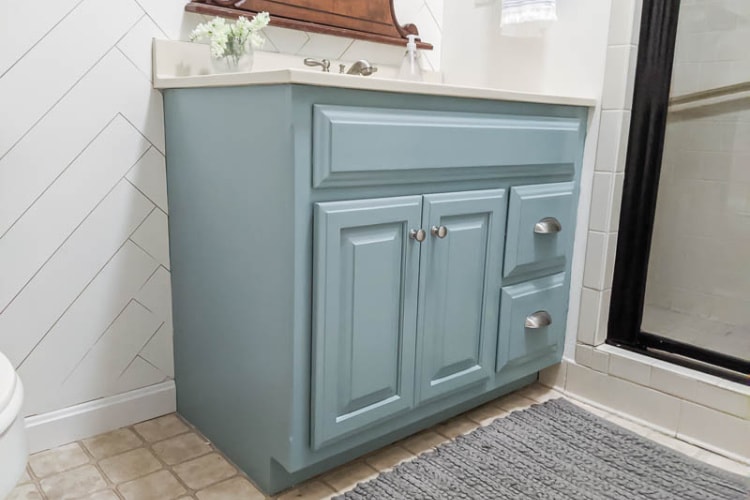 Using a high-quality primer, coat the entire surface of the vanity. This will help the paint adhere better and also prevent any stains or discoloration from showing through. Make sure to use a primer that is specifically designed for the material of your vanity, whether it be wood, laminate, or metal.
Step 3: Choose Your Paint
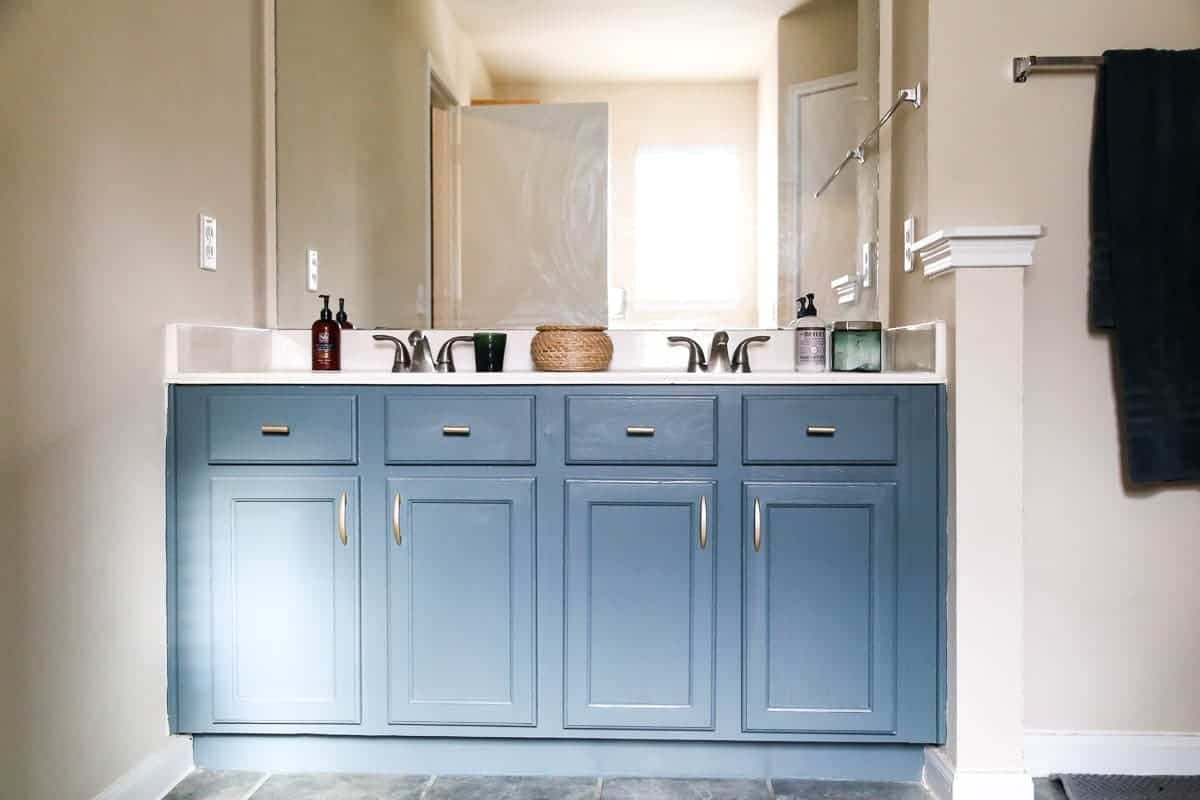
 When it comes to choosing the right paint for your bathroom vanity, there are a few things to consider. First, make sure to use a paint that is specifically designed for high-moisture areas, such as a bathroom. You'll also want to choose a paint with a semi-gloss or high-gloss finish, as this will not only give your vanity a sleek and modern look, but it will also make it easier to clean.
Step 4: Get Painting!
 Once your primer is dry, it's time to start painting! Using a high-quality paintbrush or foam roller, apply the paint in even strokes, working in the direction of the grain. It's always better to do multiple thin coats rather than one thick coat. This will prevent drips and give you a smoother finish. Let the paint dry completely between each coat.
Step 5: Finishing Touches
 After your final coat of paint, let your vanity dry completely before reattaching any hardware. You can also add a coat of polyurethane for added durability and protection against moisture. And just like that, your bathroom vanity will look like a brand new piece of furniture!
Transform Your Bathroom Today
By following these simple steps, you can easily and affordably transform your bathroom with a fresh coat of paint on your vanity. And with endless color options and finishes, you can truly make it your own and give your bathroom a whole new look and feel. Don't underestimate the power of paint in home design – it's the easiest way to make a big impact. So why wait? Get painting and see the difference it can make in your bathroom today.




_02.jpg)




/full-frame-shot-of-colorful-acrylic-paints-562407475-59ff587b13f12900377226f1.jpg)











/Epoxy-DIY-Countertops-Via-Smallspaces.about.com-56d33a003df78cfb37d23f47.jpg)





/cdn.vox-cdn.com/uploads/chorus_image/image/65891819/00_refinishing_xl.0.jpg)












:max_bytes(150000):strip_icc()/GettyImages-501645641-58faccf75f9b581d596a6e5c.jpg)




/acrylic-painting-tips-for-beginners-2578746_FINAL1-db49ec52ac9f443db880ea31b4cae6e9.png)


/172156932-56a49f303df78cf772834e5a.jpg)
.jpg)
/GettyImages-170345932-58c967a35f9b58af5c8aaff3.jpg)
/OilPaint-58b071d73df78cdcd8860ab9.jpg)


