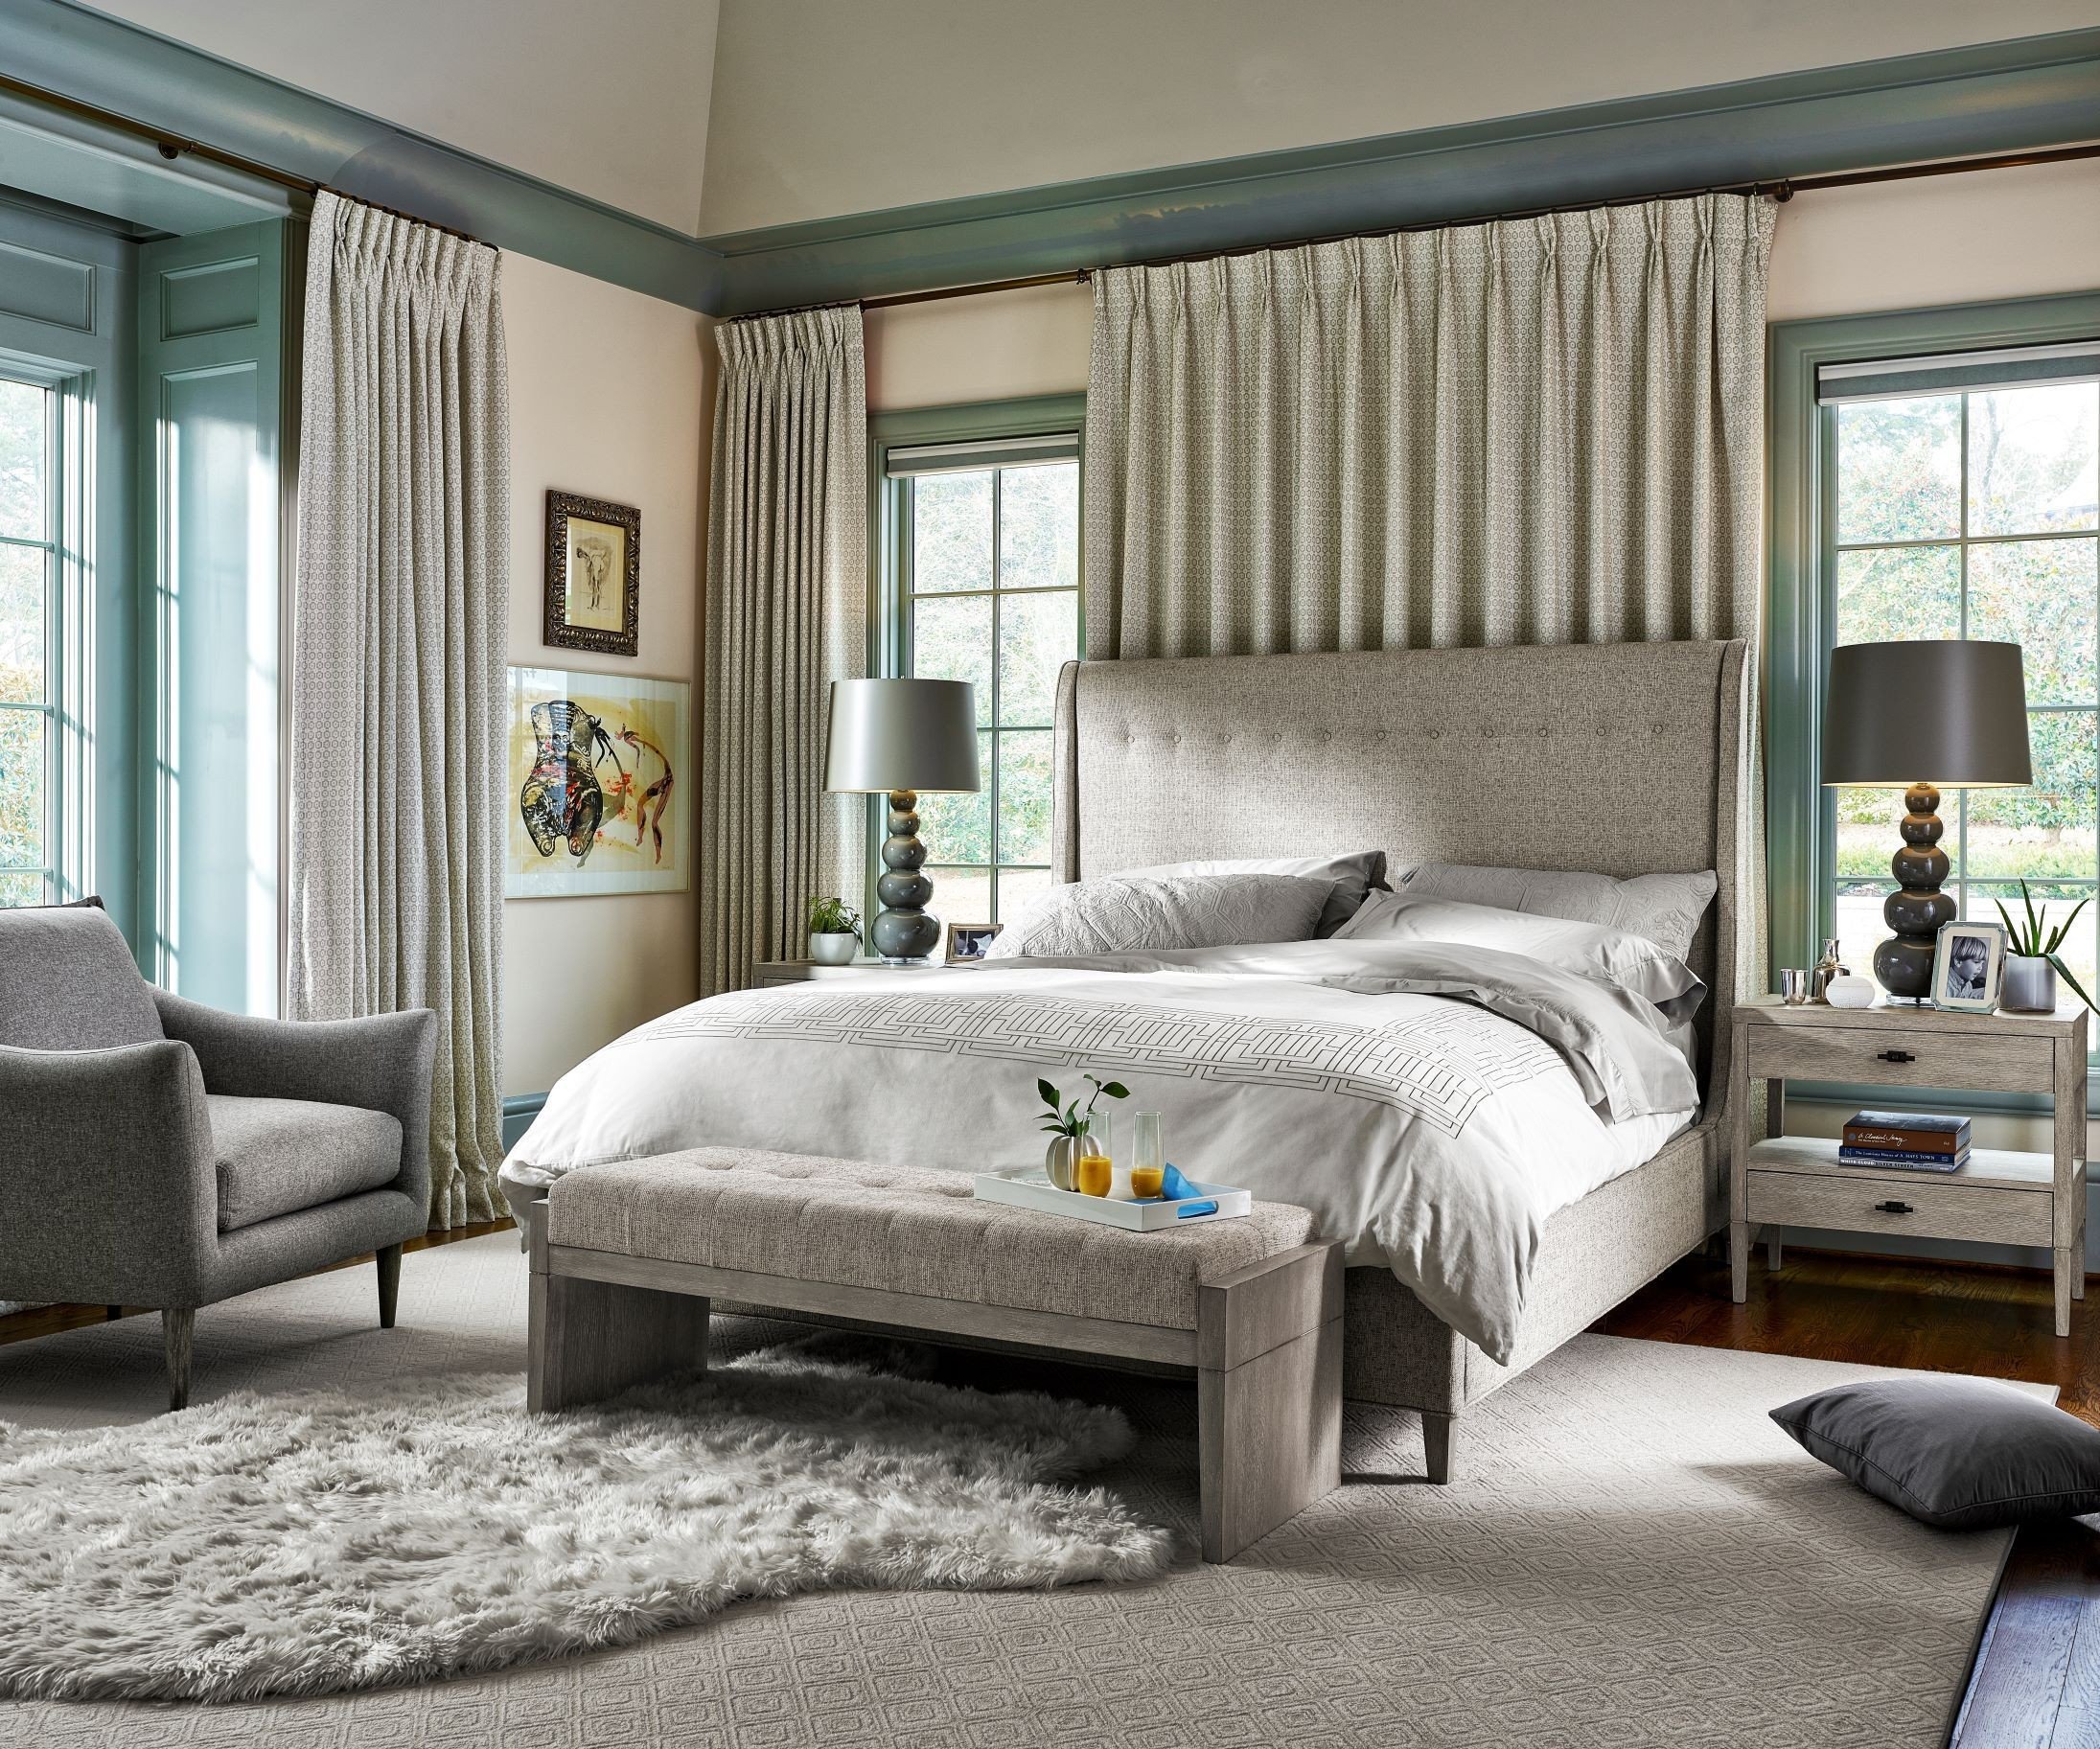
DIY Distressed Bedroom Furniture Ideas
Are you looking to add some rustic charm to your bedroom? Look no further than these DIY distressed bedroom furniture ideas. With just a few simple materials and some creativity, you can transform your plain bedroom furniture into unique, distressed pieces that will add character and warmth to your space. Not only is this a budget-friendly option, but it also allows you to customize your furniture to your personal style. Let's dive into the top 10 DIY distressed bedroom furniture ideas that will give your room a cozy, rustic feel.


DIY Distressed Bedroom Furniture Ideas

How to Distress Furniture for a Rustic Look
The first step to creating your own distressed bedroom furniture is knowing how to achieve that rustic look. There are a few different techniques you can use, but one of the most popular is using sandpaper to create a worn, weathered appearance. Start by lightly sanding the surface of your furniture, paying extra attention to the edges and corners. This will create a natural distressed look that mimics years of use. You can also use a hammer or chain to create dings and dents for a more distressed effect.


How to Distress Furniture for a Rustic Look


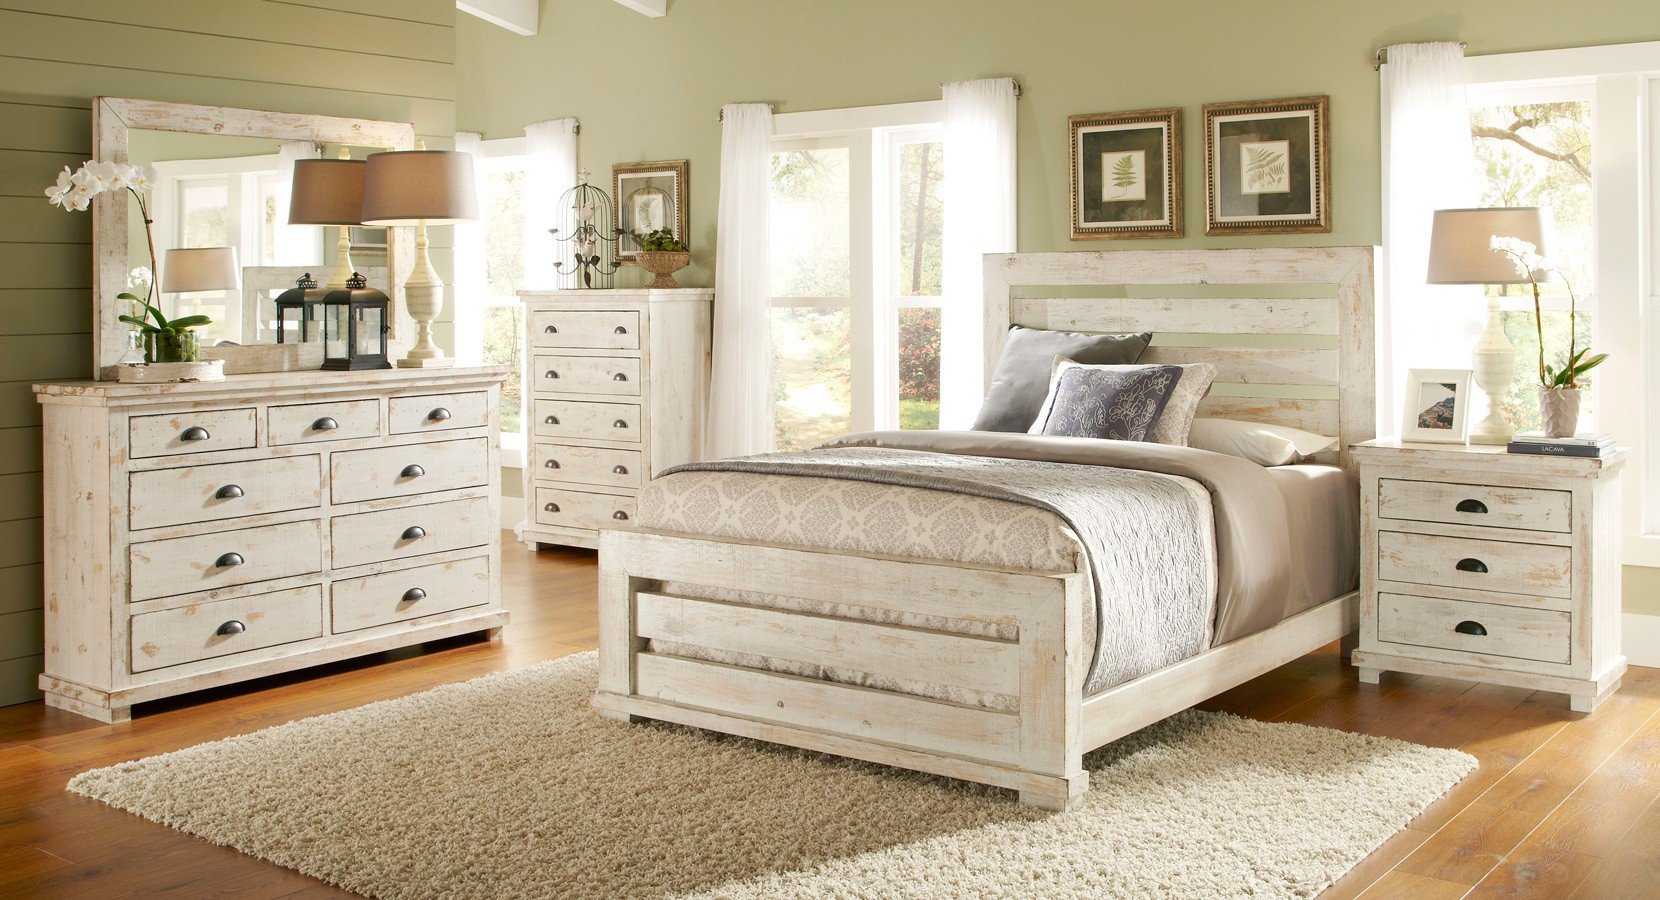
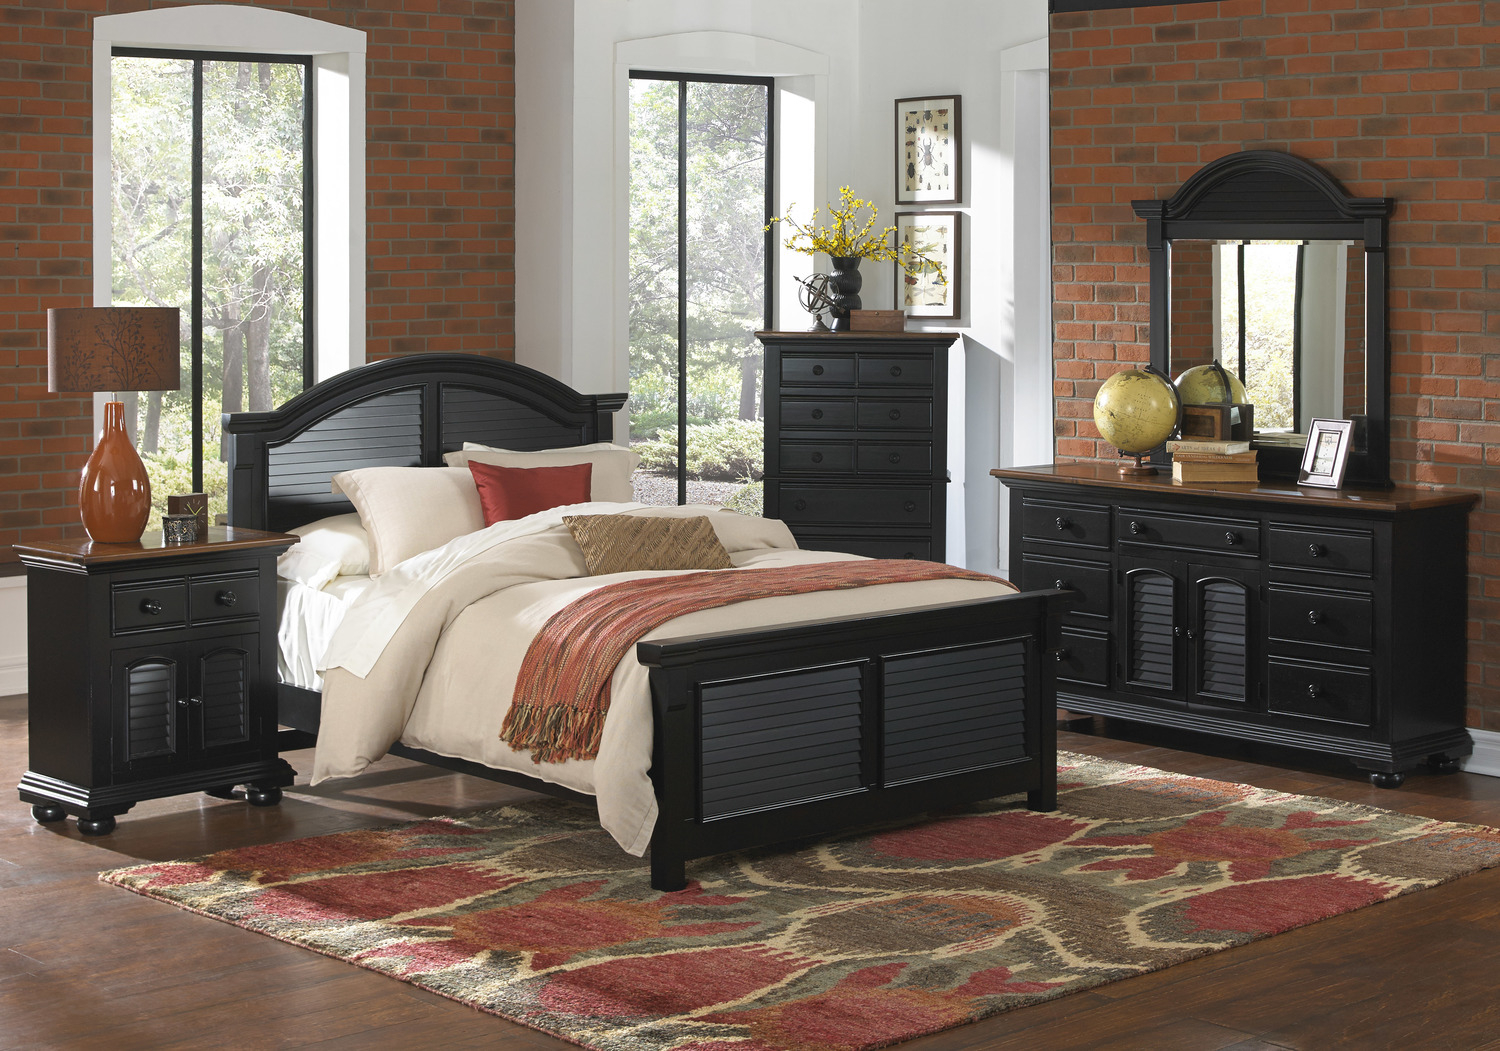
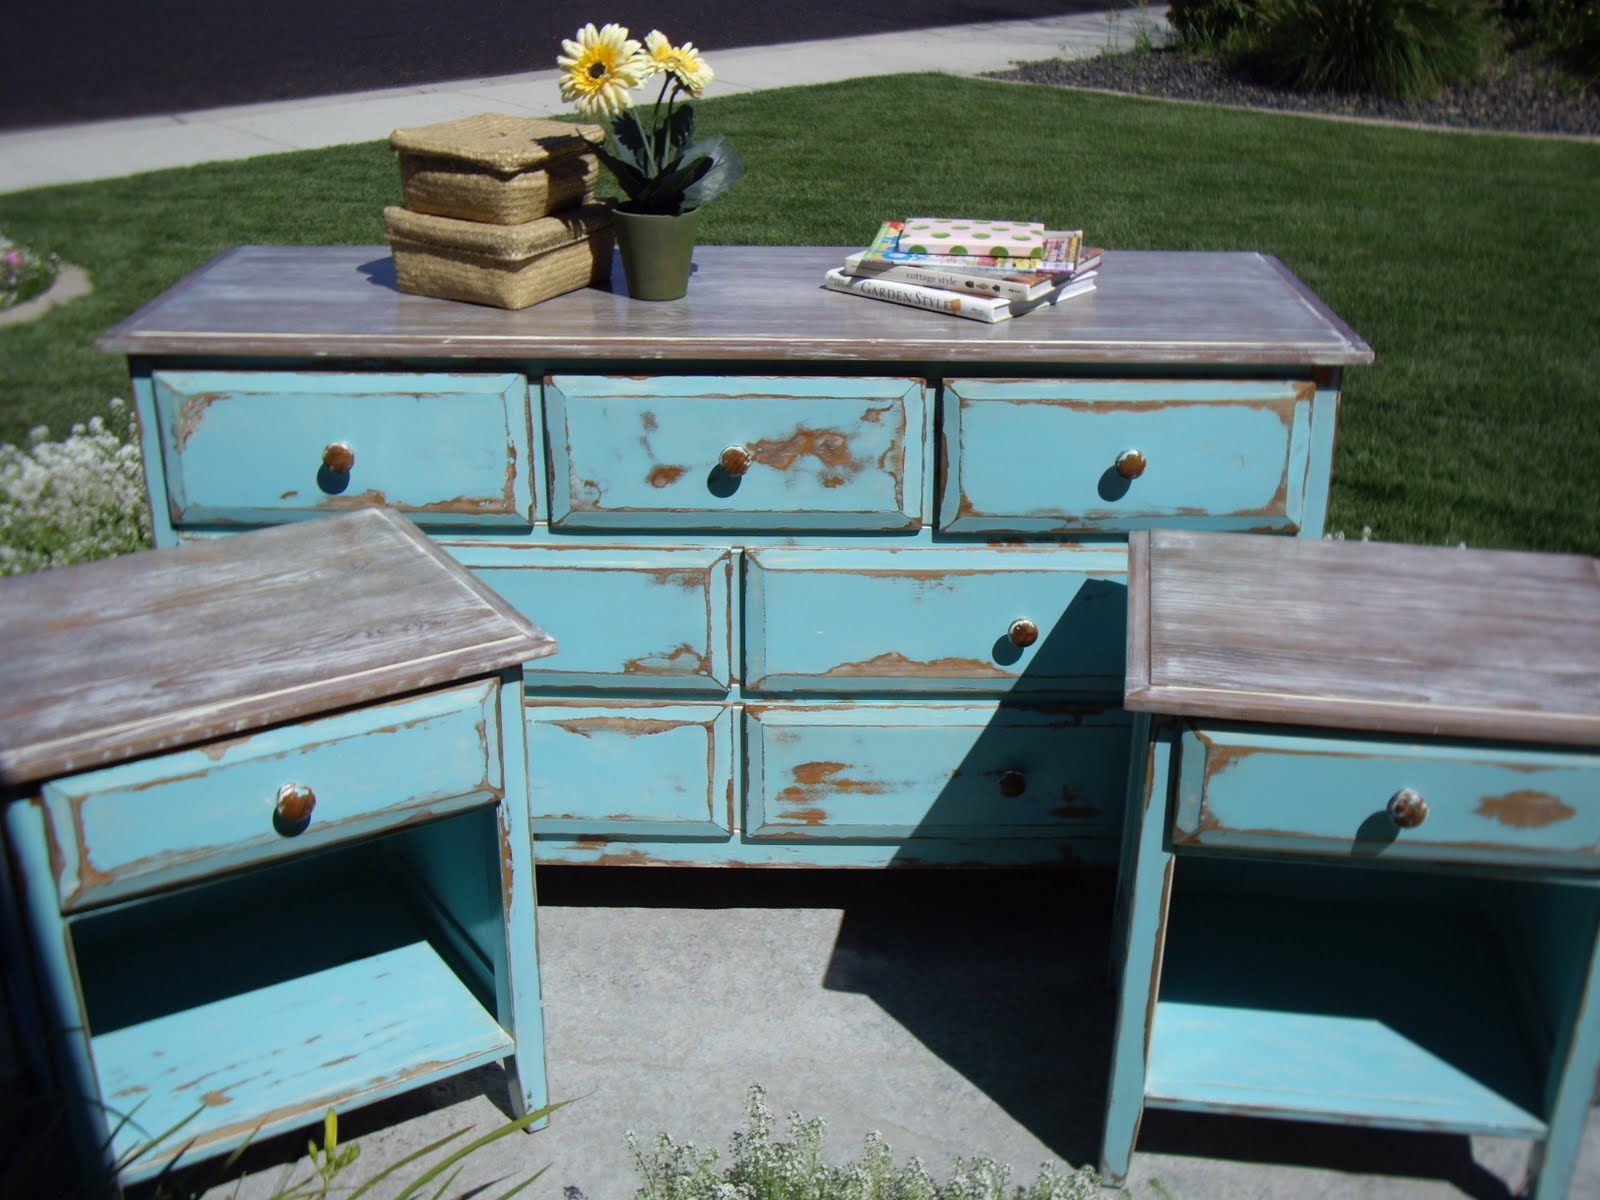
Distressed Bedroom Furniture Makeover
If you have a plain, boring dresser or nightstand in your bedroom, give it a distressed makeover for a whole new look. You can achieve this by using a technique called dry brushing, which involves lightly brushing paint over the surface of your furniture. This will create a worn, vintage appearance that is perfect for a distressed look. You can also add stencils or decals to create unique designs on your furniture.

Distressed Bedroom Furniture Makeover


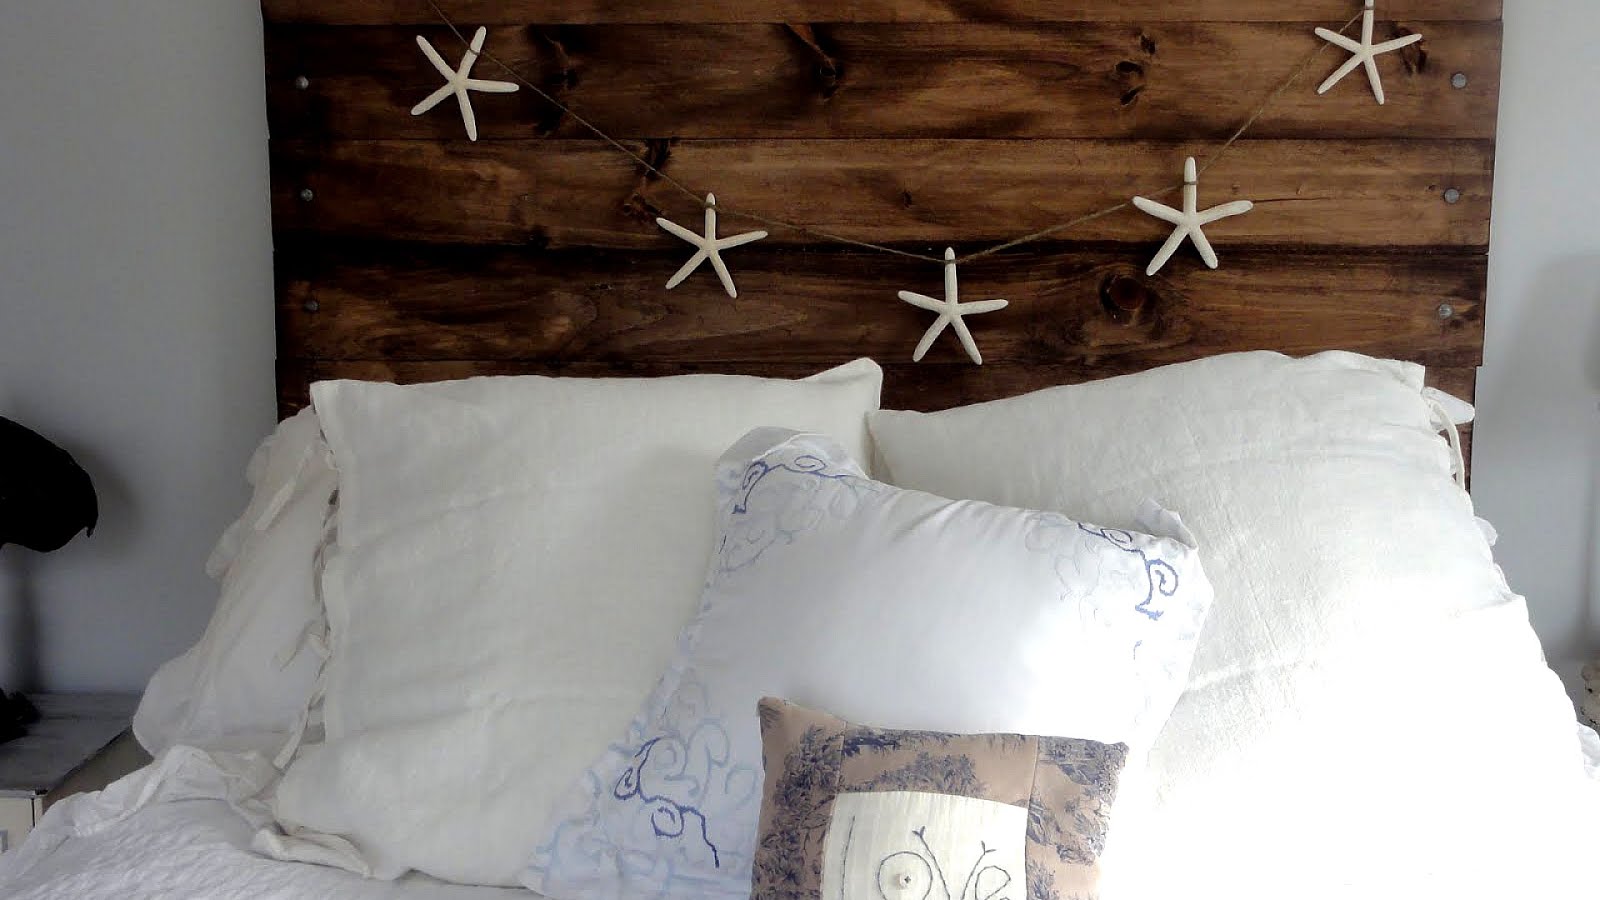
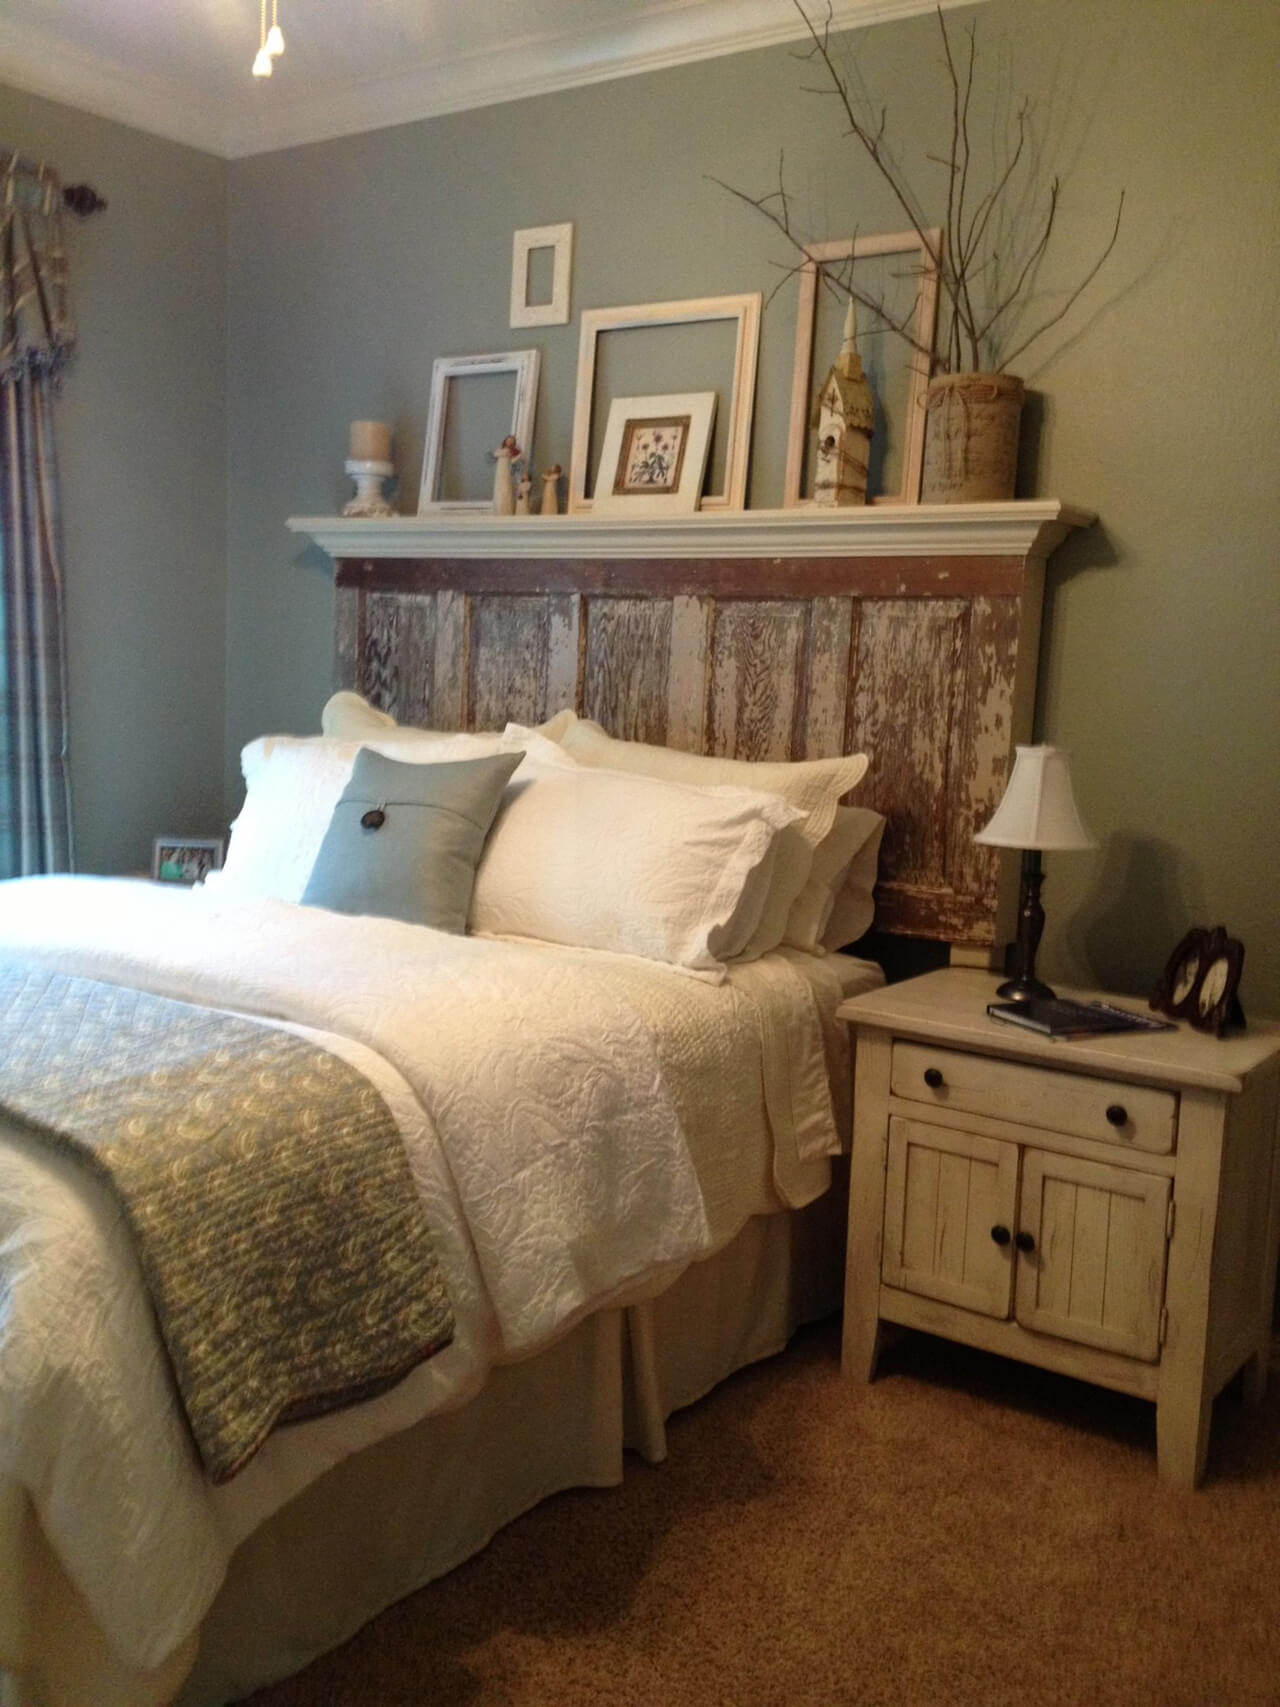
DIY Distressed Wood Headboard
Looking to add a statement piece to your bedroom? Consider creating your own distressed wood headboard. This is a simple and inexpensive project that can be done with just a few materials. Start by finding a piece of wood that is the size and shape you want for your headboard. Then use sandpaper, paint, and distressing techniques to give it that rustic, weathered look. Mount it on your wall behind your bed for a stunning focal point in your room.
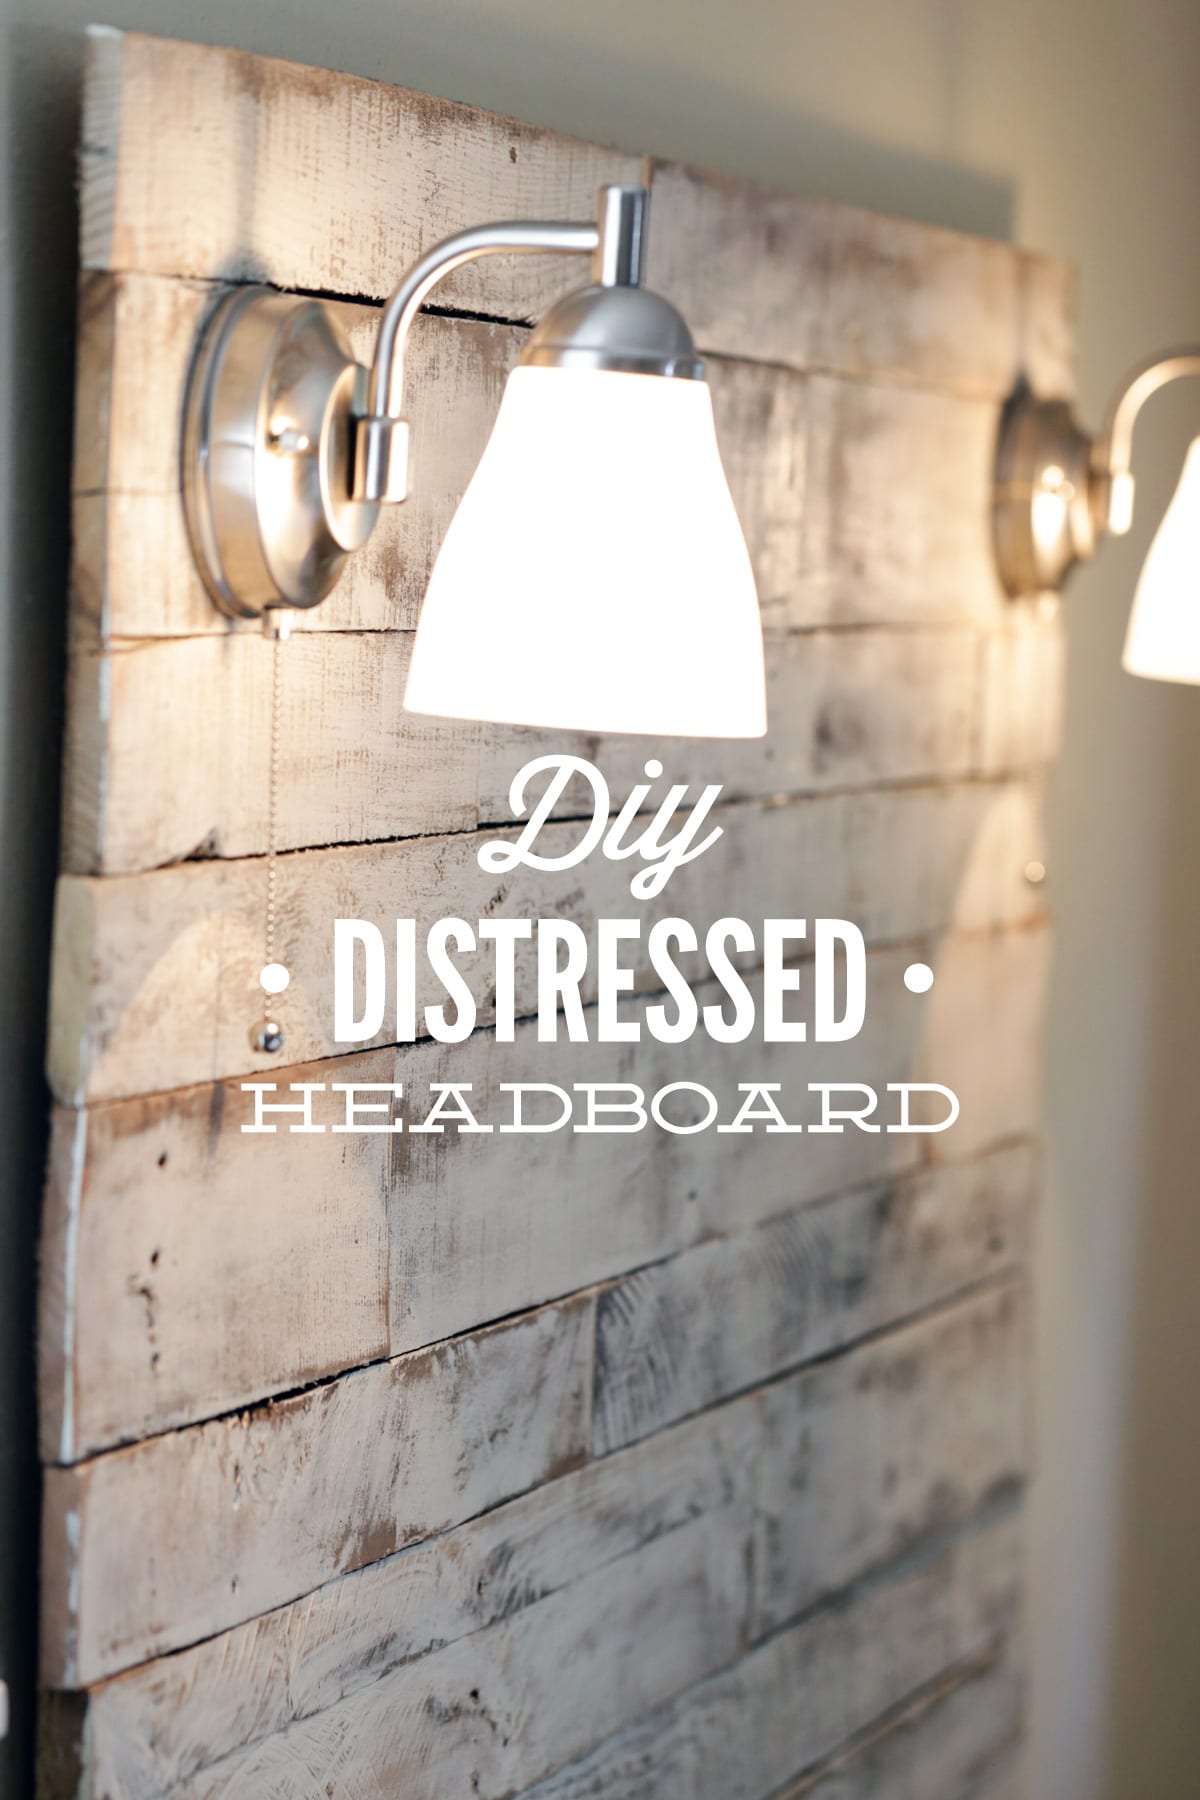


DIY Distressed Wood Headboard


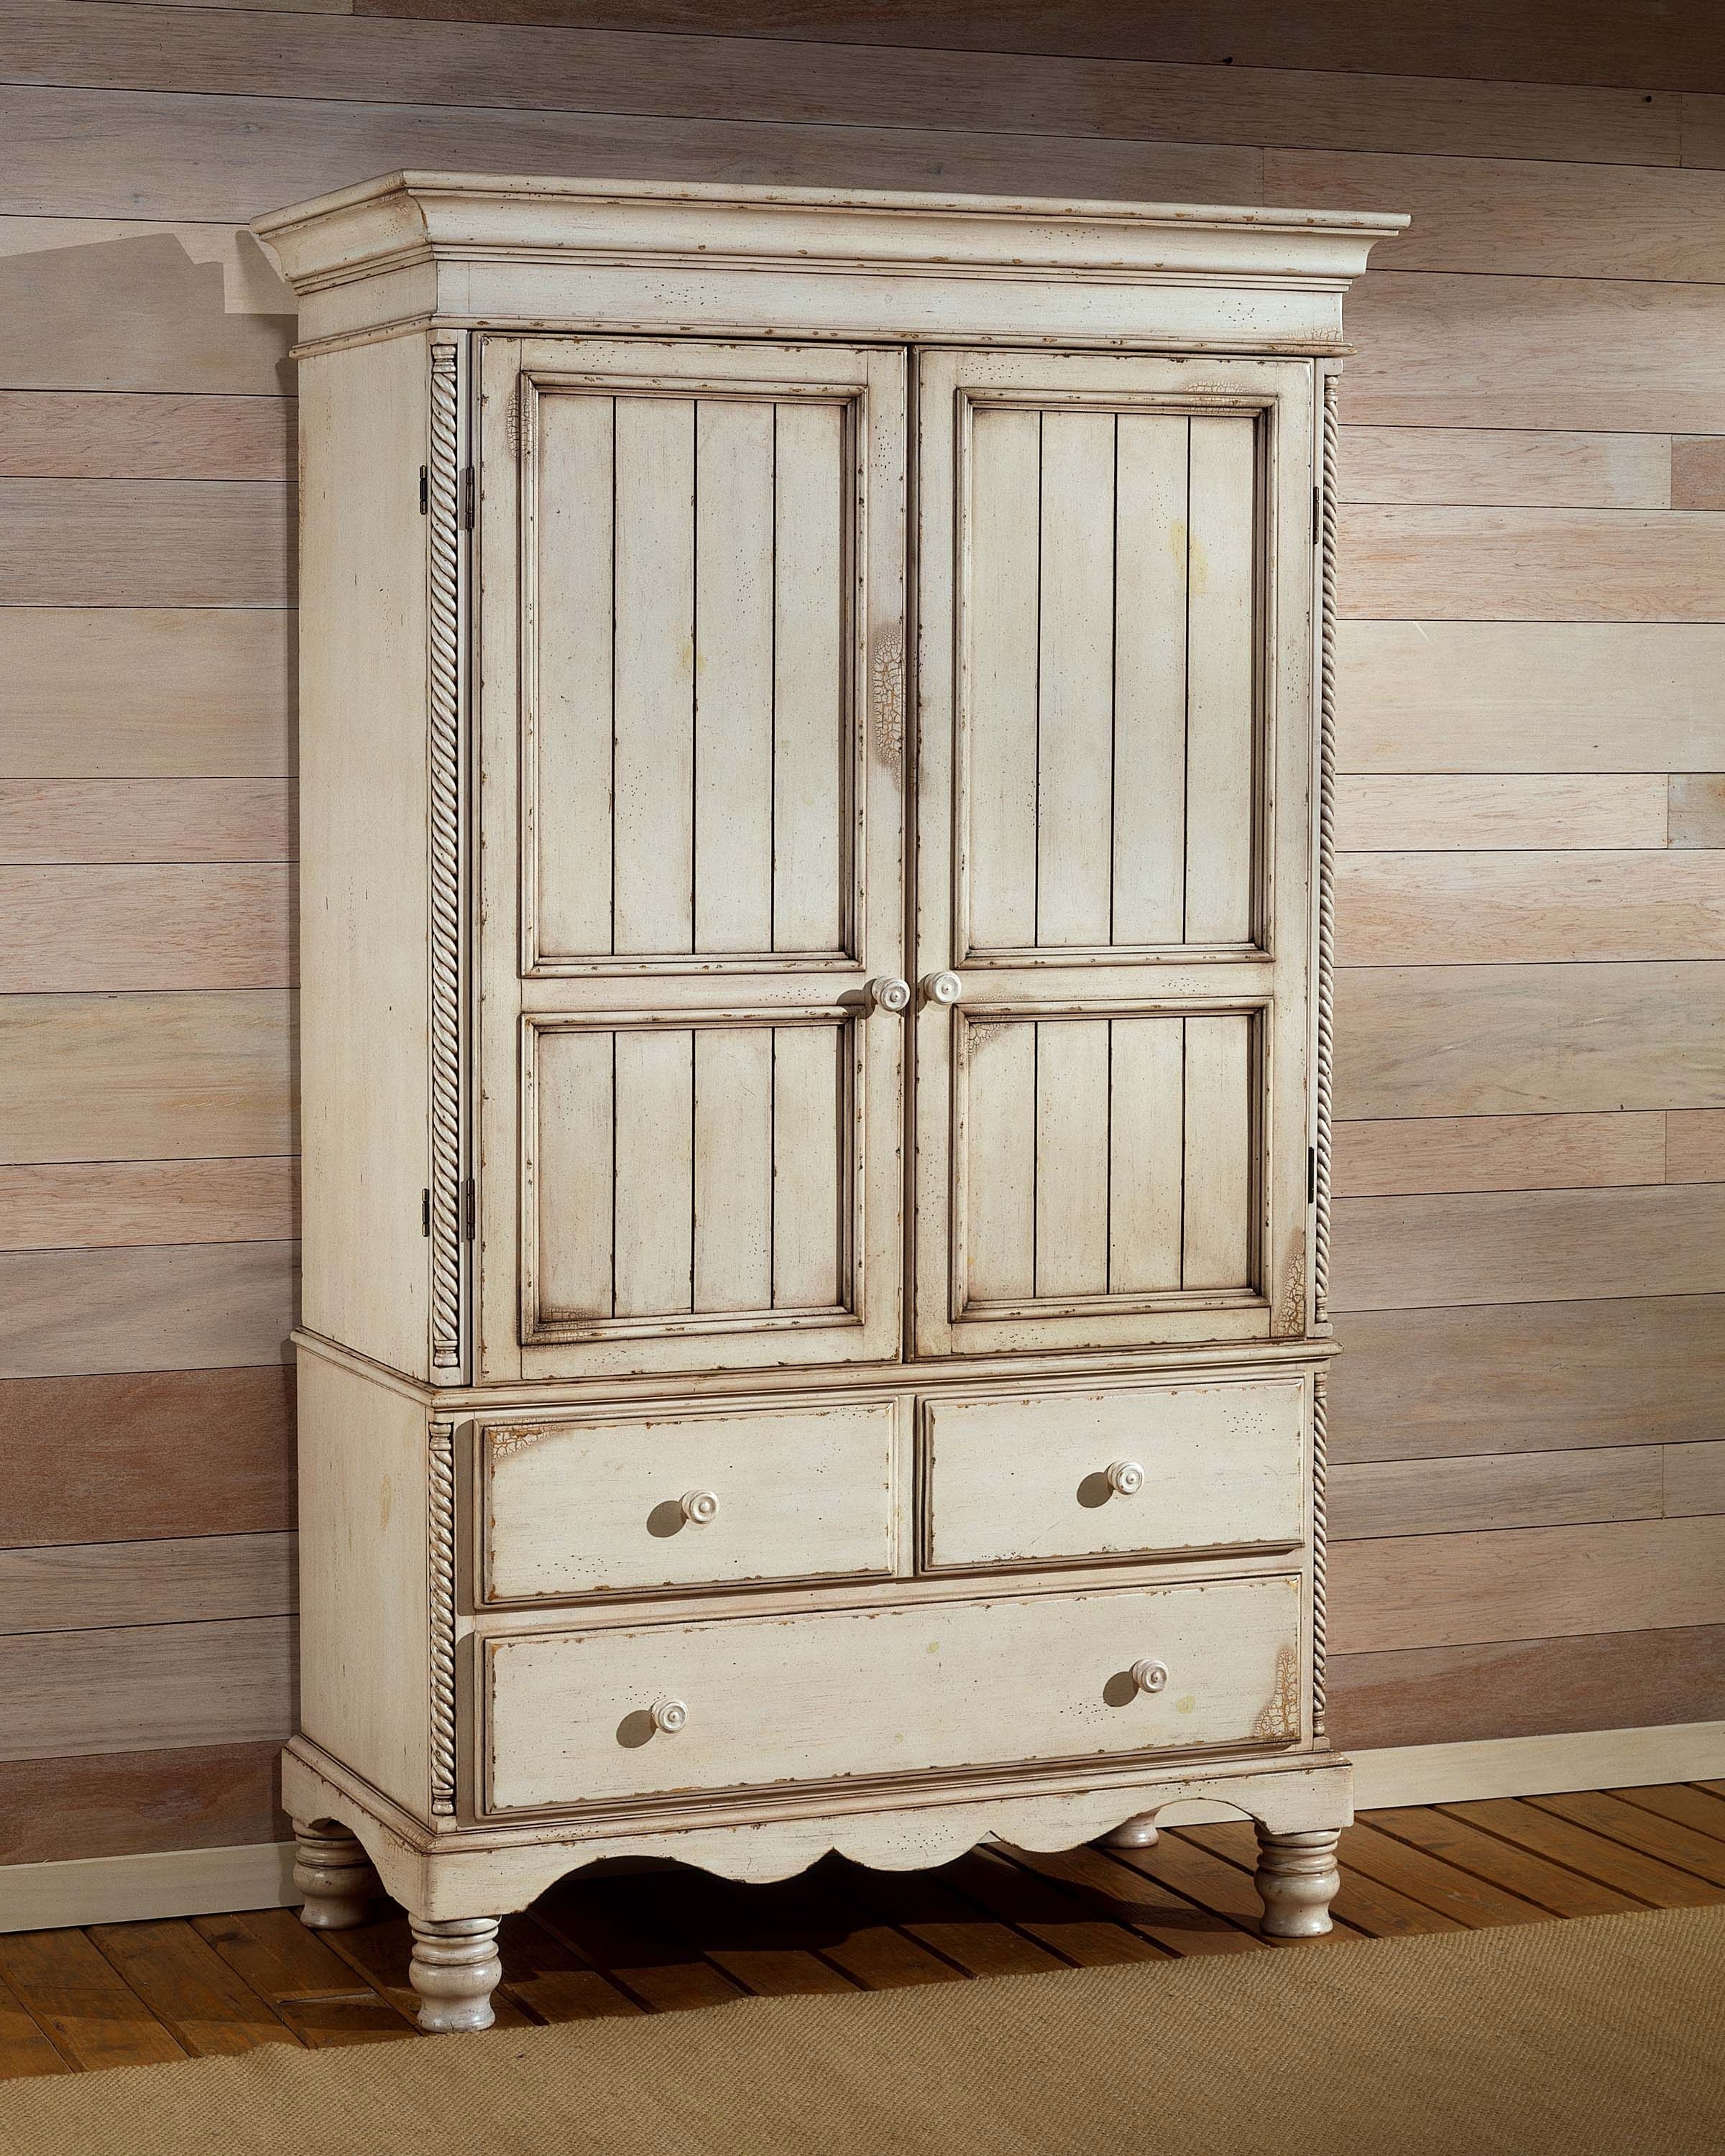
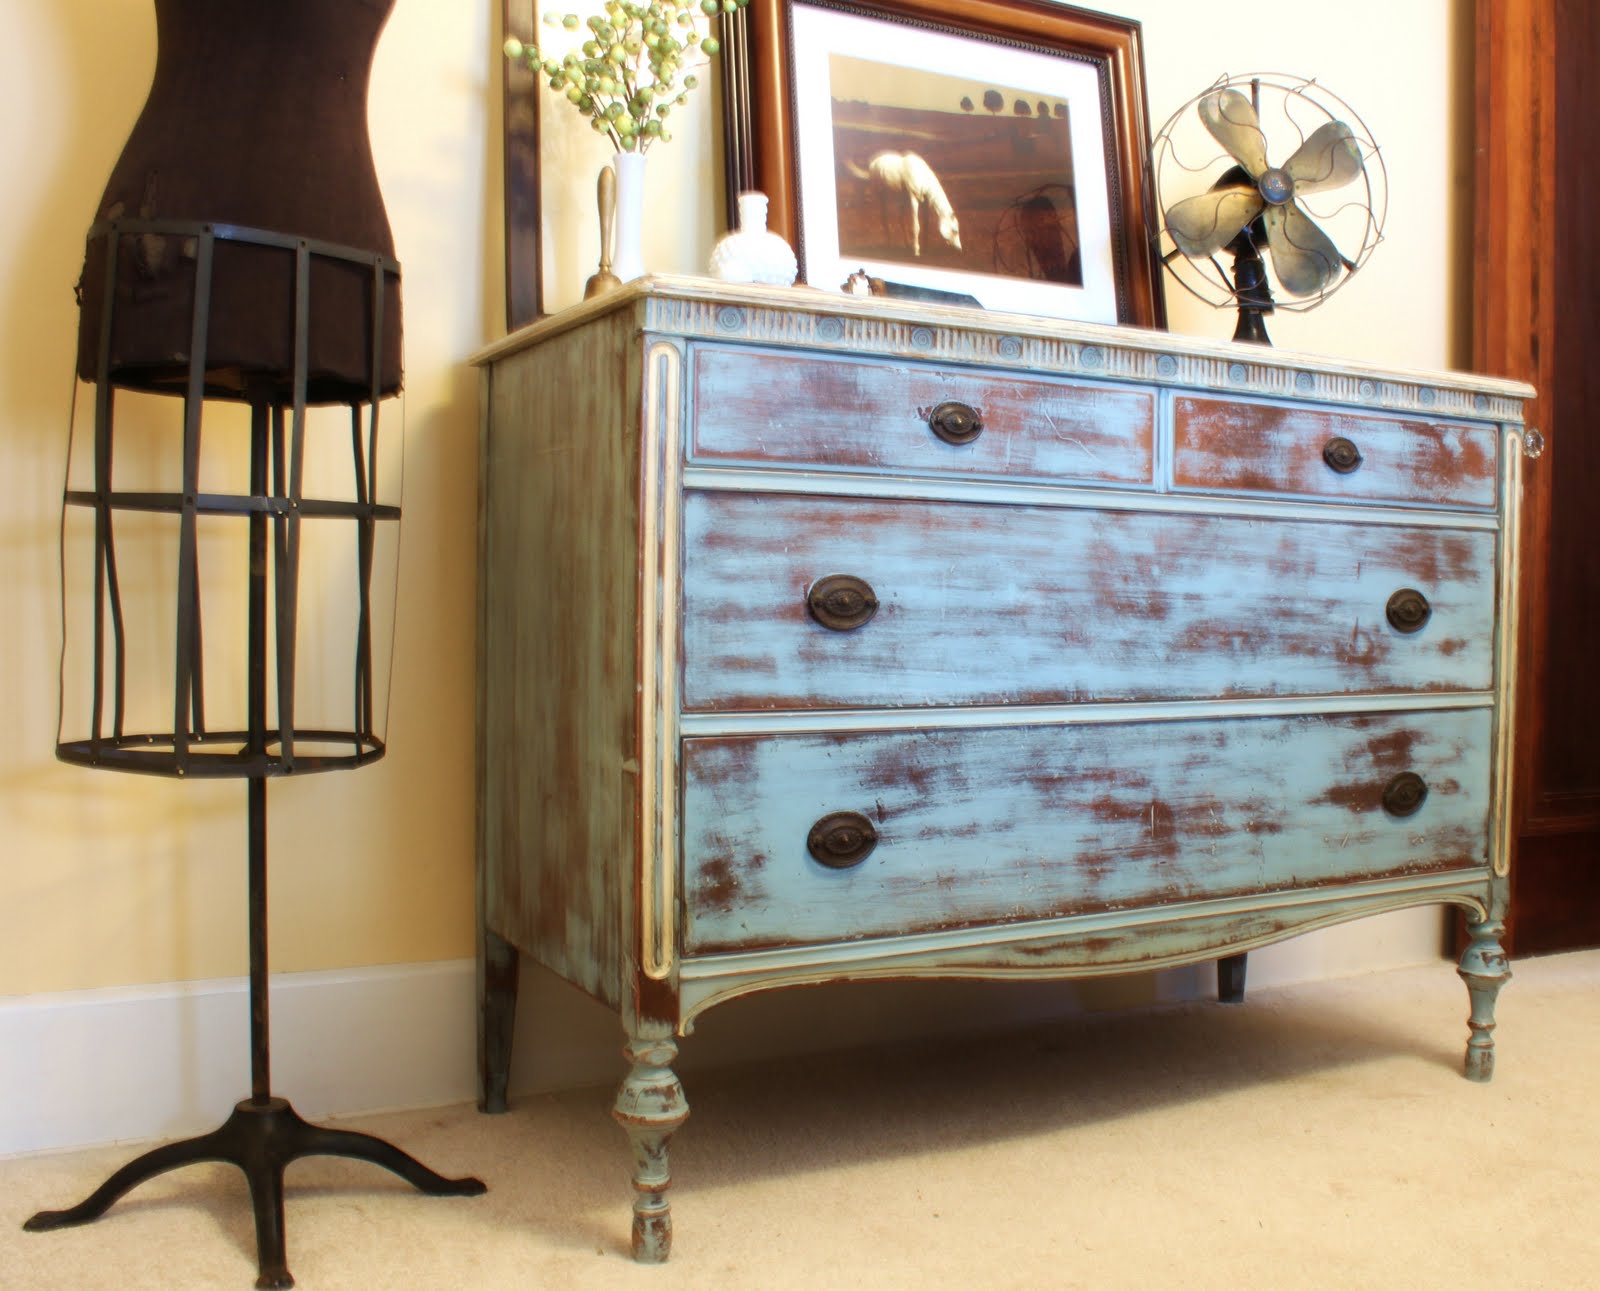
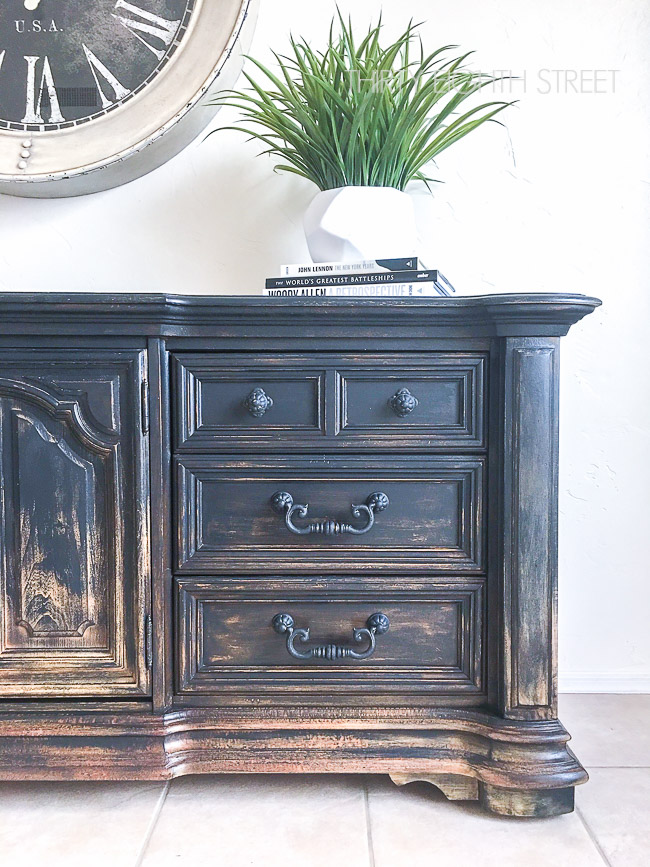
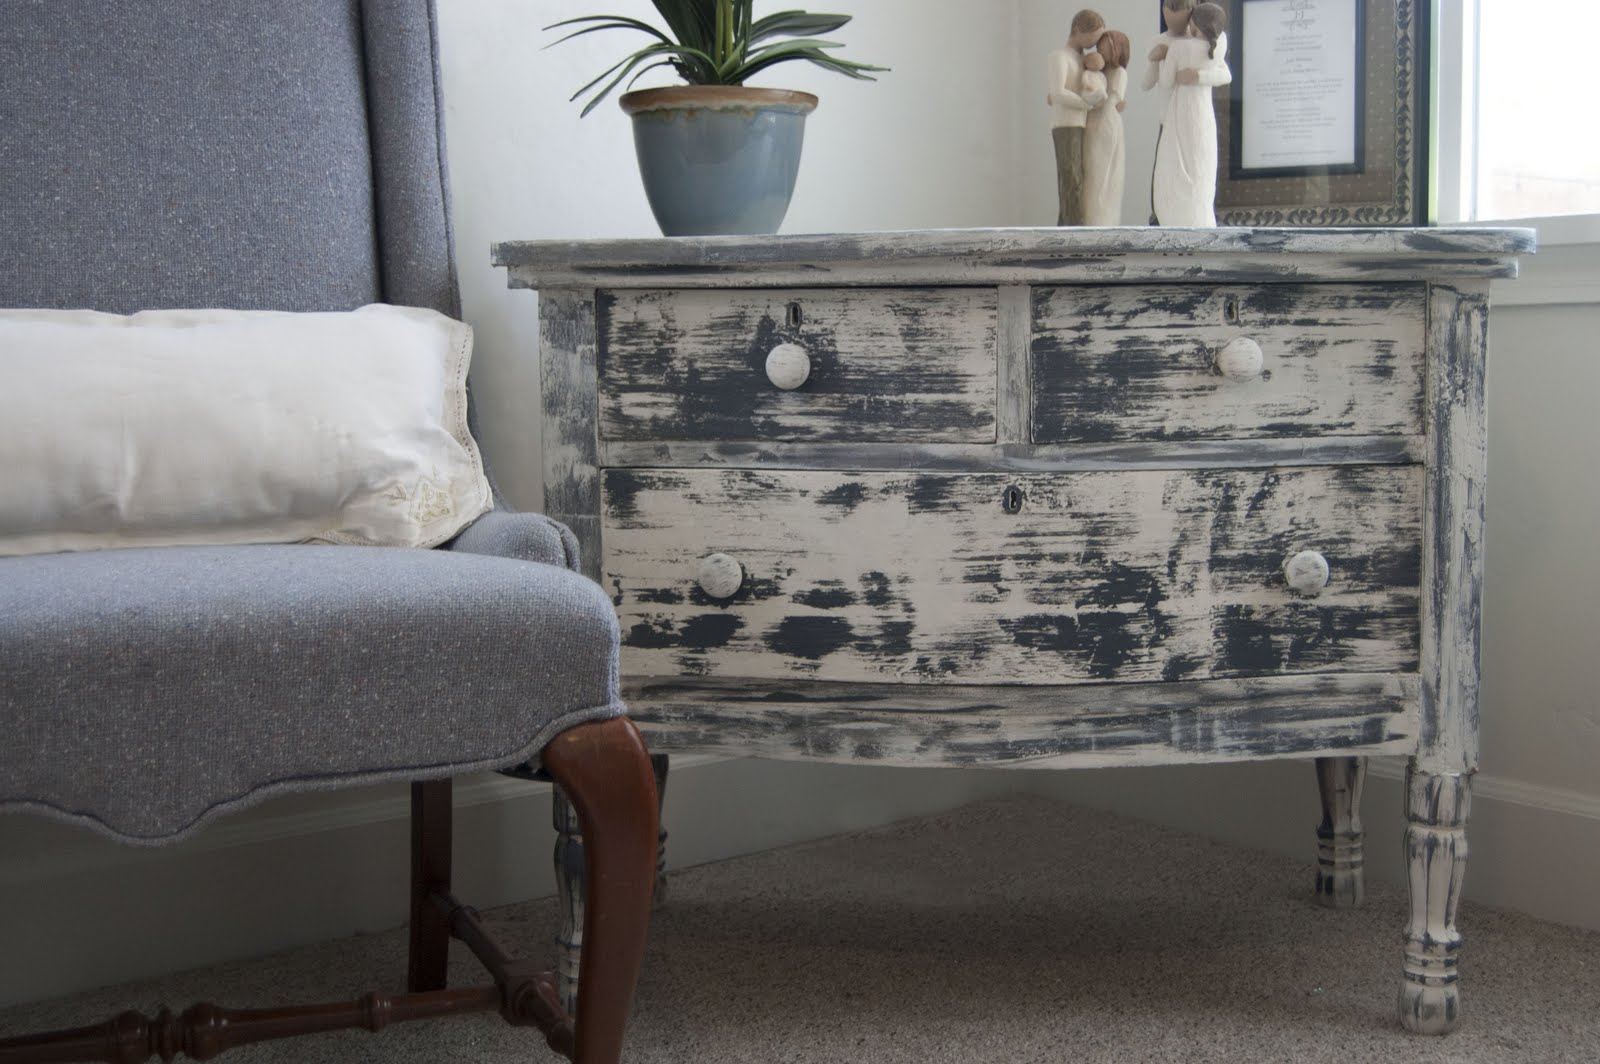
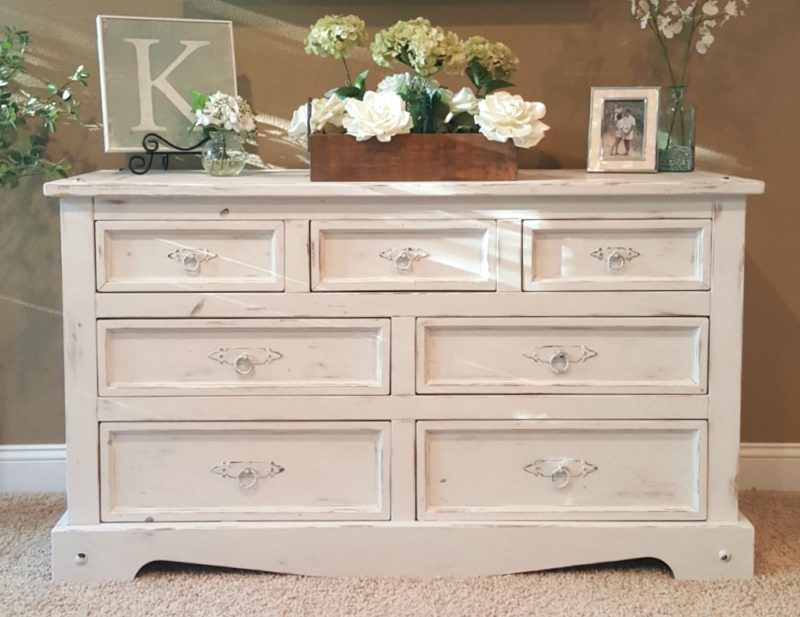
Distressed Dresser Tutorial
Transform your plain dresser into a distressed masterpiece with this easy-to-follow tutorial. Start by removing all hardware and sanding down the surface of your dresser. Then use a base coat of paint, followed by a top coat in a different color. Once the paint is dry, use sandpaper to distress the edges and create a worn appearance. You can also add a layer of wax or glaze for a more vintage look. Finish off by adding new hardware for a complete transformation.
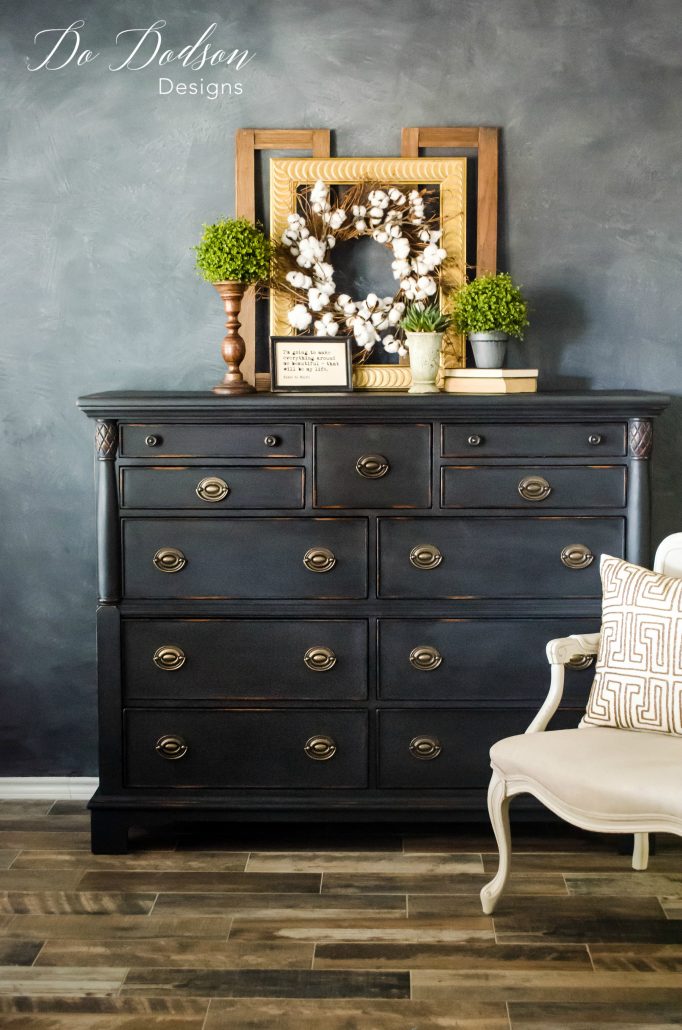


Distressed Dresser Tutorial


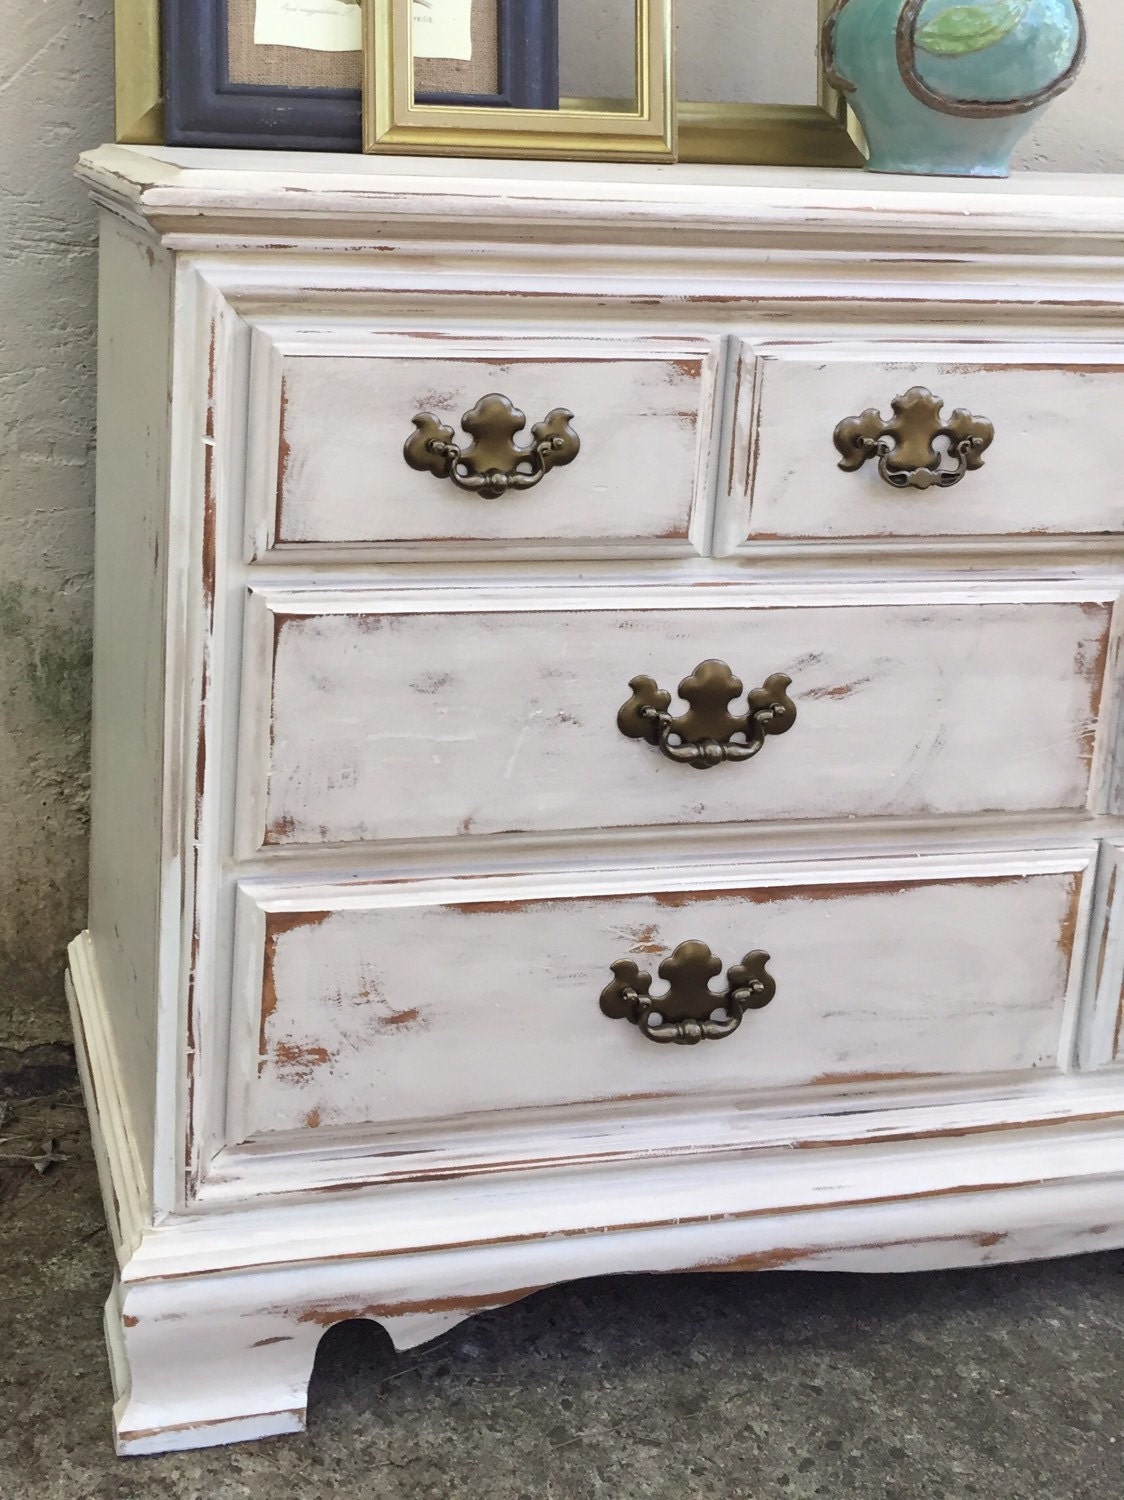
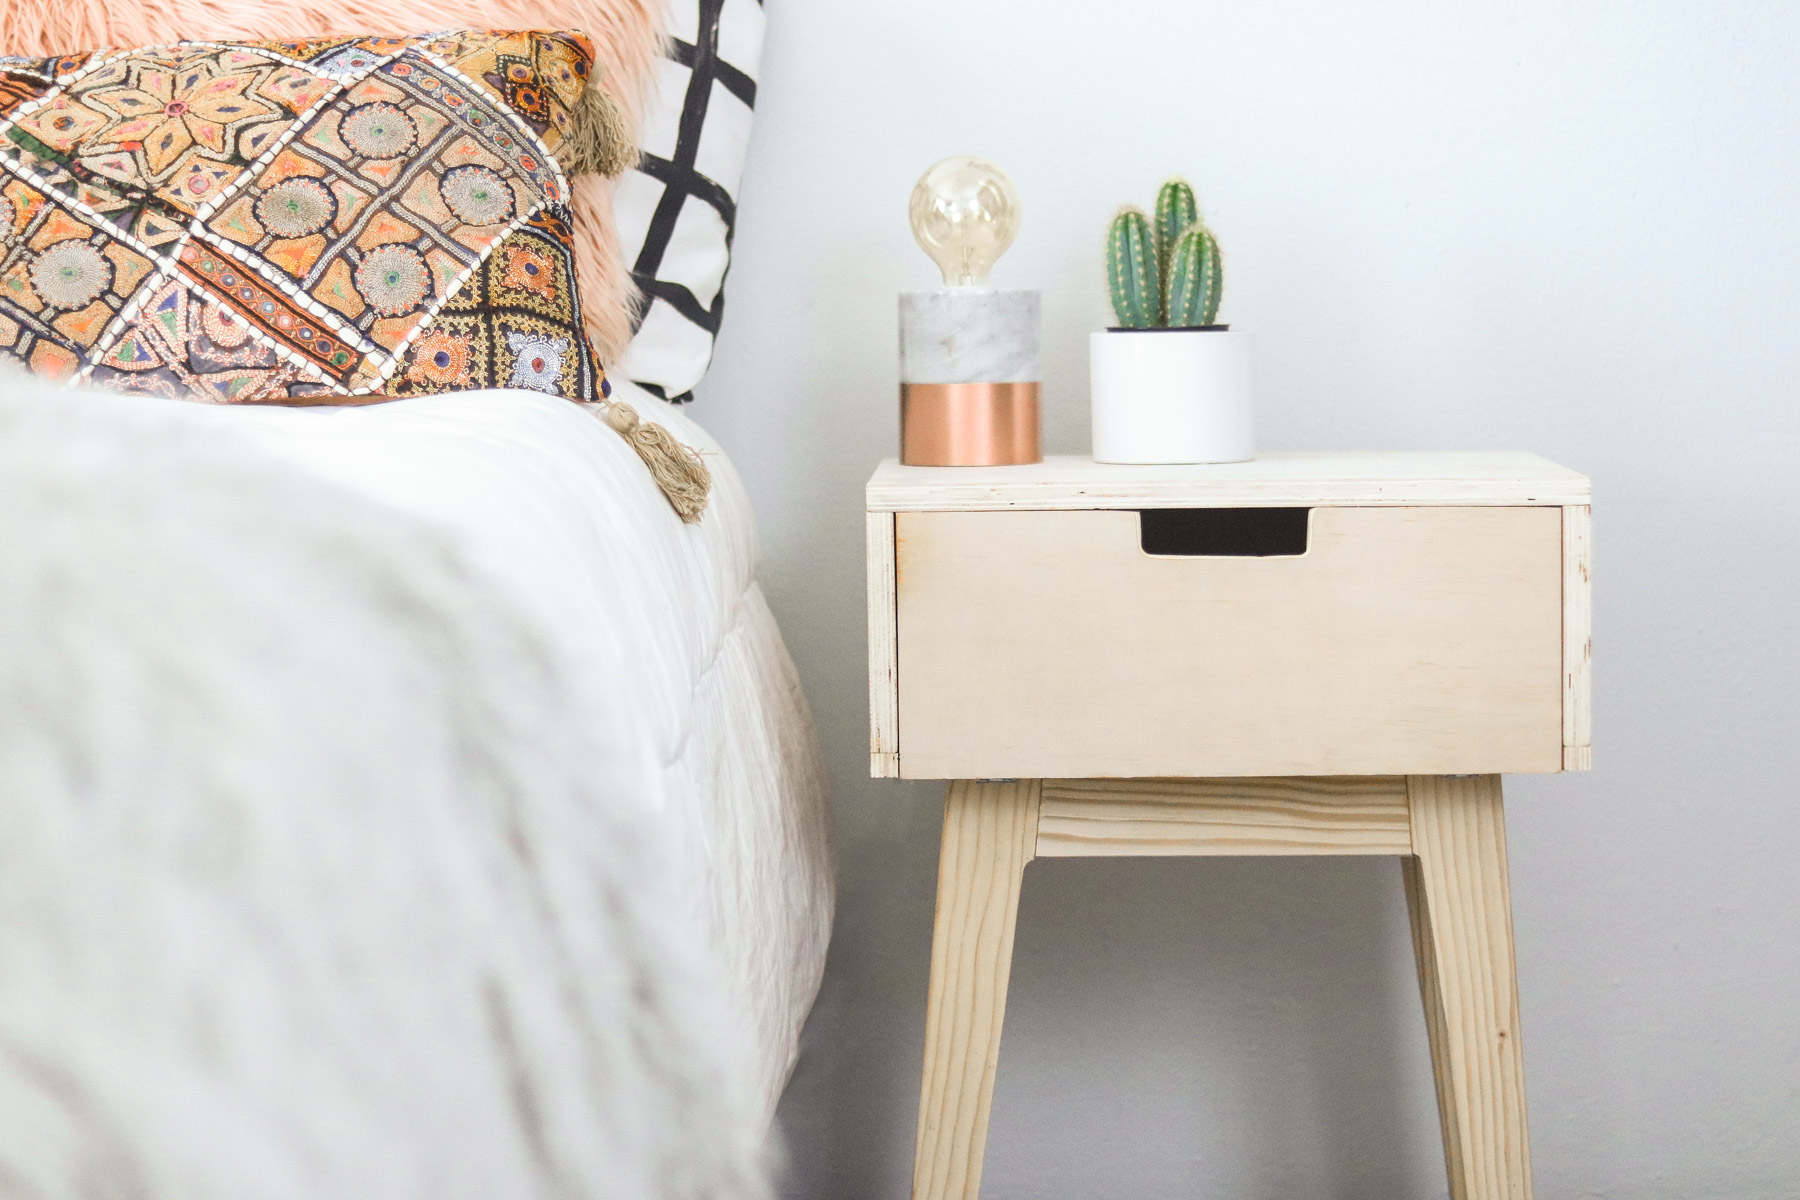
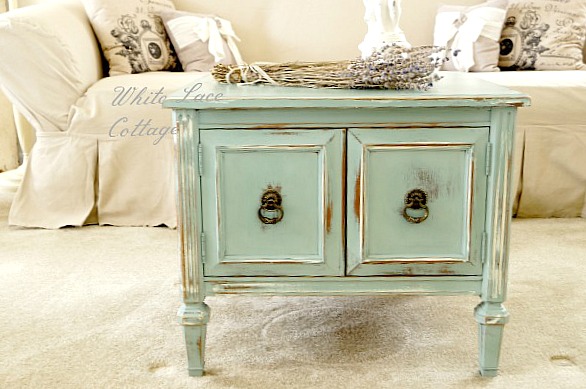
DIY Distressed Nightstand
Give your bedside tables a distressed makeover with this DIY project. Start by sanding down the surface of your nightstand and removing any hardware. Then use a base coat of paint, followed by a top coat in a different color. Once the paint is dry, use sandpaper to distress the edges and create a worn appearance. You can also add a layer of wax or glaze for a more vintage look. This is a simple and budget-friendly way to add some character to your bedroom furniture.


DIY Distressed Nightstand


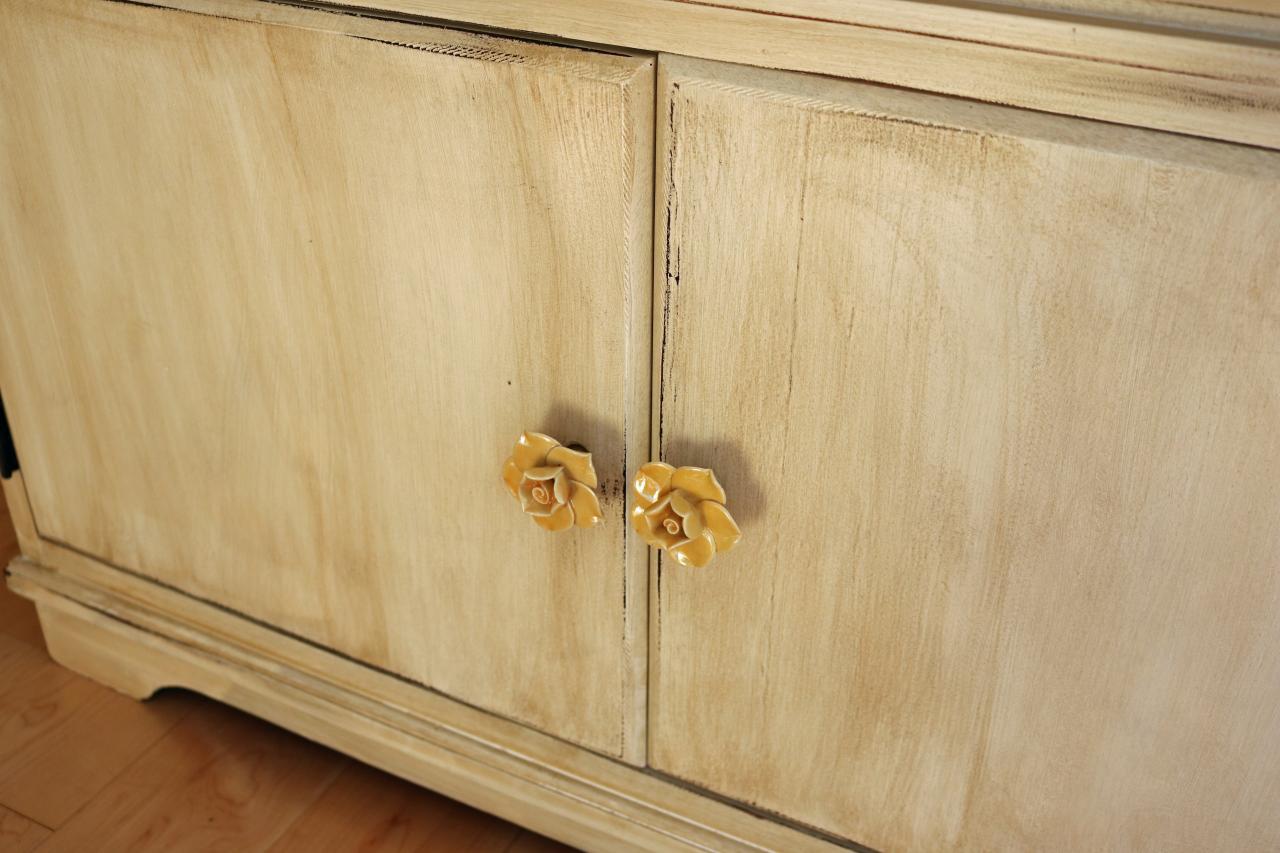
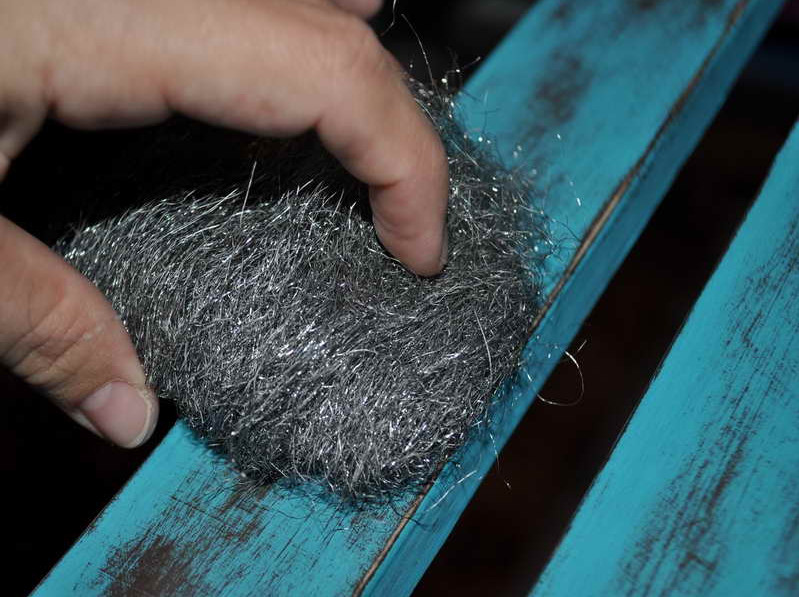
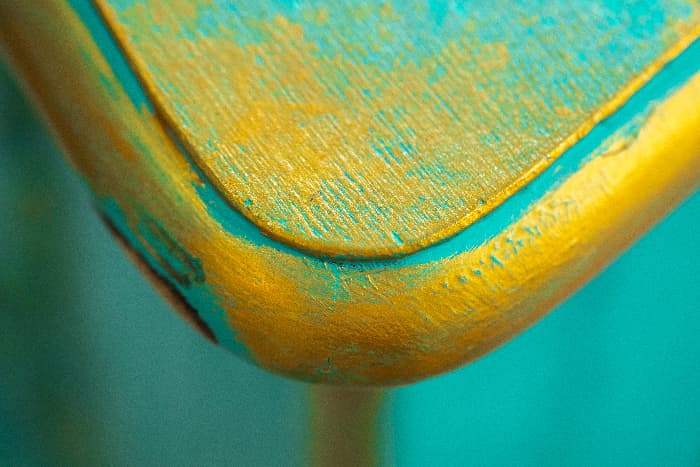
Distressed Paint Techniques for Furniture
If you want to achieve a distressed look without actually sanding or damaging your furniture, there are a few different paint techniques you can use. One popular method is using a crackle medium, which creates a cracked effect on the surface of your furniture. You can also use a dry brush technique, where you lightly brush paint over the surface to create a worn appearance. Experiment with different techniques to find the one that works best for your desired look.
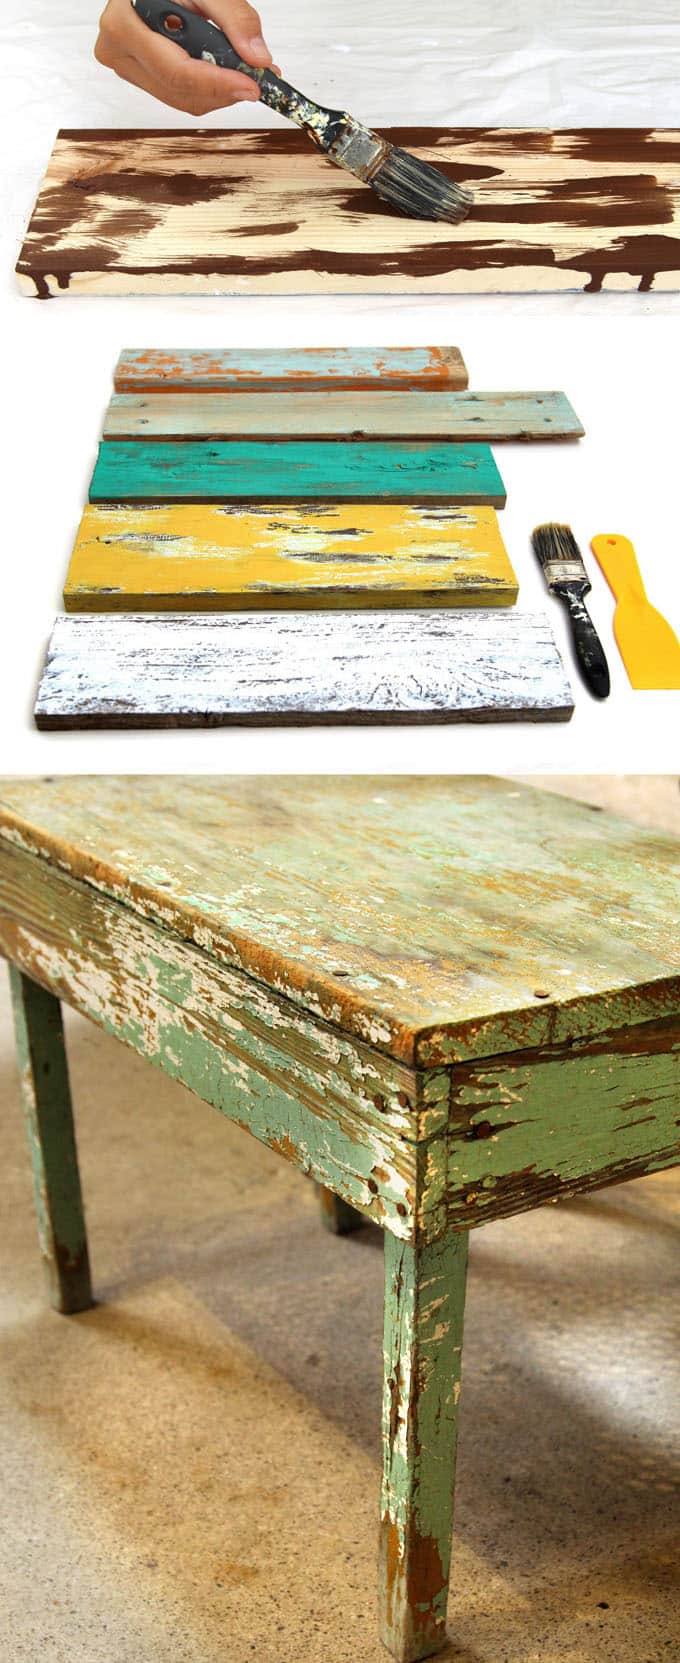
Distressed Paint Techniques for Furniture


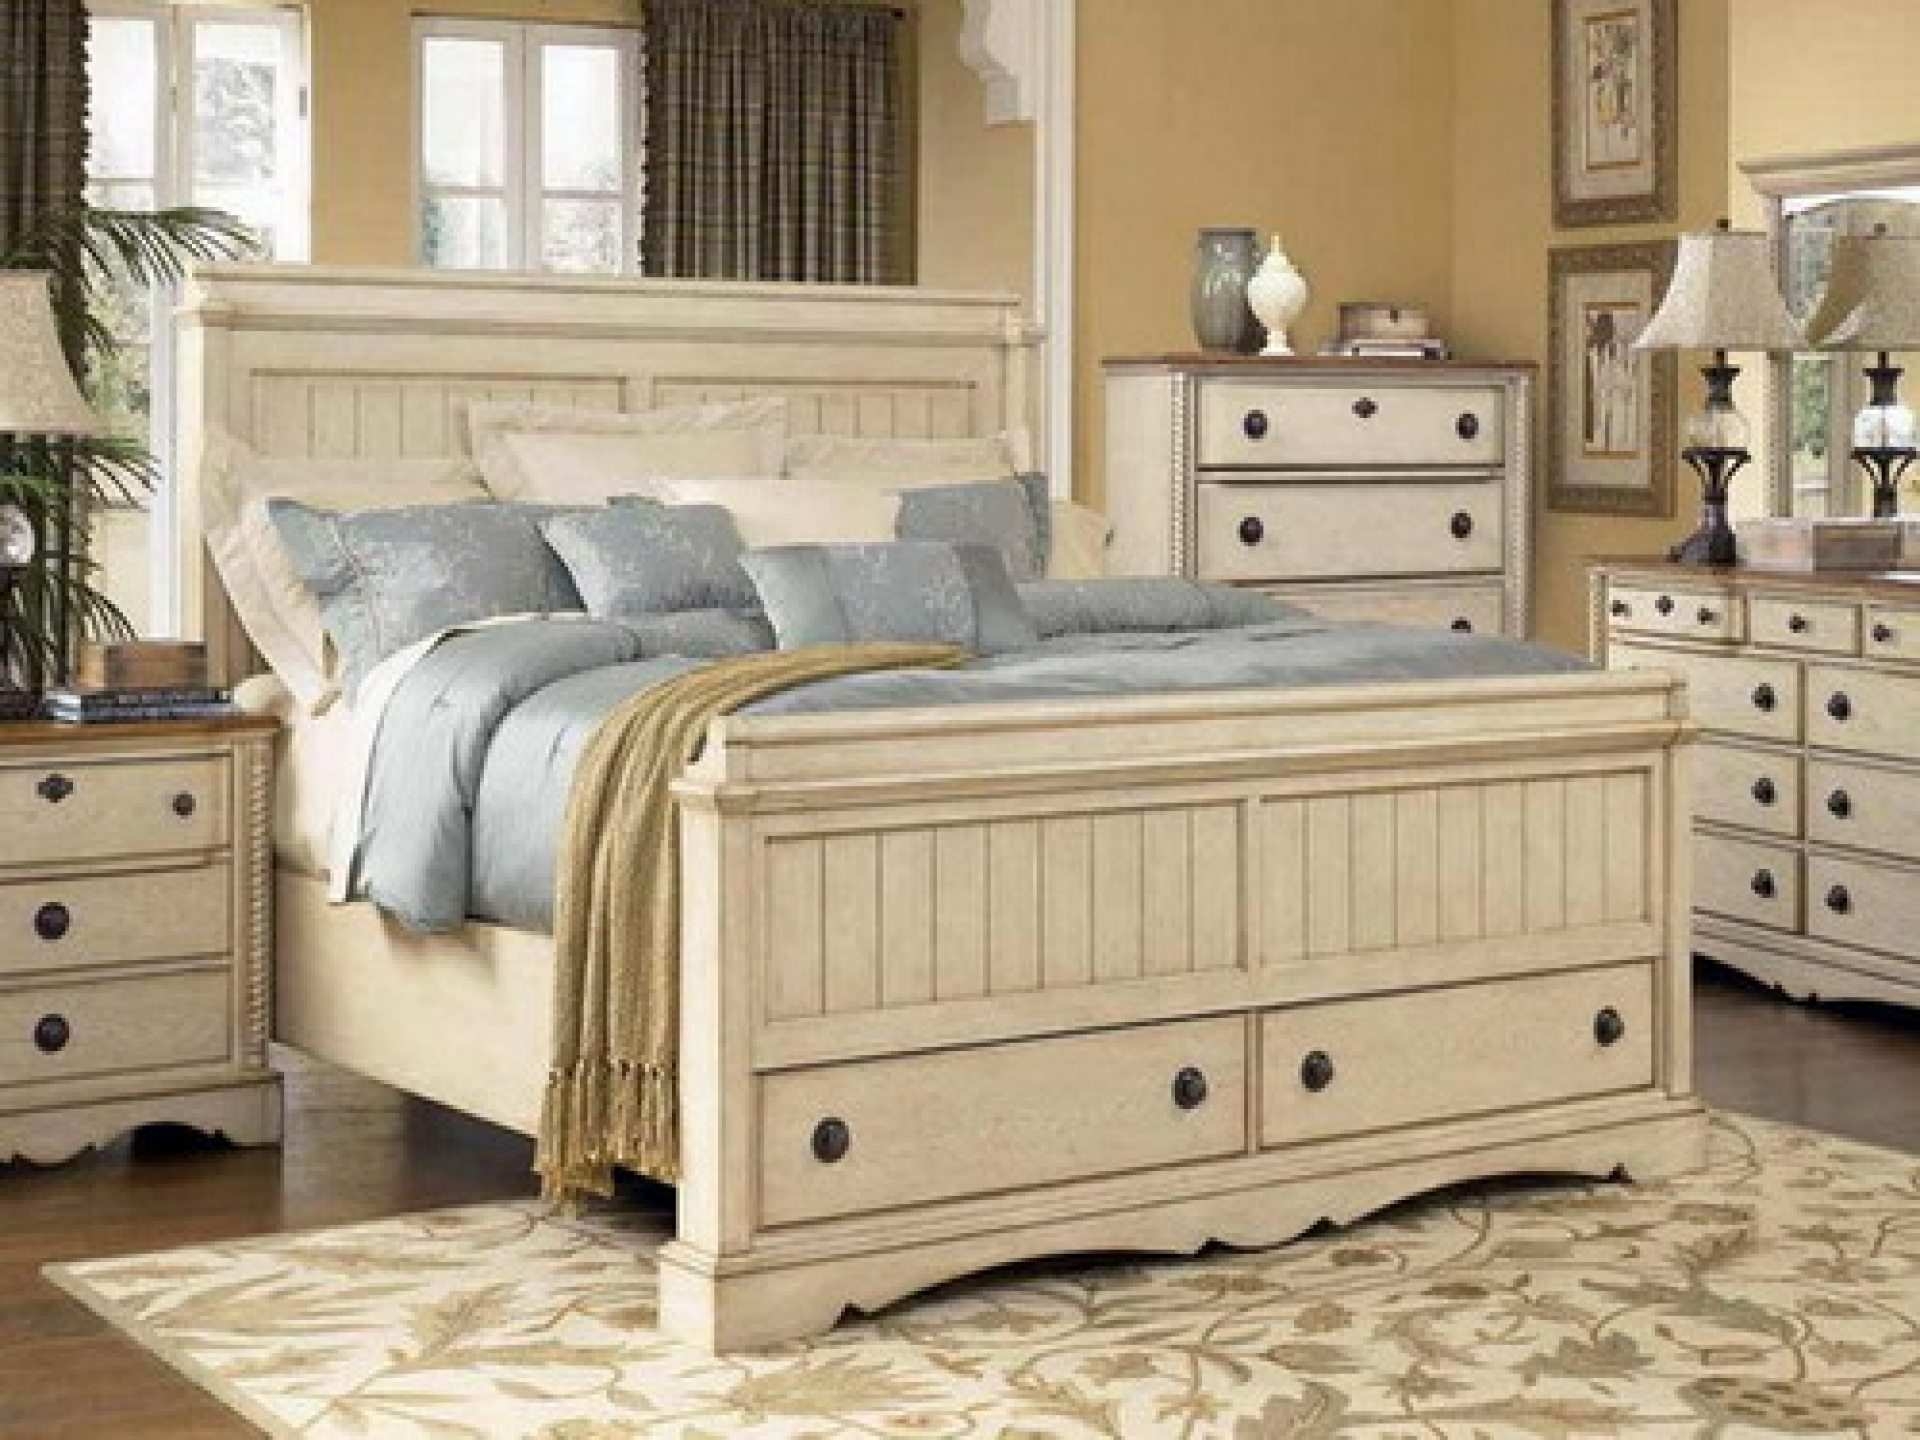
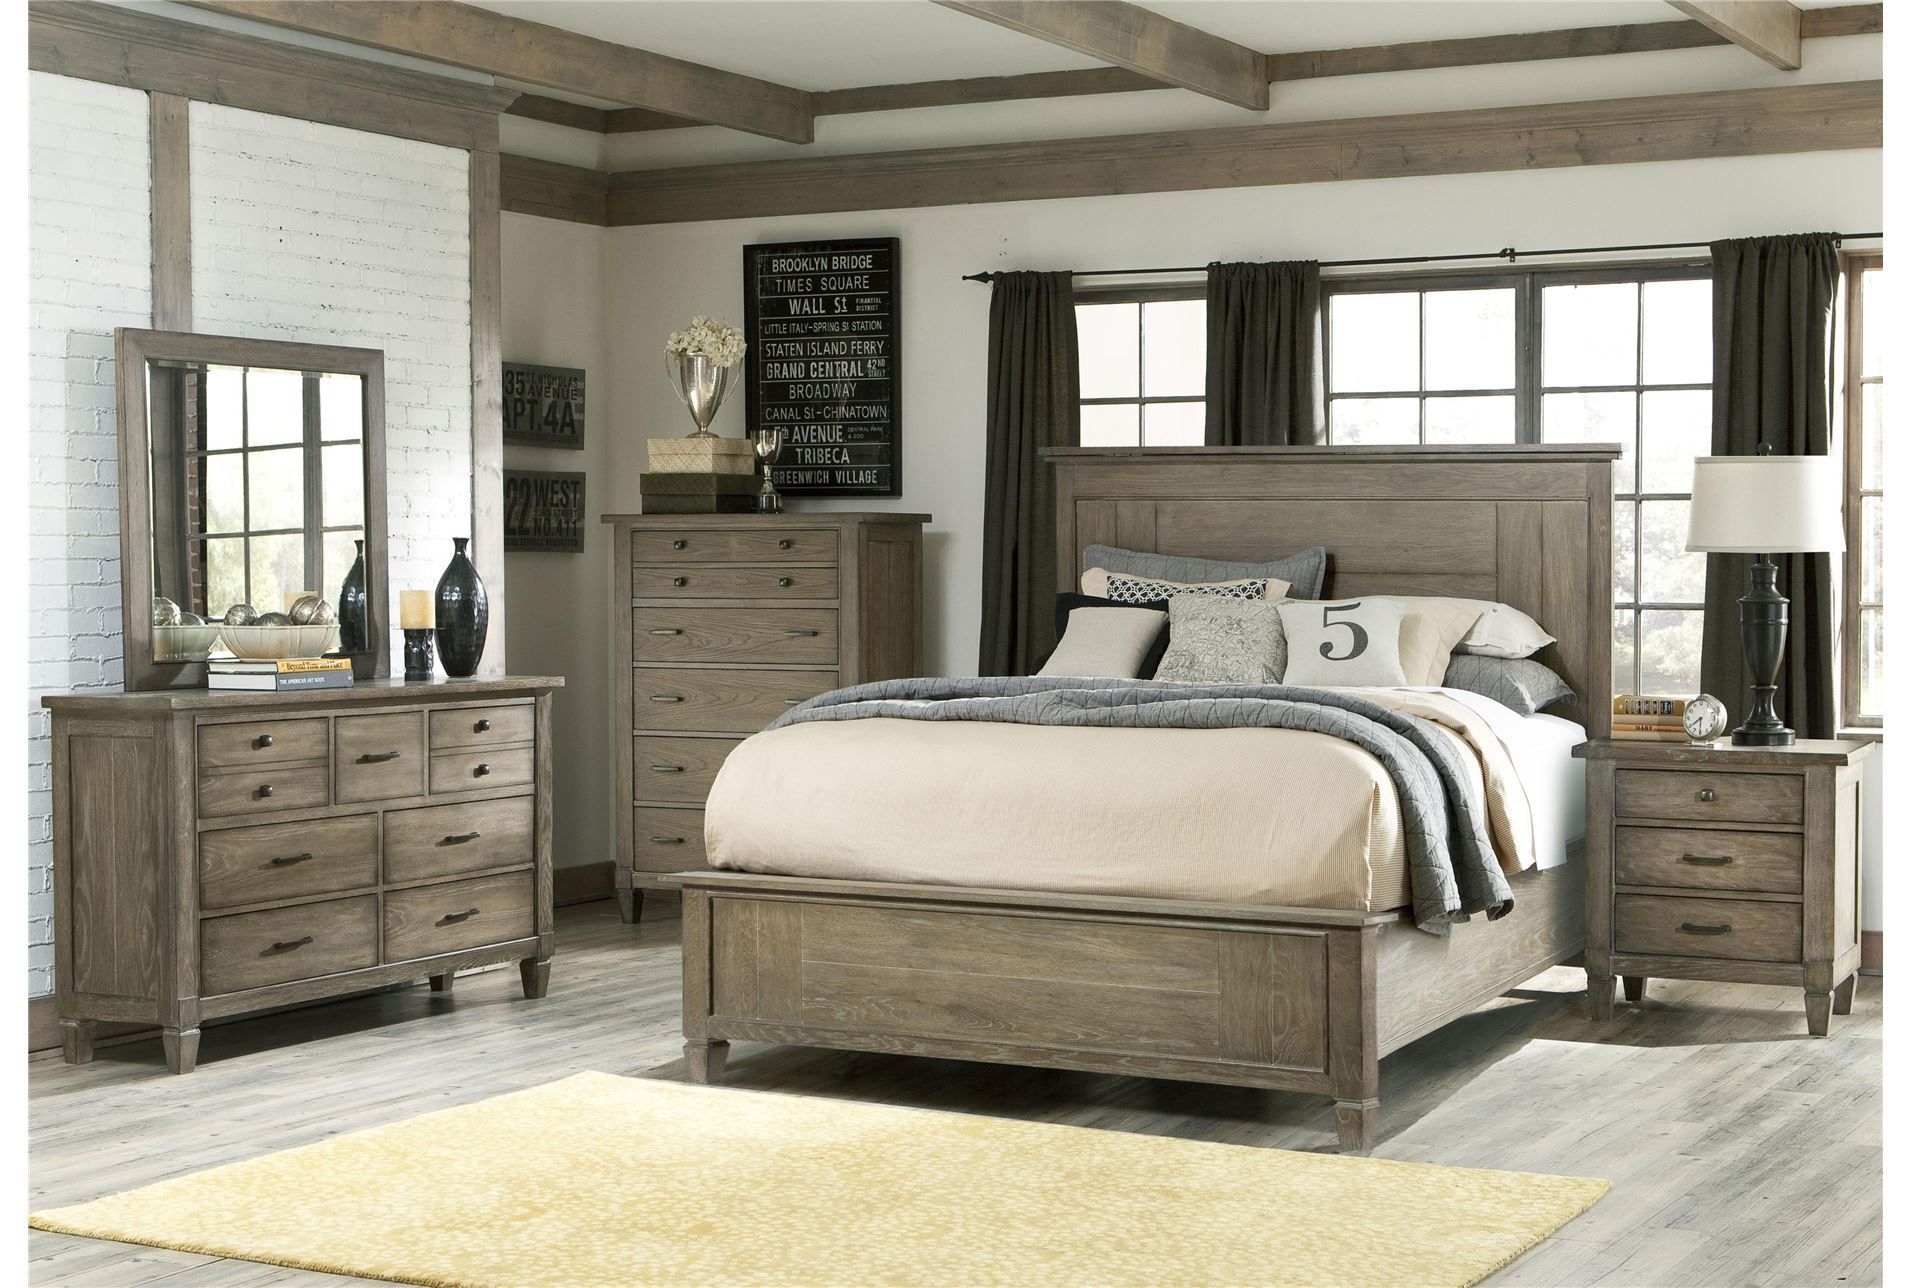
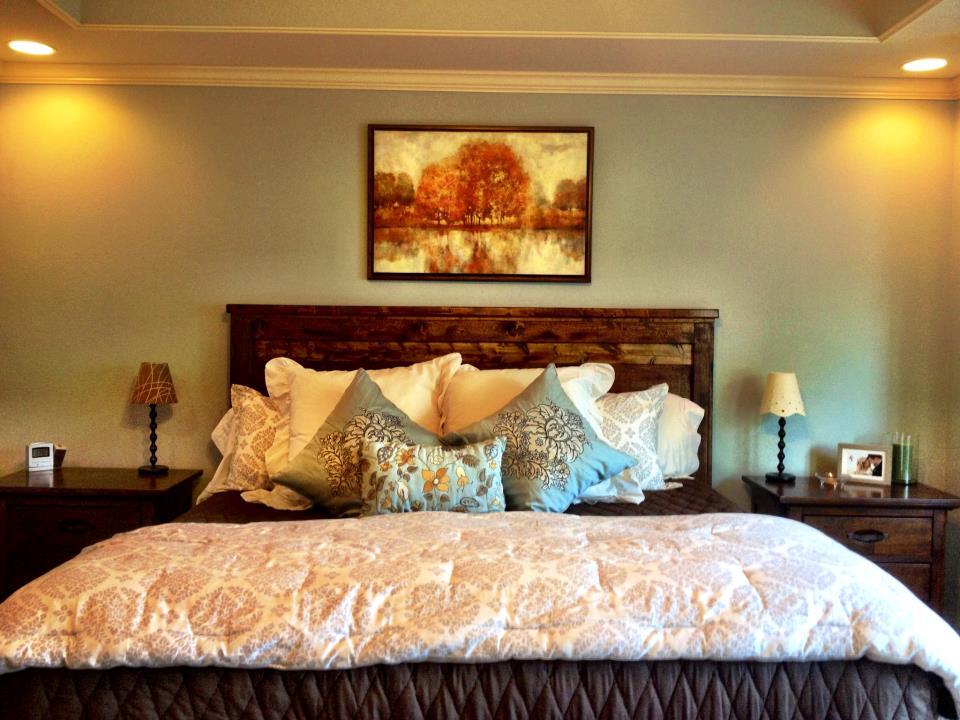
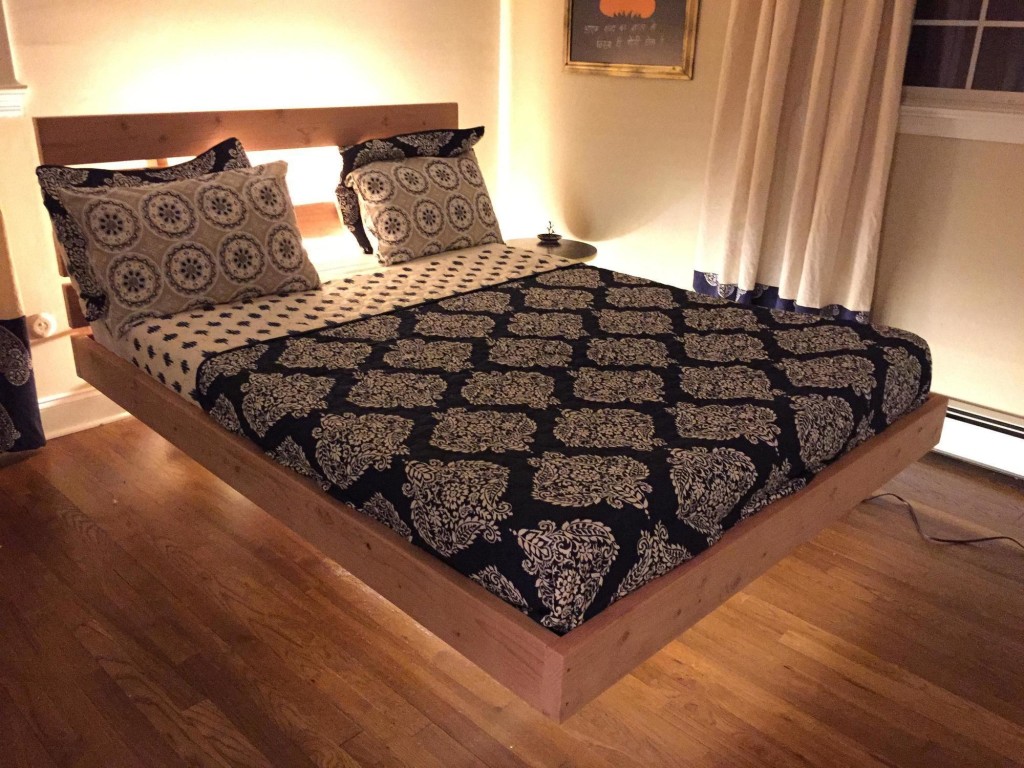
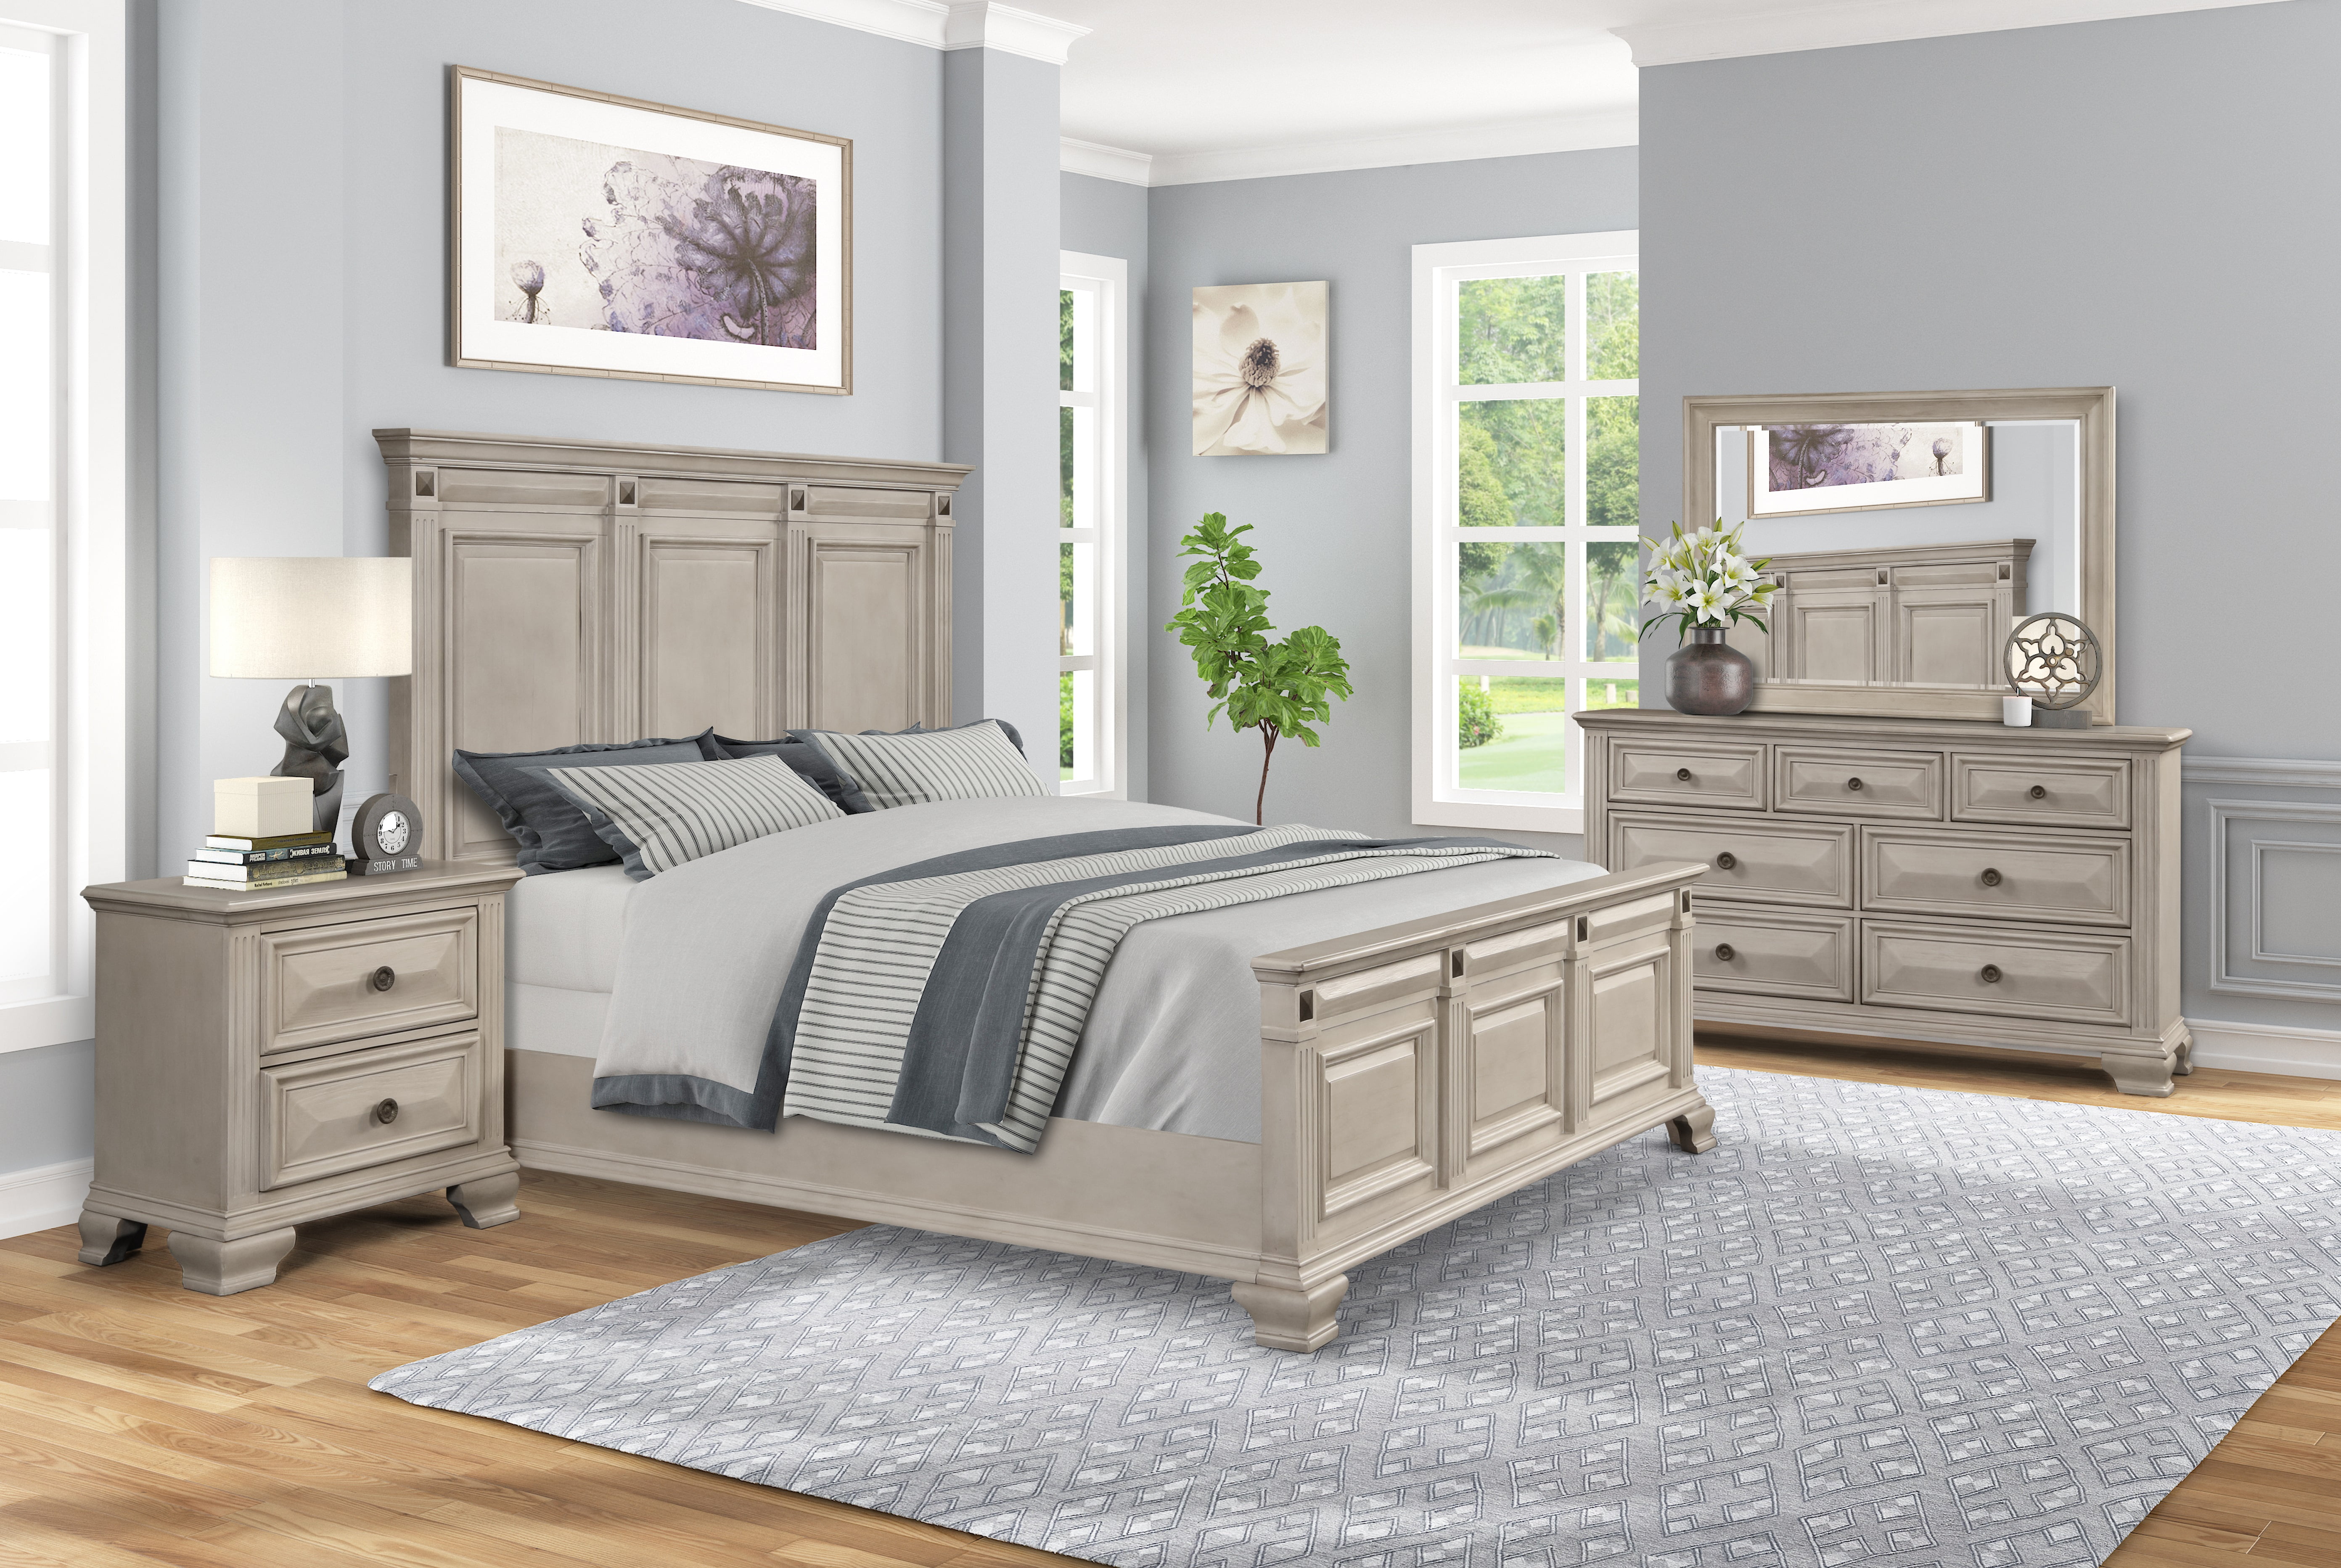
DIY Distressed Bed Frame
Your bed frame is the centerpiece of your bedroom, so why not give it a distressed makeover? This project may take a bit more time and effort, but the end result will be worth it. Start by sanding down your bed frame and removing any hardware. Then use a base coat of paint, followed by a top coat in a different color. Once the paint is dry, use sandpaper to distress the edges and create a worn appearance. You can even add some decorative elements, such as stenciling or distressing with a hammer, to make your bed frame truly unique.

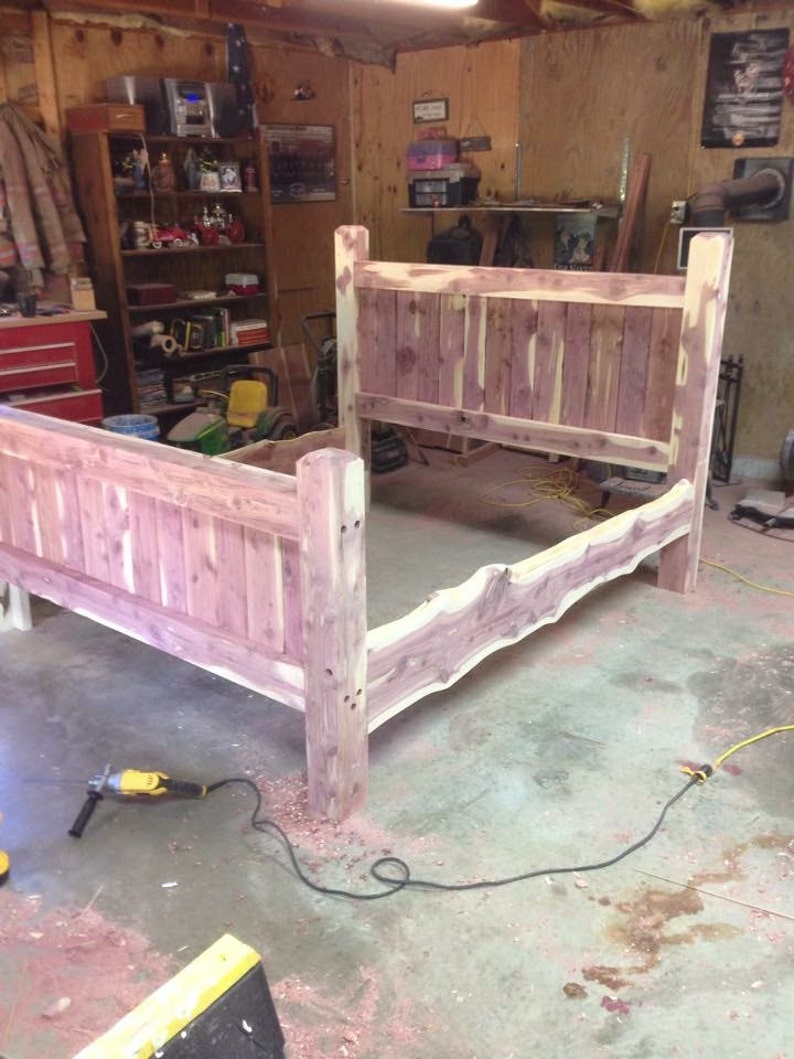
DIY Distressed Bed Frame


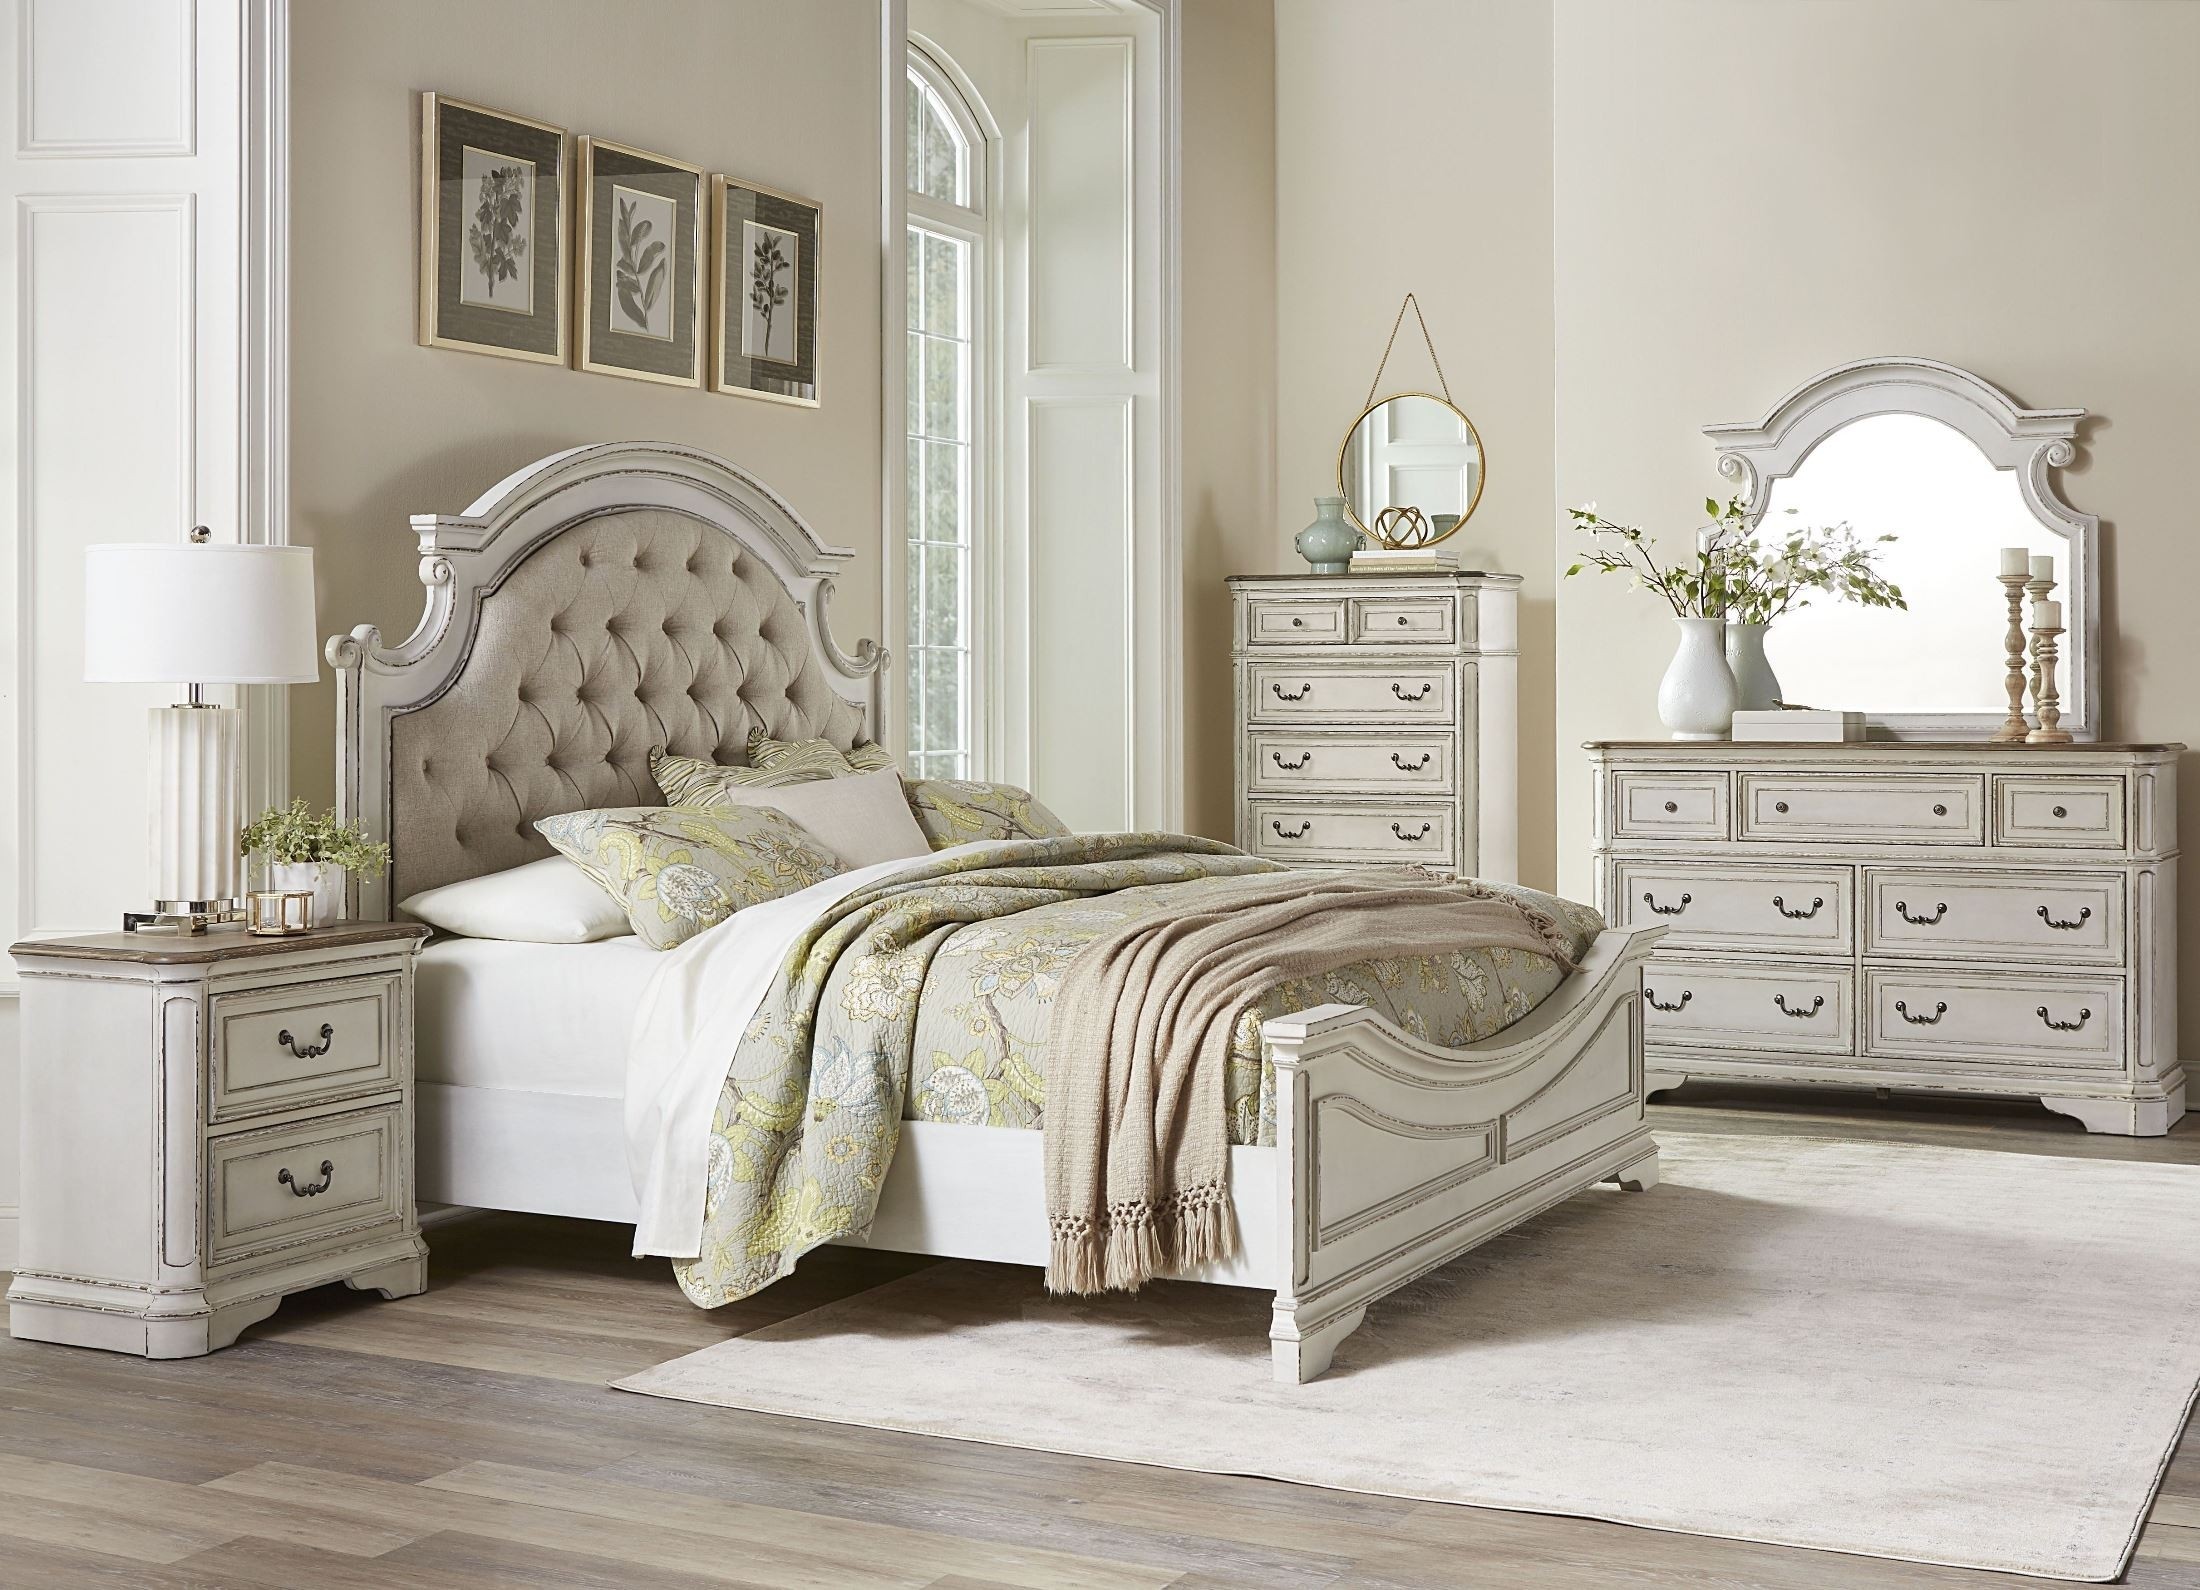
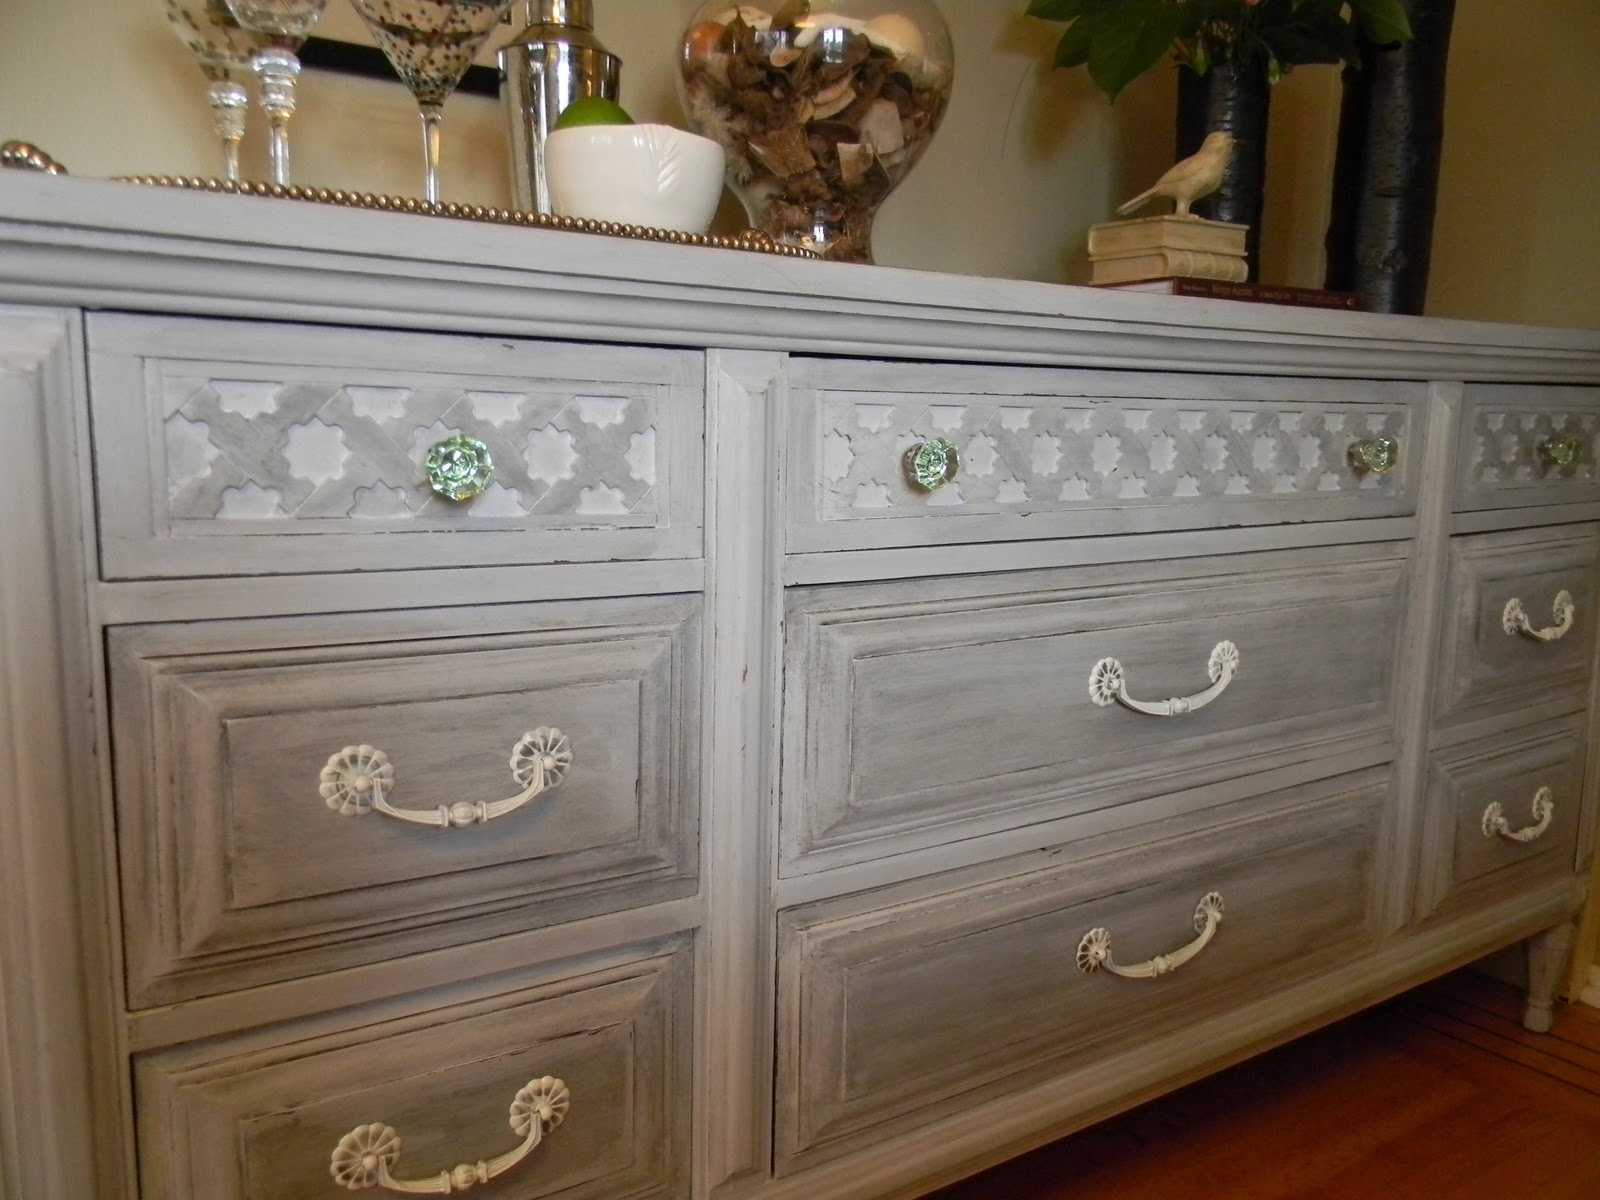
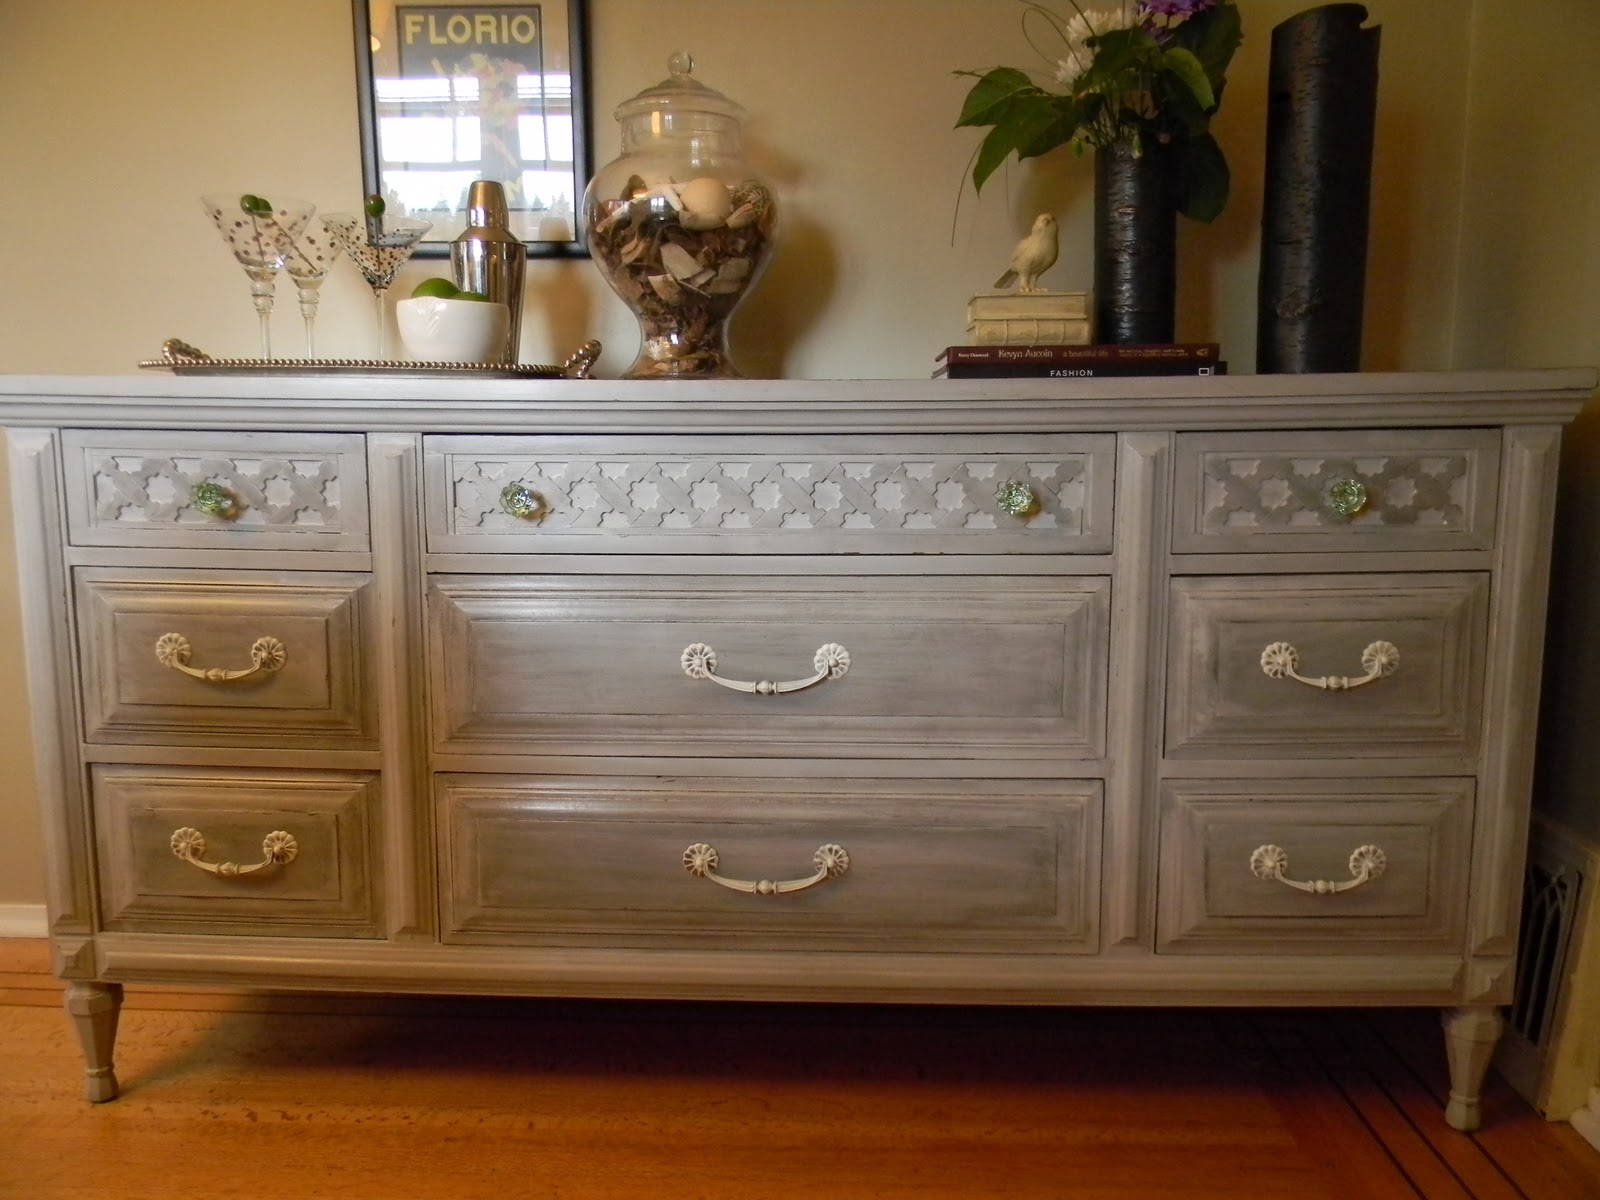
Distressed Bedroom Furniture Before and After
Still not convinced that distressed furniture is the way to go? Check out some before and after photos of distressed bedroom furniture makeovers. You'll be amazed at the difference a little bit of distressing can make. It takes plain, ordinary furniture and turns it into something special and unique. Plus, you can customize the level of distressing to your personal preference, whether you want a subtle vintage look or a more heavily worn appearance.


Distressed Bedroom Furniture Before and After

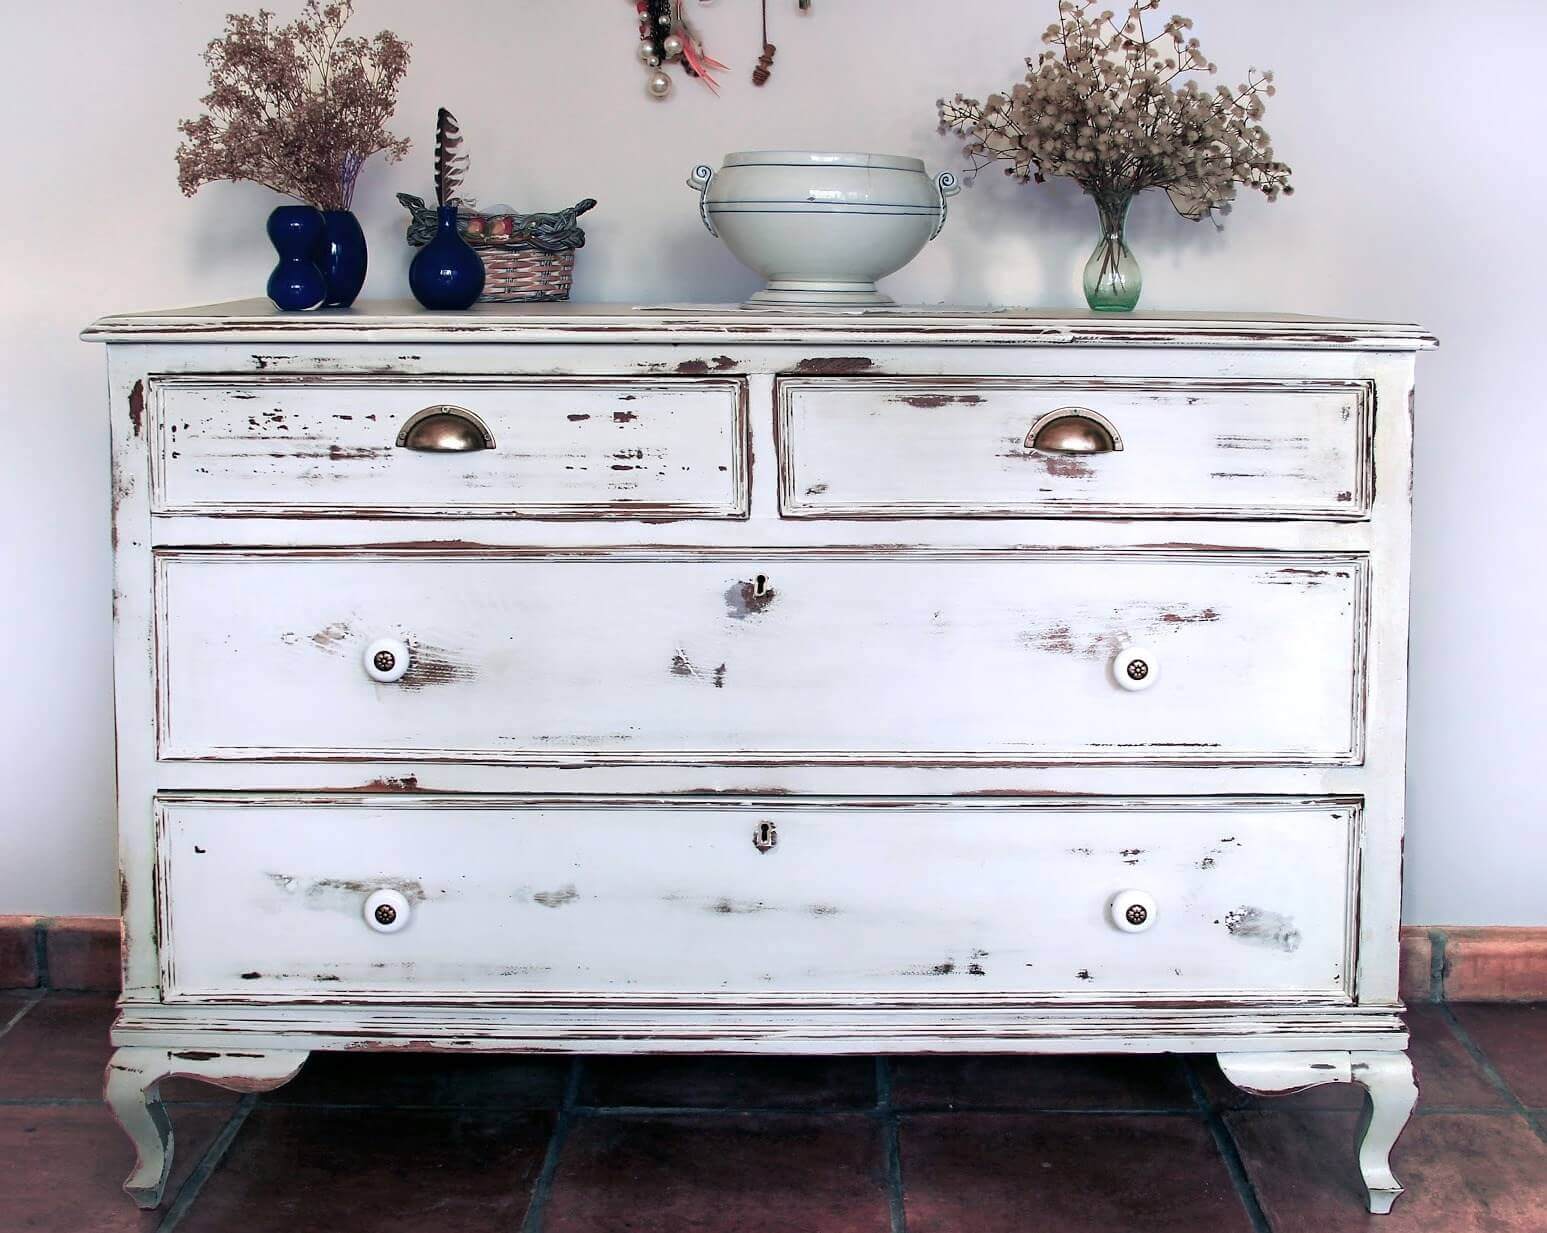
How to Distress Furniture with Chalk Paint
Chalk paint is a popular choice for distressing furniture, as it adheres well to different surfaces and allows for a smooth, matte finish. To distress furniture with chalk paint, start by lightly sanding the surface and applying a base coat of paint. Once that is dry, apply a layer of chalk paint in a different color. Once the paint is dry, use sandpaper to distress the edges and create a worn appearance. Finally, finish off with a coat of wax or sealant to protect your furniture.
In conclusion, distressing your bedroom furniture is a simple and budget-friendly way to add charm and character to your space. With these top 10 DIY distressed bedroom furniture ideas, you can transform your plain furniture into unique, rustic pieces that will make your bedroom feel cozy and inviting. So grab your sandpaper and paint and get ready to create your own distressed masterpieces.


How to Distress Furniture with Chalk Paint


The Beauty of DIY Distressed Bedroom Furniture
Adding Character and Charm to Your Bedroom
 When it comes to designing your bedroom, furniture plays a crucial role in creating the overall aesthetic of the room. While there are endless options for store-bought furniture, nothing beats the charm and character of
DIY distressed bedroom furniture
. This unique style of furniture is not only budget-friendly but also allows you to unleash your creativity and add a personal touch to your bedroom.
When it comes to designing your bedroom, furniture plays a crucial role in creating the overall aesthetic of the room. While there are endless options for store-bought furniture, nothing beats the charm and character of
DIY distressed bedroom furniture
. This unique style of furniture is not only budget-friendly but also allows you to unleash your creativity and add a personal touch to your bedroom.
Creating a Rustic and Timeless Look
 One of the main reasons why
DIY distressed bedroom furniture
has become so popular is its ability to add a rustic and timeless look to any bedroom. The distressed finish gives the furniture a weathered and worn-out appearance, making it look like a cherished family heirloom. It adds a sense of warmth and coziness to the room, making it the perfect place to unwind after a long day.
One of the main reasons why
DIY distressed bedroom furniture
has become so popular is its ability to add a rustic and timeless look to any bedroom. The distressed finish gives the furniture a weathered and worn-out appearance, making it look like a cherished family heirloom. It adds a sense of warmth and coziness to the room, making it the perfect place to unwind after a long day.
Unleashing Your Creativity
 With
DIY distressed bedroom furniture
, the possibilities are endless. You can choose to distress old furniture pieces that you already own or purchase new ones and give them a distressed look. This allows you to customize the furniture according to your personal style and preferences. You can experiment with different techniques such as sanding, painting, and staining to achieve the perfect distressed look for your bedroom.
With
DIY distressed bedroom furniture
, the possibilities are endless. You can choose to distress old furniture pieces that you already own or purchase new ones and give them a distressed look. This allows you to customize the furniture according to your personal style and preferences. You can experiment with different techniques such as sanding, painting, and staining to achieve the perfect distressed look for your bedroom.
Cost-Effective and Environmentally Friendly
 Not only is
DIY distressed bedroom furniture
a cost-effective option, but it is also environmentally friendly. Instead of purchasing new furniture, you can give old, worn-out pieces a new lease on life by distressing them. This reduces waste and promotes sustainable living. Additionally, distressed furniture can be made from reclaimed or repurposed wood, further reducing its environmental impact.
Not only is
DIY distressed bedroom furniture
a cost-effective option, but it is also environmentally friendly. Instead of purchasing new furniture, you can give old, worn-out pieces a new lease on life by distressing them. This reduces waste and promotes sustainable living. Additionally, distressed furniture can be made from reclaimed or repurposed wood, further reducing its environmental impact.
In Conclusion
 DIY distressed bedroom furniture is a creative and budget-friendly option for adding character and charm to your bedroom. It allows you to unleash your creativity, create a timeless and rustic look, and promotes sustainable living. So why settle for store-bought furniture when you can create your own unique and personalized pieces with
DIY distressed bedroom furniture
. Try it out and see the difference it makes in your bedroom!
DIY distressed bedroom furniture is a creative and budget-friendly option for adding character and charm to your bedroom. It allows you to unleash your creativity, create a timeless and rustic look, and promotes sustainable living. So why settle for store-bought furniture when you can create your own unique and personalized pieces with
DIY distressed bedroom furniture
. Try it out and see the difference it makes in your bedroom!