Are you looking to make your bathroom more accessible for people with disabilities? One way to do so is by installing an ADA compliant counter and sink unit. These units are designed to be lower and more open, allowing for easier wheelchair access. While you could purchase a pre-made unit, building your own can save you money and give you a sense of accomplishment. In this article, we'll go through the step-by-step process of building a DIY ADA bathroom counter and sink unit. So let's get started!DIY ADA Bathroom Counter and Sink Unit
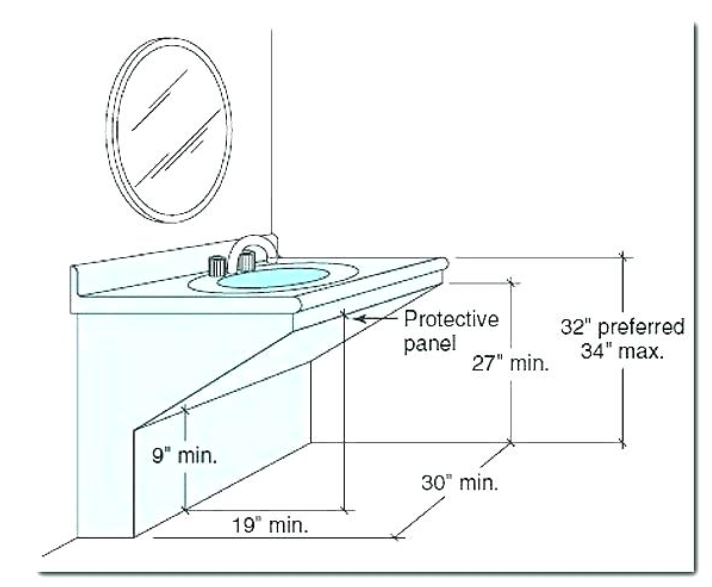
The first step in building an ADA compliant bathroom counter and sink unit is to measure the space where you want to install it. It's important to make sure there is enough room for the unit and for a wheelchair to maneuver comfortably. The ADA guidelines recommend a clear floor space of at least 30 inches wide and 48 inches deep in front of the counter and sink. Next, you'll need to gather your materials. You'll need a cabinet or base for the counter, a sink, a faucet, and any additional accessories such as shelves or drawers. Make sure to choose materials that are durable and water-resistant. Once you have your materials, it's time to start building. Begin by assembling the base cabinet according to the manufacturer's instructions. Make sure to leave enough space for the sink and faucet to be installed.How to Build an ADA Compliant Bathroom Counter and Sink Unit
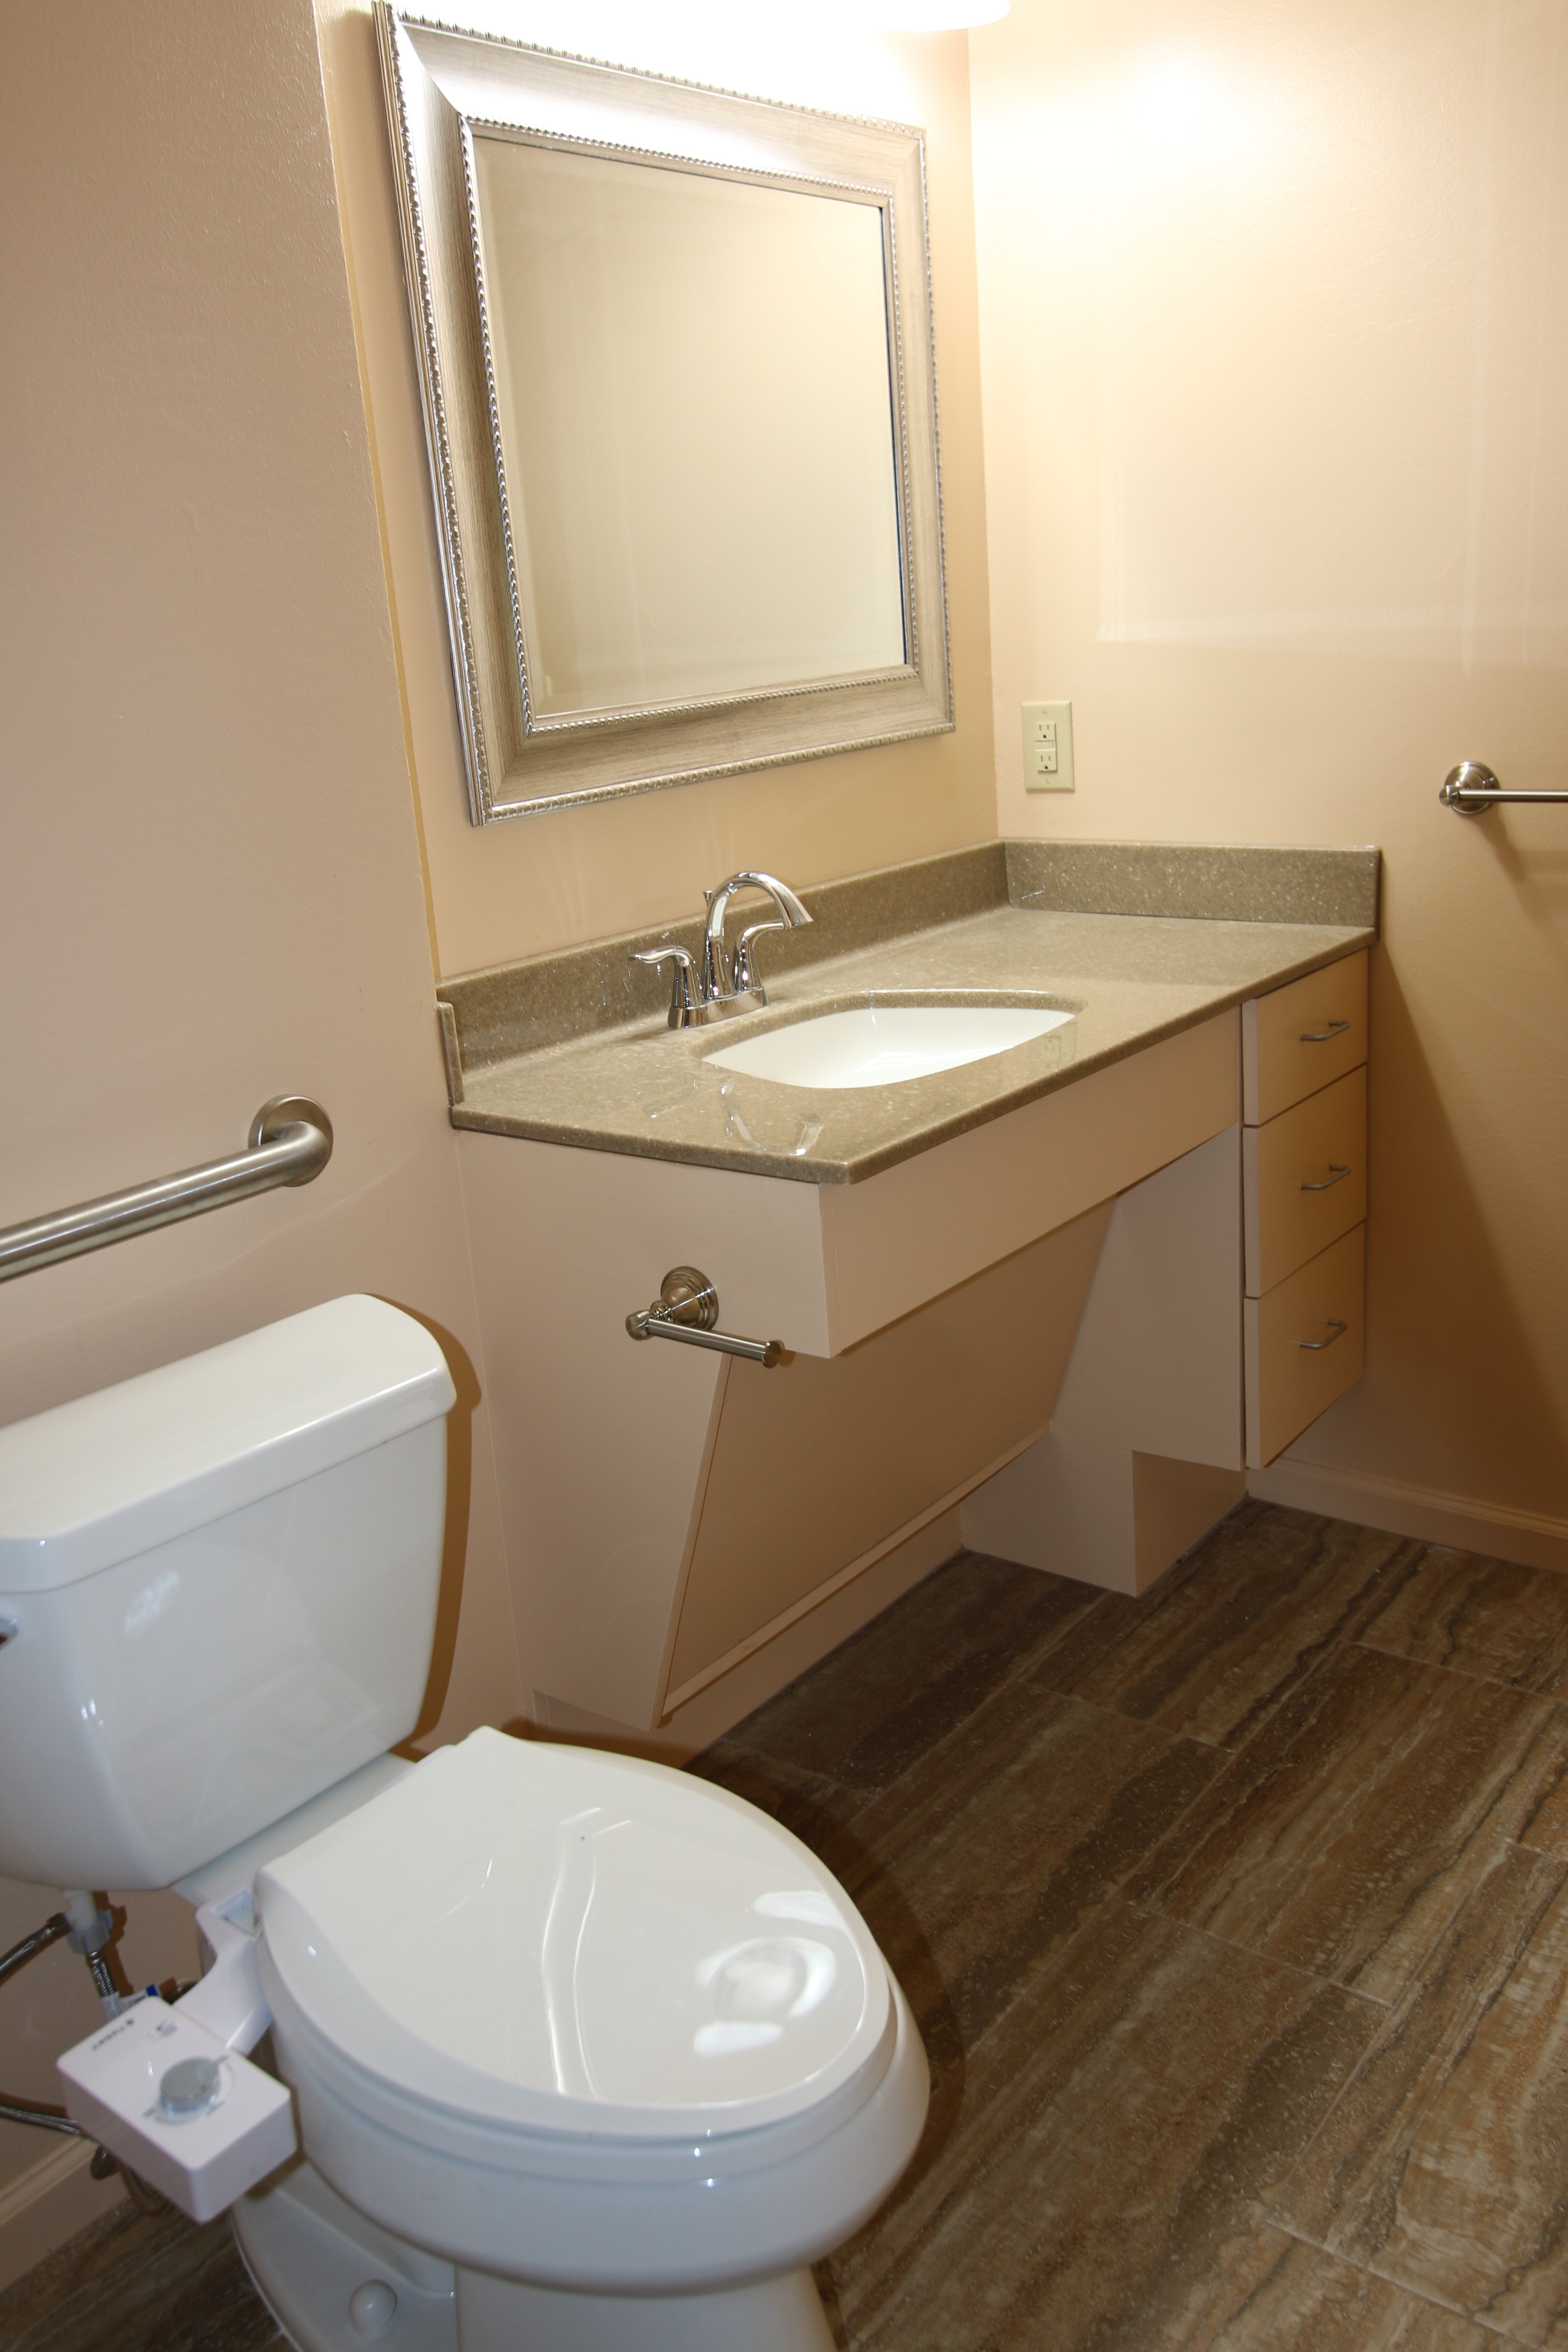
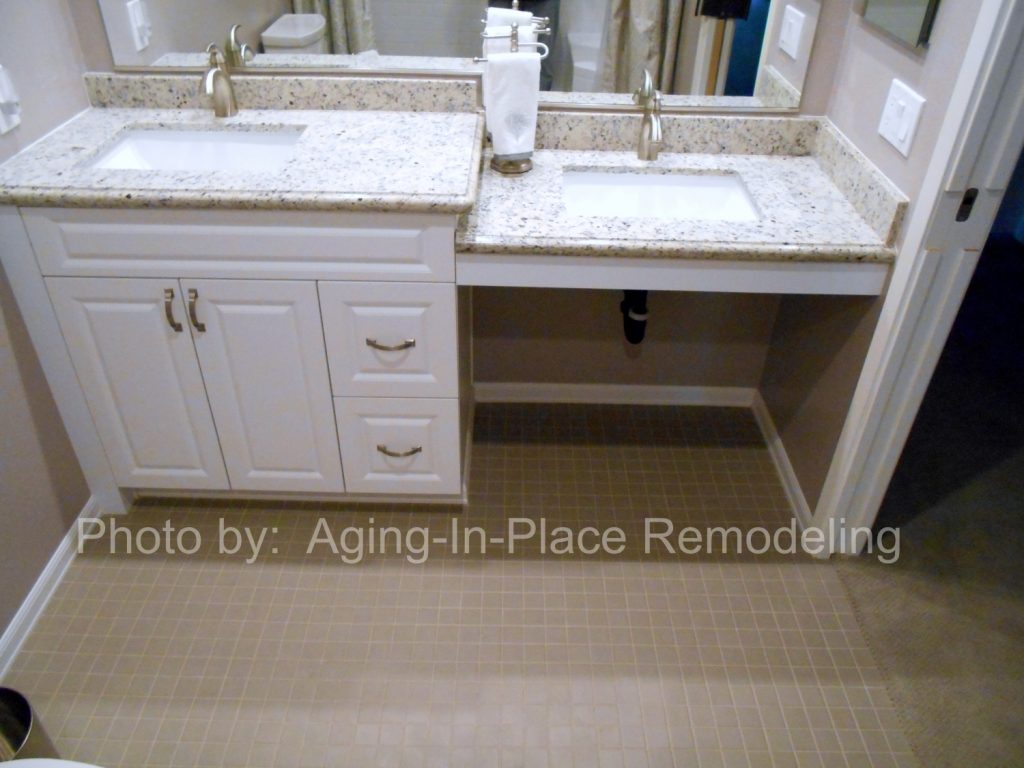
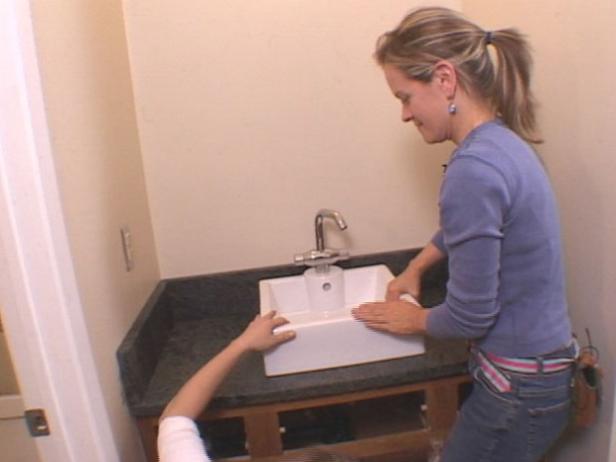
1. Install the counter on top of the base cabinet, making sure it is level and securely attached. 2. Cut a hole in the counter for the sink to be installed. Make sure to follow the manufacturer's instructions for the size and placement of the hole. 3. Install the sink and faucet according to the manufacturer's instructions. 4. If desired, install any additional accessories such as shelves or drawers. 5. To make the unit more accessible, you can remove the front of the base cabinet and leave it open. This will allow for easier wheelchair access. 6. Make sure all plumbing and electrical work is done correctly and up to code. 7. Finally, seal any gaps or edges to prevent water damage and ensure the unit is watertight.Step-by-Step Guide for Building a DIY ADA Bathroom Counter and Sink Unit
Creating an accessible bathroom design is important for people with disabilities. In addition to the counter and sink unit, there are other features you can add to make your bathroom more accessible. These include grab bars, a raised toilet seat, and a roll-in shower. Make sure to research and follow the ADA guidelines for each of these features.Accessible Bathroom Design: DIY ADA Counter and Sink Unit
If you're planning a bathroom remodel, consider incorporating an ADA counter and sink unit into your design. This will not only make your bathroom more accessible but can also add value to your home. With the step-by-step guide above, you can easily build your own unit and customize it to your specific needs and preferences.DIY Bathroom Remodel: ADA Counter and Sink Unit
If you're on a budget, building your own ADA compliant bathroom counter and sink unit can save you money compared to purchasing one pre-made. You can also save money by using budget-friendly materials such as laminate or vinyl for the counter and base cabinet. Just make sure they are still durable and water-resistant.Creating an ADA Compliant Bathroom Counter and Sink Unit on a Budget
If you want to get even more creative, you can incorporate the ADA counter and sink unit into a DIY bathroom vanity. This will not only provide accessibility but can also add a unique and personalized touch to your bathroom. You can use materials such as repurposed furniture or reclaimed wood to create a one-of-a-kind vanity.DIY Bathroom Vanity with ADA Compliant Counter and Sink
In addition to the counter and sink unit, there are other factors to consider when building an accessible bathroom. These include the location of light switches and outlets, the height of the toilet, and the type of flooring. Make sure to research and follow the ADA guidelines to ensure your bathroom is fully accessible.Building an Accessible Bathroom: DIY ADA Counter and Sink Unit
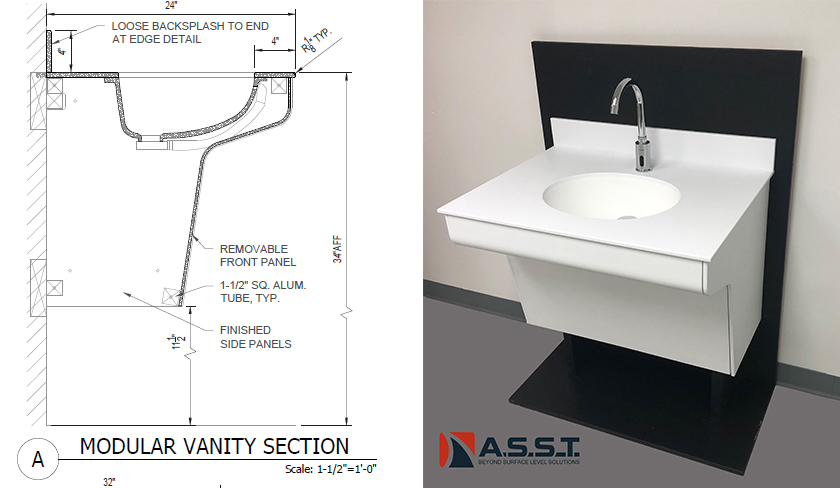
For wheelchair users, it's important to make sure the counter and sink unit is at the proper height and has enough clearance underneath for their legs. The ADA guidelines recommend a counter height of 34 inches and a knee clearance of at least 27 inches. You can also install a pull-out shelf under the counter for easier use.How to Make a DIY ADA Bathroom Counter and Sink Unit for Wheelchair Users
If you're planning a bathroom renovation, installing an ADA counter and sink unit is a great way to make your space more accessible. It's also a good opportunity to update other features in your bathroom, such as the lighting and flooring. With the proper planning and materials, you can create a beautiful and functional bathroom that is ADA compliant. In conclusion, building a DIY ADA bathroom counter and sink unit is a great way to make your bathroom more accessible and add value to your home. With the step-by-step guide and tips above, you can easily create a functional and stylish unit that meets ADA guidelines. So get started on your DIY project and enjoy your newly accessible bathroom! Don't let disabilities hinder your daily routine, make your bathroom more accessible with this DIY project now!DIY Bathroom Renovation: Installing an ADA Counter and Sink Unit
The Importance of an Accessible and Functional Bathroom

Creating a DIY ADA Bathroom Counter and Sink Unit
 When designing or renovating a house, it is important to pay attention to every detail, including the bathroom. A functional and accessible bathroom is crucial for individuals with disabilities or mobility issues. That's where the Americans with Disabilities Act (ADA) comes in - it sets standards for accessibility in public and commercial spaces, including bathrooms. But these standards can also be applied to our homes, and with some DIY skills, you can create an ADA-compliant bathroom counter and sink unit that is both stylish and functional.
Accessible Design for All
The ADA sets guidelines for accessible design that are meant to benefit not just individuals with disabilities, but everyone. A well-designed bathroom can accommodate people of all ages and abilities, making it easier for everyone to use. This is especially important as we age and may experience changes in our mobility. By incorporating ADA standards into our home design, we are future-proofing our living spaces and making them more inclusive for all.
DIY ADA Bathroom Counter and Sink Unit
Creating an ADA-compliant bathroom counter and sink unit may seem like a daunting task, but with the right tools and materials, it can be easily achieved. One of the main requirements for an ADA-compliant bathroom is having enough space around the sink for a wheelchair to maneuver. This means having a minimum of 30 inches of clear space in front of the sink, and at least 27 inches of clearance under the sink for a wheelchair to fit comfortably.
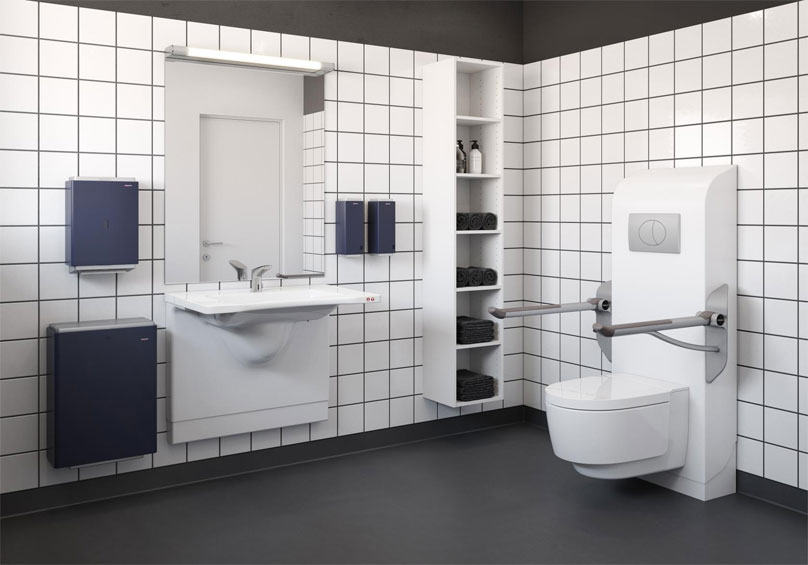
To achieve this, you can opt for a wall-mounted sink or a pedestal sink, which both provide ample clearance underneath. Another option is to create a custom-built sink unit that can be adjusted to the appropriate height for a wheelchair. This can be done by using adjustable legs or by building a frame that can be mounted on the wall at the desired height.
Stylish and Functional Design
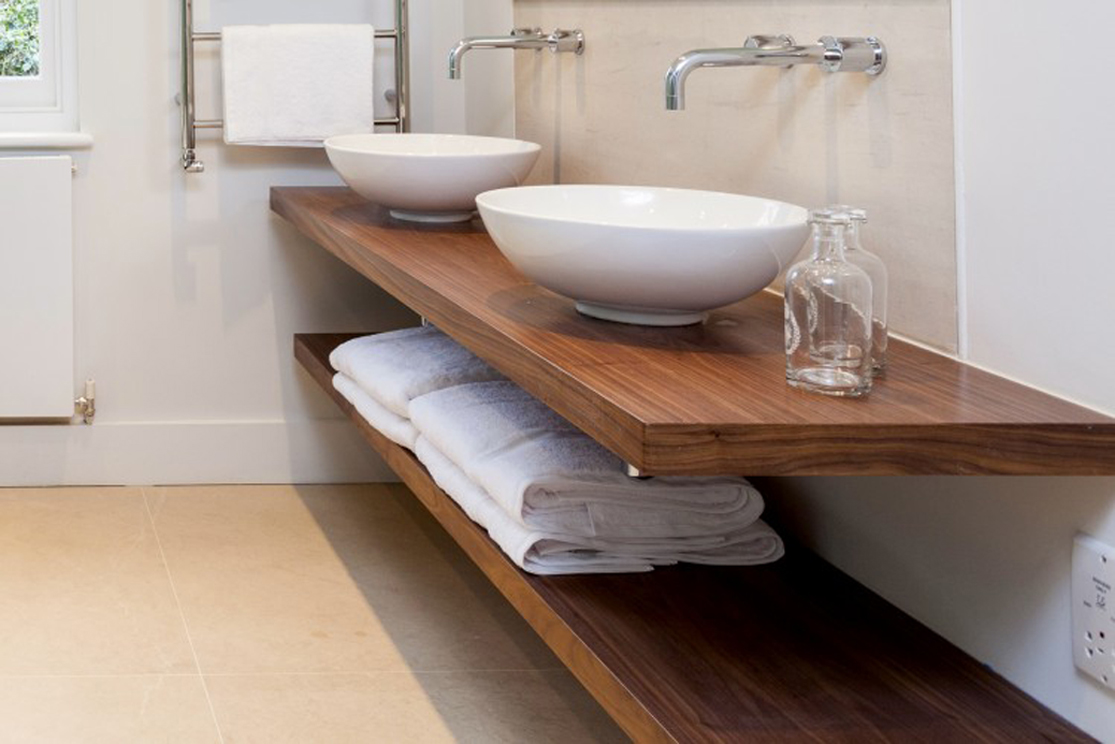
Just because a bathroom is ADA-compliant does not mean it has to be boring or institutional-looking. There are plenty of ways to incorporate style and functionality into an ADA bathroom counter and sink unit. You can choose from a variety of sink options, such as vessel sinks, which sit on top of the counter and can add a unique touch to the design. You can also play with different materials, such as natural stone or quartz, to add texture and visual interest to the space.
In terms of storage, you can install open shelving or cabinets with pull-out drawers that can be easily accessed from a wheelchair. This not only adds functionality but also allows for personalization and organization of the space.
Create an Accessible and Stylish Bathroom Today
By incorporating ADA standards into our home design, we can create a more inclusive and functional space for all. With a bit of DIY skills and creativity, we can design a bathroom that is not only compliant with accessibility guidelines but also reflects our personal style and taste. So why not start now and create your own DIY ADA bathroom counter and sink unit? Your future self and guests will thank you for it.

