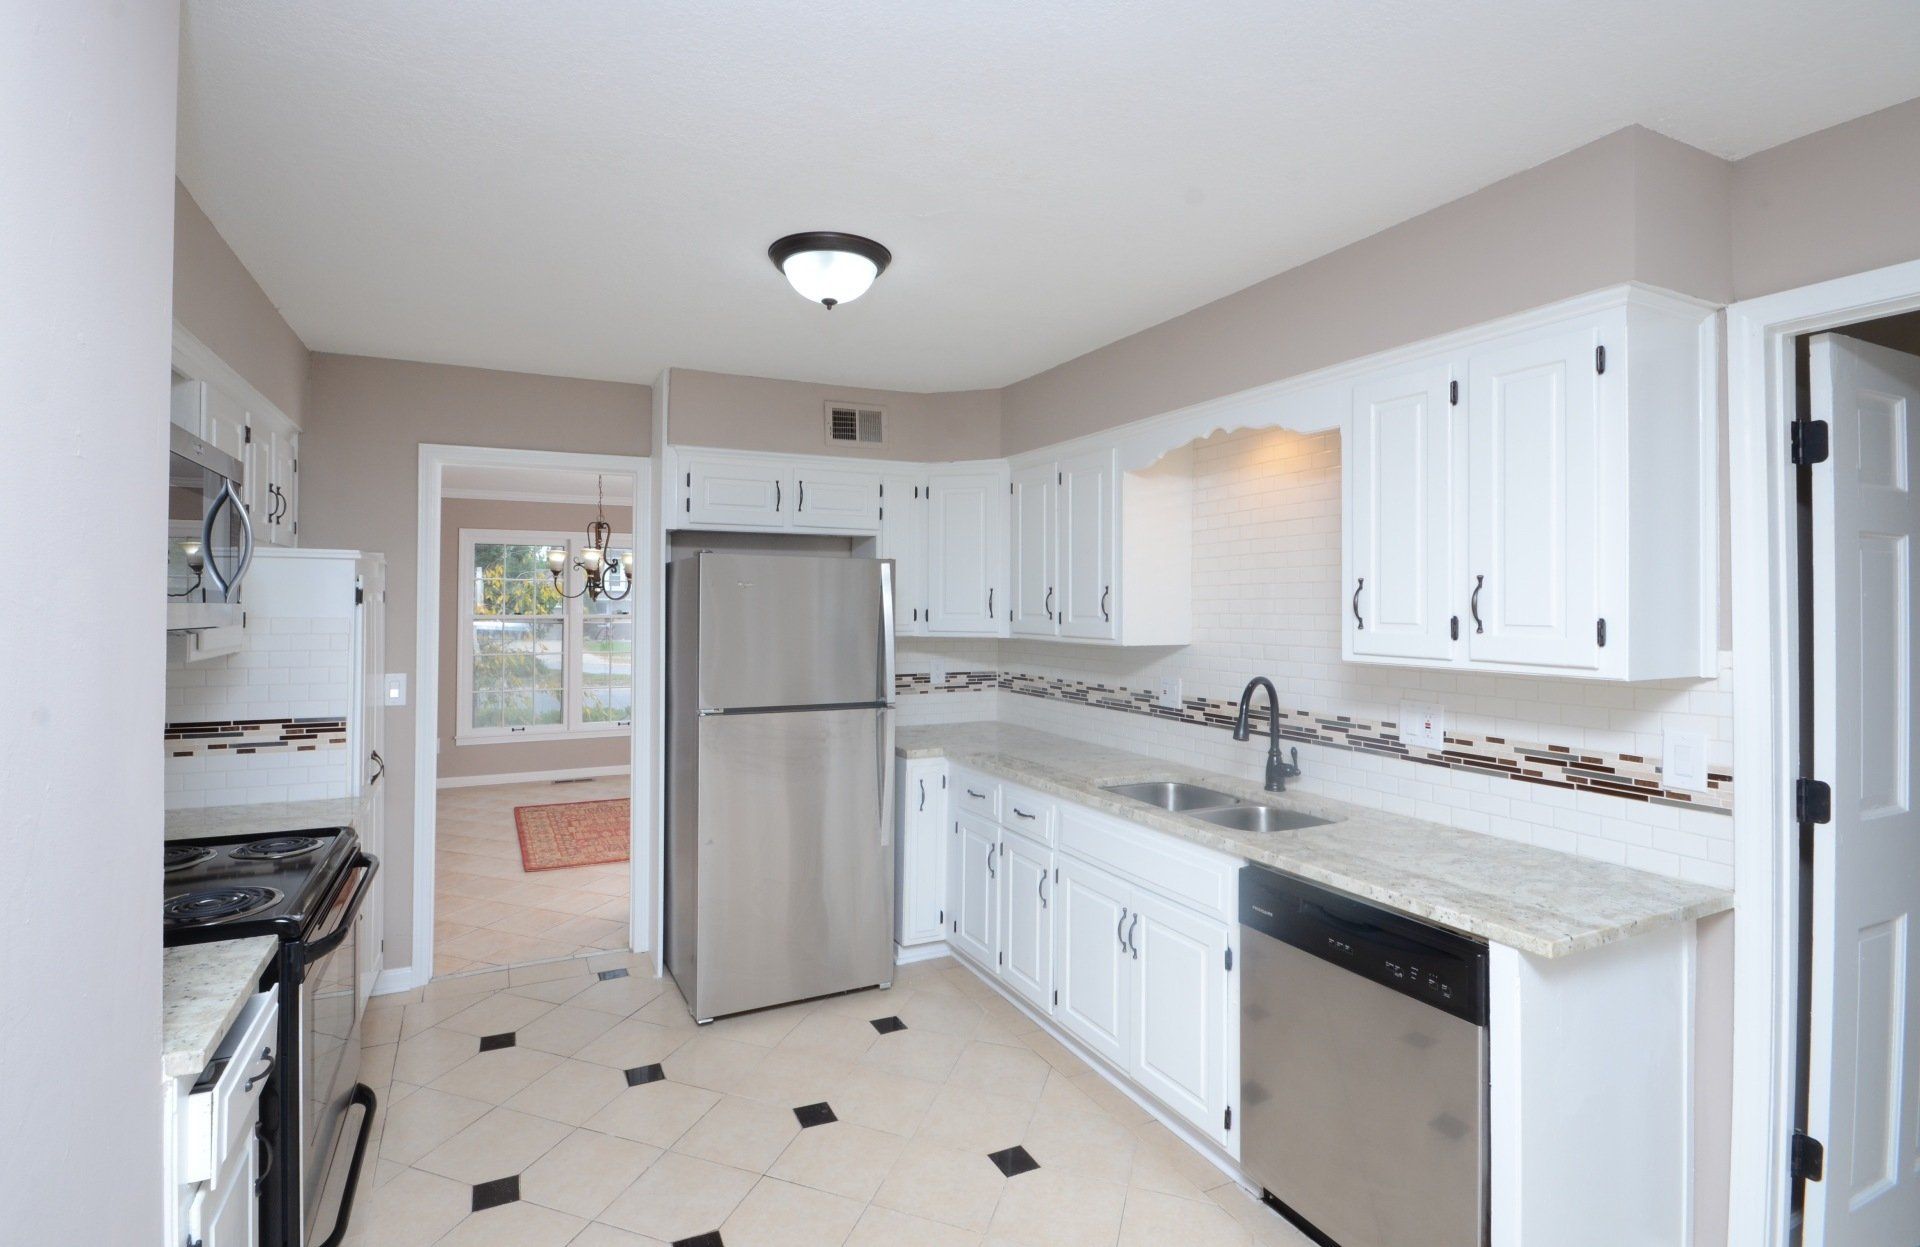
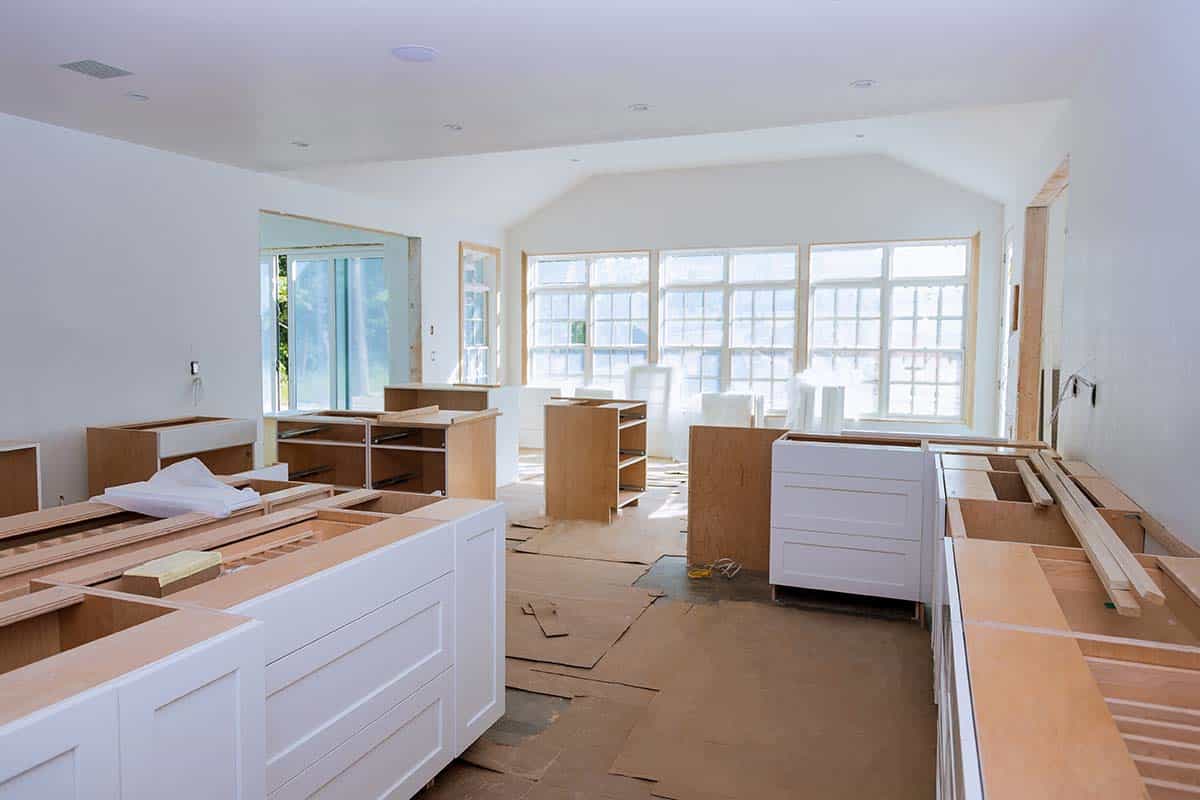
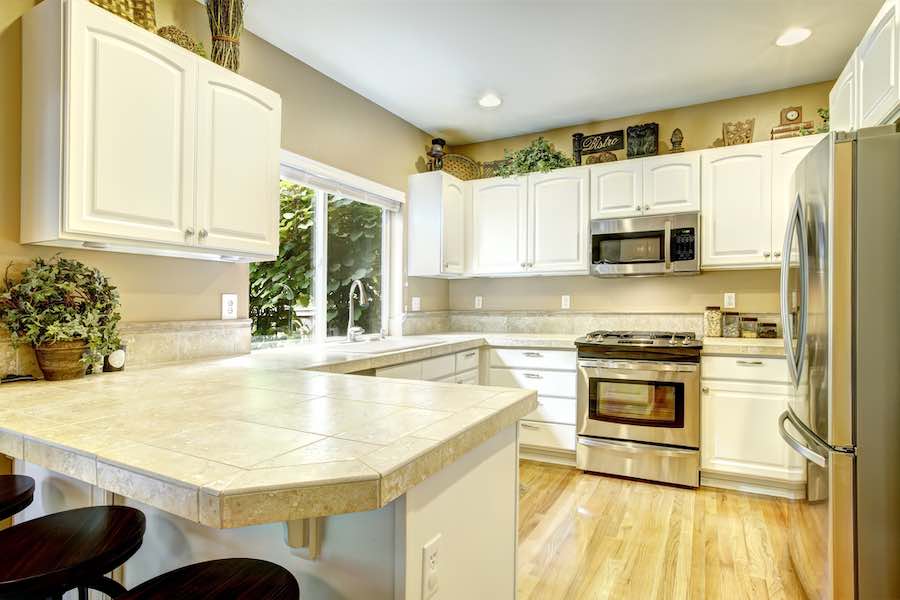
Painting your kitchen walls is a great way to give your kitchen a fresh new look. However, before you can start painting, it’s important to properly clean and prep your kitchen walls. This will ensure that your paint job looks professional and lasts for years to come. Follow these steps for cleaning your kitchen walls before painting.Prepping Your Kitchen Walls for Painting
The first step in prepping your kitchen walls for painting is to gather the necessary supplies. You will need a bucket, warm water, mild household cleaner, a sponge or soft cloth, and a towel. It’s also a good idea to wear gloves to protect your hands. Start by filling the bucket with warm water and adding the mild household cleaner. Use a gentle cleaner to avoid damaging the paint on your walls. Mix the solution well.How to Clean Kitchen Walls Before Painting
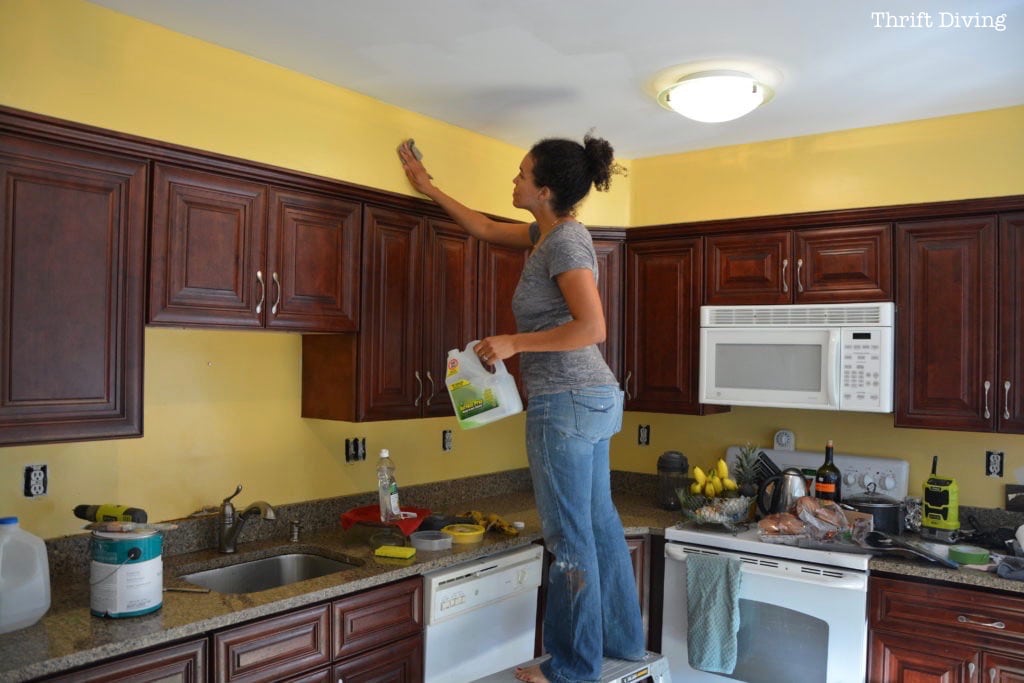
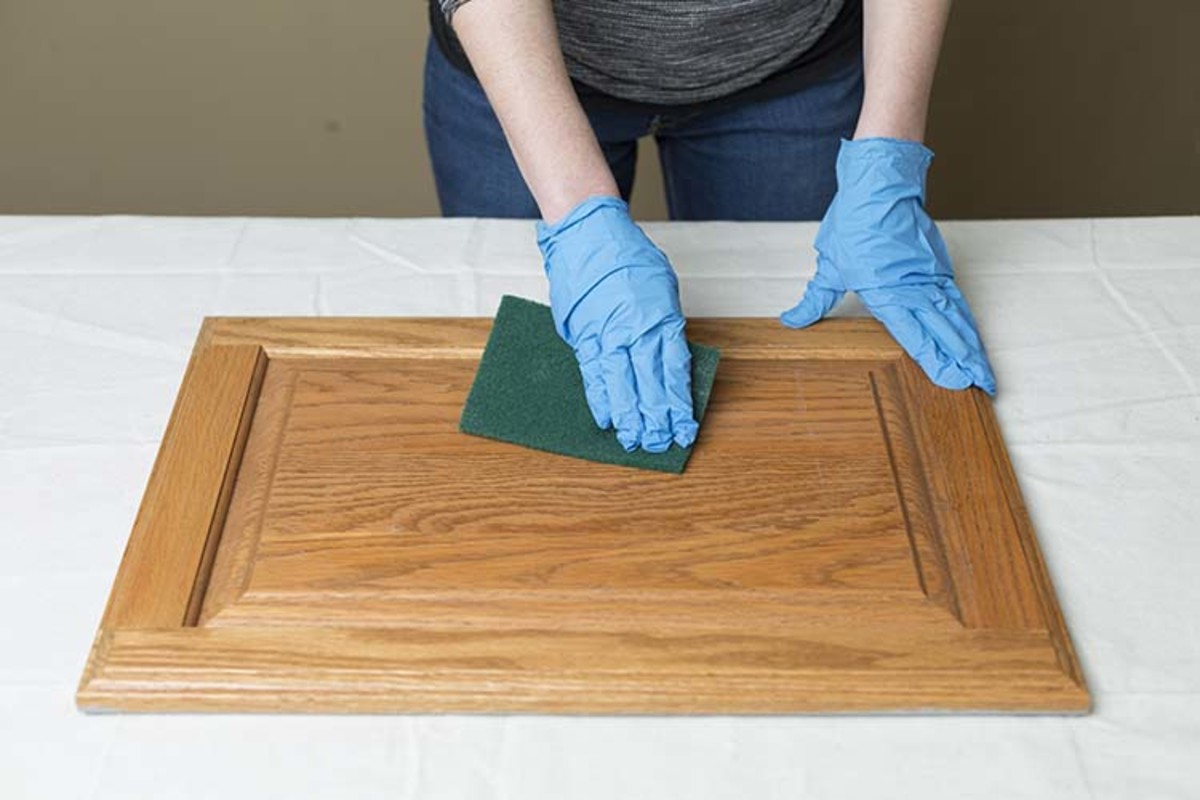
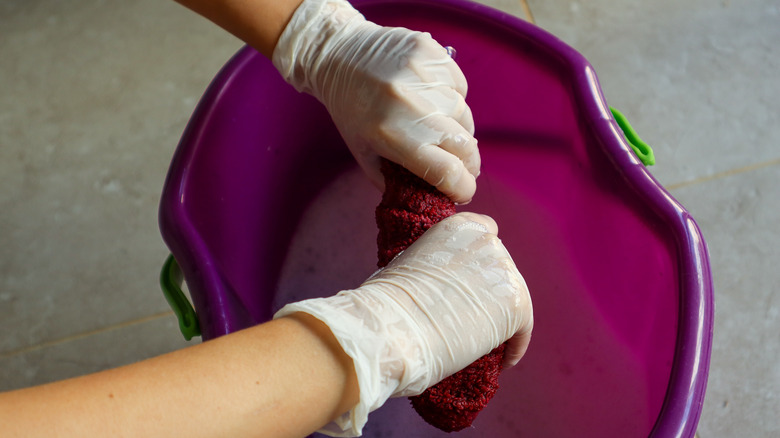
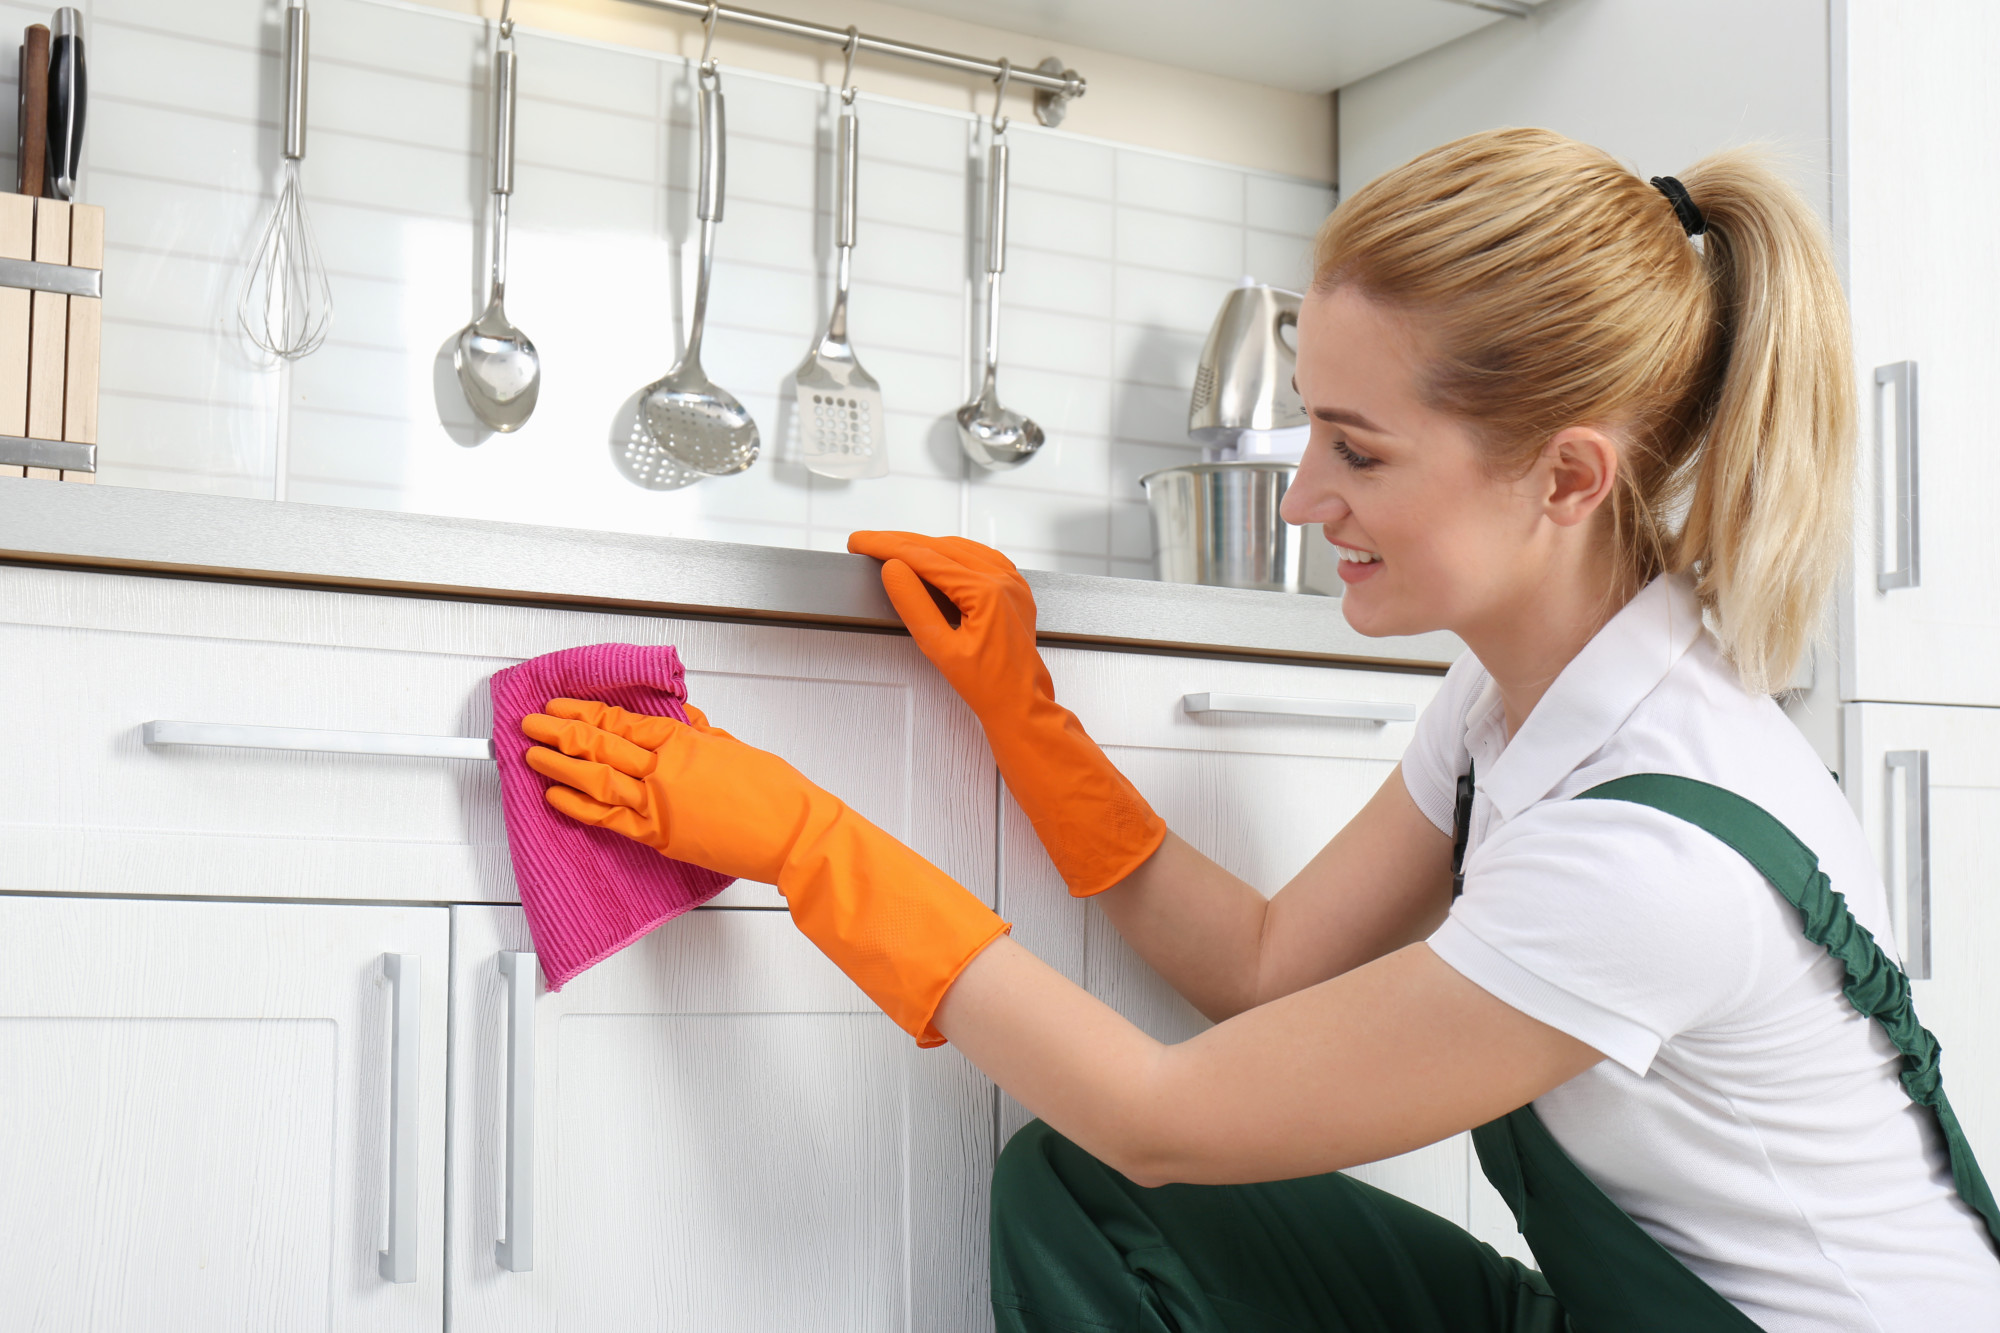
Once you have your cleaning solution ready, it’s time to start cleaning your kitchen walls. Start at the top of the wall and work your way down to avoid any drips. Dip the sponge or cloth into the cleaning solution and wring it out well. Gently scrub the walls in a circular motion, making sure to cover the entire surface. Use a clean cloth or sponge to rinse the walls with clean water. This will help remove any residue from the cleaner. After rinsing, use a towel to dry the walls thoroughly. Make sure there is no excess water left on the walls. This will prevent any water spots from forming when you start painting.Steps for Cleaning Kitchen Walls Before Painting
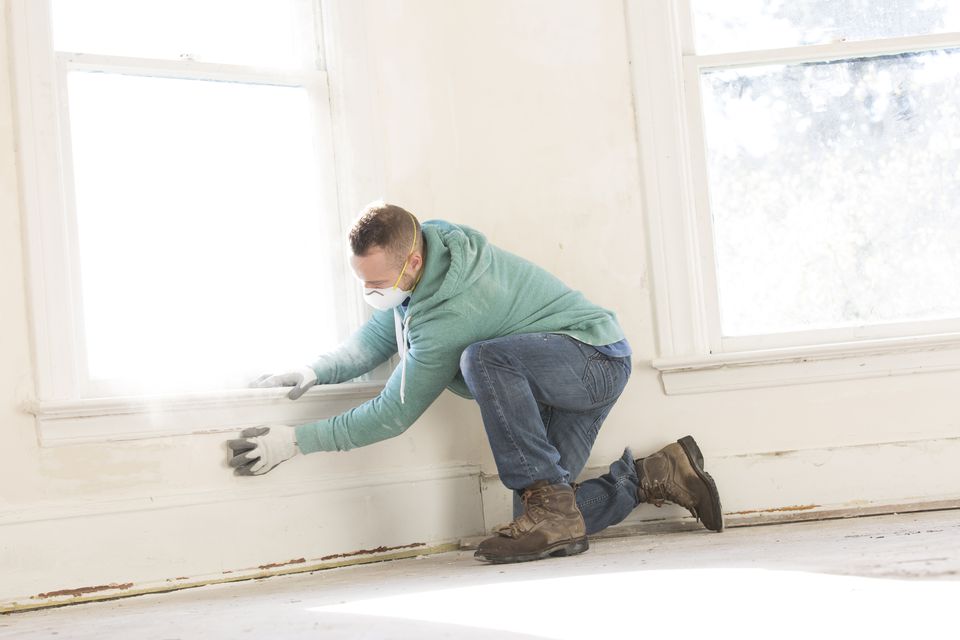
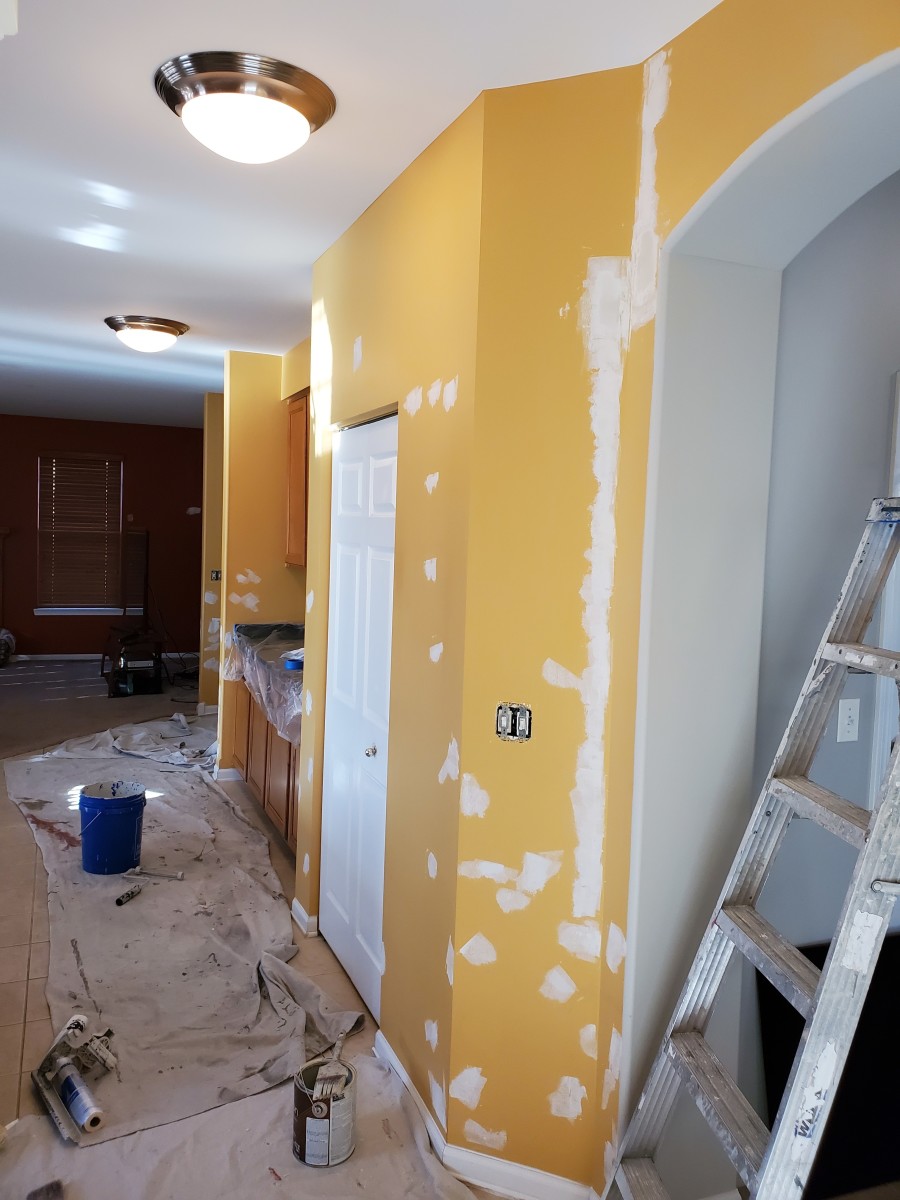
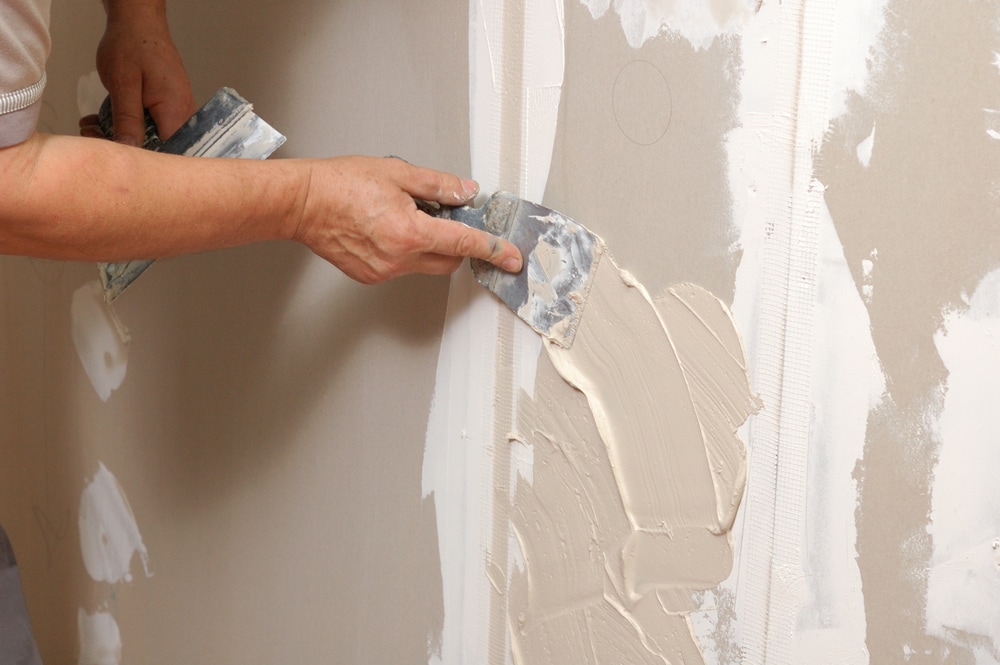
Before you start painting, it’s important to inspect your walls for any imperfections. Look for any cracks, holes, or chips in the paint. Use a putty knife to fill in any holes or cracks with spackling compound. Allow the compound to dry completely and then sand it smooth. If there are any stains on your walls, use a stain-blocking primer to cover them. This will prevent the stains from bleeding through your new paint job. You can also use a primer to cover dark or bold colors on your walls to ensure that your new paint color appears true.Best Practices for Preparing Kitchen Walls for Painting
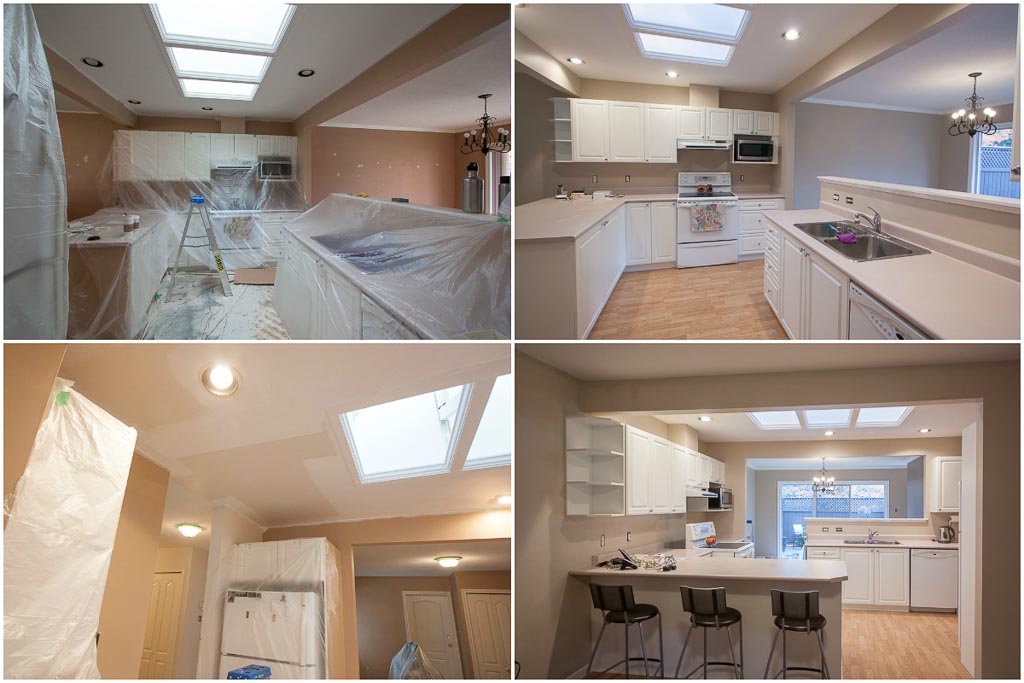
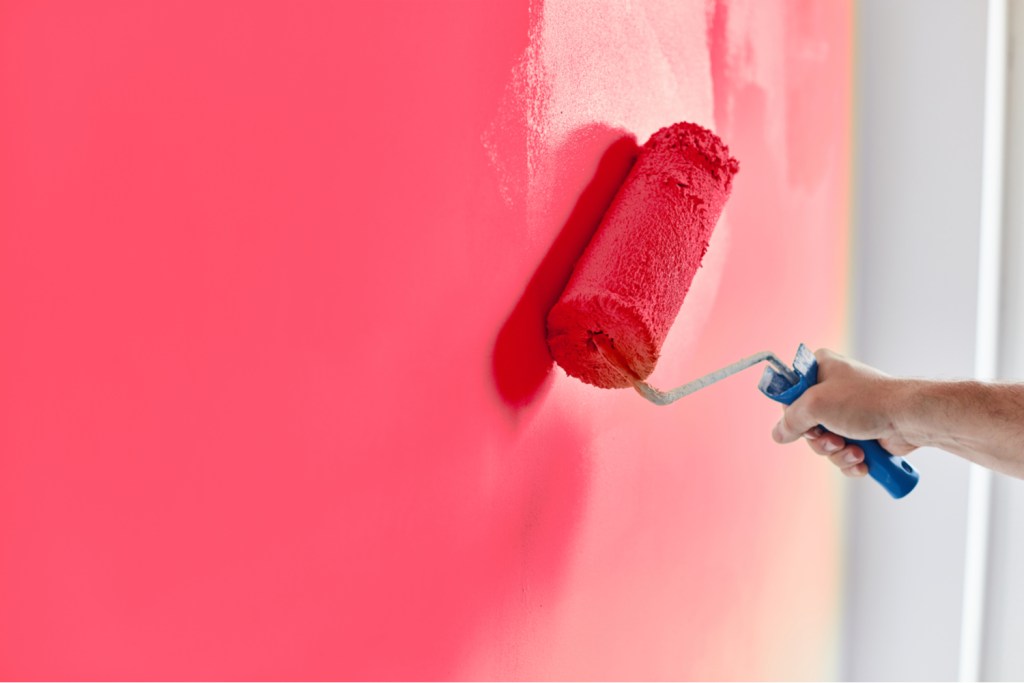
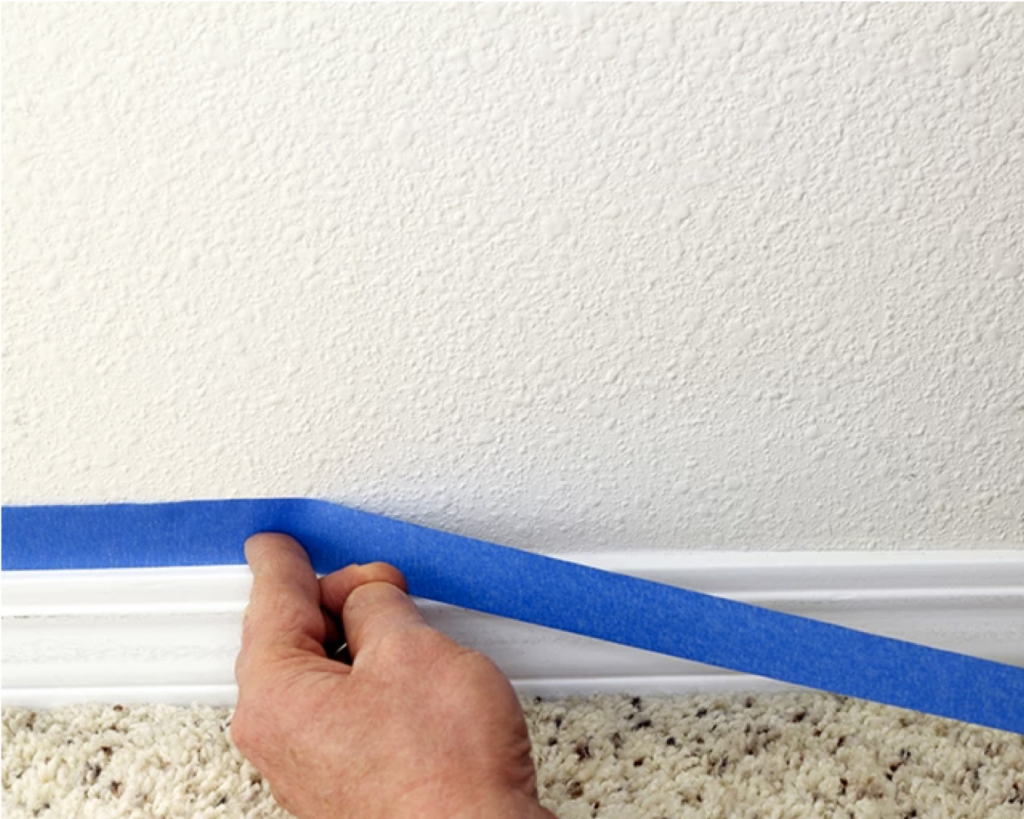
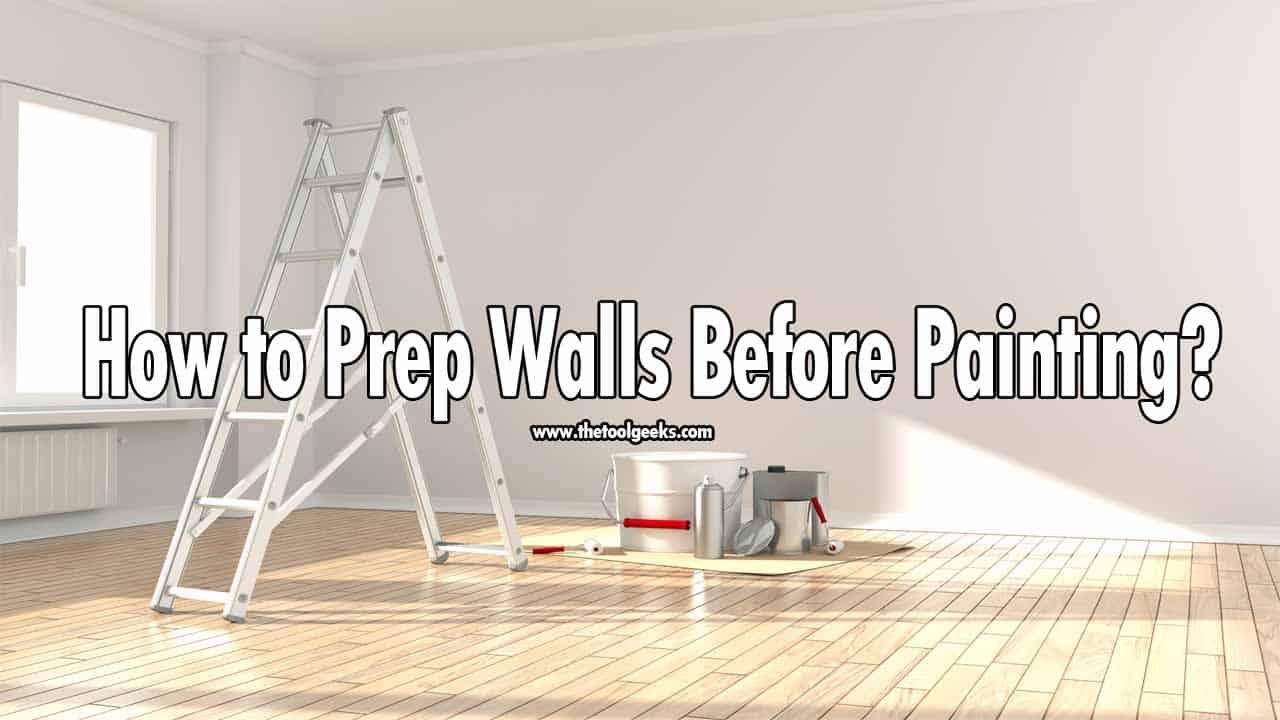
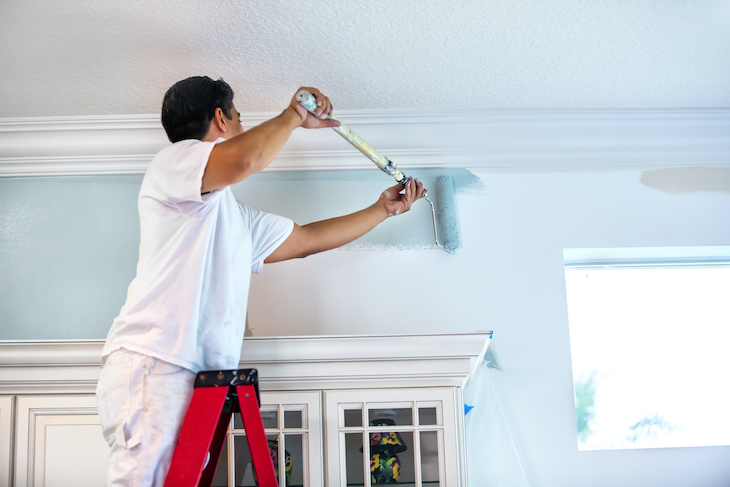
Once your walls are clean and any imperfections have been addressed, it’s time to get them ready for painting. It’s a good idea to protect your floors and furniture by laying down drop cloths. You can also use painter’s tape to cover any trim or baseboards that you don’t want to accidentally paint. Before you start painting, make sure to stir your paint well. This will ensure that the color is consistent throughout. Use a paint roller to cover large areas of your walls and a brush for smaller areas and corners. Apply two coats of paint for best results, allowing the first coat to dry completely before applying the second.How to Get Your Kitchen Walls Ready for Painting
After you have finished painting your kitchen walls, it’s important to properly clean your supplies. Rinse your paint roller and brush with warm water and a mild cleaner. You can also wrap them in plastic wrap to keep them from drying out before your next painting project. Remove the drop cloths and painter’s tape carefully to avoid any damage to your newly painted walls. Let the paint dry completely before moving any furniture back into place.Cleaning Tips for Painting Your Kitchen Walls
Cleaning and prepping your kitchen walls before painting may seem like a lot of work, but it will pay off in the end. By properly cleaning and preparing your walls, you will ensure that your paint job looks professional and lasts for years to come. Remember to always use gentle cleaning solutions and techniques to avoid damaging your walls. Properly filling in any imperfections and using primer will also help your paint job look its best. Lastly, make sure to properly clean your supplies and protect your floors and furniture while painting.Preparing Your Kitchen Walls for a Fresh Coat of Paint
If you’re planning on painting your kitchen walls yourself, following these steps for cleaning and prepping your walls will ensure a successful and professional-looking paint job. By taking the time to properly clean and prepare your walls, you will save yourself from potential headaches and costly mistakes down the road. Remember to gather all necessary supplies, thoroughly clean your walls, address any imperfections, and protect your floors and furniture before painting. This will result in a beautifully painted kitchen that you can be proud of.DIY Guide for Cleaning Kitchen Walls Before Painting
Before you can start painting your kitchen walls, it’s important to take the necessary steps to properly prepare them. This includes cleaning, addressing any imperfections, and protecting your floors and furniture. By following these essential steps, you will ensure a professional and long-lasting paint job. Make sure to use gentle cleaning solutions and techniques to avoid damaging your walls. Fill in any holes or cracks with spackling compound and use a stain-blocking primer to cover any stains or dark colors. Properly clean your supplies and protect your floors and furniture while painting.Essential Steps for Preparing Kitchen Walls for Painting
Cleaning and preparing your kitchen walls for painting is an important step in achieving a professional-looking paint job. By following these steps, you will ensure that your paint goes on smoothly and lasts for years to come. Remember to gather all necessary supplies, use gentle cleaning solutions and techniques, address any imperfections, and protect your floors and furniture before painting. By taking the time to properly clean and prep your walls, you will save yourself from potential headaches and costly mistakes down the road.How to Properly Clean and Prep Your Kitchen Walls for Painting
Clean Kitchen Wall Before Painting: Why It's Important

Preparing the Surface
 Before painting your kitchen walls, it is essential to clean them thoroughly. Many homeowners make the mistake of skipping this step, thinking that a coat of paint will cover up any dirt or grime. However, painting over a dirty surface will result in an uneven and unprofessional finish. Not to mention, any debris or stains left on the wall could end up showing through the paint, ruining the entire look of your kitchen. Therefore, taking the time to properly clean the walls is crucial for achieving a smooth and flawless paint job.
Keywords: clean, kitchen walls, painting, preparing the surface, dirty surface, uneven, unprofessional finish, debris, stains, showing through, smooth, flawless paint job.
Removing Grease and Grime
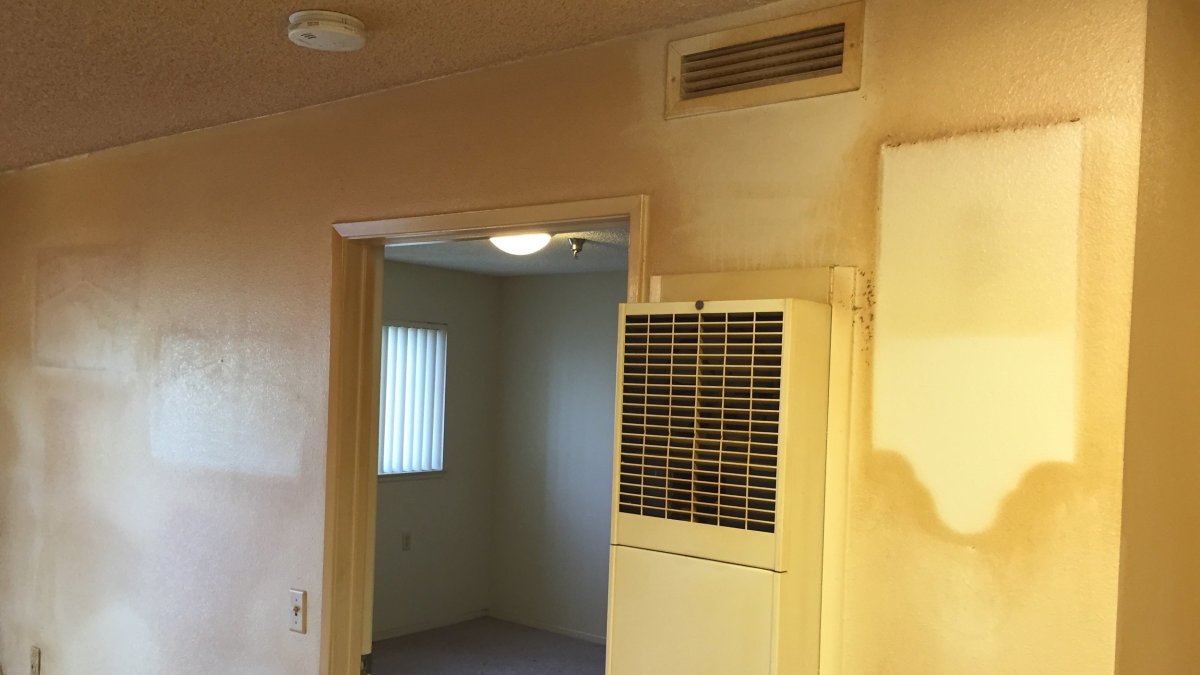
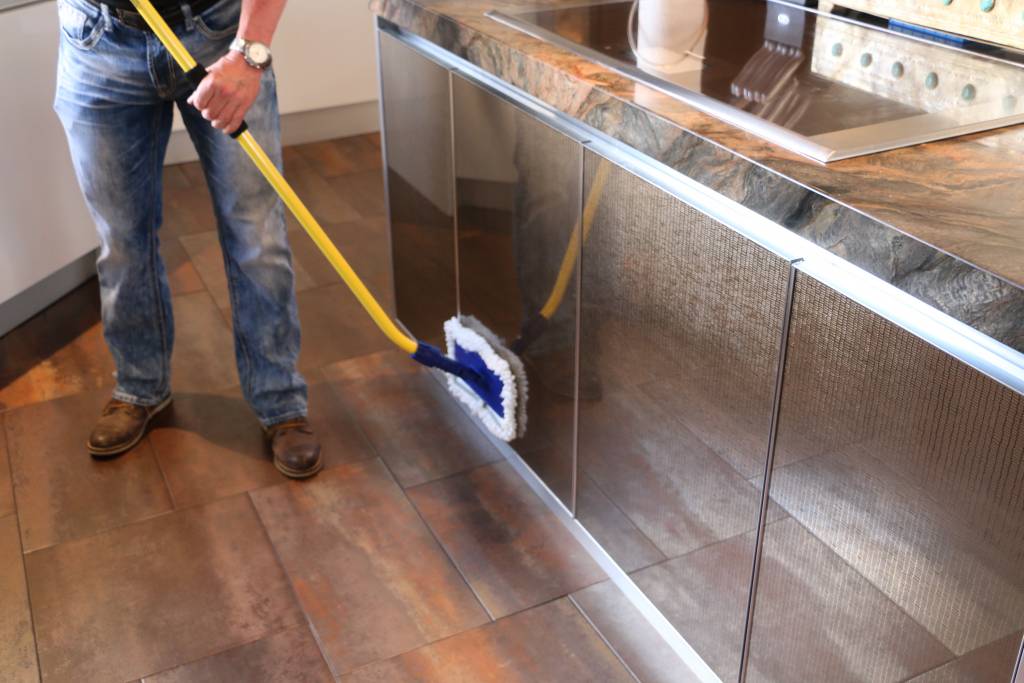 As the kitchen is a high-traffic and often messy area, it is common for grease and grime to accumulate on the walls. This buildup can be particularly stubborn and difficult to remove, especially if it has been there for a while. However, it is crucial to remove all traces of grease and grime before painting, as it can affect the adhesion of the new paint and cause it to peel or chip.
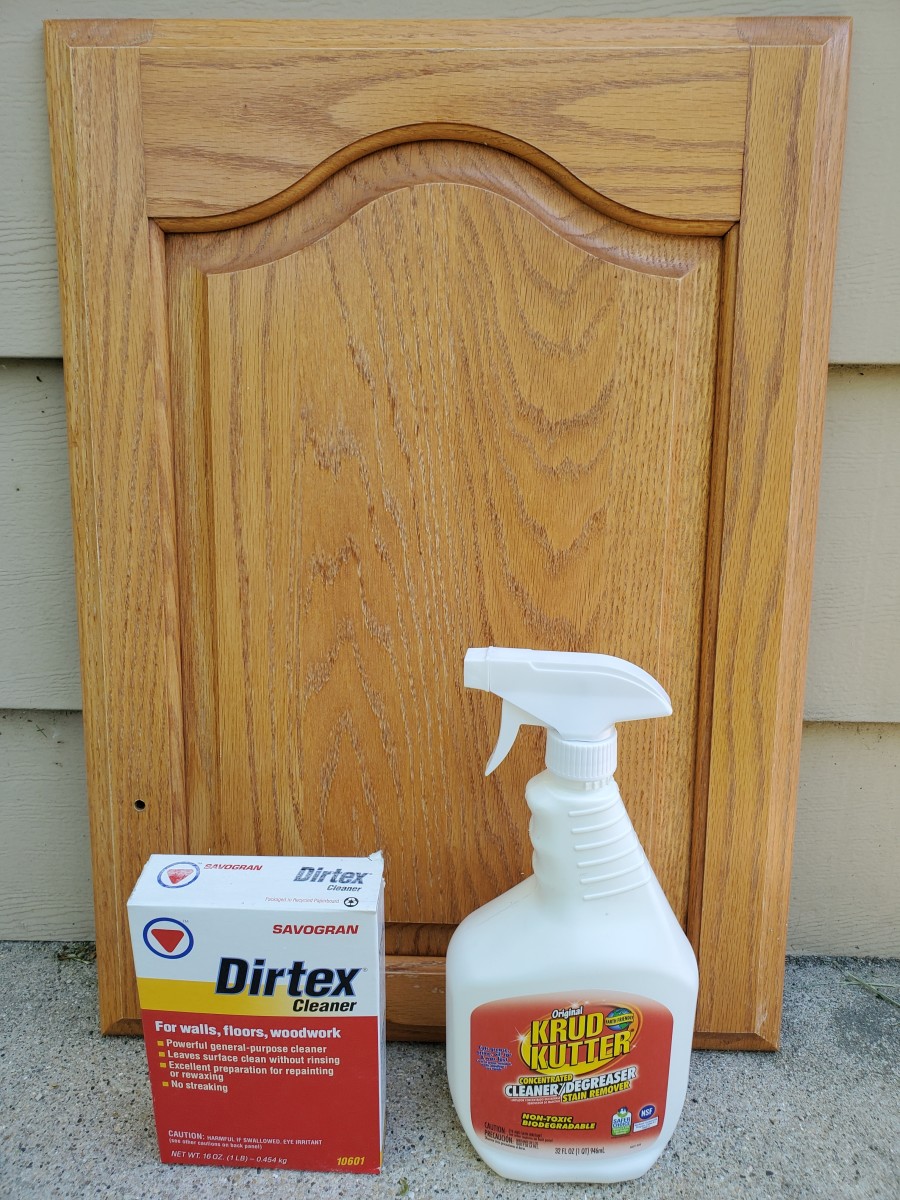
Using a degreasing cleaner or a mixture of warm water and dish soap, scrub the walls thoroughly to remove any buildup.
Rinse the walls with clean water and dry them with a towel before moving on to the next step.
Keywords: grease, grime, accumulate, stubborn, difficult, remove, adhesion, degreasing cleaner, warm water, dish soap, scrub, thoroughly, rinse, dry.
Eliminating Dust and Dirt
:max_bytes(150000):strip_icc()/washing-interior-walls-2-b5cd3327c69944188f71d8c989ab021c.jpg) In addition to grease and grime, everyday dust and dirt can also build up on kitchen walls. This is especially true if the walls are located near the stove or sink, where splatters and spills are common. Dust and dirt can easily get trapped in the paint, causing an uneven and rough texture. To
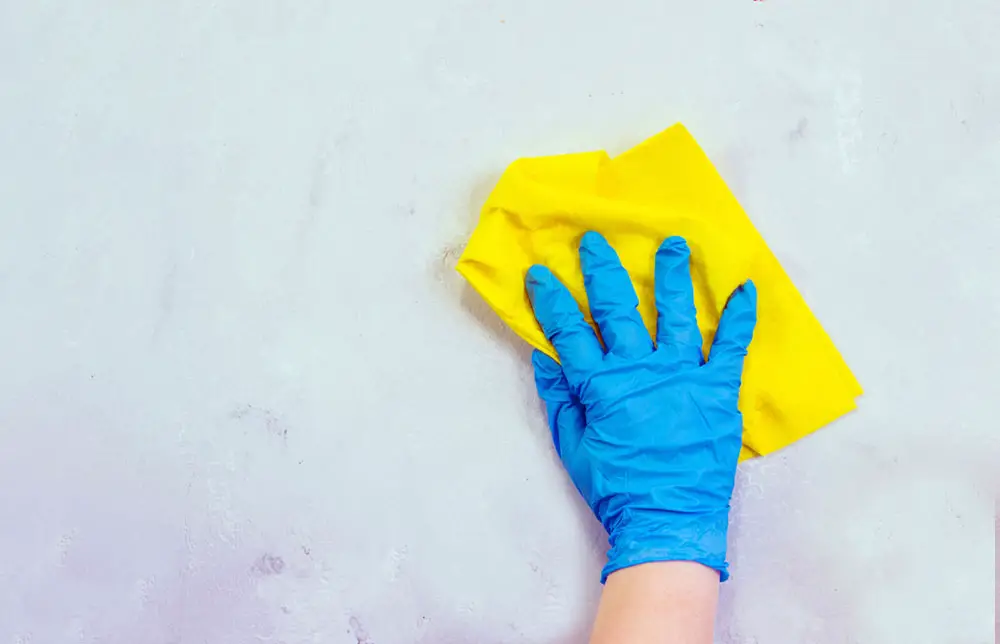
ensure a smooth and professional finish, use a damp cloth or sponge to wipe down the walls and remove any dust or dirt.
Pay special attention to the corners and edges, as these areas tend to collect the most dust.
Keywords: dust, dirt, build up, stove, sink, splatters, spills, trapped, uneven, rough texture, damp cloth, sponge, wipe down, smooth, professional finish, corners, edges.
In addition to grease and grime, everyday dust and dirt can also build up on kitchen walls. This is especially true if the walls are located near the stove or sink, where splatters and spills are common. Dust and dirt can easily get trapped in the paint, causing an uneven and rough texture. To
ensure a smooth and professional finish, use a damp cloth or sponge to wipe down the walls and remove any dust or dirt.
Pay special attention to the corners and edges, as these areas tend to collect the most dust.
Keywords: dust, dirt, build up, stove, sink, splatters, spills, trapped, uneven, rough texture, damp cloth, sponge, wipe down, smooth, professional finish, corners, edges.
Filling in Imperfections
 Cleaning the walls before painting also allows you to
identify and address any imperfections or damage on the surface.
These could include cracks, holes, or uneven patches. By taking the time to clean the walls, you can
properly prepare them for patching and repairing before applying a fresh coat of paint.
This will result in a more seamless and professional finish, without any unsightly blemishes or imperfections.
Keywords: filling in, imperfections, damage, surface, clean, identify, address, cracks, holes, uneven patches, prepare, patching, repairing, fresh coat of paint, seamless, professional finish, unsightly, blemishes.
Conclusion
 In summary,
cleaning your kitchen walls before painting is a crucial step for achieving a professional and flawless finish.
It not only ensures that the paint adheres properly, but it also helps to eliminate any imperfections and give your walls a fresh and clean canvas for your new paint color. So, before you pick up that paintbrush, take the time to thoroughly clean your kitchen walls, and you'll be rewarded with a beautiful and long-lasting paint job.
Keywords: cleaning, kitchen walls, painting, crucial, professional, flawless finish, paint adheres, eliminate, imperfections, fresh, clean canvas, paint color, pick up, paintbrush, long-lasting.























.jpg)
