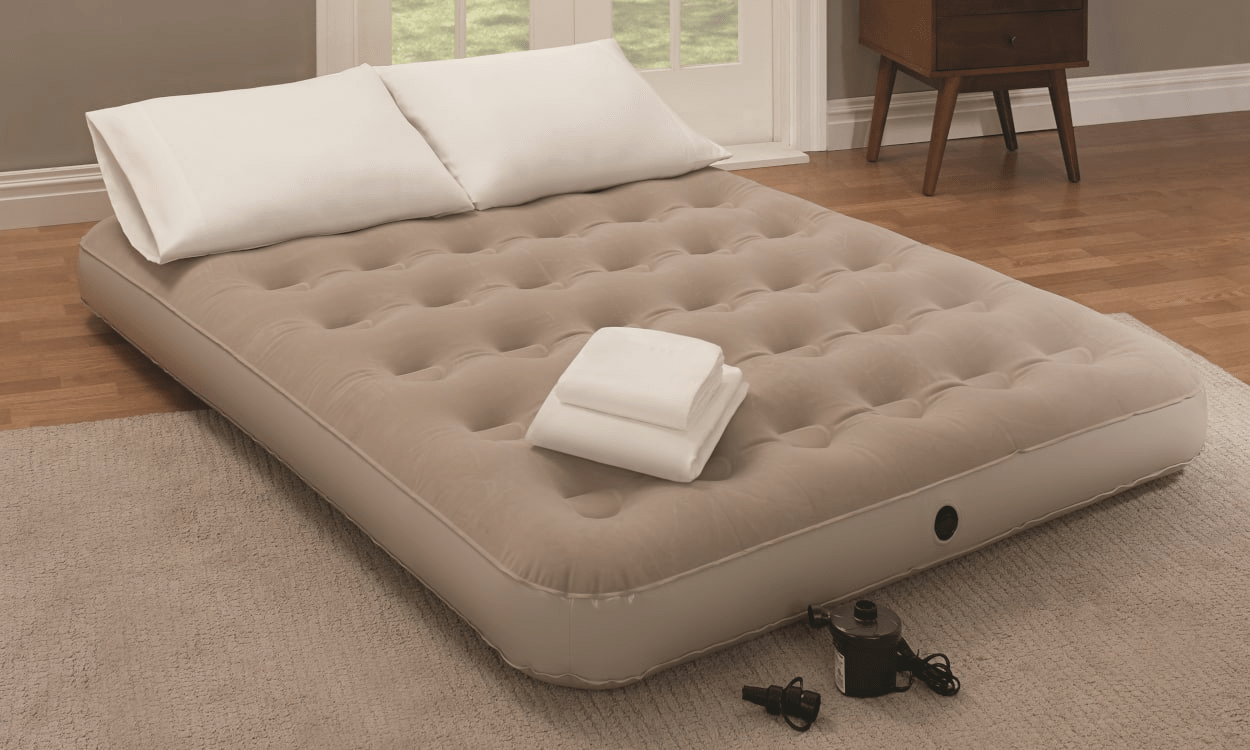
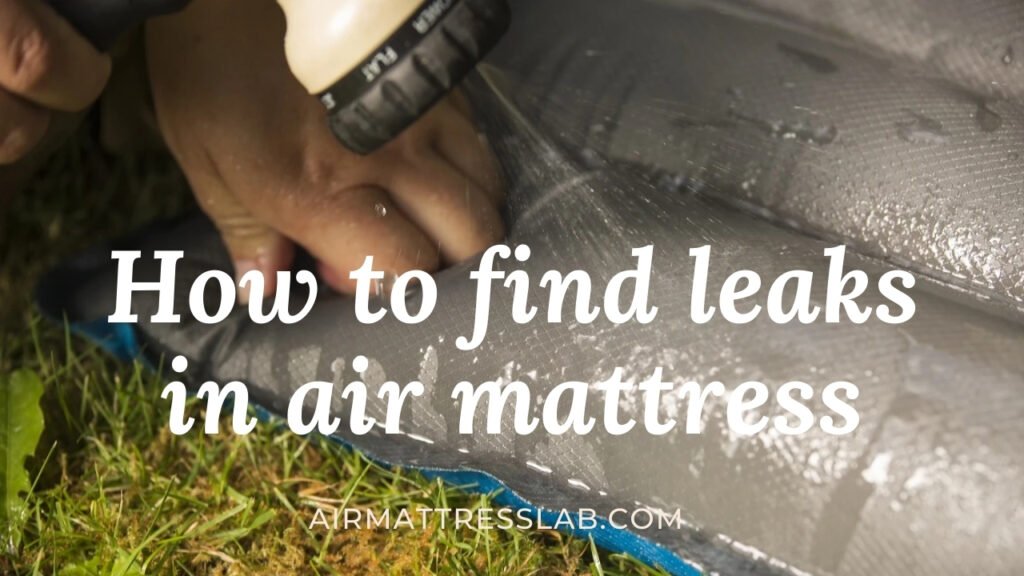
Air mattresses are a convenient and comfortable option for sleeping arrangements, whether you're camping or hosting guests in your home. However, nothing is more frustrating than waking up in the middle of the night to find that your air mattress has deflated due to a leak. Not only is it uncomfortable, but it can also be a hassle to find and fix the leak. But with these simple steps, you can easily check for and fix leaks in your air mattress.How to Check for Leaks in an Air Mattress


How to Check for Leaks in an Air Mattress


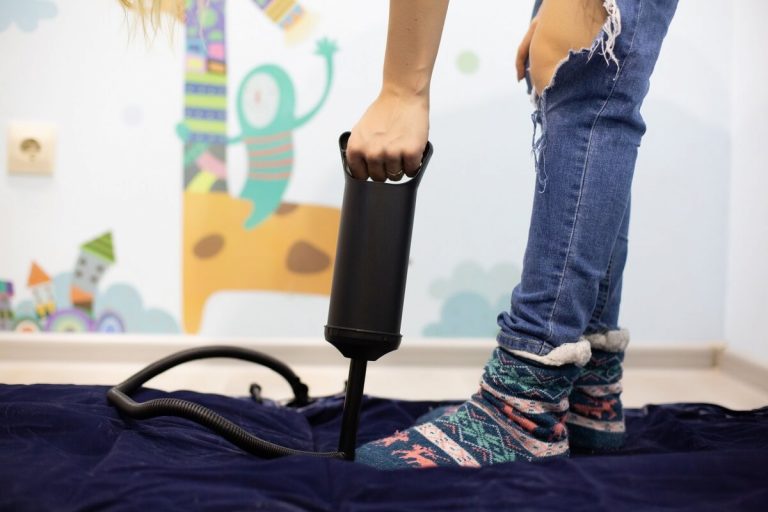
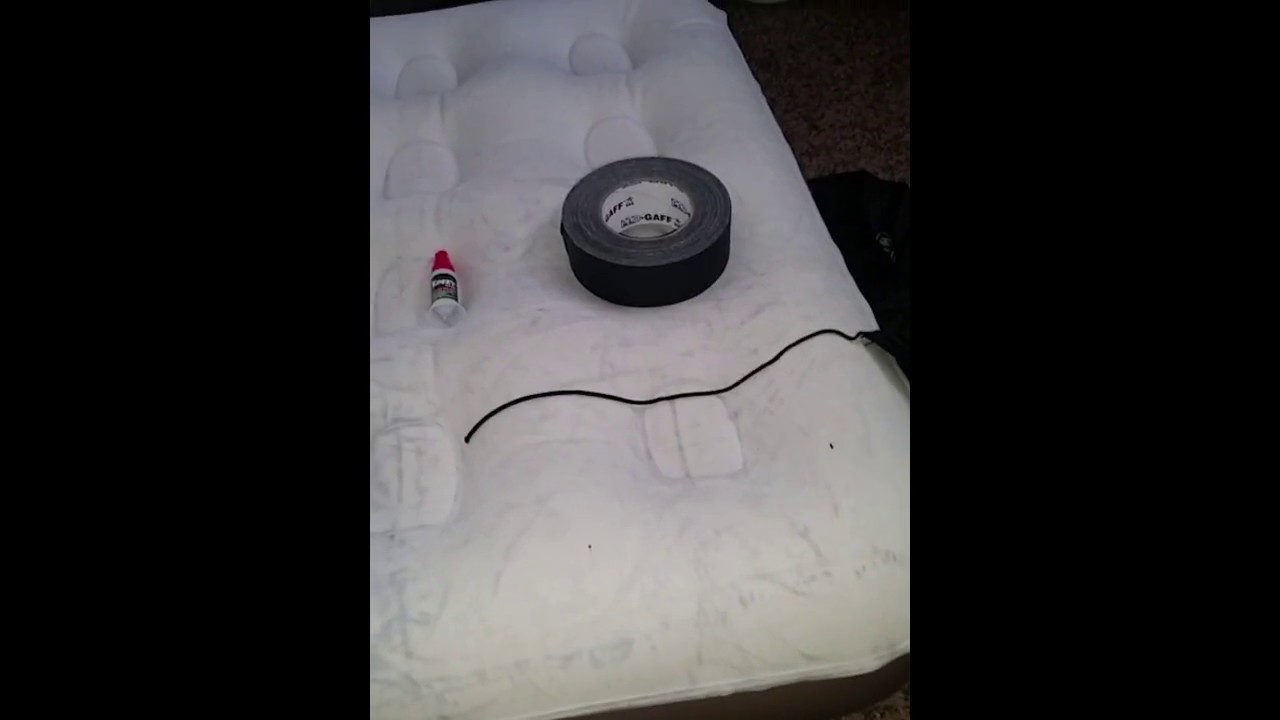
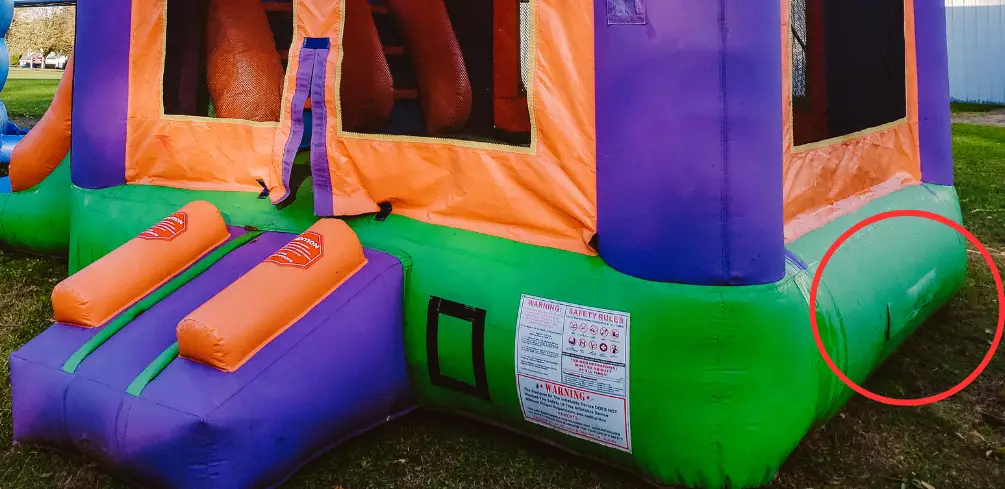
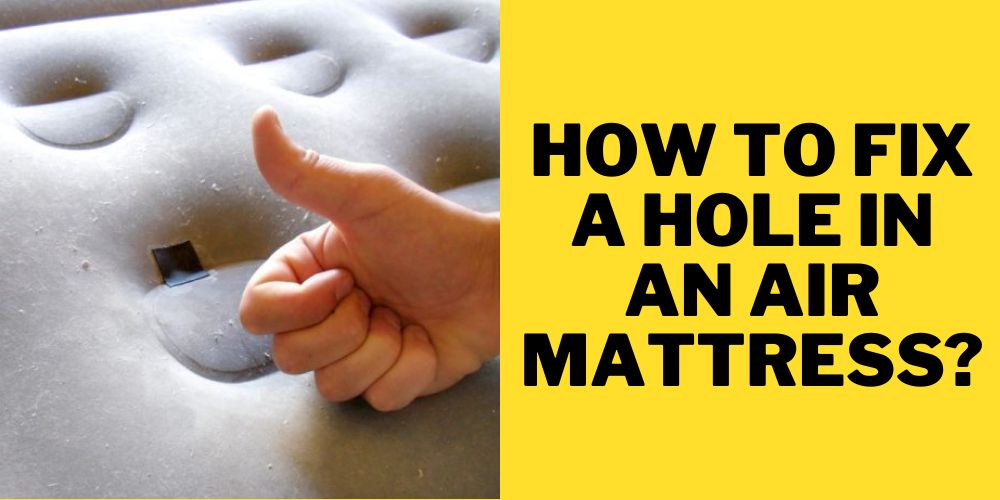
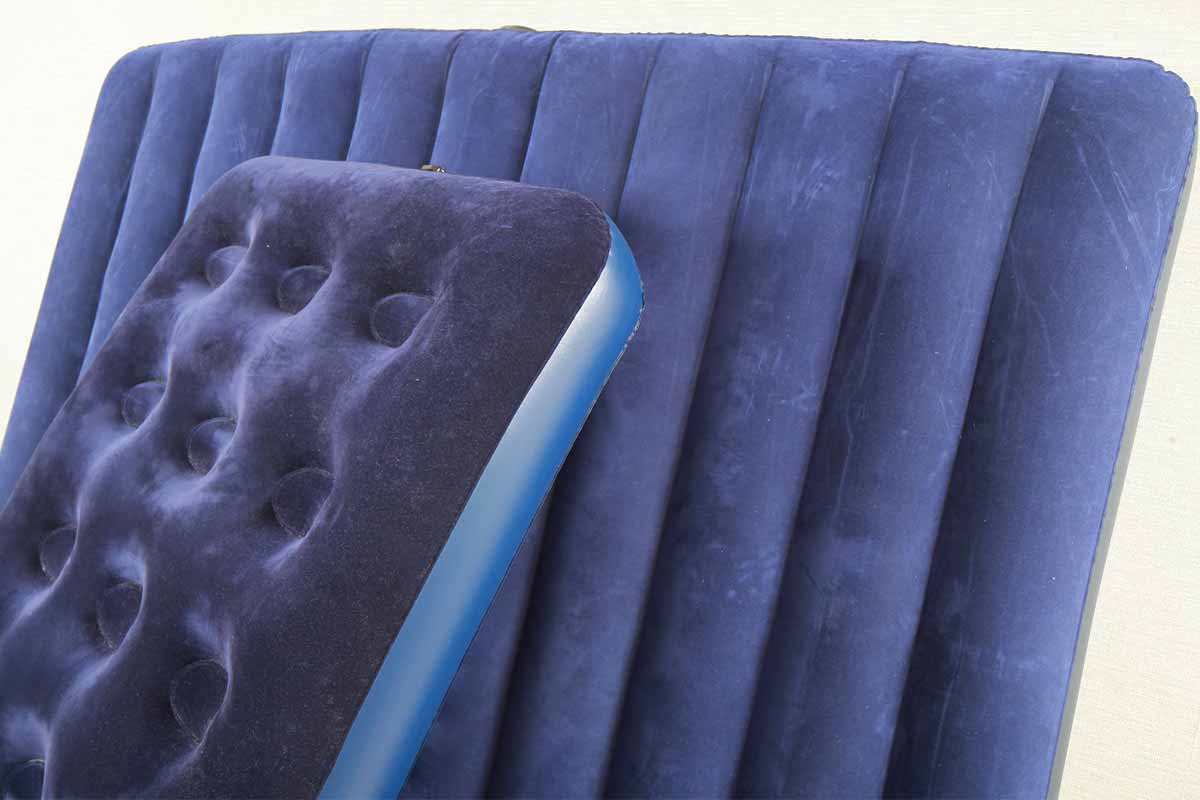
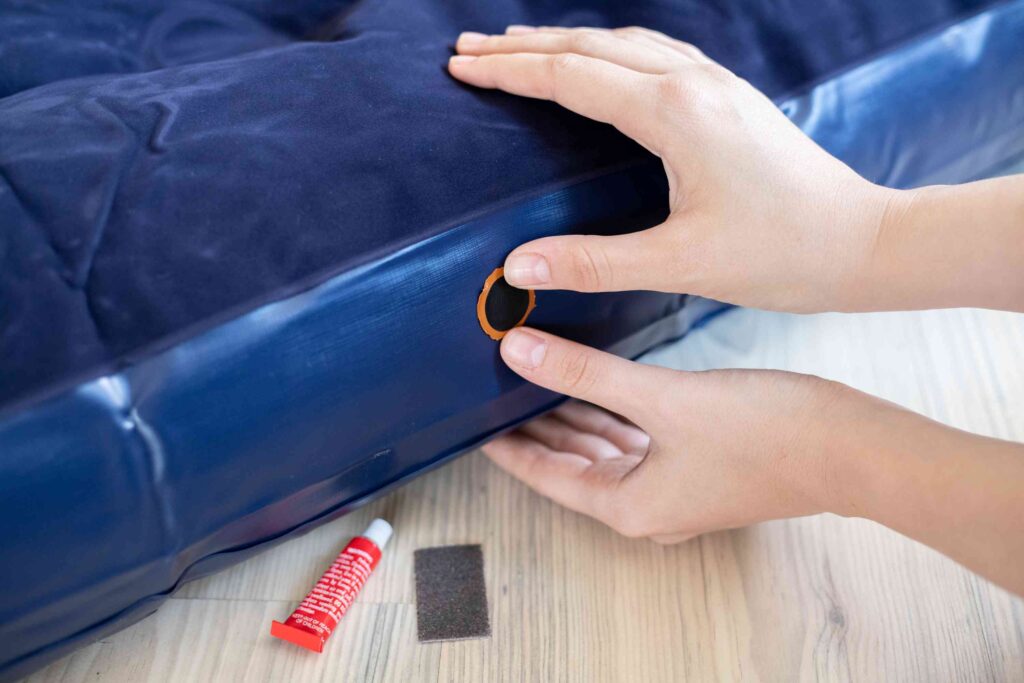
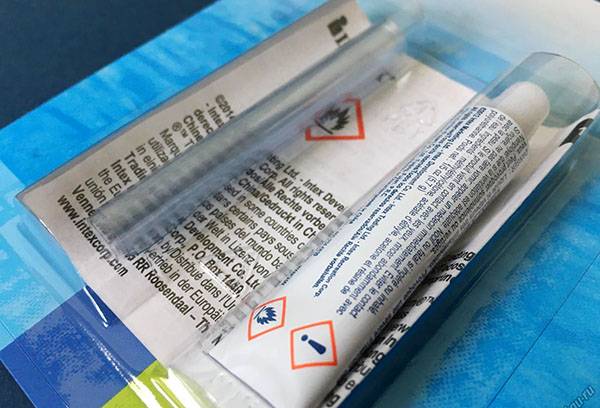
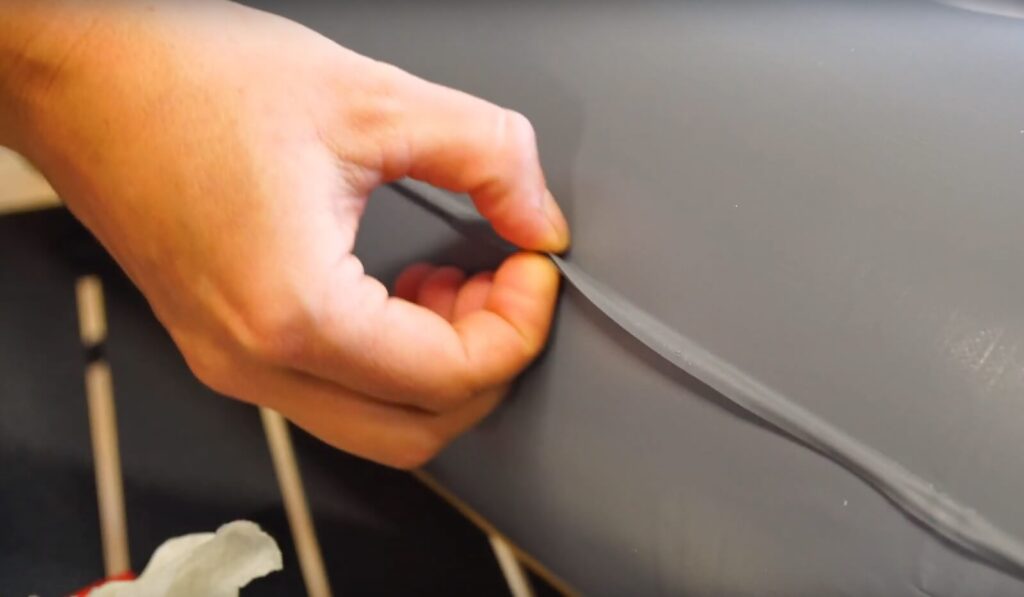
Before you start looking for the leak, make sure your air mattress is fully inflated. This will make it easier to find the source of the leak. Once your mattress is fully inflated, follow these steps: Step 1: Clean the Surface - Wipe down the surface of your air mattress with a damp cloth to remove any dirt, dust, or debris that could potentially obstruct your view of the leak. Step 2: Listen and Feel for Air - Place your hand over the surface of the mattress and slowly run it along the surface, paying attention to any spots where you feel or hear air escaping. Step 3: Use Soapy Water - Mix a small amount of dish soap with water and apply it to the surface of your air mattress with a sponge or cloth. The soap will create bubbles at the site of the leak, making it easier to locate. Step 4: Inspect the Seams - Check the seams of your air mattress, as these are the most common areas for leaks to occur. Look for any small holes, tears, or punctures in the fabric. Step 5: Repair the Leak - Once you have located the leak, use a patch kit or duct tape to seal the hole. Make sure to follow the instructions on the patch kit for best results.How to Find and Fix a Leak in an Air Mattress


How to Find and Fix a Leak in an Air Mattress


If you're unable to find the leak using the above methods, there may be a more significant issue with your air mattress. In this case, you may need to use a more advanced method to locate and repair the leak: Step 1: Fill with Air and Submerge - Fully inflate your air mattress and submerge it in a bathtub or large container filled with water. Slowly move the mattress around, paying attention to any bubbles that indicate a leak. Step 2: Dry and Mark the Leak - Once you have located the leak, dry off the area and mark it with a permanent marker. This will make it easier to find when you are ready to repair it. Step 3: Repair the Leak - Use a patch kit or duct tape to seal the leak, following the instructions on the patch kit for best results. Make sure to let the patch dry completely before using the mattress again.Air Mattress Leak Repair: How to Find and Fix Leaks


Air Mattress Leak Repair: How to Find and Fix Leaks


Prevention is key when it comes to air mattress leaks. Here are a few tips to help prevent leaks from occurring in the first place: Step 1: Protect the Surface - Place a sheet or blanket on top of your air mattress to protect it from sharp objects or rough surfaces that could puncture it. Step 2: Avoid Overinflating - While it may be tempting to fully inflate your air mattress for maximum comfort, overinflating can actually increase the risk of leaks. Step 3: Keep Away from Heat Sources - Avoid placing your air mattress near heat sources such as heaters or direct sunlight. The heat can cause the material to expand and weaken, making it more prone to leaks. Step 4: Store Properly - When not in use, make sure to store your air mattress in a cool, dry place to prevent damage. Step 5: Perform Regular Maintenance - Check your air mattress for leaks every few months, and perform any necessary repairs to prevent future leaks.5 Easy Steps to Find and Fix a Leak in Your Air Mattress


5 Easy Steps to Find and Fix a Leak in Your Air Mattress


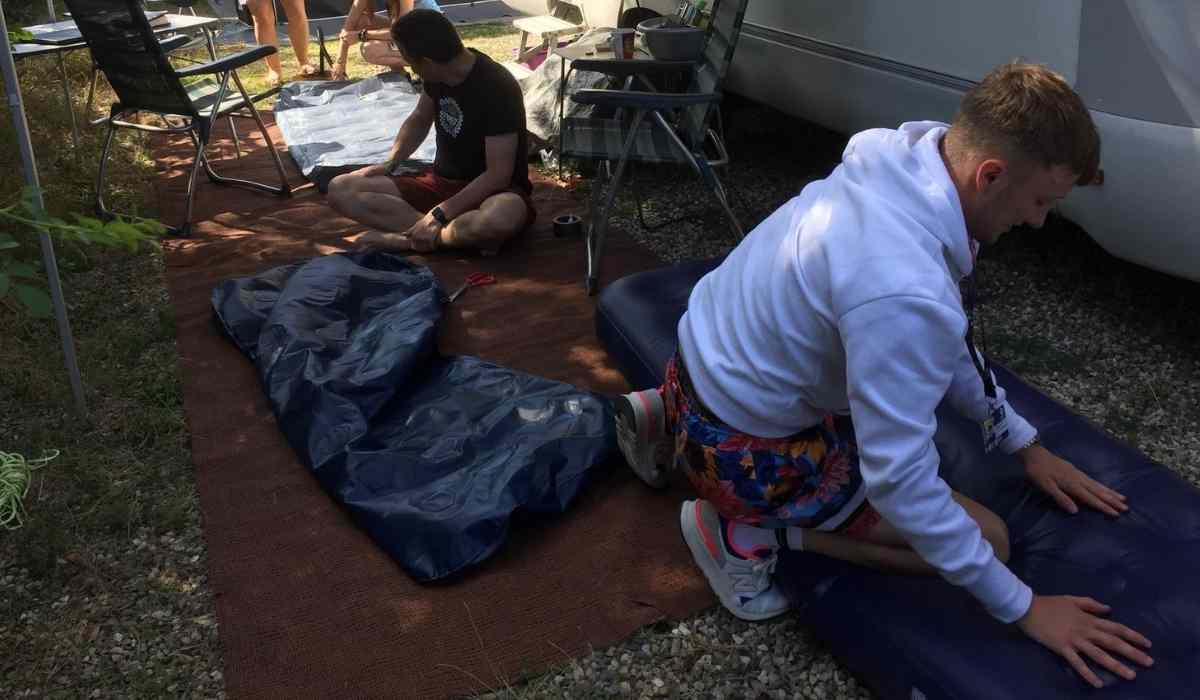
If you are using your air mattress for camping, there are a few additional precautions you can take to prevent leaks: Step 1: Clear the Area - Before setting up your air mattress, make sure to clear the area of any sharp objects, rocks, or debris that could puncture the material. Step 2: Use a Ground Cover - Lay down a tarp or ground cover underneath your air mattress to provide an extra layer of protection. Step 3: Be Gentle - Try to avoid jumping or putting too much pressure on your air mattress, as this can weaken the material and increase the risk of leaks.How to Locate and Repair a Leak in Your Air Mattress


How to Locate and Repair a Leak in Your Air Mattress


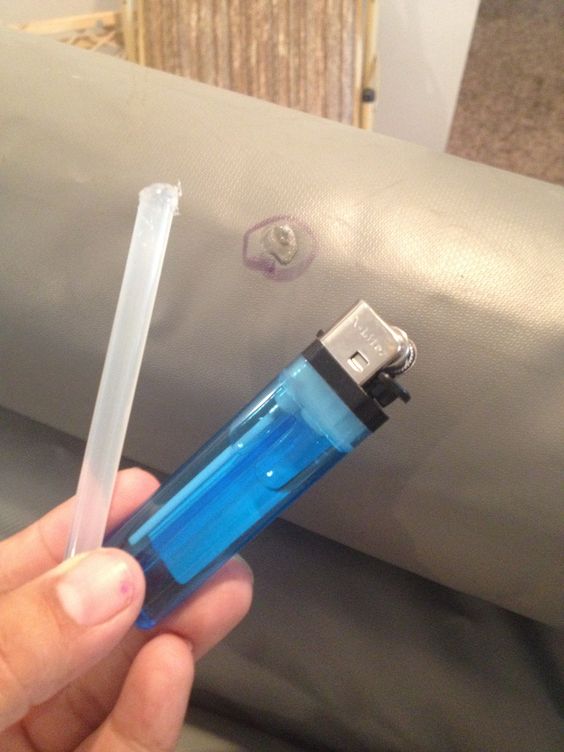
If you prefer a more DIY approach, there are a few household items you can use to find and fix leaks in your air mattress: Toilet Paper: Place a small piece of toilet paper on the surface of your air mattress and press down. If there is a leak, the toilet paper will stick to the area and reveal the location of the leak. A Candle: Light a candle and hold it over the surface of your air mattress. If there is a leak, the flame will flicker or go out at the location of the leak. Nail Polish: Apply a small amount of clear nail polish to the area of the leak and let it dry. This will create a seal and prevent further air from escaping.DIY: How to Check for and Fix Leaks in an Air Mattress


DIY: How to Check for and Fix Leaks in an Air Mattress


There are a few simple methods you can use to quickly check for leaks in your air mattress: Listen for Hissing Sounds: If you suspect your air mattress has a leak, lay on it and listen for any hissing sounds that may indicate a leak. Check the Valve: Make sure the valve on your air mattress is tightly closed. If it is loose, this could be the source of the leak. Try a Pressure Test: Inflate your air mattress and leave it alone for a few hours. If it is noticeably less inflated when you come back, this could be a sign of a leak.Quick and Easy Ways to Check for Leaks in Your Air Mattress


Quick and Easy Ways to Check for Leaks in Your Air Mattress


Prevention is always better than a cure when it comes to air mattress leaks. However, if you do find yourself with a leak, here are a few methods you can use to fix it: Use a Patch Kit: Patch kits specifically designed for air mattresses can be purchased at most outdoor or home goods stores. These kits typically include a patch and adhesive to seal the leak. Try Duct Tape: In a pinch, you can use duct tape to seal small leaks in your air mattress. Make sure to apply the duct tape on both sides of the leak for a stronger seal. Invest in a New Mattress: If your air mattress has multiple leaks or is beyond repair, it may be time to invest in a new one. Look for a high-quality, durable air mattress with good reviews to ensure it will last for years to come.How to Prevent and Fix Leaks in Your Air Mattress


How to Prevent and Fix Leaks in Your Air Mattress

Regular maintenance is essential for keeping your air mattress in good condition and preventing leaks. Make sure to check for leaks every few months, and perform any necessary repairs immediately to prevent further damage. With these simple tips, you can enjoy a comfortable and leak-free sleep on your air mattress for years to come.Air Mattress Maintenance: How to Check for and Repair Leaks

Air Mattress Maintenance: How to Check for and Repair Leaks


To summarize, here is a step-by-step guide to checking for and fixing leaks in your air mattress: Step 1: Clean the surface of your air mattress. Step 2: Listen and feel for air escaping. Step 3: Use soapy water to locate the leak. Step 4: Inspect the seams for any holes or tears. Step 5: Repair the leak using a patch kit or duct tape. Step 6: If the leak cannot be found, fill with air and submerge in water. Step 7: Dry and mark the leak, then repair using a patch kit. Step 8: Take precautions to prevent leaks in the future, such as using a ground cover and avoiding overinflation. Step 9: Perform regular maintenance on your air mattress to check for and repair any leaks.Step-by-Step Guide to Checking for and Fixing Leaks in an Air Mattress


Step-by-Step Guide to Checking for and Fixing Leaks in an Air Mattress


Why Checking for Leaks in Your Air Mattress is Essential for a Good Night's Sleep

If you're an avid camper or host guests frequently, chances are you own an air mattress. These inflatable beds are popular for their convenience and portability. However, nothing can ruin a camping trip or a guest's stay more than a deflated air mattress. That's why it's important to regularly check for leaks in your air mattress.
The Importance of Regularly Checking for Leaks

Air mattresses are made up of PVC or rubber materials, which can be prone to wear and tear over time. As a result, leaks can occur, causing the mattress to lose air and become uncomfortable and unusable. This not only affects your quality of sleep but can also lead to back pain and discomfort.
Regularly checking for leaks in your air mattress can save you from a potential headache and ensure a good night's sleep. It's recommended to check for leaks every time you use the air mattress, especially if it's been stored away for a while. This will help catch any leaks early on and prevent them from becoming bigger issues.
How to Check for Leaks
There are a few simple steps you can follow to check for leaks in your air mattress:
- Step 1: Inflate the mattress to its full capacity.
- Step 2: Run your hand over the surface of the mattress, feeling for any areas that may be losing air.
- Step 3: Listen for any hissing sounds, which may indicate a leak.
- Step 4: Apply pressure to different areas of the mattress to see if it holds its shape or if it sinks, which may be a sign of a leak.
- Step 5: Use a spray bottle filled with soapy water and spray it over the mattress. If there are any leaks, you will see bubbles forming.
If you find a leak, don't panic. Most air mattresses come with a repair kit that includes patches and adhesive. Simply follow the instructions on the kit to fix the leak. If the damage is too extensive, it may be time to invest in a new air mattress.
Conclusion

In conclusion, checking for leaks in your air mattress is essential for a good night's sleep and the overall longevity of your mattress. By following these simple steps and catching leaks early on, you can ensure that your next camping trip or guest's stay is comfortable and enjoyable.