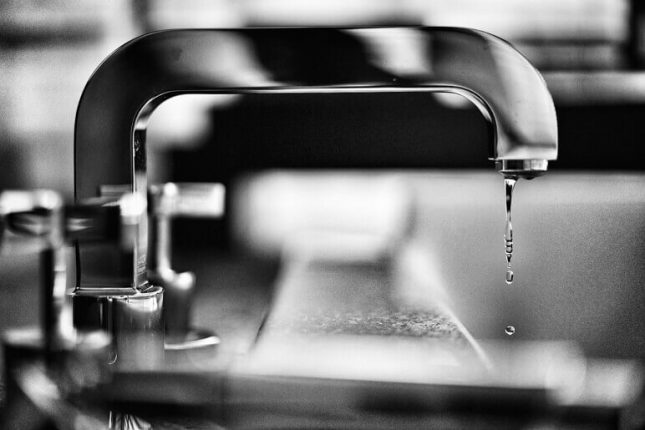
Is your kitchen wall faucet starting to leak or have reduced water flow? It may be time to change the cartridge. The cartridge is a small but crucial component of your faucet, responsible for controlling the flow of water. Over time, minerals and debris can build up, causing the cartridge to malfunction. Don't worry, changing the cartridge is a simple and cost-effective solution. Follow this step-by-step guide to learn how to change a cartridge in a kitchen wall faucet.How to Change a Cartridge in a Kitchen Wall Faucet
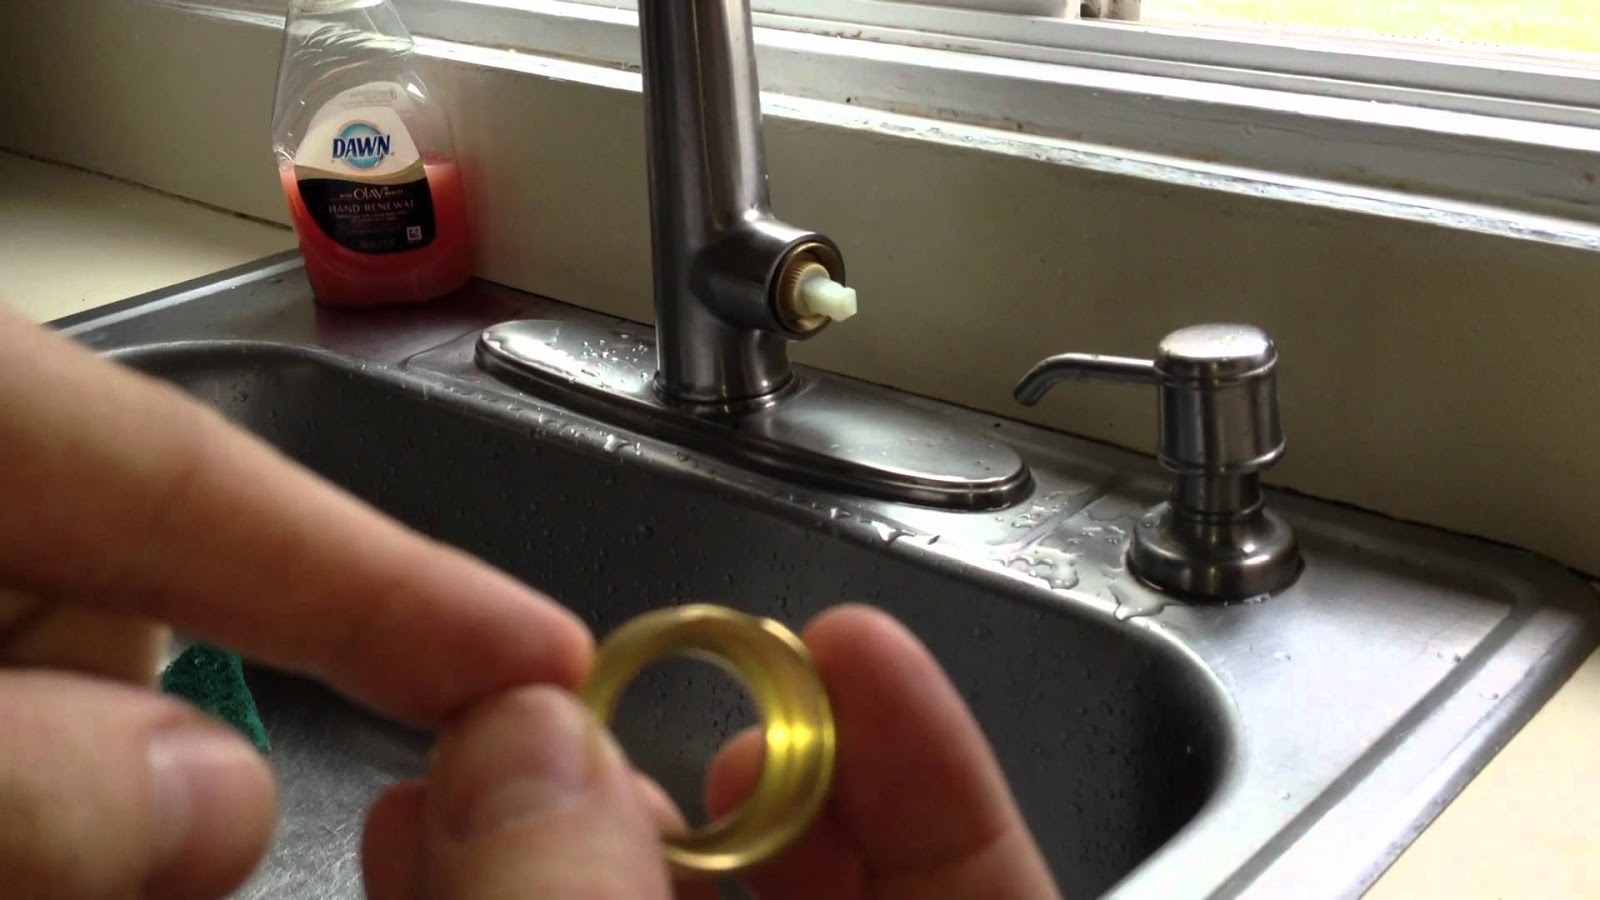
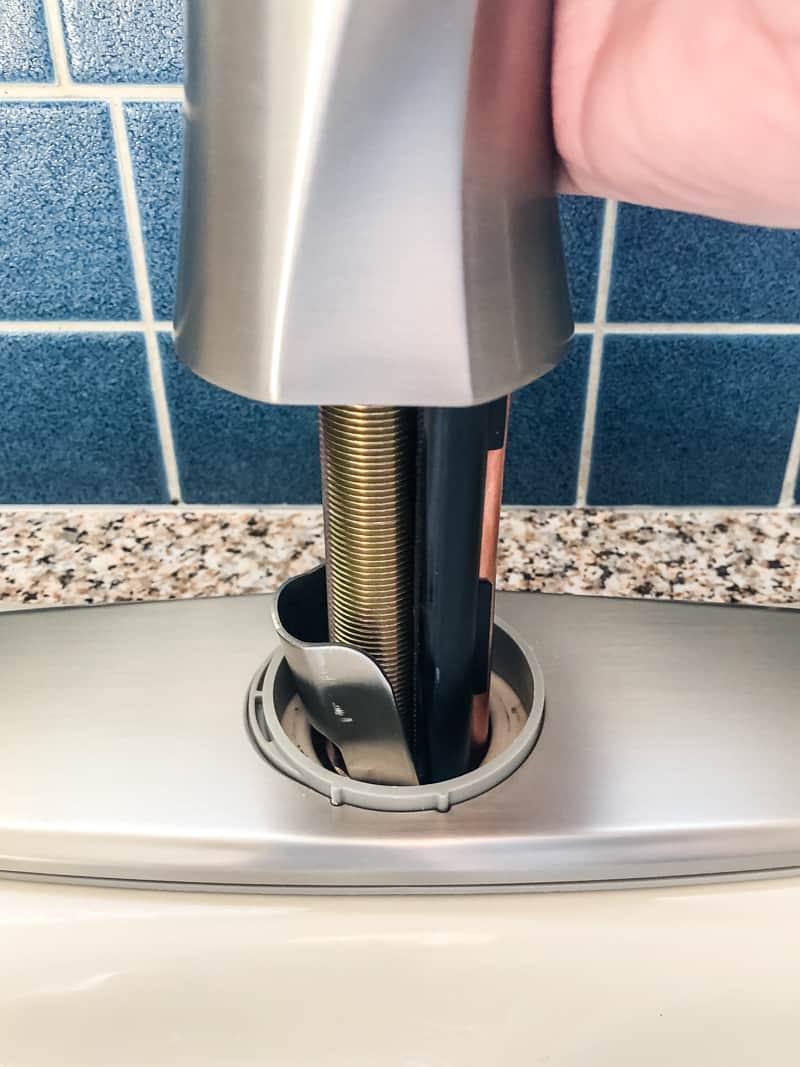
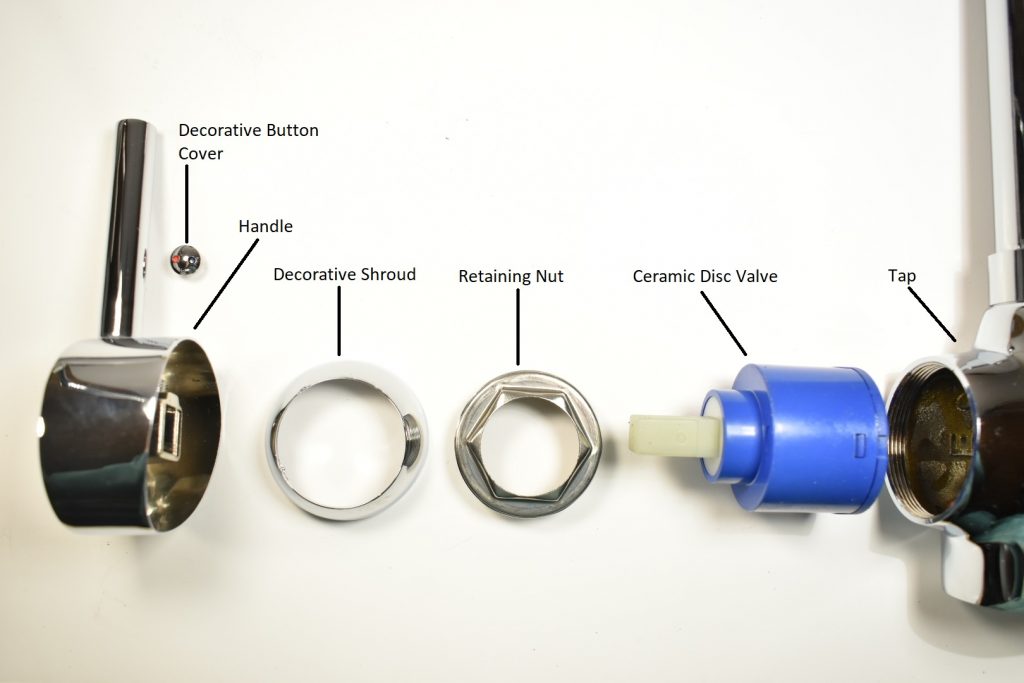
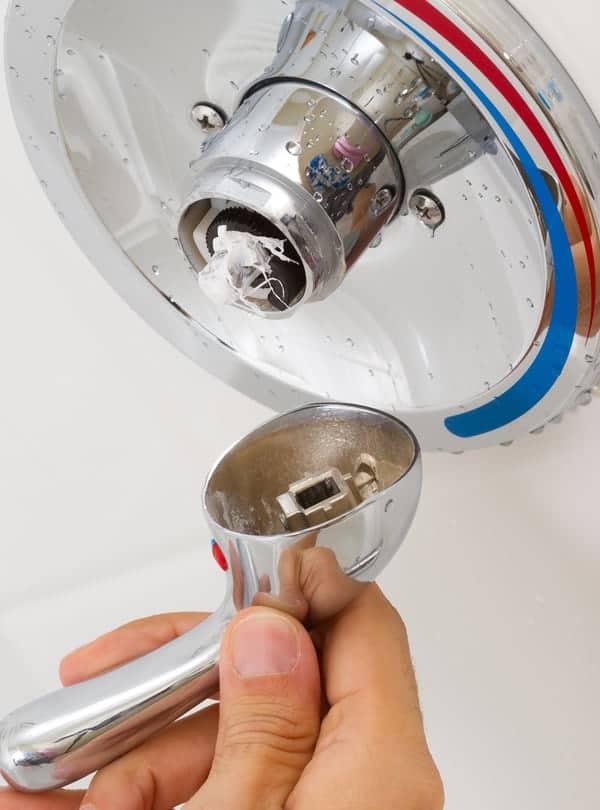
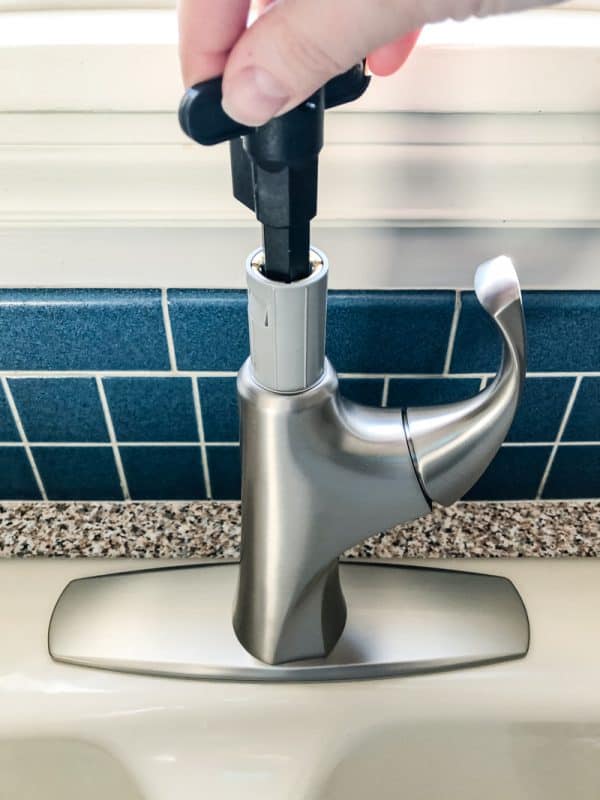
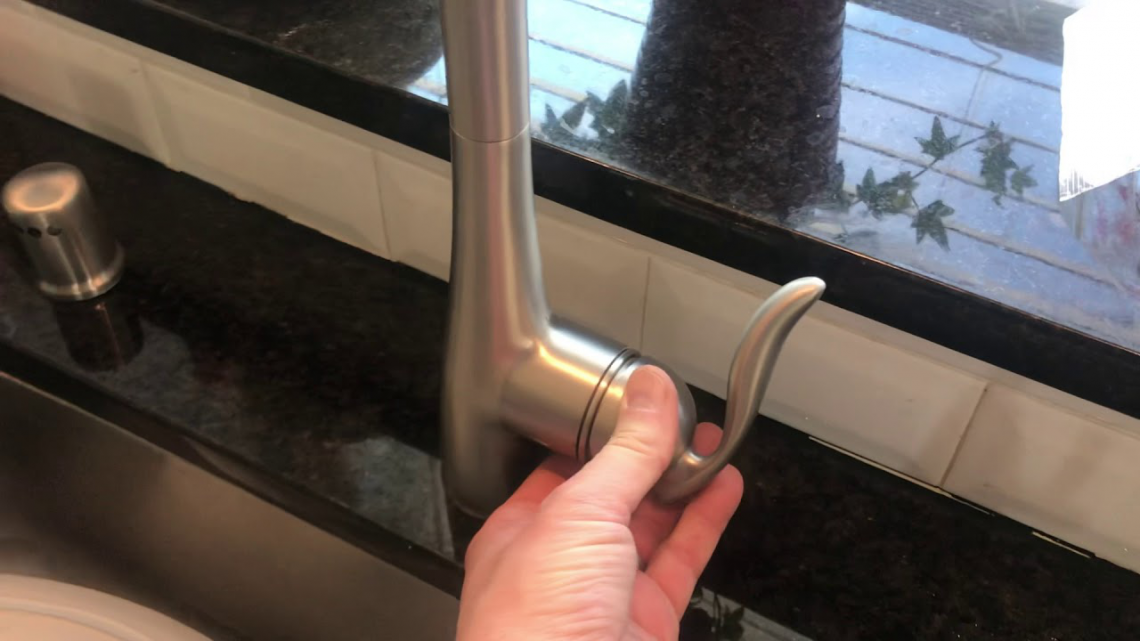
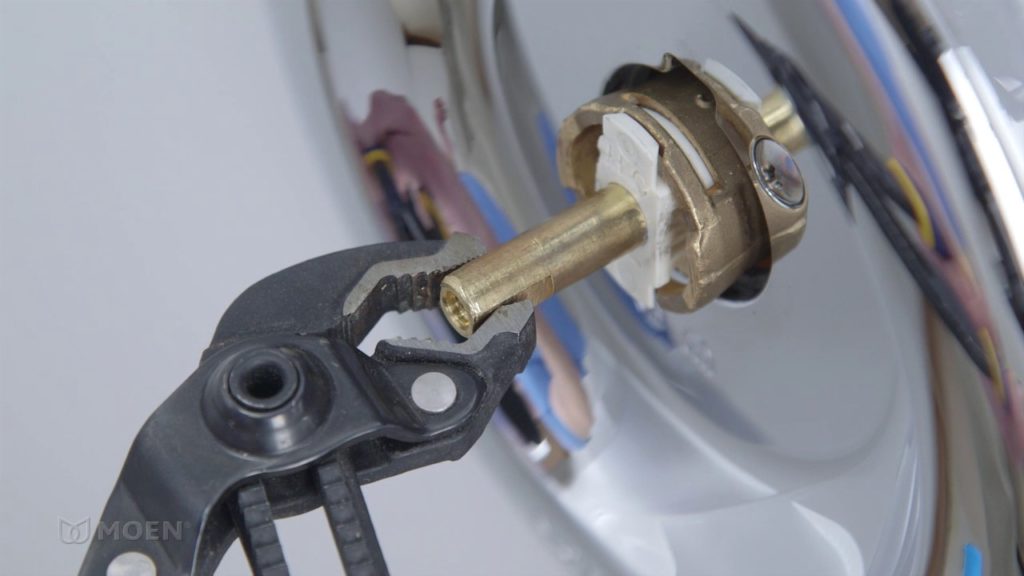
Before you begin, make sure to turn off the water supply to your faucet. This can usually be done by turning the shut-off valve under the sink. Once the water is off, follow these steps: Step 1: Remove the handle of the faucet by unscrewing the setscrew with an Allen wrench. The setscrew is usually located at the base of the handle. Step 2: Use pliers to remove the retaining nut that holds the cartridge in place. The retaining nut is a large, brass-colored ring located directly under the handle. Step 3: Carefully remove the old cartridge from the faucet body. If it's stuck, you can use a cartridge puller tool to help remove it. Step 4: Install the new cartridge by aligning the tabs on the cartridge with the notches in the faucet body. Make sure it is pushed all the way in. Step 5: Reattach the retaining nut and tighten it with pliers. Make sure it is secure but not overly tight. Step 6: Place the handle back onto the faucet and tighten the setscrew with the Allen wrench. Step 7: Turn the water supply back on and test the faucet to ensure it is working properly. If there are any leaks or issues, you may need to replace the entire faucet.Step-by-Step Guide to Replacing a Cartridge in a Kitchen Wall Faucet
Now that you know the basic steps, let's dive deeper into the process of changing a cartridge in your kitchen wall faucet. It's always a good idea to have a few extra tools and materials on hand before beginning the process. Here's what you'll need: Tools: Allen wrench, pliers, cartridge puller (if needed) Materials: Replacement cartridge, plumber's grease Step 1: Start by removing the handle of the faucet, as described in the previous guide. Step 2: Use pliers to remove the cartridge retaining nut. This may require some force if it has been in place for a long time. Step 3: Once the retaining nut is removed, you should be able to easily pull out the old cartridge. If it is stuck, use a cartridge puller to help remove it. Step 4: Before installing the new cartridge, it's important to clean the inside of the faucet body to remove any debris or buildup. Use a cloth or brush to scrub away any residue. Step 5: Apply a thin layer of plumber's grease to the O-rings on the new cartridge. This will help create a tight seal and prevent future leaks. Step 6: Carefully insert the new cartridge into the faucet body, making sure it is aligned with the notches. Push it all the way in until it is snug. Step 7: Reattach the retaining nut and tighten it with pliers. Make sure it is secure but not overly tight. Step 8: Replace the handle and tighten the setscrew with the Allen wrench. Step 9: Turn the water supply back on and test the faucet to ensure it is working properly.Replacing the Cartridge in Your Kitchen Wall Faucet: A Comprehensive Guide
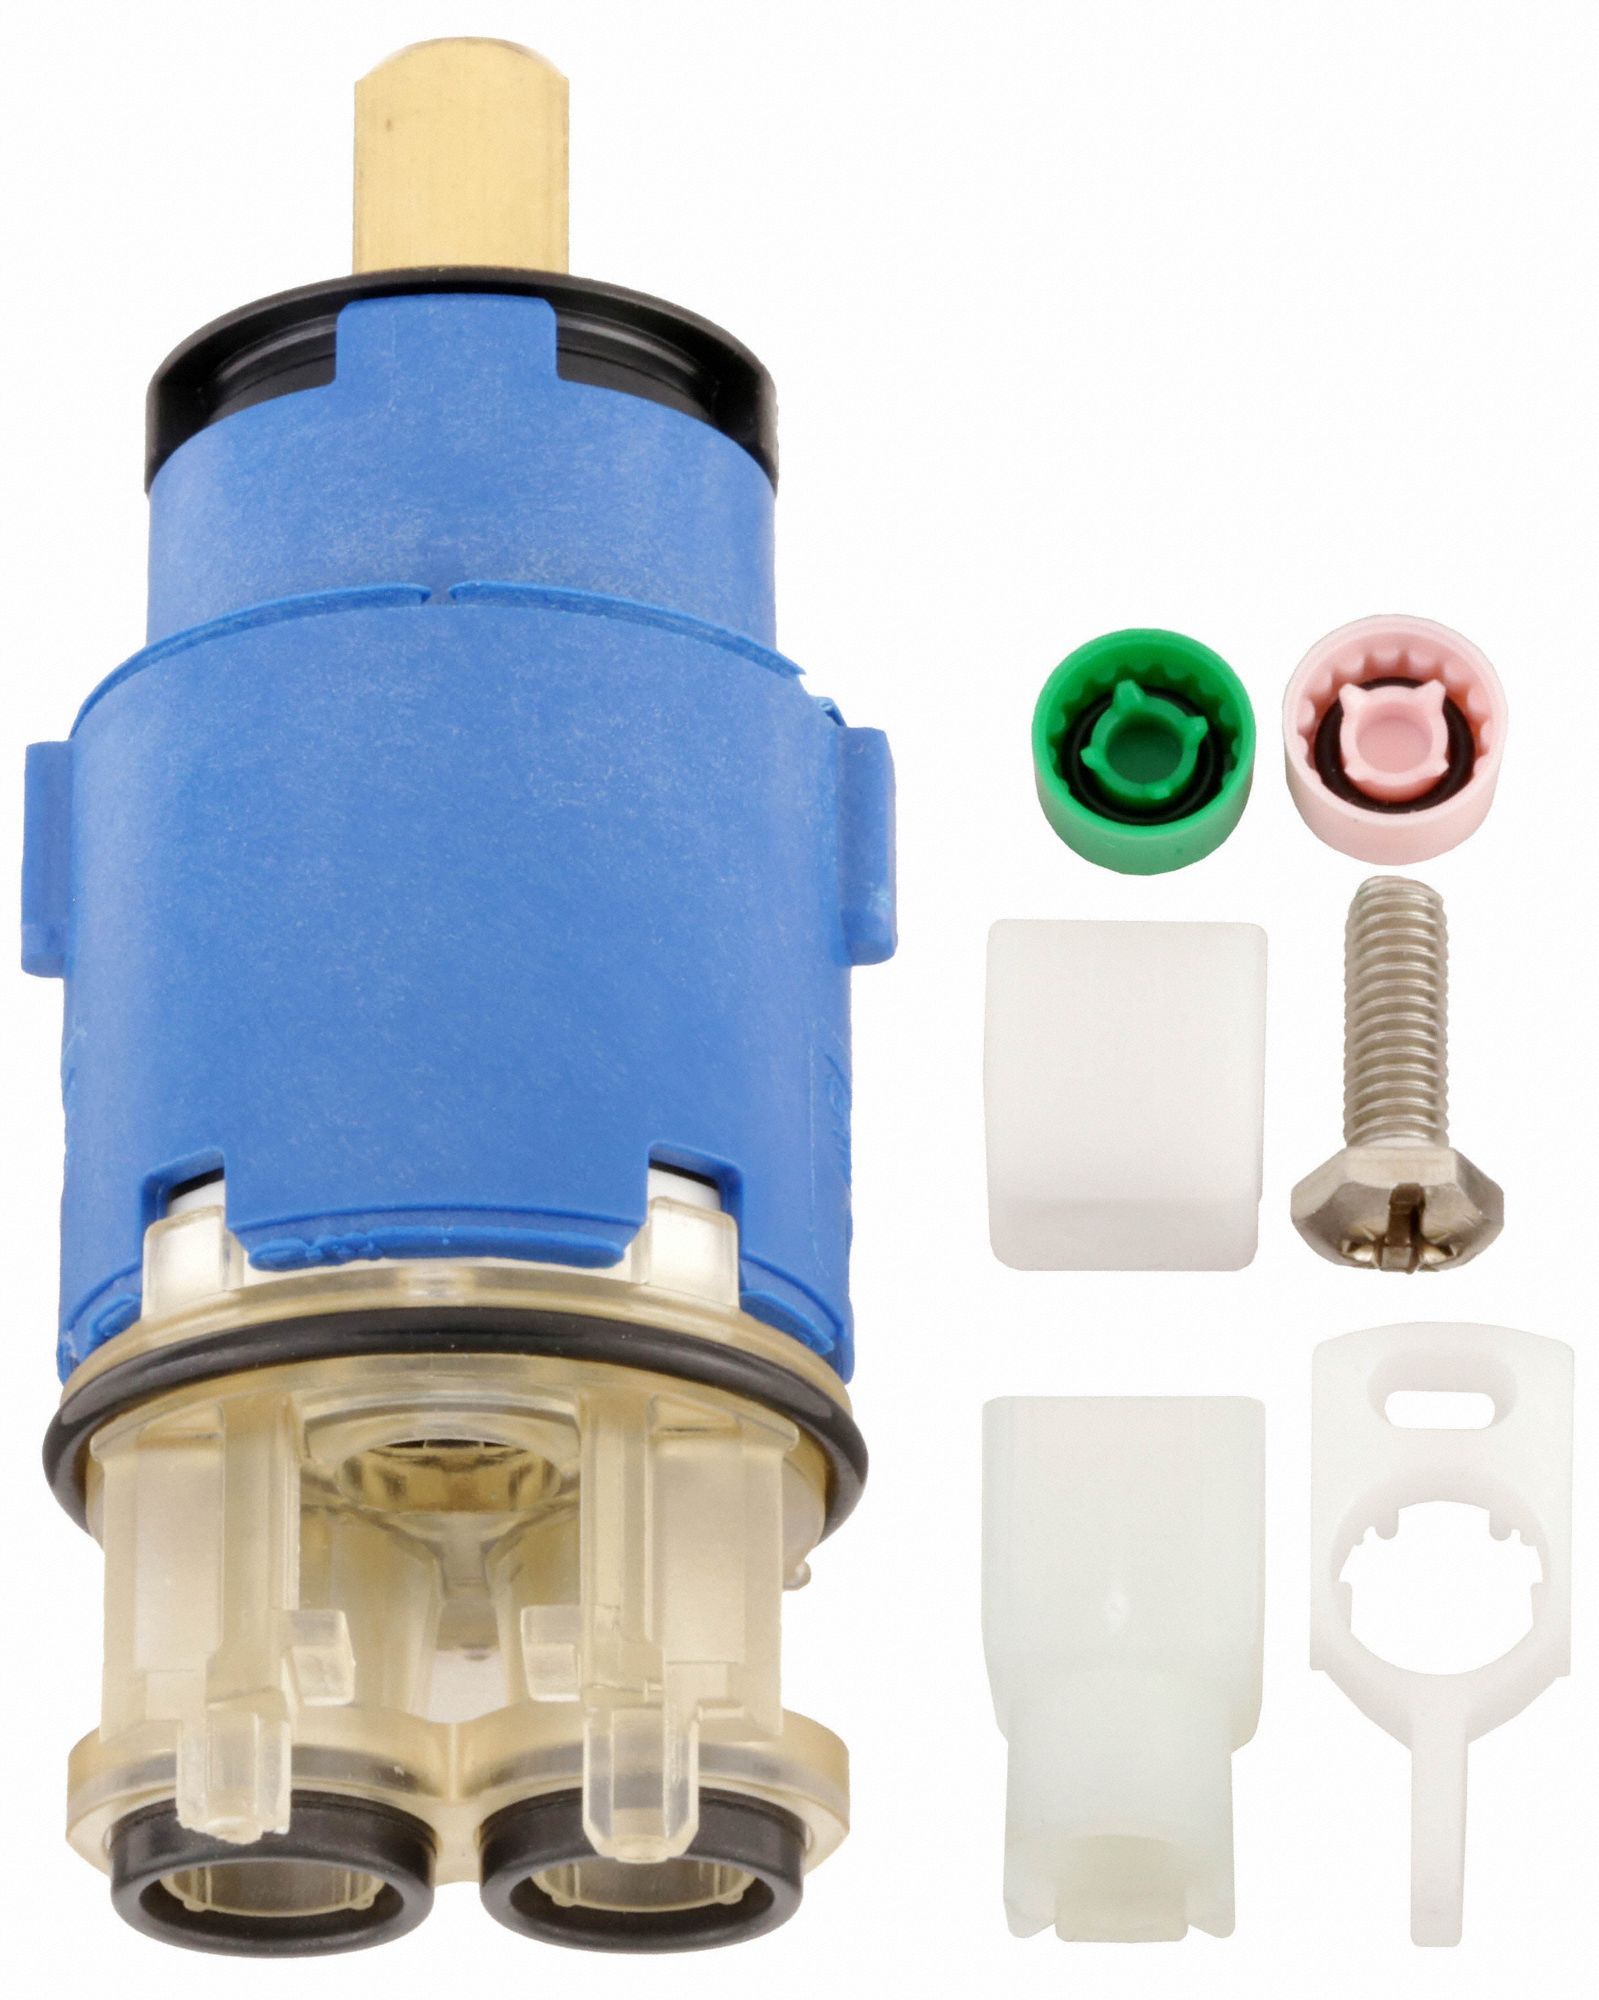
Changing the cartridge in your kitchen wall faucet is a DIY project that anyone can do with the right tools and knowledge. Not only will it save you money on a plumber, but it's also a quick and easy fix for a common household issue. Just follow the steps outlined in this guide, and you'll have your faucet running like new in no time.DIY: How to Change the Cartridge in Your Kitchen Wall Faucet
If you're short on time and just need a quick overview of the process, here are the essential steps to changing a cartridge in your kitchen wall faucet: Step 1: Turn off the water supply to your faucet. Step 2: Remove the handle and retaining nut. Step 3: Pull out the old cartridge. Step 4: Clean the inside of the faucet body. Step 5: Apply plumber's grease to the new cartridge. Step 6: Insert the new cartridge and reattach the retaining nut. Step 7: Replace the handle and turn the water supply back on.Quick and Easy Steps to Changing the Cartridge in Your Kitchen Wall Faucet
If this is your first time changing a cartridge in your kitchen wall faucet, don't worry. It may seem intimidating, but it's a simple process that anyone can do. Just make sure to follow the steps carefully and have the necessary tools and materials on hand. And remember, if you run into any issues, don't hesitate to call a professional plumber for assistance.Kitchen Wall Faucet Cartridge Replacement: A Beginner's Guide
Regular maintenance of your kitchen wall faucet, including changing the cartridge, is essential to keep it functioning properly. Over time, mineral buildup and debris can cause the cartridge to malfunction, resulting in leaks or reduced water flow. By regularly changing the cartridge, you can prevent these issues and ensure your faucet lasts for many years.The Importance of Regularly Changing the Cartridge in Your Kitchen Wall Faucet
While changing the cartridge in your kitchen wall faucet is a simple process, sometimes there may be other issues at play. Here are some common problems you may encounter and how to troubleshoot them: Leaky faucet: If your faucet continues to leak after replacing the cartridge, it may be due to a worn-out O-ring or a damaged valve seat. In this case, you may need to replace the entire faucet. Difficulty removing the cartridge: If the old cartridge is stuck, try using a cartridge puller tool to help remove it. If it still won't come out, you may need to call a professional plumber for assistance. Water flow issues: If the water flow is weak or inconsistent, there may be debris or mineral buildup in the faucet body. Try cleaning it out with a cloth or brush before installing the new cartridge.Troubleshooting: Common Issues with Kitchen Wall Faucet Cartridges and How to Fix Them
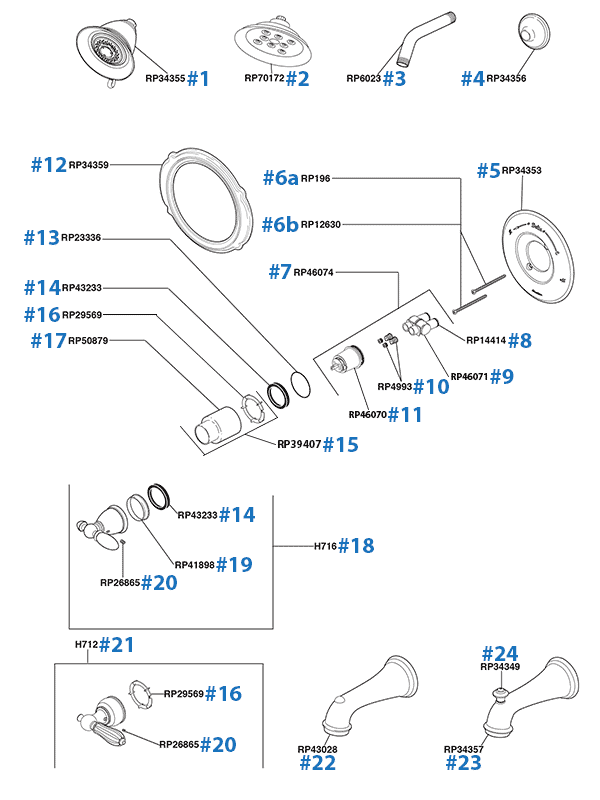
To successfully change the cartridge in your kitchen wall faucet, make sure you have the following tools and materials on hand: Tools: Allen wrench, pliers, cartridge puller (if needed) Materials: Replacement cartridge, plumber's greaseTools and Materials You Will Need to Change the Cartridge in Your Kitchen Wall Faucet
Here are some expert tips to keep in mind when changing the cartridge in your kitchen wall faucet: Tip #1: Always turn off the water supply before beginning the process. Tip #2: Use plumber's grease on the O-rings of the new cartridge to create a tight seal and prevent leaks. Tip #3: If the old cartridge is stuck, try using a cartridge puller tool to help remove it. Tip #4: Regularly clean the inside of the faucet body to prevent debris and mineral buildup.Expert Tips for Successfully Changing the Cartridge in Your Kitchen Wall Faucet
Why It's Important to Change the Cartridge in Your Kitchen Wall Faucet
Understanding Your Kitchen Wall Faucet
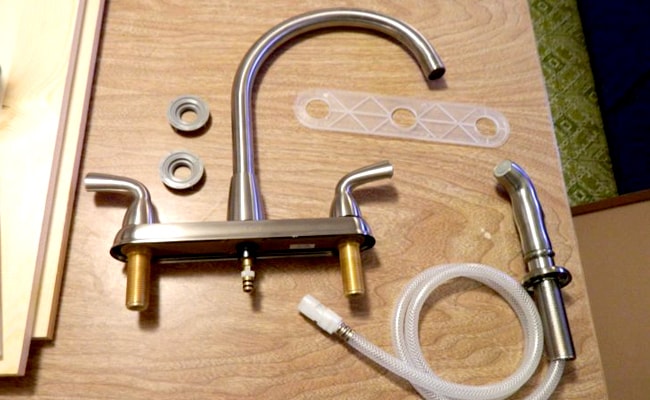
 When it comes to the design of your house, every detail matters. This includes the functionality and appearance of your kitchen wall faucet. This fixture is an essential part of your kitchen, providing you with access to clean water for cooking, cleaning, and drinking. Over time, the cartridge in your kitchen wall faucet can become worn out and need replacement.
The Significance of the Cartridge
 The
cartridge
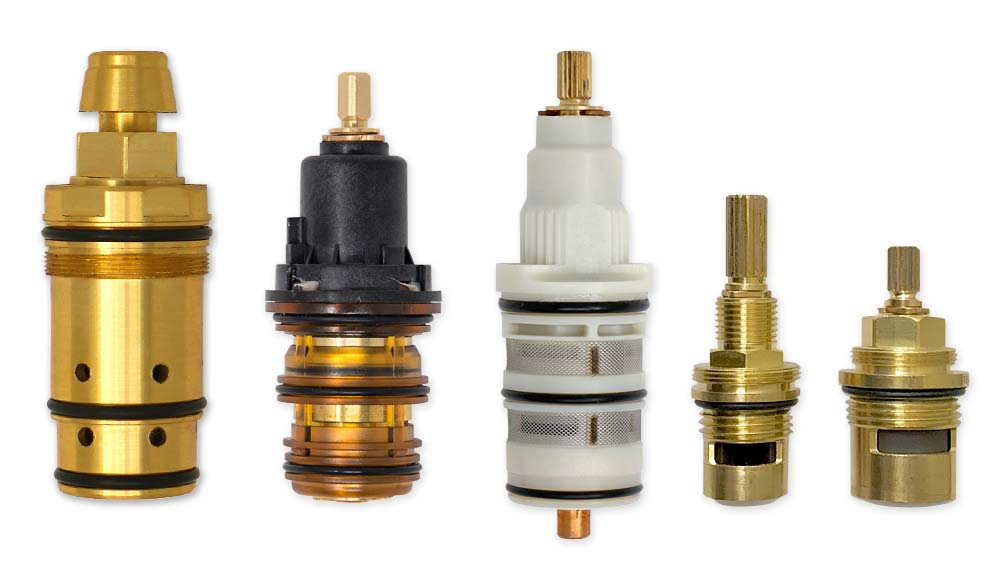
is the part of your kitchen wall faucet that controls the flow of water. It is responsible for mixing hot and cold water, as well as regulating the water pressure. A faulty cartridge can result in leaks, low water pressure, and even water contamination. That's why it's crucial to regularly check and replace the cartridge in your kitchen wall faucet.
How Often to Change the Cartridge
 The frequency of cartridge changes depends on the
quality
of your faucet, the
usage
of your kitchen, and the
hardness
of your water. As a general rule, it's recommended to replace the cartridge every 1-2 years. However, if you notice any signs of wear or damage, it's best to replace it immediately to prevent further issues.
The Importance of Professional Installation
 Changing the cartridge in your kitchen wall faucet may seem like a simple task, but it's best to leave it to the professionals. A
licensed plumber
has the knowledge and experience to properly install the new cartridge and ensure it's functioning correctly. They can also check for any other potential issues with your faucet and address them before they become major problems.
Conclusion
 In conclusion, maintaining and replacing the cartridge in your kitchen wall faucet is an important aspect of house design. It not only ensures the functionality of your faucet but also helps prevent any potential water damage or contamination. By understanding the significance of the cartridge and hiring a professional for installation, you can keep your kitchen running smoothly and maintain the overall design and functionality of your house.


.jpg)



















:max_bytes(150000):strip_icc()/fix-a-leaky-faucet-4103580-hero-1c73901efd7848888a3efe8850174711.jpg)






.jpeg)


