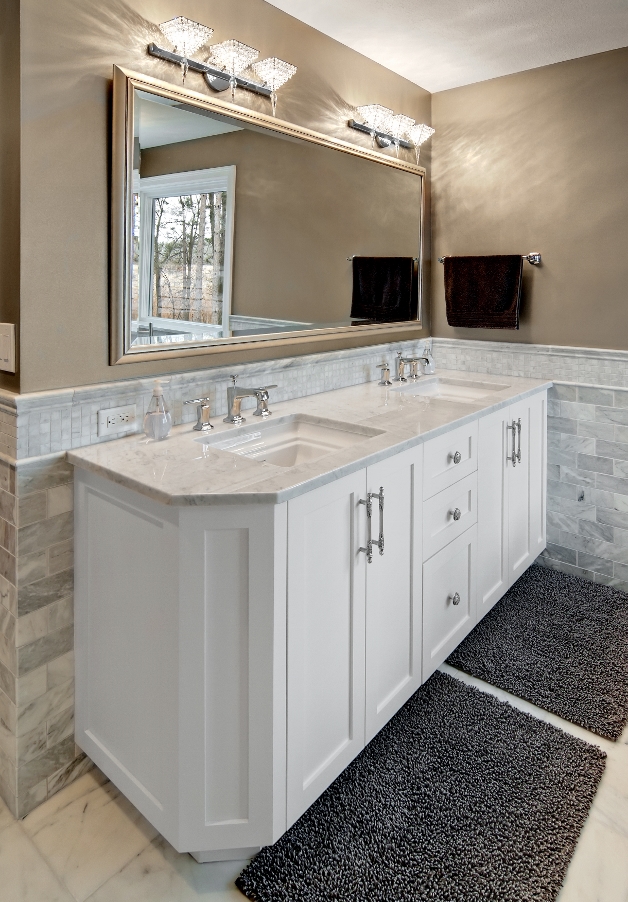
If you're remodeling your bathroom or just looking to freshen up your vanity top, one important step you don't want to skip is caulking. Caulk is a waterproof sealant that helps keep water and moisture from seeping into cracks and crevices. In this guide, we'll walk you through the steps of caulking your bathroom vanity top for a professional and long-lasting finish.How to Caulk a Bathroom Vanity Top


How to Caulk a Bathroom Vanity Top


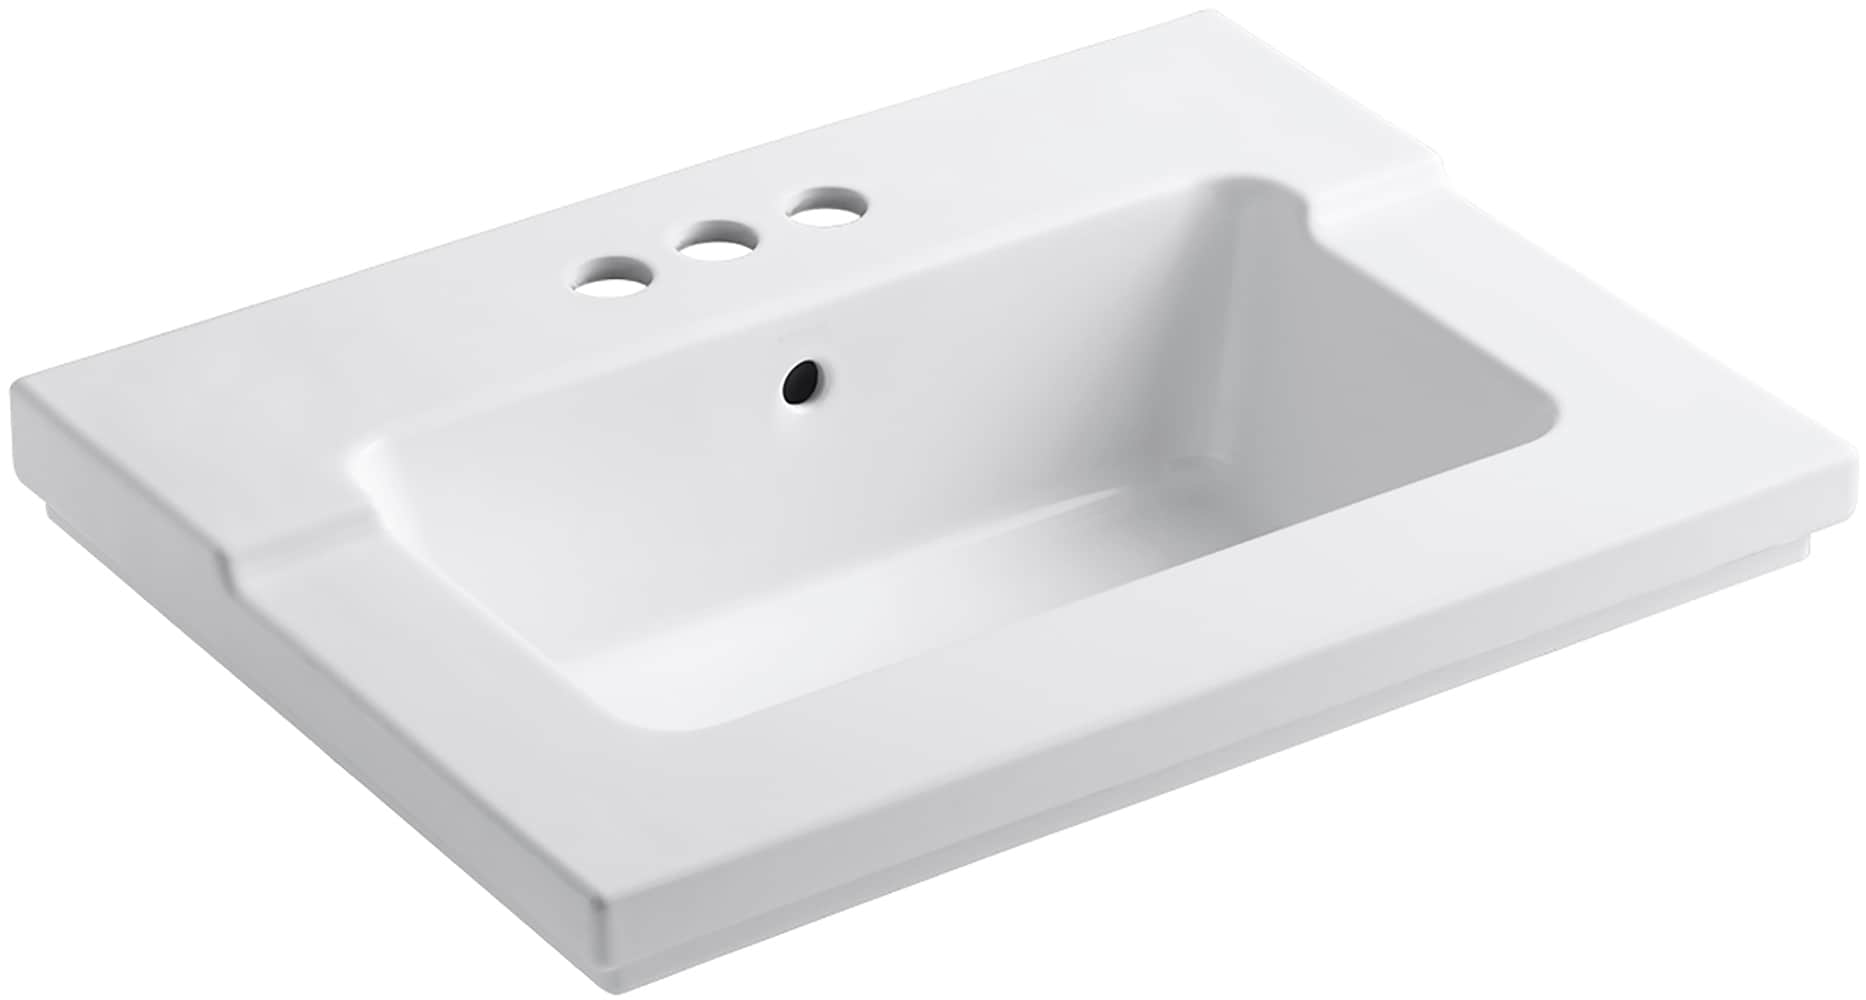
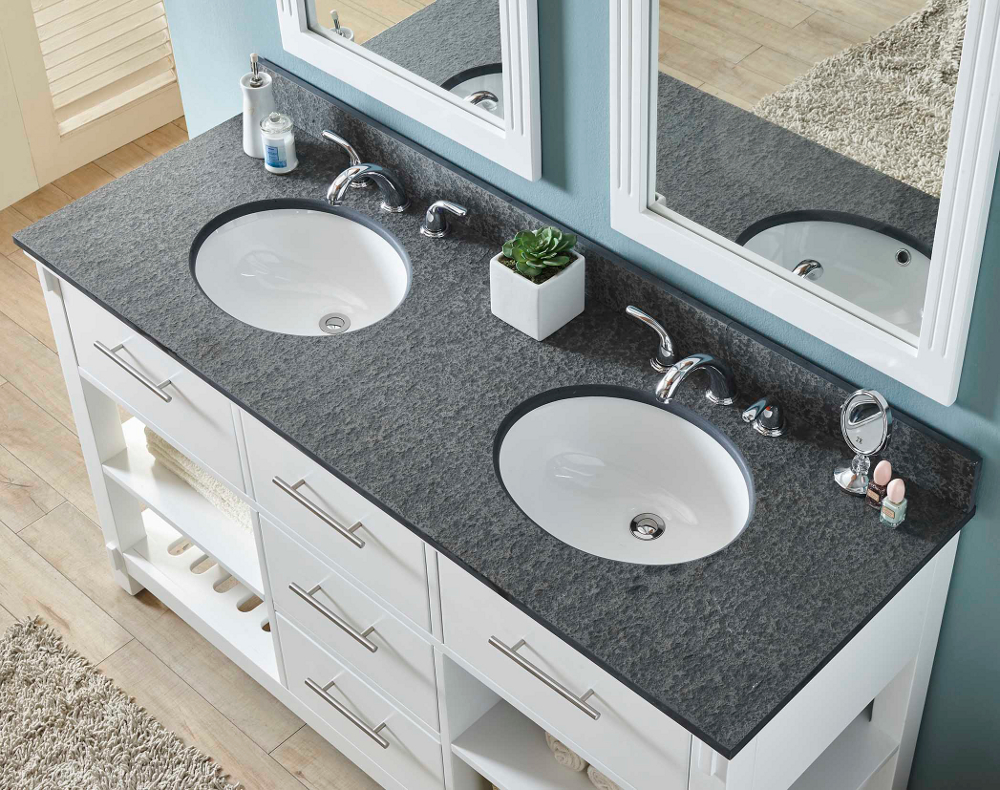
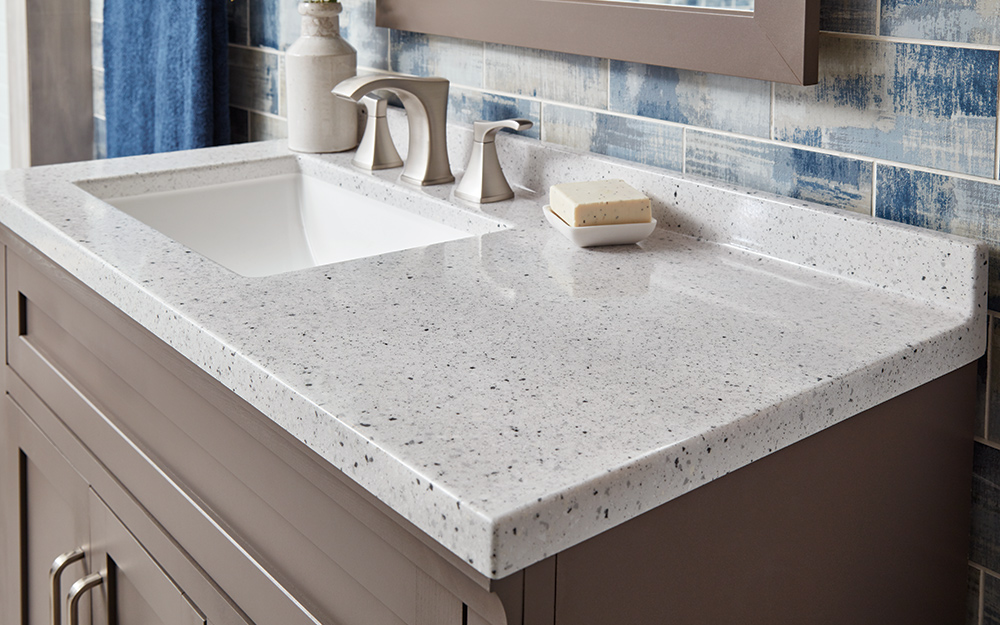
Not all caulks are created equal, so it's important to choose the right one for your bathroom vanity top. Look for a caulk that is specifically designed for use in bathrooms and is resistant to mold and mildew. Silicone caulk is a popular choice for its durability and ability to withstand water. It's also important to choose a caulk that matches the color of your vanity top for a seamless finish.Best Caulk for Bathroom Vanity Top


Best Caulk for Bathroom Vanity Top


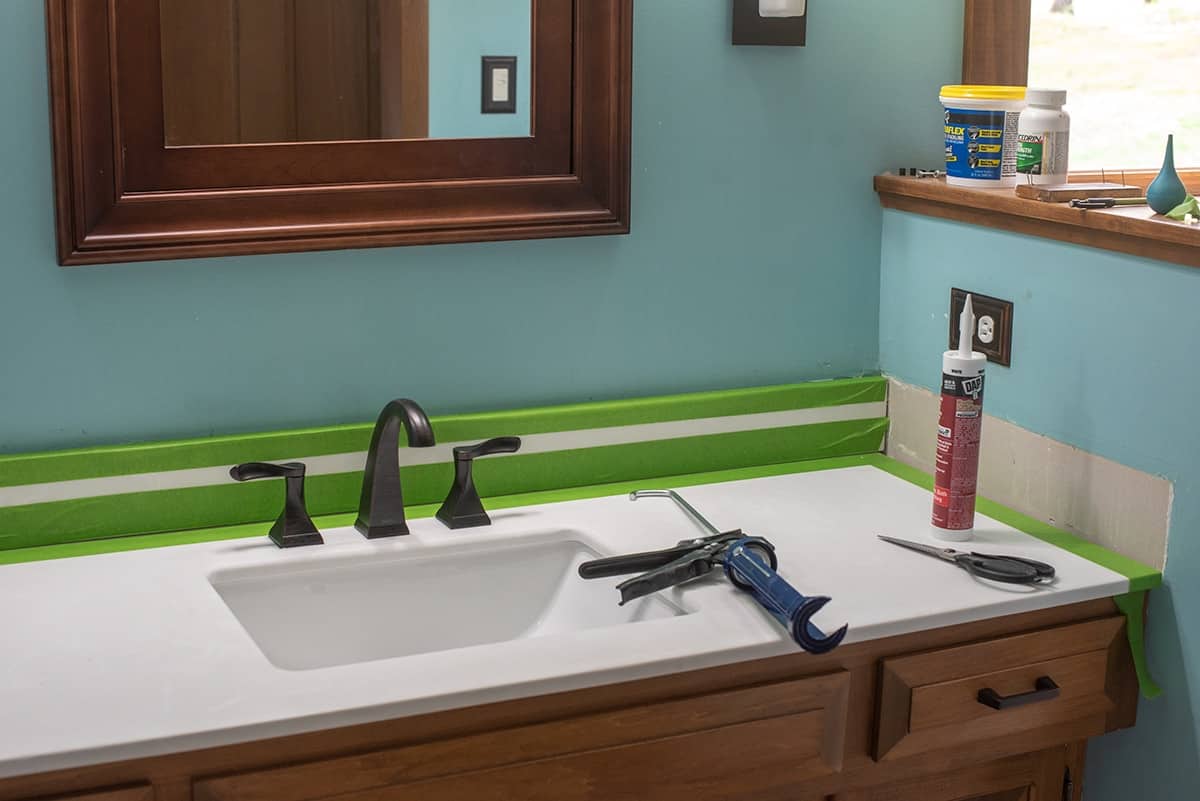
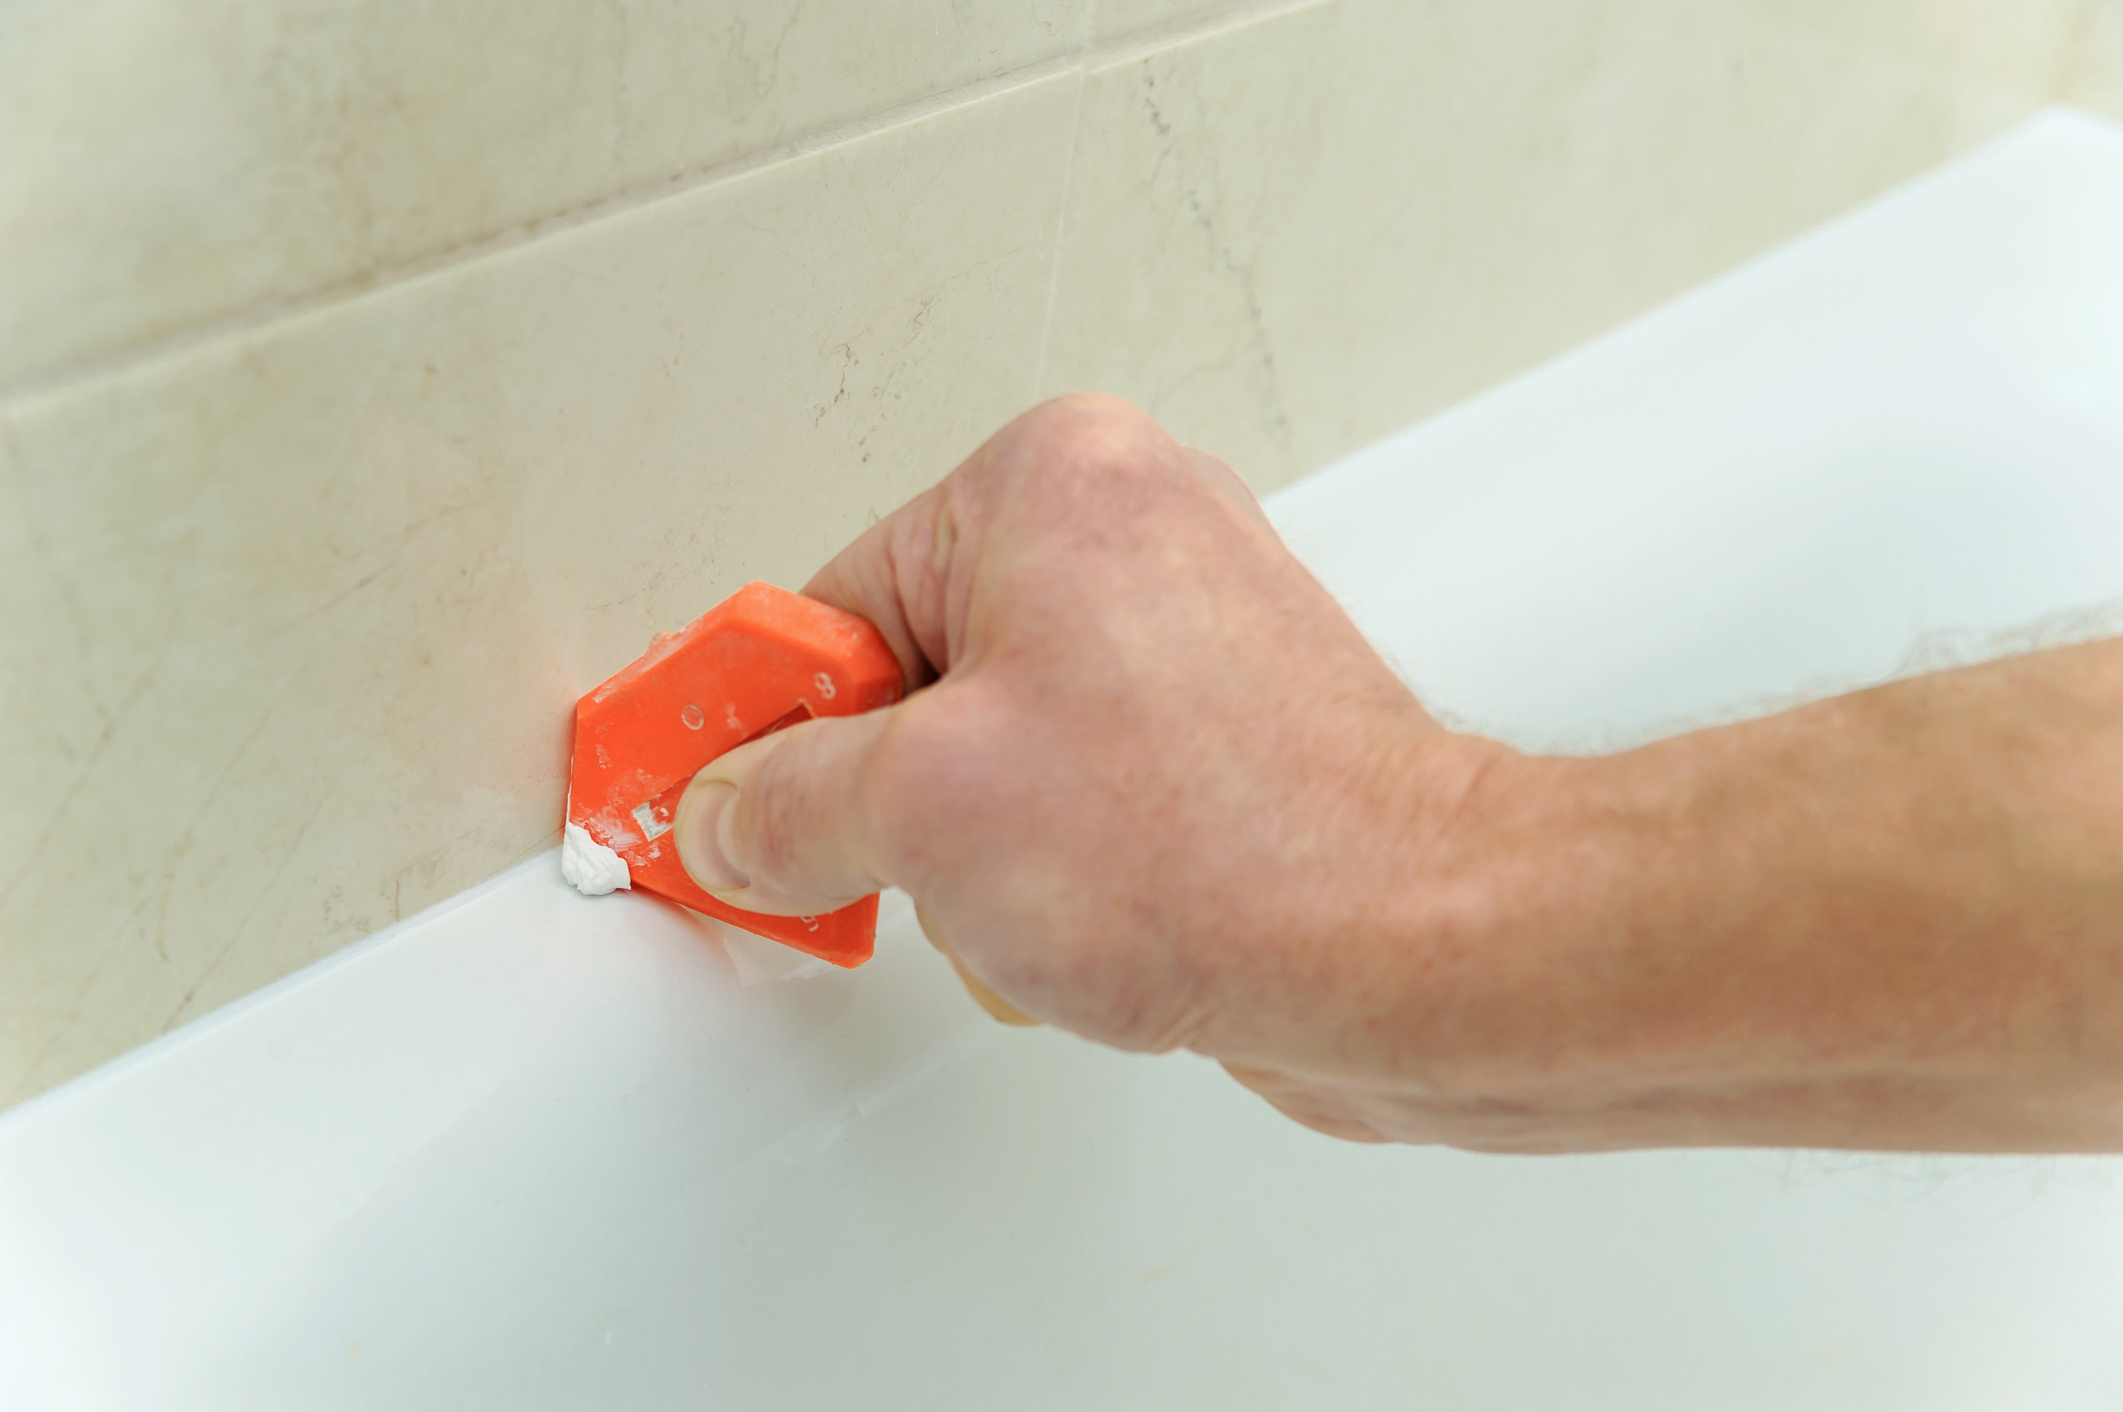
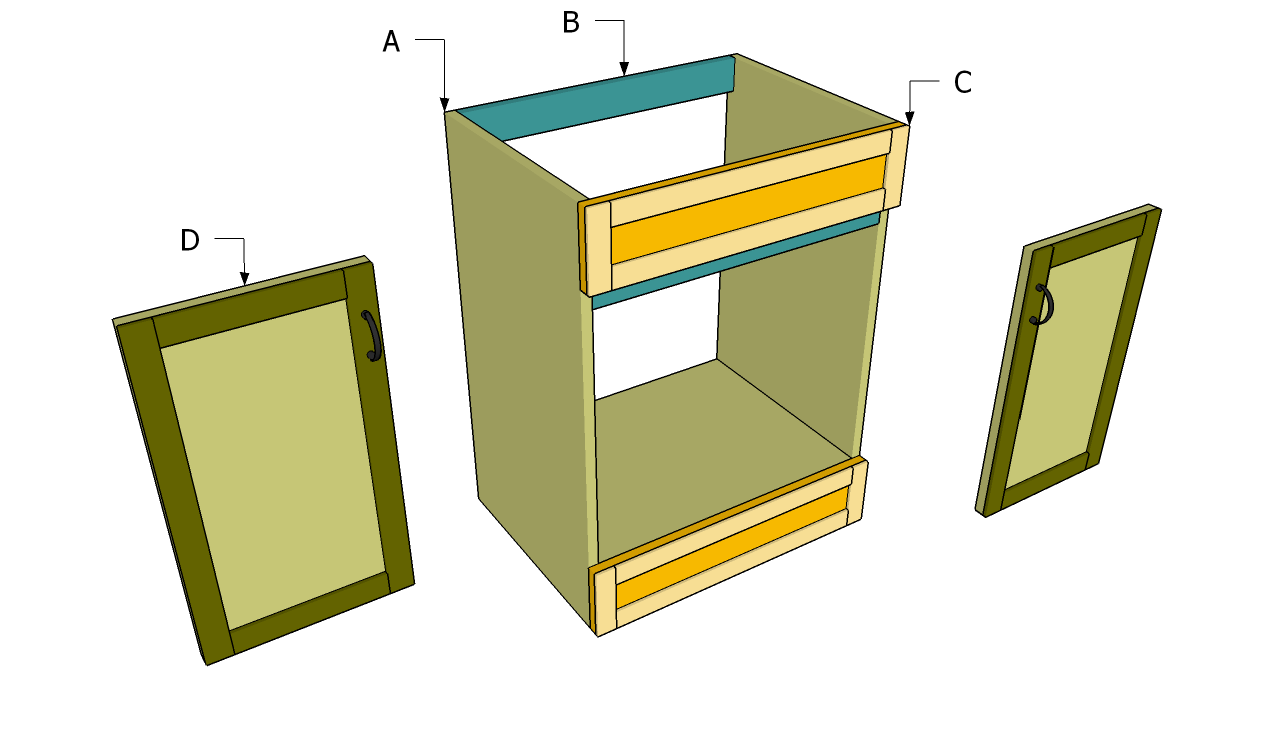
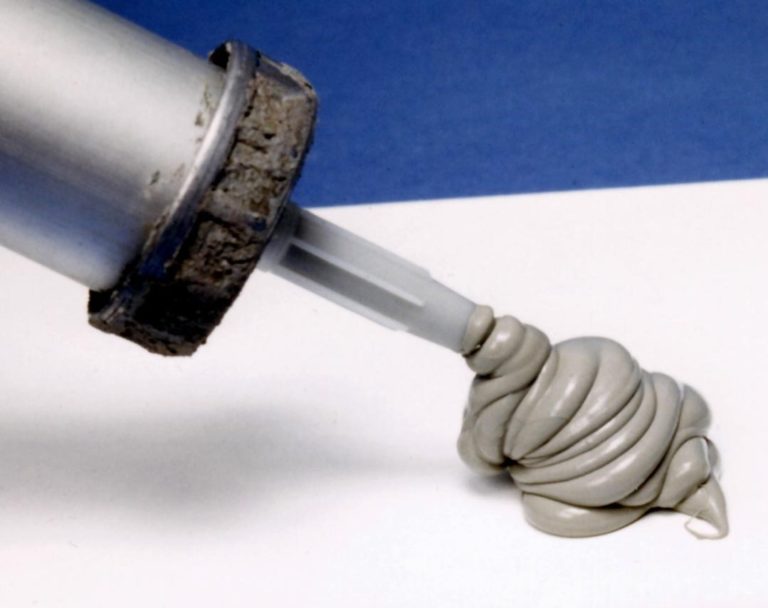
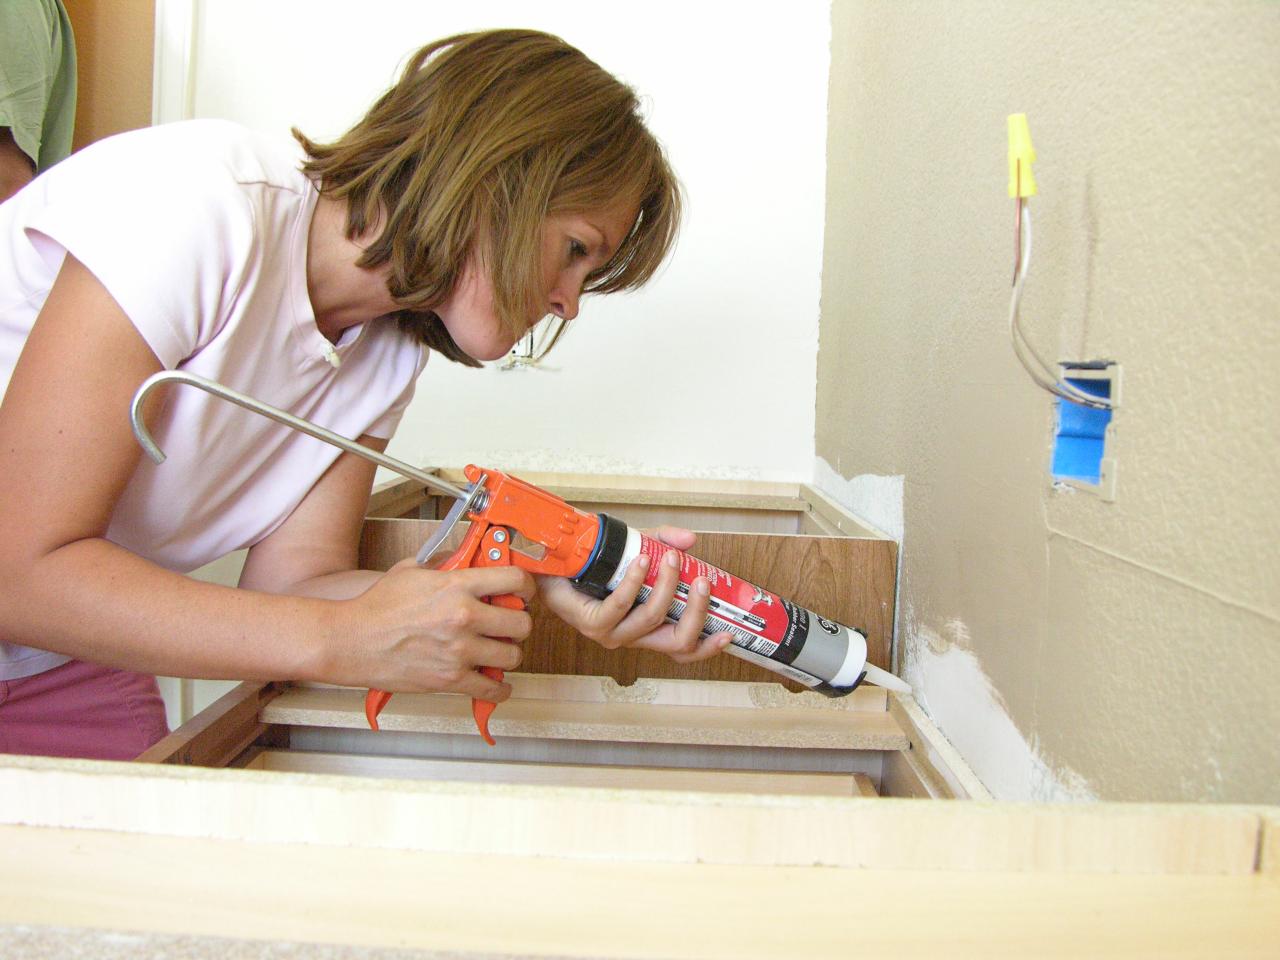
Before you begin, make sure to clean and dry the area thoroughly to ensure the caulk adheres properly. Here's a step-by-step guide on how to caulk your bathroom vanity top: Step 1: Cut the tip of the caulk tube at a 45-degree angle to create a small opening. Step 2: Apply a bead of caulk along the joint between the vanity top and the backsplash. Hold the caulk gun at a 45-degree angle and move it along the joint in a smooth and consistent motion. Step 3: Use a caulk smoothing tool or your finger to smooth out the caulk and create a clean finish. Wipe off any excess caulk with a damp cloth. Step 4: Repeat the process for the joints between the vanity top and the wall. Step 5: Let the caulk dry for at least 24 hours before using your vanity top.Step-by-Step Guide for Caulking a Bathroom Vanity Top


Step-by-Step Guide for Caulking a Bathroom Vanity Top


To achieve a professional-looking caulk job, follow these tips: Tip 1: Use a caulk gun for more control and precision. Tip 2: Use masking tape along the edges of the joint to create a straight line and prevent excess caulk from getting on the vanity top. Tip 3: Apply the caulk in one continuous line rather than stopping and starting. Tip 4: Work in small sections to prevent the caulk from drying too quickly.Tips for a Professional-Looking Caulk Job on a Bathroom Vanity Top


Tips for a Professional-Looking Caulk Job on a Bathroom Vanity Top


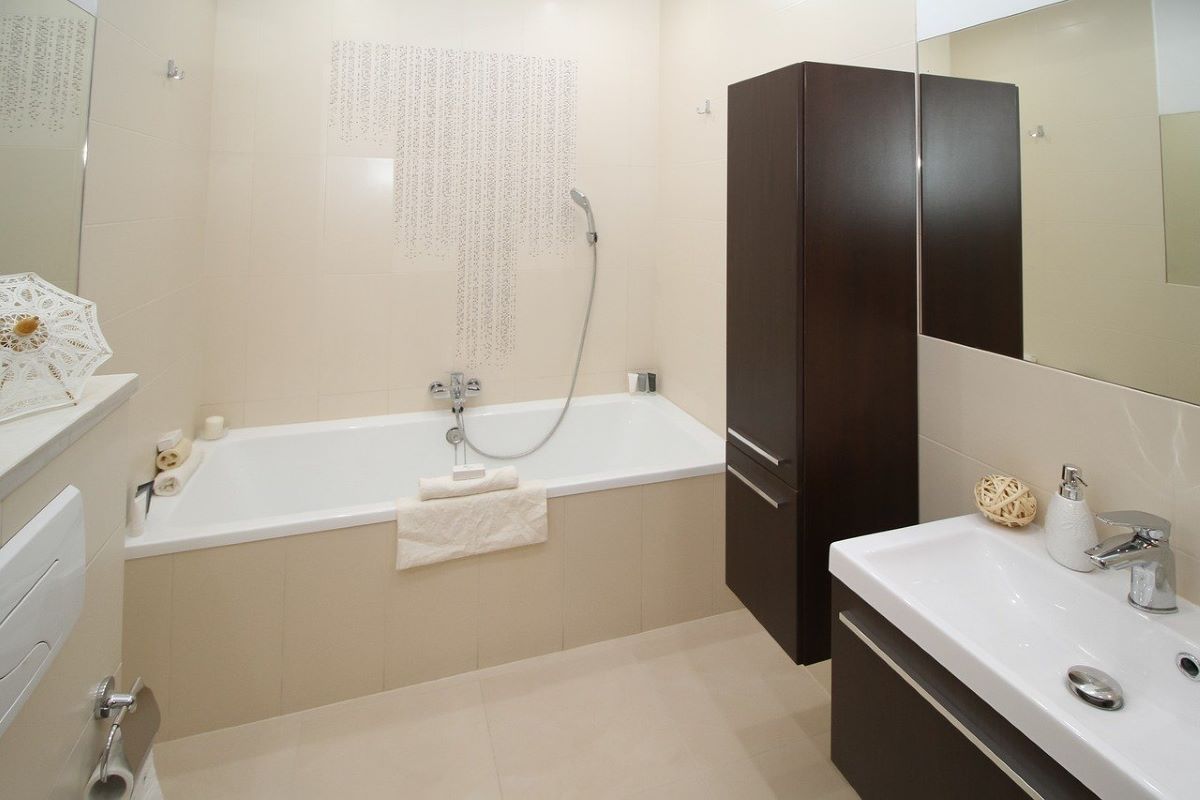
Caulking your bathroom vanity top not only helps prevent water damage, but it also improves the overall appearance of your bathroom. It creates a seamless and clean finish, making your vanity top look more polished and professional.Importance of Caulking a Bathroom Vanity Top


Importance of Caulking a Bathroom Vanity Top


There are a few common mistakes that people make when caulking their bathroom vanity top: Mistake 1: Not cleaning the area properly before applying caulk. Mistake 2: Using the wrong type of caulk. Mistake 3: Not smoothing out the caulk properly, resulting in an uneven and messy finish. Mistake 4: Applying too much or too little caulk. By avoiding these mistakes, you can ensure a successful and long-lasting caulk job.Common Mistakes to Avoid When Caulking a Bathroom Vanity Top


Common Mistakes to Avoid When Caulking a Bathroom Vanity Top


Here are some of the top caulking products for bathroom vanity tops: - GE Silicone II Kitchen and Bath Caulk: This caulk is specifically designed for use in kitchens and bathrooms and is resistant to mold and mildew. - DAP Kwik Seal Ultra Premium Kitchen and Bath Sealant: This caulk is waterproof and can be exposed to water in just 4 hours after application. - Red Devil 0405 Kitchen and Bath Caulk: This caulk is specially formulated for use in wet areas and is mildew-resistant.Top Caulking Products for Bathroom Vanity Tops


Top Caulking Products for Bathroom Vanity Tops

:max_bytes(150000):strip_icc()/Single-BasinBathroomVanityTopHuntshireVirtu-5672db5d3df78ccc15fa6a86.JPG)
:max_bytes(150000):strip_icc()/how-bathroom-vanity-tops-work-1821317-f7107f5d02904f6eaa96c51c62b03dfc.jpg)


It's recommended to check the caulk around your bathroom vanity top every year and re-caulk as needed. If you notice any cracks or gaps, it's time to re-caulk to prevent water damage.How Often Should You Caulk a Bathroom Vanity Top?


How Often Should You Caulk a Bathroom Vanity Top?


Caulking a bathroom vanity top is a relatively simple DIY task that can save you money. However, if you're not comfortable with DIY projects or want a flawless and long-lasting finish, it's best to hire a professional. They have the experience and tools to ensure a perfect caulk job.DIY vs Professional Caulking for Bathroom Vanity Tops


DIY vs Professional Caulking for Bathroom Vanity Tops


:max_bytes(150000):strip_icc()/diy-vs-professional-bathroom-remodeling-1821243-hero-37c289e8302a4d0586cedb55d96ebe8a.jpg)


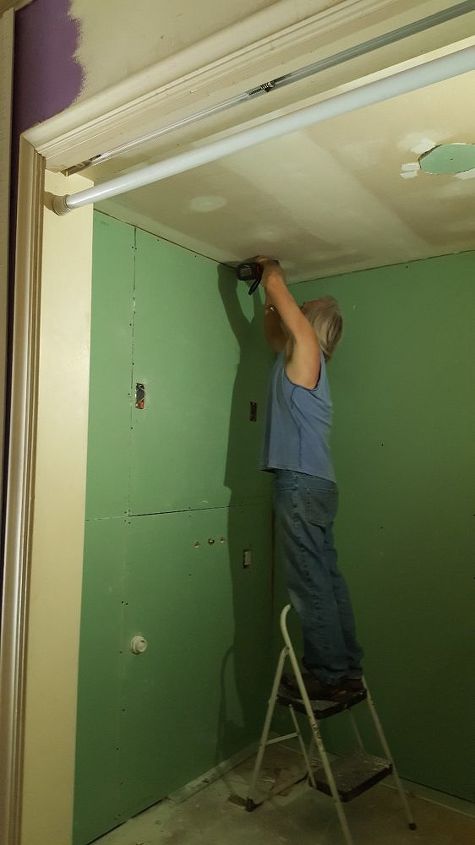
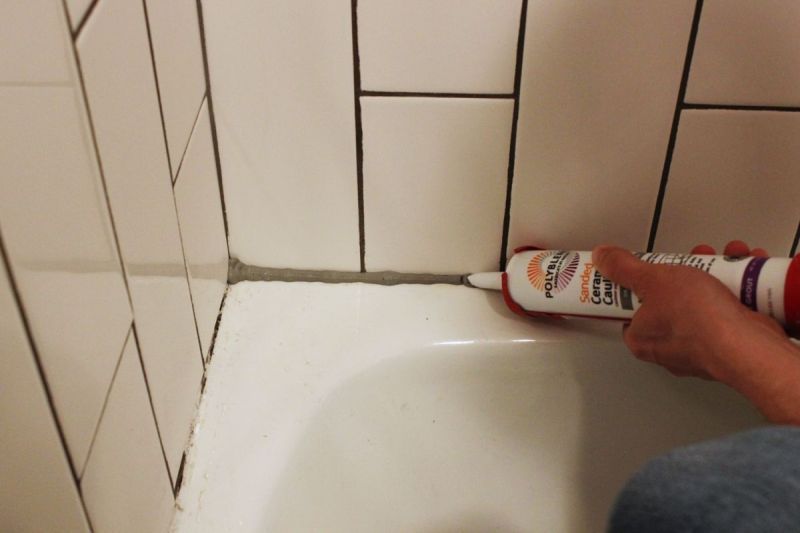
If you're re-caulking your bathroom vanity top, you'll need to remove the old caulk first. Here's how: Step 1: Use a utility knife or razor blade to cut along the edges of the caulk to loosen it. Step 2: Use a caulk removal tool or a putty knife to scrape off the old caulk. Step 3: Clean the area with a caulk remover or rubbing alcohol to remove any residue. Step 4: Let the area dry completely before applying new caulk. By following these tips and steps, you can achieve a professional and long-lasting caulk job on your bathroom vanity top. Remember to regularly check and maintain your caulk to prevent any potential water damage. Happy caulking!How to Remove Old Caulk from a Bathroom Vanity Top


How to Remove Old Caulk from a Bathroom Vanity Top
:max_bytes(150000):strip_icc()/how-to-remove-old-caulk-1824827-01-3d0370c59e124dbbaa6560c68bab111c.jpg)


Caulking Bathroom Vanity Top: A Vital Step in Bathroom Design

Why Caulking is Important for your Bathroom Vanity Top
 Caulking is a vital step in the installation process of a bathroom vanity top. It involves filling in the gaps between the vanity top and the wall or backsplash using a waterproof sealant. This may seem like a small and insignificant step, but it plays a crucial role in maintaining the overall look and functionality of your bathroom.
Caulking provides a watertight seal
that prevents water from seeping into the gaps and causing damage to the walls or vanity top. It also prevents mold and mildew growth, which can be harmful to your health and difficult to remove.
Caulking is a vital step in the installation process of a bathroom vanity top. It involves filling in the gaps between the vanity top and the wall or backsplash using a waterproof sealant. This may seem like a small and insignificant step, but it plays a crucial role in maintaining the overall look and functionality of your bathroom.
Caulking provides a watertight seal
that prevents water from seeping into the gaps and causing damage to the walls or vanity top. It also prevents mold and mildew growth, which can be harmful to your health and difficult to remove.
The Benefits of Caulking your Bathroom Vanity Top
 Aside from protecting your bathroom from water damage and mold, caulking also has other benefits. First, it
creates a seamless and polished look
for your vanity top. This is especially important if you have chosen a beautiful and expensive vanity top material, such as marble or granite. Caulking ensures that the edges of the vanity top are smooth and even, enhancing the overall aesthetic of your bathroom.
Moreover, caulking
prevents dirt and debris from getting stuck in the gaps
between the vanity top and the wall. This makes cleaning and maintenance much easier, as you can simply wipe the surface without having to worry about scrubbing out hard-to-reach areas.
Aside from protecting your bathroom from water damage and mold, caulking also has other benefits. First, it
creates a seamless and polished look
for your vanity top. This is especially important if you have chosen a beautiful and expensive vanity top material, such as marble or granite. Caulking ensures that the edges of the vanity top are smooth and even, enhancing the overall aesthetic of your bathroom.
Moreover, caulking
prevents dirt and debris from getting stuck in the gaps
between the vanity top and the wall. This makes cleaning and maintenance much easier, as you can simply wipe the surface without having to worry about scrubbing out hard-to-reach areas.
How to Caulk your Bathroom Vanity Top
 Caulking may seem like a daunting task, but it can be easily done with the right tools and techniques. First, make sure to
clean the area thoroughly
before applying the caulk. Use a mild cleaner and a brush to remove any dirt, grime, or old caulk.
Next,
choose a high-quality caulk
that is specifically designed for bathroom use and is mold and mildew resistant. Cut the tip of the caulk tube at a 45-degree angle and insert it into a caulk gun. Apply a thin and even bead of caulk along the edges of the vanity top, smoothing it out with your finger or a caulk smoothing tool.
Finally,
allow the caulk to dry completely
before using your bathroom. This usually takes around 24 hours, but it may vary depending on the type of caulk used. Once dry, your bathroom vanity top will have a clean and professional finish that will last for years to come.
In conclusion, caulking your bathroom vanity top is an important step in bathroom design. It not only protects your bathroom from water damage and mold, but also enhances its appearance and makes cleaning and maintenance easier. Make sure to use high-quality caulk and follow proper techniques for a seamless and professional finish.
Caulking may seem like a daunting task, but it can be easily done with the right tools and techniques. First, make sure to
clean the area thoroughly
before applying the caulk. Use a mild cleaner and a brush to remove any dirt, grime, or old caulk.
Next,
choose a high-quality caulk
that is specifically designed for bathroom use and is mold and mildew resistant. Cut the tip of the caulk tube at a 45-degree angle and insert it into a caulk gun. Apply a thin and even bead of caulk along the edges of the vanity top, smoothing it out with your finger or a caulk smoothing tool.
Finally,
allow the caulk to dry completely
before using your bathroom. This usually takes around 24 hours, but it may vary depending on the type of caulk used. Once dry, your bathroom vanity top will have a clean and professional finish that will last for years to come.
In conclusion, caulking your bathroom vanity top is an important step in bathroom design. It not only protects your bathroom from water damage and mold, but also enhances its appearance and makes cleaning and maintenance easier. Make sure to use high-quality caulk and follow proper techniques for a seamless and professional finish.