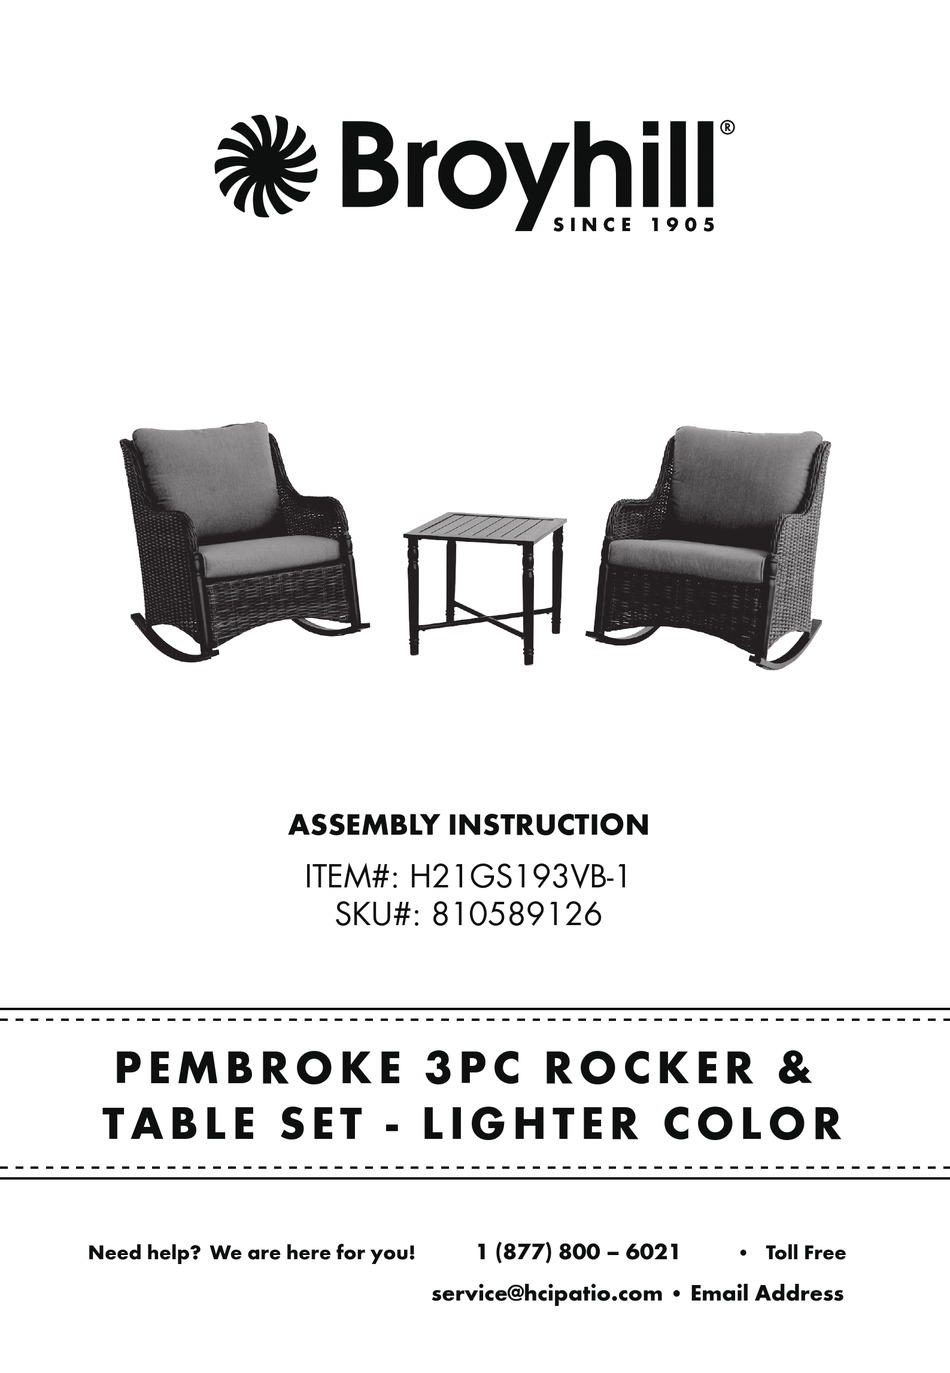
Broyhill Haywick Living Room Sectional Assembly Instructions
If you've recently purchased the Broyhill Haywick Living Room Sectional, congratulations on your new stylish and comfortable seating arrangement! However, before you can kick back and relax, you'll need to assemble your new sectional. Don't worry, we've got you covered with these top 10 Broyhill Haywick Living Room Sectional Assembly Instructions.


Broyhill Haywick Living Room Sectional Assembly Instructions


Broyhill Haywick Sectional Assembly
First things first, make sure you have all the necessary parts and tools before beginning assembly. This includes the sectional pieces, hardware, and any necessary tools such as a screwdriver or Allen wrench. Lay out all the pieces in the order they will be assembled to make the process easier.


Broyhill Haywick Sectional Assembly


:quality(70)/cloudfront-us-east-1.images.arcpublishing.com/cmg/QNP2RAYLD5FPFBFCJLDSMW2MAI.png)
Broyhill Haywick Living Room Assembly
Start by attaching the arms to the base of the sectional. Use the provided screws and follow the instructions carefully to ensure they are securely attached. Next, attach the backrest to the base using the provided brackets and screws. Make sure the backrest is aligned properly before tightening the screws.


Broyhill Haywick Living Room Assembly


Broyhill Haywick Assembly Instructions
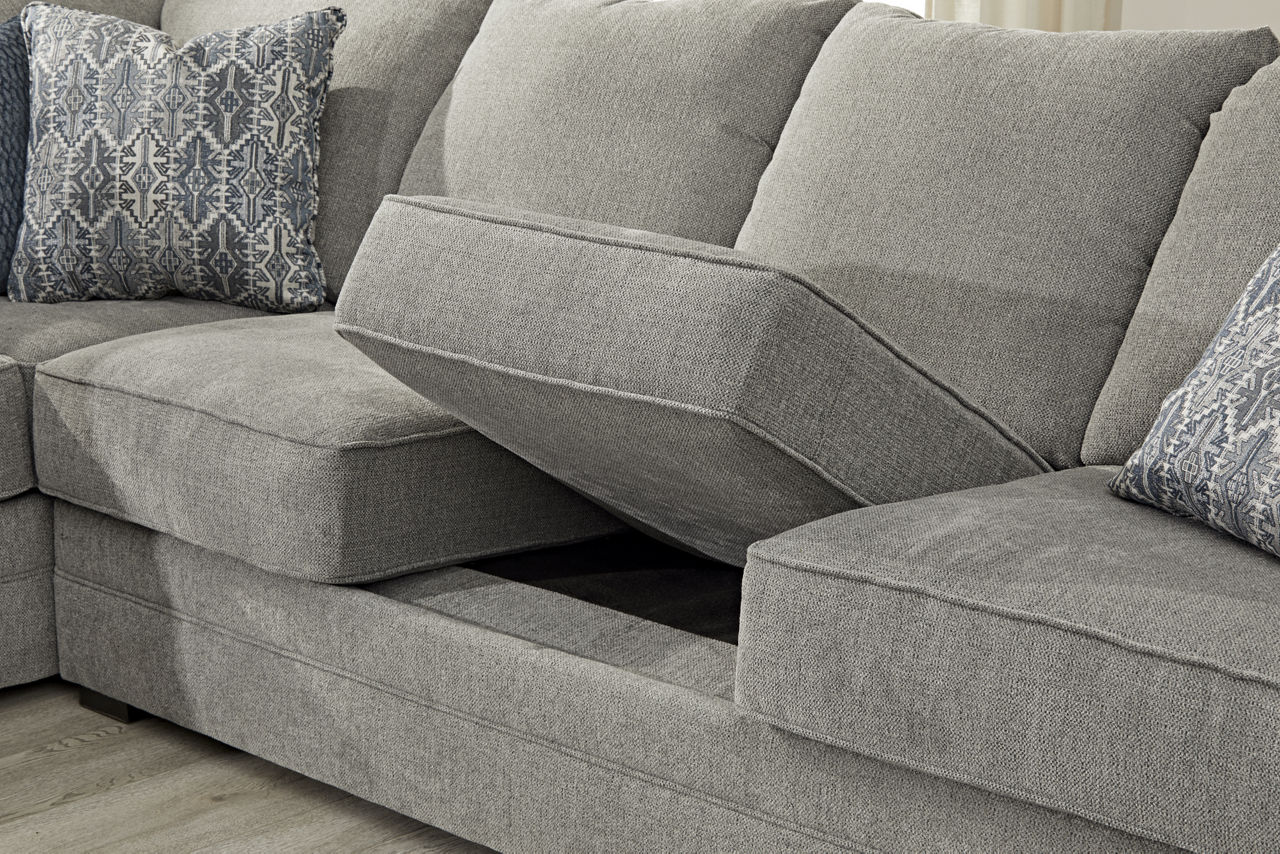
Once the base and backrest are assembled, it's time to attach the seat cushions. Place the cushions on the base, making sure they are aligned properly and evenly spaced. Use the provided Velcro strips to secure the cushions to the base for a snug fit.


Broyhill Haywick Assembly Instructions


Broyhill Haywick Sectional Instructions
Next, attach the back cushions to the backrest using the provided brackets and screws. Again, make sure the cushions are aligned properly before tightening the screws. If your sectional comes with additional throw pillows, now is the time to add those to complete the look.


Broyhill Haywick Sectional Instructions

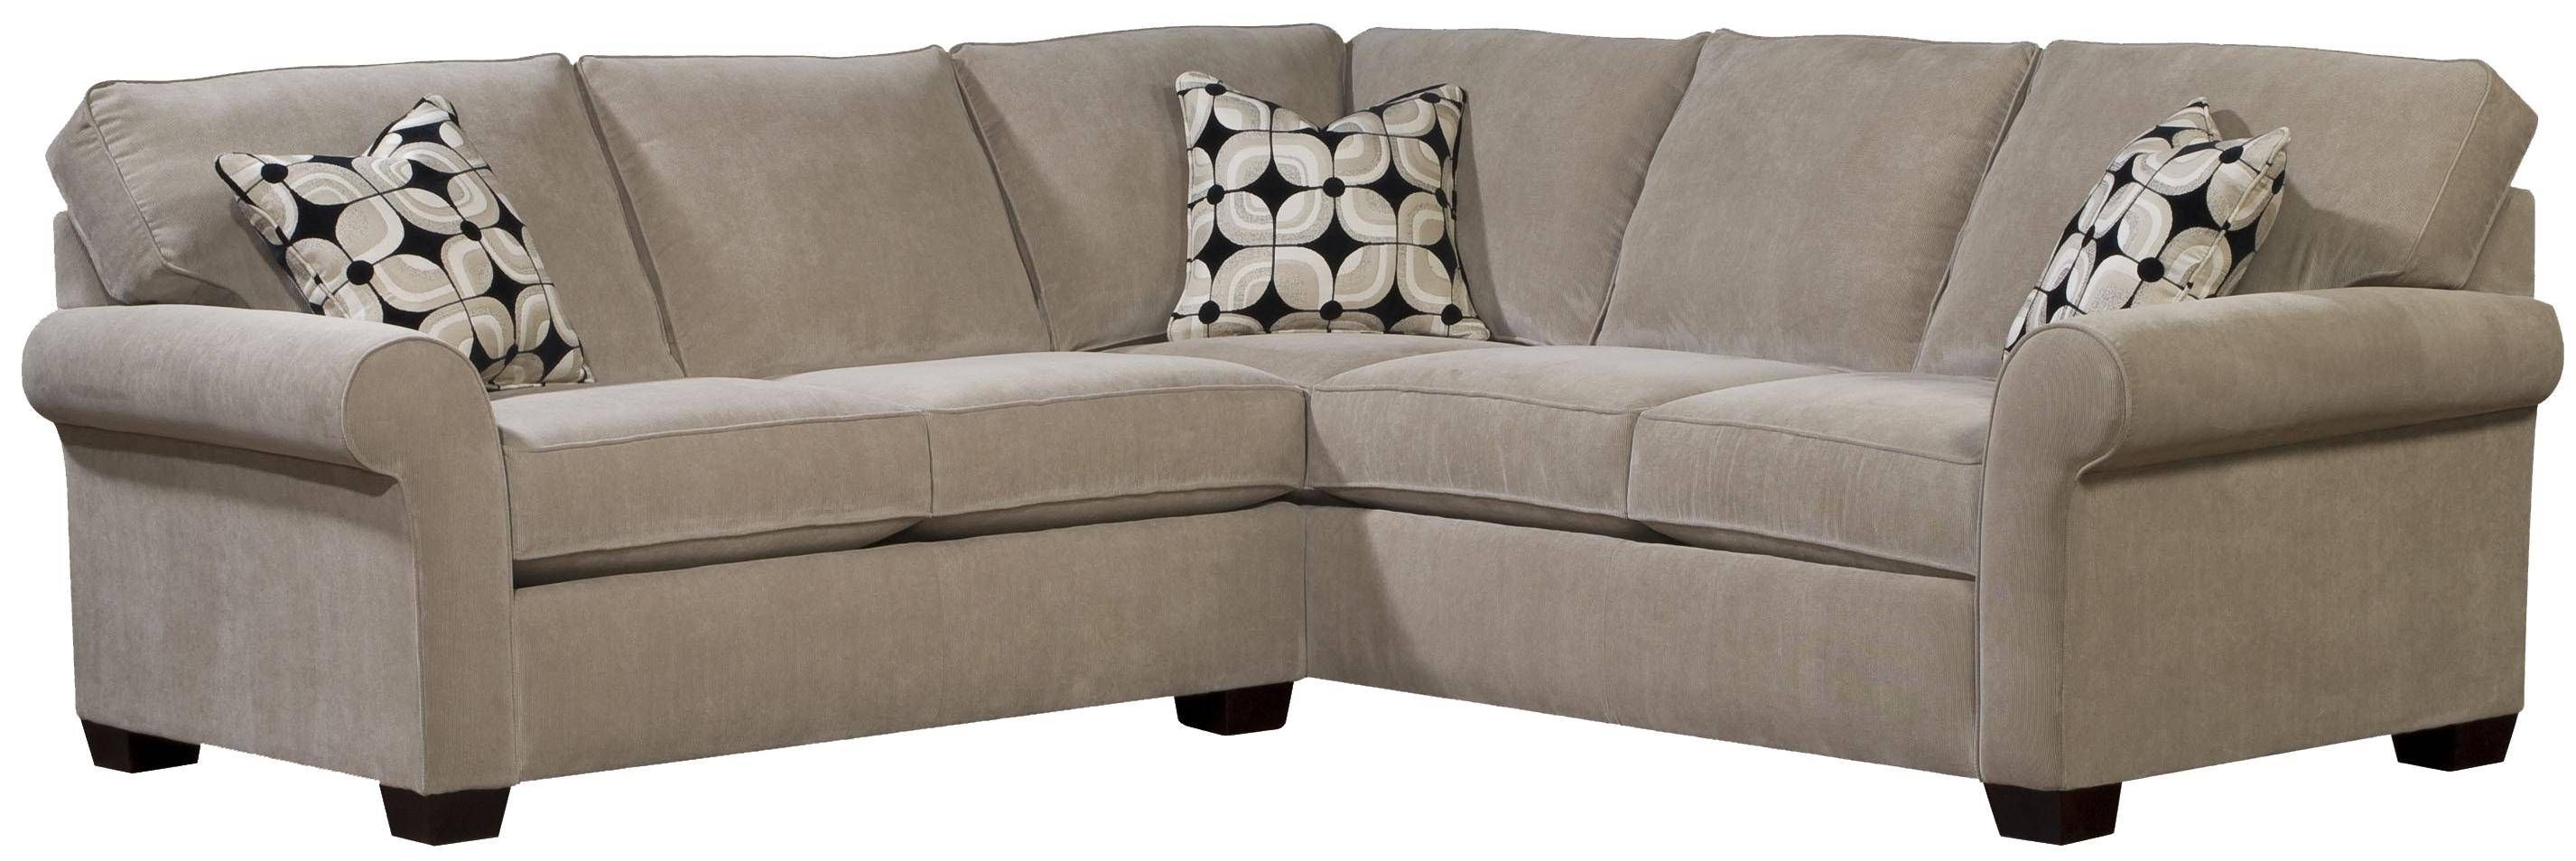
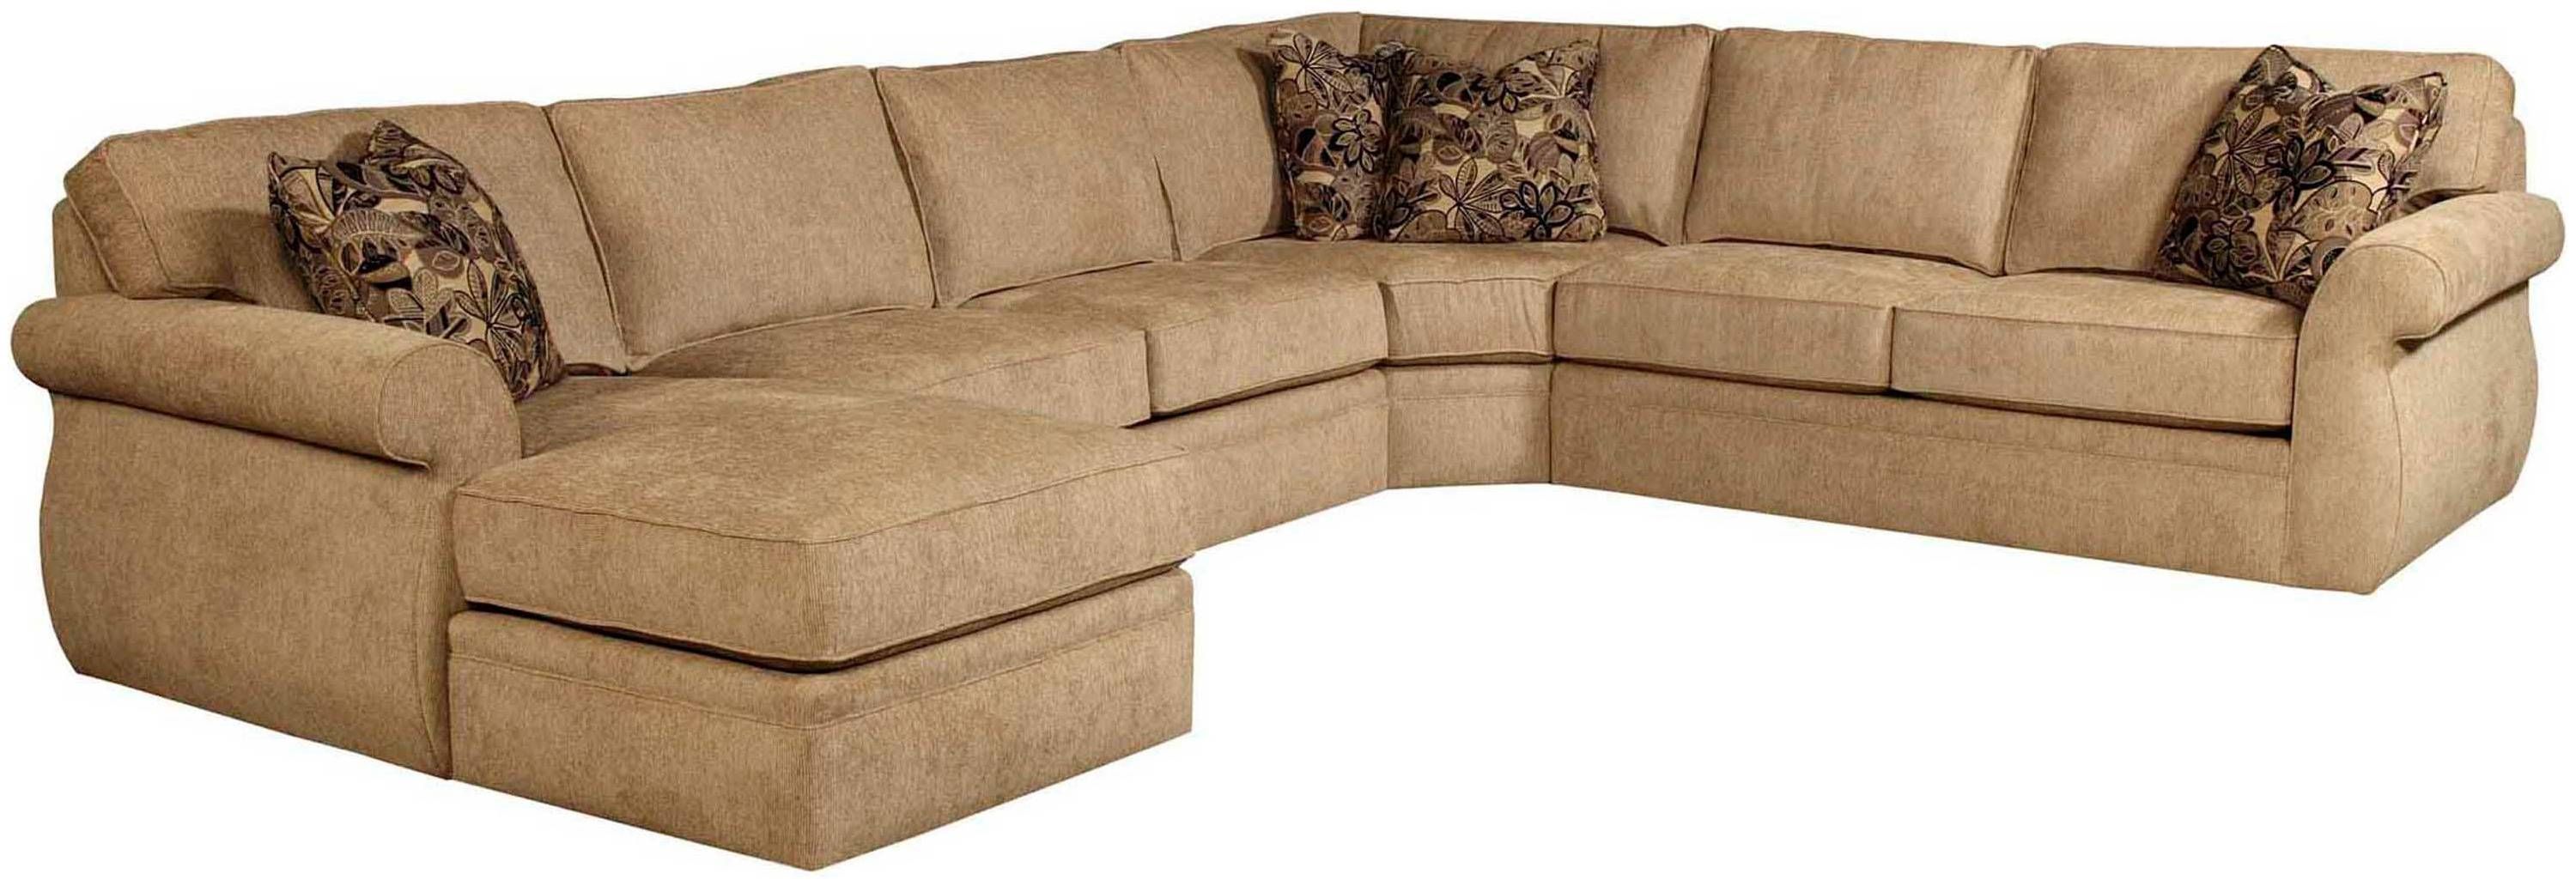
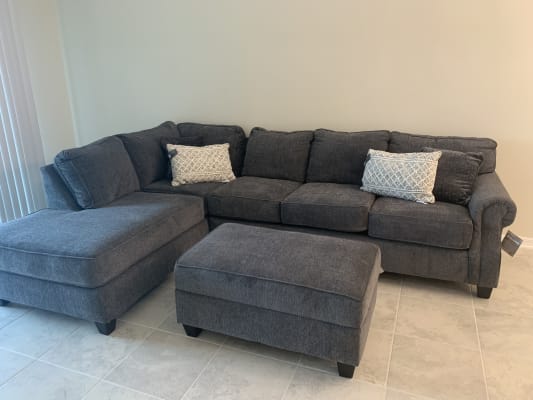
Broyhill Haywick Living Room Sectional
If your sectional has a chaise, now is the time to attach it to the base. Use the provided brackets and hardware to secure the chaise to the base. Make sure it is aligned properly and securely attached for added stability.


Broyhill Haywick Living Room Sectional


Broyhill Haywick Assembly
Once all the pieces are assembled, it's time to connect them together. Use the provided clips or brackets to attach each piece to the next. Make sure they are securely attached for a sturdy and stable sectional.
Broyhill Haywick Assembly


Broyhill Haywick Living Room
For added comfort and support, you can adjust the legs of your sectional to your desired height. Simply screw the legs in or out to achieve the desired height. Make sure all the legs are adjusted evenly to ensure the sectional sits level on your floor.


Broyhill Haywick Living Room


Broyhill Haywick Sectional
Lastly, give your sectional a quick once-over to make sure all the pieces are securely attached and aligned properly. Sit on the sectional to test its stability and make any necessary adjustments. Once you're satisfied, you can sit back, relax, and enjoy your new Broyhill Haywick Living Room Sectional!

Broyhill Haywick Sectional

Broyhill Haywick Instructions
Remember to periodically check and tighten any screws or brackets to ensure your sectional stays in top condition. With proper care and maintenance, your Broyhill Haywick Living Room Sectional will provide you with years of comfort and style.
Now that you have these top 10 Broyhill Haywick Living Room Sectional Assembly Instructions, you can confidently assemble your new sectional and start enjoying it in no time. Happy assembling!

Broyhill Haywick Instructions


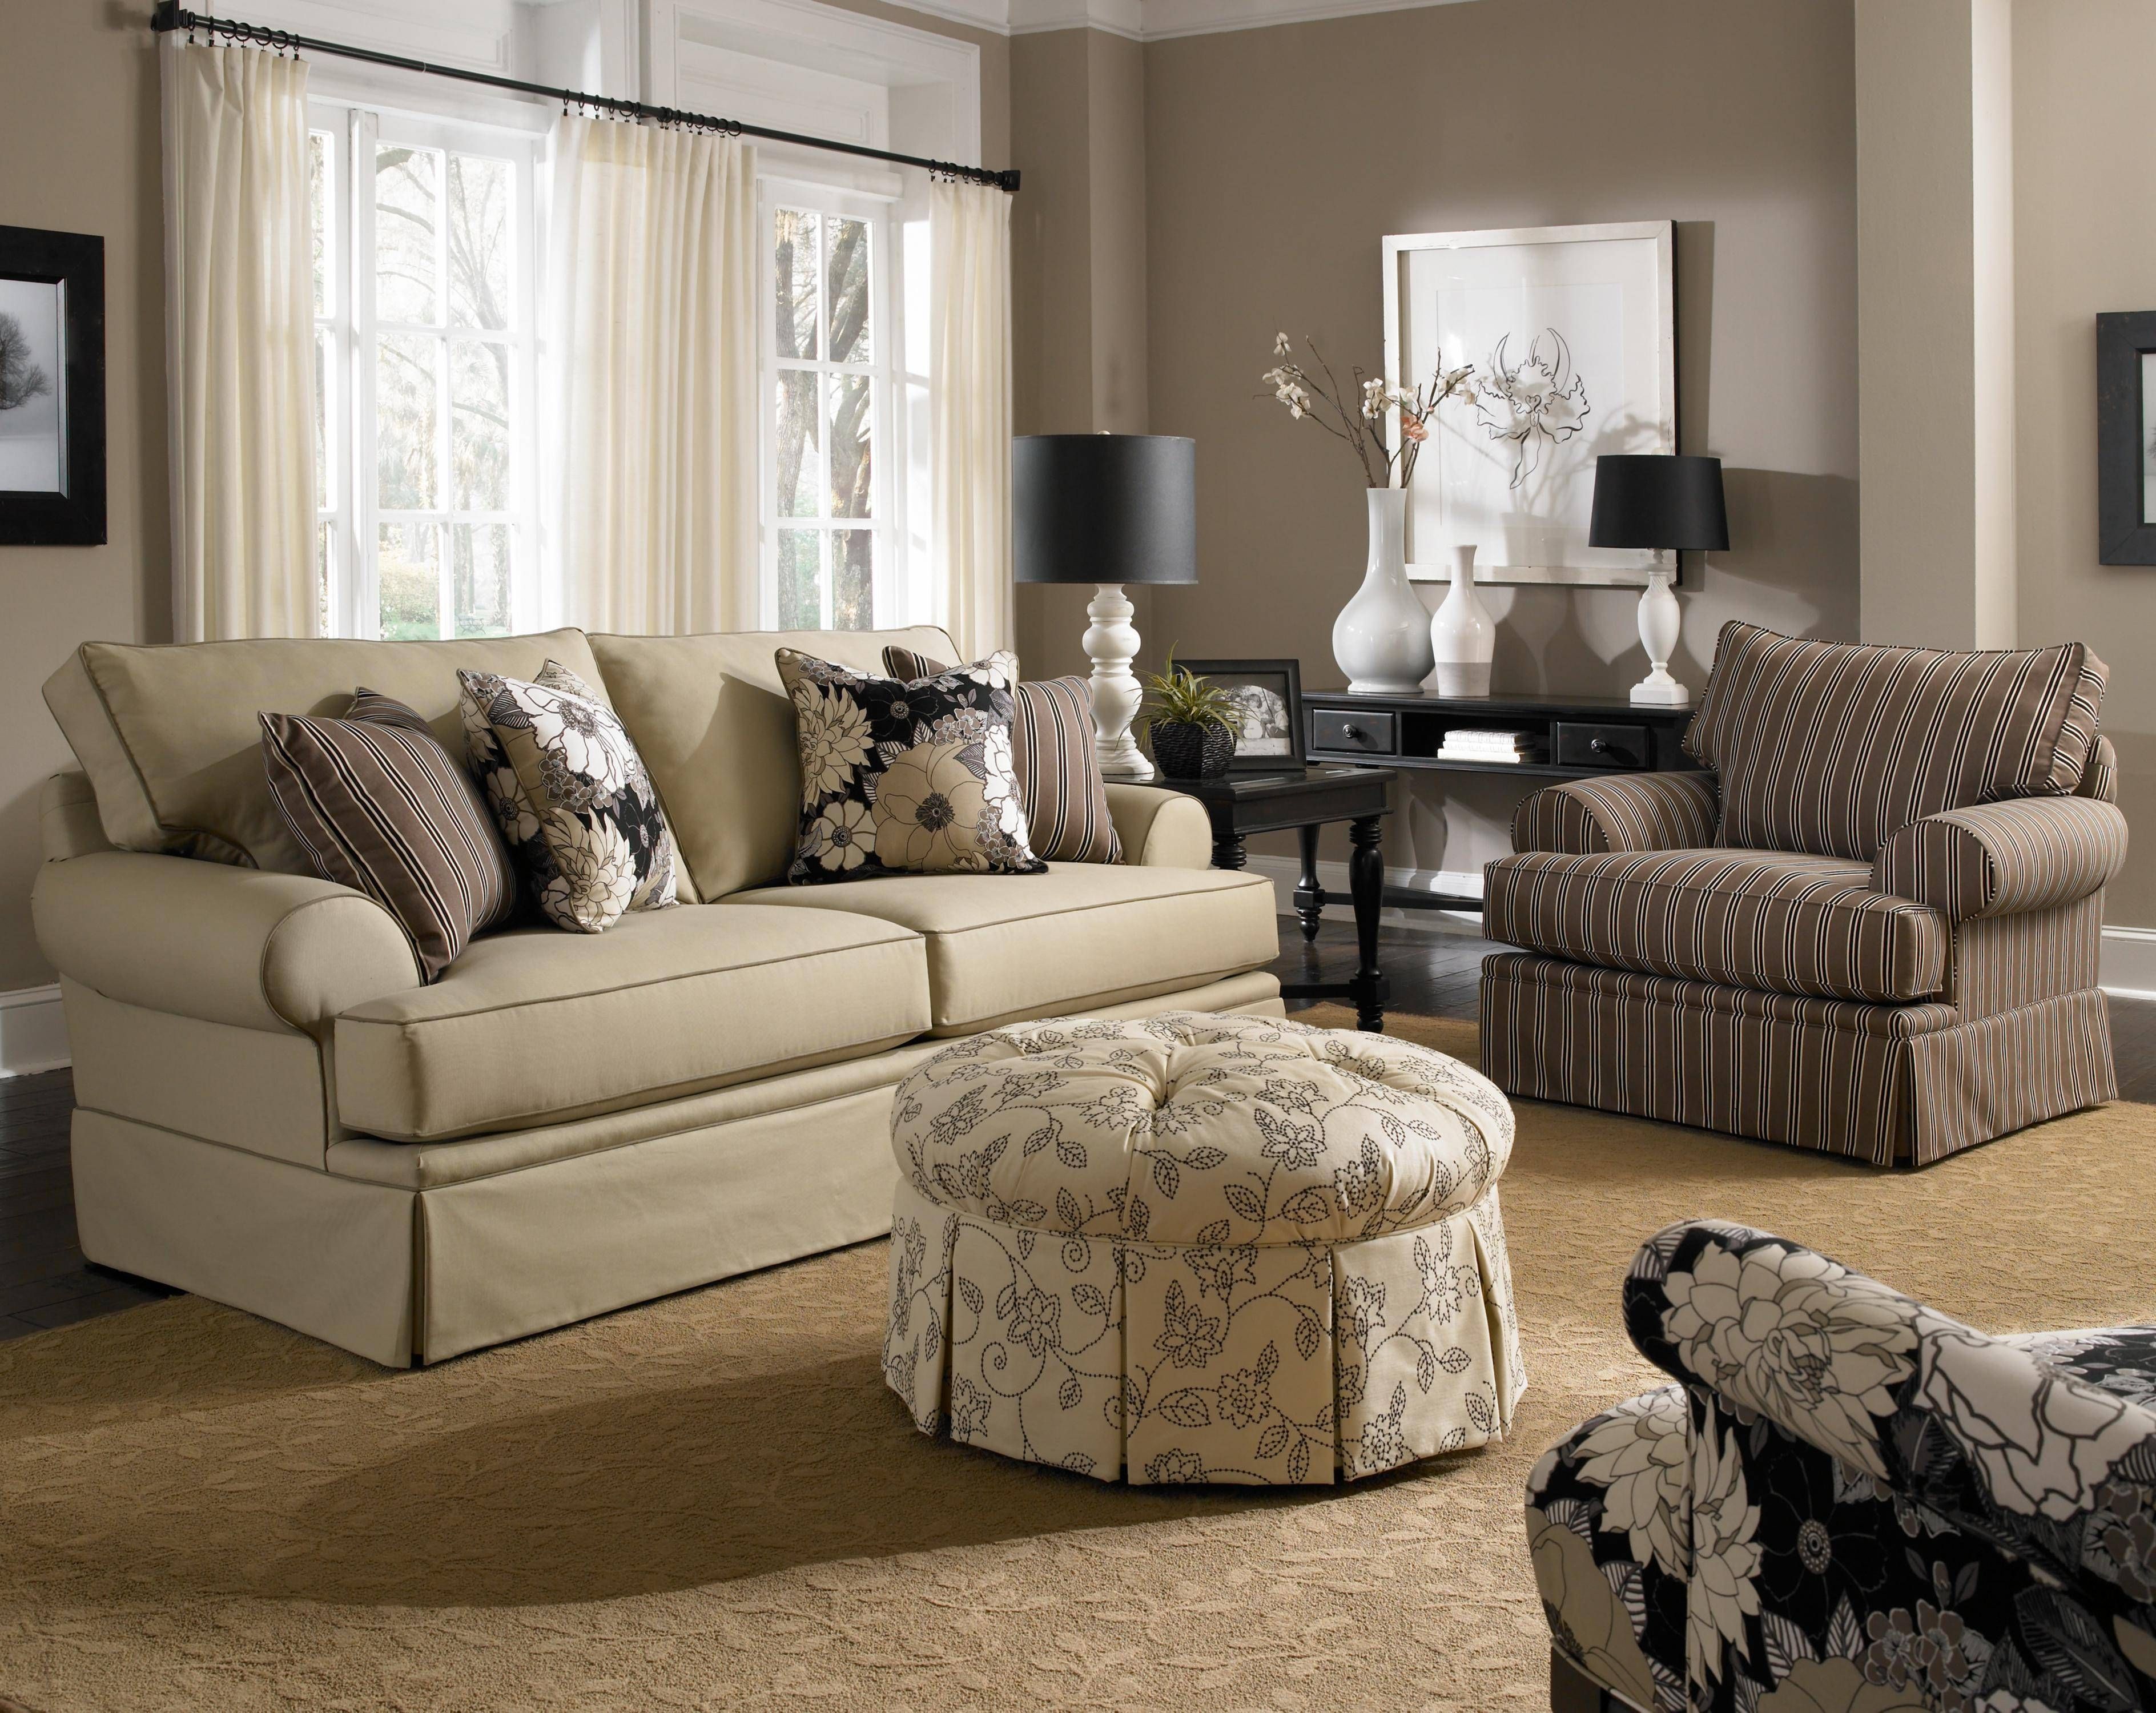
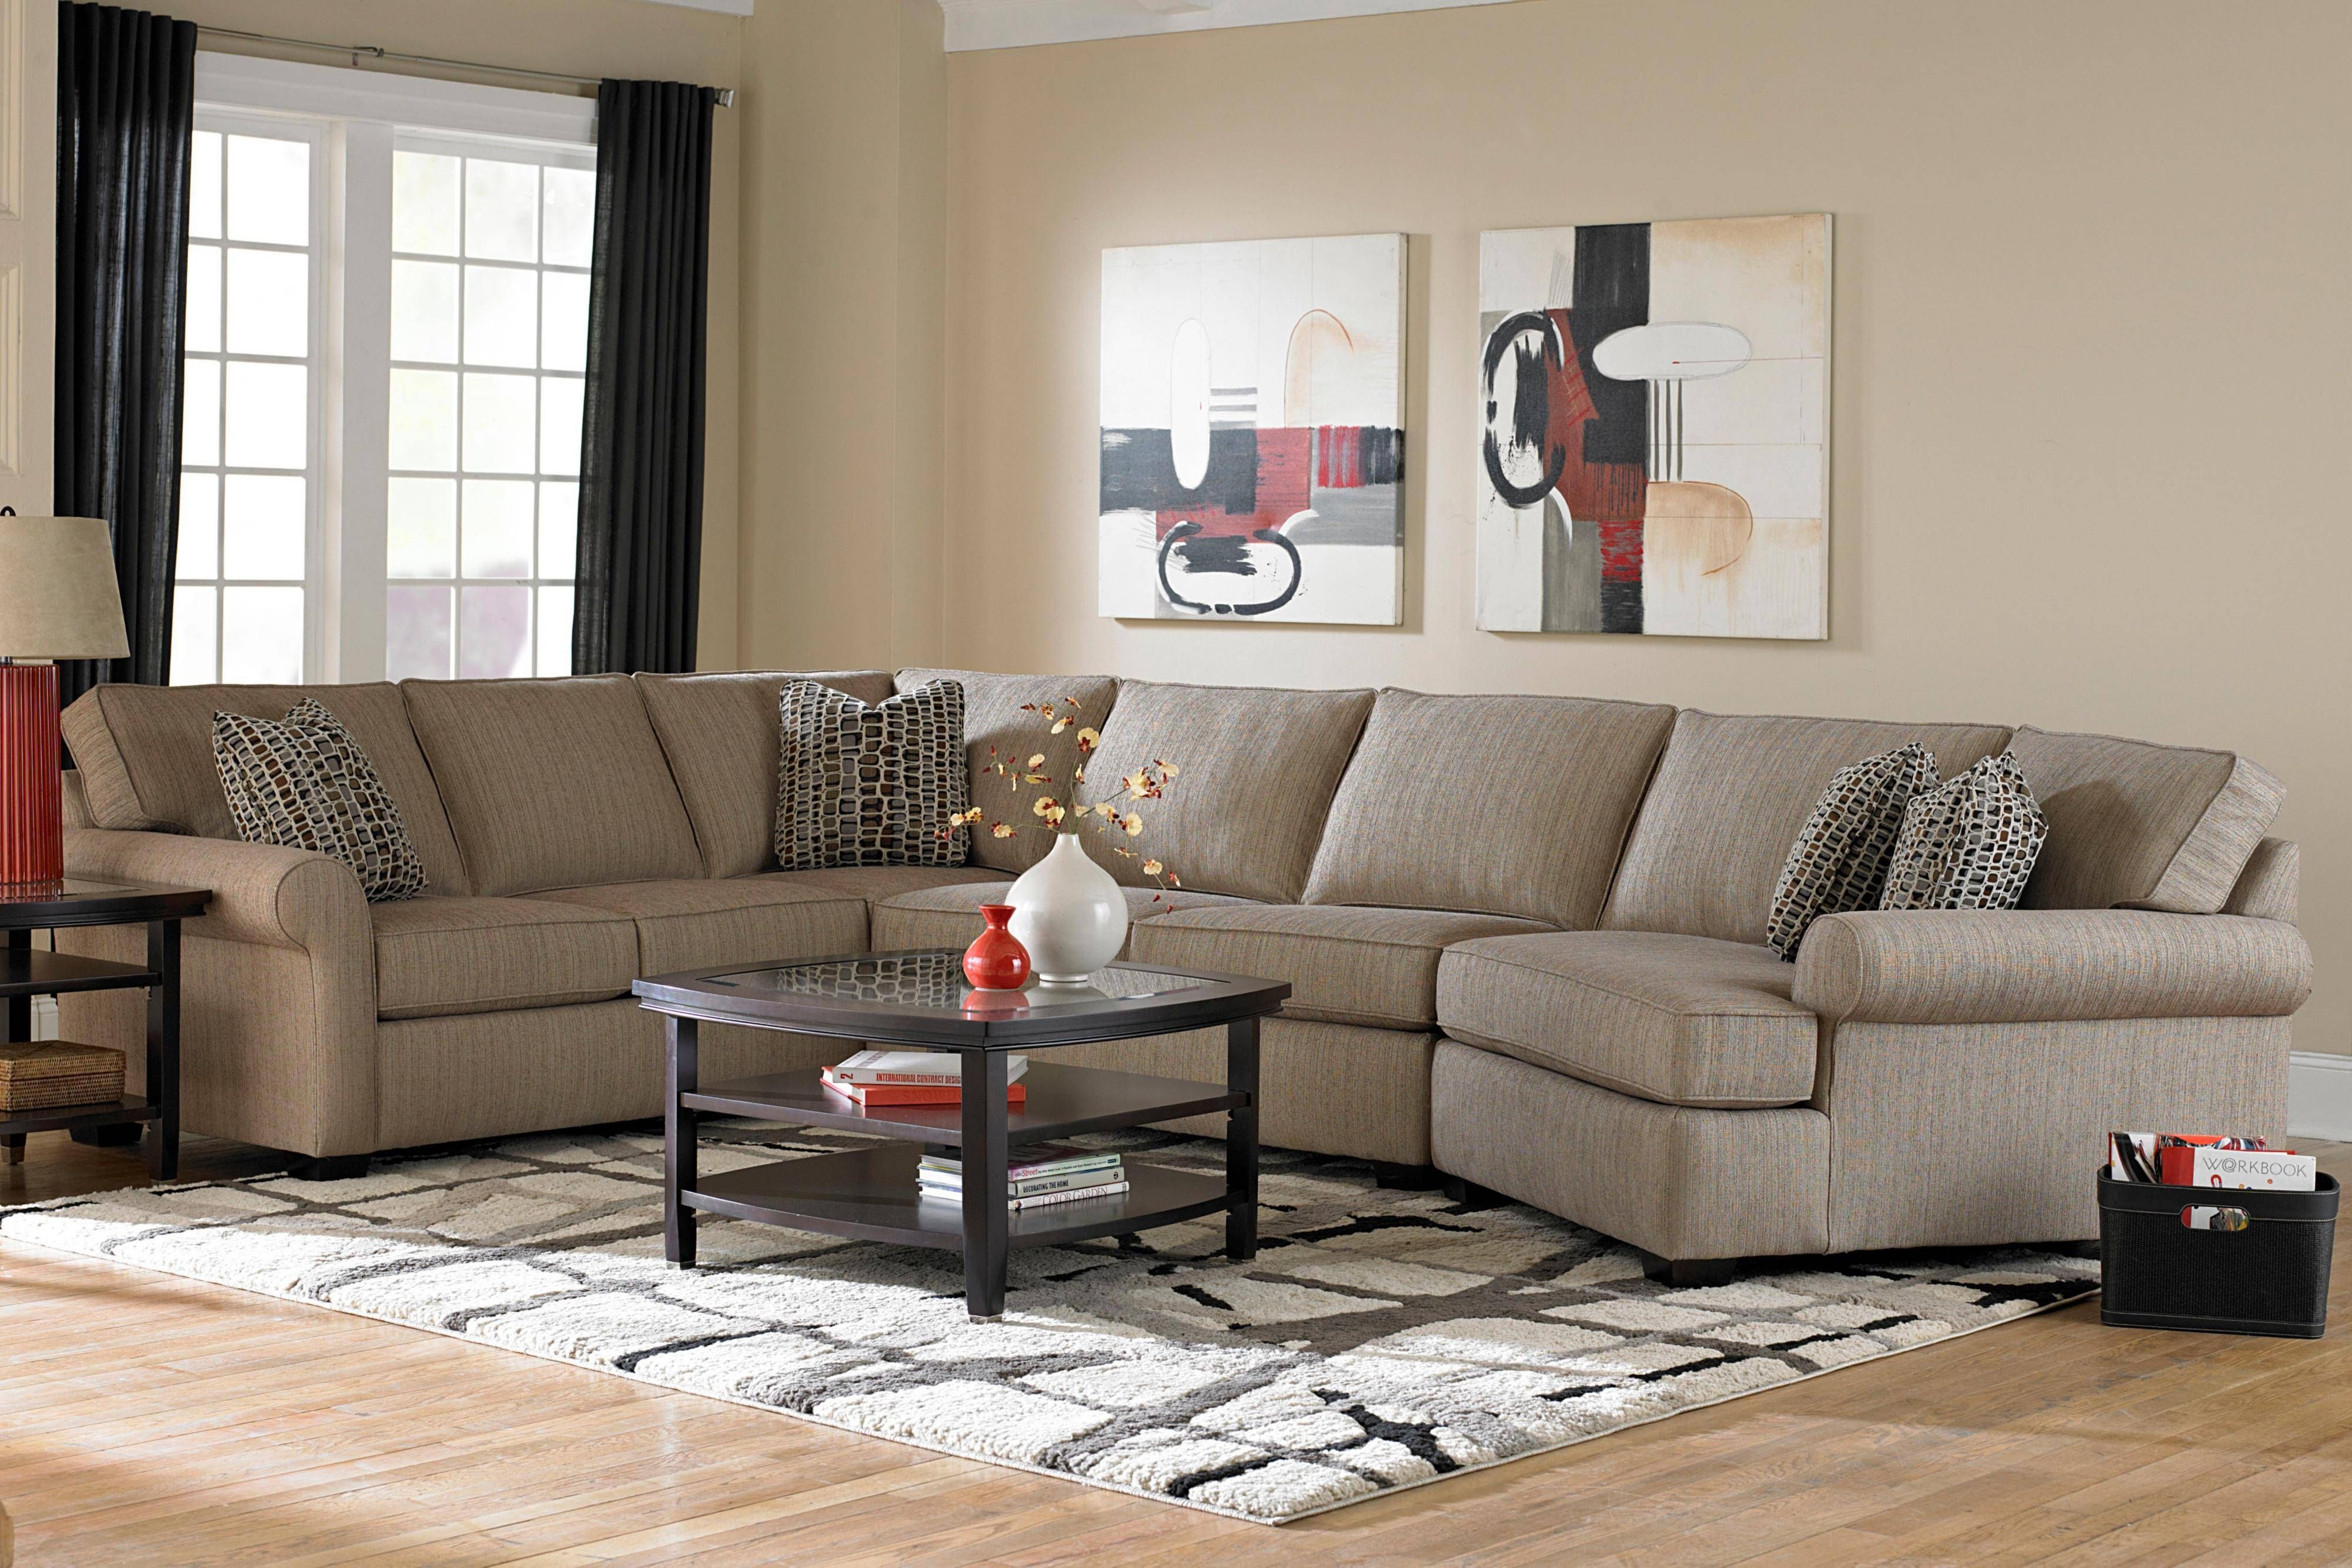
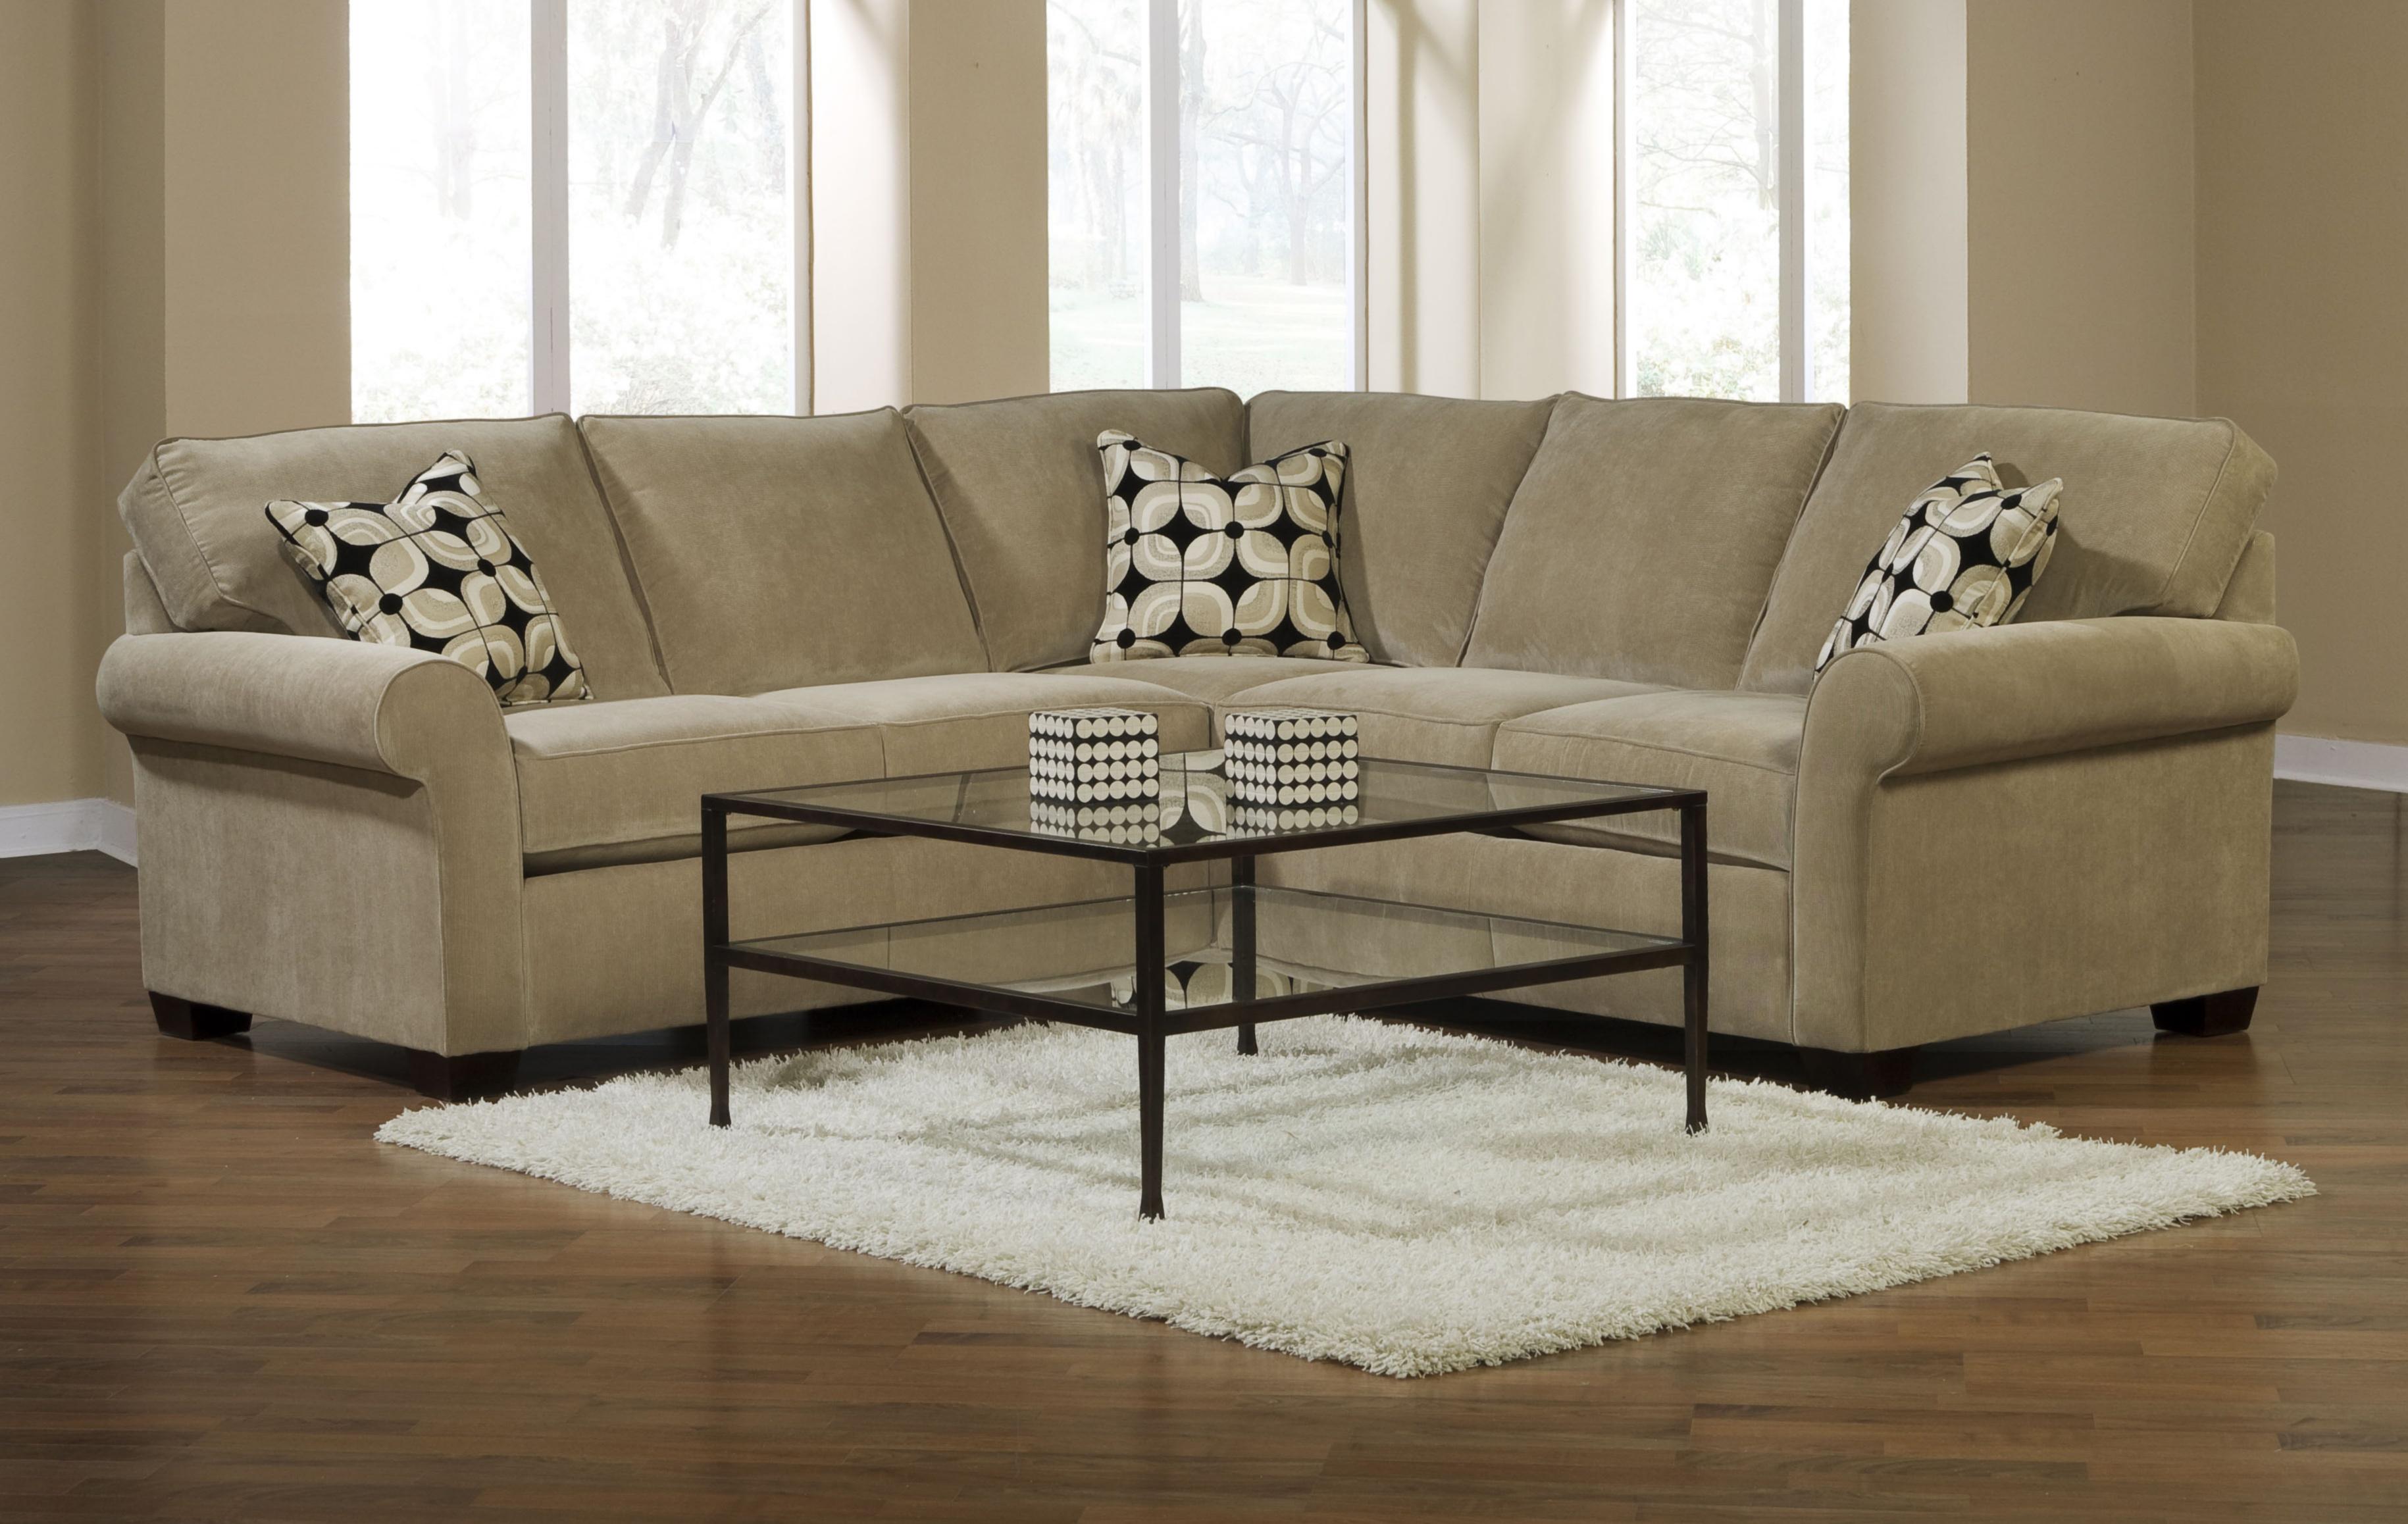
Why Choose the Broyhill Haywick Living Room Sectional for Your Home?

Comfort and Style Combined
 The Broyhill Haywick Living Room Sectional is the perfect addition to any home looking for a comfortable and stylish seating option. With its plush cushions, soft fabric, and spacious design, this sectional offers the perfect balance of comfort and style. Whether you are entertaining guests or relaxing with your family, the Broyhill Haywick Living Room Sectional provides a cozy and inviting space for everyone to enjoy.
Easy Assembly Process
 One of the best features of the Broyhill Haywick Living Room Sectional is its easy assembly process. With clear and detailed instructions provided, you can have your new sectional set up in no time. The pieces easily connect together, making it a hassle-free experience. Plus, with the help of a friend or family member, assembly can be even quicker and more efficient.
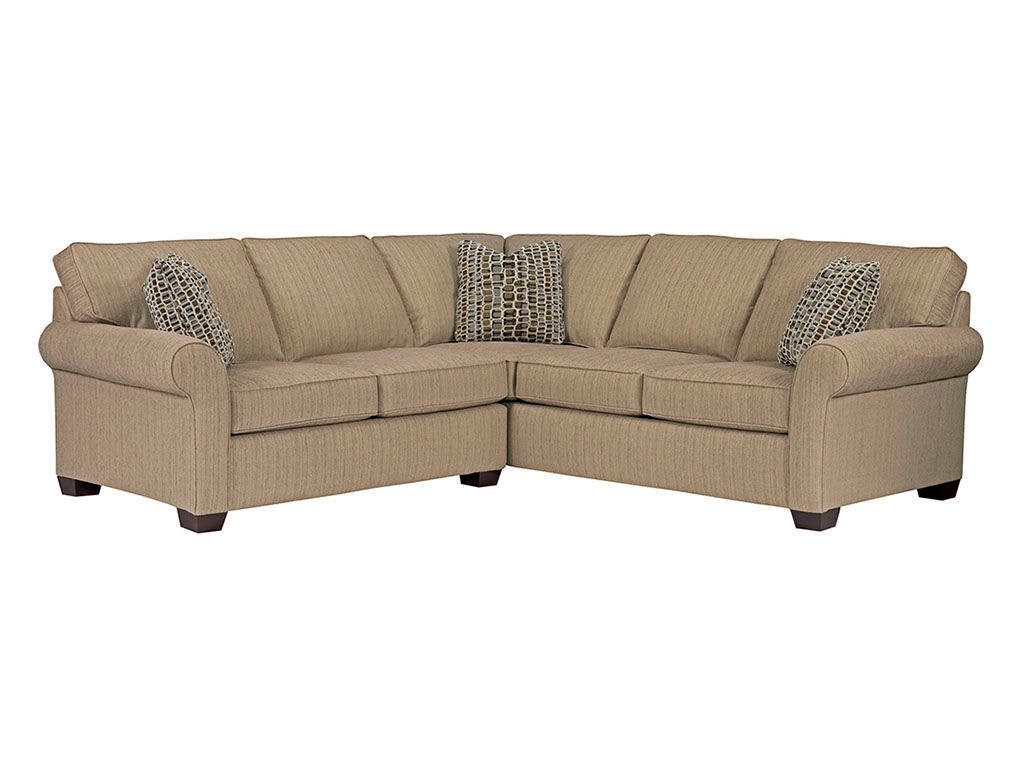
Durable and Long-Lasting
 Investing in a high-quality sectional like the Broyhill Haywick means investing in a durable and long-lasting piece of furniture. The frame is made from sturdy hardwood, ensuring stability and durability for years to come. The cushions are also made from high-density foam, providing support and comfort for your family and guests. You can trust that this sectional will withstand the wear and tear of everyday use and maintain its shape and comfort.
Customizable Options
 The Broyhill Haywick Living Room Sectional offers customizable options to fit your specific needs and preferences. With a variety of fabric and color choices, you can choose the perfect look for your home. You can also add additional pieces, such as an ottoman or armless chair, to create a unique and personalized sectional that perfectly fits your space.
Final Thoughts
 In conclusion, the Broyhill Haywick Living Room Sectional is a top choice for those looking for a comfortable, stylish, and durable seating option for their home. With its easy assembly process, customizable options, and long-lasting quality, this sectional is sure to be a favorite in your home for years to come. So why wait? Upgrade your living room with the Broyhill Haywick Living Room Sectional today.