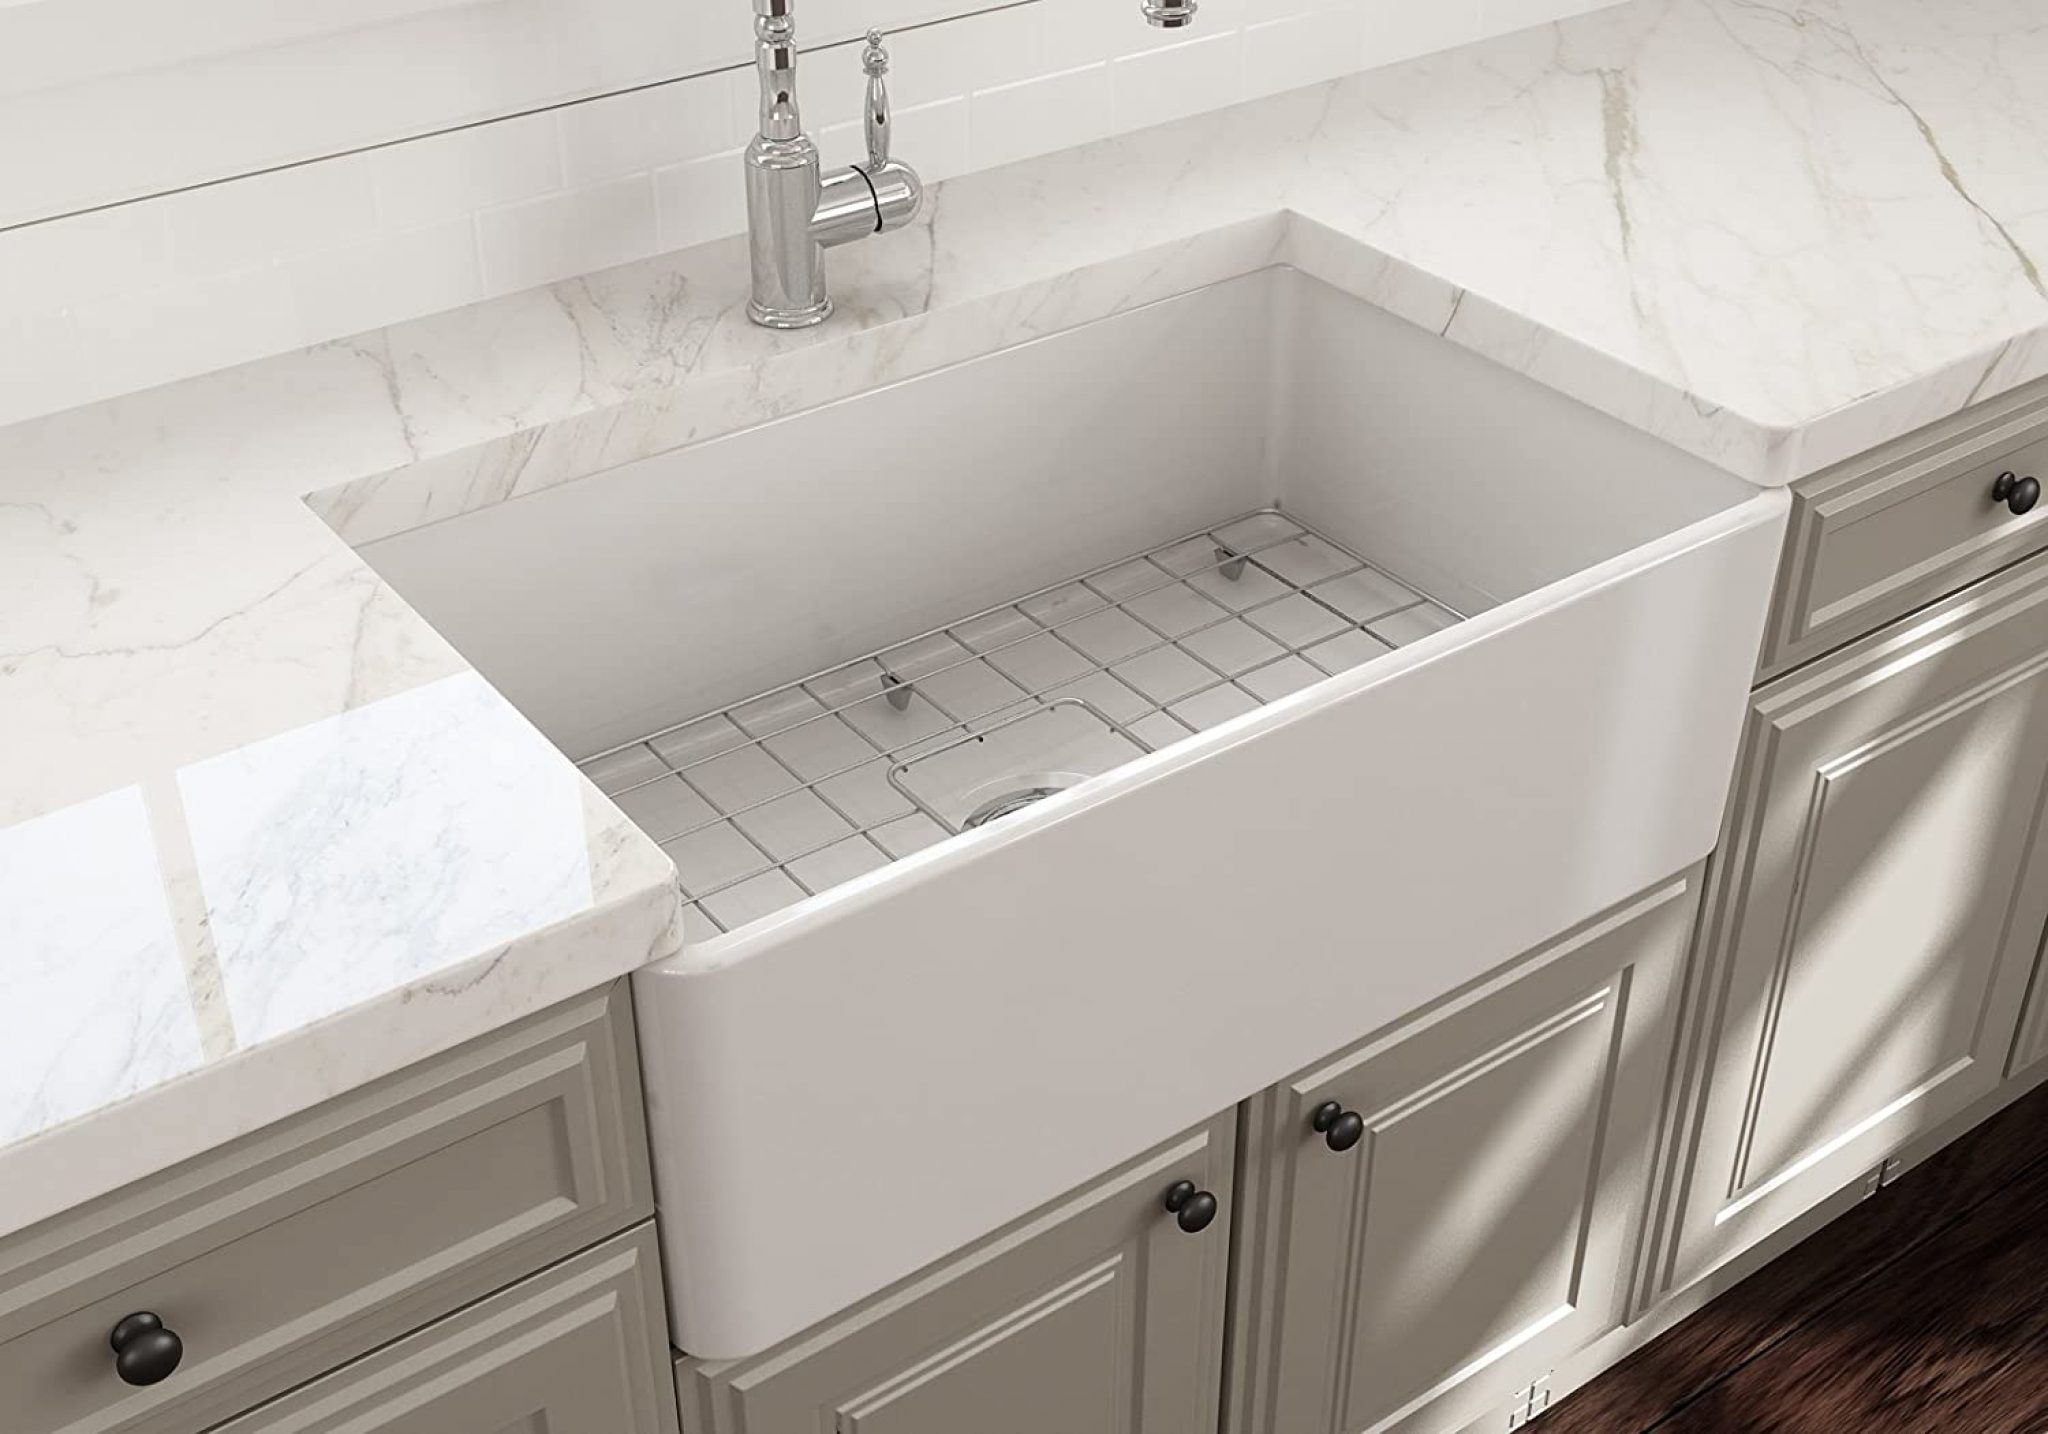
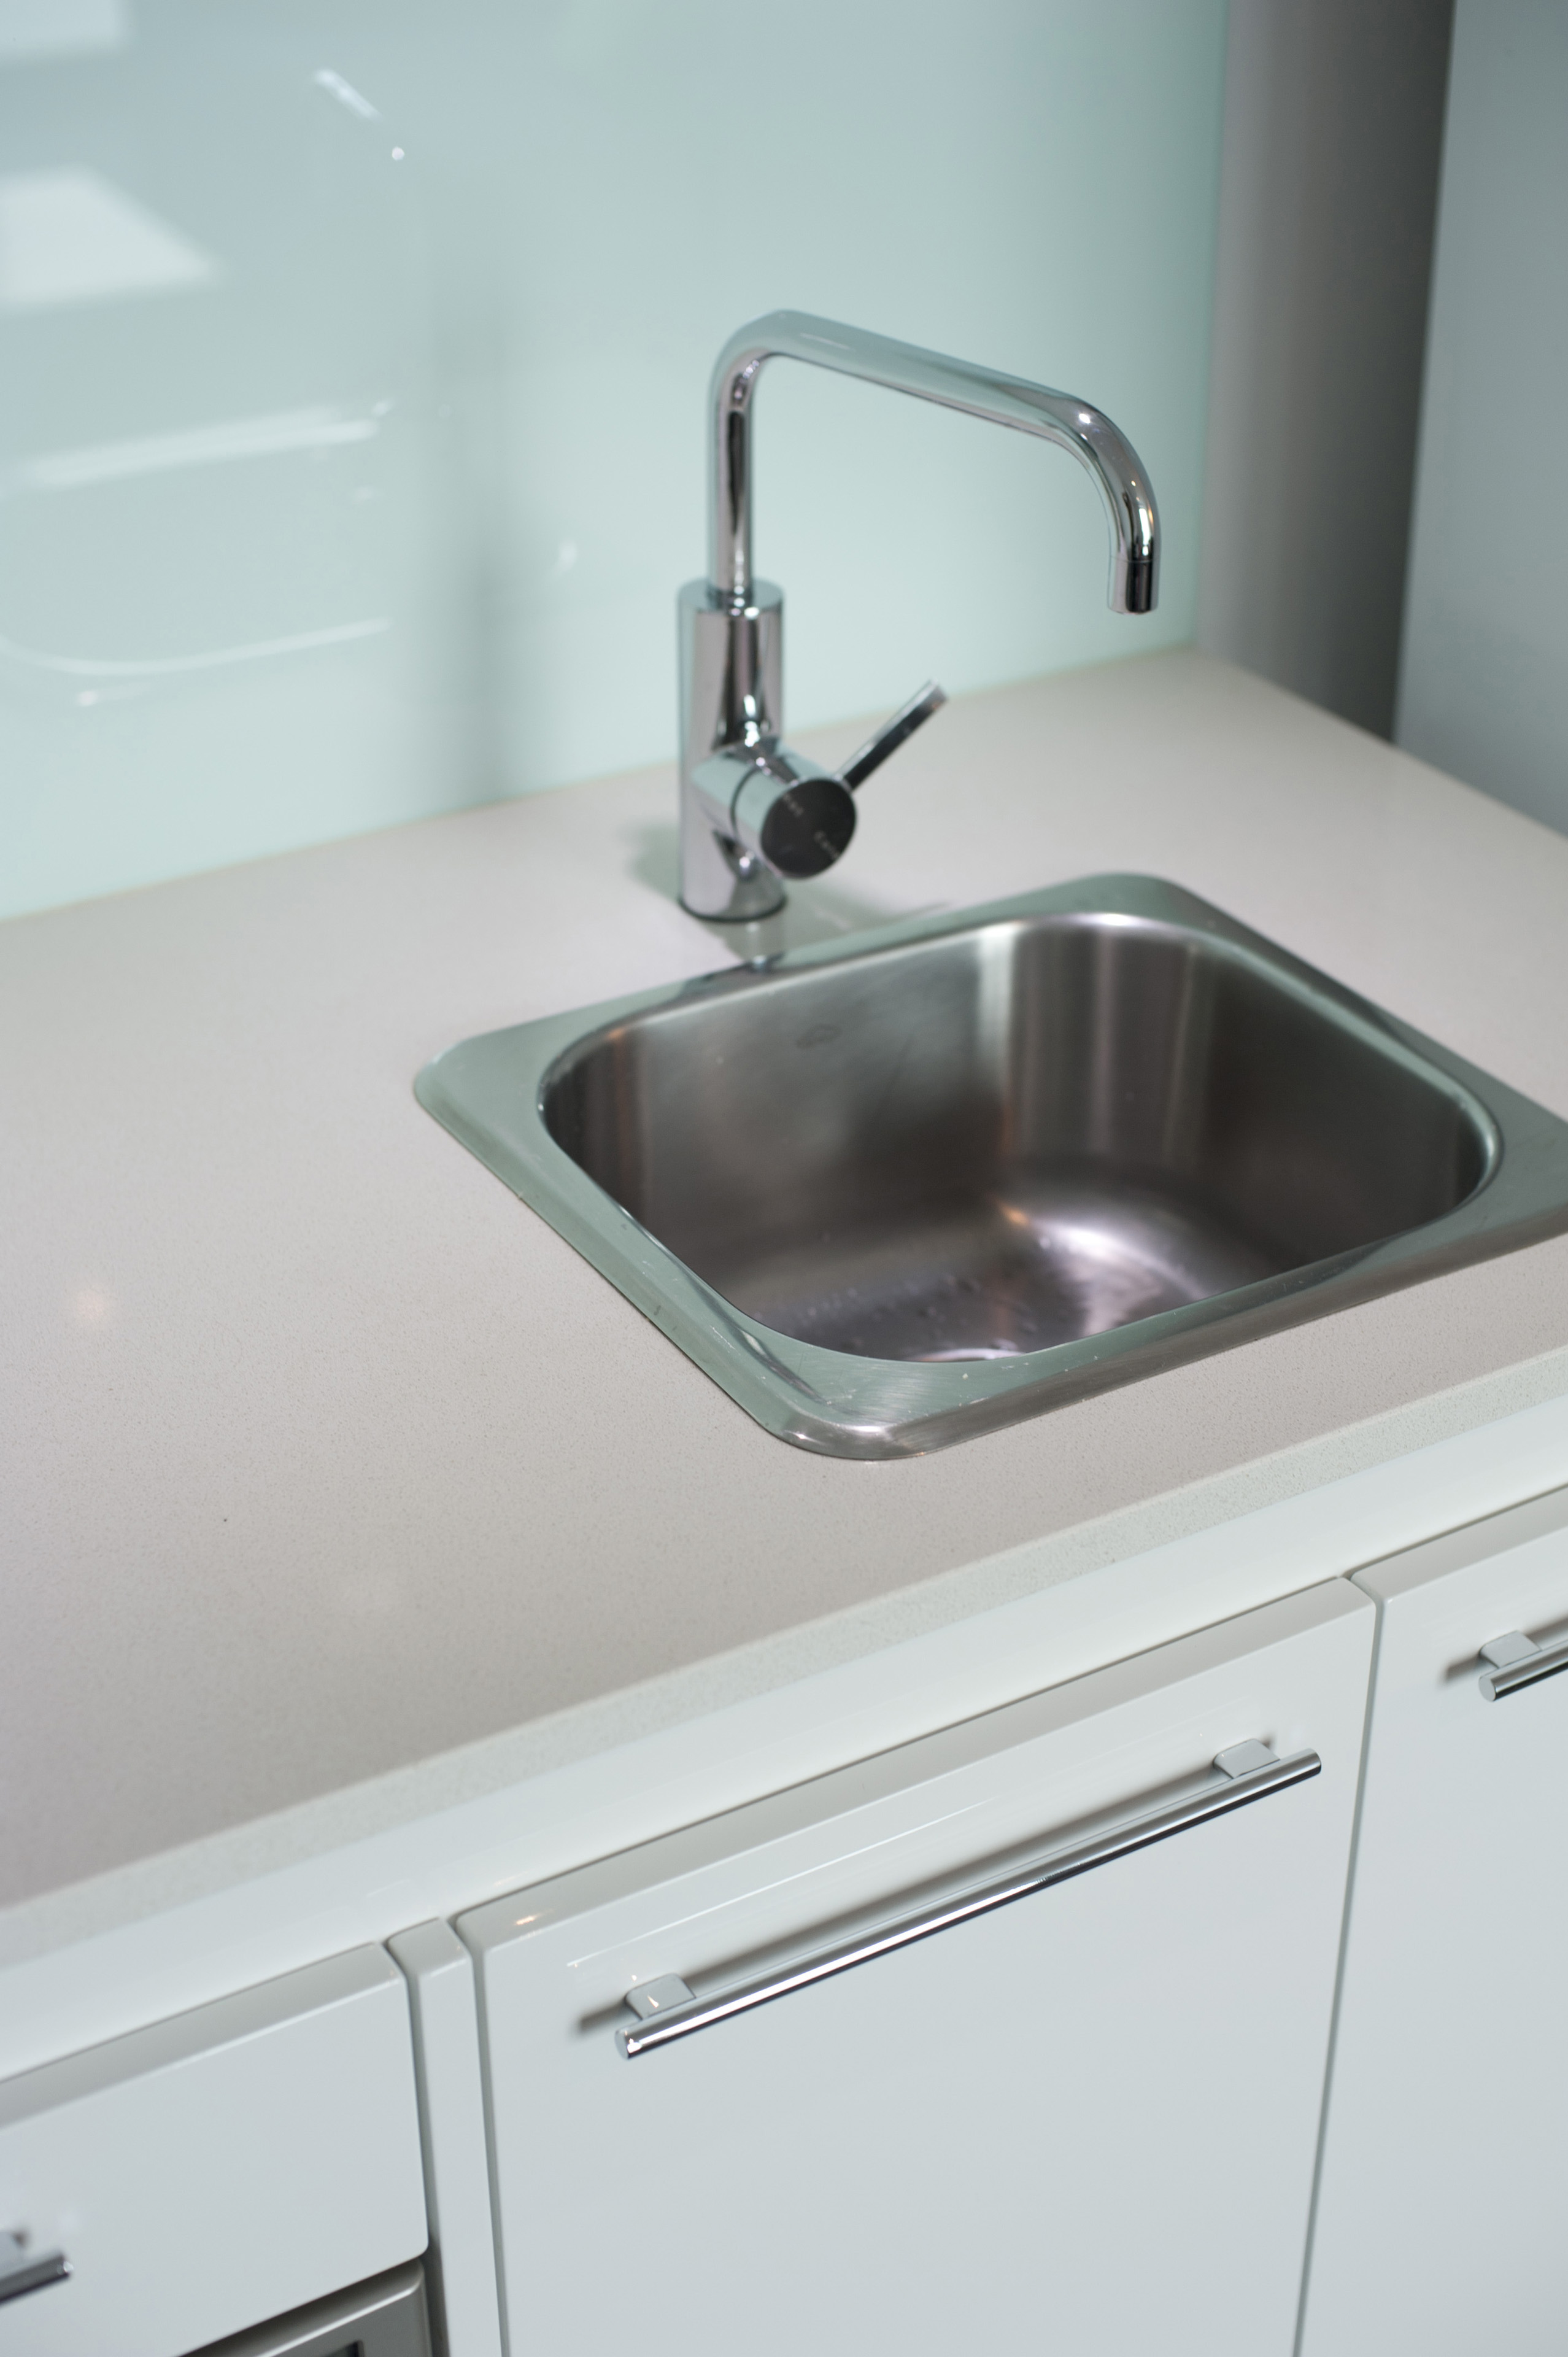
If you have a white kitchen sink, you know how easily it can become stained and discolored over time. But don't worry, bleaching your sink is a quick and easy solution to make it look like new again. Here's a step-by-step guide on how to bleach a white kitchen sink: Step 1: Prepare the Sink Before you start bleaching, make sure your sink is clean and free of any debris. Use a mild detergent and warm water to scrub away any dirt or grime. Rinse thoroughly and dry the sink with a clean cloth. Step 2: Mix the Bleaching Solution There are several products you can use to bleach your white kitchen sink, such as bleach, hydrogen peroxide, or baking soda. Follow the instructions on the product's label to mix the solution. Step 3: Apply the Solution Using a clean sponge or cloth, apply the bleaching solution to the entire surface of the sink. Make sure to cover all areas, including the bottom and sides of the sink. Let the solution sit for about 15 minutes. Step 4: Scrub and Rinse After the solution has had time to work, use a scrub brush or sponge to gently scrub the sink. Pay special attention to any stubborn stains. Once you've scrubbed the entire sink, rinse it thoroughly with clean water. Step 5: Dry and Shine Use a clean, dry cloth to dry your sink, making sure to remove any excess water. For an extra shine, you can use a stainless steel cleaner or a mixture of water and vinegar. Your white kitchen sink should now look bright and clean!How to Bleach a White Kitchen Sink


How to Bleach a White Kitchen Sink


When it comes to bleaching a white kitchen sink, there are many products available on the market. Here are some of the best bleaching products for white kitchen sinks: 1. Bleach Bleach is a common household product that can effectively bleach a white kitchen sink. Simply mix 1/4 cup of bleach with 2 cups of water and apply the solution to the sink. Let it sit for 15 minutes, then scrub and rinse. 2. Hydrogen Peroxide Hydrogen peroxide is another great option for bleaching a white kitchen sink. Mix equal parts of hydrogen peroxide and water, apply it to the sink, and let it sit for 10-15 minutes before scrubbing and rinsing. 3. Baking Soda Baking soda is a natural and gentle way to bleach a white kitchen sink. Make a paste using baking soda and water, then apply it to the sink and let it sit for 30 minutes before scrubbing and rinsing. Remember to always read and follow the instructions on the product's label to ensure safe and effective use.Best Bleaching Products for White Kitchen Sinks


Best Bleaching Products for White Kitchen Sinks


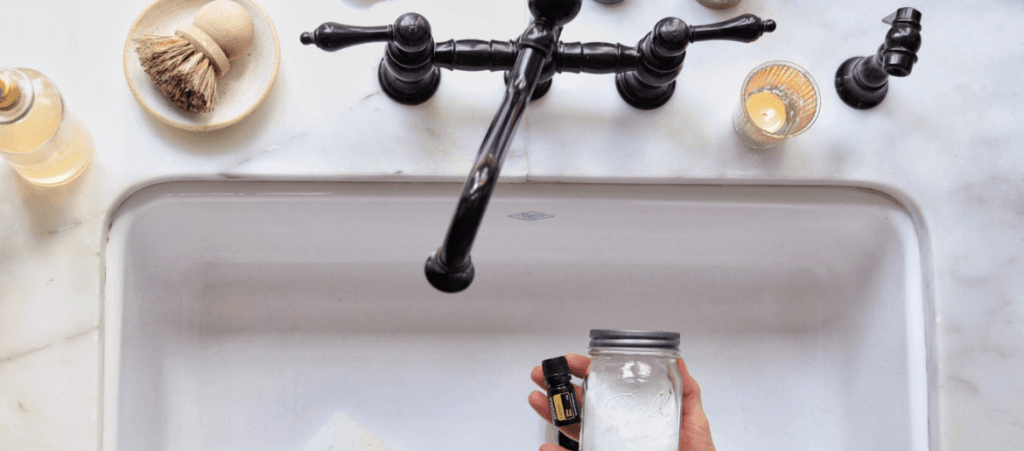
If you prefer to use natural and homemade products, here are some DIY bleaching solutions for white kitchen sinks: 1. Lemon Juice and Salt Mix lemon juice and salt to make a paste and apply it to the sink. Let it sit for 15 minutes before scrubbing and rinsing. The citric acid in lemon juice can help remove stains and brighten the sink. 2. Vinegar and Baking Soda Vinegar and baking soda combined create a fizzing reaction that can help remove stains and grime from a white kitchen sink. Make a paste using these two ingredients and apply it to the sink. After 15 minutes, scrub and rinse. 3. Borax and Lemon Juice Borax is a natural cleaning agent that can be used to bleach a white kitchen sink. Make a paste using borax and lemon juice, apply it to the sink, and let it sit for 30 minutes before scrubbing and rinsing. These DIY solutions are not as strong as commercial products, so you may need to repeat the process or use a bit more elbow grease to achieve the desired results.DIY Bleaching Solutions for White Kitchen Sinks


DIY Bleaching Solutions for White Kitchen Sinks


Stains can be stubborn and difficult to remove from a white kitchen sink. Here are some tips to help you effectively remove stains: 1. Baking Soda and Water Make a paste using baking soda and water and apply it directly to the stain. Let it sit for 15 minutes before scrubbing and rinsing. This method is gentle and can be used for most stains. 2. Vinegar and Water Mix equal parts of vinegar and water and soak a cloth or paper towel in the solution. Place the cloth over the stain and let it sit for 15 minutes. This method is effective for rust stains. 3. Ammonia For tough stains, you can use a small amount of ammonia on a cloth or sponge and gently scrub the stain. Rinse thoroughly afterwards. Remember to always wear gloves and work in a well-ventilated area when using ammonia.How to Remove Stains from a White Kitchen Sink


How to Remove Stains from a White Kitchen Sink


:max_bytes(150000):strip_icc()/how-to-clean-a-copper-sink-4767276-05-a54b0d47425048cb89ccb81cc5bc868d.jpg)
If you prefer to use natural and non-toxic methods to bleach your white kitchen sink, here are some options: 1. Sunlight Believe it or not, sunlight can help bleach a white kitchen sink. Simply rinse your sink and place it in direct sunlight for a few hours. The UV rays from the sun will naturally lighten any stains or discoloration. 2. Hydrogen Peroxide and Baking Soda Mix equal parts of hydrogen peroxide and baking soda to create a paste and apply it to the sink. Let it sit for several hours, then rinse and dry. This method may take longer, but it is gentle and effective. 3. White Vinegar White vinegar can be used to whiten and brighten a white kitchen sink. Simply pour some vinegar into the sink and let it sit for an hour before scrubbing and rinsing. You can also add some baking soda to enhance the cleaning power.Natural Bleaching Methods for White Kitchen Sinks


Natural Bleaching Methods for White Kitchen Sinks


Bleaching and cleaning are two different processes that serve different purposes. Cleaning refers to removing dirt, grime, and stains from a surface, while bleaching is a more intense process that involves lightening or whitening a surface. In the case of a white kitchen sink, bleaching is used to remove stains and discoloration, while cleaning is done to maintain the overall cleanliness of the sink. It's important to note that bleaching should only be done occasionally, as it can be harsh on surfaces and may cause damage if done too frequently.Bleaching vs. Cleaning: What's the Difference?


Bleaching vs. Cleaning: What's the Difference?


While bleaching a white kitchen sink is a relatively simple process, there are some common mistakes that people make. Here are a few things to avoid: 1. Using Too Much Bleach Bleach is a powerful chemical, and using too much of it can damage the surface of your sink or cause discoloration. Always follow the instructions on the product's label and use the recommended amount. 2. Not Rinsing Thoroughly After bleaching your sink, it's important to rinse it thoroughly with clean water. Leaving any residue behind can lead to discoloration or even damage to the sink. 3. Using the Wrong Tools When scrubbing your sink, avoid using harsh or abrasive tools that can scratch the surface. Stick to soft sponges or cloths to avoid causing any damage.Common Mistakes When Bleaching a White Kitchen Sink


Common Mistakes When Bleaching a White Kitchen Sink


How often you bleach your white kitchen sink depends on how often you use it and how prone it is to staining. If you use your sink frequently, you may need to bleach it every few months. However, if you only use your sink occasionally, you can do it once or twice a year. It's important not to overdo it, as bleaching too frequently can damage the sink's surface.How Often Should You Bleach a White Kitchen Sink?


How Often Should You Bleach a White Kitchen Sink?


Yellowing is a common issue with white kitchen sinks, especially if they are made of materials like plastic or acrylic. Here are some tips to prevent yellowing in your white kitchen sink: 1. Avoid Staining Foods and Substances Foods and substances like coffee, tea, red wine, and tomato sauce can all cause staining in a white kitchen sink. Try to avoid leaving these items in the sink for extended periods of time. 2. Rinse and Dry Your Sink After Use After using your sink, make sure to rinse it thoroughly with clean water and dry it with a clean cloth. This will prevent any residue from building up and causing discoloration. 3. Use a Protective Mat or Tray If you're worried about scratching or staining your sink, you can use a protective mat or tray to place your dishes on. This will also help prevent any damage from heavy pots and pans.Preventing Yellowing in a White Kitchen Sink


Preventing Yellowing in a White Kitchen Sink


If you don't want to bleach your white kitchen sink yourself, or if you have a particularly stubborn stain, you can always hire a professional bleaching service. These professionals have the necessary tools and expertise to effectively bleach your sink without causing any damage. Make sure to do some research and read reviews before choosing a professional service to ensure they have a good reputation and experience with bleaching white kitchen sinks. In conclusion, bleaching a white kitchen sink is a simple and effective way to remove stains and discoloration. Whether you choose to use commercial products or natural methods, make sure to follow the instructions carefully and avoid common mistakes. With proper maintenance and occasional bleaching, your white kitchen sink will continue to shine for years to come.Professional Bleaching Services for White Kitchen Sinks


Professional Bleaching Services for White Kitchen Sinks


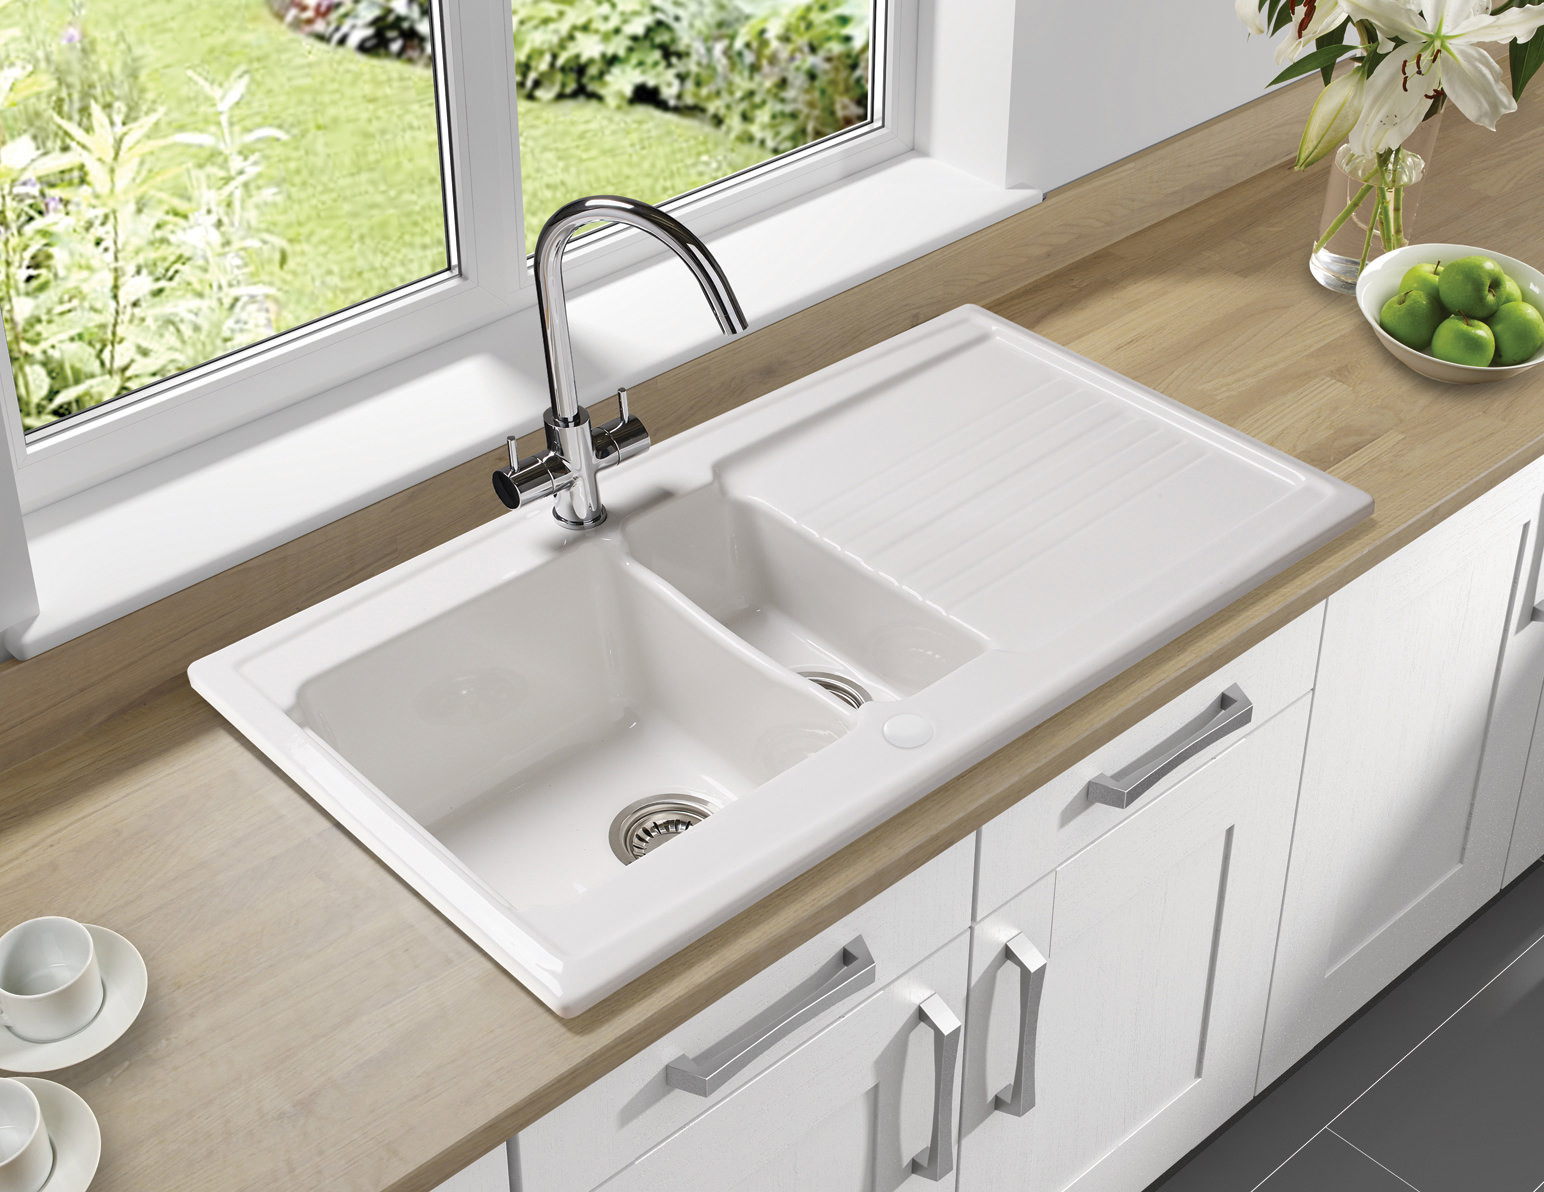
The Importance of Keeping Your Kitchen Sink Clean and White

The kitchen sink is the heart of your kitchen
 Your kitchen sink is one of the most used areas in your kitchen. From food preparation to dishwashing, it plays a significant role in your daily routine. However, with so much use, it's no surprise that your once sparkling white sink can quickly become dull and stained. Not only does this affect the overall appearance of your kitchen, but it can also be a breeding ground for bacteria and germs. That's why it's crucial to regularly clean and bleach your white kitchen sink.
Bleaching your white kitchen sink
 Bleaching your white kitchen sink is an effective way to remove stubborn stains and restore its original shine. It's also an essential step in maintaining good hygiene in your kitchen.
Bleaching
not only
removes visible stains but also
kills
bacteria and germs that may be lingering on the surface. This is especially important if you use your sink for food preparation.
Bleaching your white kitchen sink is an effective way to remove stubborn stains and restore its original shine. It's also an essential step in maintaining good hygiene in your kitchen.
Bleaching
not only
removes visible stains but also
kills
bacteria and germs that may be lingering on the surface. This is especially important if you use your sink for food preparation.
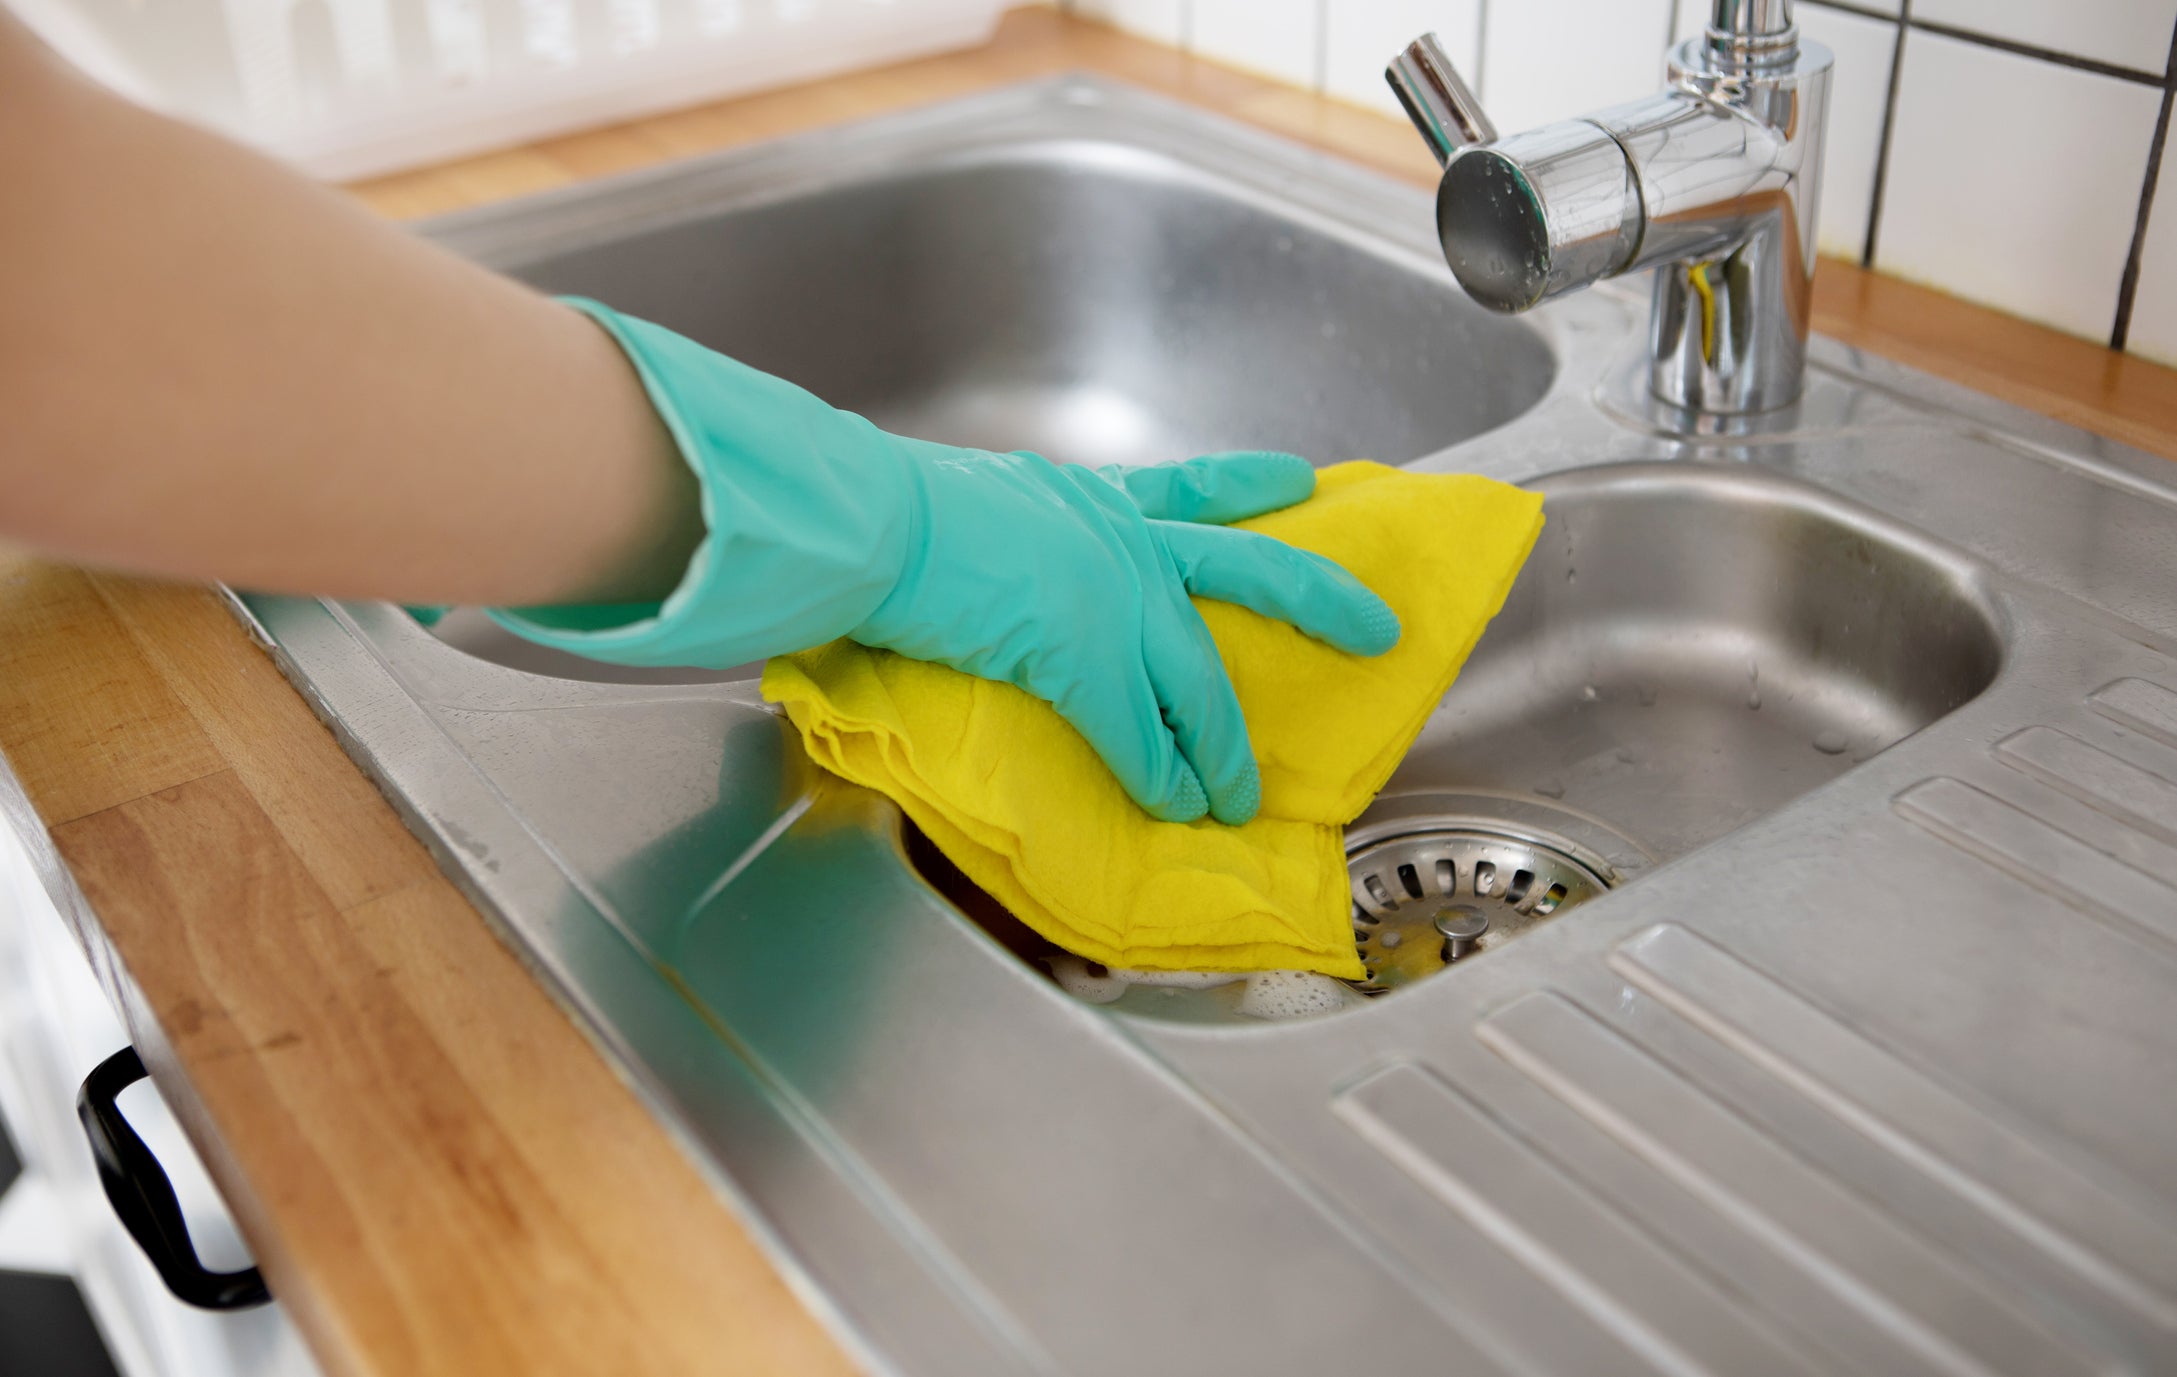
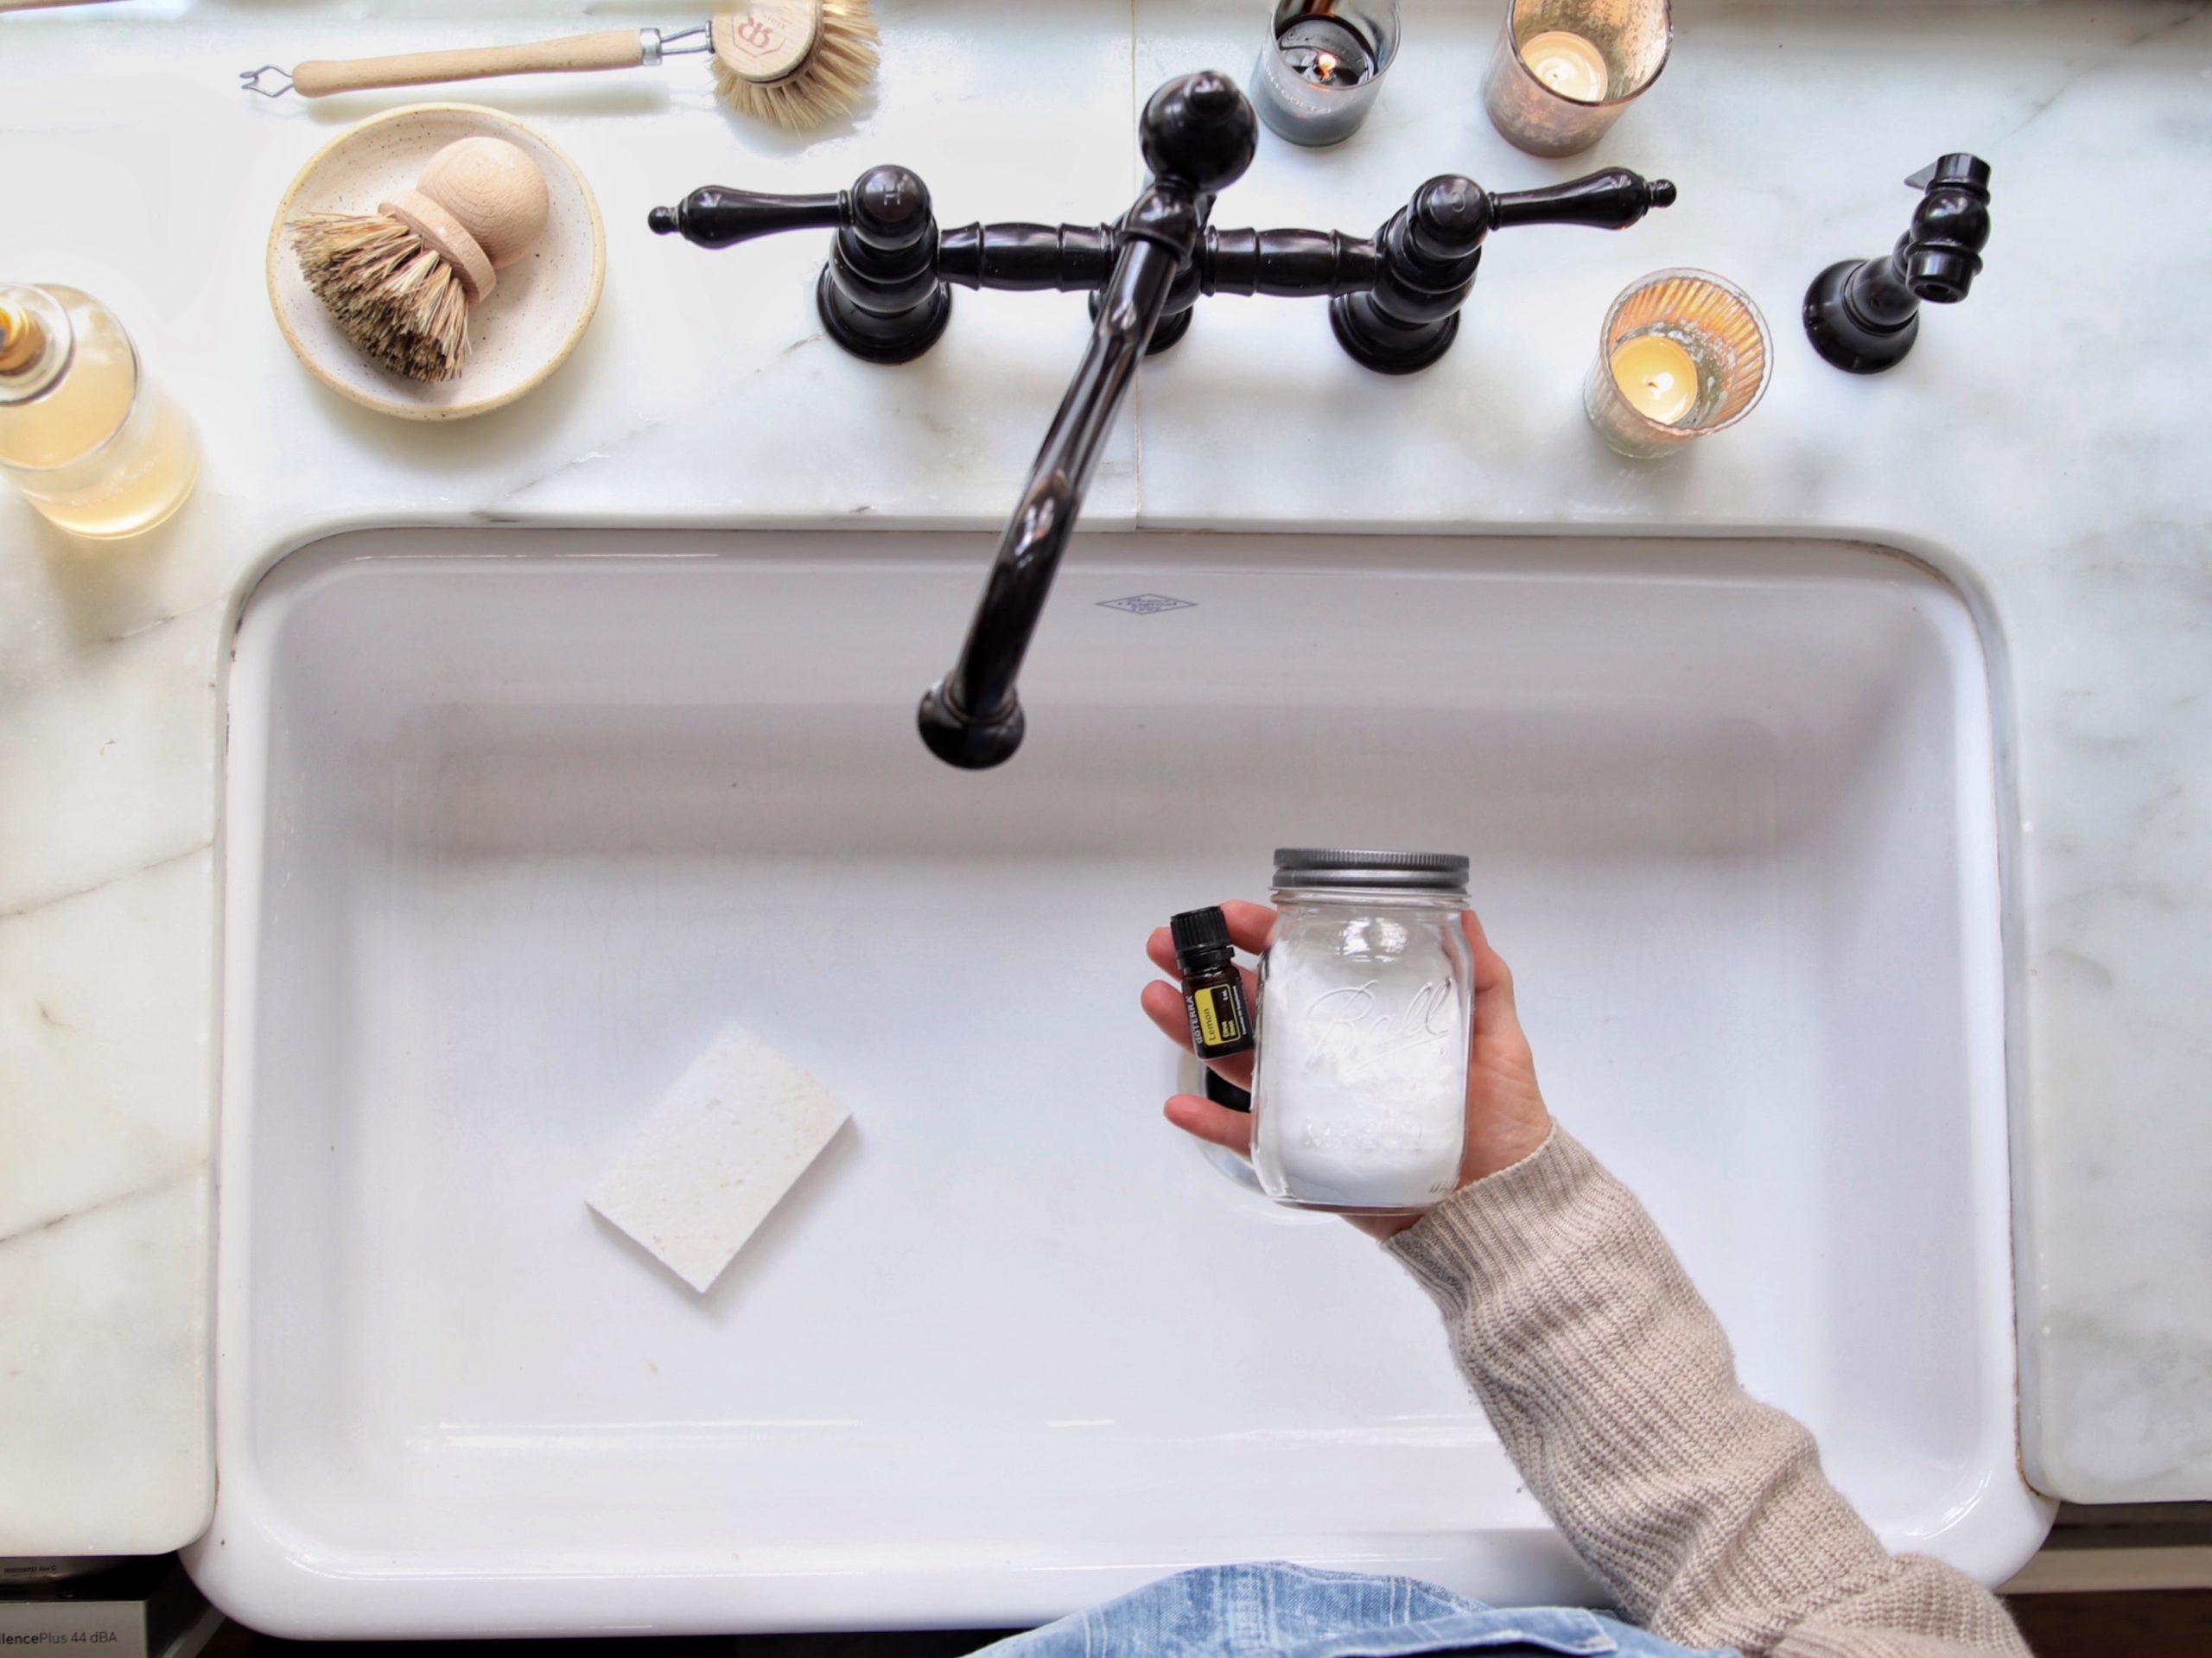
How to bleach your white kitchen sink
 First, make sure to
clear out
your sink of any dishes or debris. Then,
create a mixture
of equal parts water and bleach.
Using a scrub brush,
scrub the entire surface of your sink
with the bleach solution.
For tough stains,
let the solution sit for a few minutes before scrubbing again.
Rinse thoroughly with water
and dry with a clean cloth.
For extra shine, finish off with a solution of water and vinegar.
First, make sure to
clear out
your sink of any dishes or debris. Then,
create a mixture
of equal parts water and bleach.
Using a scrub brush,
scrub the entire surface of your sink
with the bleach solution.
For tough stains,
let the solution sit for a few minutes before scrubbing again.
Rinse thoroughly with water
and dry with a clean cloth.
For extra shine, finish off with a solution of water and vinegar.
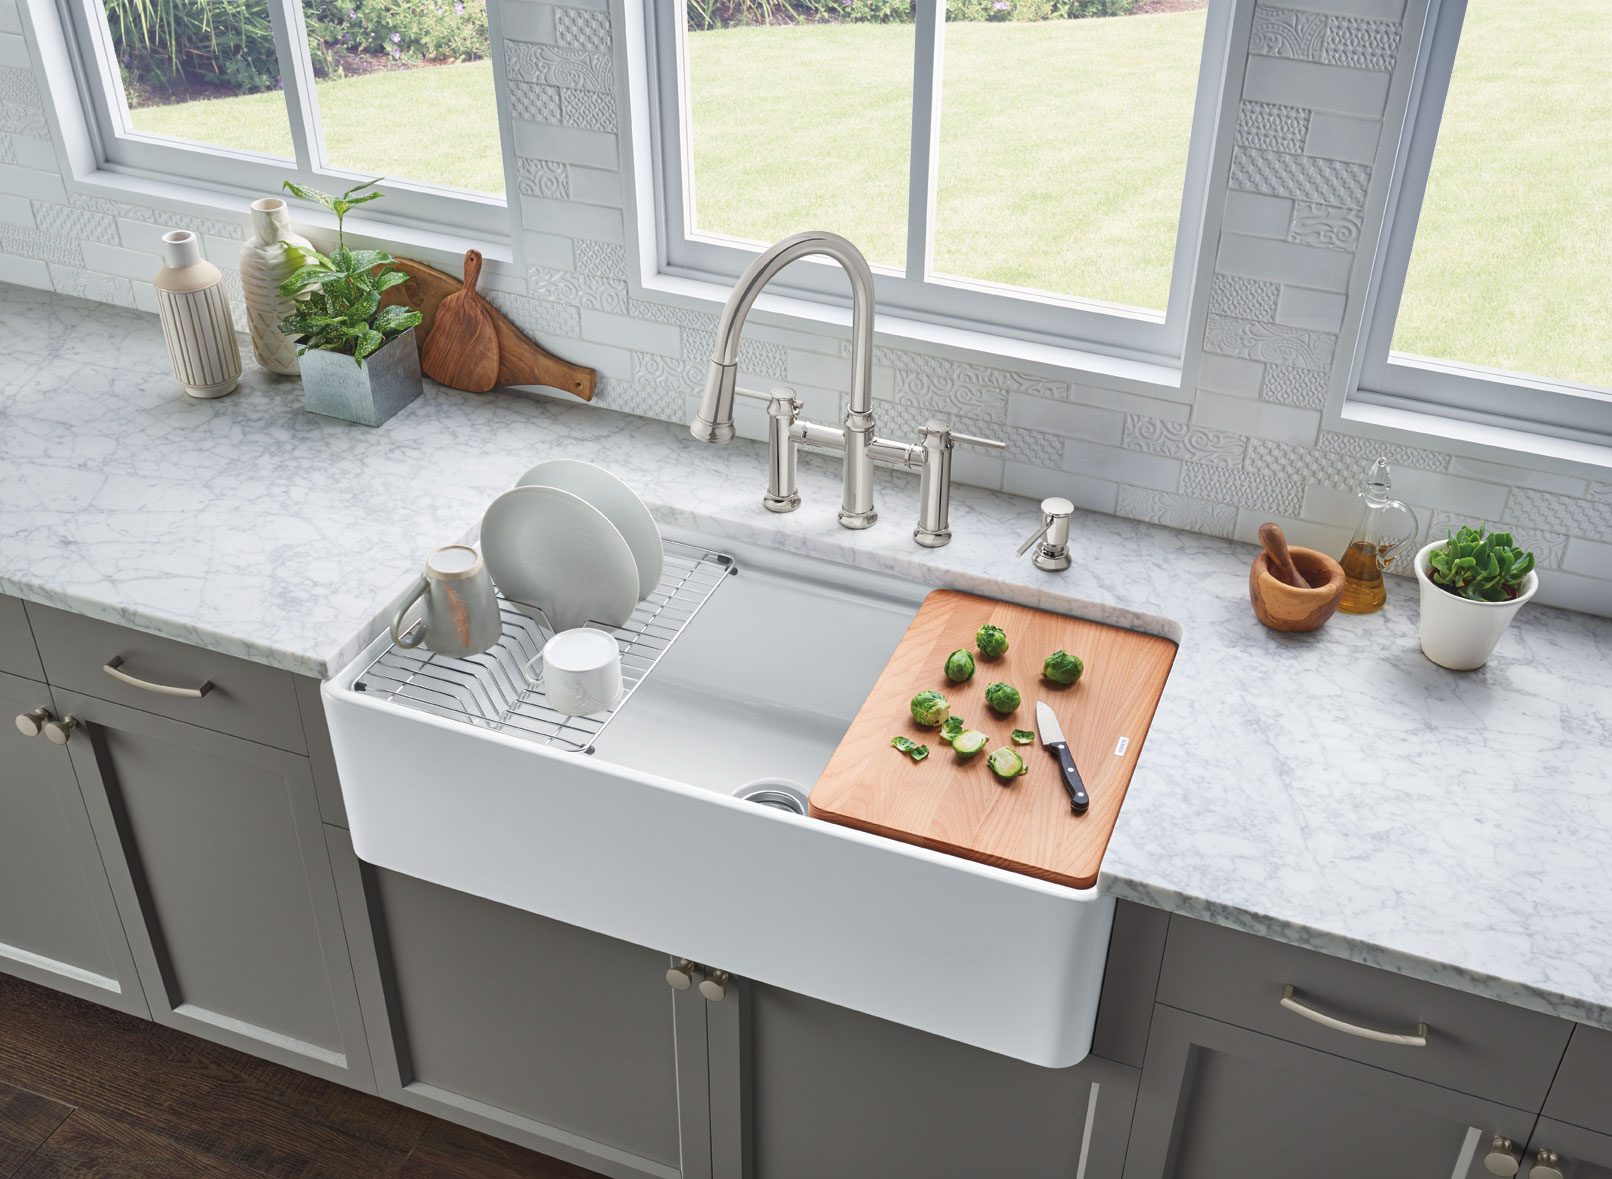
Tips for maintaining a white kitchen sink
 To keep your white kitchen sink looking its best, here are a few tips to follow:
-
Wipe down your sink after each use
to prevent food and liquid from staining the surface.
-
Avoid leaving dirty dishes in the sink
for extended periods of time to prevent staining.
-
Use a sink protector
to prevent scratches and dents from pots and pans.
-
Regularly clean and bleach your sink,
especially if you use it for food preparation.
To keep your white kitchen sink looking its best, here are a few tips to follow:
-
Wipe down your sink after each use
to prevent food and liquid from staining the surface.
-
Avoid leaving dirty dishes in the sink
for extended periods of time to prevent staining.
-
Use a sink protector
to prevent scratches and dents from pots and pans.
-
Regularly clean and bleach your sink,
especially if you use it for food preparation.
In conclusion
 A clean and white kitchen sink not only adds to the overall aesthetics of your kitchen but also promotes good hygiene. By regularly bleaching your sink, you can keep it looking like new and ensure a healthy environment for food preparation. So, don't neglect this essential step in maintaining your kitchen's cleanliness and appearance.