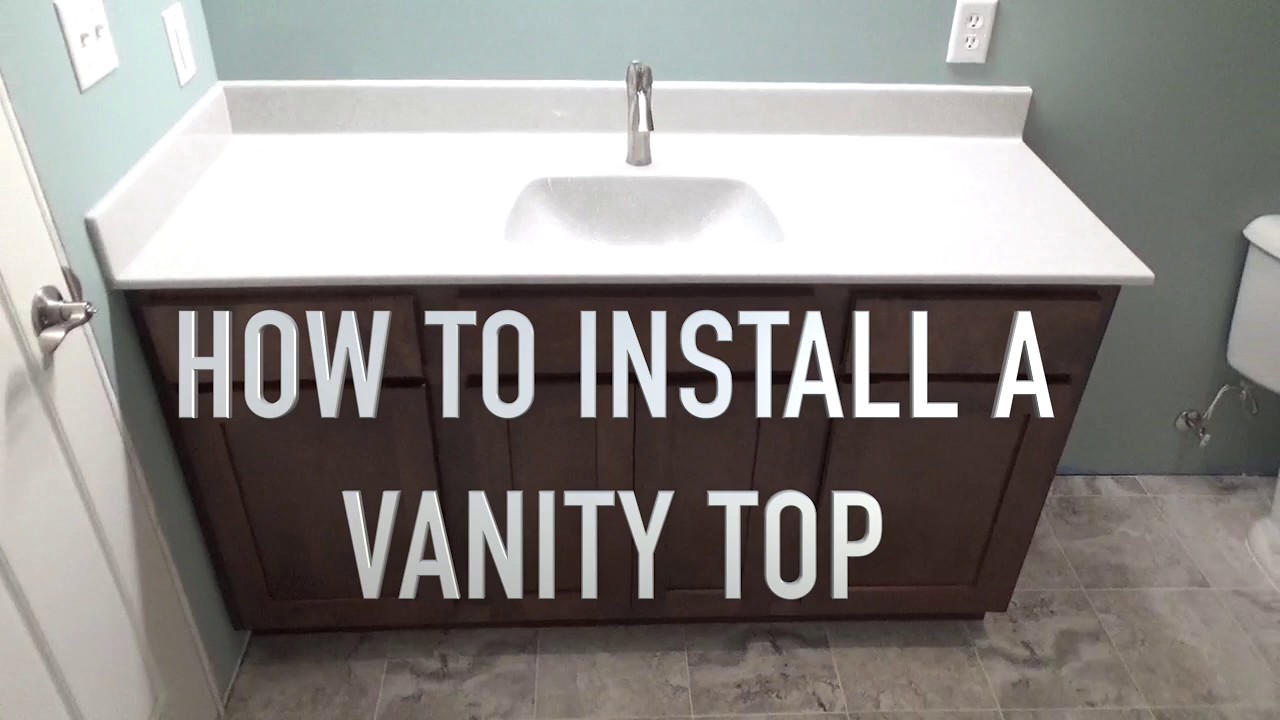
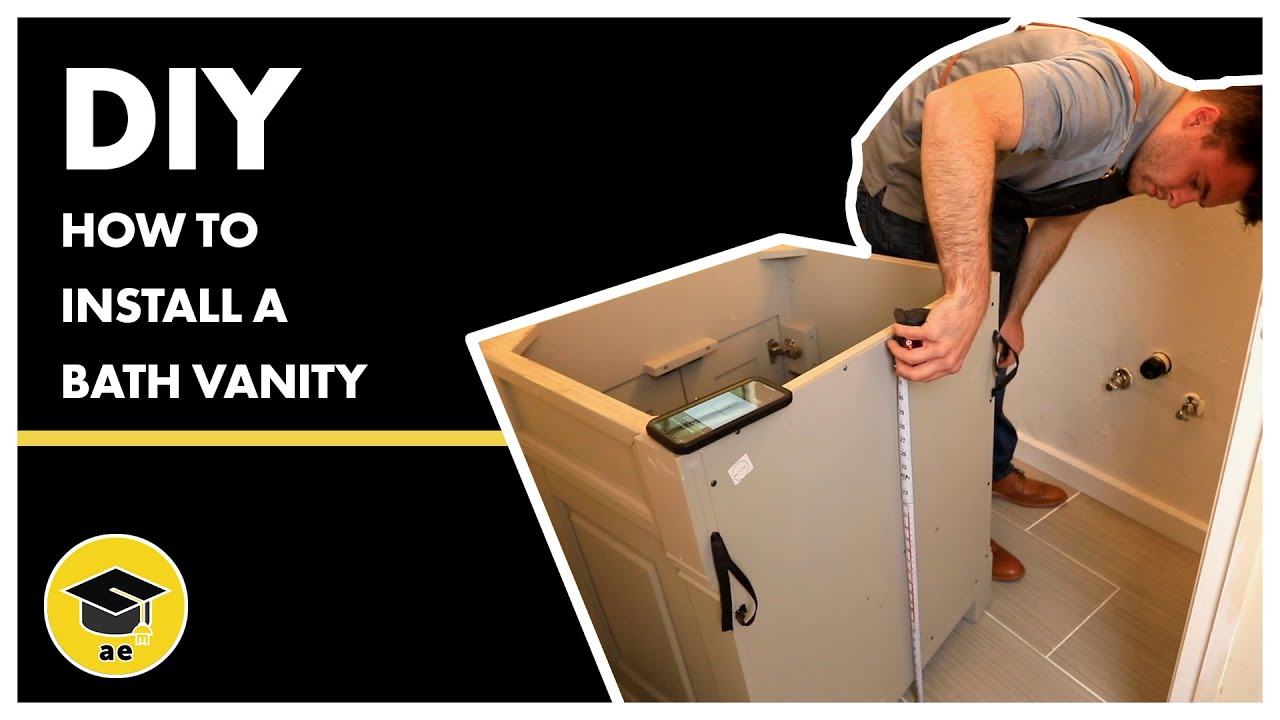
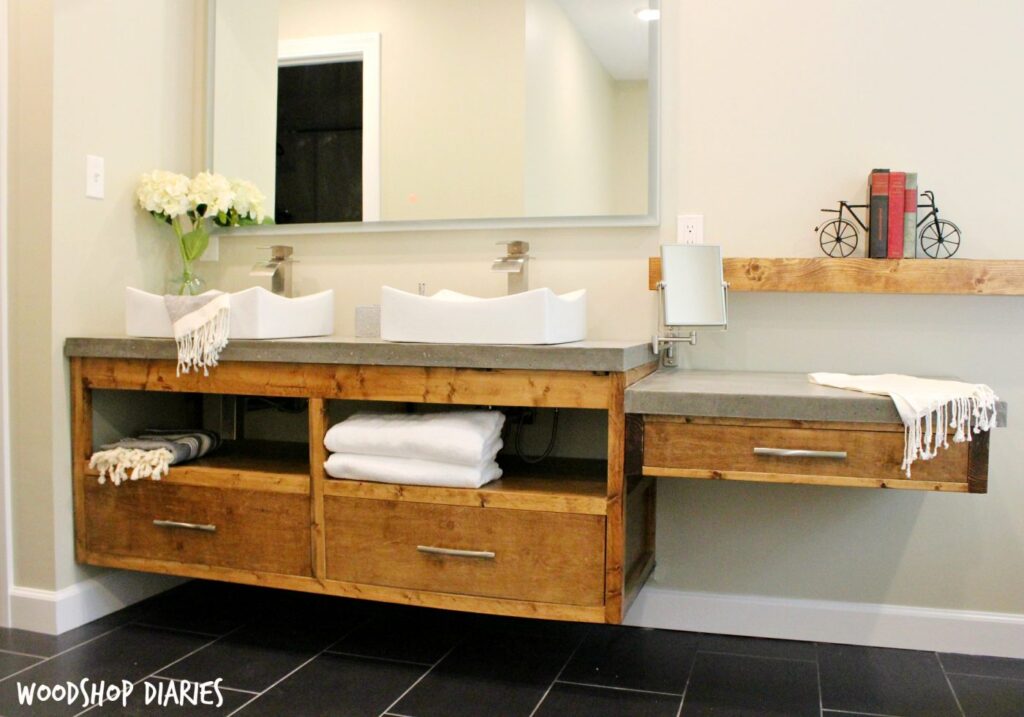
When it comes to installing a new bathroom vanity, one of the most crucial steps is attaching the vanity top. This not only adds stability to the vanity but also completes the overall look of the bathroom. However, attaching a bathroom vanity top may seem like a daunting task, but with the right tools and techniques, it can be easily accomplished. In this guide, we will take you through the step-by-step process of attaching a bathroom vanity top, ensuring a secure and professional installation.Attaching Bathroom Vanity Top


Attaching Bathroom Vanity Top

:max_bytes(150000):strip_icc()/8_IMG_3767-56a4a2753df78cf772835b72.JPG)


Before we dive into the process, let's first take a look at the tools you will need for this project. These include a drill, screws, screwdriver, silicone adhesive, and a level. Once you have gathered all the necessary tools, follow the steps below to attach your bathroom vanity top.How to Attach Bathroom Vanity Top


How to Attach Bathroom Vanity Top

:max_bytes(150000):strip_icc()/8_IMG_3767-56a4a2753df78cf772835b72.JPG)
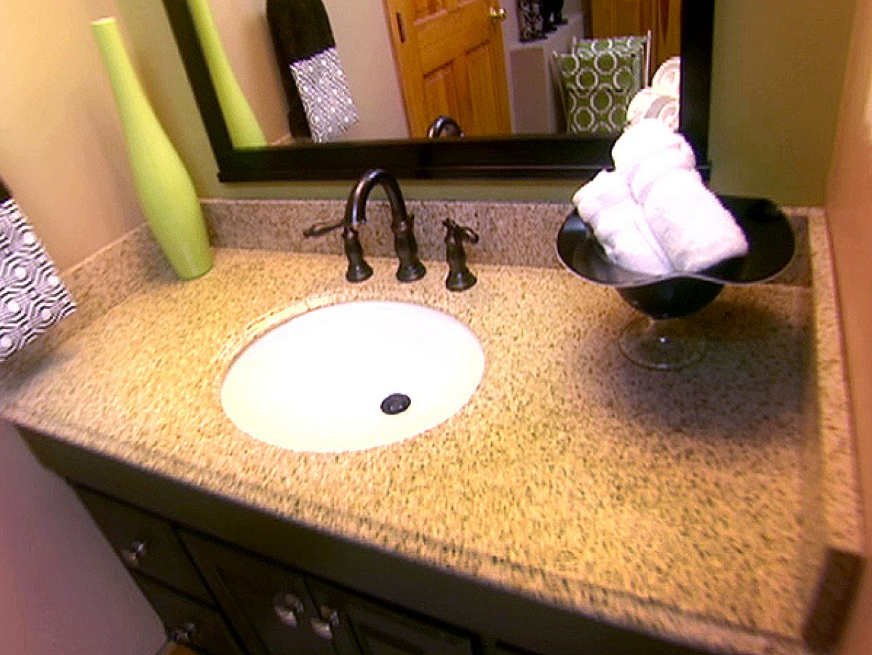
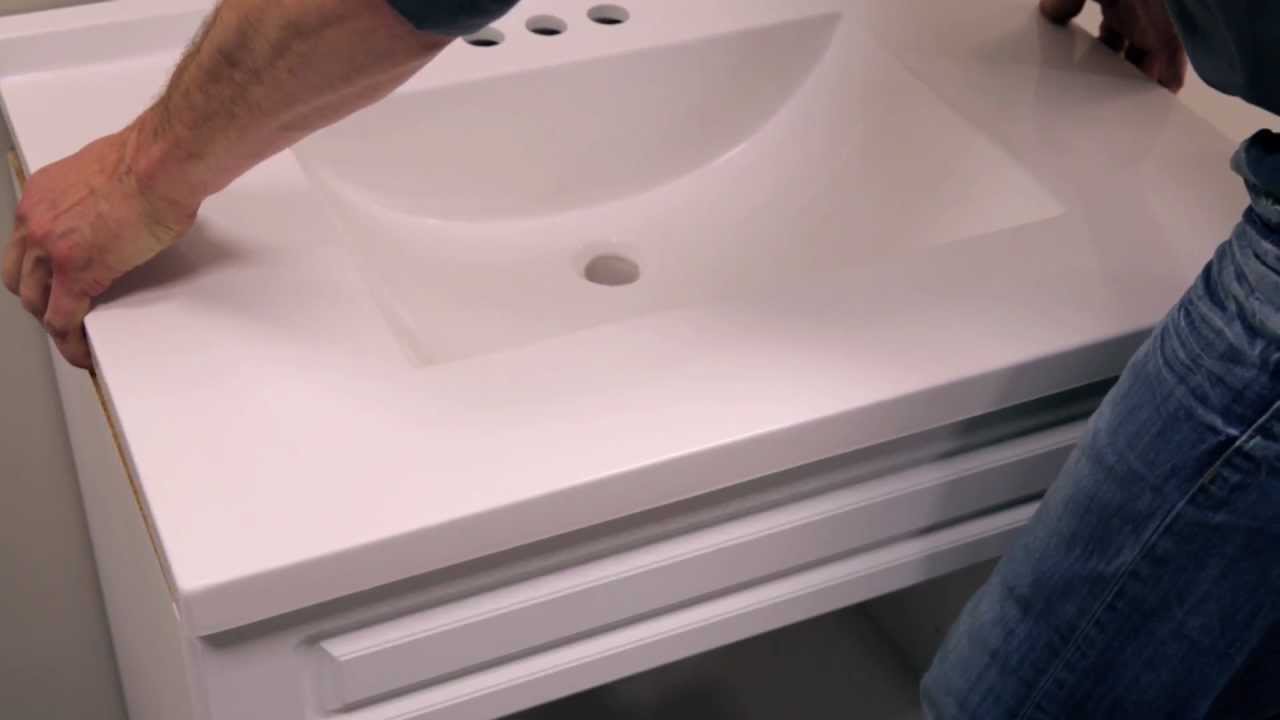
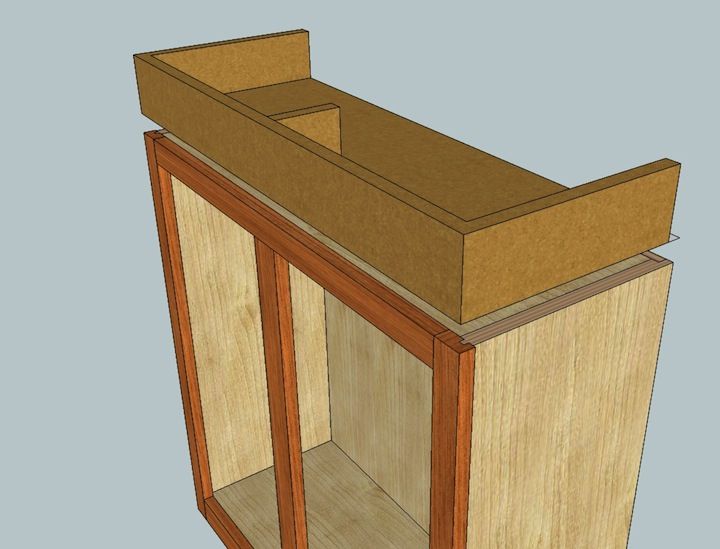
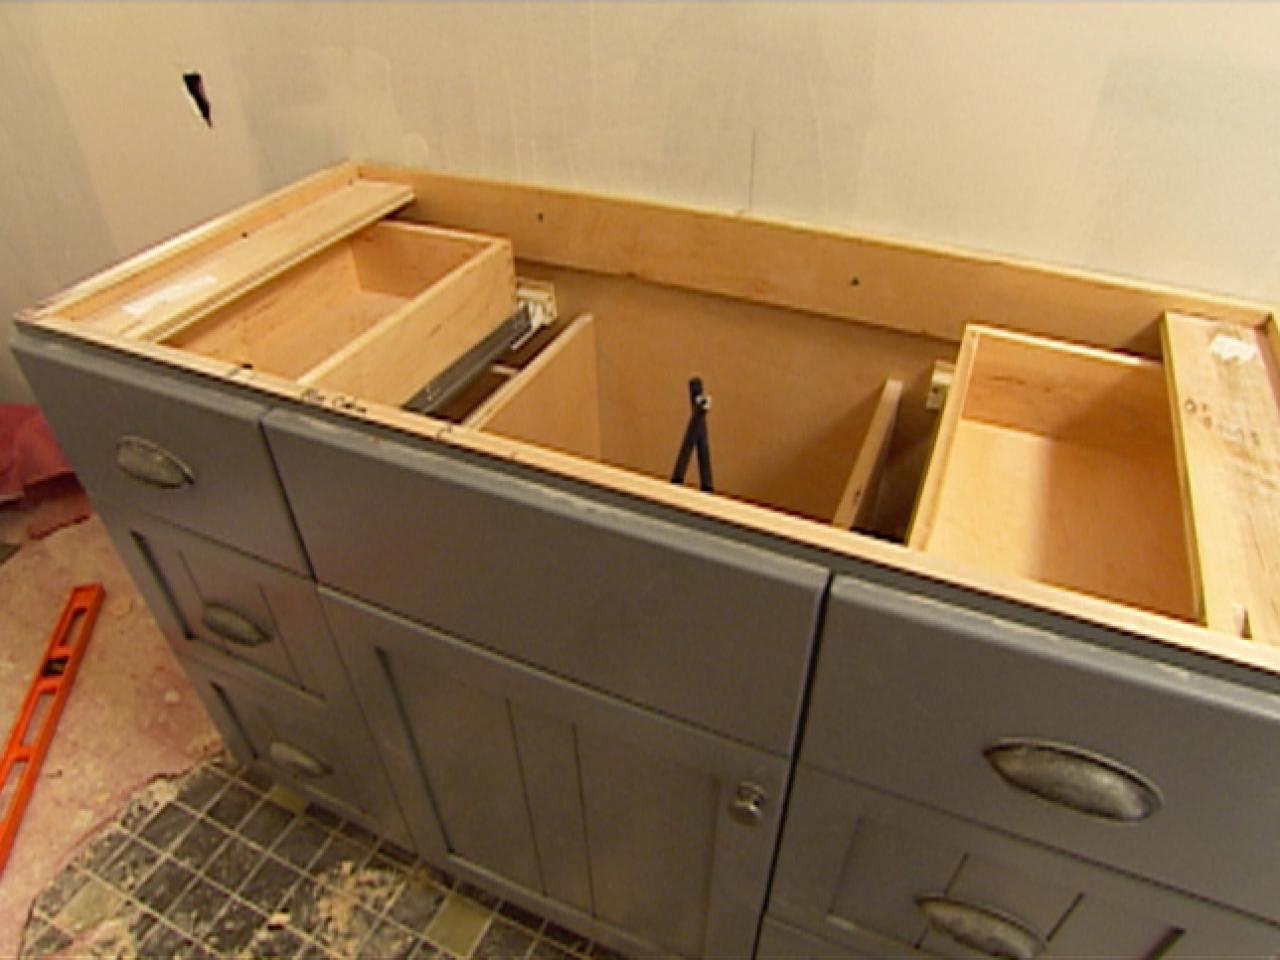
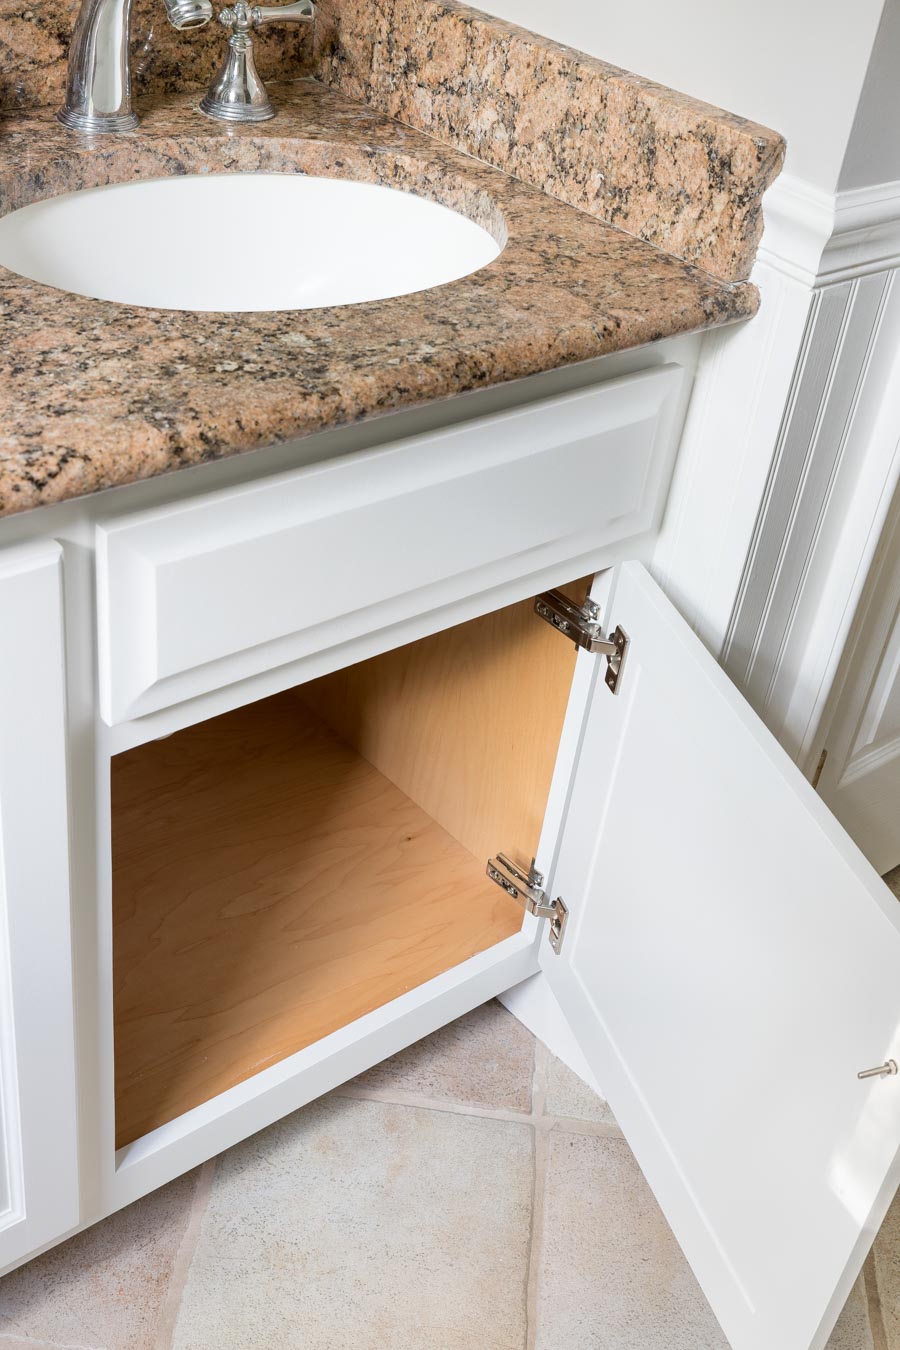
The first step is to place the vanity top on the cabinet. Make sure it is aligned correctly, and there is an even overhang on all sides. Use a level to ensure that the vanity top is perfectly flat. If it is not, use shims to adjust the level. Once you have achieved a level surface, mark the placement of the vanity top on the cabinet.Bathroom Vanity Top Installation
/7_IMG_3765-56a4a2743df78cf772835b6f.JPG)


Bathroom Vanity Top Installation
:max_bytes(150000):strip_icc()/8_IMG_3767-56a4a2753df78cf772835b72.JPG)
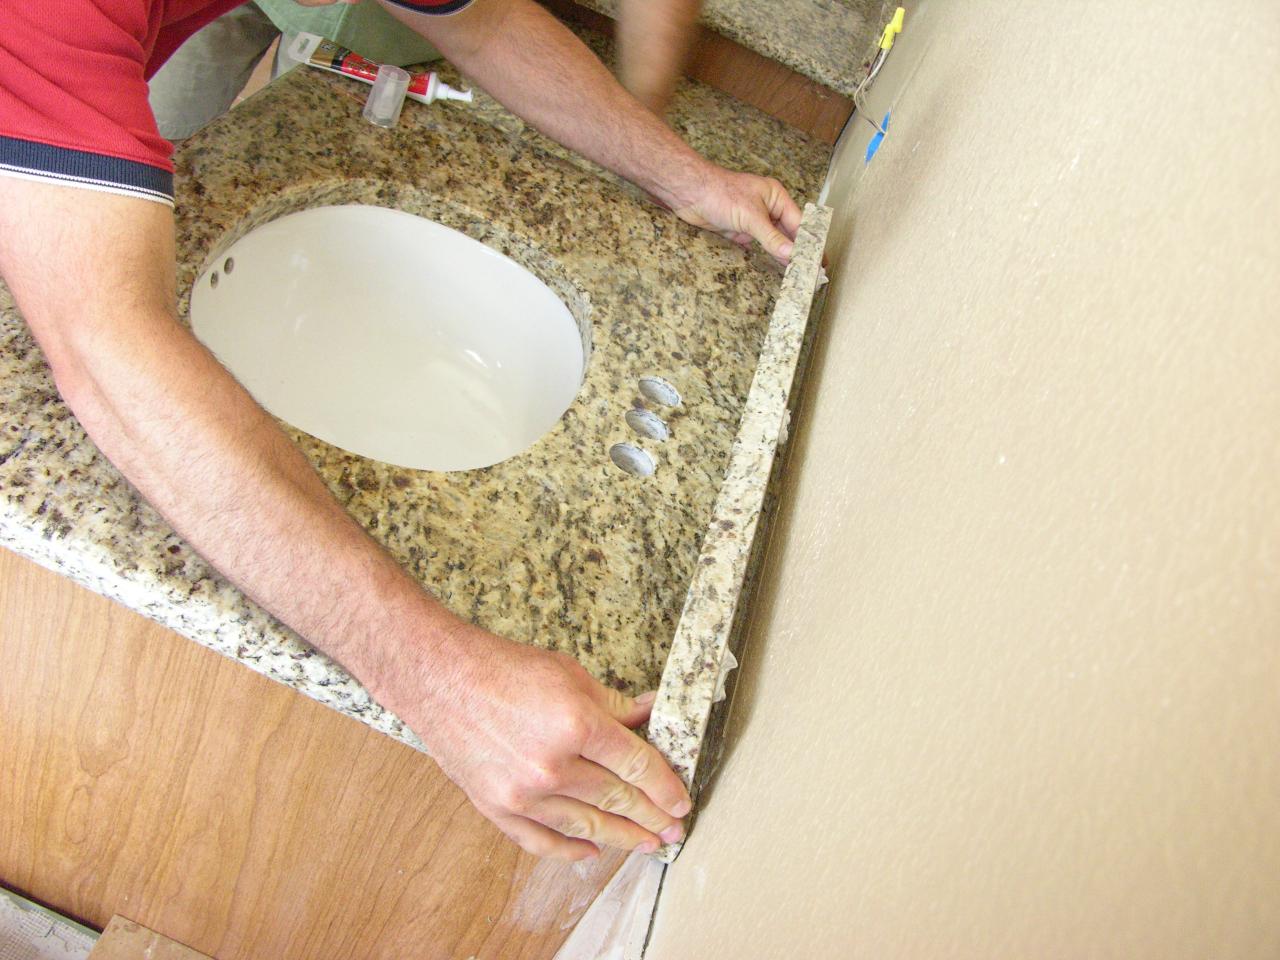
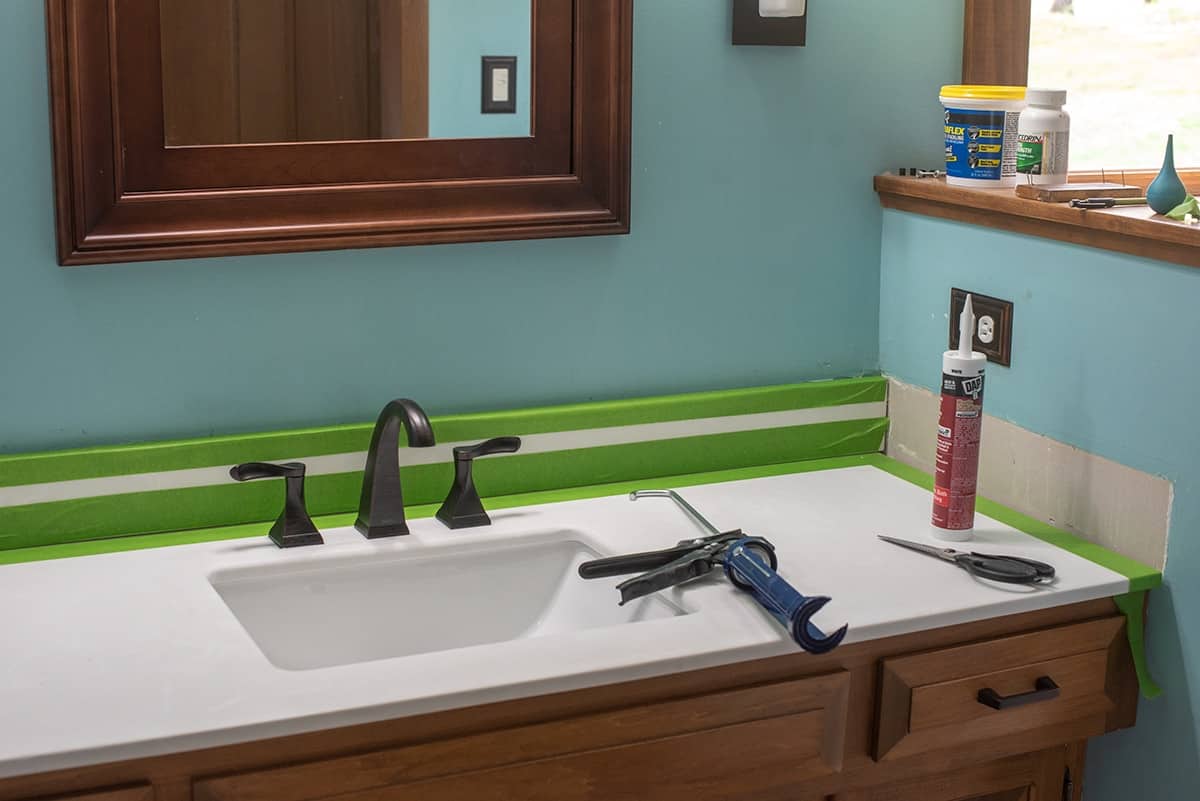
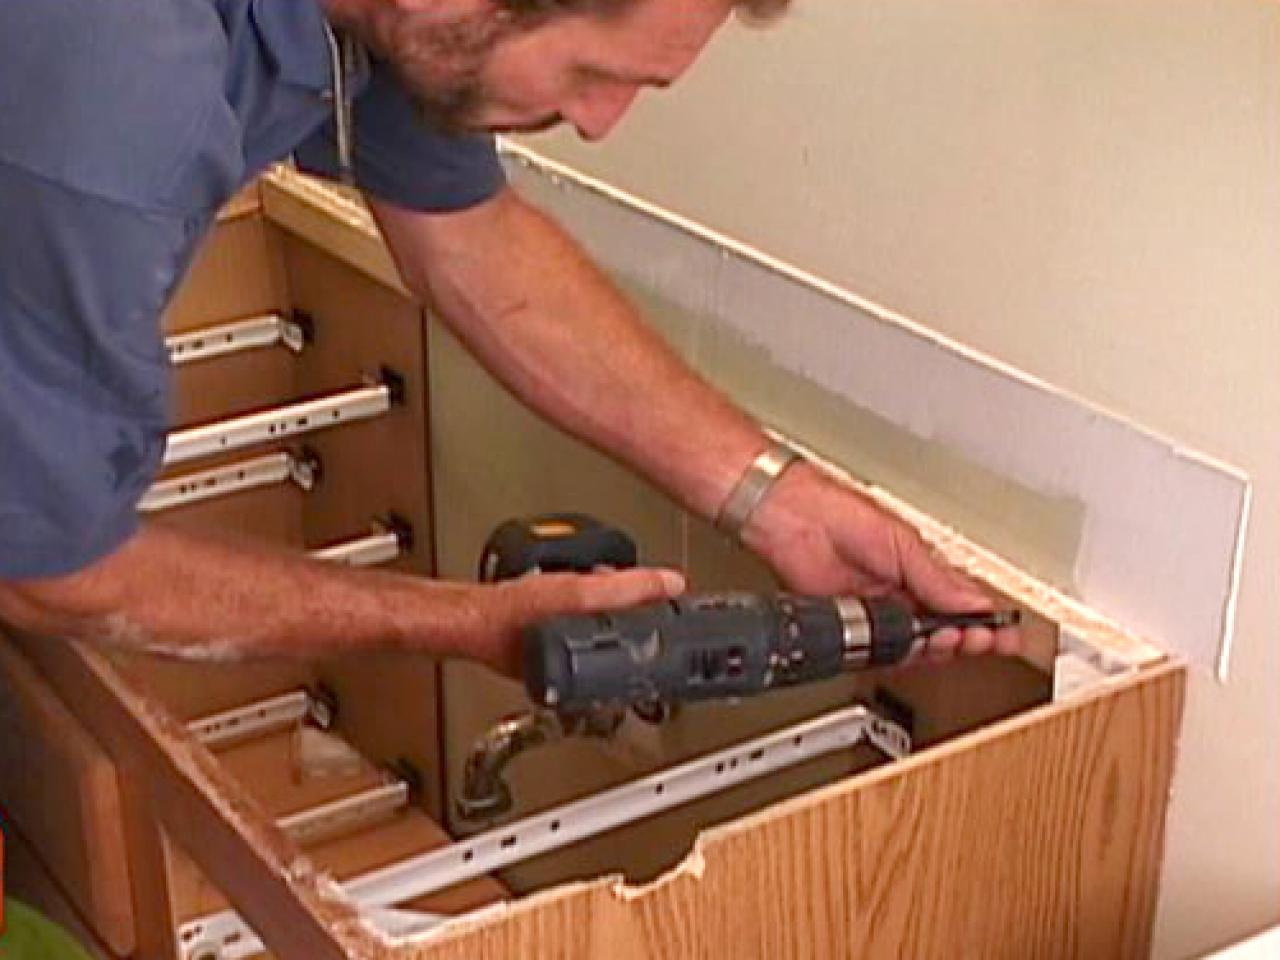
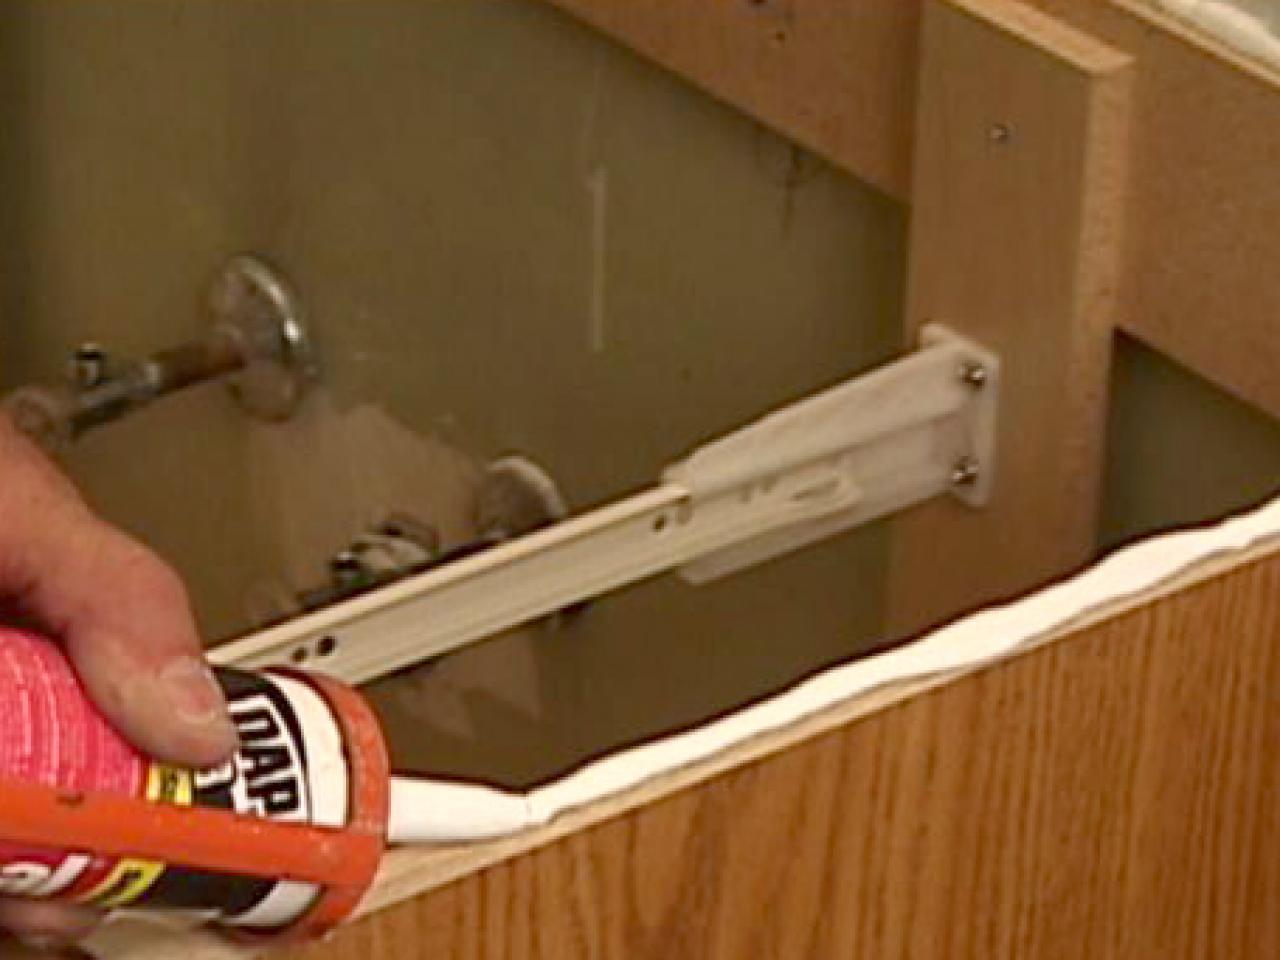
Now that you have marked the placement of the vanity top, it's time to secure it to the cabinet. Using a drill, make pilot holes in the marked areas. These pilot holes will help guide the screws and prevent the wood from splitting. Next, apply a generous amount of silicone adhesive on top of the cabinet. This will create a strong bond between the vanity top and the cabinet.Securing Bathroom Vanity Top


Securing Bathroom Vanity Top


After applying the silicone adhesive, carefully place the vanity top back on the cabinet, making sure it is aligned with the marks you made earlier. Once in place, use the screws to secure the vanity top to the cabinet. Make sure to tighten the screws evenly, so the vanity top is securely fastened.Mounting Bathroom Vanity Top

Mounting Bathroom Vanity Top
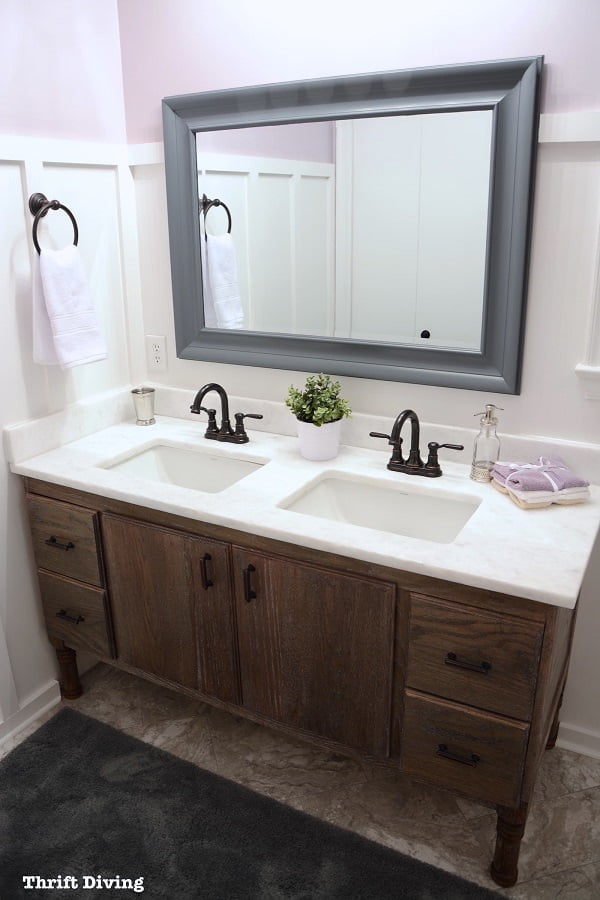
:max_bytes(150000):strip_icc()/Single-BasinBathroomVanityTopHuntshireVirtu-5672db5d3df78ccc15fa6a86.JPG)


To ensure a professional and seamless look, use a damp cloth to clean up any excess adhesive that may have squeezed out during the installation process. This will also prevent the adhesive from drying and hardening on the surface of the vanity top.Attaching Vanity Top to Cabinet


Attaching Vanity Top to Cabinet


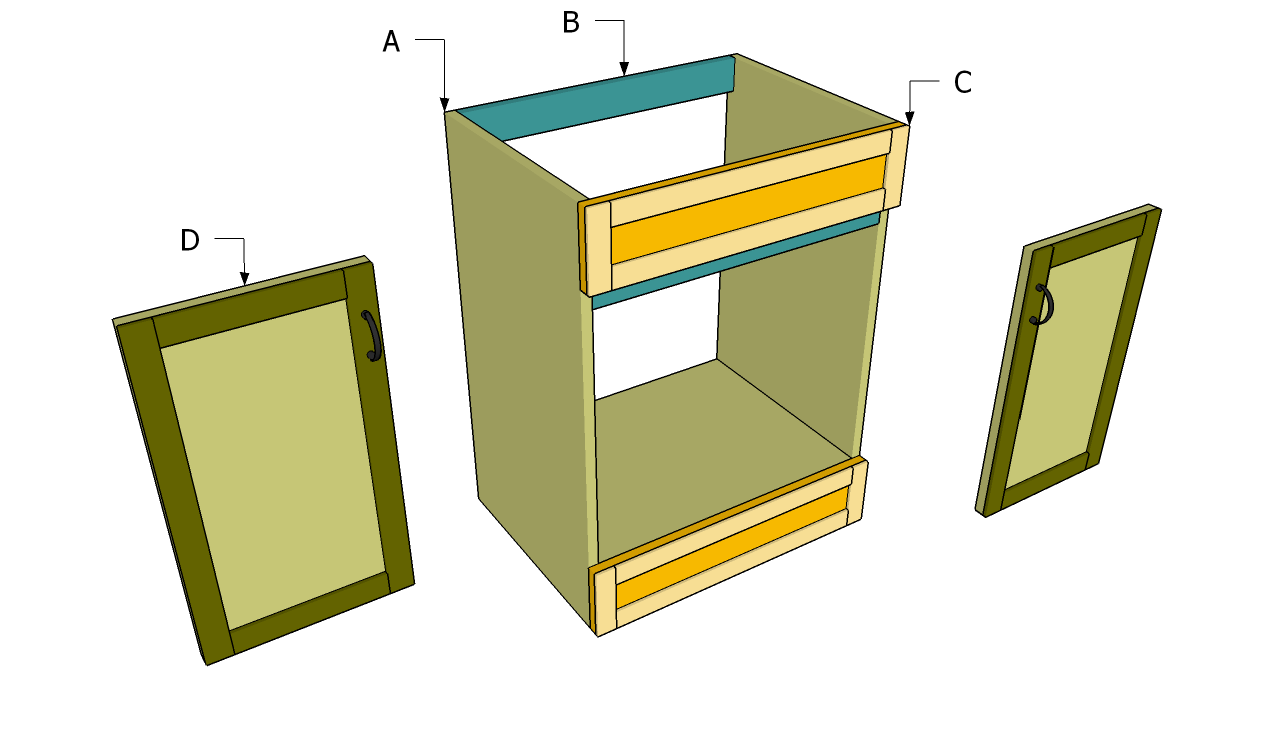
Attaching a bathroom vanity top can be a DIY project, but it's essential to follow the steps carefully to avoid any mistakes. If you are not confident in your DIY skills, it's always best to hire a professional to ensure a proper and secure installation.DIY Bathroom Vanity Top Installation


DIY Bathroom Vanity Top Installation
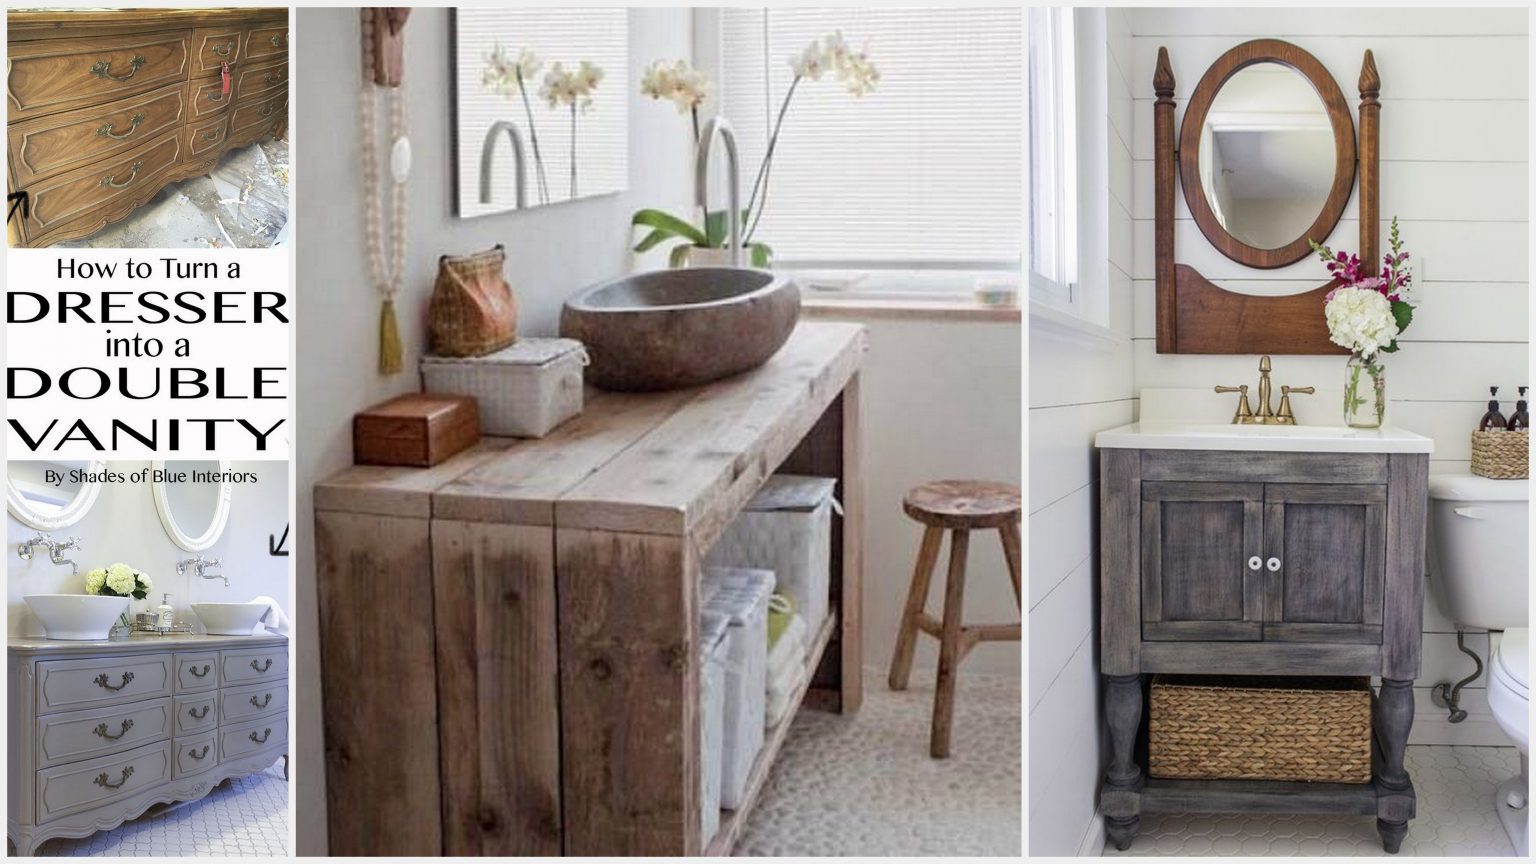
:max_bytes(150000):strip_icc()/build-something-diy-vanity-594402125f9b58d58ae21158.jpg)

/cherry-diy-bathroom-vanity-594414da5f9b58d58a099a36.jpg)
As mentioned earlier, the tools needed for attaching a bathroom vanity top are a drill, screws, screwdriver, silicone adhesive, and a level. It's always a good idea to have all these tools on hand before starting the installation process.Tools for Attaching Bathroom Vanity Top


Tools for Attaching Bathroom Vanity Top


To summarize, here is a step-by-step guide on how to attach a bathroom vanity top: - Place the vanity top on the cabinet and ensure it is level and aligned correctly. - Mark the placement of the vanity top on the cabinet. - Make pilot holes in the marked areas to guide the screws. - Apply silicone adhesive on top of the cabinet. - Carefully place the vanity top back on the cabinet and secure it with screws. - Clean up any excess adhesive for a professional finish.Step-by-Step Bathroom Vanity Top Attachment


Step-by-Step Bathroom Vanity Top Attachment


By following these steps, you can securely attach a bathroom vanity top and complete the installation process. Remember to take your time and be careful during each step to ensure a successful and long-lasting installation. With the right tools and techniques, you can achieve a professional look and add a touch of elegance to your bathroom.Securely Attaching Bathroom Vanity Top


Securely Attaching Bathroom Vanity Top


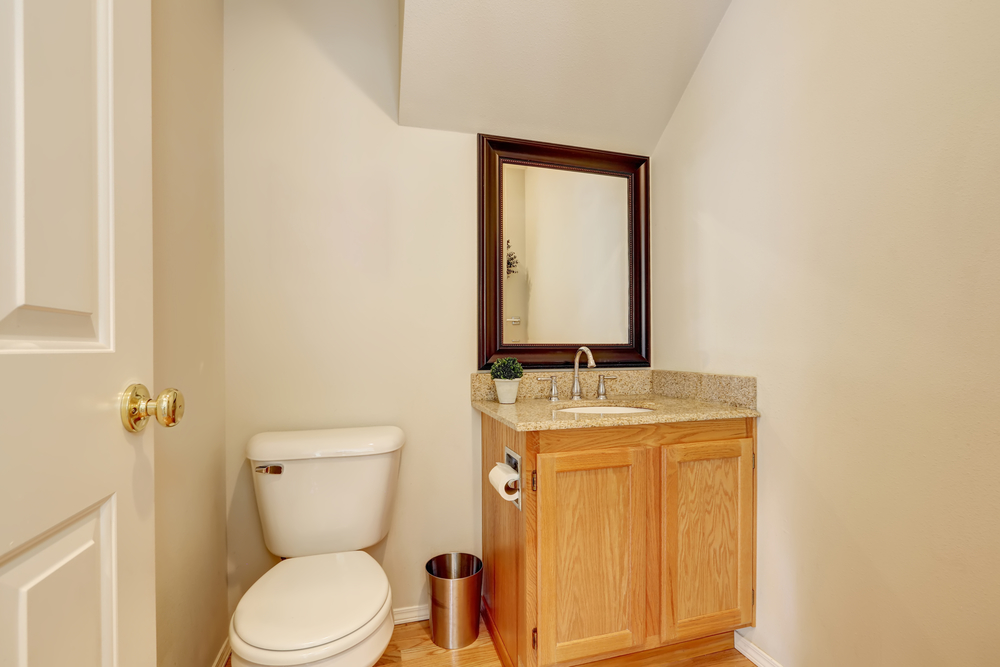
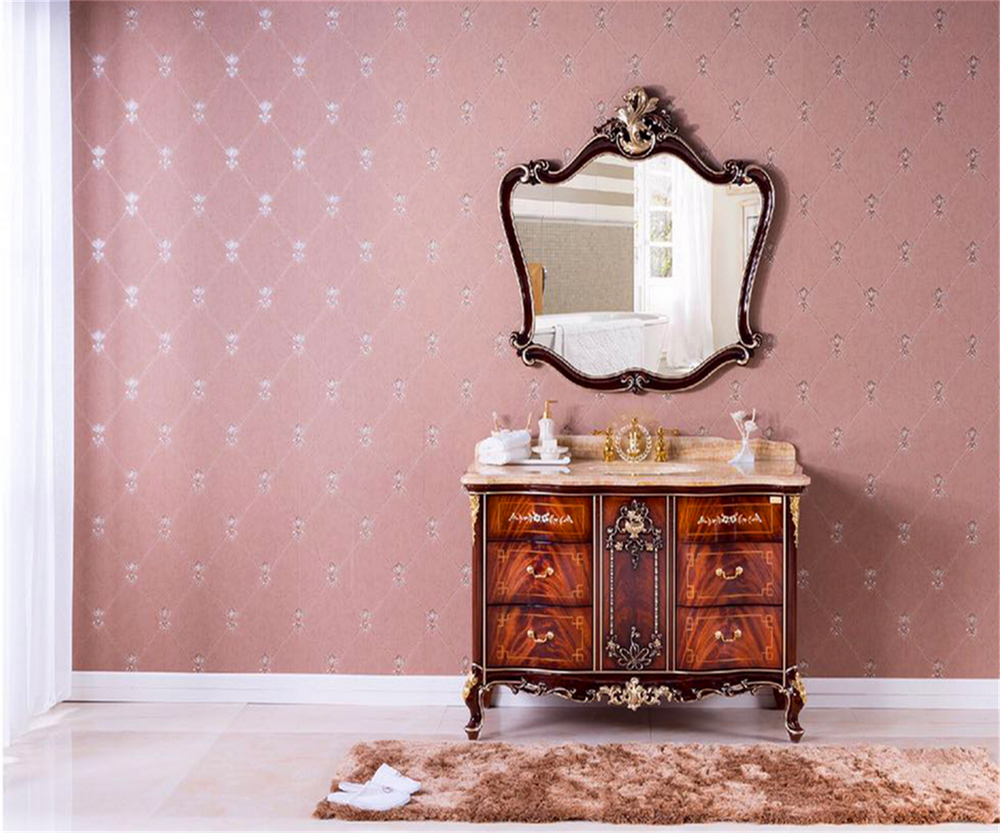
Choosing the Right Bathroom Vanity Top

Factors to Consider
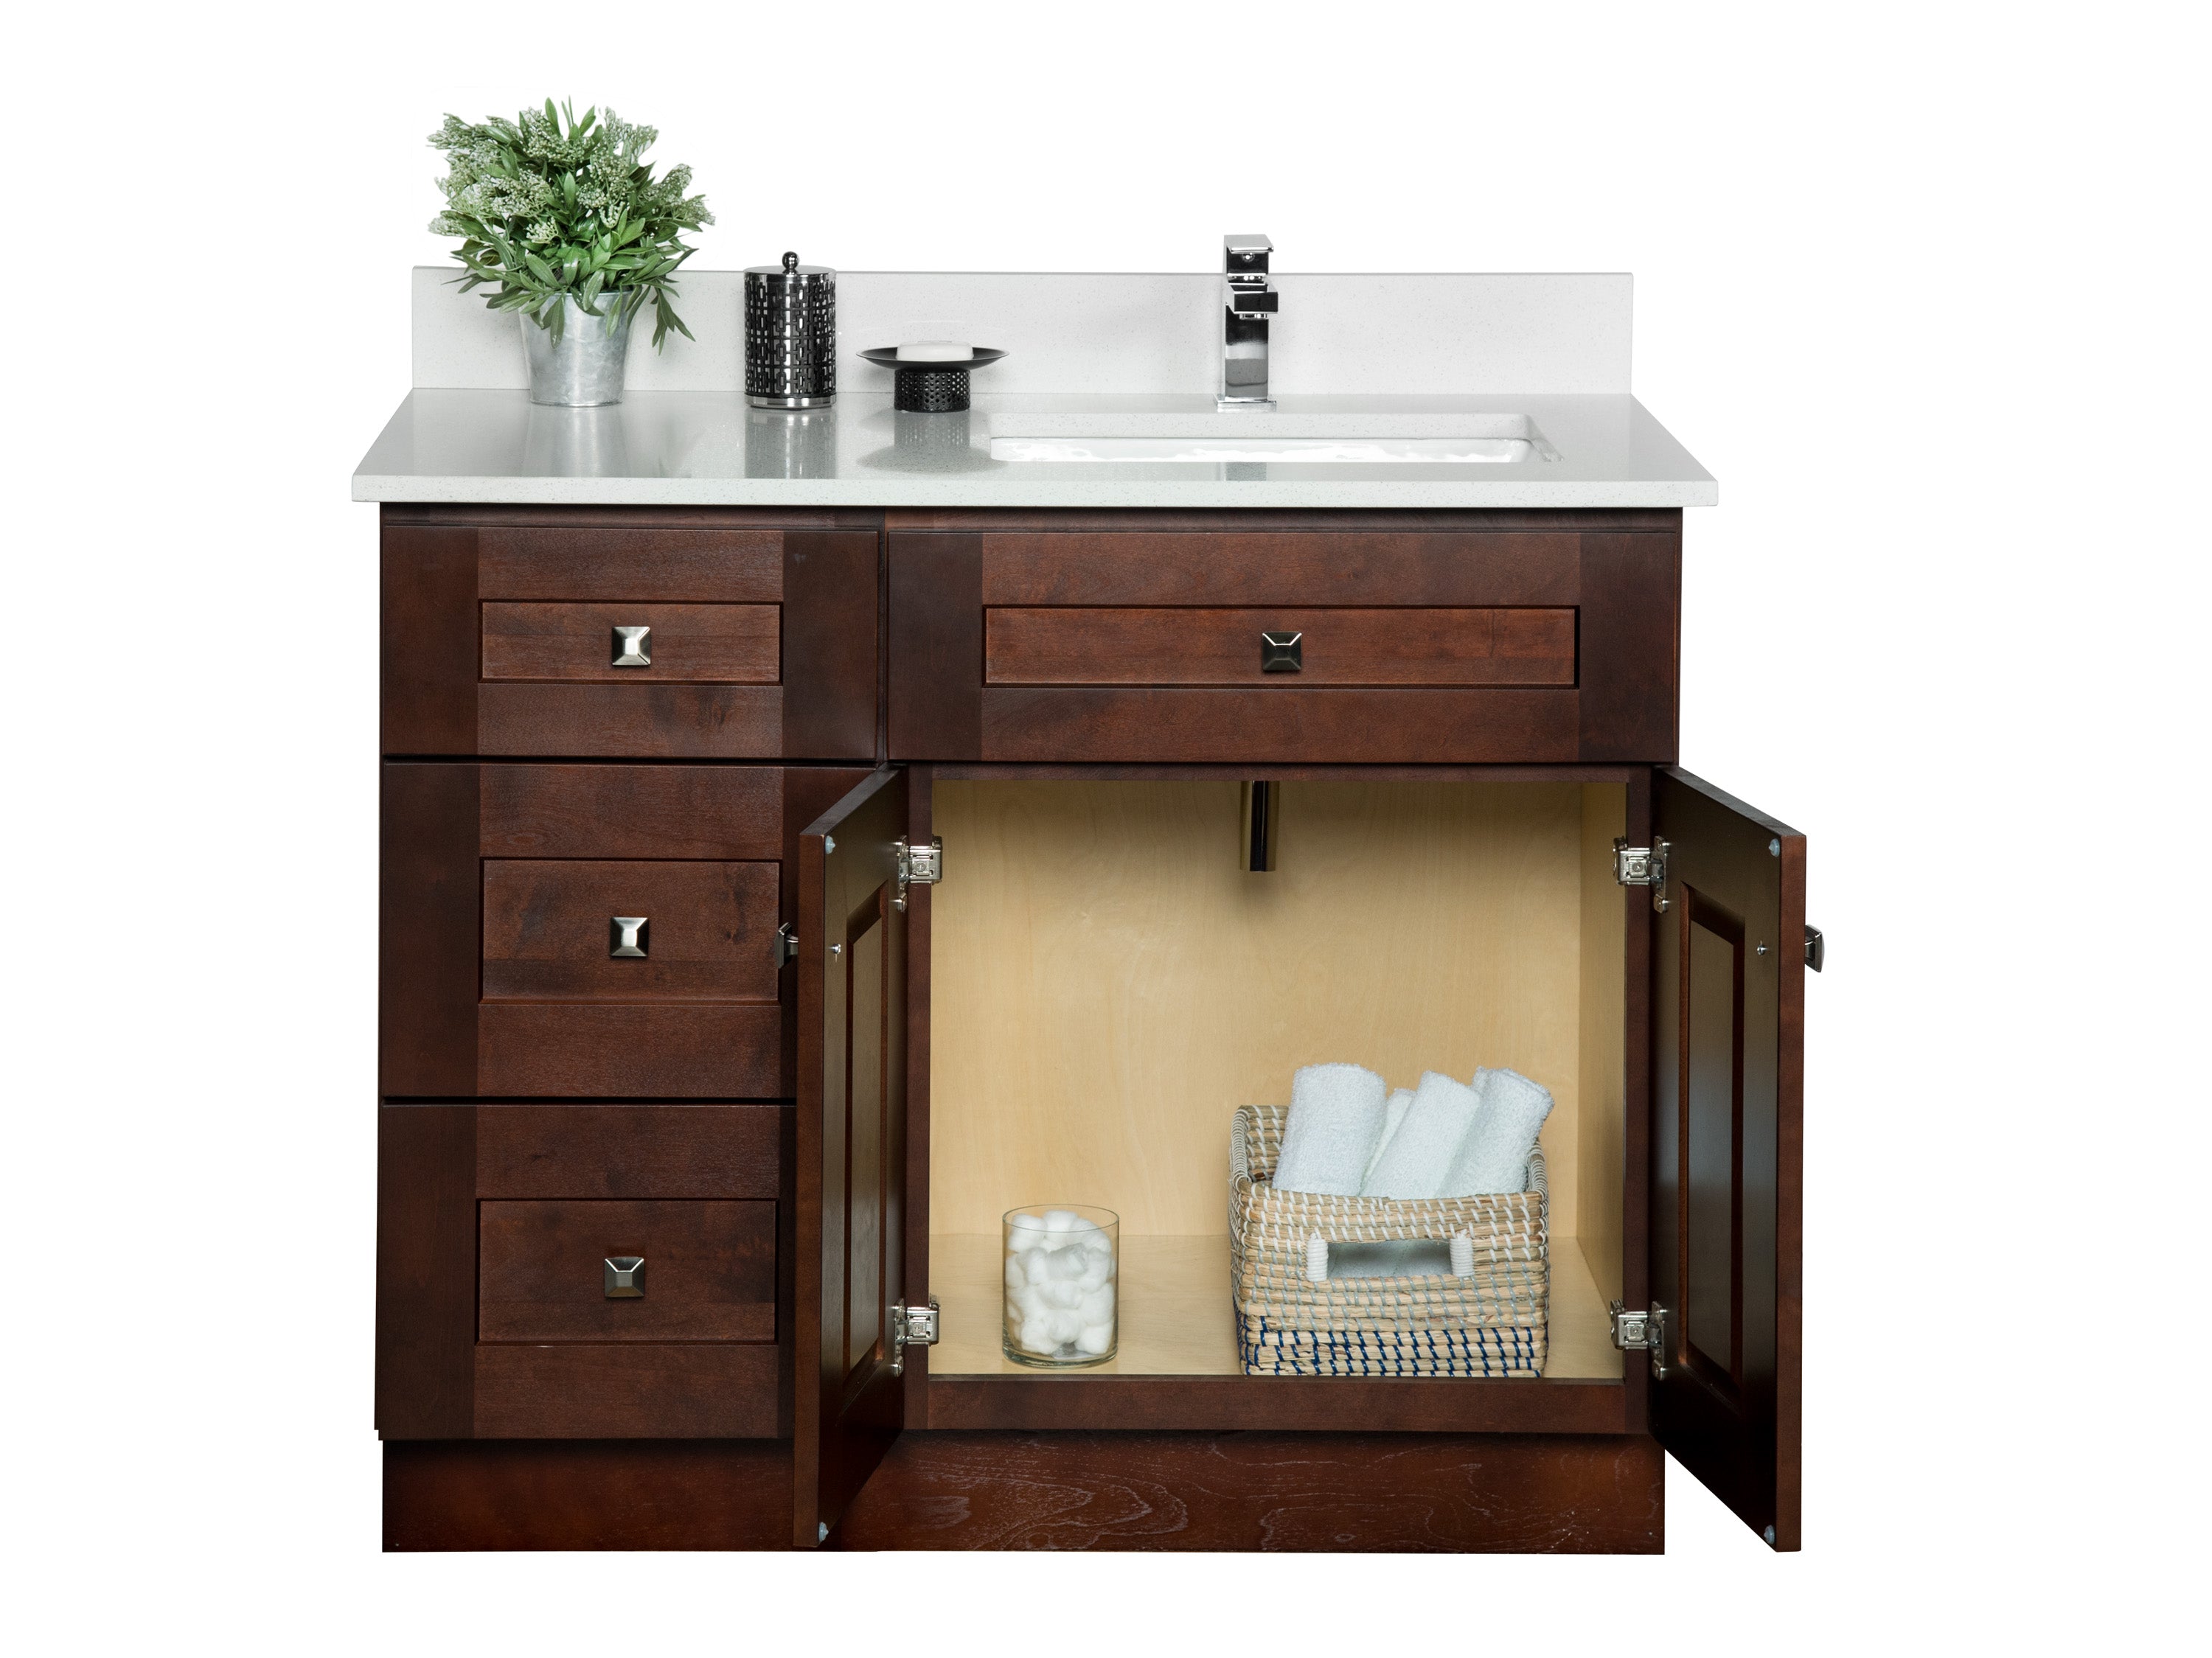
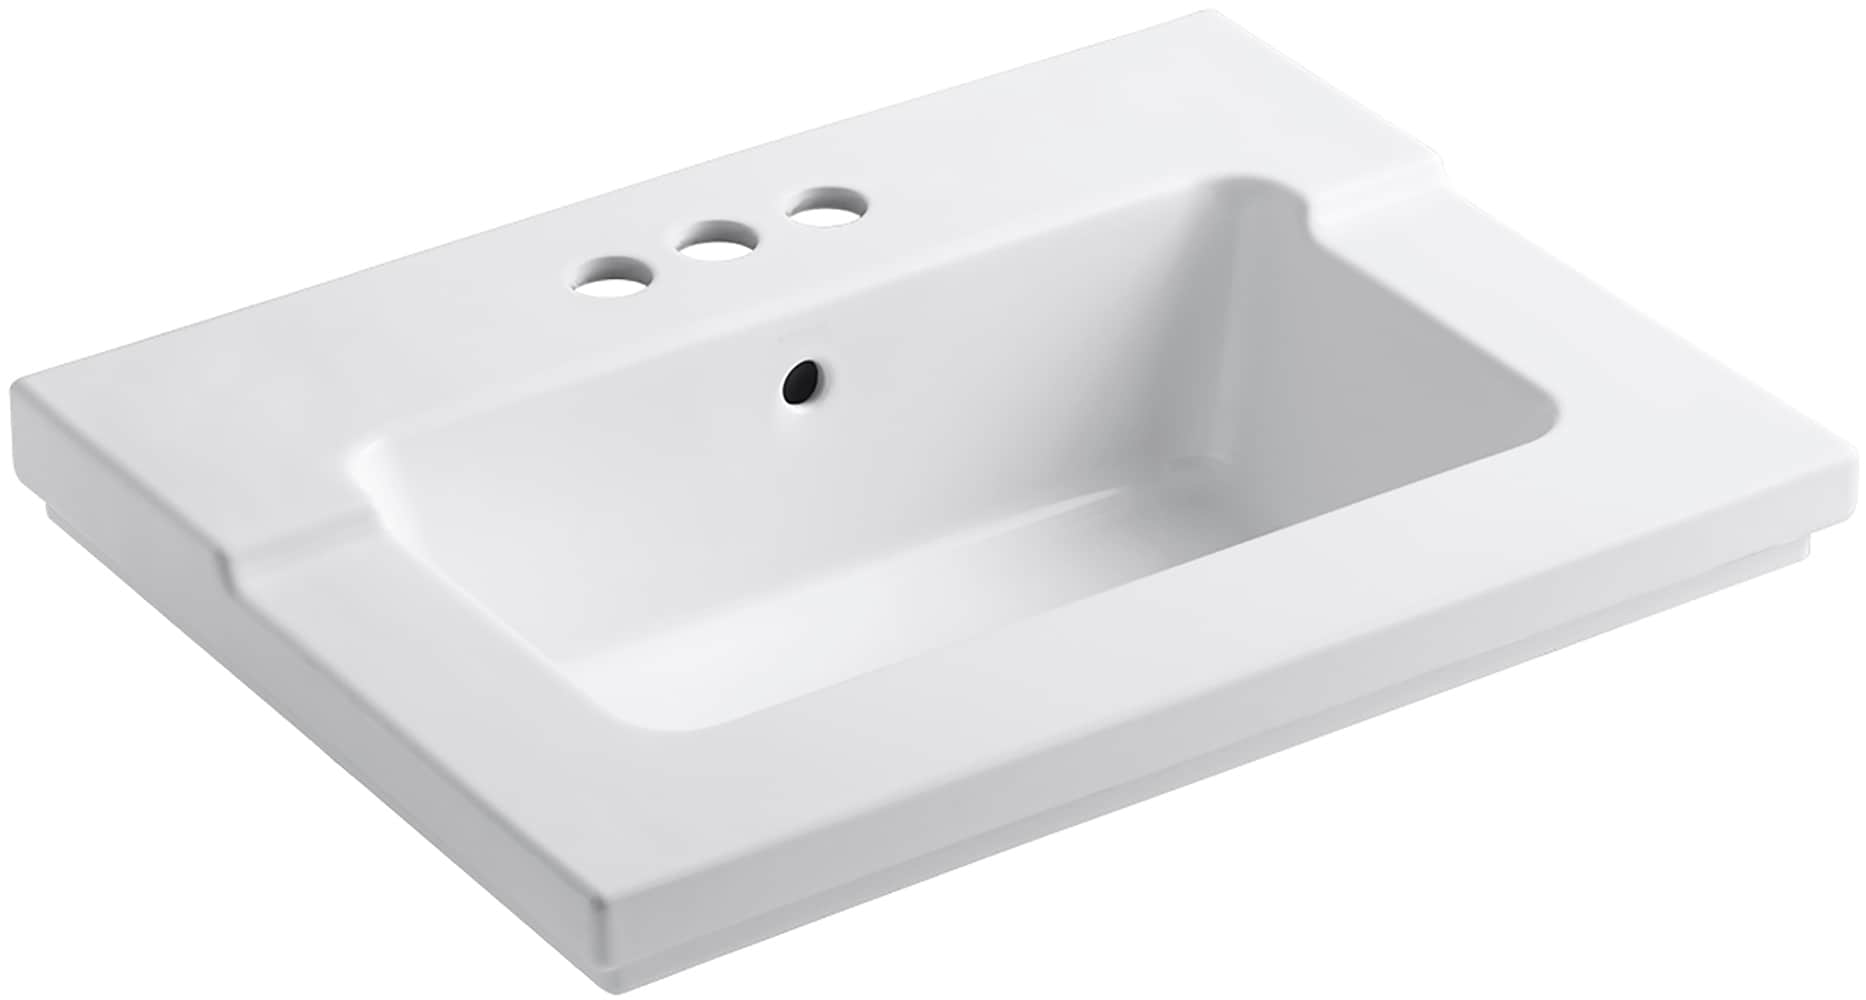
 When it comes to choosing a bathroom vanity top, there are several factors to consider. The first and most important factor is the
material
of the top. Some popular options include marble, granite, quartz, and solid surface. Each material has its own unique qualities and benefits, so it's important to do your research and choose one that best fits your needs and budget. Another important factor is the
size
and
shape
of the vanity top. Make sure to measure your vanity and consider the placement of the sink and faucet when selecting a top. Additionally, think about the
style
and
design
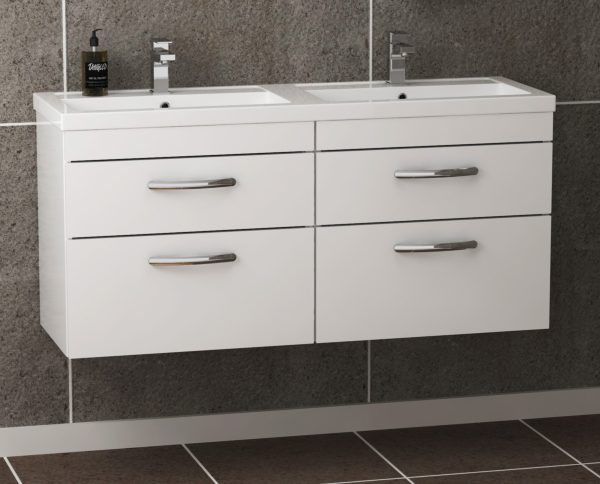
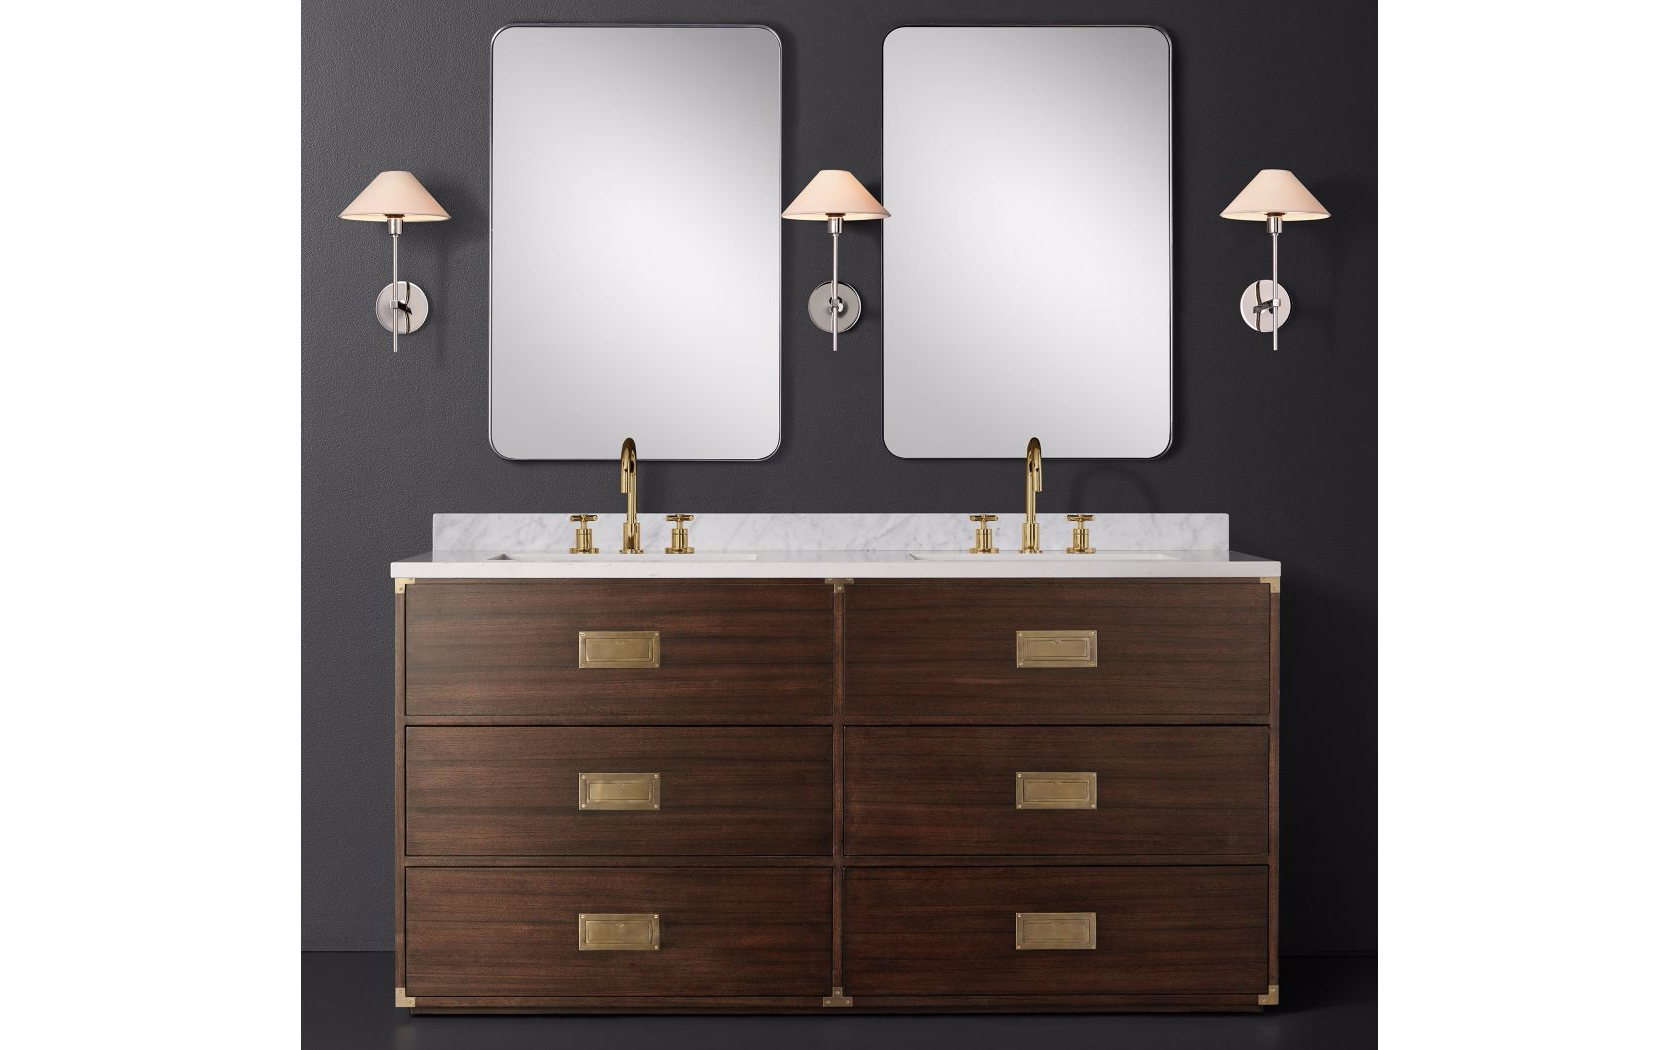
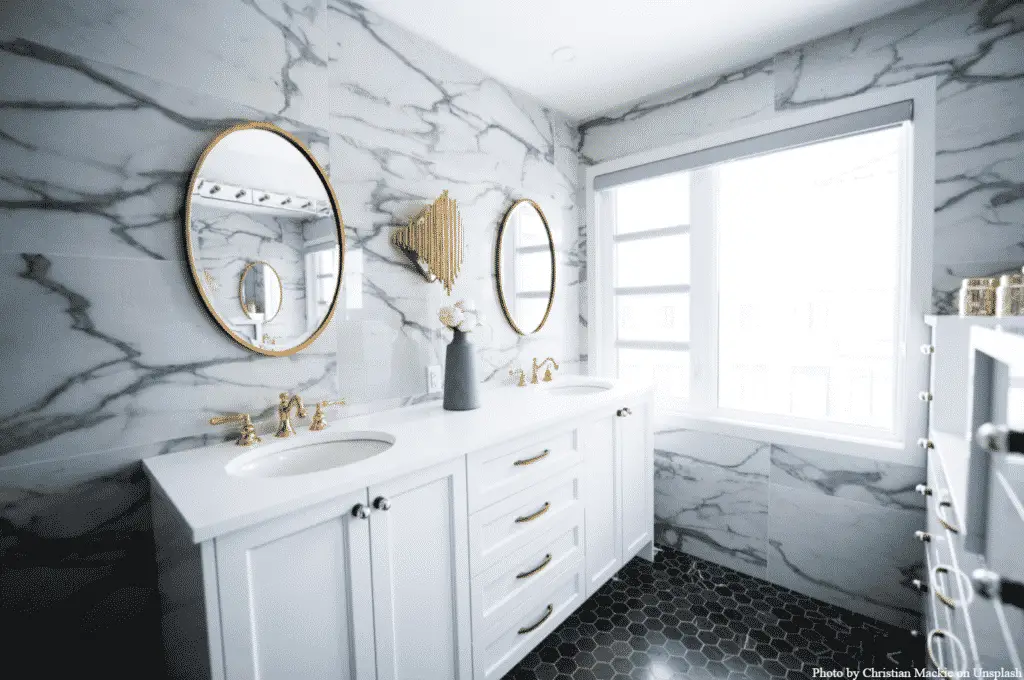
of your bathroom and choose a top that complements it. Whether you prefer a modern, sleek look or a more traditional, classic design, there is a vanity top available to fit your aesthetic. Lastly, consider the
durability
and
maintenance
of the top. Some materials may require more upkeep than others, so it's important to choose one that fits your lifestyle and maintenance preferences.
When it comes to choosing a bathroom vanity top, there are several factors to consider. The first and most important factor is the
material
of the top. Some popular options include marble, granite, quartz, and solid surface. Each material has its own unique qualities and benefits, so it's important to do your research and choose one that best fits your needs and budget. Another important factor is the
size
and
shape
of the vanity top. Make sure to measure your vanity and consider the placement of the sink and faucet when selecting a top. Additionally, think about the
style
and
design
of your bathroom and choose a top that complements it. Whether you prefer a modern, sleek look or a more traditional, classic design, there is a vanity top available to fit your aesthetic. Lastly, consider the
durability
and
maintenance
of the top. Some materials may require more upkeep than others, so it's important to choose one that fits your lifestyle and maintenance preferences.
Attaching the Top to the Vanity
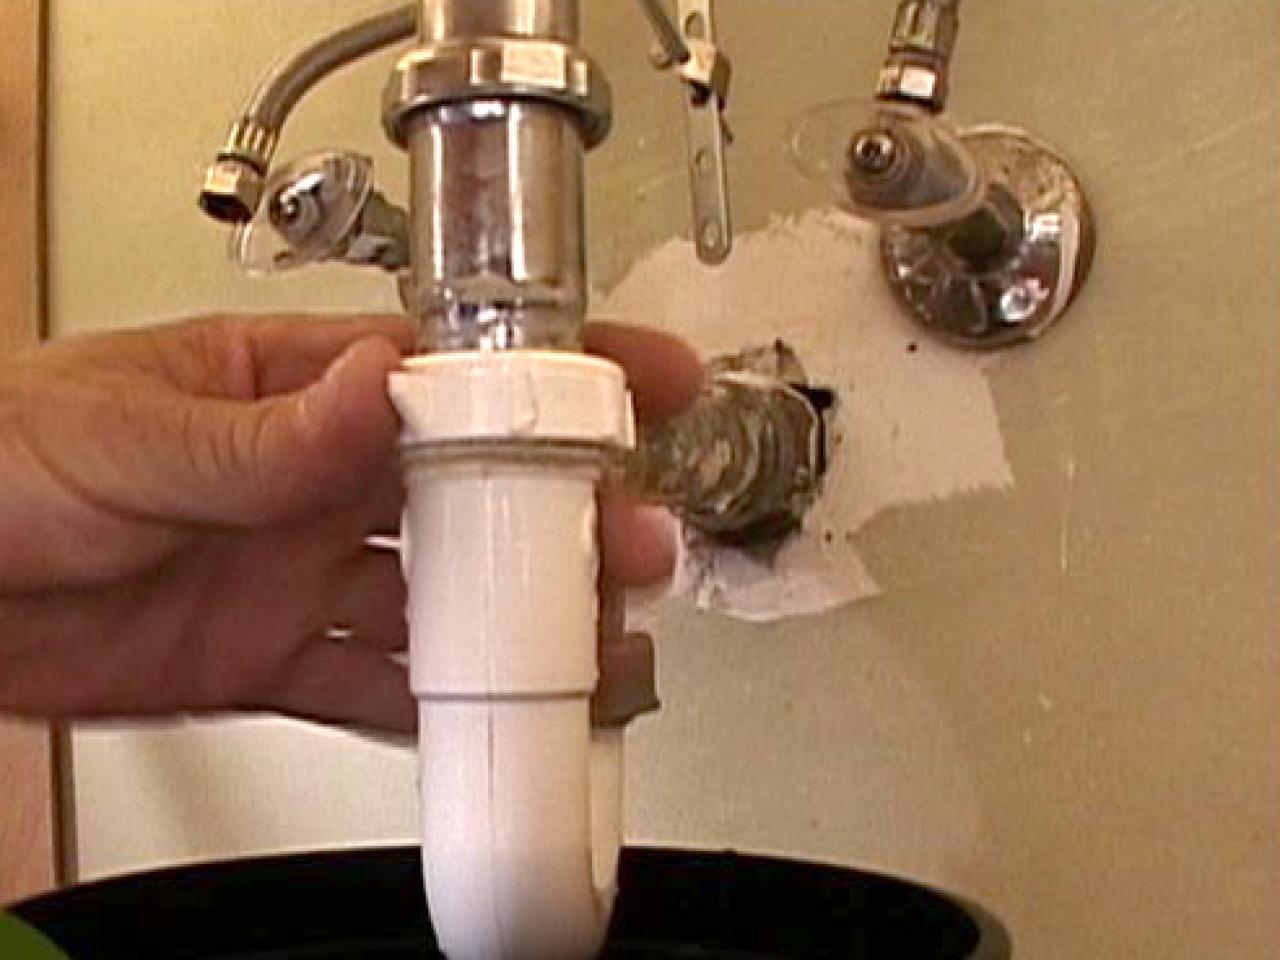
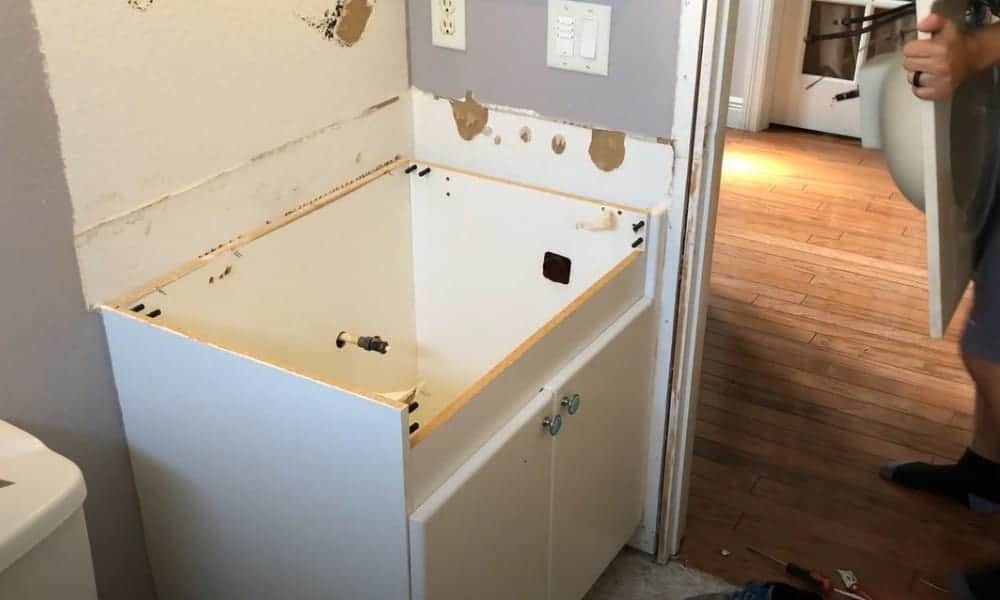
 Once you have chosen the perfect bathroom vanity top, it's time to attach it to the vanity. This process may vary depending on the type of top you have selected, so be sure to follow the manufacturer's instructions carefully. In most cases, you will start by placing the top upside down on a flat, stable surface.
Apply a bead of silicone caulk
around the edge of the vanity, leaving a small gap between the caulk and the edge. This will help create a watertight seal between the top and the vanity. Gently flip the top over and carefully lower it onto the vanity, making sure it is centered and level. Secure the top to the vanity using the provided hardware or screws, being careful not to overtighten and crack the top. Finally,
seal the gap between the caulk and the top
with silicone caulk to prevent any water from seeping in.
Once you have chosen the perfect bathroom vanity top, it's time to attach it to the vanity. This process may vary depending on the type of top you have selected, so be sure to follow the manufacturer's instructions carefully. In most cases, you will start by placing the top upside down on a flat, stable surface.
Apply a bead of silicone caulk
around the edge of the vanity, leaving a small gap between the caulk and the edge. This will help create a watertight seal between the top and the vanity. Gently flip the top over and carefully lower it onto the vanity, making sure it is centered and level. Secure the top to the vanity using the provided hardware or screws, being careful not to overtighten and crack the top. Finally,
seal the gap between the caulk and the top
with silicone caulk to prevent any water from seeping in.
Final Thoughts
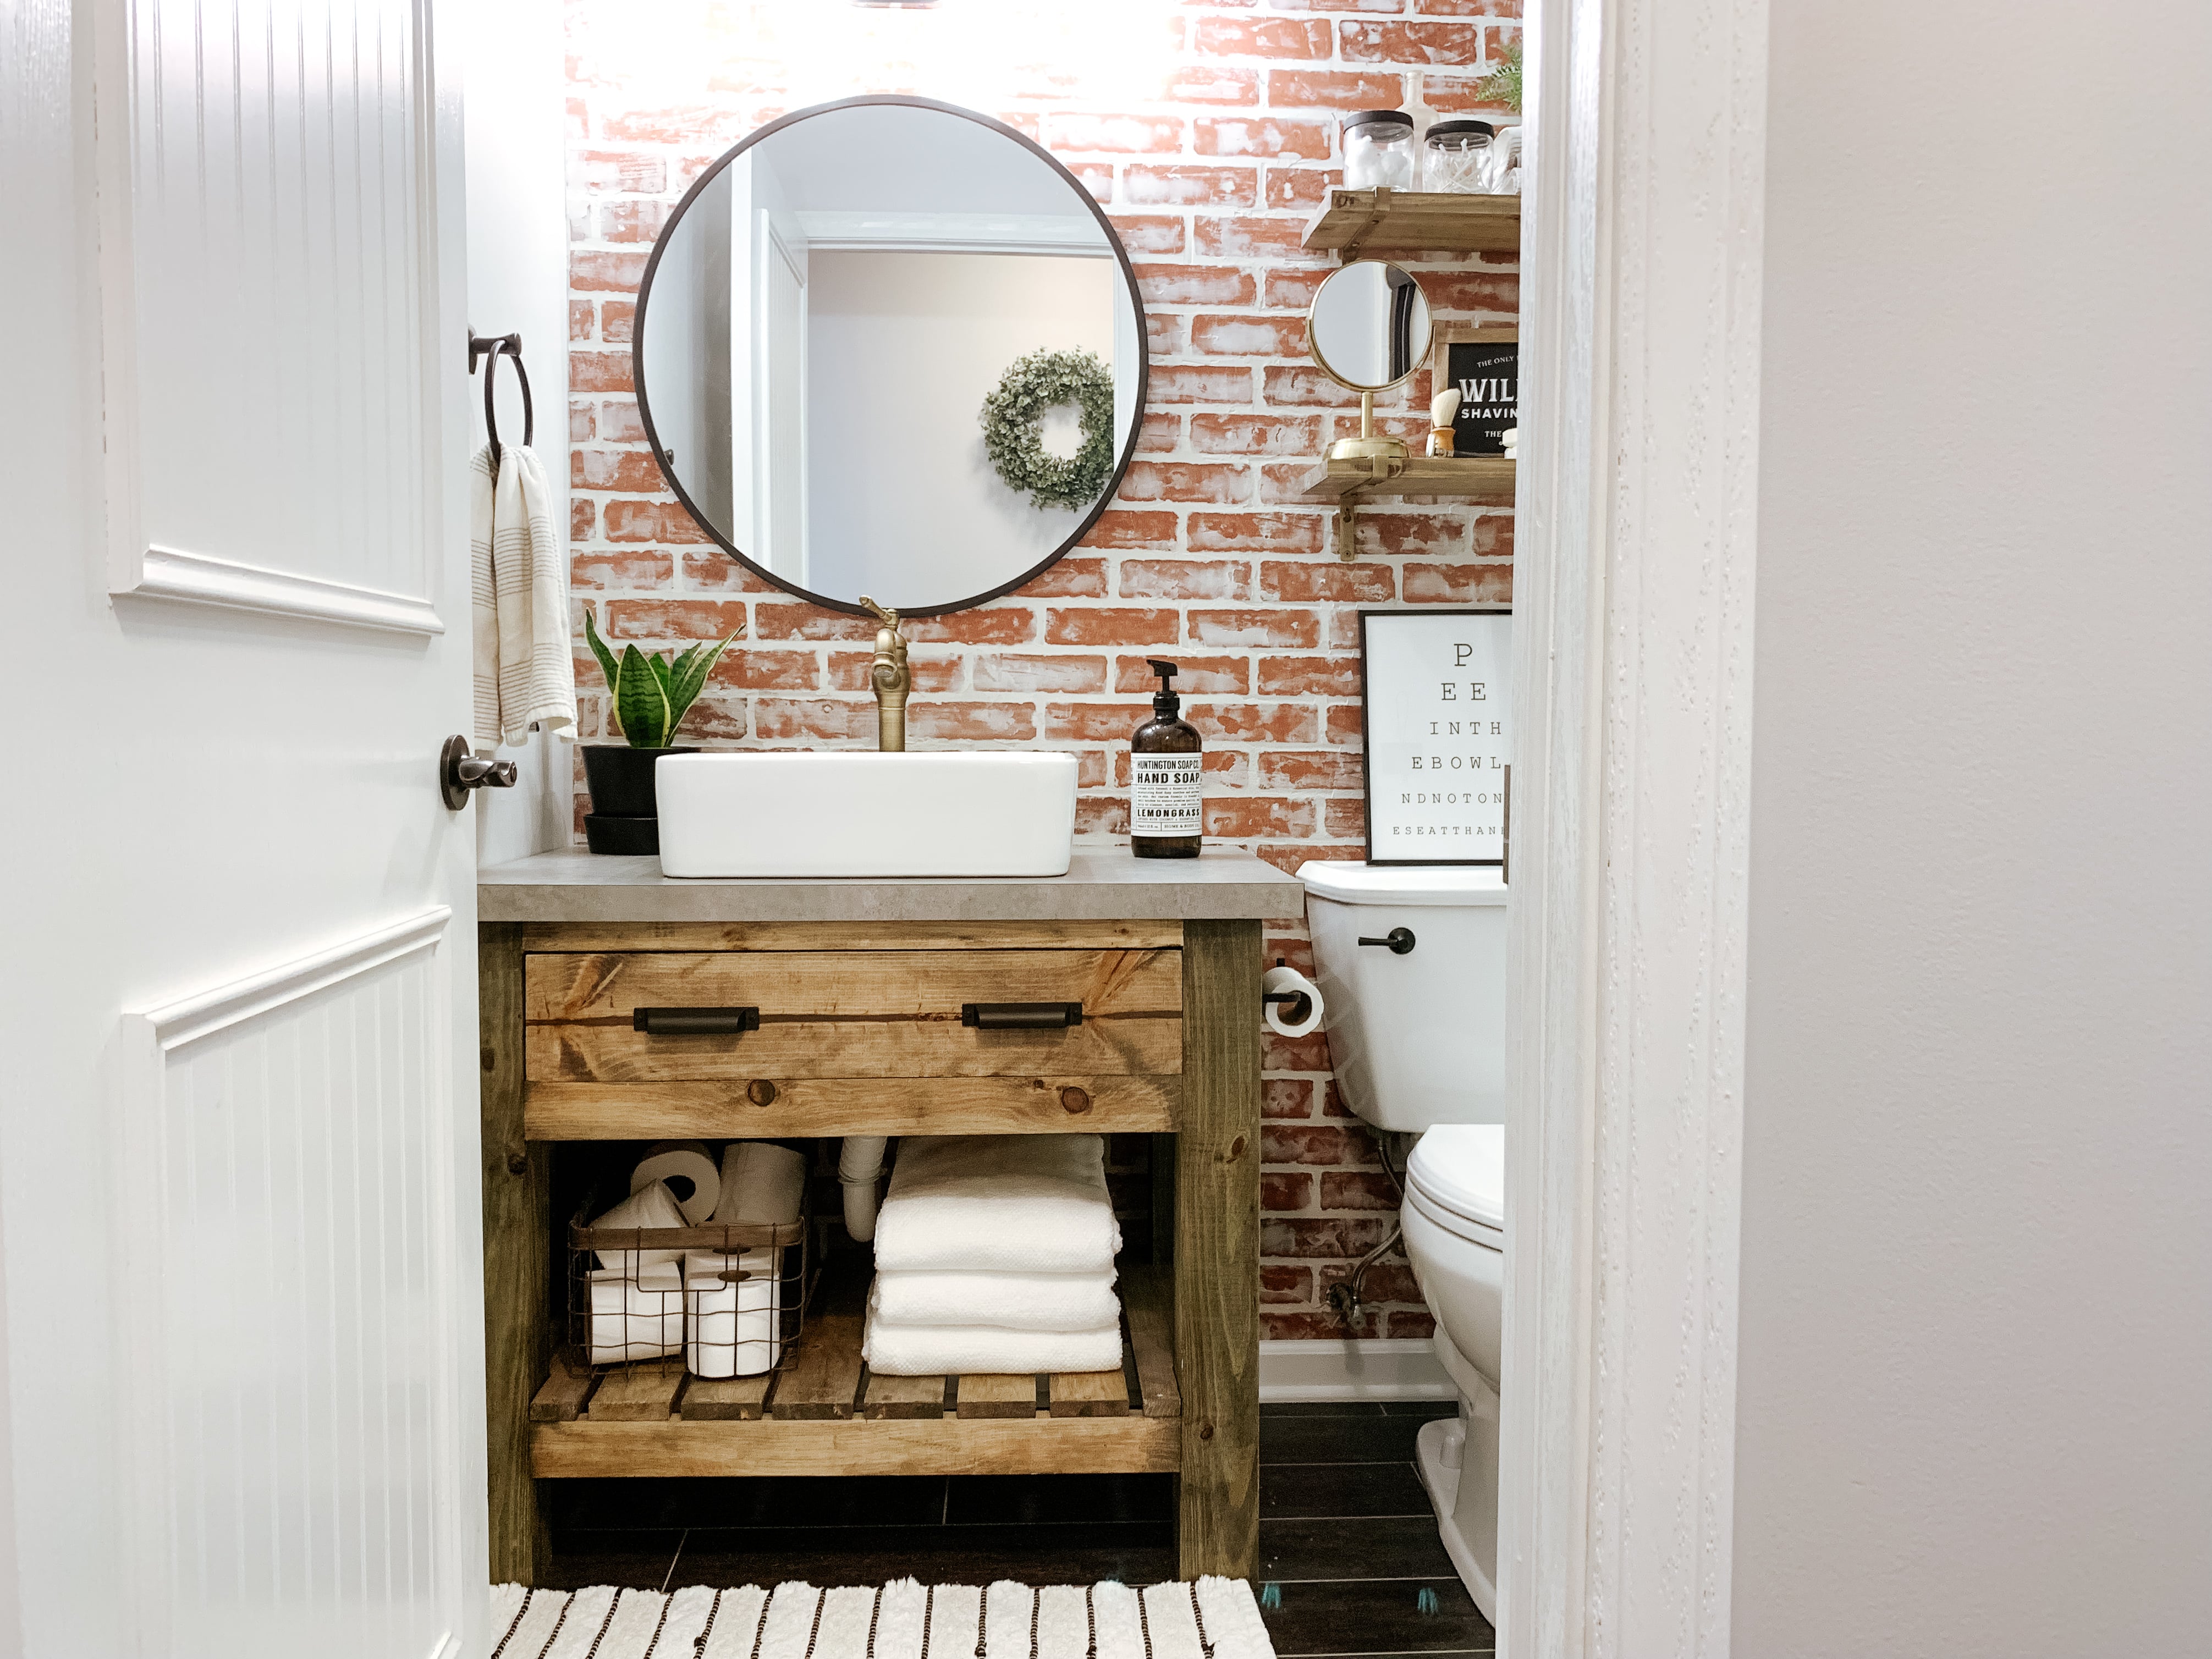
 Choosing and attaching a bathroom vanity top may seem like a daunting task, but with the right knowledge and preparation, it can be a simple and rewarding process. Remember to consider the material, size, shape, style, durability, and maintenance when selecting a top, and follow the manufacturer's instructions when attaching it to the vanity. With a beautiful and functional vanity top in place, your bathroom will be transformed into a stylish and organized space.