Removing a bathroom sink drain collar may seem like a daunting task, but with the right tools and techniques, it can be a quick and easy process. Whether you're dealing with a clogged drain or simply need to replace the collar, follow these steps to successfully remove it without causing any damage to your sink.How to Remove a Bathroom Sink Drain Collar


How to Remove a Bathroom Sink Drain Collar


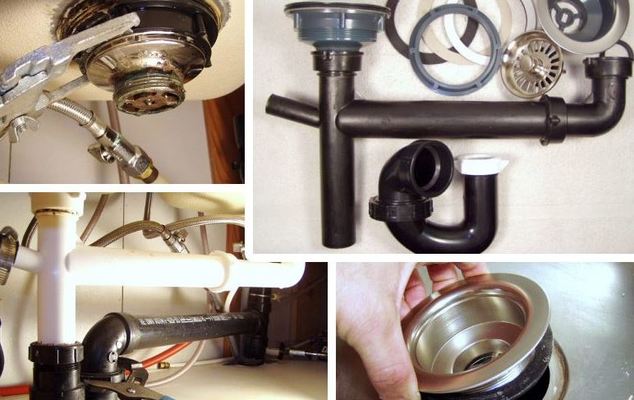
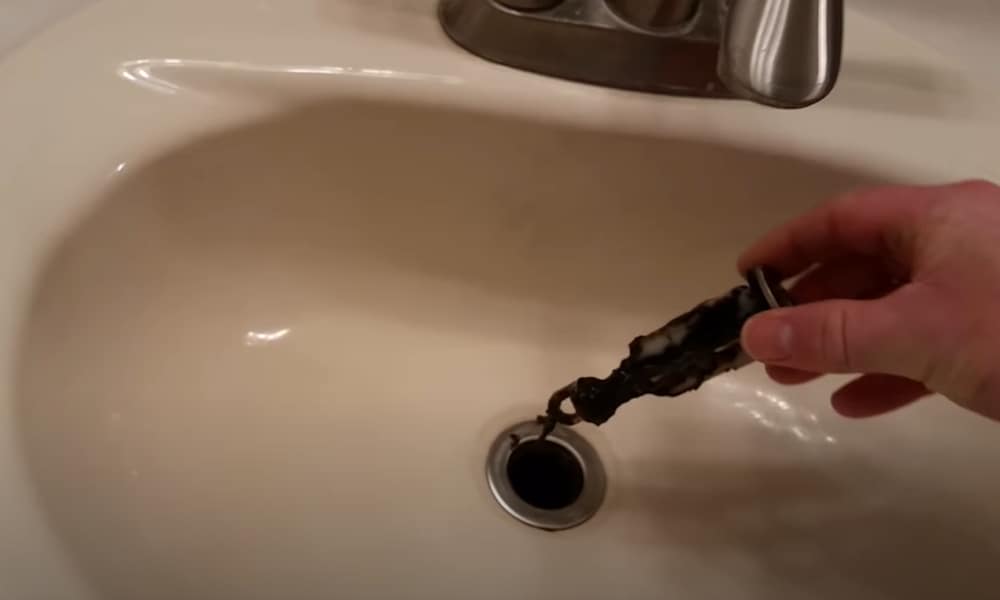

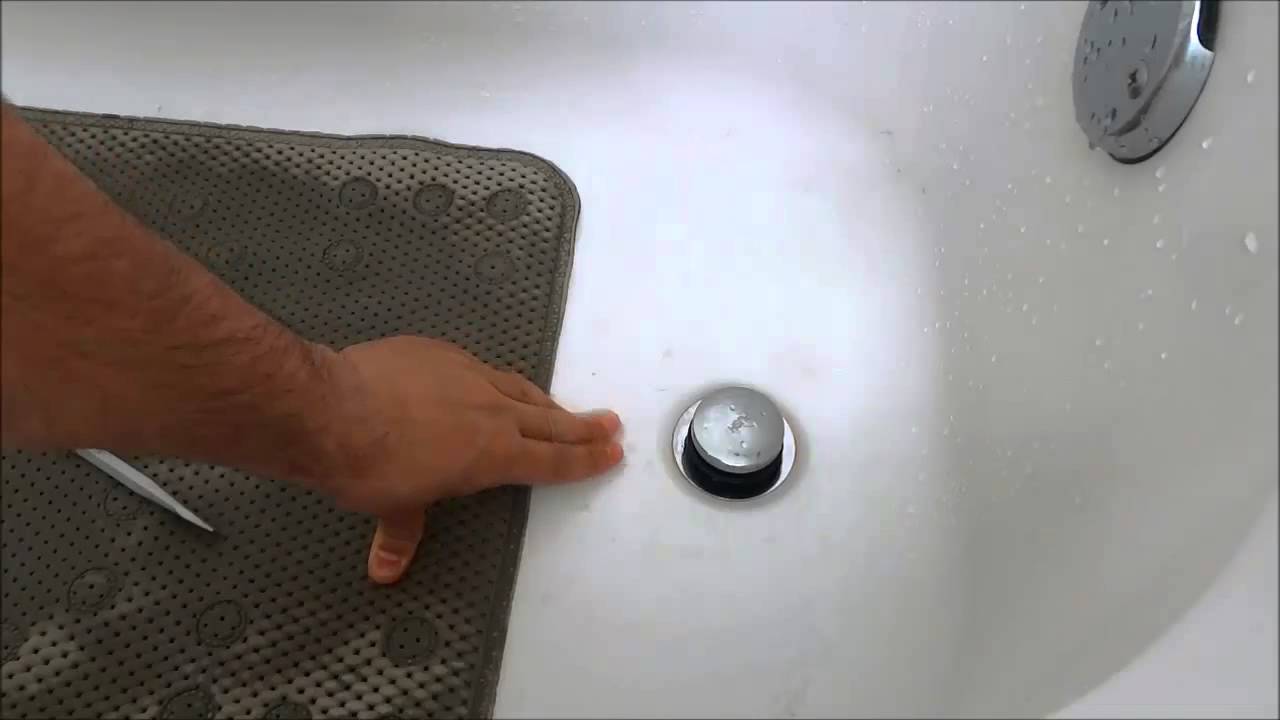
Before you begin, make sure to gather all the necessary tools. You will need a pair of pliers, a screwdriver, and a plumber's wrench. Also, consider wearing gloves to protect your hands. Step 1: Start by removing the sink stopper. This will give you better access to the drain collar and make the process easier. Step 2: Use your pliers to loosen the retaining nut that holds the drain collar in place. This nut is usually located underneath the sink and can be unscrewed by turning it in a counterclockwise direction. Step 3: Once the retaining nut is loose, use your plumber's wrench to remove it completely. This will free the drain collar from the sink. Step 4: If the drain collar is still attached to the sink, you may need to use a screwdriver to loosen any screws or clips holding it in place. Be gentle to avoid causing any damage to the sink. Step 5: Once the drain collar is completely loose, you should be able to remove it from the sink. It may require some wiggling or gentle pulling, but it should come out easily. Step 6: Inspect the drain hole and collar for any debris or buildup. If necessary, use a drain cleaner to remove any clogs or buildup that may be causing issues with your sink. Step 7: If you are replacing the drain collar, make sure to clean the area around the drain hole before installing the new one. This will ensure a tight and secure fit. Step 8: Install the new drain collar by following the steps in reverse. Use your pliers and wrench to tighten the retaining nut and secure the collar in place. Step 9: Test the drain by running some water and making sure it flows smoothly. If everything looks good, you have successfully removed and replaced your bathroom sink drain collar.Step-by-Step Guide for Removing a Bathroom Sink Drain Collar


Removing a Bathroom Sink Drain Collar


Removing a bathroom sink drain collar can be tricky, especially if it's been in place for a long time. Here are some tips to help you avoid any damage to your sink during the process:Tips for Removing a Bathroom Sink Drain Collar Without Damaging Your Sink


Step-by-Step Guide for Removing a Bathroom Sink Drain Collar


While removing a bathroom sink drain collar may seem straightforward, there are some common mistakes that can lead to problems or damage. Here are some things to avoid:Common Mistakes to Avoid When Removing a Bathroom Sink Drain Collar


DIY Bathroom Sink Drain Collar Removal


If you are having trouble removing the drain collar or simply don't feel comfortable doing it yourself, it's best to call a professional plumber. They have the experience and specialized tools to safely and efficiently remove the collar without causing any damage to your sink. However, if you follow these steps and tips carefully, you should be able to successfully remove your bathroom sink drain collar on your own. Just remember to take your time, use the right tools, and be gentle with your sink. Good luck!Professional Techniques for Removing a Bathroom Sink Drain Collar


Quick and Easy Bathroom Sink Drain Collar Removal


Why Removing the Bathroom Sink Drain Collar is Important for Your House Design

The Importance of a Functional Bathroom Sink Drain Collar
 When it comes to designing a house, every detail matters. From the color of the walls to the type of flooring, every decision plays a role in creating the perfect space. However, one often overlooked aspect of house design is the bathroom sink drain collar. This small but important component not only ensures proper drainage, but it also adds to the overall aesthetic of the bathroom. That's why it's essential to know how to remove a bathroom sink drain collar in case it needs to be replaced or repaired.
How a Damaged Drain Collar Can Affect Your House Design
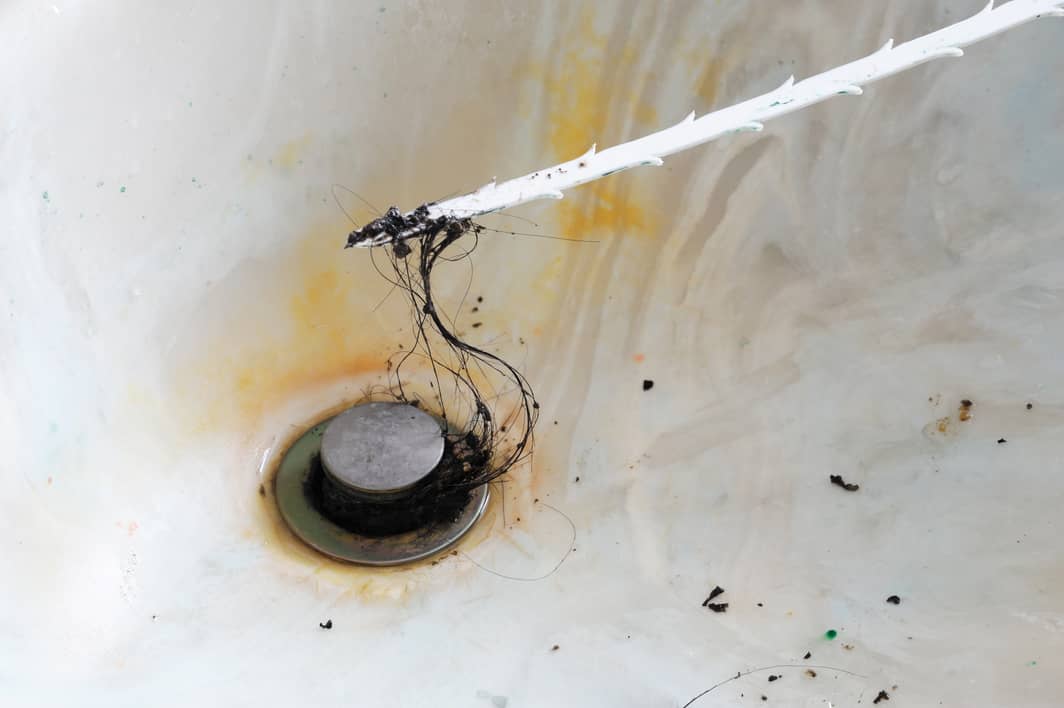
 A bathroom sink drain collar is responsible for connecting the sink to the drain pipe, allowing water to flow out effectively. Over time, these collars can become damaged due to wear and tear, leading to leaks and clogs. Not only does this affect the functionality of your sink, but it can also have a negative impact on your house design. A damaged drain collar can create an unpleasant odor, cause water damage to your bathroom, and even ruin the overall aesthetic of the space.
Steps to Remove a Bathroom Sink Drain Collar
 Removing a damaged bathroom sink drain collar is a relatively simple process that can save you from future headaches. Here are the steps to follow:
1. Start by turning off the water supply to the sink and placing a bucket underneath the drain to catch any excess water.
2. Use a pipe wrench to loosen the slip nut connecting the drain pipe to the sink drain.
3. Once the slip nut is removed, use a screwdriver to unscrew the drain collar from the sink.
4. If the collar is stuck, try using a lubricant to loosen it before attempting to remove it again.
5. Once the collar is removed, clean the area thoroughly and inspect for any damage.
6. If the collar needs to be replaced, take it to a hardware store or search for a replacement online.
7. Install the new collar by following the same steps in reverse order.
Removing a damaged bathroom sink drain collar is a relatively simple process that can save you from future headaches. Here are the steps to follow:
1. Start by turning off the water supply to the sink and placing a bucket underneath the drain to catch any excess water.
2. Use a pipe wrench to loosen the slip nut connecting the drain pipe to the sink drain.
3. Once the slip nut is removed, use a screwdriver to unscrew the drain collar from the sink.
4. If the collar is stuck, try using a lubricant to loosen it before attempting to remove it again.
5. Once the collar is removed, clean the area thoroughly and inspect for any damage.
6. If the collar needs to be replaced, take it to a hardware store or search for a replacement online.
7. Install the new collar by following the same steps in reverse order.
Improving Your House Design with a New Drain Collar
 Removing and replacing a damaged bathroom sink drain collar not only ensures proper functionality but also gives you the opportunity to upgrade the design of your bathroom. With a wide variety of styles and materials available, you can choose a drain collar that complements the overall design of your bathroom. Whether you prefer a modern and sleek look or a more traditional design, the right drain collar can make a significant difference in the overall aesthetic of your space.
In conclusion, while it may seem like a small and insignificant component, the bathroom sink drain collar plays an essential role in the functionality and design of your house. By knowing how to remove and replace a damaged collar, you can ensure that your bathroom remains functional and visually appealing. So, the next time you notice a leak or a clog in your sink, don't neglect the drain collar and take the necessary steps to maintain your house design.
Removing and replacing a damaged bathroom sink drain collar not only ensures proper functionality but also gives you the opportunity to upgrade the design of your bathroom. With a wide variety of styles and materials available, you can choose a drain collar that complements the overall design of your bathroom. Whether you prefer a modern and sleek look or a more traditional design, the right drain collar can make a significant difference in the overall aesthetic of your space.
In conclusion, while it may seem like a small and insignificant component, the bathroom sink drain collar plays an essential role in the functionality and design of your house. By knowing how to remove and replace a damaged collar, you can ensure that your bathroom remains functional and visually appealing. So, the next time you notice a leak or a clog in your sink, don't neglect the drain collar and take the necessary steps to maintain your house design.