Installing a garbage disposal air gap may seem like a daunting task, but with the right tools and knowledge, it can be a simple and straightforward process. An air gap is an essential component of your kitchen sink's plumbing system, as it prevents dirty water from flowing back into your drinking water supply. In this guide, we will walk you through the steps of installing a garbage disposal air gap to ensure your kitchen sink is functioning properly and safely.1. How to Install a Garbage Disposal Air Gap


1. How to Install a Garbage Disposal Air Gap


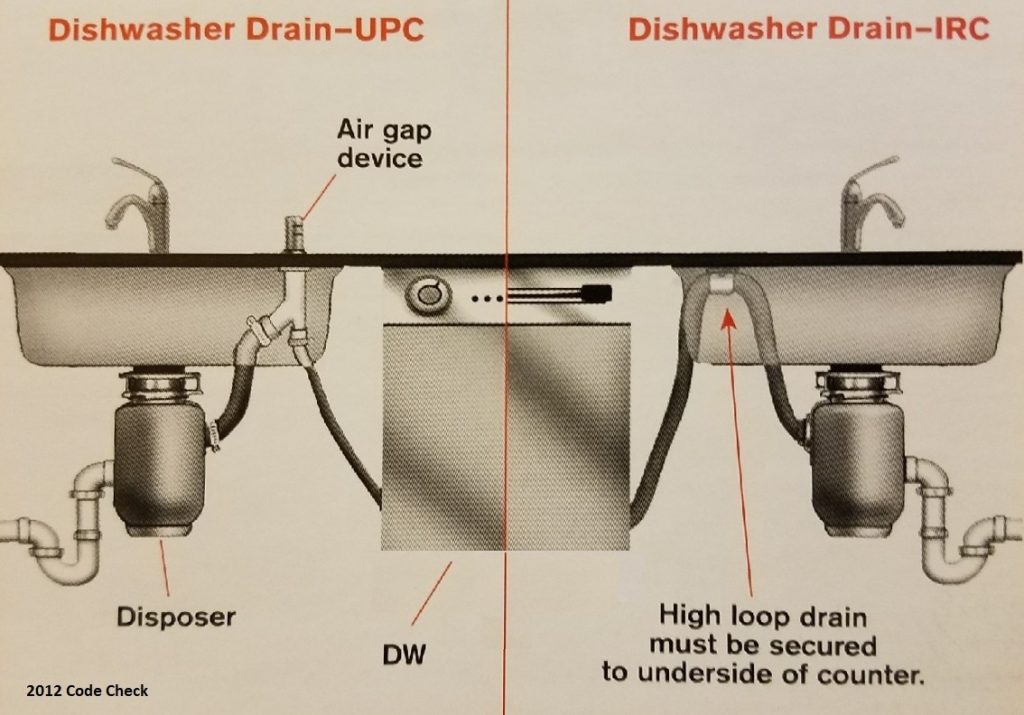
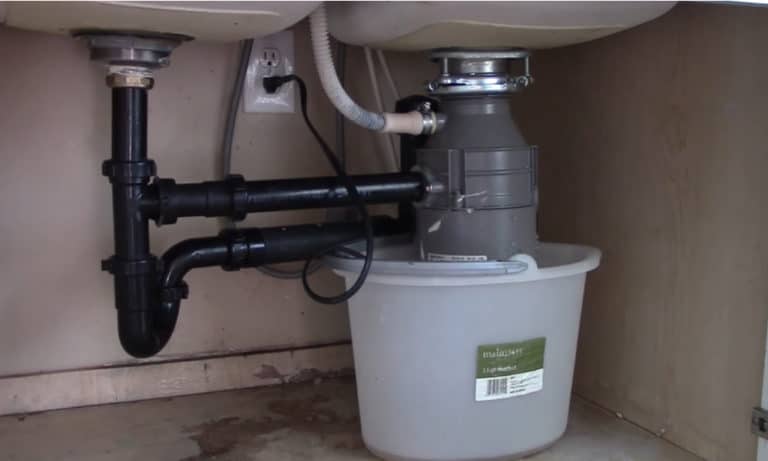
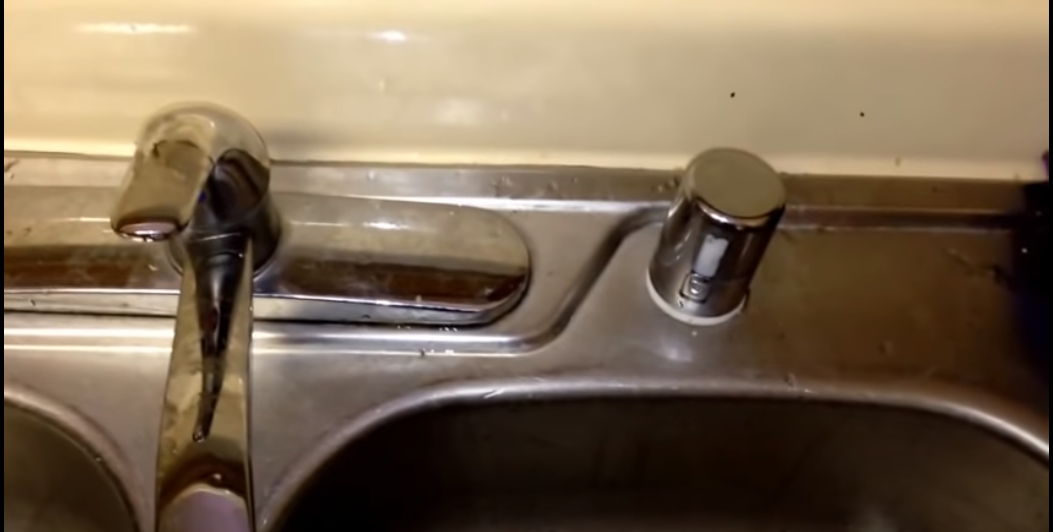
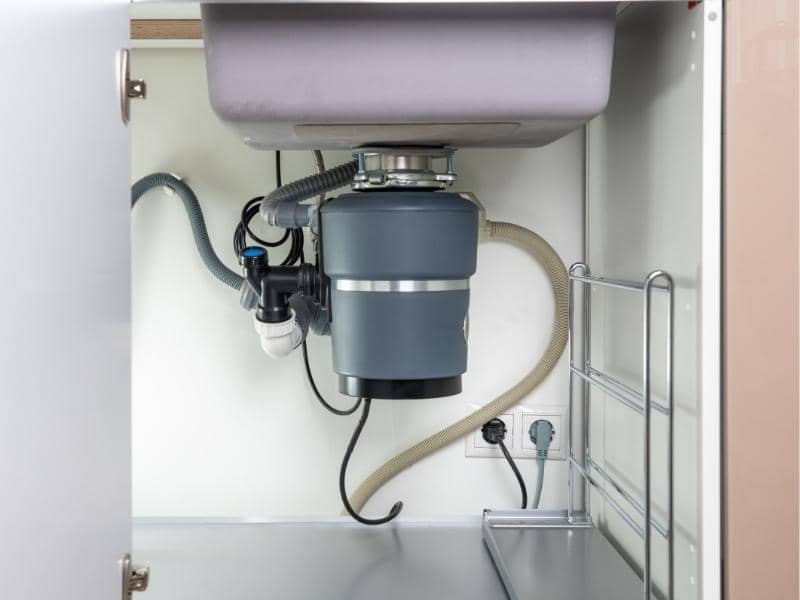
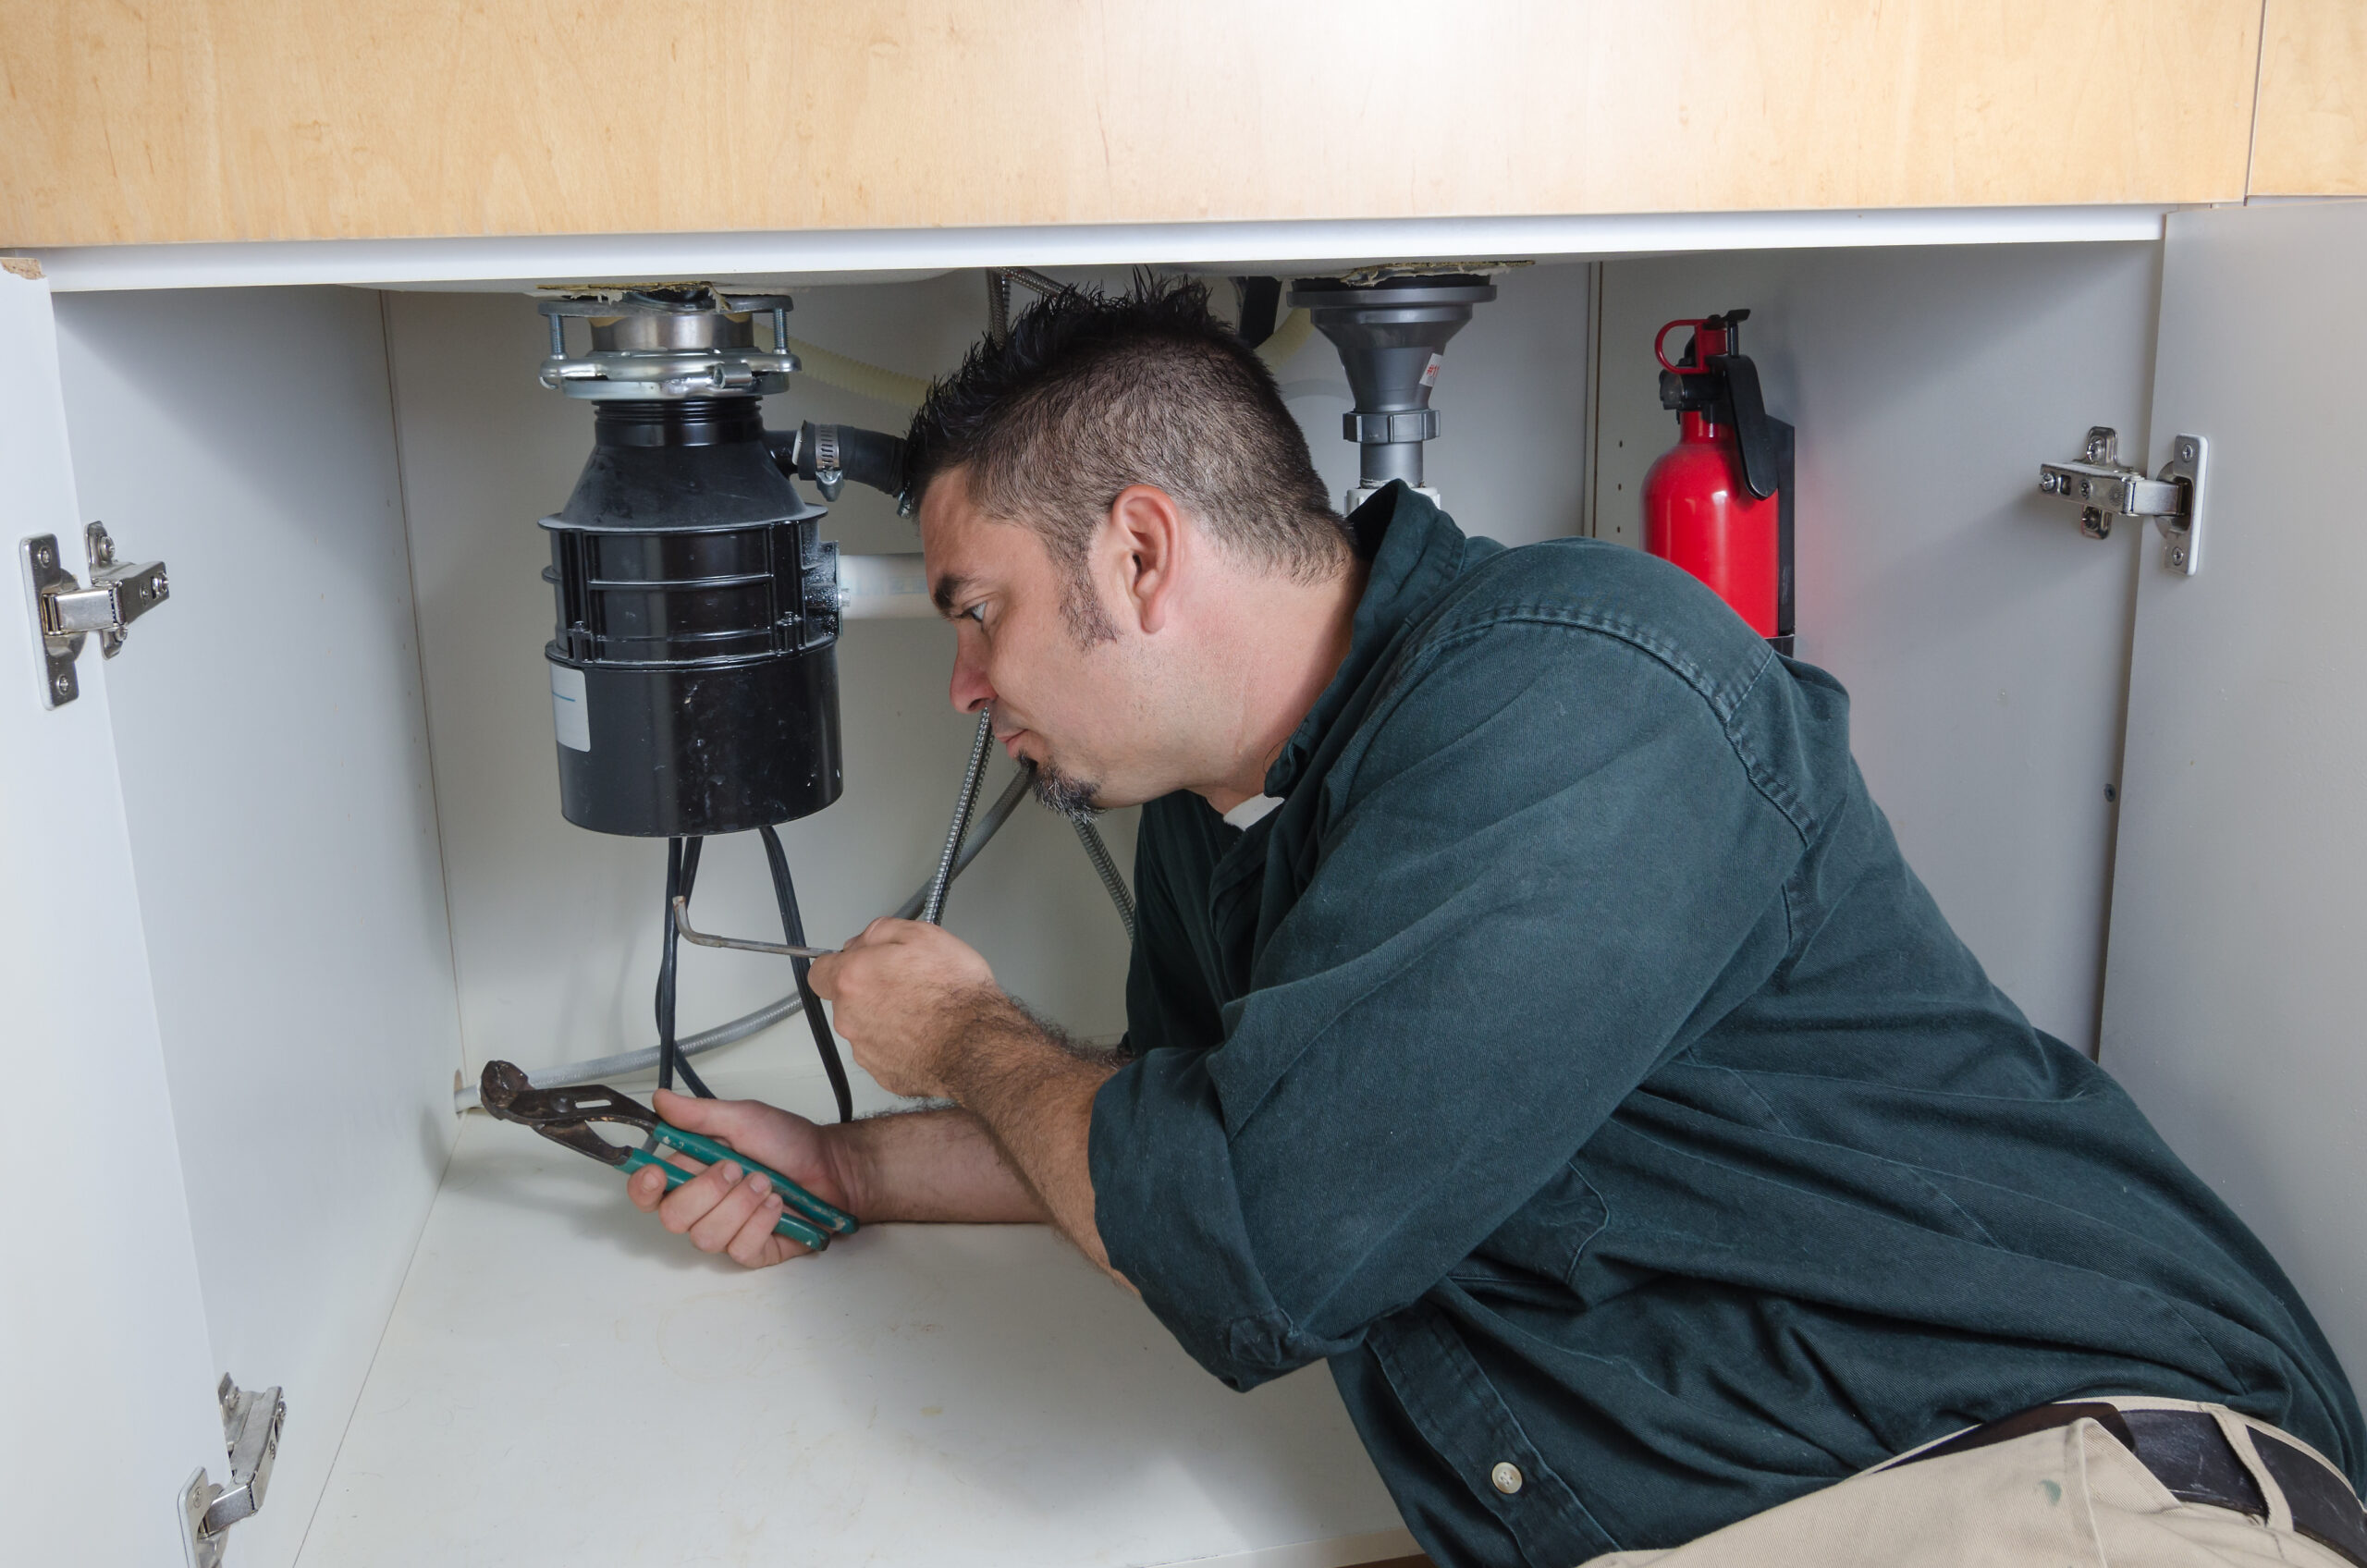
The first step in attaching a garbage disposal air gap is to locate the designated spot on your kitchen sink. This spot is usually located on the countertop, near the edge of the sink. It is important to choose a spot that is easily accessible and at least 1.5 inches away from any other plumbing fixtures. Once you have located the spot, you will need to drill a hole through the countertop that is the same size as the air gap's base. Use a drill bit that is suitable for the material of your countertop. Next, insert the air gap's base into the hole and secure it with the provided mounting nut.2. Attaching a Garbage Disposal Air Gap to Your Kitchen Sink


2. Attaching a Garbage Disposal Air Gap to Your Kitchen Sink


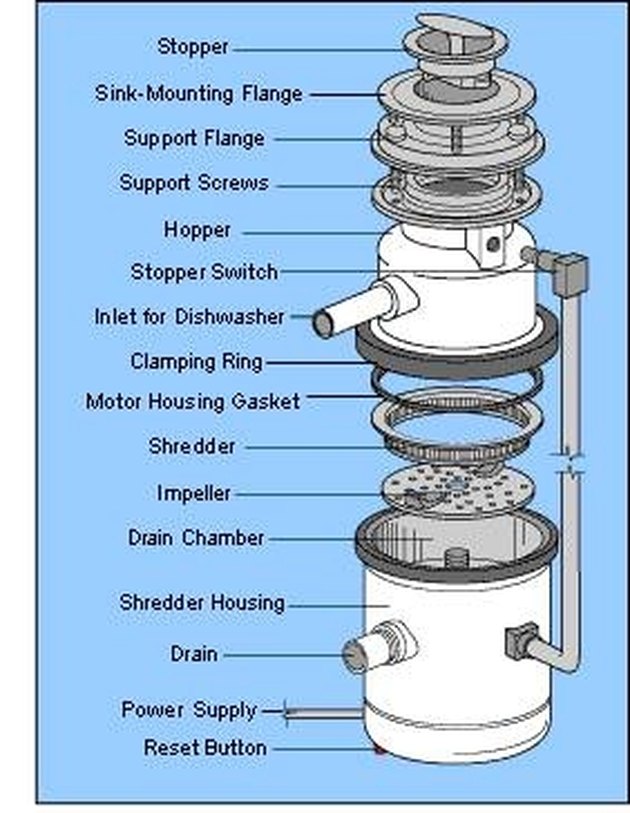
:max_bytes(150000):strip_icc()/gar_disp_expl_view-640-56a4a2d25f9b58b7d0d7effe-59b351b6d963ac0011978ee3.jpg)
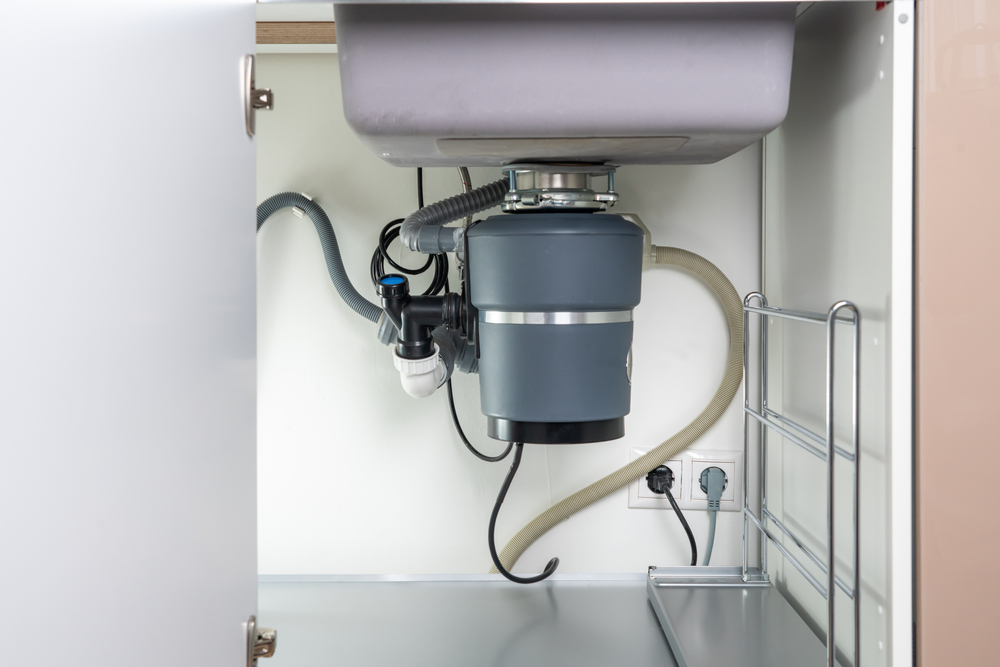
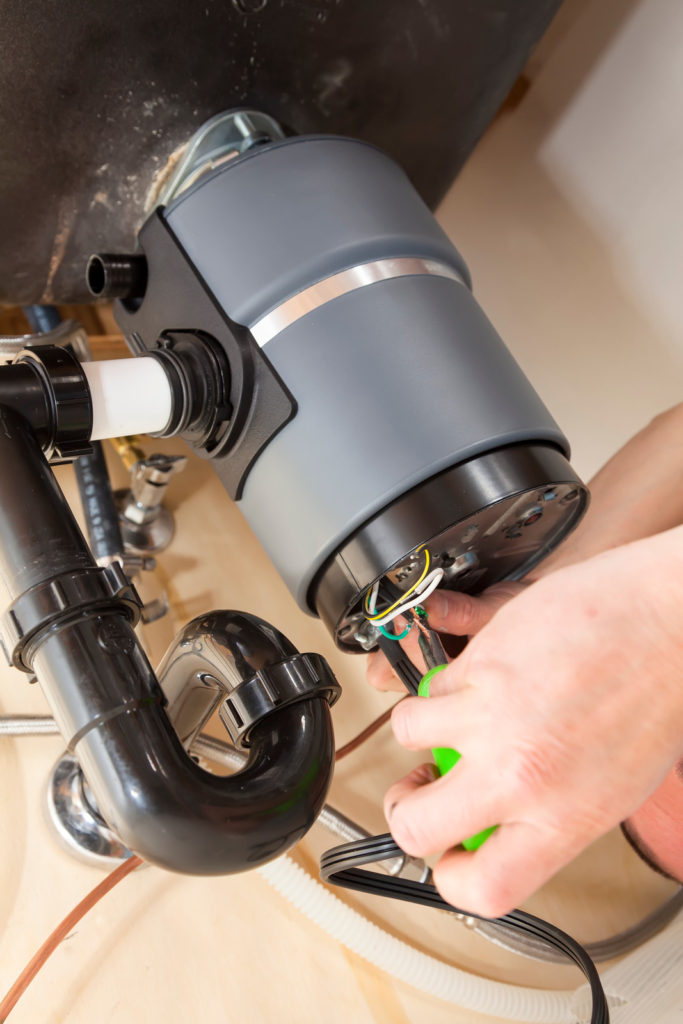
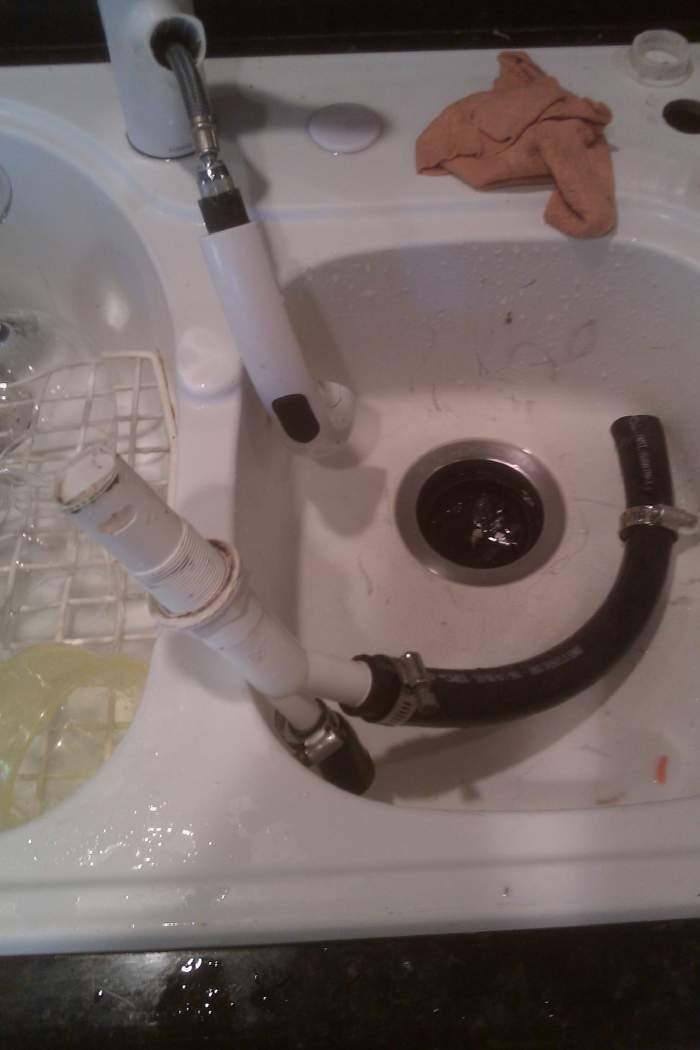
Now that you have the air gap's base in place, it's time to connect the actual air gap. The air gap is a small, cylindrical device that sits on top of the base and connects to both the sink and the dishwasher. First, connect the air gap's bottom outlet to the base's top outlet using the provided tubing. Then, connect the air gap's top outlet to the dishwasher's drain line using another piece of tubing. Make sure all connections are secure and tight. Next, connect the air gap's top outlet to the sink's drain line using a third piece of tubing. Again, ensure that all connections are secure. Finally, connect the air gap's bottom outlet to the garbage disposal's drain line using the last piece of tubing.3. Step-by-Step Guide for Installing a Garbage Disposal Air Gap


3. Step-by-Step Guide for Installing a Garbage Disposal Air Gap
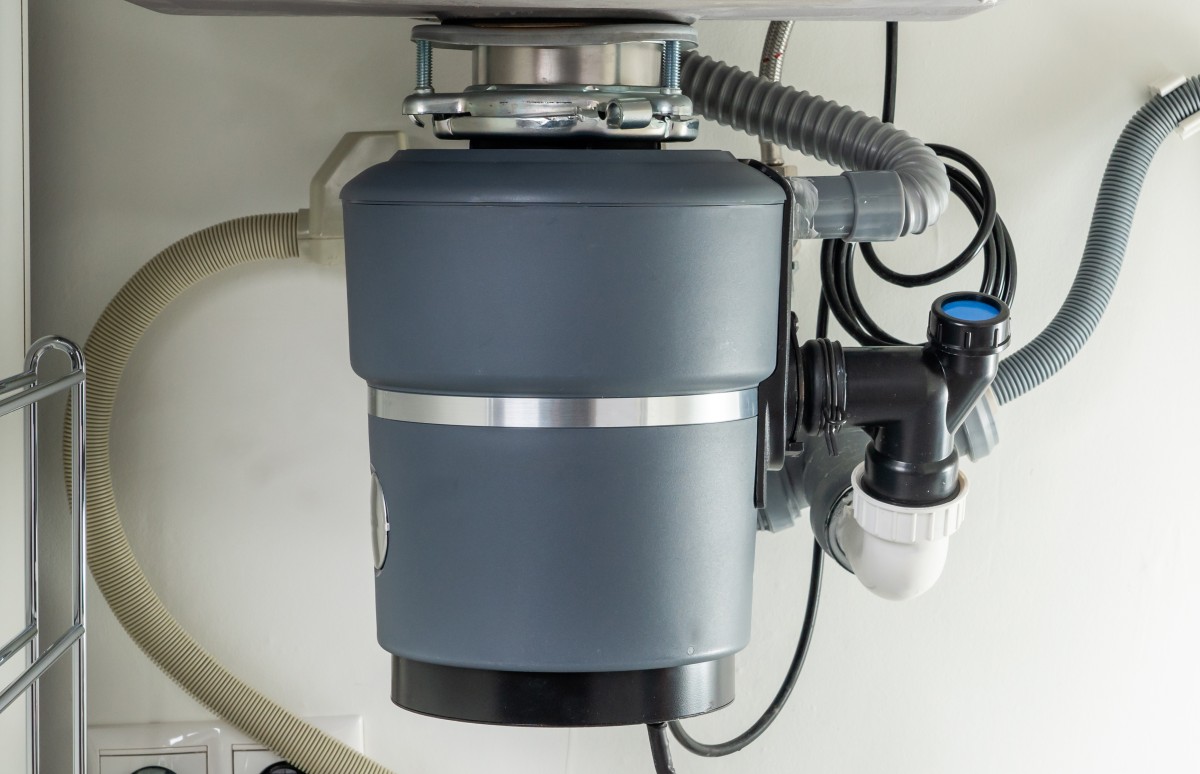

When attaching a garbage disposal air gap, there are a few tips to keep in mind to ensure a successful installation. First, make sure to read the manufacturer's instructions carefully and have all the necessary tools and materials on hand before beginning. It is also important to turn off the water supply to your sink and disconnect the garbage disposal before starting the installation process. Additionally, double-check all connections to ensure they are tight and secure. If any connections are loose, it can lead to leaks and potential plumbing issues down the road. And finally, make sure to test the air gap's functionality before using your sink and dishwasher again.4. Tips for Properly Attaching a Garbage Disposal Air Gap


4. Tips for Properly Attaching a Garbage Disposal Air Gap
:max_bytes(150000):strip_icc()/garbage-disposal-installation-1824830-01-73cf0263b344447488ed8e15f7f2bc78.jpg)

Even with the best intentions, mistakes can happen during the installation of a garbage disposal air gap. One of the most common mistakes is not properly securing the air gap's base to the countertop. If the base is not securely attached, it can lead to leaks and potential damage to your kitchen. It is also important to ensure all connections are tight and secure. Another common mistake is not following the manufacturer's instructions, which can lead to functionality issues.5. Common Mistakes to Avoid When Installing a Garbage Disposal Air Gap


5. Common Mistakes to Avoid When Installing a Garbage Disposal Air Gap


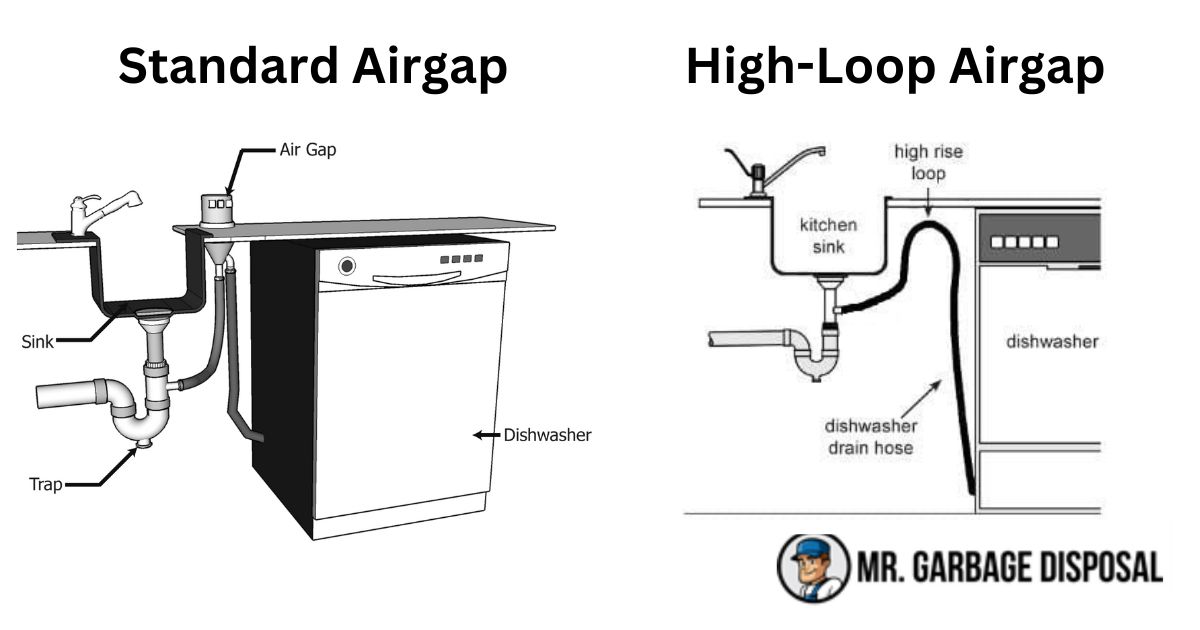
You may be wondering why a garbage disposal air gap is necessary, especially if you already have a garbage disposal and a dishwasher. The truth is, an air gap is a crucial part of your kitchen's plumbing system that helps prevent contaminated water from entering your drinking water supply. This can happen if there is a blockage or backup in your plumbing, and without an air gap, dirty water can flow back into your sink and potentially contaminate your water.6. Understanding the Importance of a Garbage Disposal Air Gap


6. Understanding the Importance of a Garbage Disposal Air Gap

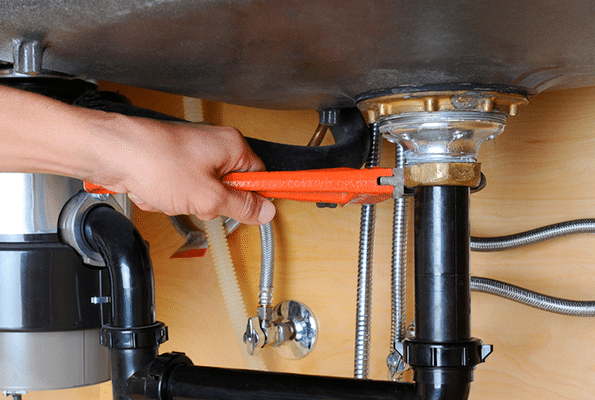
Before you start installing a garbage disposal air gap, you will need to gather the necessary tools and materials. These include a drill and appropriate drill bit, a wrench, screwdriver, tubing cutter, and plumber's tape. You will also need the air gap itself, which can be purchased at any hardware or home improvement store.7. Tools and Materials Needed for Attaching a Garbage Disposal Air Gap

7. Tools and Materials Needed for Attaching a Garbage Disposal Air Gap


If you encounter any issues with your garbage disposal air gap, there are a few things you can try before calling a professional plumber. First, check all connections to make sure they are properly secured. If you notice any leaks, try tightening the connections or replacing any damaged tubing. If the air gap is not functioning properly, make sure it is not clogged or obstructed in any way. If you are still experiencing issues, it may be time to call a professional for assistance.8. Troubleshooting Common Issues with Garbage Disposal Air Gaps


8. Troubleshooting Common Issues with Garbage Disposal Air Gaps


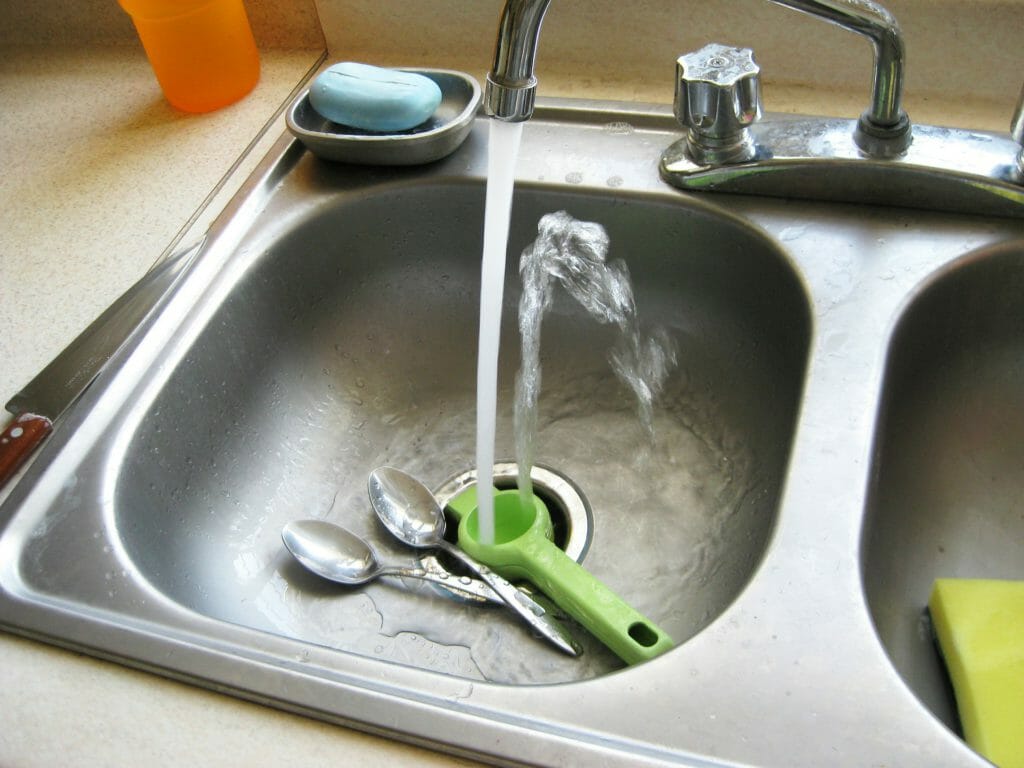
To ensure your garbage disposal air gap continues to function properly, it is important to regularly clean and maintain it. This includes removing any debris or buildup from the air gap itself and checking all connections for any signs of wear or damage. It is also recommended to run hot water through the air gap after each use to help prevent clogs or obstructions.9. How to Maintain and Clean Your Garbage Disposal Air Gap


9. How to Maintain and Clean Your Garbage Disposal Air Gap

When it comes to installing a garbage disposal air gap, you may be wondering if it's a job you can handle on your own or if you should hire a professional plumber. The answer depends on your level of experience and comfort with plumbing tasks. If you are unsure of your abilities, it is always best to hire a professional to ensure the job is done correctly and to avoid any potential plumbing issues in the future. In conclusion, attaching a garbage disposal air gap to your kitchen sink is an important step in ensuring the safety and functionality of your plumbing system. By following these steps and tips, you can successfully install a garbage disposal air gap and have peace of mind knowing your water supply is protected.10. Professional vs. DIY: Which is the Best Option for Attaching a Garbage Disposal Air Gap?

10. Professional vs. DIY: Which is the Best Option for Attaching a Garbage Disposal Air Gap?


Why Installing a Garbage Disposal Air Gap is Essential for Your Kitchen Sink

What is a Garbage Disposal Air Gap?
 A garbage disposal air gap is a small device that is installed on your kitchen sink to prevent contaminated waste water from flowing back into your clean water supply. It is typically required by building codes and is an essential addition to your kitchen sink if you have a garbage disposal.
Why is it Important?
 The main purpose of a garbage disposal air gap is to prevent cross-contamination between the dirty water from your sink and the clean water that comes out of your faucet. Without this device, there is a risk of bacteria, food particles, and other contaminants from your garbage disposal backing up into your drinking water. This can pose serious health risks to you and your family.
How to Install a Garbage Disposal Air Gap
 Installing a garbage disposal air gap is a relatively simple process that can be done by following a few steps. First, you will need to turn off your water supply and disconnect the existing drain pipes from your kitchen sink. Then, you can install the air gap by attaching it to the drain line and connecting the other end to the garbage disposal. Finally, you will need to reconnect the drain pipes and turn on your water supply to test the air gap.
Benefits of a Garbage Disposal Air Gap
 Aside from preventing cross-contamination, there are other benefits to installing a garbage disposal air gap. It helps to reduce the noise and vibration of your garbage disposal, making it more efficient and durable. It also helps to prevent clogs in your drain pipes, saving you from costly repairs in the future.
In Conclusion
 In conclusion, installing a garbage disposal air gap is not only necessary for compliance with building codes, but it is also essential for the health and safety of your household. It is a small investment that can provide numerous benefits and peace of mind. Make sure to always hire a professional plumber to install the air gap to ensure it is done correctly and efficiently. Don't compromise on the cleanliness and functionality of your kitchen sink, and make sure to include a garbage disposal air gap in your kitchen design.