Is your kitchen sink sprayer not working as well as it used to? Do you notice a decrease in water pressure or a leak coming from the sprayer head? It may be time to replace your kitchen sink sprayer. While it may seem like a daunting task, with the right tools and knowledge, you can easily replace your kitchen sink sprayer in no time.How to Replace a Kitchen Sink Sprayer


How to Replace a Kitchen Sink Sprayer


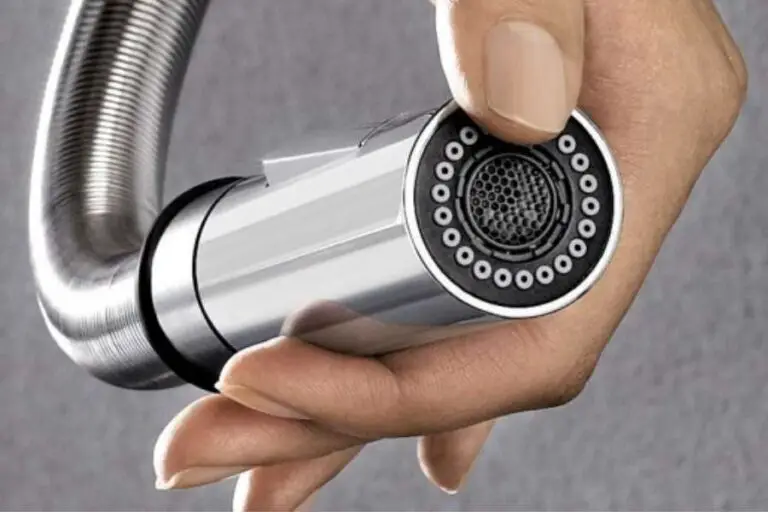
If your kitchen sink sprayer head is the only part that needs to be replaced, you're in luck. This process is fairly simple and can be done in just a few steps. First, make sure to turn off the water supply to the sink. This can typically be done by turning off the valves located under the sink. Then, detach the old sprayer head by twisting it counterclockwise and pulling it off. Next, take your new sprayer head and attach it by twisting it clockwise until it is securely in place. Turn the water supply back on and test your new sprayer head to ensure it is working properly.Replacing a Kitchen Sink Sprayer Head


Replacing a Kitchen Sink Sprayer Head


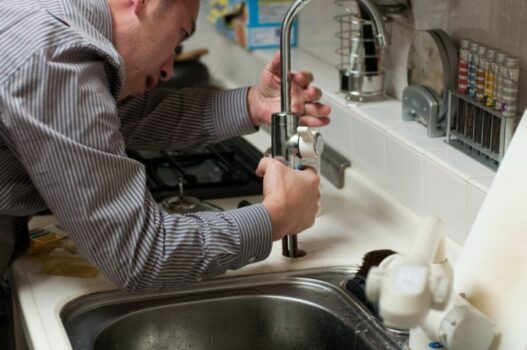
If your entire kitchen sink sprayer needs to be replaced, don't worry. With a little DIY knowledge, you can easily replace it yourself. First, gather all the necessary tools and materials, including a new sprayer, plumber's tape, a wrench, and a bucket to catch any water that may leak out. Next, turn off the water supply to the sink and remove the old sprayer by unscrewing it from the bottom of the sink. Now, take your new sprayer and wrap the threads with plumber's tape to create a tight seal. Then, attach the new sprayer to the bottom of the sink by screwing it on clockwise. Turn the water supply back on and test your new sprayer to make sure it is working properly. If there are any leaks, tighten the connections as needed.DIY: Replacing a Kitchen Sink Sprayer


DIY: Replacing a Kitchen Sink Sprayer
If you're new to DIY projects, it may be helpful to have a step-by-step guide to follow when replacing your kitchen sink sprayer. Step 1: Gather all necessary tools and materials. Step 2: Turn off the water supply to the sink. Step 3: Detach the old sprayer head by twisting it counterclockwise. Step 4: Install the new sprayer head by twisting it clockwise. Step 5: Turn the water supply back on and test the new sprayer head. Step 6: If replacing the entire sprayer, turn off the water supply and remove the old sprayer from the bottom of the sink. Step 7: Wrap the threads of the new sprayer with plumber's tape. Step 8: Attach the new sprayer to the bottom of the sink by screwing it on clockwise. Step 9: Turn the water supply back on and test the new sprayer.Step-by-Step Guide to Replacing a Kitchen Sink Sprayer


Step-by-Step Guide to Replacing a Kitchen Sink Sprayer


When it comes to replacing a kitchen sink sprayer, there are a few tips and tricks that can make the process easier. Tip 1: Use plumber's tape to create a tight seal between the sprayer and the sink. Tip 2: Keep a bucket or towel handy to catch any water that may leak out during the process. Tip 3: Test the new sprayer thoroughly before cleaning up to ensure there are no leaks. Tip 4: If you are unsure of how to replace your sprayer, consult a professional plumber.Replacing a Kitchen Sink Sprayer: Tips and Tricks

Replacing a Kitchen Sink Sprayer: Tips and Tricks


While replacing a kitchen sink sprayer may seem like a simple task, there are a few common mistakes that can cause issues down the line. Mistake 1: Not turning off the water supply before beginning the replacement process. Mistake 2: Using too much force when attaching the new sprayer, which can cause damage to the sink or sprayer. Mistake 3: Not using plumber's tape to create a tight seal, which can result in leaks. Mistake 4: Not testing the new sprayer thoroughly before cleaning up, which can lead to unnoticed leaks.Replacing a Kitchen Sink Sprayer: Common Mistakes to Avoid


Replacing a Kitchen Sink Sprayer: Common Mistakes to Avoid


If you're planning on replacing your kitchen sink sprayer, make sure you have the necessary tools on hand. Tools you'll need: - New sprayer - Plumber's tape - Wrench - Bucket or towelTools You'll Need to Replace a Kitchen Sink Sprayer


Tools You'll Need to Replace a Kitchen Sink Sprayer

:max_bytes(150000):strip_icc()/installing-a-kitchen-sink-sprayer-2718817-10-97f444c05010478ab573882b372f1fc3.jpg)


:max_bytes(150000):strip_icc()/installing-a-kitchen-sink-sprayer-2718817-09-eb32dfd25037467c99fc73cadde60281.jpg)
If you encounter any issues while replacing your kitchen sink sprayer, here are a few common problems and how to troubleshoot them. Issue 1: Low water pressure from the sprayer head. Solution: Check the aerator for build-up and clean it if necessary. Issue 2: Leak coming from the sprayer head. Solution: Tighten the connections or check for any damage to the sprayer head. Issue 3: Sprayer not working at all. Solution: Check for any blockages in the sprayer or in the hose, and clear them if needed.Replacing a Kitchen Sink Sprayer: Troubleshooting Common Issues

Replacing a Kitchen Sink Sprayer: Troubleshooting Common Issues

When it comes to choosing a replacement kitchen sink sprayer, there are a few factors to consider. First, make sure to choose a sprayer that is compatible with your existing sink and plumbing. It's also important to consider the quality and durability of the sprayer to ensure it will last for years to come. If you're unsure of which sprayer to choose, consult a professional for their recommendation.Replacing a Kitchen Sink Sprayer: How to Choose the Right Replacement

Replacing a Kitchen Sink Sprayer: How to Choose the Right Replacement


While it is possible to replace a kitchen sink sprayer yourself, it may be best to leave it to the professionals. A professional plumber has the necessary tools and experience to quickly and efficiently replace your kitchen sink sprayer without any issues. They can also recommend the best sprayer for your specific sink and plumbing. If you're not confident in your DIY skills, it may be worth the investment to hire a professional for peace of mind and a job done right.Replacing a Kitchen Sink Sprayer: Professional vs. DIY

Replacing a Kitchen Sink Sprayer: Professional vs. DIY

Why It's Important to Replace the Sprayer on Your Kitchen Sink

Maintaining a Functional Kitchen
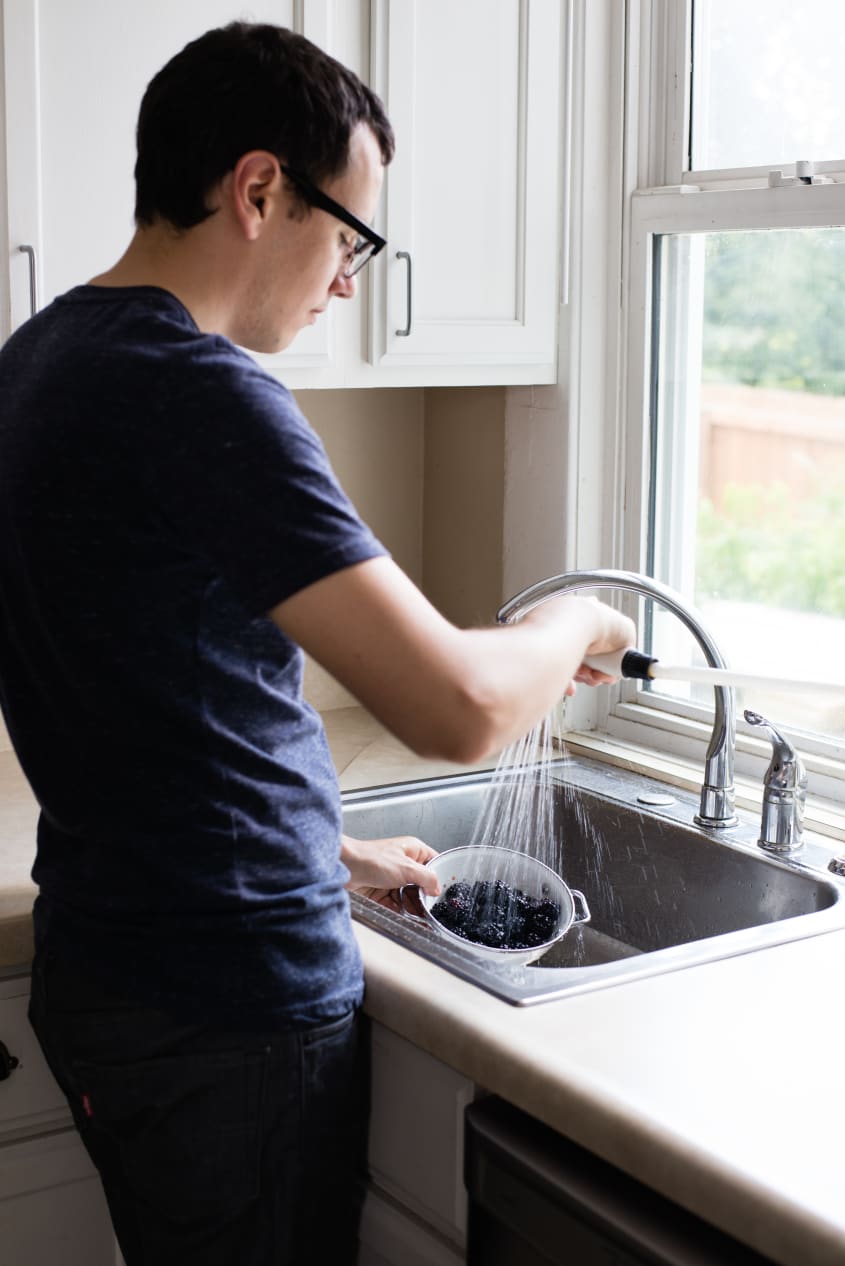
 The kitchen sink is one of the most used fixtures in any household. From washing dishes to filling up water glasses, it sees a lot of action on a daily basis. That's why it's important to keep all of its components in good working condition, including the sprayer. Over time, the sprayer can become clogged or damaged, leading to a decrease in water pressure and efficiency. This can be frustrating and time-consuming, especially when trying to clean up after a meal. By replacing the sprayer on your kitchen sink, you can ensure that your kitchen remains functional and efficient.
Increased Water Pressure
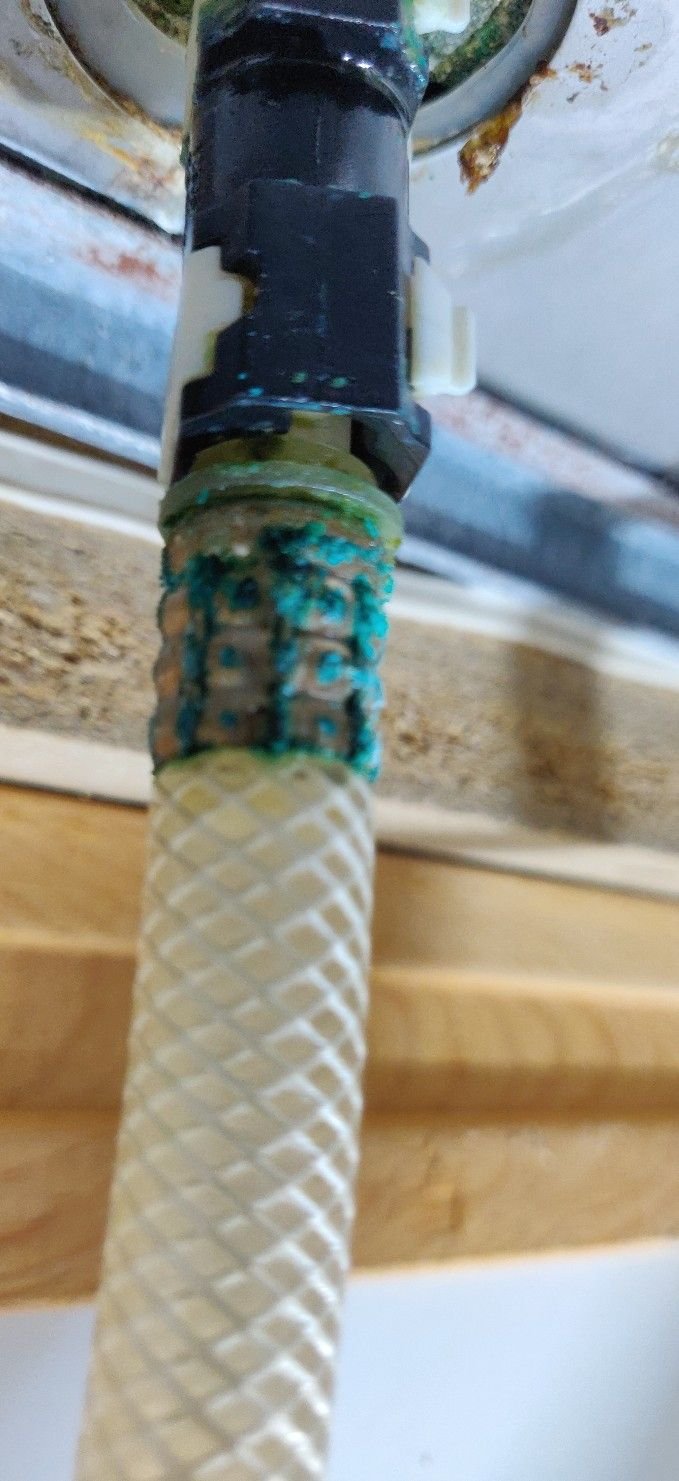
One of the main reasons to replace the sprayer on your kitchen sink is to improve water pressure. Over time, mineral deposits, dirt, and debris can build up in the sprayer head, causing blockages that restrict the flow of water. This can result in a weak and inconsistent spray, making it difficult to clean dishes and other items effectively. By replacing the sprayer, you can remove any buildup and restore your sink's water pressure, making it easier to clean and maintain a hygienic kitchen.
The kitchen sink is one of the most used fixtures in any household. From washing dishes to filling up water glasses, it sees a lot of action on a daily basis. That's why it's important to keep all of its components in good working condition, including the sprayer. Over time, the sprayer can become clogged or damaged, leading to a decrease in water pressure and efficiency. This can be frustrating and time-consuming, especially when trying to clean up after a meal. By replacing the sprayer on your kitchen sink, you can ensure that your kitchen remains functional and efficient.
Increased Water Pressure
One of the main reasons to replace the sprayer on your kitchen sink is to improve water pressure. Over time, mineral deposits, dirt, and debris can build up in the sprayer head, causing blockages that restrict the flow of water. This can result in a weak and inconsistent spray, making it difficult to clean dishes and other items effectively. By replacing the sprayer, you can remove any buildup and restore your sink's water pressure, making it easier to clean and maintain a hygienic kitchen.
Enhanced Aesthetic Appeal
 In addition to functionality, the sprayer on your kitchen sink also plays a role in the overall aesthetic of your kitchen. A worn-out or damaged sprayer can be an eyesore and take away from the design of your kitchen. By replacing it with a new, modern sprayer, you can instantly enhance the look of your sink and give your kitchen a fresh update. With a variety of styles and finishes available, you can choose a sprayer that complements your kitchen's design and adds a touch of elegance.
Preventing Costly Repairs
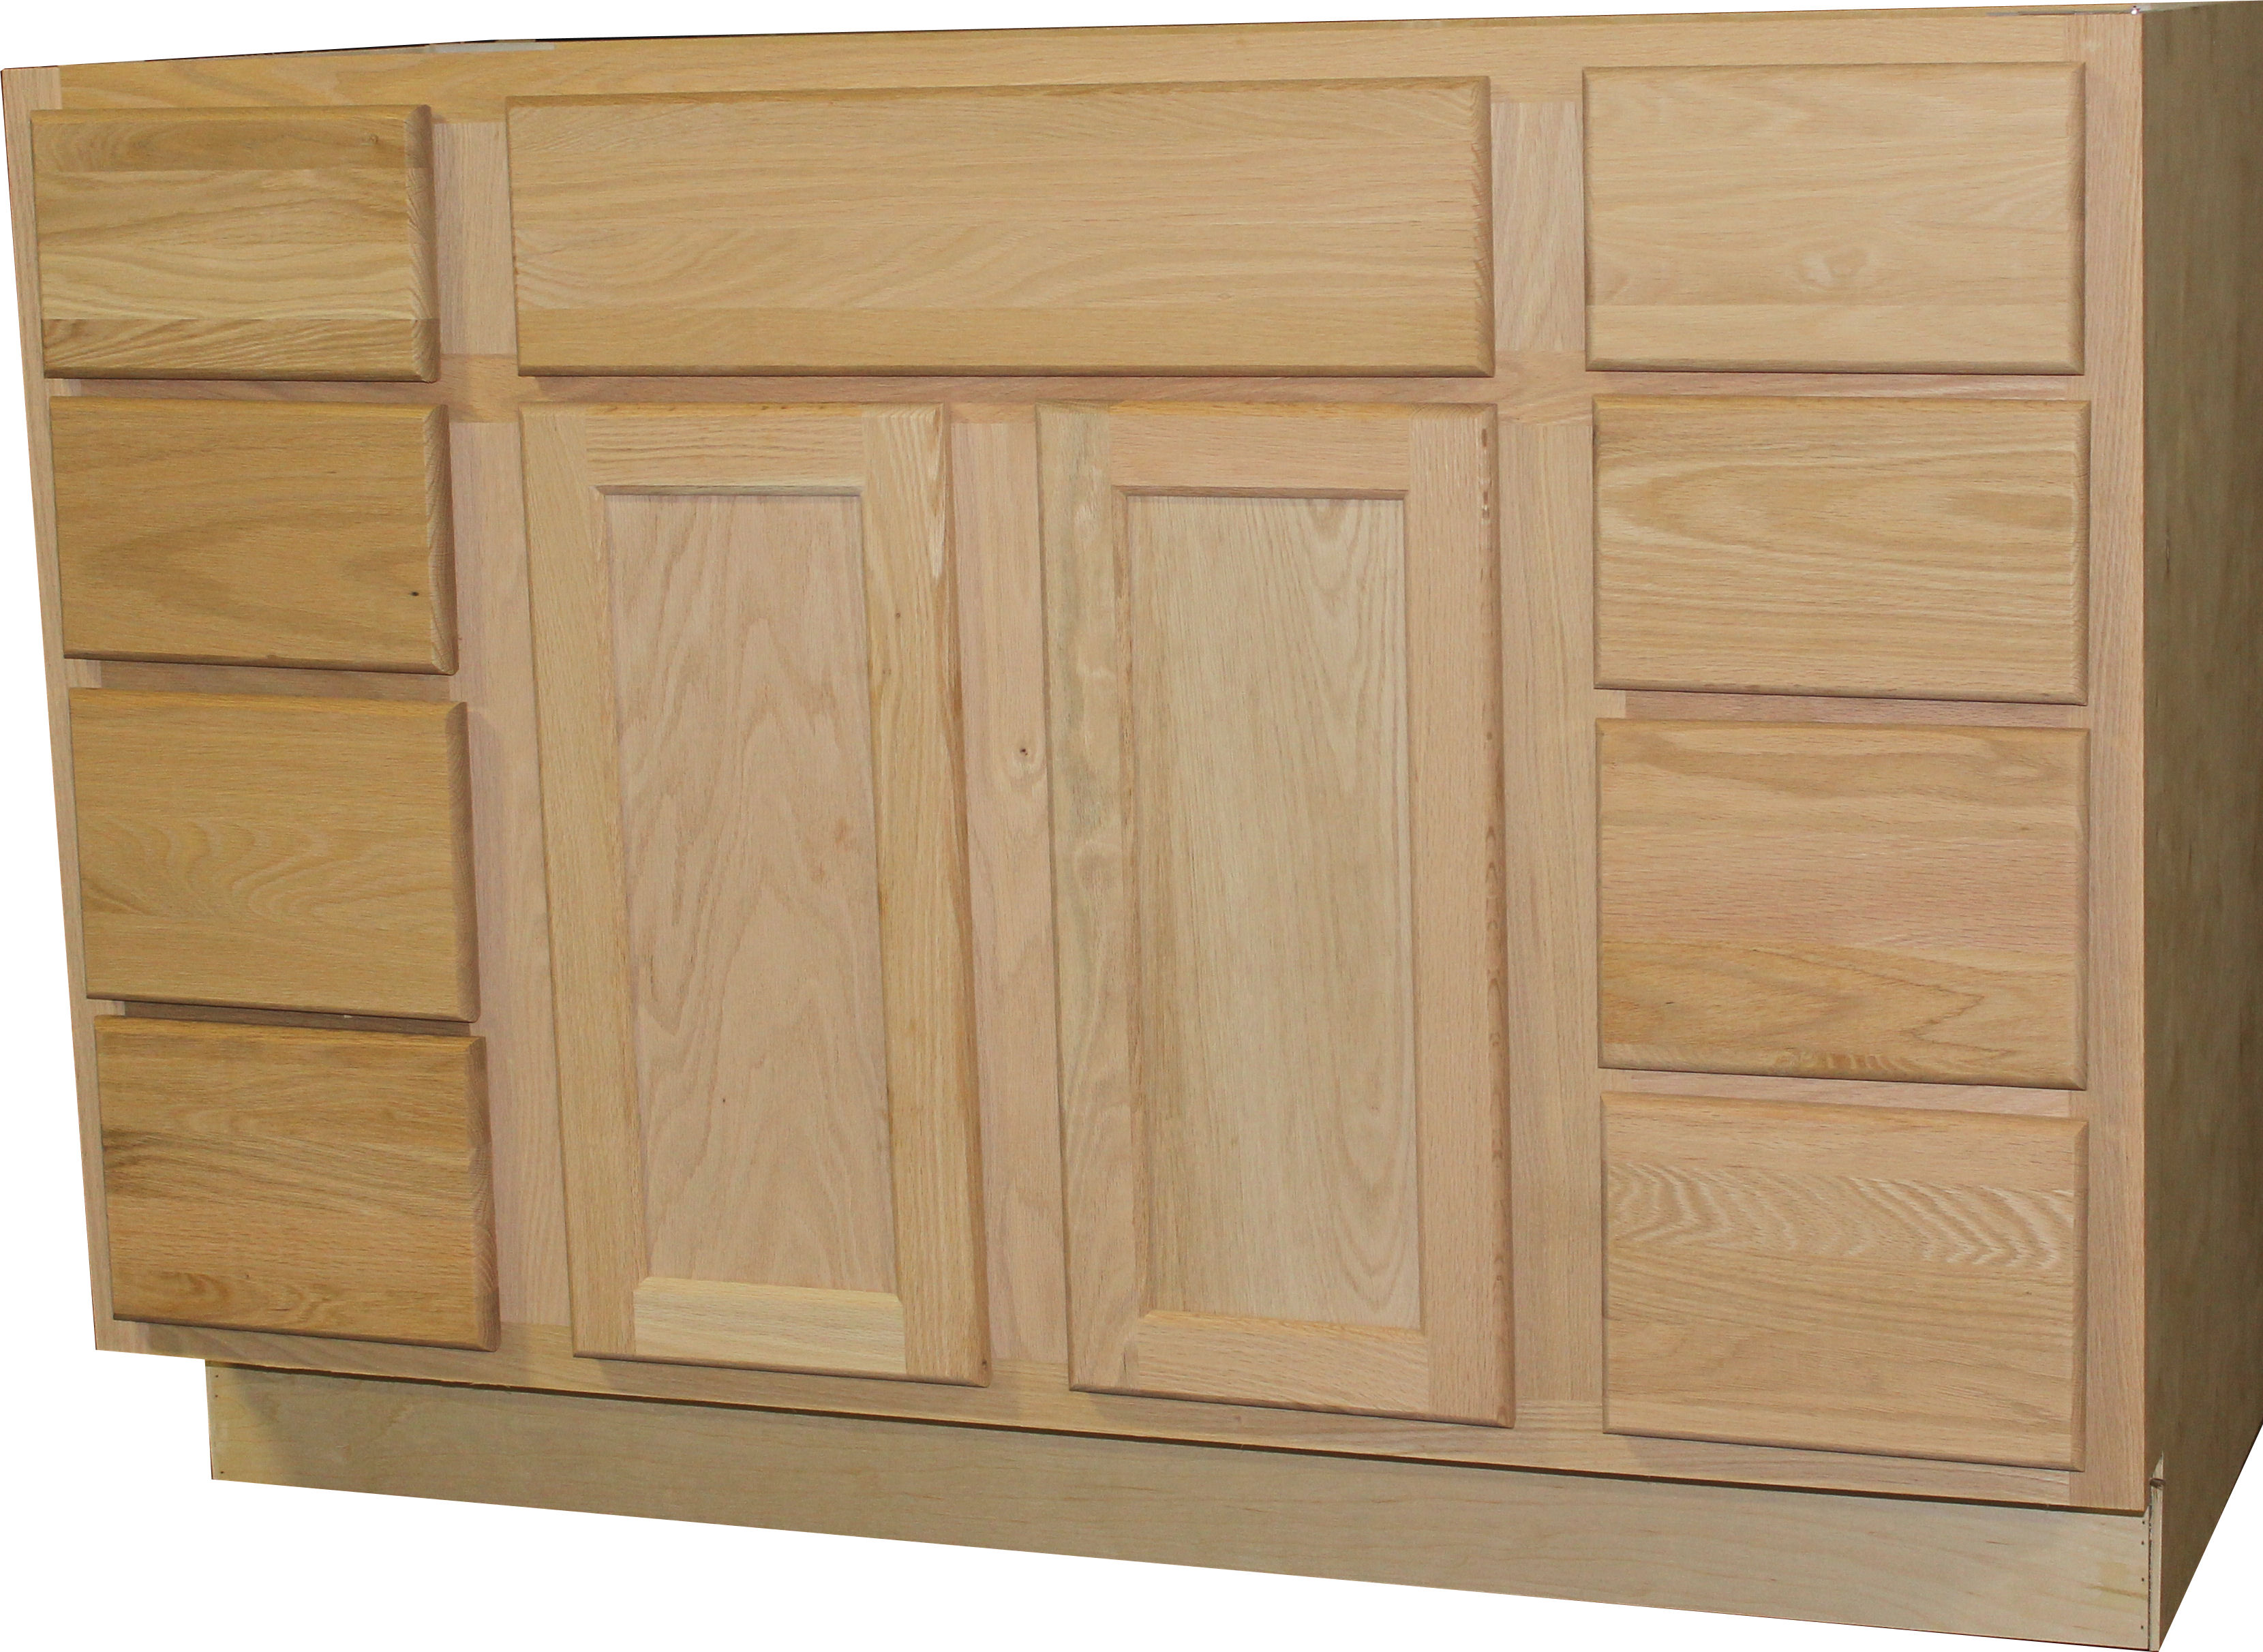
Ignoring a faulty or damaged sprayer can lead to more serious issues down the road. A leaky sprayer can cause water damage to your cabinets and countertops, leading to costly repairs. It can also contribute to mold and mildew growth, creating a health hazard in your kitchen. By replacing the sprayer at the first sign of trouble, you can prevent these issues and avoid the expense and hassle of major repairs.
In addition to functionality, the sprayer on your kitchen sink also plays a role in the overall aesthetic of your kitchen. A worn-out or damaged sprayer can be an eyesore and take away from the design of your kitchen. By replacing it with a new, modern sprayer, you can instantly enhance the look of your sink and give your kitchen a fresh update. With a variety of styles and finishes available, you can choose a sprayer that complements your kitchen's design and adds a touch of elegance.
Preventing Costly Repairs
Ignoring a faulty or damaged sprayer can lead to more serious issues down the road. A leaky sprayer can cause water damage to your cabinets and countertops, leading to costly repairs. It can also contribute to mold and mildew growth, creating a health hazard in your kitchen. By replacing the sprayer at the first sign of trouble, you can prevent these issues and avoid the expense and hassle of major repairs.
Conclusion
/25089301983_c5145fe85d_o-58418ef15f9b5851e5f392b5.jpg) In conclusion, replacing the sprayer on your kitchen sink is an essential task for maintaining a functional and visually appealing kitchen. With improved water pressure, enhanced aesthetics, and the prevention of costly repairs, it's a simple and worthwhile investment. So if you notice any issues with your sprayer, don't hesitate to replace it with a new one. Your kitchen (and your sanity) will thank you.
In conclusion, replacing the sprayer on your kitchen sink is an essential task for maintaining a functional and visually appealing kitchen. With improved water pressure, enhanced aesthetics, and the prevention of costly repairs, it's a simple and worthwhile investment. So if you notice any issues with your sprayer, don't hesitate to replace it with a new one. Your kitchen (and your sanity) will thank you.


/blue-living-room-ideas-for-every-style-4121681-hero-c32a580f78304212b81c8d5db863d37f.jpg)