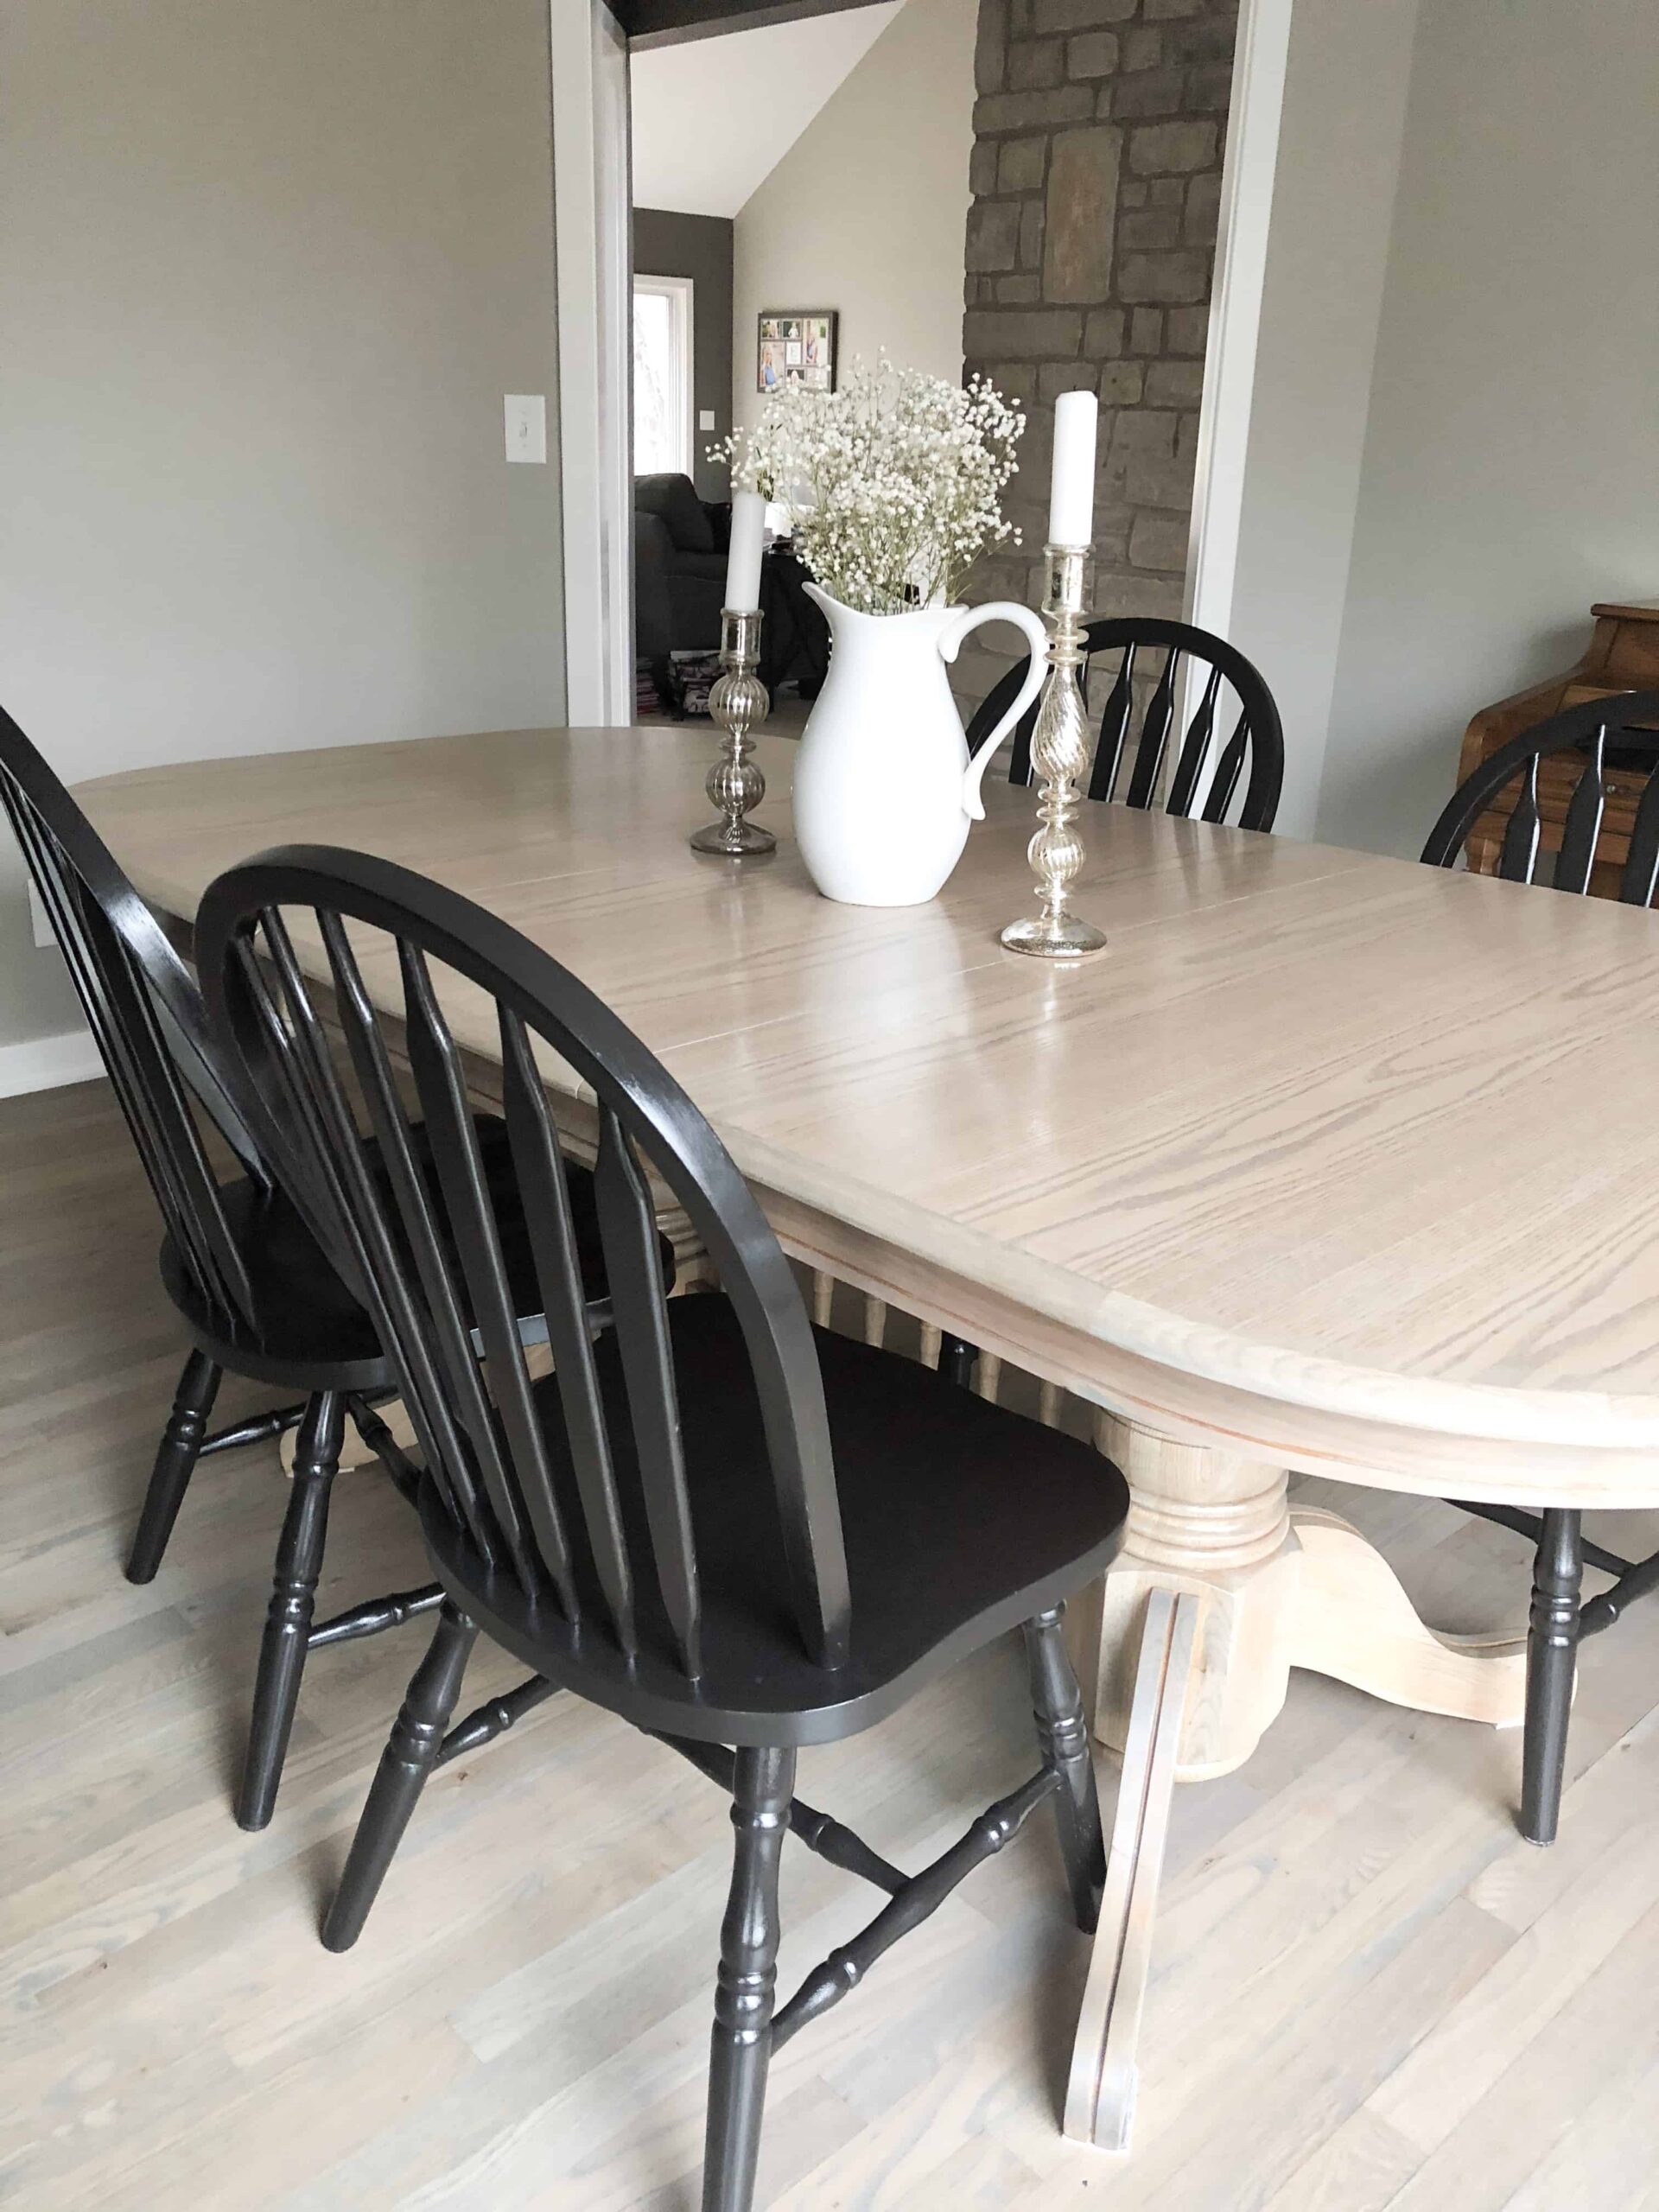
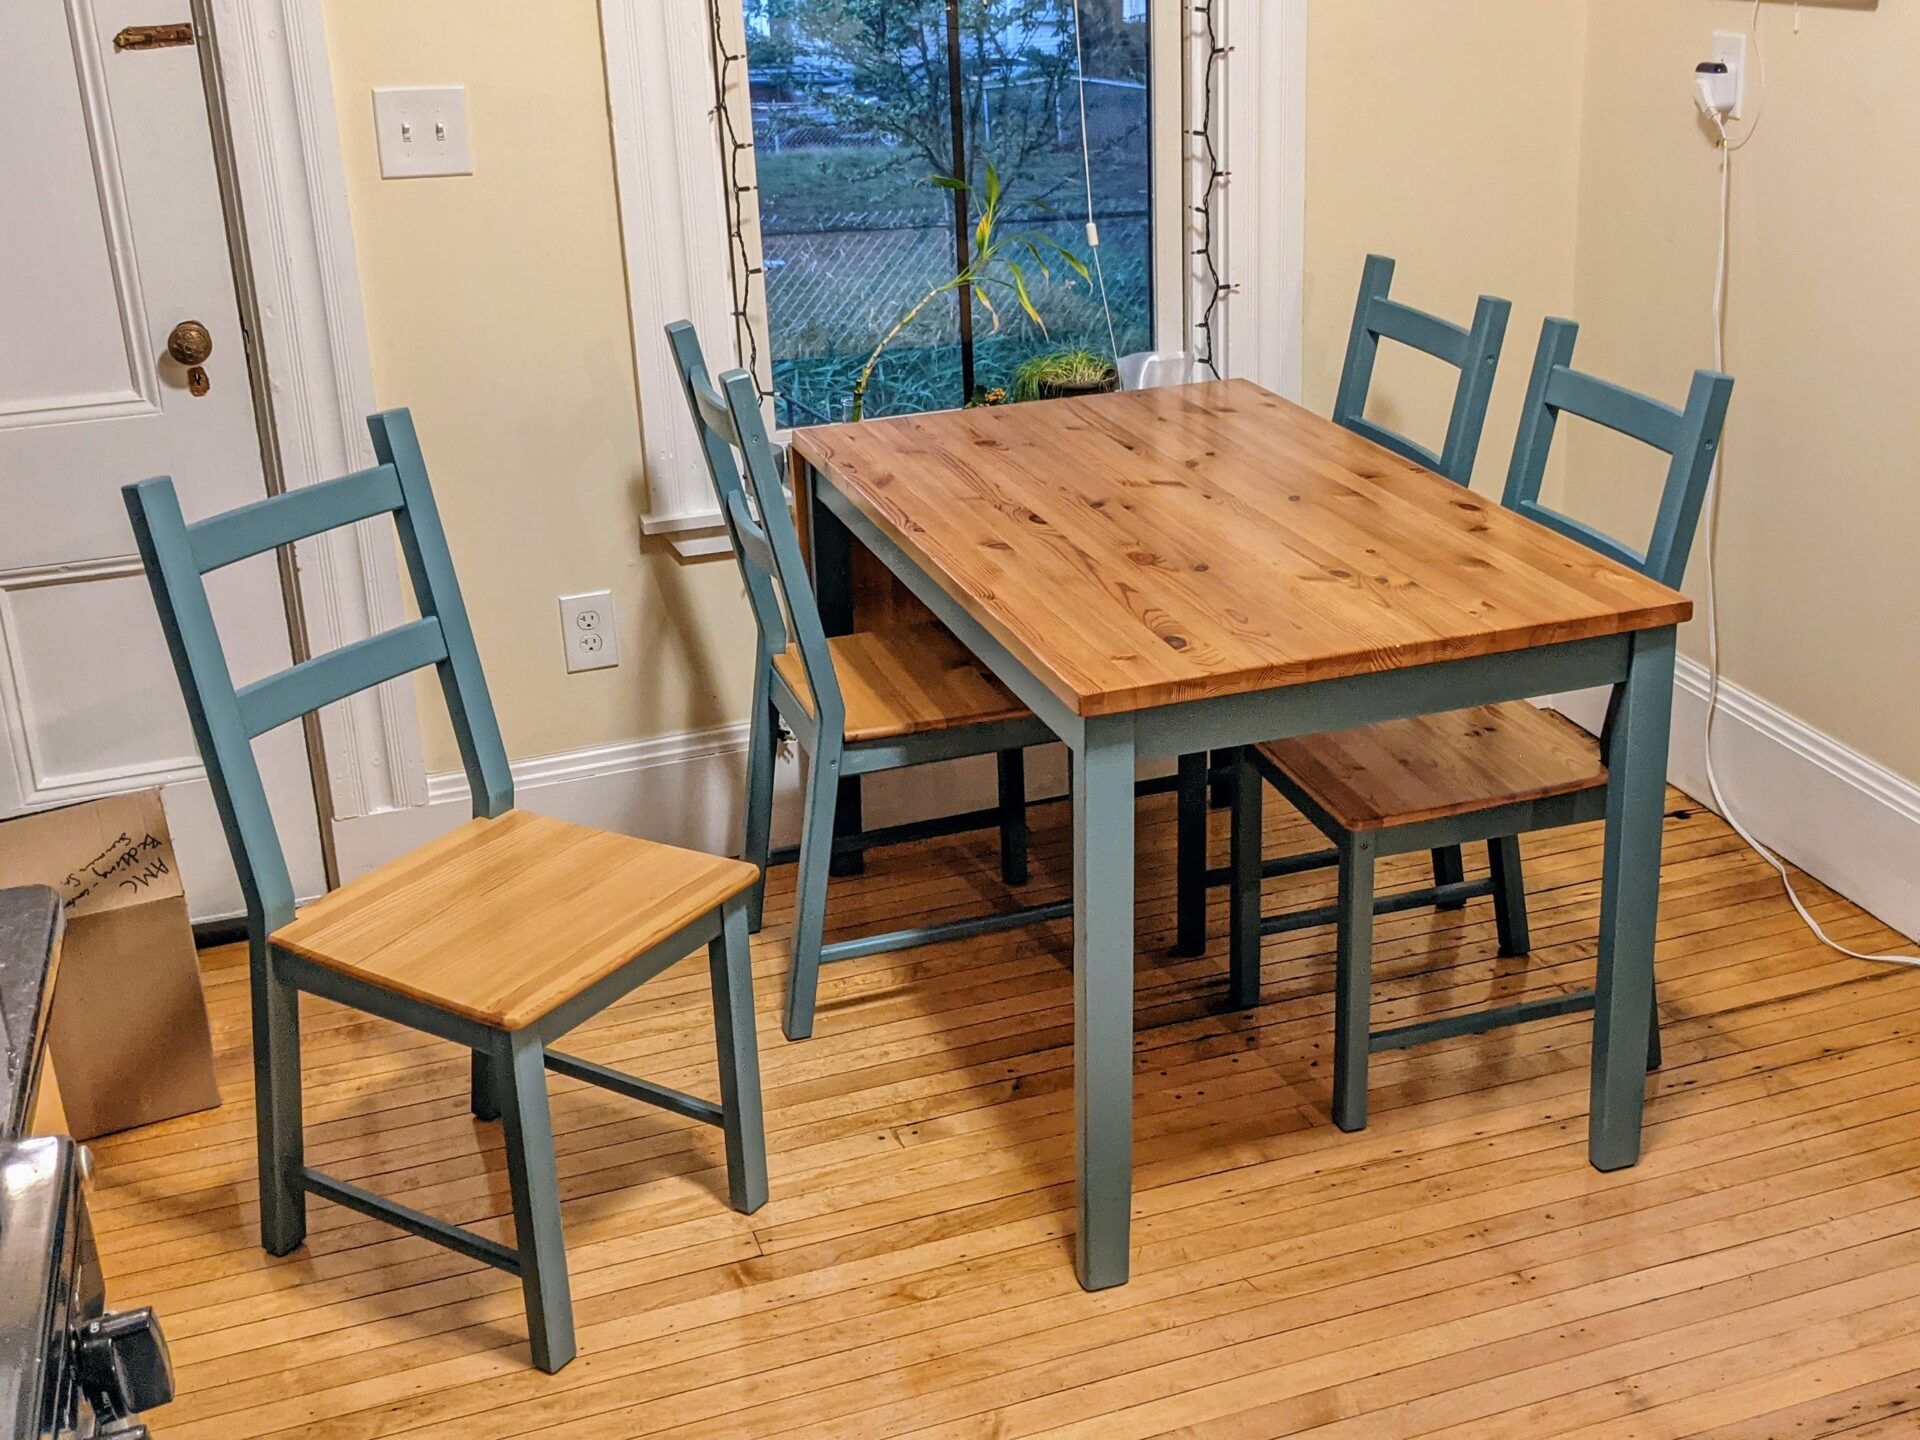
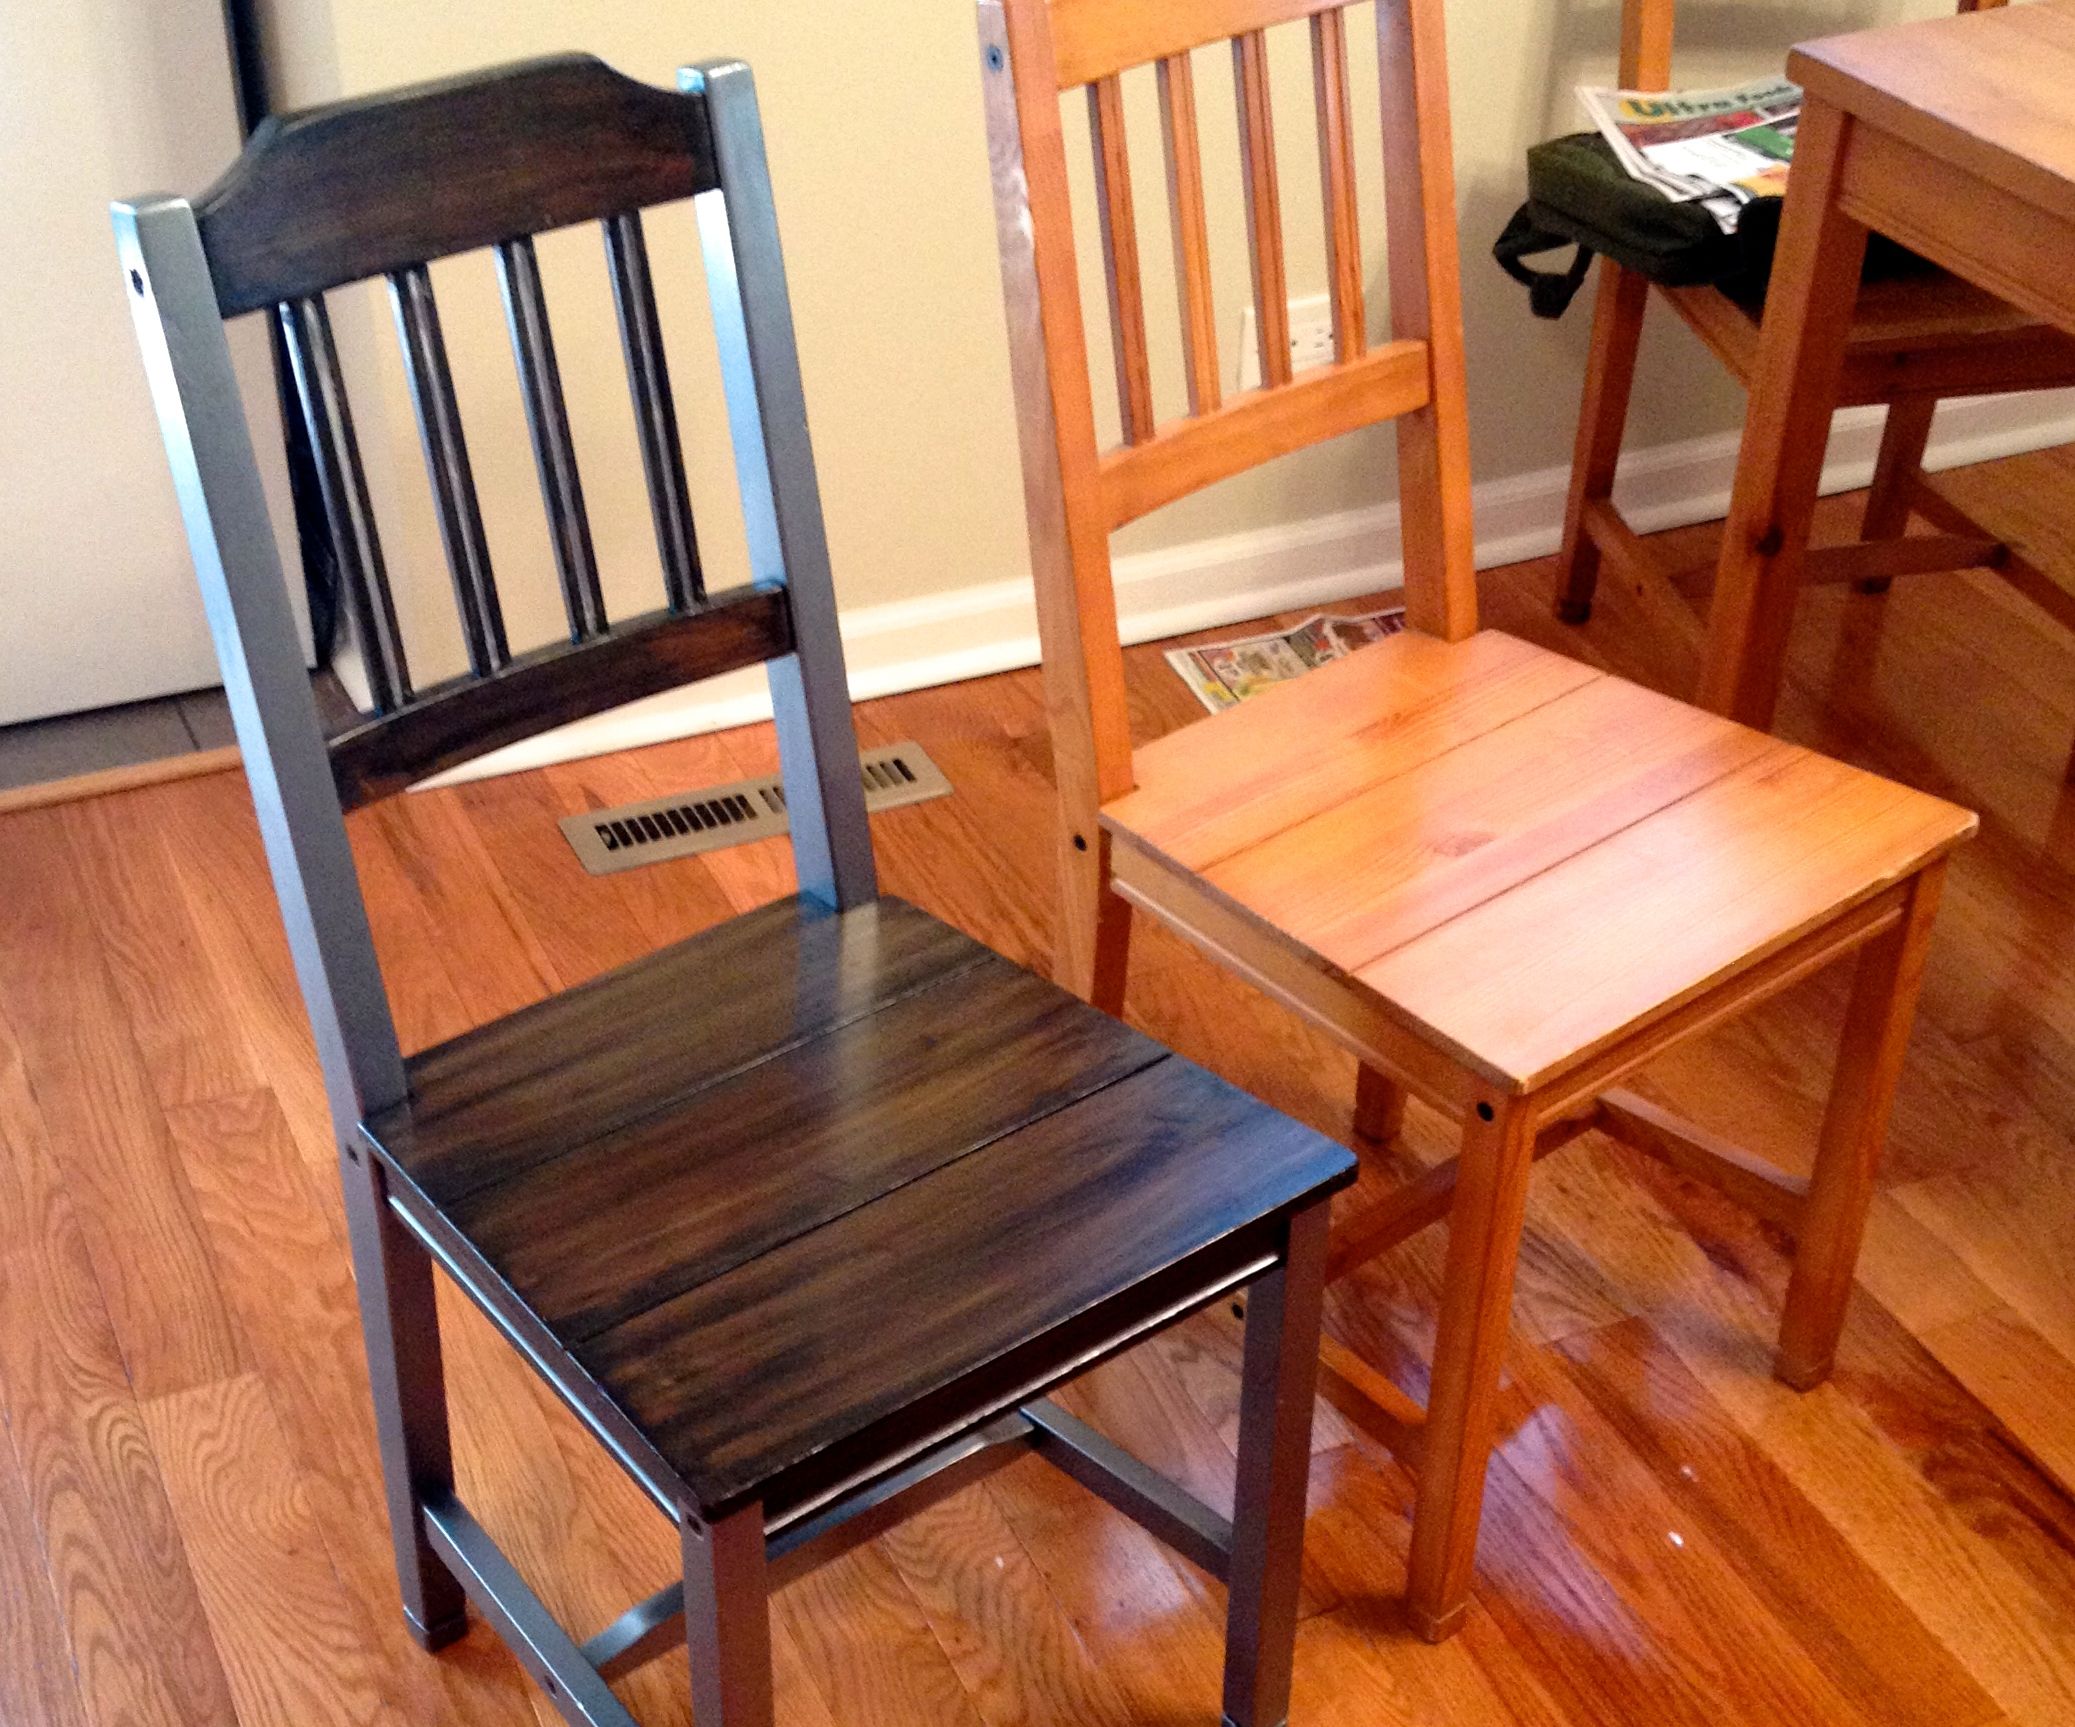
If your kitchen table has seen better days, it may be time to refinish it. Refinishing a stained kitchen table is a great way to revive an old piece of furniture and give it a new life. Not only will it improve the appearance of your kitchen, but it can also save you money from buying a new table. In this article, we will provide a step by step guide on how to refinish a stained kitchen table.How to Refinish a Stained Kitchen Table
Refinishing a kitchen table is a simple and cost-effective DIY project that anyone can do. All you need is some time, patience, and a few tools and materials. By refinishing your kitchen table yourself, you can save money and have the satisfaction of knowing you did it yourself. Plus, you can customize the finish to your liking and make your table unique.DIY Kitchen Table Refinishing
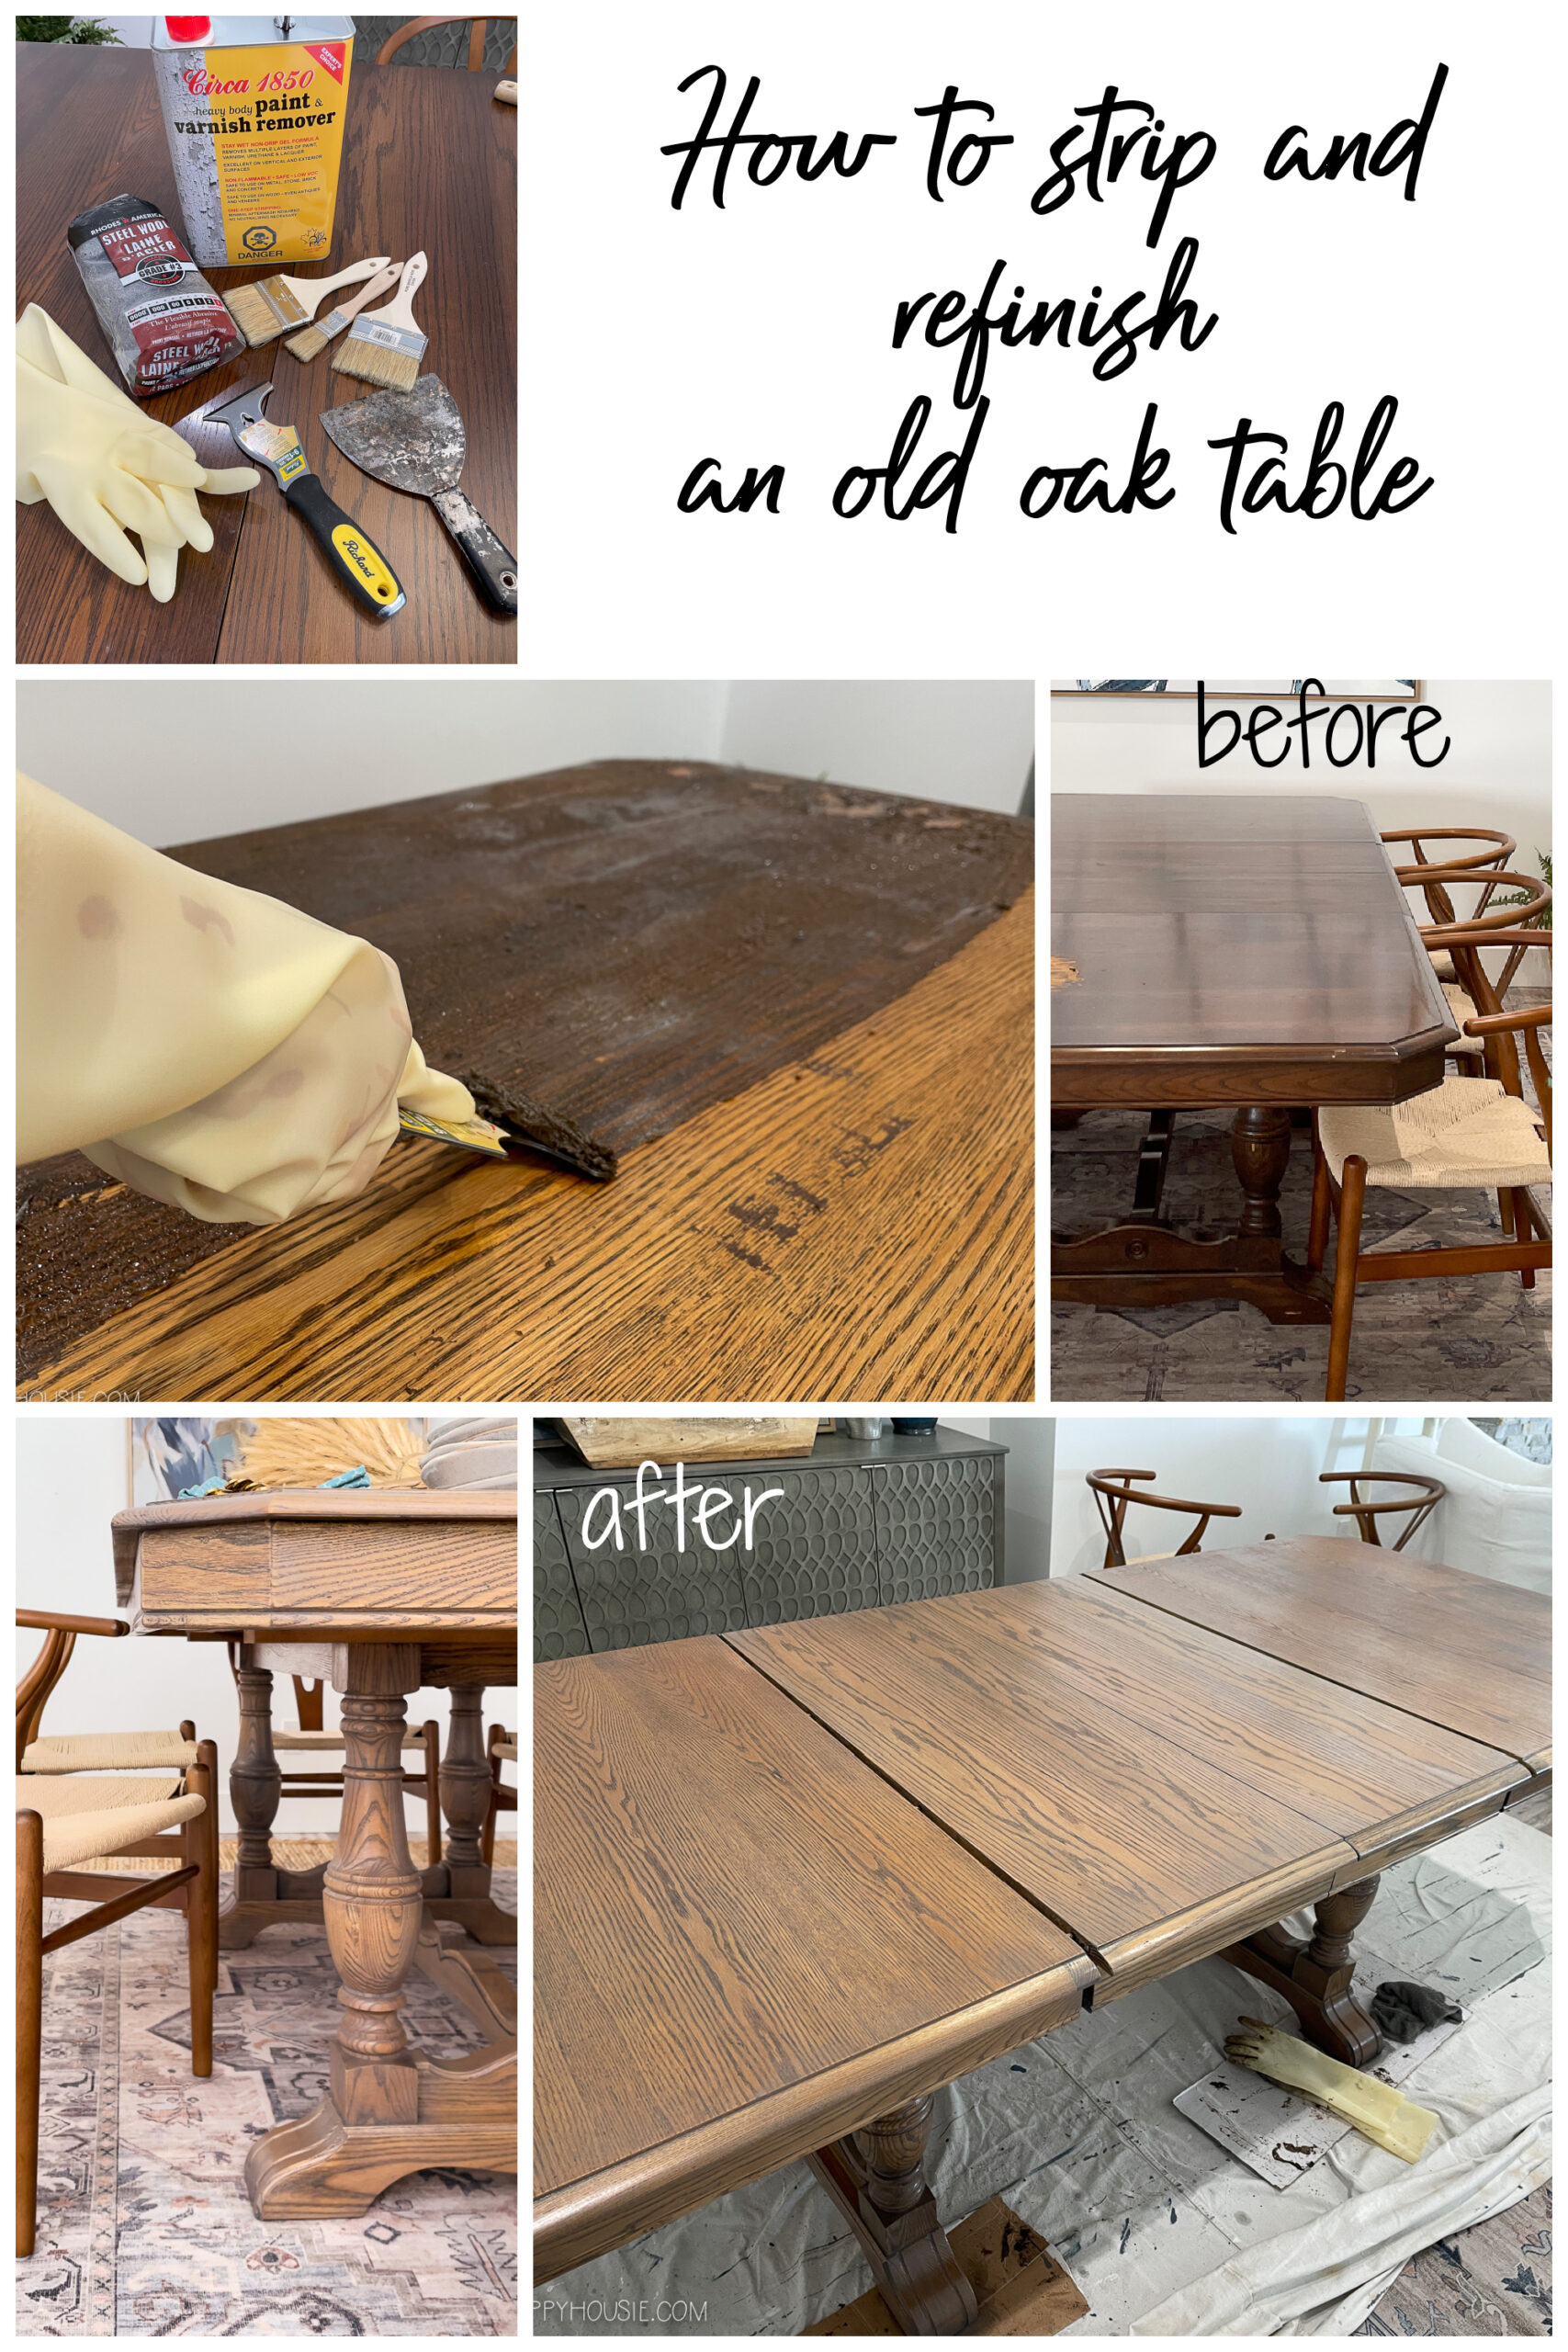
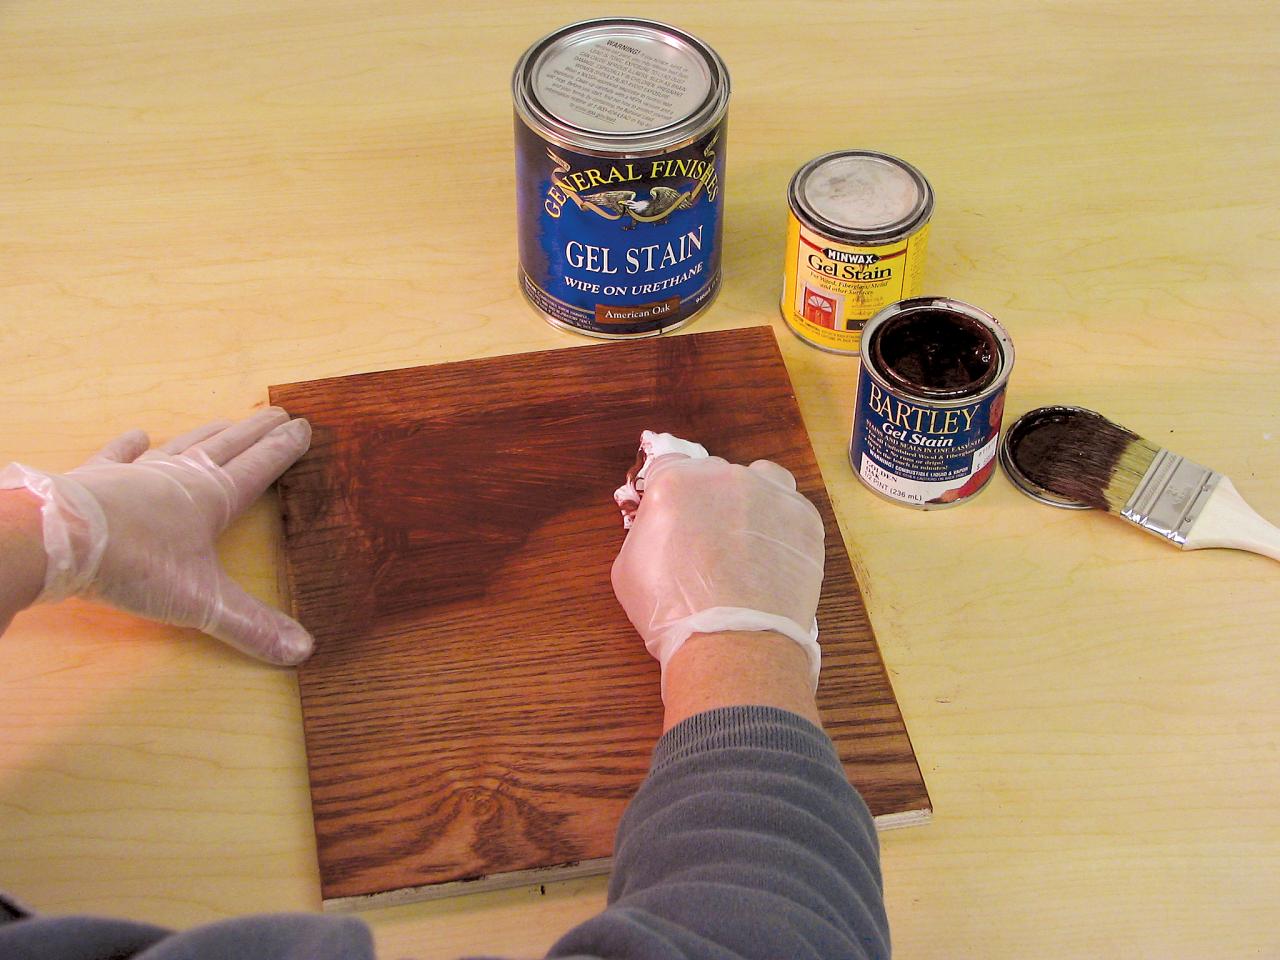
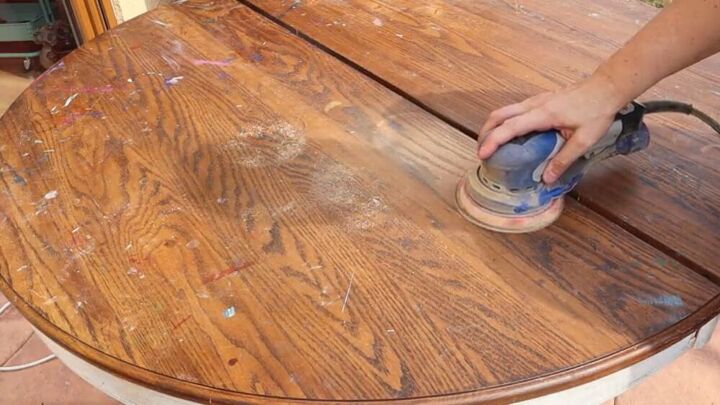
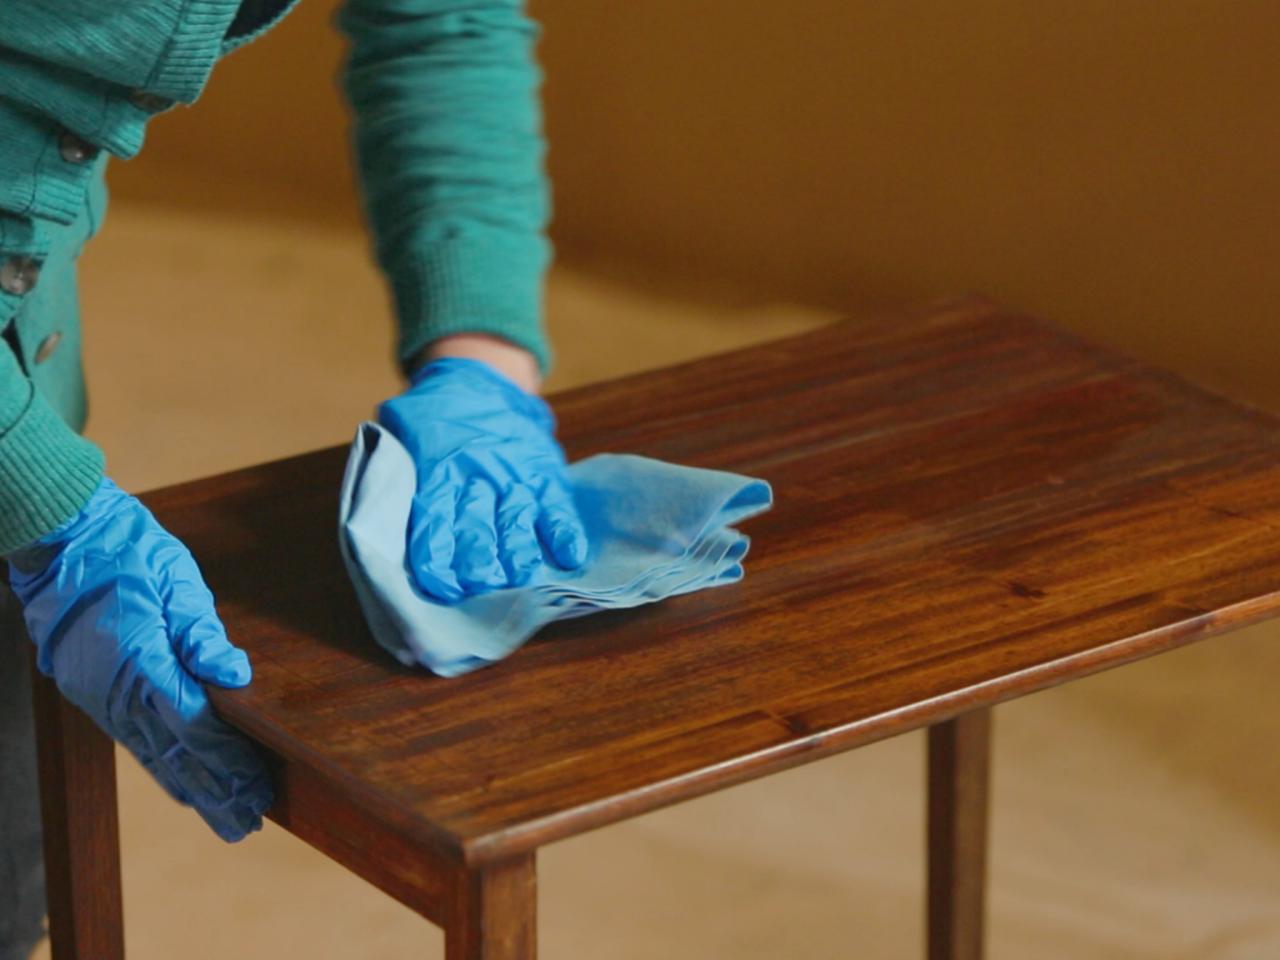
The following are the steps for refinishing a stained kitchen table: Step 1: Prepare your workspace - Find a well-ventilated area to work in, such as a garage or outdoor space. Cover the floor with a drop cloth or old sheets to protect it from any spills or drips. Step 2: Gather your materials - You will need sandpaper, wood stain, polyurethane, a paintbrush, a clean cloth, and gloves. You may also need a wood filler, putty knife, and a sander if your table has any scratches or dents. Step 3: Clean the table - Wipe down the table with a damp cloth to remove any dust or dirt. If your table has any stuck-on grime, you can use a mild cleaning solution and a sponge to clean it thoroughly. Step 4: Sand the table - Use a medium-grit sandpaper to sand the entire surface of the table. This will remove the old finish and any imperfections on the surface. Be sure to sand in the direction of the wood grain to avoid damaging the table. Step 5: Fill in any imperfections - If there are any scratches or dents on the table, use wood filler to fill them in. Use a putty knife to smooth out the filler and let it dry before sanding it down. Step 6: Apply the stain - Using a clean cloth or a paintbrush, apply the wood stain in the direction of the wood grain. Start from one end and work your way to the other, making sure to cover the entire surface evenly. Let the stain sit for the recommended time on the label. Step 7: Apply the polyurethane - Once the stain has dried, apply a coat of polyurethane using a clean cloth or brush. This will protect the table from scratches and stains. Let it dry completely and then lightly sand it with a fine-grit sandpaper before applying another coat. Step 8: Let it cure - Allow the polyurethane to cure for at least 24 hours before using your kitchen table.Steps for Refinishing a Stained Table
Staining a kitchen table is a popular choice for refinishing because it enhances the natural beauty of the wood while still protecting it. When choosing a stain, consider the type of wood your table is made of and the color you want to achieve. For a darker finish, choose a darker stain, and for a lighter finish, choose a lighter stain.Refinishing a Kitchen Table with Stain
The best stain for refinishing a kitchen table depends on your personal preference and the type of wood your table is made of. Some popular stains for kitchen tables include oak, walnut, and cherry. Be sure to test the stain on a small, hidden area of the table before applying it to the entire surface.Best Stain for Refinishing a Kitchen Table
Here are some helpful tips for refinishing a stained kitchen table: Tip 1: Choose the right finish - There are various types of finishes you can use for your kitchen table, such as oil-based or water-based polyurethane, wax, or varnish. Consider the level of durability and maintenance required for each finish before making your decision. Tip 2: Sand between coats - Sanding between coats of polyurethane will help achieve a smooth and even finish. Use a fine-grit sandpaper and sand lightly, making sure to remove any dust before applying the next coat. Tip 3: Use gloves - When working with stains and polyurethane, it's important to protect your hands by wearing gloves. This will also prevent any oils from your skin from transferring onto the table.Tips for Refinishing a Stained Table
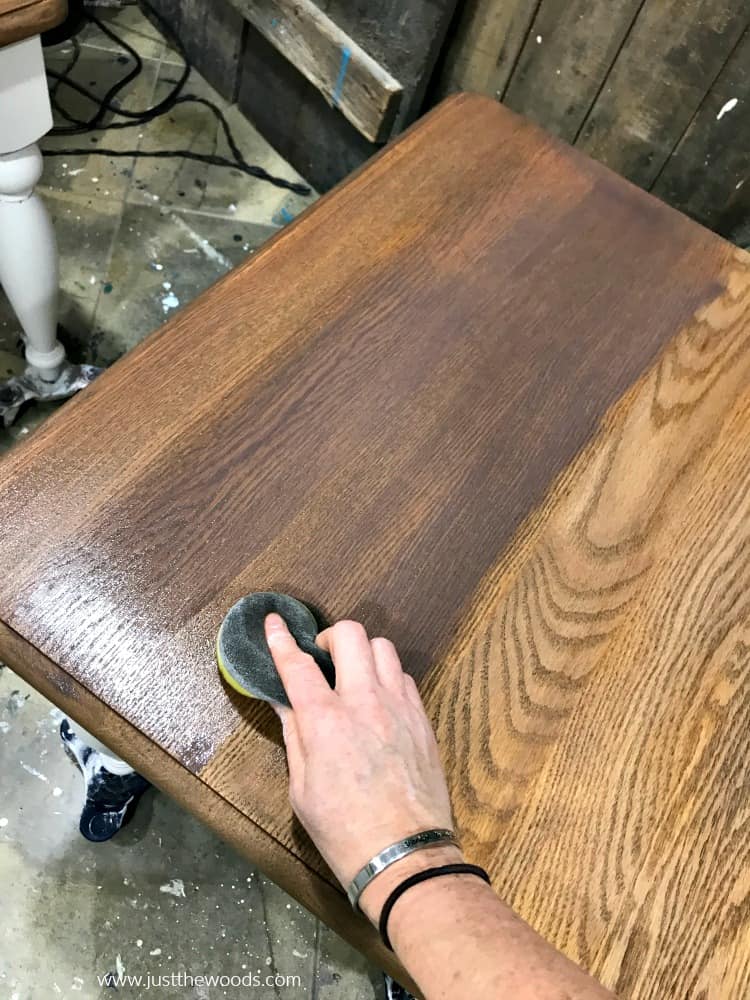
While staining is a popular choice for refinishing a kitchen table, painting is also an option. Choosing between stain and paint will depend on the look you want to achieve. Staining will enhance the natural beauty of the wood, while painting will provide a more uniform and colorful finish. Consider the style of your kitchen and your personal preference before deciding on stain or paint.Refinishing a Kitchen Table: Stain vs Paint
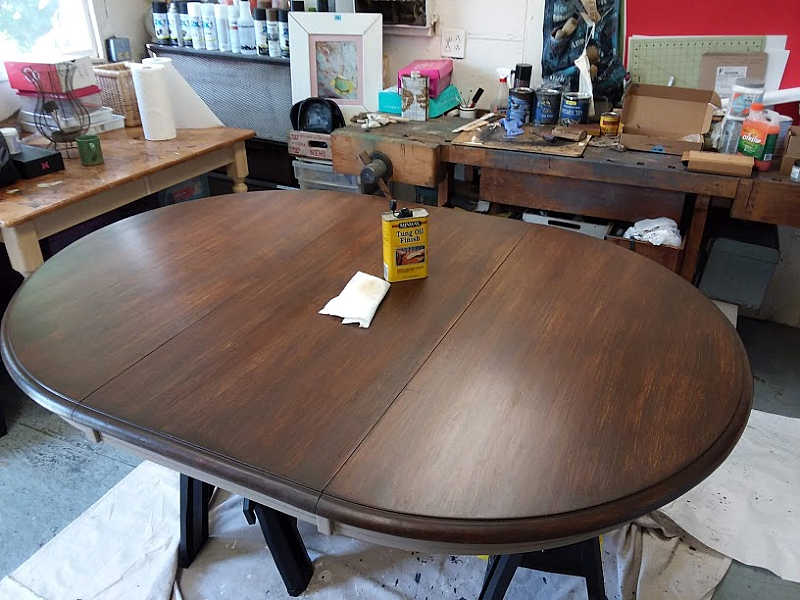
The materials needed for refinishing a stained kitchen table include: - Sandpaper (medium and fine-grit)Materials Needed for Refinishing a Stained Table
- Wood stain
- Polyurethane
- Paintbrush
- Clean cloth
- Gloves
- Wood filler (optional)
- Putty knife (optional)
- Sander (optional)
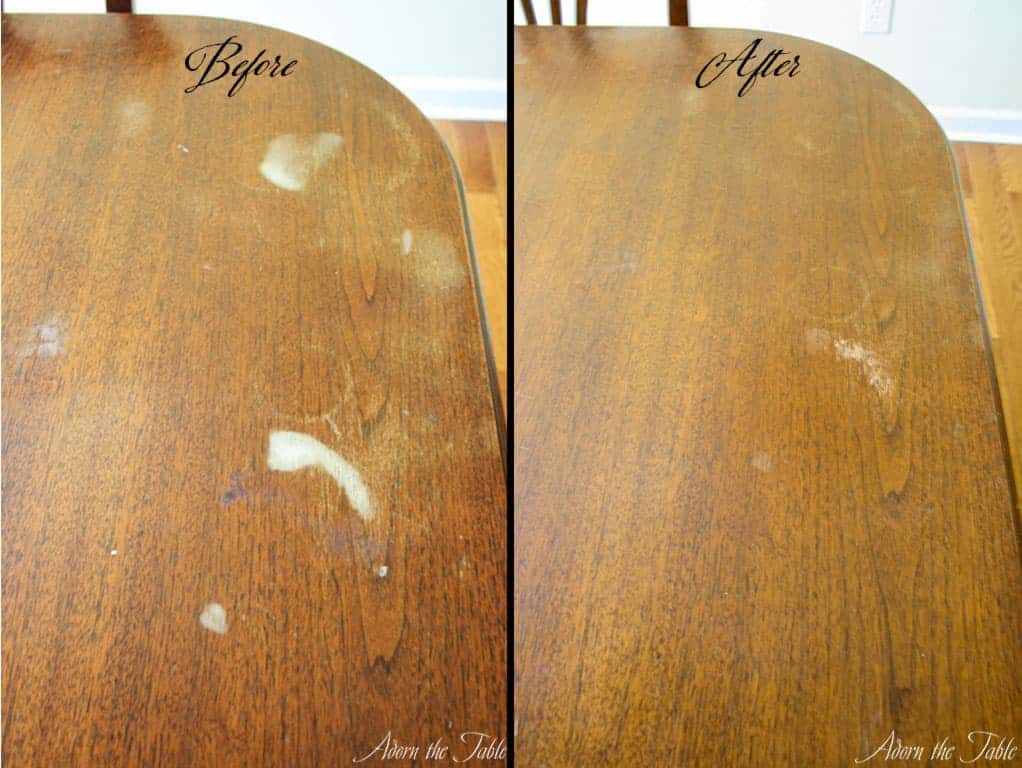
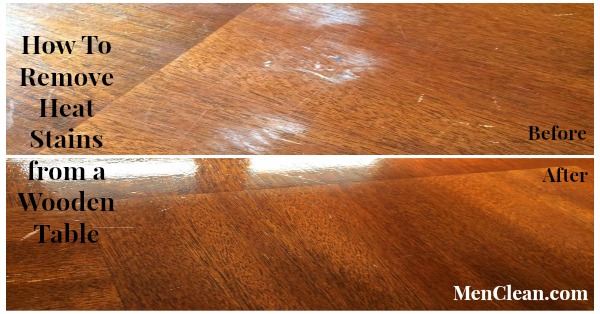
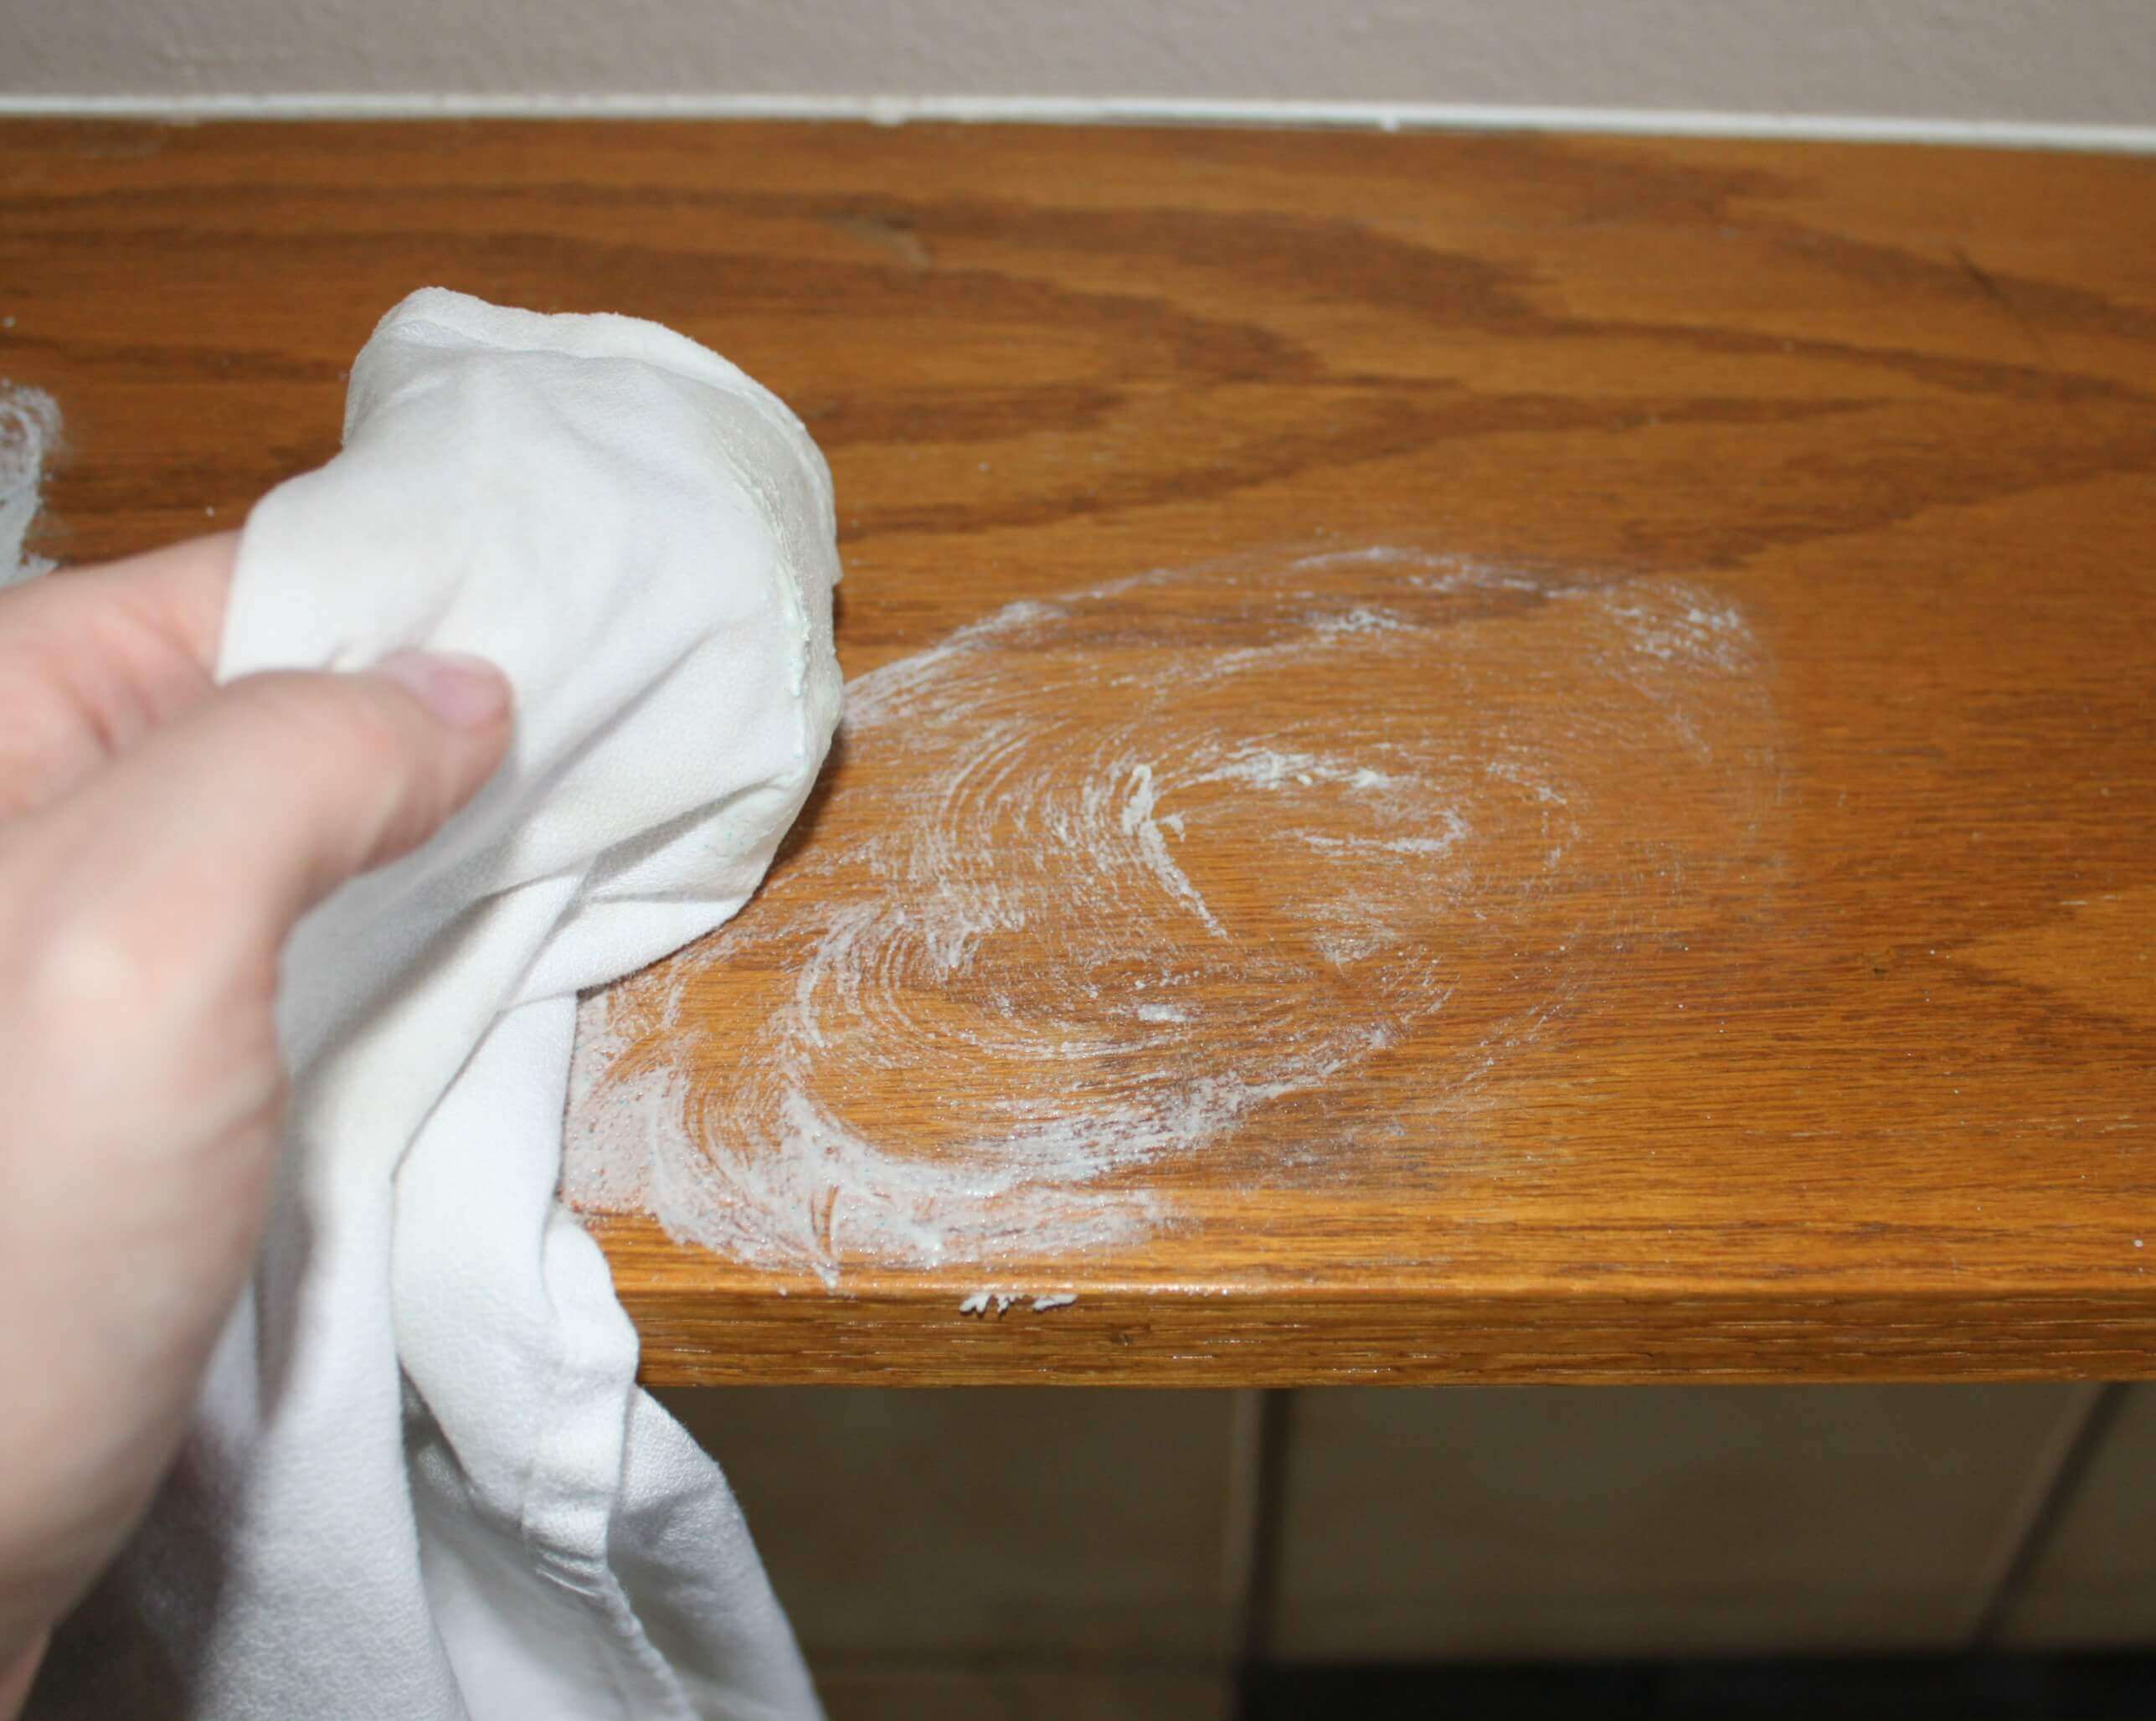
If your kitchen table has stubborn stains, you may need to remove them before refinishing. Here are some tips for removing stains from a kitchen table: - For water stains, use a mixture of equal parts vinegar and olive oilHow to Remove Stains from a Kitchen Table
- For ink stains, use a mixture of baking soda and water
- For food stains, use a mixture of dish soap and warm water
- For heat marks, use a hairdryer on low heat to gently warm and lift the stain
- For tough stains, use a wood stain remover following the instructions on the label.
To recap, here is a step by step guide on how to refinish a stained kitchen table: 1. Prepare your workspaceRefinishing a Stained Table: Step by Step Guide
2. Gather your materials
3. Clean the table
4. Sand the table
5. Fill in any imperfections
6. Apply the stain
7. Apply the polyurethane
8. Let it cure
Refinishing a Stained Kitchen Table: A Simple Guide

Understanding the Importance of a Kitchen Table
The Benefits of Refinishing a Stained Kitchen Table
 Refinishing a stained kitchen table can bring new life to your old piece of furniture. Not only does it save you money from purchasing a new one, but it also allows you to customize and personalize it to your desired style. You can choose a new color or finish that complements the rest of your kitchen design. Refinishing also helps to protect the table from further damage and extends its lifespan. Plus, it's a fun and satisfying DIY project that anyone can do.
The Step-by-Step Process
 The first step in refinishing a stained kitchen table is to prepare the surface. This involves removing any existing finish, stains, or paint. You can use a chemical stripper or sandpaper, depending on the type of finish on your table. Once the surface is stripped, sand it down to remove any imperfections and smooth out the wood. Next, apply a wood conditioner to help the new finish adhere better. Then, choose your desired stain or paint and apply it evenly, following the manufacturer's instructions. Finally, seal the surface with a protective coat of polyurethane or lacquer for a durable and long-lasting finish.
Expert Tips for a Professional Finish
 For a professional and flawless finish, it's essential to pay attention to detail. Use high-quality materials and tools, and take your time with each step. Ensure that the surface is clean and free of dust before applying any finishes. If using stain, test it on a small inconspicuous area first to ensure that you achieve the desired color. When applying paint, use thin and even coats, and let each coat dry completely before adding another. And finally, don't be afraid to get creative and add your own personal touch to the design.
In Conclusion
 Refinishing a stained kitchen table is a simple and cost-effective way to revamp your kitchen design. It allows you to preserve your beloved piece of furniture while also adding your unique style to it. With the right materials and techniques, you can achieve a professional finish that will make your kitchen table the star of the room once again. So, instead of replacing, consider refinishing your stained kitchen table and see the transformation it can bring.


