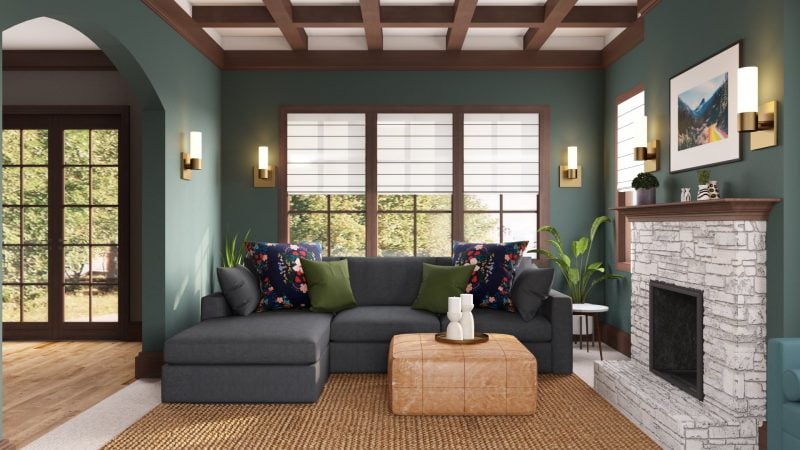
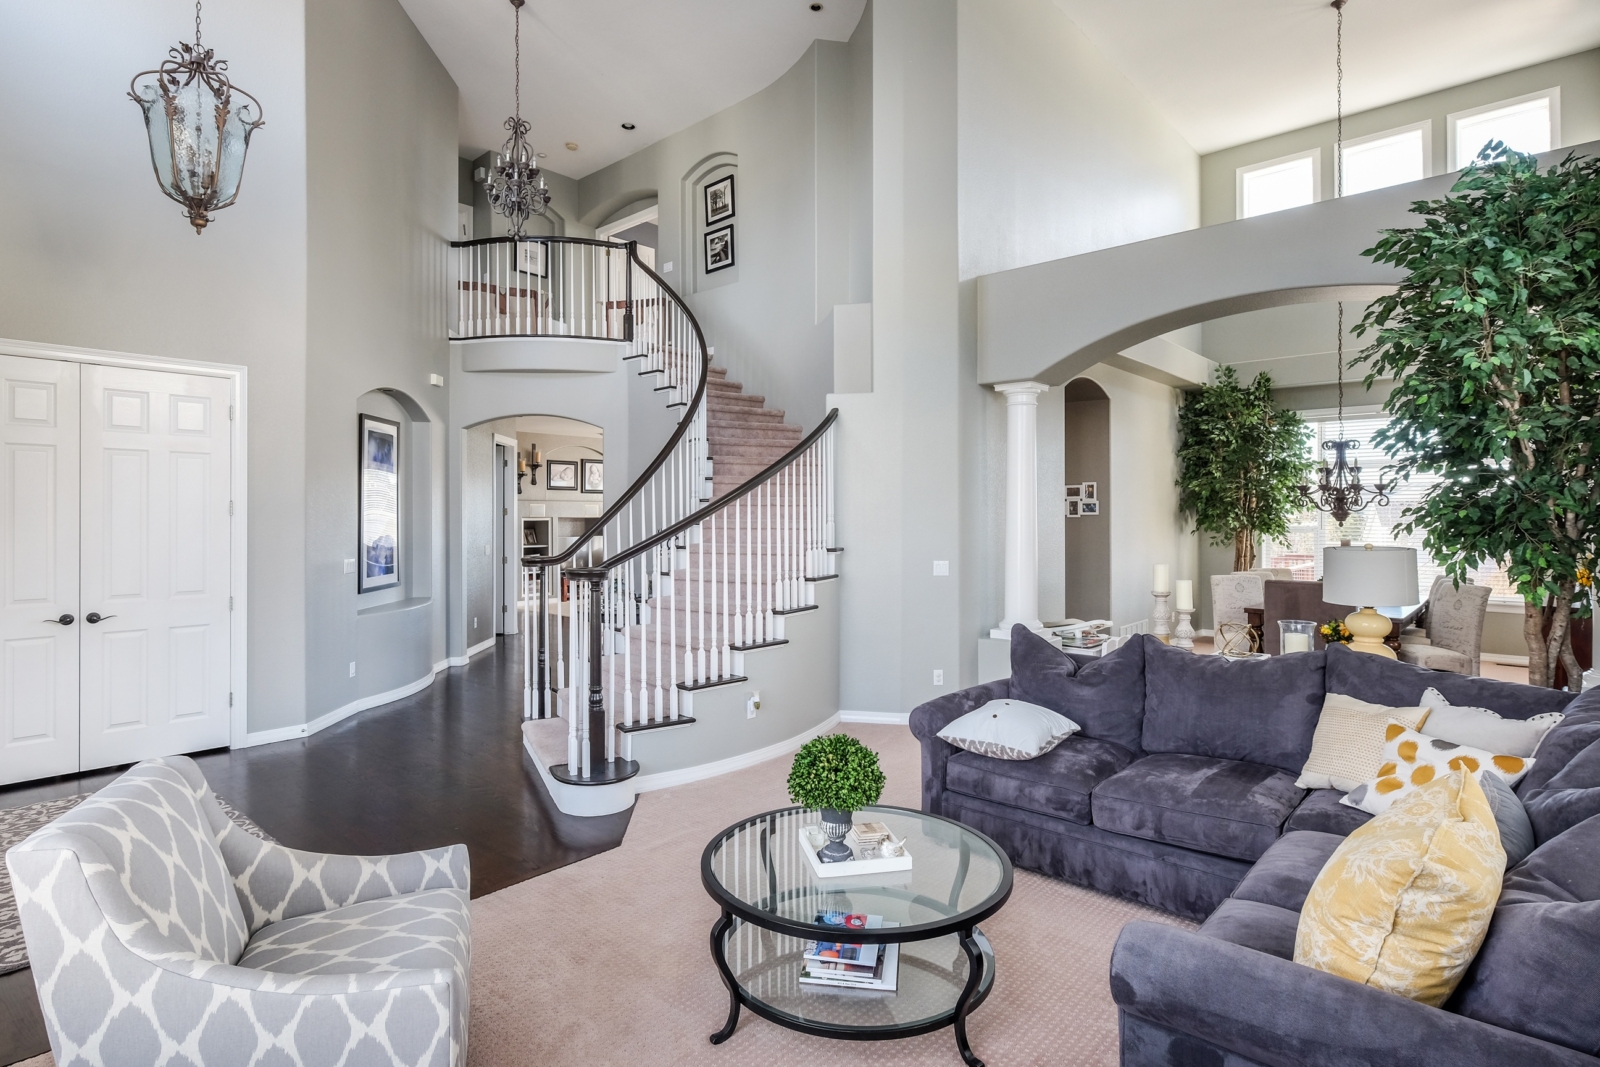
Are you looking for a unique and creative way to update your living room walls? Look no further than sponge painting! This technique adds texture and depth to your walls, giving them a professional and artistic look. Not sure where to start? Here are ten tips for sponge painting your living room walls. Sponge Painting Techniques for Living Room Walls


Sponge Painting Techniques for Living Room Walls


The first step in sponge painting your living room walls is to gather your supplies. You will need a base coat of paint, a top coat of paint, a paint tray, a sea sponge, and painter's tape. Choose your colors carefully, making sure they complement each other and the overall design of your living room. How to Sponge Paint Your Living Room Walls


How to Sponge Paint Your Living Room Walls


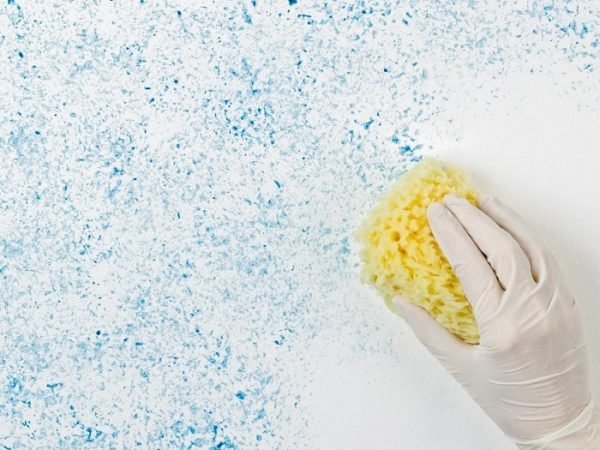
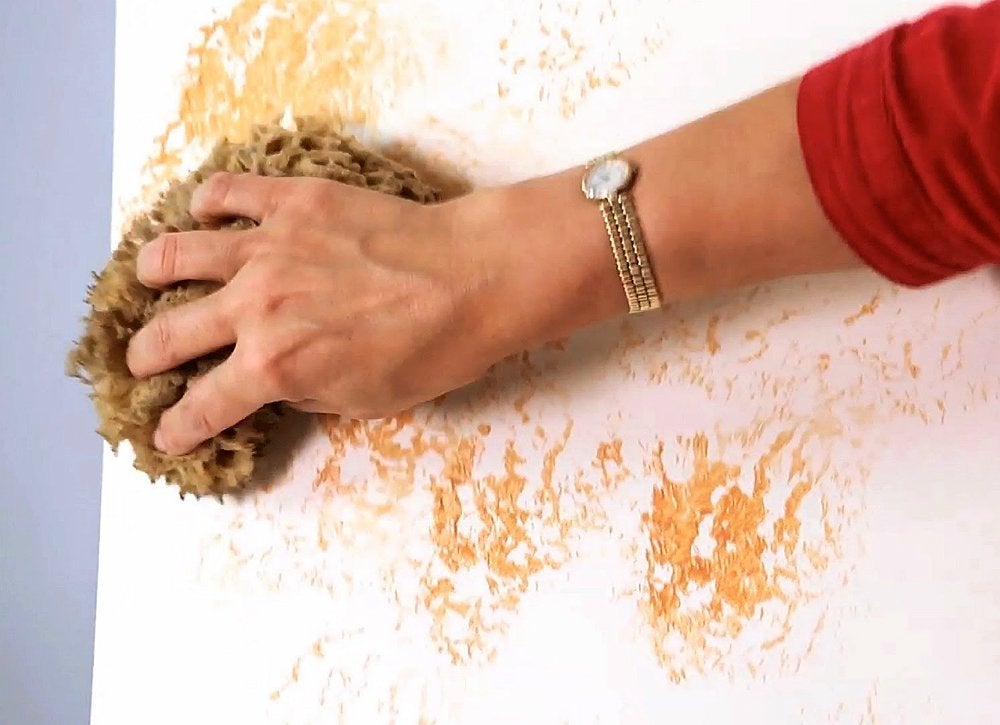
Start by painting your walls with the base coat and allowing it to dry completely. Next, mix your top coat of paint with glaze in a paint tray, following the instructions on the glaze bottle. Use a sea sponge to dab the mixture onto your walls in a random pattern. Be sure to overlap your strokes and vary the pressure to create a natural look. Step-by-Step Guide for Sponge Painting Living Room Walls


Step-by-Step Guide for Sponge Painting Living Room Walls


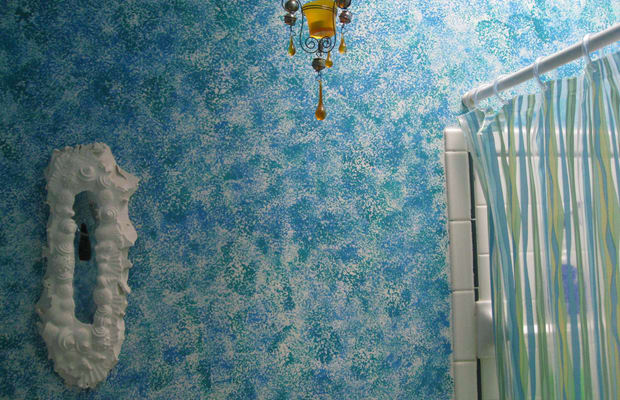
Sponge painting allows you to get creative and add your personal touch to your living room walls. You can experiment with different sponge sizes, shapes, and textures to create unique patterns and effects. You can also try blending multiple colors for a more dynamic look. Creative Ideas for Sponge Painting Living Room Walls


Creative Ideas for Sponge Painting Living Room Walls


One of the keys to achieving a professional look with sponge painting is to use a light touch and avoid overworking the paint. The goal is to create a subtle and natural look, not a heavy and obvious one. Also, be sure to step back and assess your work as you go to ensure an even distribution of color and texture. Tips for Achieving a Professional Look with Sponge Painting Living Room Walls


Tips for Achieving a Professional Look with Sponge Painting Living Room Walls


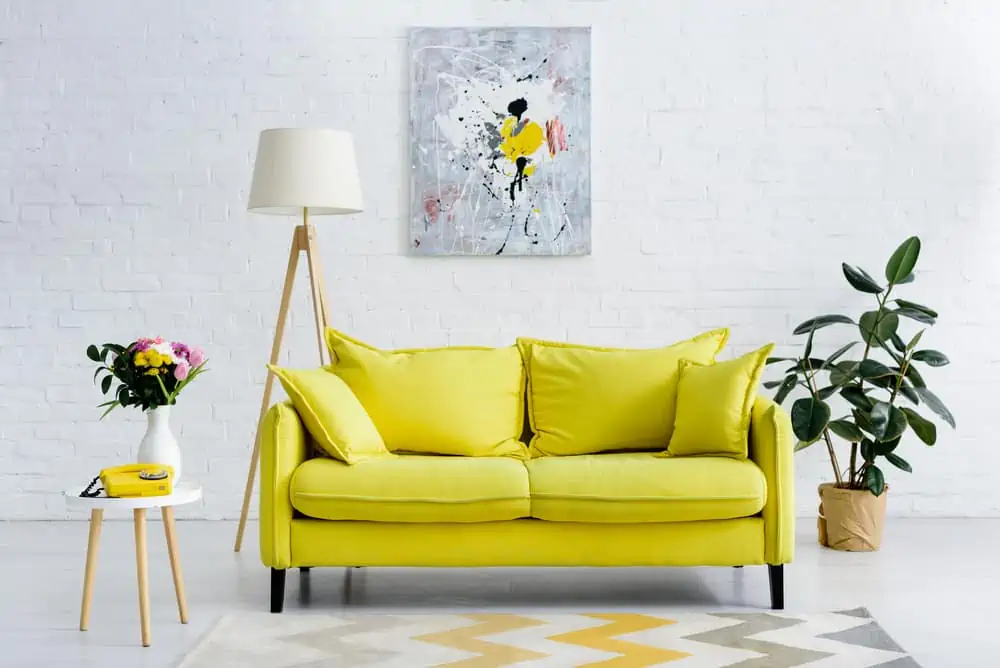
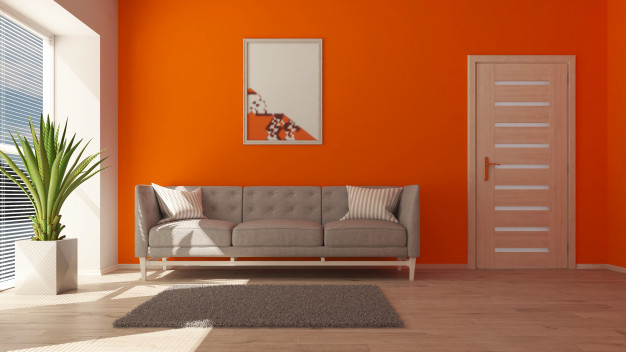
When it comes to choosing colors for your sponge painting project, consider the overall color scheme of your living room. You can opt for complementary or contrasting colors, depending on the look you want to achieve. Remember, lighter colors will result in a softer and more subtle effect, while darker colors will create a more dramatic look. Choosing the Right Colors for Sponge Painting Living Room Walls

Choosing the Right Colors for Sponge Painting Living Room Walls


While sponge painting is a relatively easy technique, there are a few common mistakes that people make. One is using too much pressure, resulting in a heavy and uneven application of paint. Another is not overlapping strokes, leaving blank spots on the wall. Avoid these mistakes by practicing on a small area first and taking your time. Mistakes to Avoid When Sponge Painting Living Room Walls


Mistakes to Avoid When Sponge Painting Living Room Walls


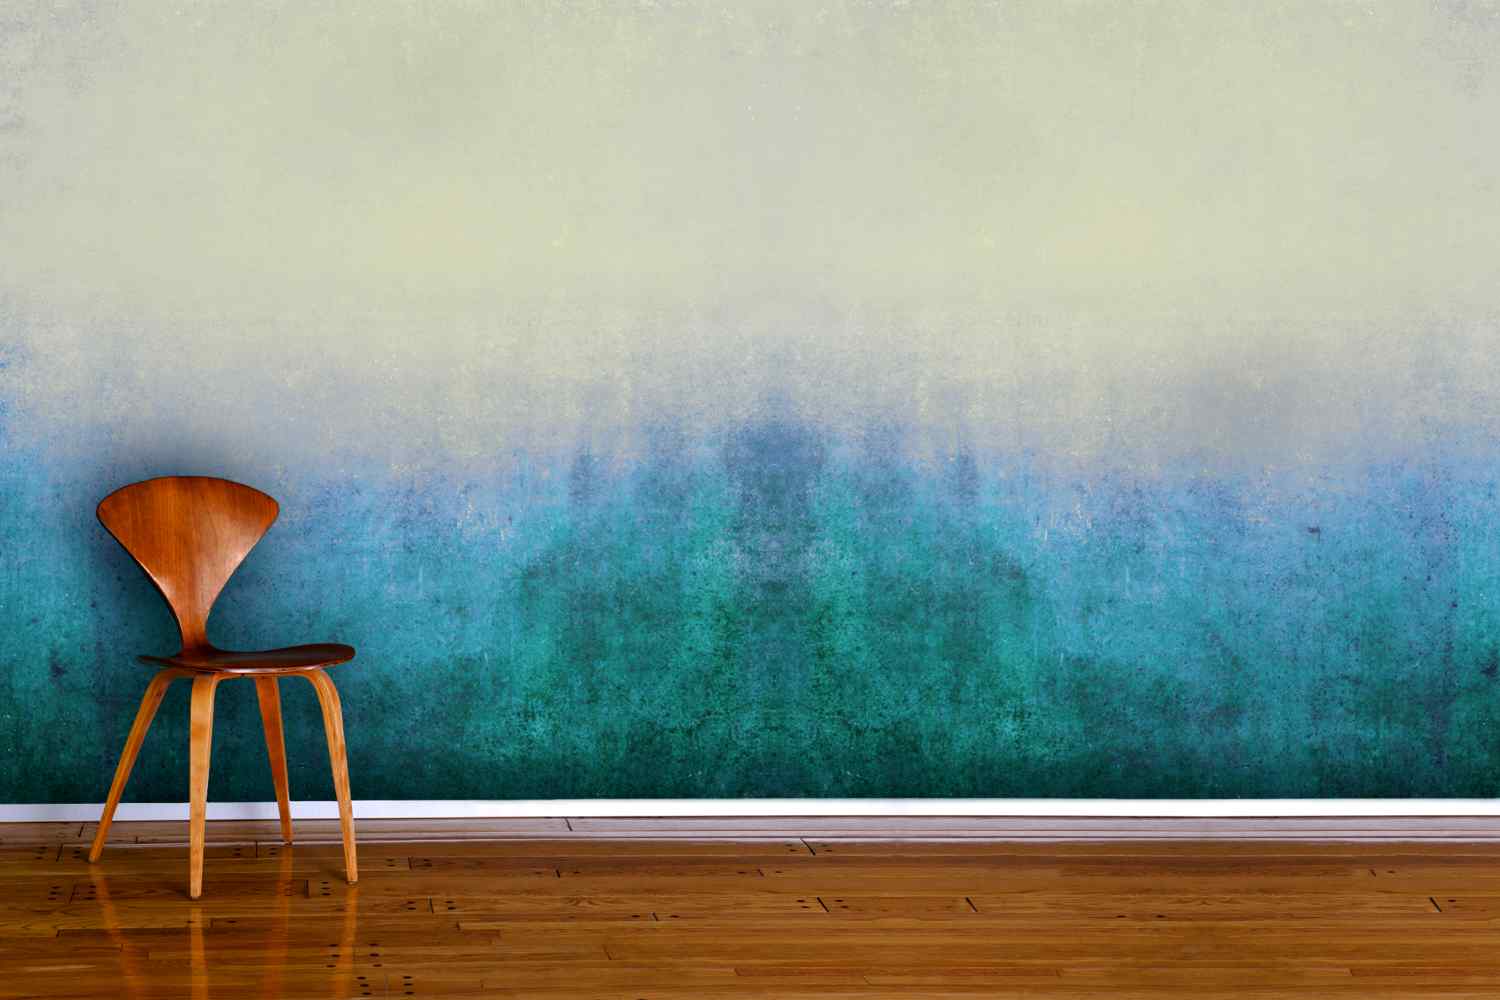
Aside from using different colors, you can also experiment with different textures when sponge painting your living room walls. You can use a sea sponge, a natural sponge, or even a kitchen sponge to create different effects. You can also try blending different shades of the same color for a subtle ombre effect. Using Different Textures for Sponge Painting Living Room Walls


Using Different Textures for Sponge Painting Living Room Walls


Before you start sponge painting your living room walls, it's essential to properly prep them. This includes cleaning the walls to remove any dirt or debris, repairing any holes or imperfections, and applying a primer if necessary. This will ensure that your paint adheres properly and your sponge painting turns out smooth and even. How to Prep Your Walls for Sponge Painting in the Living Room


How to Prep Your Walls for Sponge Painting in the Living Room

Sponge painting is a simple but effective way to transform your living room walls and give them a unique and personalized touch. Whether you're going for a subtle and understated look or a bold and dramatic one, sponge painting allows you to achieve a professional and artistic finish. So gather your supplies and get ready to transform your living room with this fun and creative technique! Transform Your Living Room with Sponge Painting Techniques


Transform Your Living Room with Sponge Painting Techniques


Update Your Living Room with Sponge Painting Walls

Add Depth and Texture to Your Space
 If you're looking to update your living room without breaking the bank, consider
sponge painting
your walls. This
creative
and
affordable
technique adds
depth
and
texture
to any space, giving your walls a unique and
professional
look. Not only will it enhance the overall aesthetic of your living room, but it can also
increase
the
value
of your home. So, why not give it a try?
If you're looking to update your living room without breaking the bank, consider
sponge painting
your walls. This
creative
and
affordable
technique adds
depth
and
texture
to any space, giving your walls a unique and
professional
look. Not only will it enhance the overall aesthetic of your living room, but it can also
increase
the
value
of your home. So, why not give it a try?
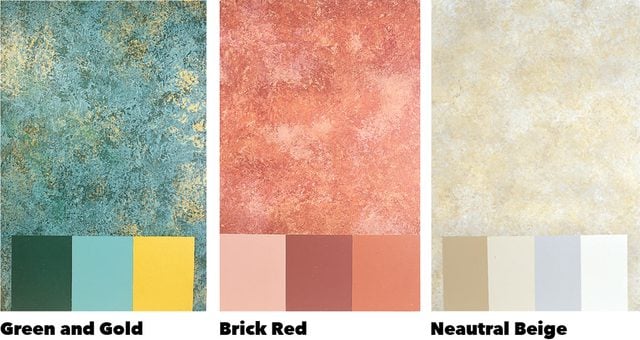
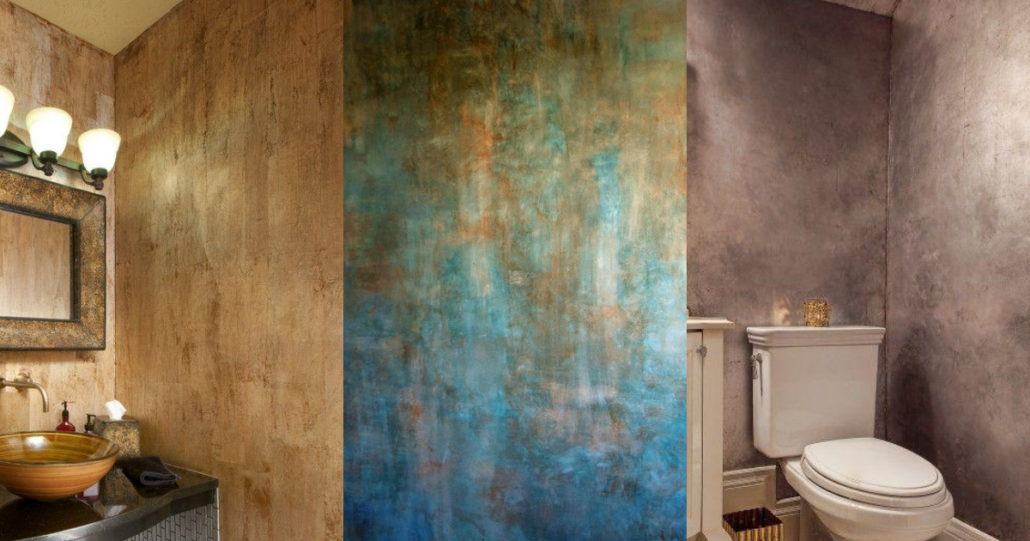
Choose the Right Sponge and Paint Colors
 Before you begin, it's important to choose the right sponge and paint colors for your living room. For a subtle and
soothing
look, opt for a natural sea sponge and
earthy
tones such as
beige
,
taupe
, or
sage
. For a more
vibrant
and
dramatic
look, a synthetic sponge and
bolder
colors like
blue
,
green
, or
purple
may be the way to go. It's also important to consider the existing colors in your living room and choose complementary shades for a cohesive look.
Before you begin, it's important to choose the right sponge and paint colors for your living room. For a subtle and
soothing
look, opt for a natural sea sponge and
earthy
tones such as
beige
,
taupe
, or
sage
. For a more
vibrant
and
dramatic
look, a synthetic sponge and
bolder
colors like
blue
,
green
, or
purple
may be the way to go. It's also important to consider the existing colors in your living room and choose complementary shades for a cohesive look.
Prep and Prime Your Walls
 Before starting the sponge painting process, it's important to properly prep and prime your walls. This will ensure that the paint adheres evenly and smoothly. Start by cleaning your walls with a mild soap and water solution to remove any dirt or grime. Then, fill in any cracks or holes with spackling compound and sand them down once they're dry. Finally, apply a coat of primer to create a smooth and even surface for the sponge painting.
The Sponge Painting Process
 Now, it's time for the fun part - the sponge painting! Start by dipping your sponge into the paint and dabbing it onto a test surface to remove any excess. Then, gently press the sponge onto the wall, moving it in a circular motion to create a mottled effect. Continue this process, working in small sections and blending the colors together for a seamless look. Once you've completed the entire wall, step back and admire your work.
Finishing Touches
 To add some finishing touches to your sponge painted walls, you can use a
feathering
technique with a dry brush. Simply dip the brush into a lighter shade of the same color and lightly drag it over the painted area to create a soft and subtle effect. You can also use a
stencil
to add some
patterns
or
designs
to your walls for a more
detailed
look. Just make sure to let the paint dry completely before adding any additional touches.
To add some finishing touches to your sponge painted walls, you can use a
feathering
technique with a dry brush. Simply dip the brush into a lighter shade of the same color and lightly drag it over the painted area to create a soft and subtle effect. You can also use a
stencil
to add some
patterns
or
designs
to your walls for a more
detailed
look. Just make sure to let the paint dry completely before adding any additional touches.
Conclusion
 Sponge painting your living room walls is a great way to add some
personality
and
charm
to your space. It's a
budget-friendly
way to update your home and can easily be done in a weekend. With the right sponge and paint colors, proper prep and priming, and some creativity, you can transform your living room into a
stylish
and
inviting
space. So, why not give it a try and see the
amazing
results for yourself?
Sponge painting your living room walls is a great way to add some
personality
and
charm
to your space. It's a
budget-friendly
way to update your home and can easily be done in a weekend. With the right sponge and paint colors, proper prep and priming, and some creativity, you can transform your living room into a
stylish
and
inviting
space. So, why not give it a try and see the
amazing
results for yourself?