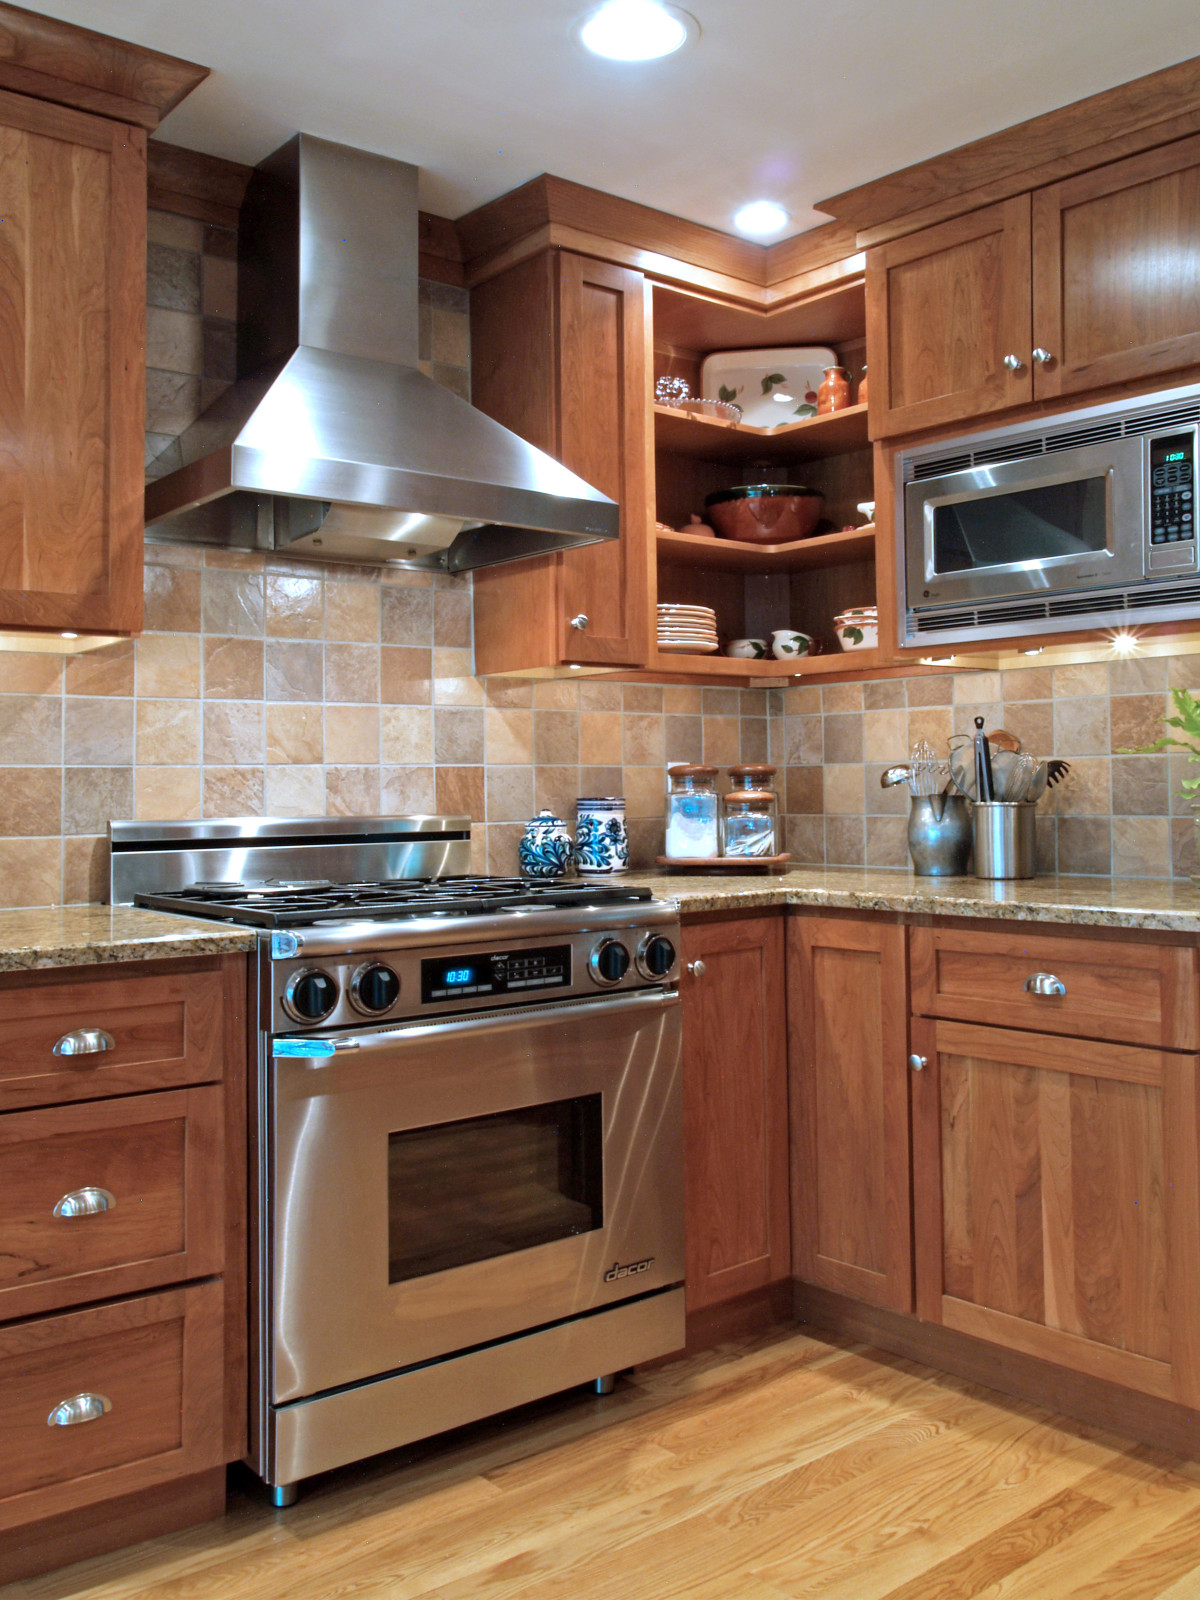
Installing wall tile in your kitchen can be a great way to update the look and feel of the space. Not only does it add a beautiful aesthetic, but it also provides a durable and easy-to-clean surface for your kitchen walls. If you're looking to tackle this DIY project, here is a step-by-step guide to help you get started.How to Install Wall Tile in Your Kitchen


How to Install Wall Tile in Your Kitchen


Before you begin the installation process, it's important to gather all the necessary materials. This includes the wall tiles, tile adhesive, grout, tile spacers, a trowel, a level, and a tile cutter. Once you have everything you need, follow these steps for a successful installation.How to Install Kitchen Wall Tile


How to Install Kitchen Wall Tile


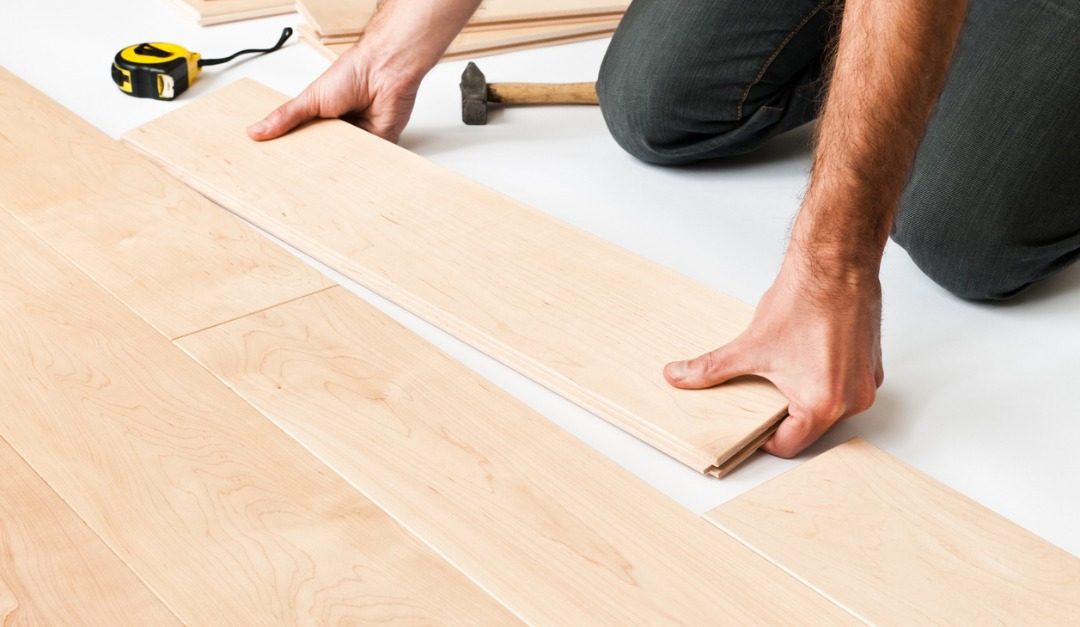
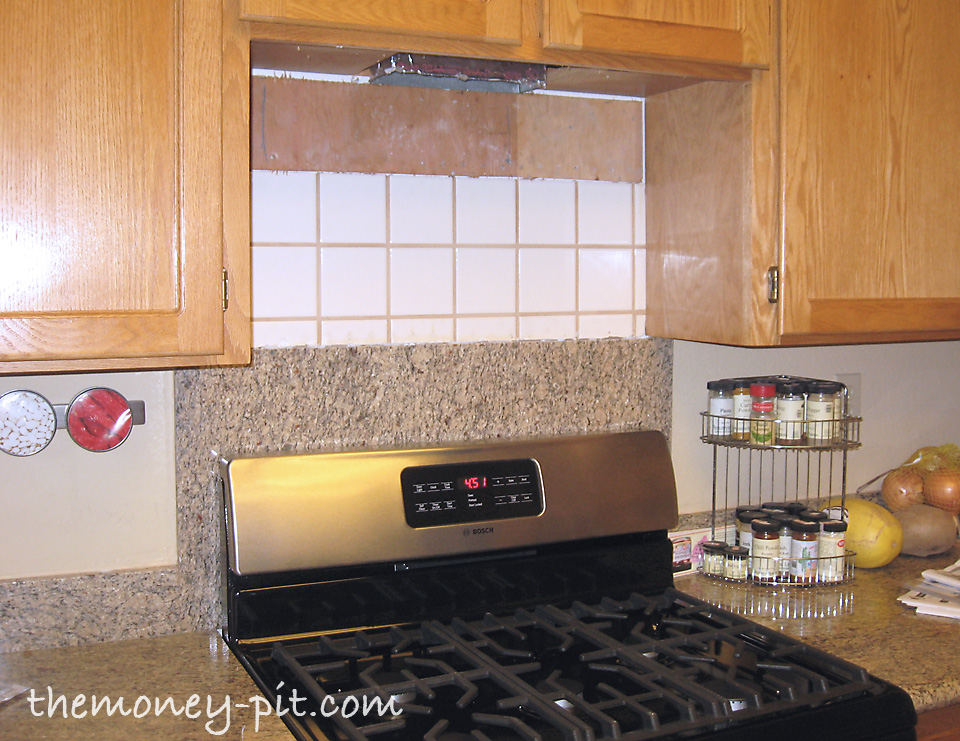
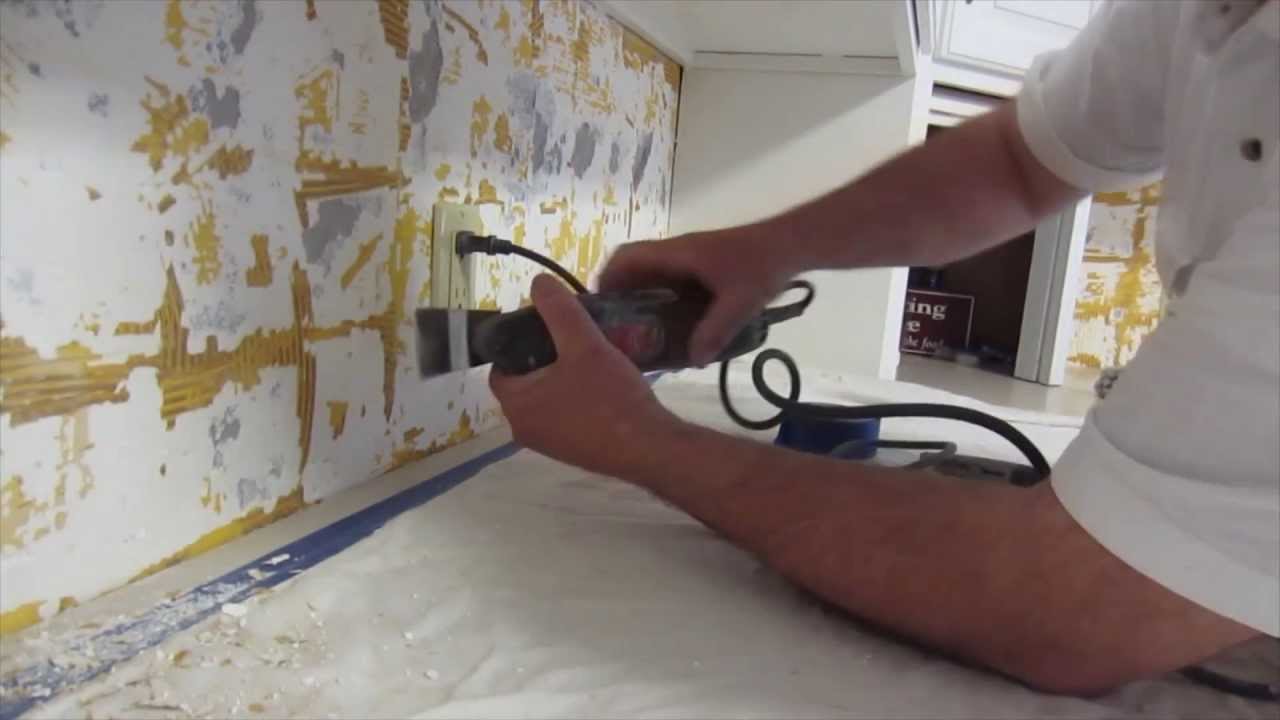
Step 1: Prepare the surface - Make sure your kitchen walls are clean, dry, and free of any debris. If there is existing tile, remove it and smooth out the surface with sandpaper. Use a level to ensure your walls are even. Step 2: Measure and cut the tiles - Measure the area where you will be installing the tiles and use a tile cutter to cut them to the desired size. It's always a good idea to add a few extra tiles in case of mistakes or future replacements. Step 3: Apply the adhesive - Using a trowel, spread a thin layer of tile adhesive on the wall. Make sure to only cover a small area at a time, as the adhesive can dry quickly. Step 4: Place the tiles - Press the tiles firmly onto the adhesive, using tile spacers to create even gaps between each tile. Check each tile with a level to ensure they are straight and level. Step 5: Let the adhesive dry - Allow the adhesive to dry for at least 24 hours before moving on to the next step. This will ensure the tiles are securely in place. Step 6: Apply grout - Once the adhesive is dry, remove the tile spacers and use a grout float to apply the grout in between the tiles. Use a damp sponge to wipe away any excess grout and smooth out the surface. Step 7: Let the grout dry - Allow the grout to dry for about 30 minutes, then use a clean cloth to buff away any remaining haze on the tiles. Step 8: Seal the tiles - Apply a tile sealer to protect the tiles and grout from stains and water damage. Follow the manufacturer's instructions for best results. Step 9: Clean up - Use a damp cloth to clean up any remaining grout residue or adhesive. Let the tiles dry completely before using your newly installed wall tiles.Step-by-Step Guide for Installing Wall Tile in Your Kitchen


Step-by-Step Guide for Installing Wall Tile in Your Kitchen


Installing wall tile in your kitchen can be a fun and rewarding DIY project. Not only will you save money on labor costs, but you'll also have the satisfaction of completing the project yourself. Make sure to follow the steps carefully and take your time for the best results.DIY Kitchen Wall Tile Installation


DIY Kitchen Wall Tile Installation


:max_bytes(150000):strip_icc()/how-to-install-ceramic-wall-tile-1824817-10-473071b2fef94af381ad02bc4c1ba8a8.jpg)
Tip 1: Use a tile adhesive that is appropriate for your specific tile material. Different tiles may require different types of adhesive. Tip 2: Keep a bucket of water nearby to clean your tools and hands as you work. This will prevent the adhesive and grout from drying on them. Tip 3: Start from the bottom and work your way up when installing the tiles. This will prevent any tiles from slipping or falling off the wall. Tip 4: Use a level frequently to ensure your tiles are straight and even. This will prevent any unsightly gaps or crooked lines. Tip 5: If you're using larger tiles, consider using a tile support system to hold them in place while the adhesive dries. This will prevent them from sliding down the wall.Tips for Installing Wall Tile in Your Kitchen

Tips for Installing Wall Tile in Your Kitchen

• Wall tiles - Choose a material and design that fits your personal style and budget. • Tile adhesive - Make sure to choose the appropriate adhesive for your specific tile material. • Grout - Choose a color that complements your tiles and matches your overall kitchen design. • Tile spacers - These small plastic pieces help create even gaps between each tile for a professional look. • Trowel - This tool is used to spread the adhesive onto the wall. • Level - A must-have tool to ensure your tiles are straight and even. • Tile cutter - Use this to cut tiles to the desired size.Materials Needed for Installing Wall Tile in Your Kitchen


Materials Needed for Installing Wall Tile in Your Kitchen


Mistake 1: Not preparing the surface properly can lead to tiles falling off or uneven surfaces. Mistake 2: Using the wrong type of adhesive can result in tiles not sticking properly or falling off the wall. Mistake 3: Not using tile spacers can result in uneven gaps between tiles and an unprofessional finish. Mistake 4: Not checking the level frequently can result in crooked tiles and an uneven surface. Mistake 5: Rushing the process can lead to mistakes and a poor end result. Take your time and follow the steps carefully for the best outcome.Common Mistakes to Avoid When Installing Wall Tile in Your Kitchen


Common Mistakes to Avoid When Installing Wall Tile in Your Kitchen


Pros: Installing wall tile in your kitchen can add a beautiful and durable surface that is easy to clean and maintain. It can also increase the value of your home and give your kitchen a fresh, updated look. Cons: The installation process can be time-consuming and labor-intensive. It can also be costly, depending on the type of tile and materials used.Pros and Cons of Installing Wall Tile in Your Kitchen


Pros and Cons of Installing Wall Tile in Your Kitchen


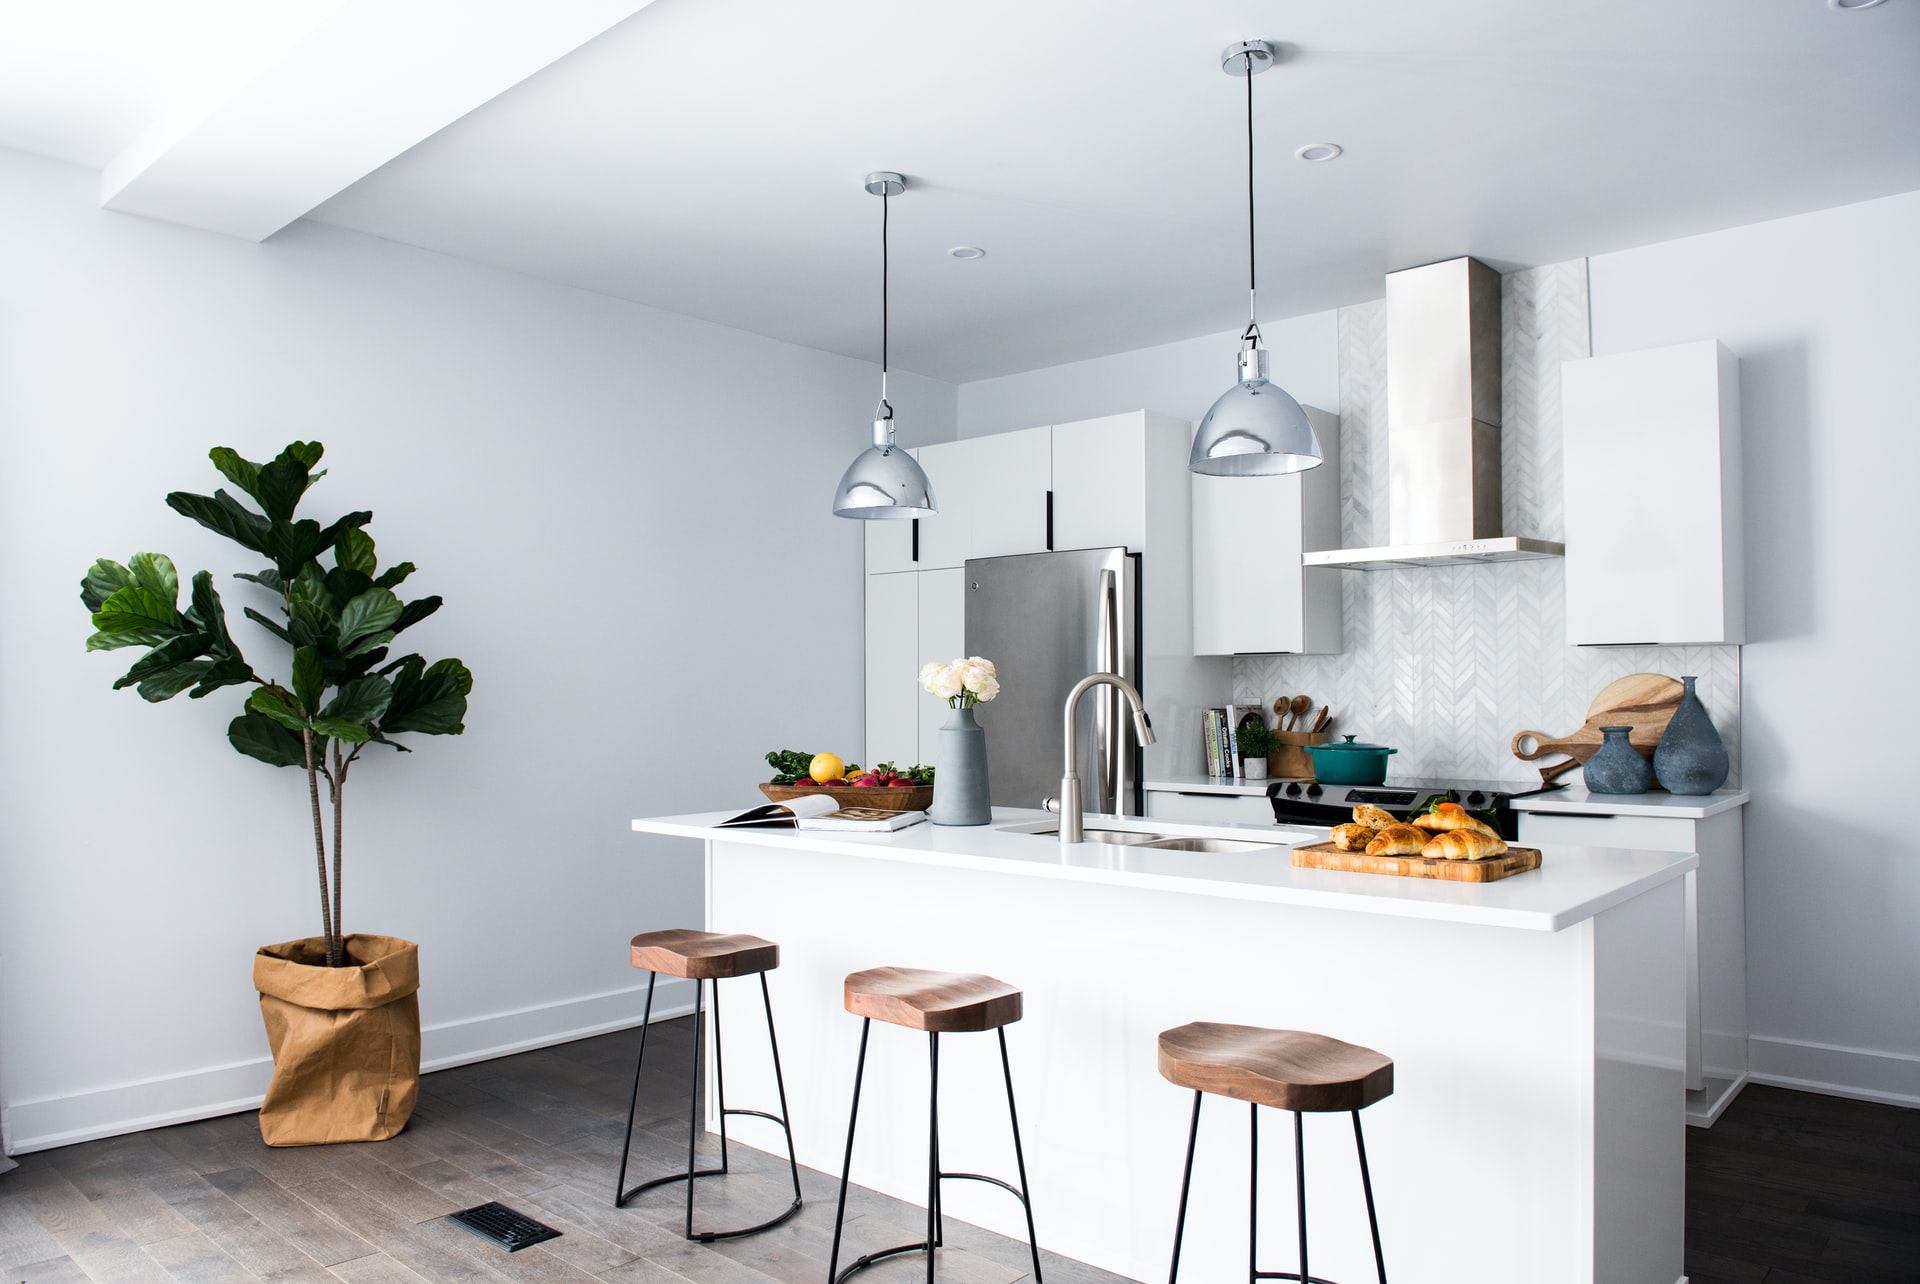
When choosing wall tile for your kitchen, consider the overall style and design of your kitchen. You want the tile to complement the existing elements and add to the overall aesthetic. You should also consider the durability and maintenance requirements of the tile, as well as your budget.How to Choose the Right Wall Tile for Your Kitchen


How to Choose the Right Wall Tile for Your Kitchen


The cost of installing wall tile in your kitchen can vary depending on the type of tile and materials used, as well as the size of the area. On average, you can expect to spend anywhere from $500-$2000 for materials and labor. However, by tackling the project yourself, you can save on labor costs and potentially bring the overall cost down. Installing wall tile in your kitchen is a great way to update the space and add a durable and easy-to-clean surface. By following these steps and tips, you can successfully complete this DIY project and enjoy the beautiful results for years to come.Cost Breakdown for Installing Wall Tile in Your Kitchen

Cost Breakdown for Installing Wall Tile in Your Kitchen


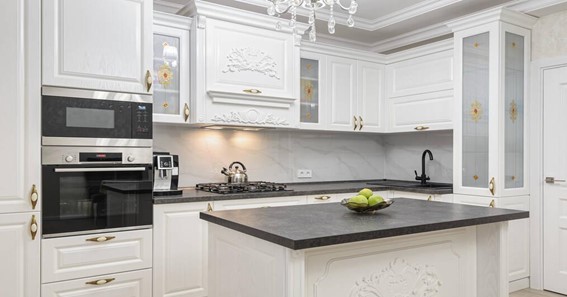
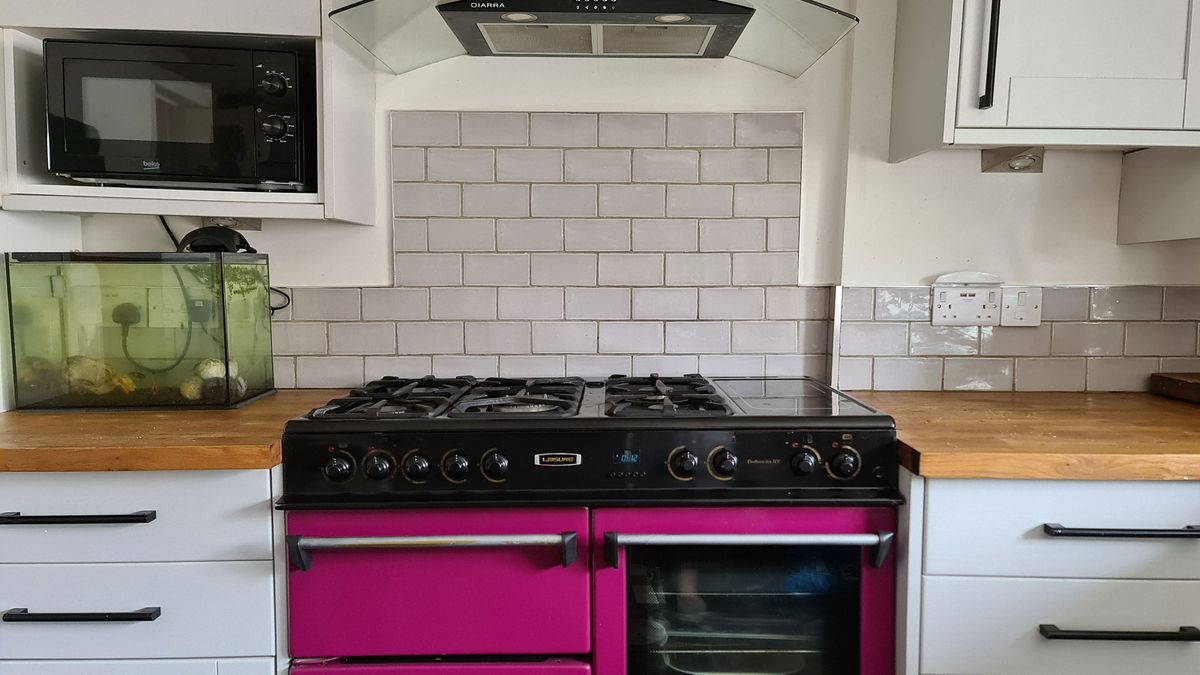
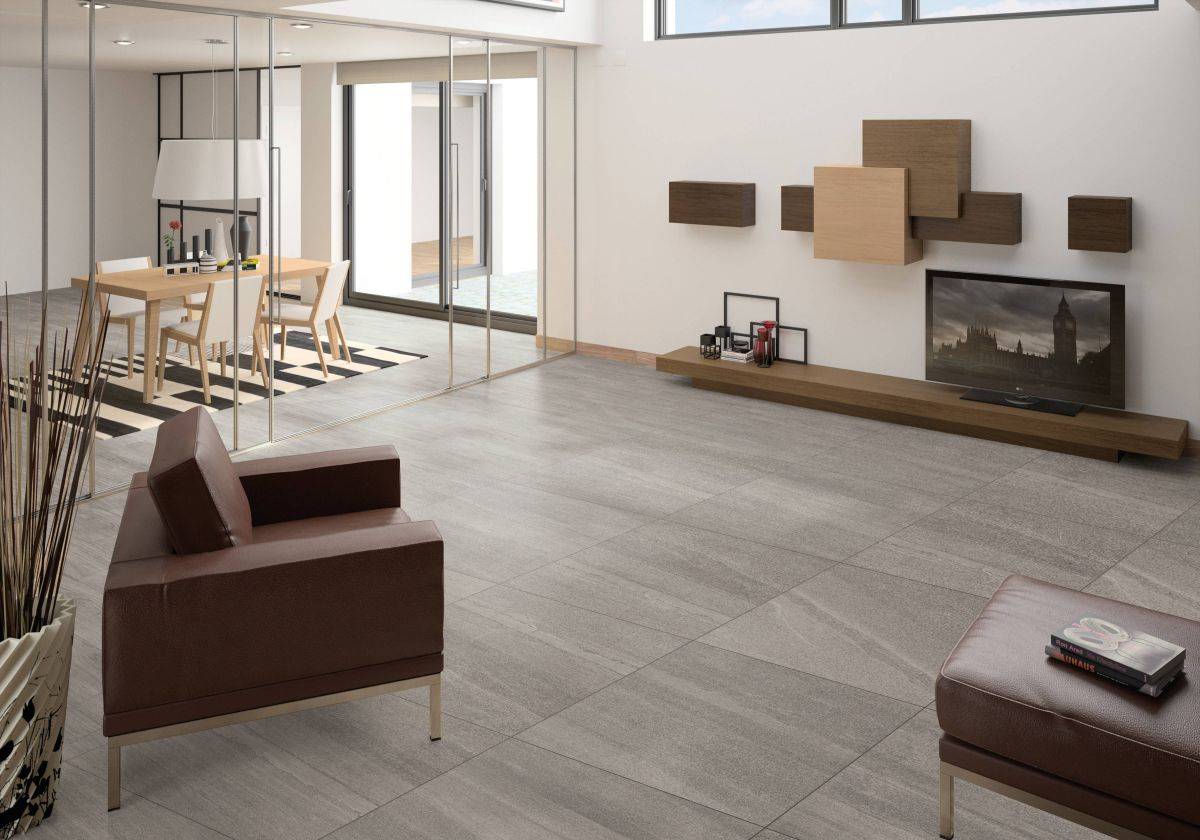
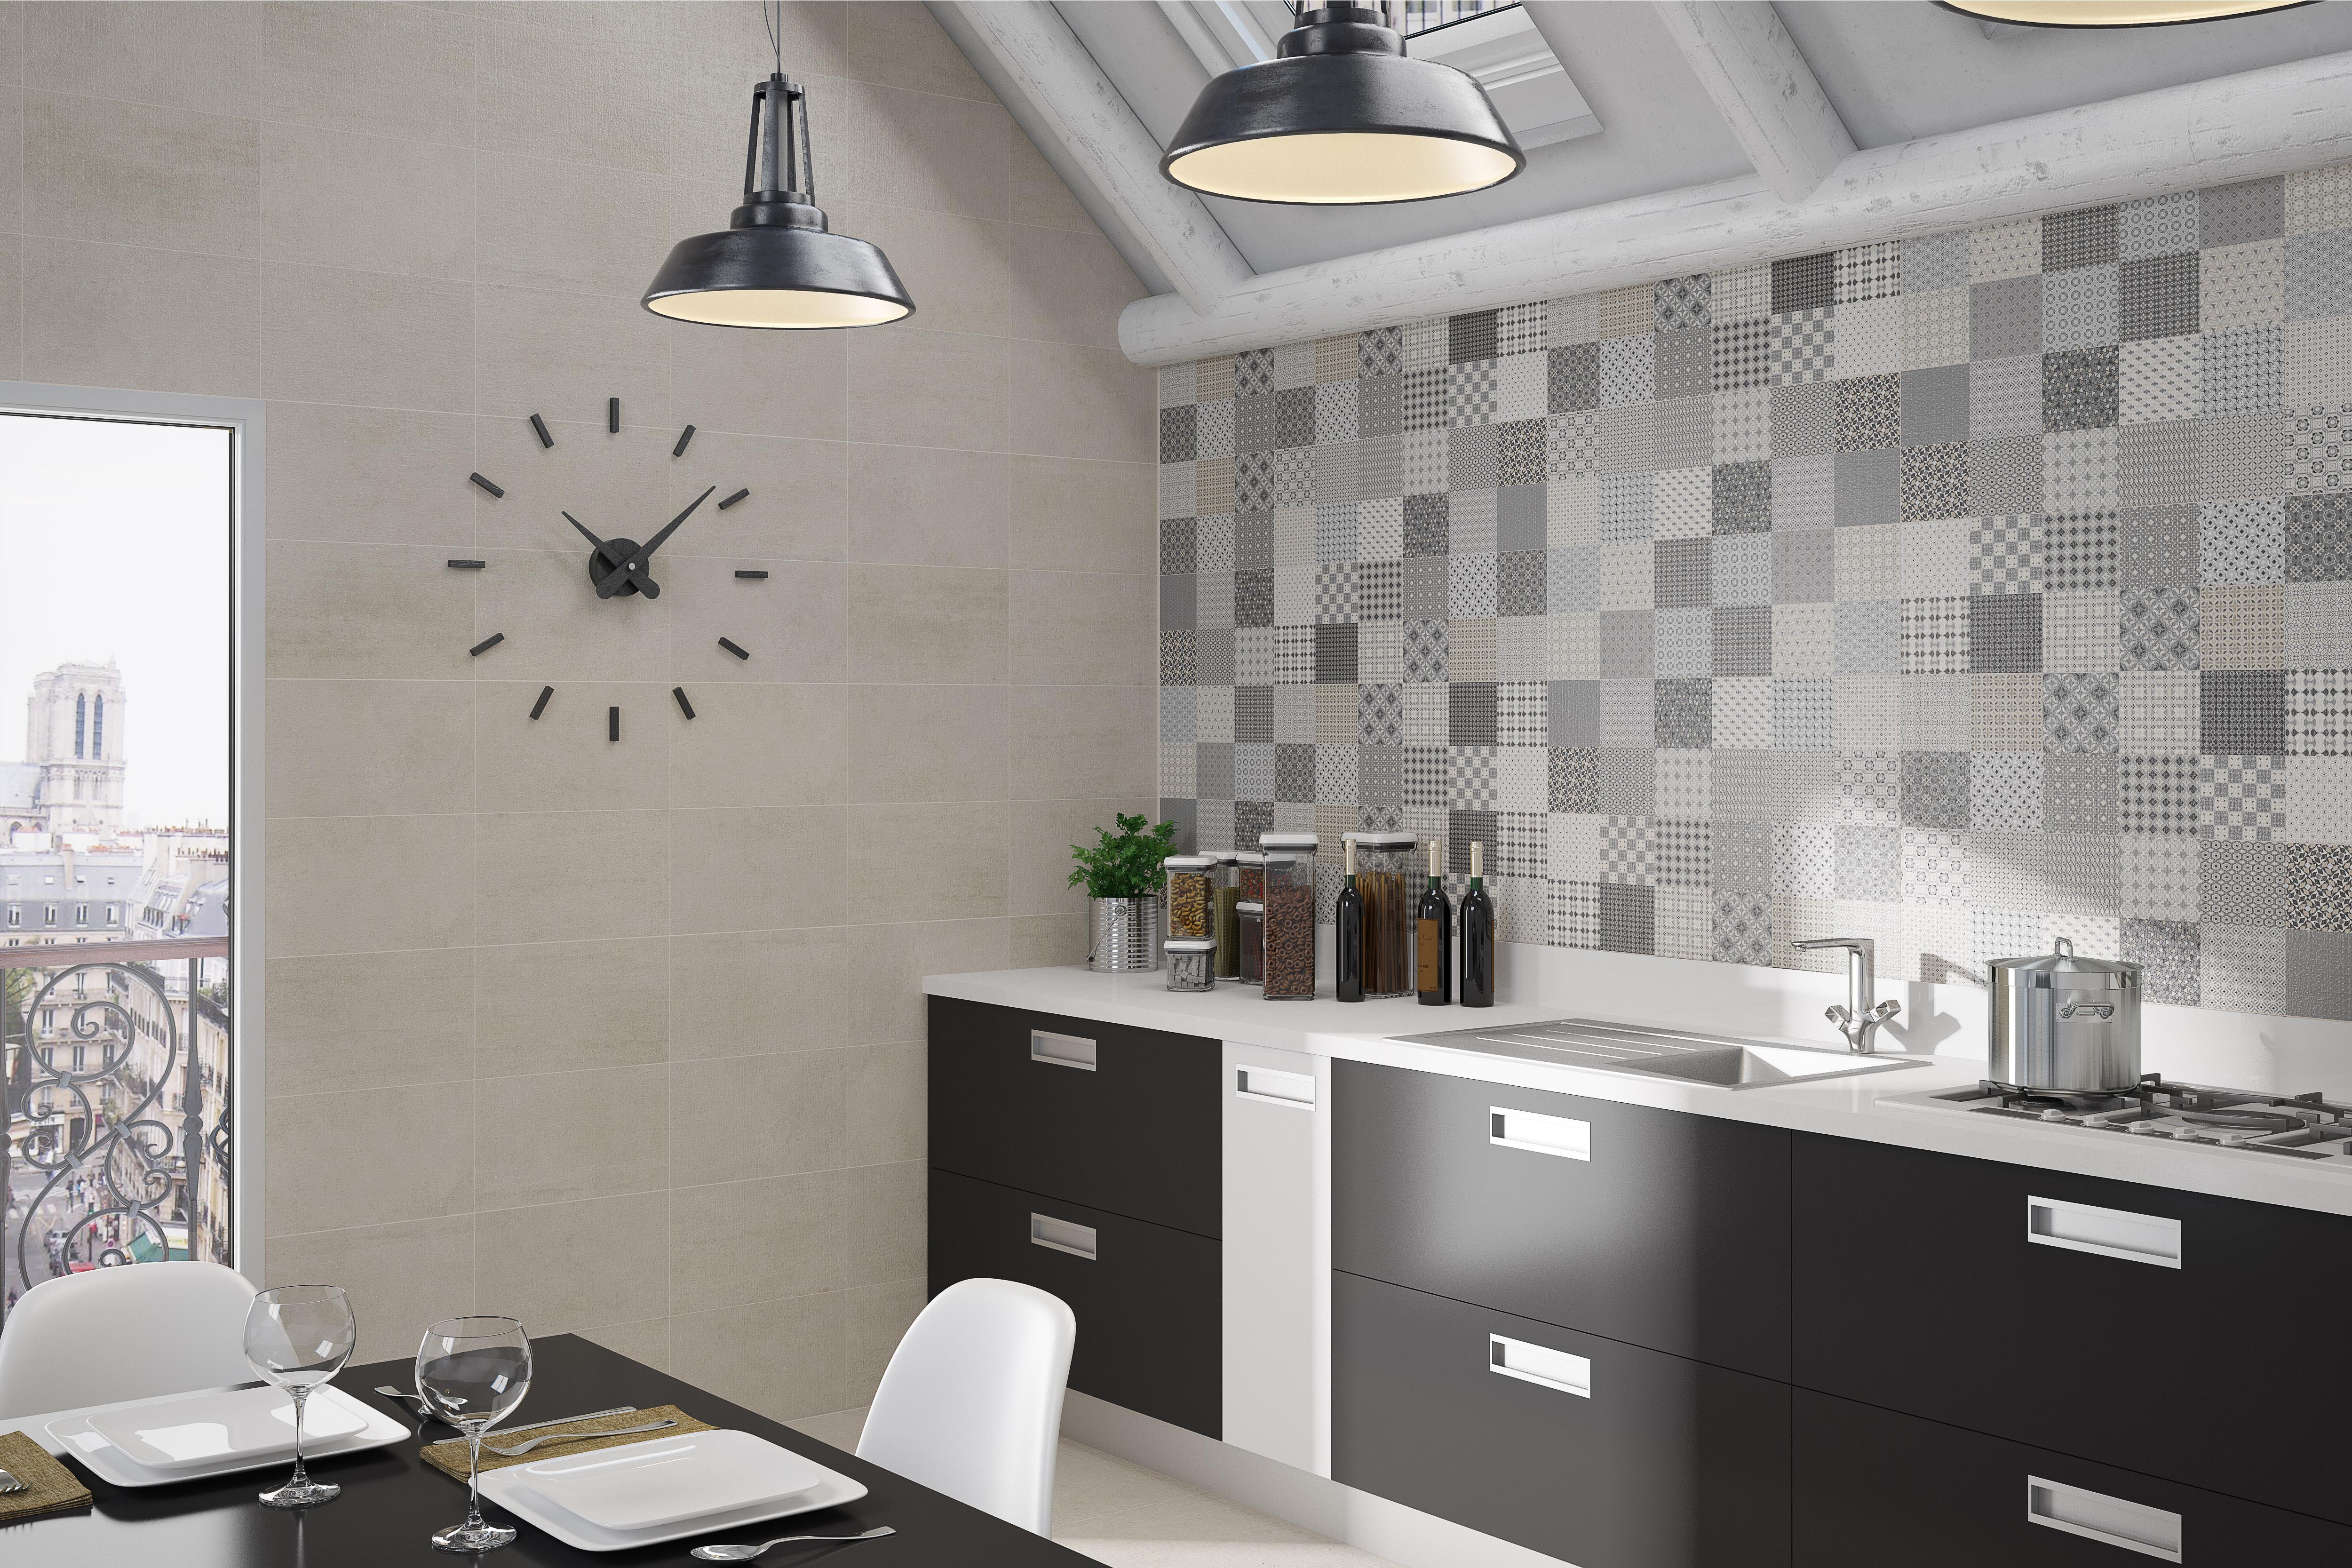
How to Enhance Your Kitchen Design with Wall Tile Installation
Transform Your Kitchen with Wall Tile
 Wall tile is a popular and versatile option for kitchen design. Not only does it add a stylish and modern touch to the space, but it also provides practical benefits such as durability and easy maintenance. Installing wall tile in your kitchen is a great way to upgrade the overall design and functionality of the room. In this article, we will discuss the process of installing wall tile in your kitchen and provide helpful tips to ensure a successful installation.
Whether you're looking to completely revamp your kitchen or simply add a touch of elegance, wall tile is the perfect solution.
Wall tile is a popular and versatile option for kitchen design. Not only does it add a stylish and modern touch to the space, but it also provides practical benefits such as durability and easy maintenance. Installing wall tile in your kitchen is a great way to upgrade the overall design and functionality of the room. In this article, we will discuss the process of installing wall tile in your kitchen and provide helpful tips to ensure a successful installation.
Whether you're looking to completely revamp your kitchen or simply add a touch of elegance, wall tile is the perfect solution.
Gather Your Materials
 Before you begin the installation process, it's important to gather all the necessary materials. This includes the wall tiles, adhesive, grout, spacers, and tools such as a tile cutter and trowel. It's also important to measure the area you will be tiling to determine the number of tiles needed and to purchase a few extra in case of any mistakes.
Choosing high-quality materials is essential for a long-lasting and visually appealing result.
Before you begin the installation process, it's important to gather all the necessary materials. This includes the wall tiles, adhesive, grout, spacers, and tools such as a tile cutter and trowel. It's also important to measure the area you will be tiling to determine the number of tiles needed and to purchase a few extra in case of any mistakes.
Choosing high-quality materials is essential for a long-lasting and visually appealing result.
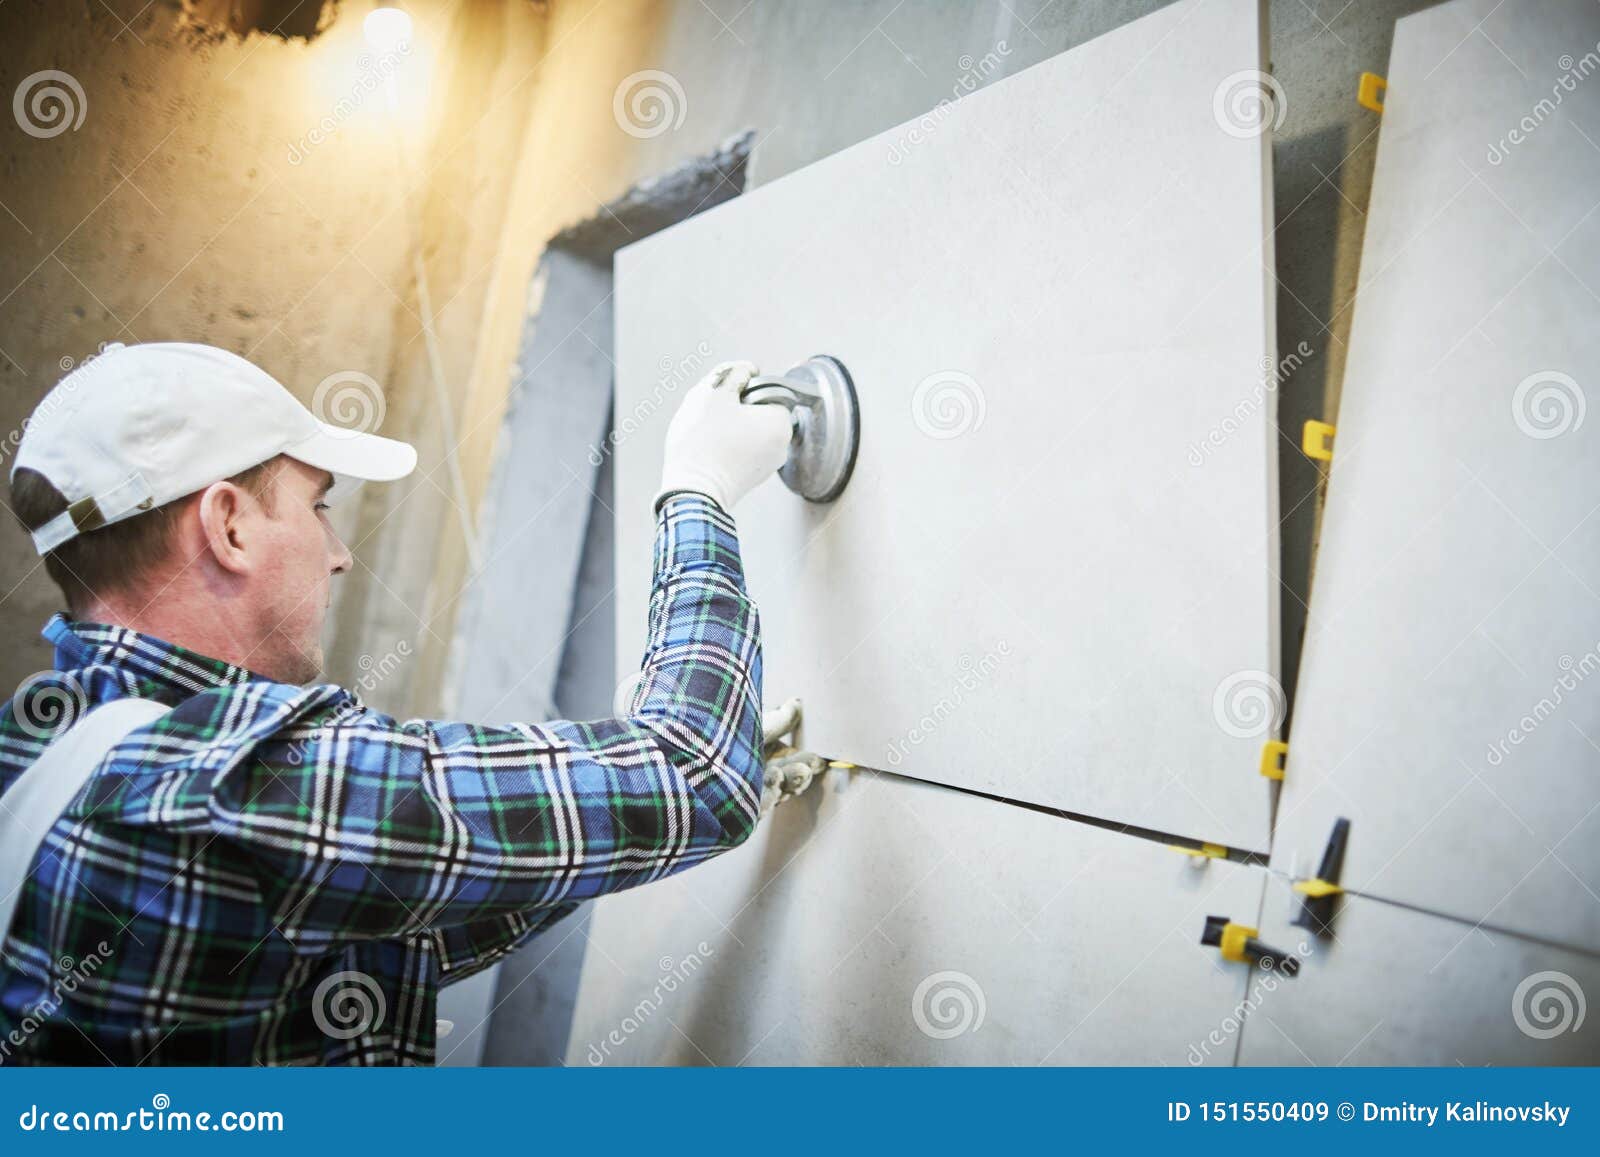
Prep the Surface
 Proper preparation is key to a successful wall tile installation. The surface where the tiles will be installed must be clean, dry, and free of any debris or damage. Use a mild detergent and warm water to clean the surface and allow it to dry completely before beginning the installation process. If there are any cracks or holes, fill them in and allow them to dry before proceeding.
A smooth and sturdy surface is crucial to ensure the tiles adhere properly.
Proper preparation is key to a successful wall tile installation. The surface where the tiles will be installed must be clean, dry, and free of any debris or damage. Use a mild detergent and warm water to clean the surface and allow it to dry completely before beginning the installation process. If there are any cracks or holes, fill them in and allow them to dry before proceeding.
A smooth and sturdy surface is crucial to ensure the tiles adhere properly.
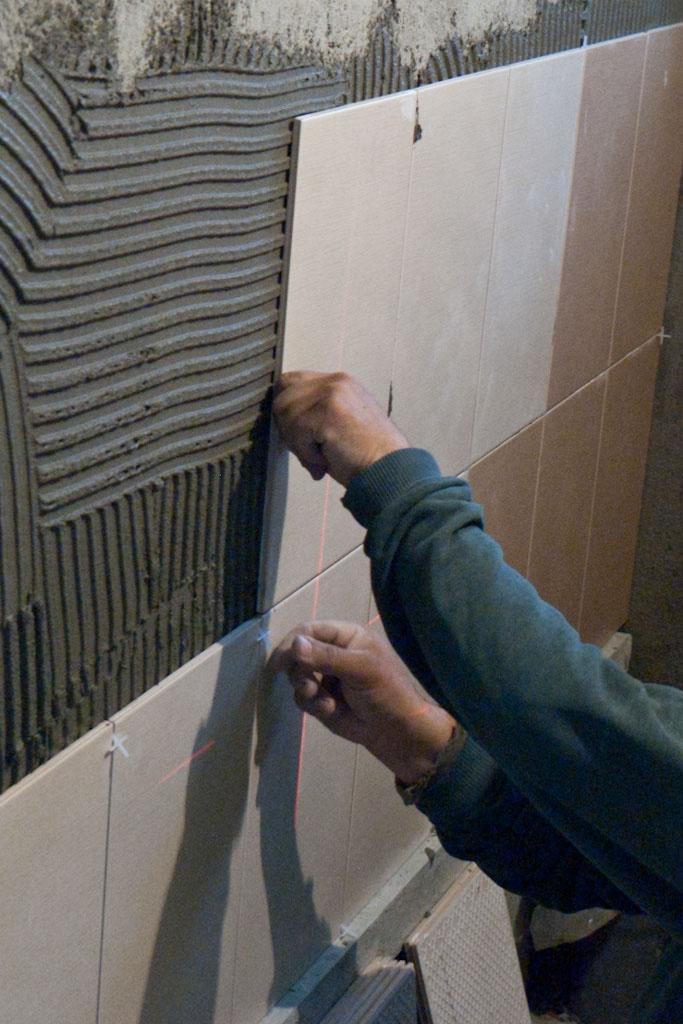
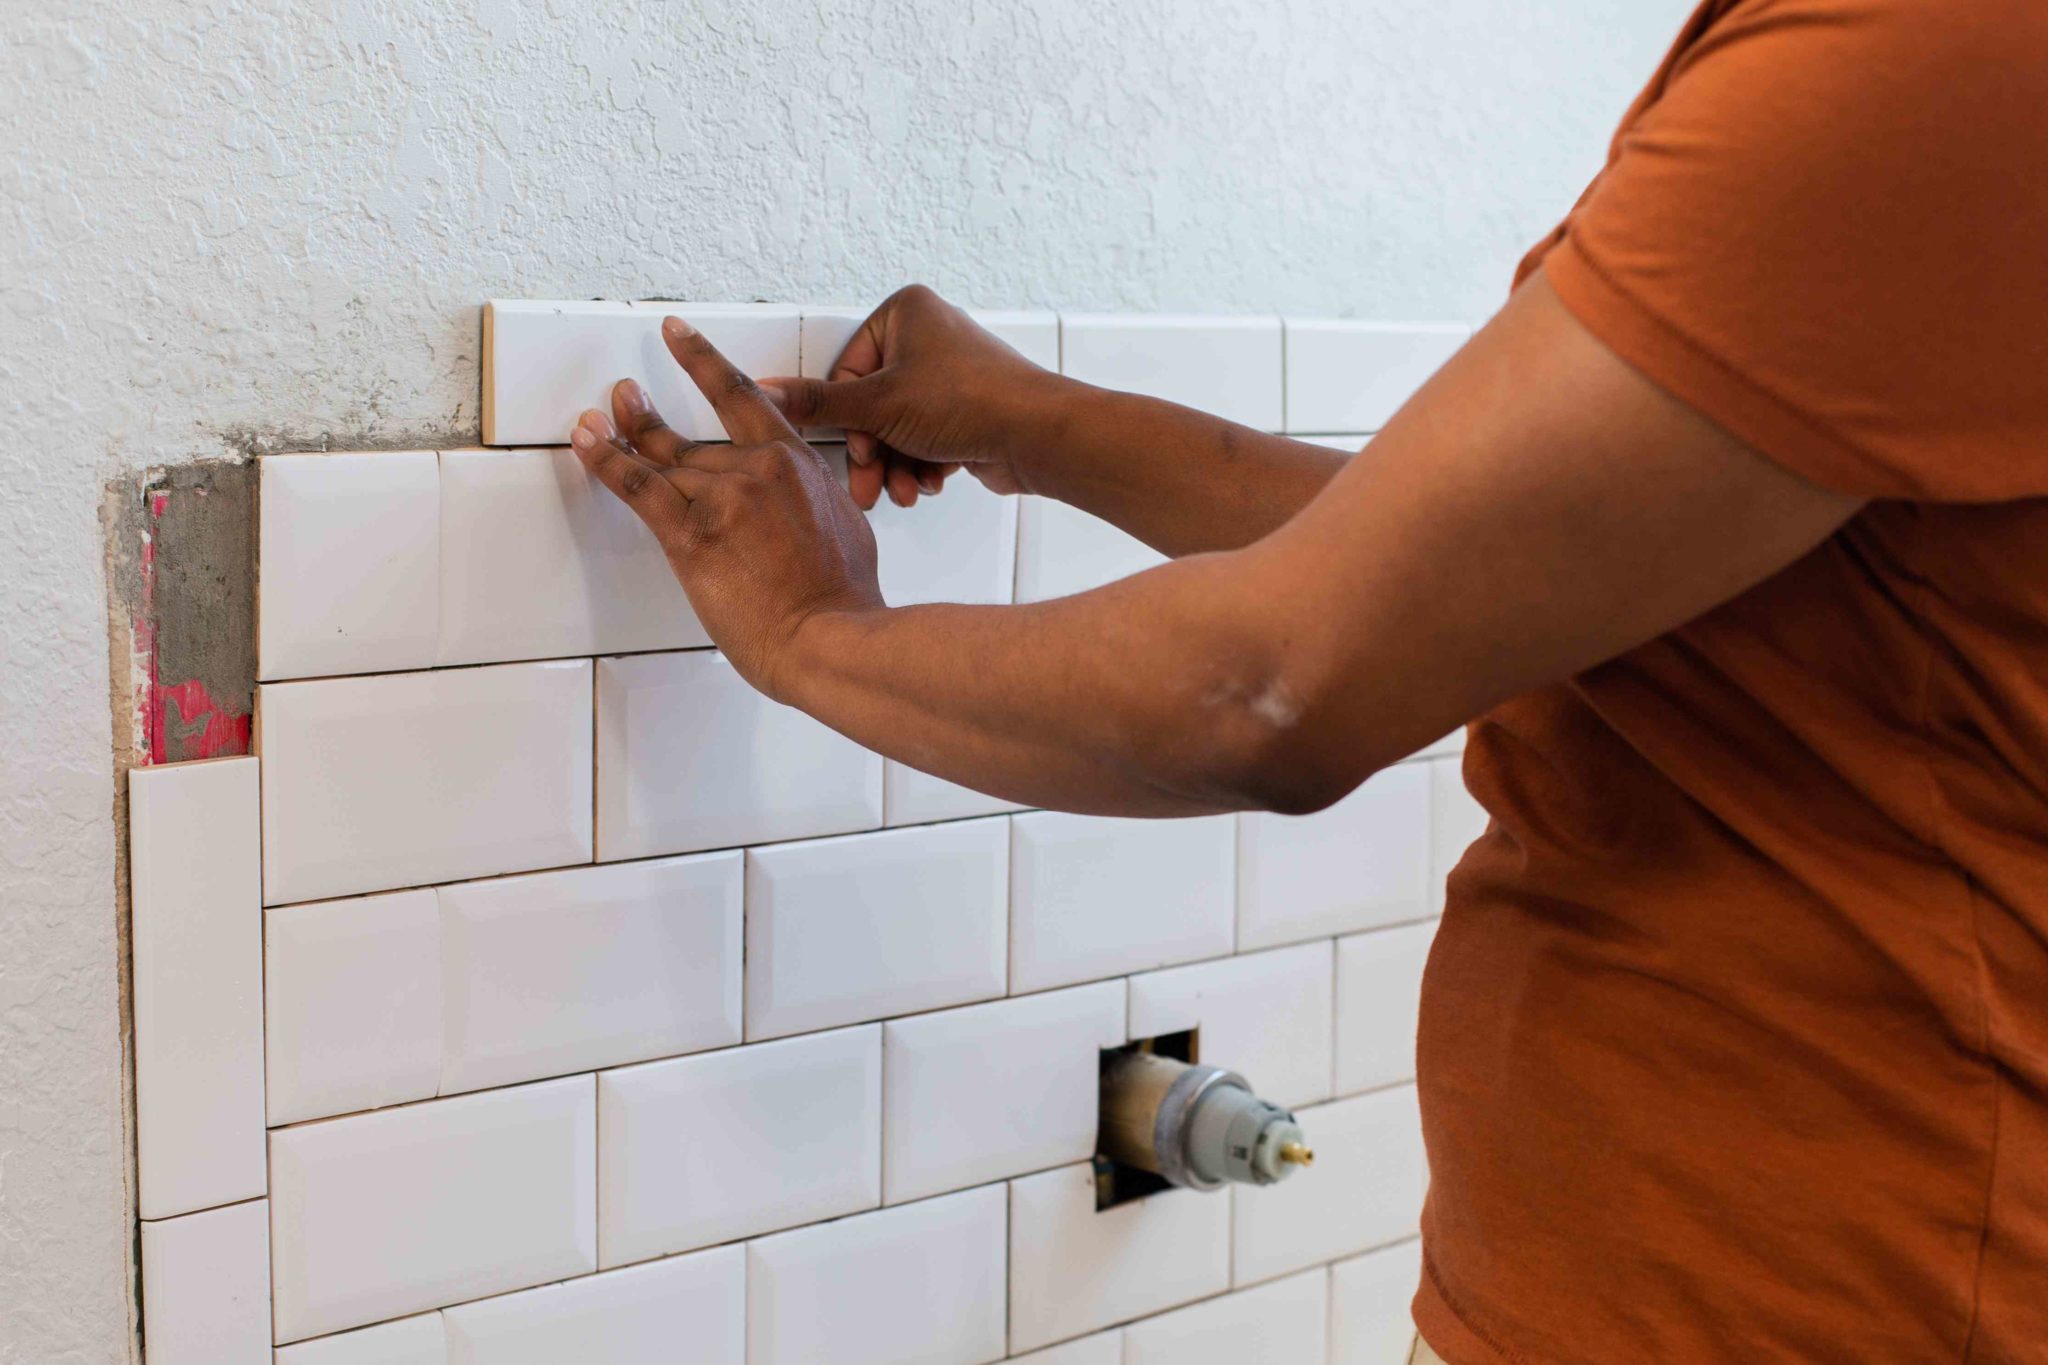
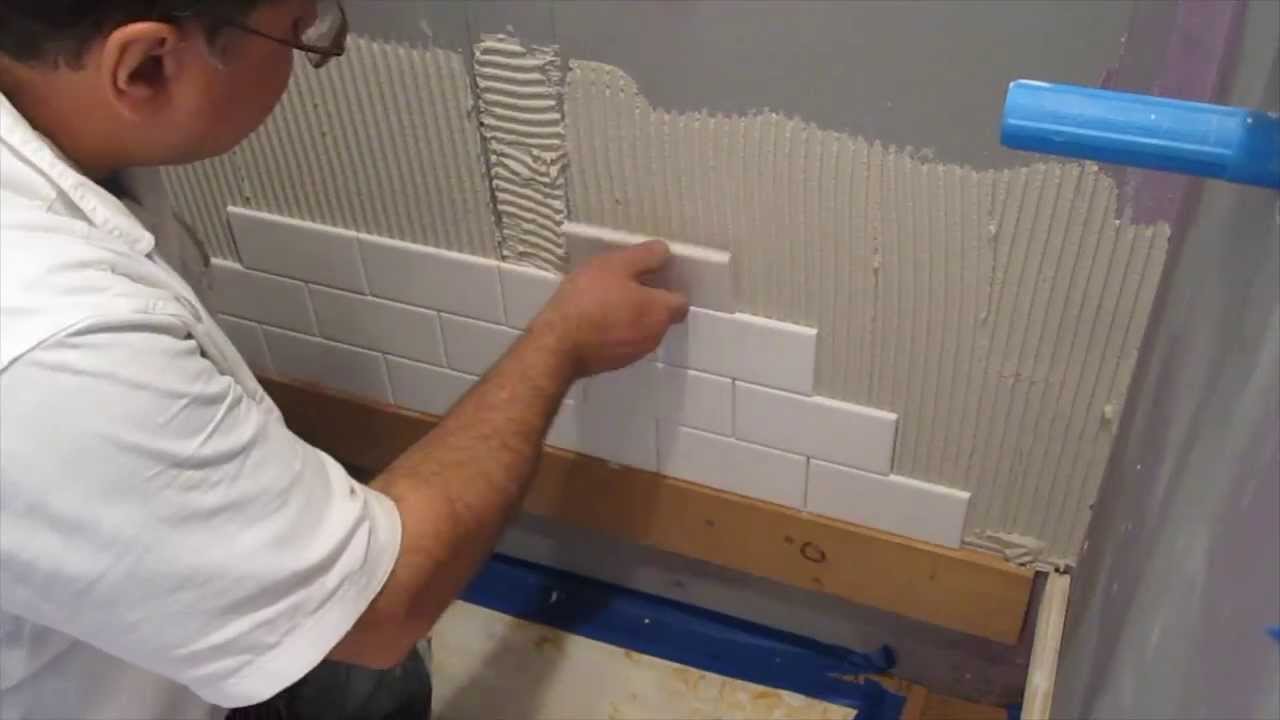
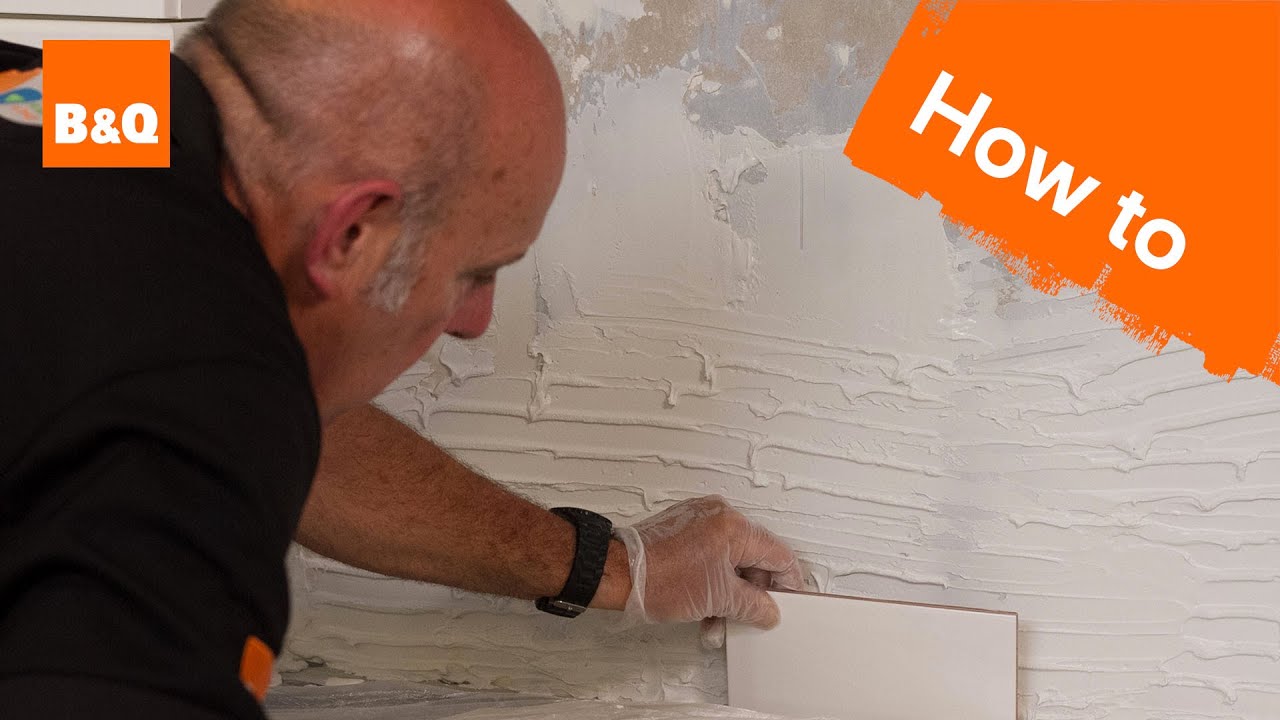
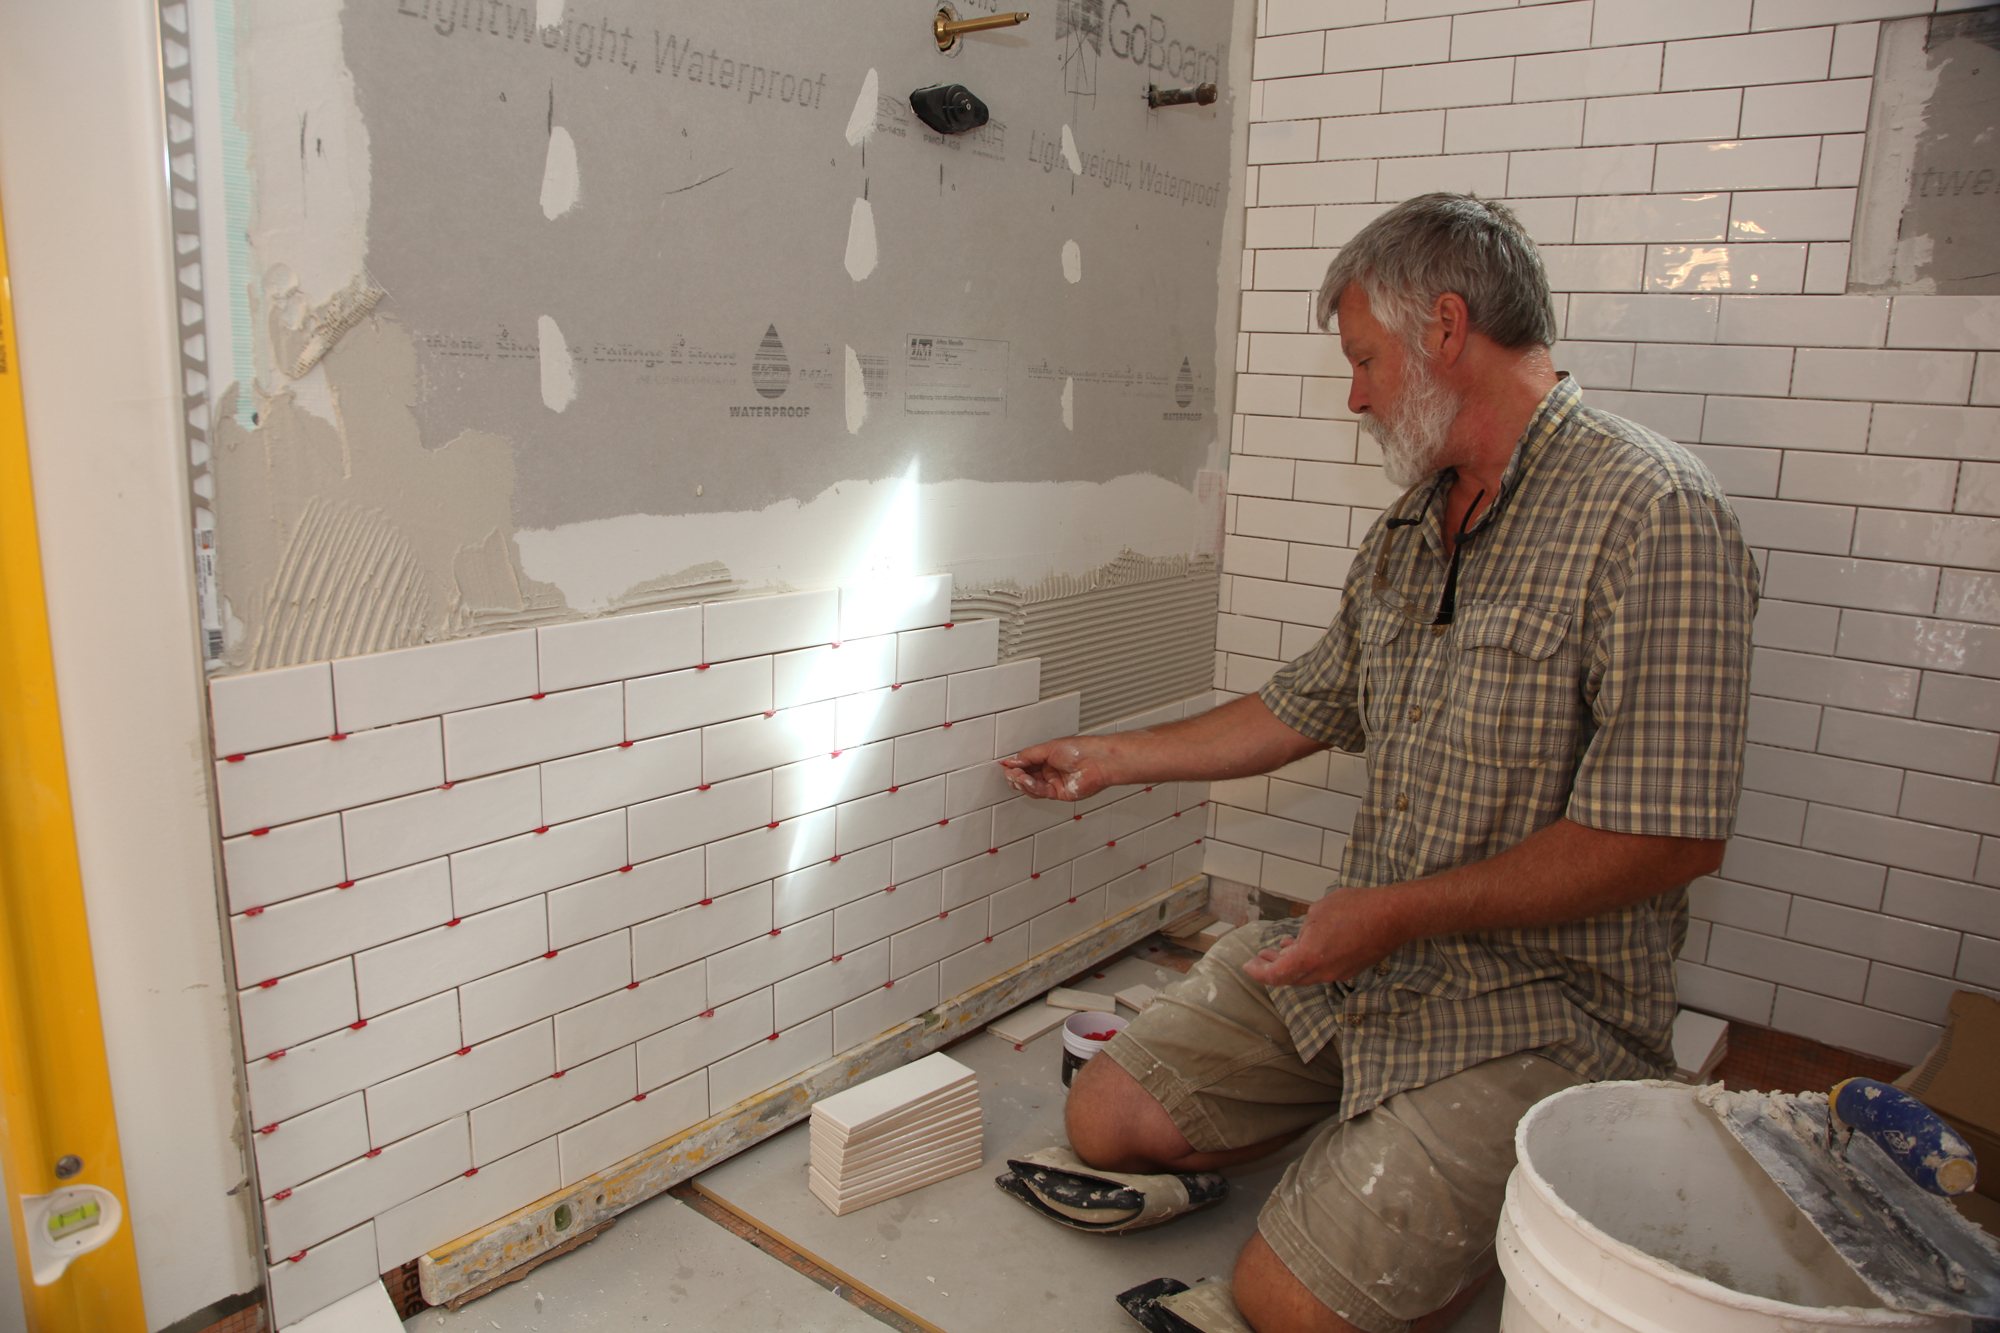
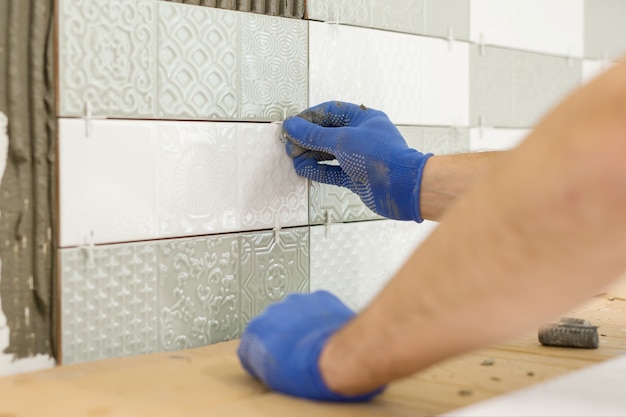
Start Tiling
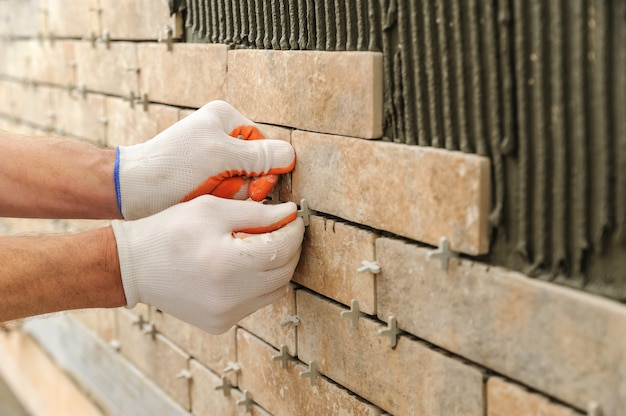
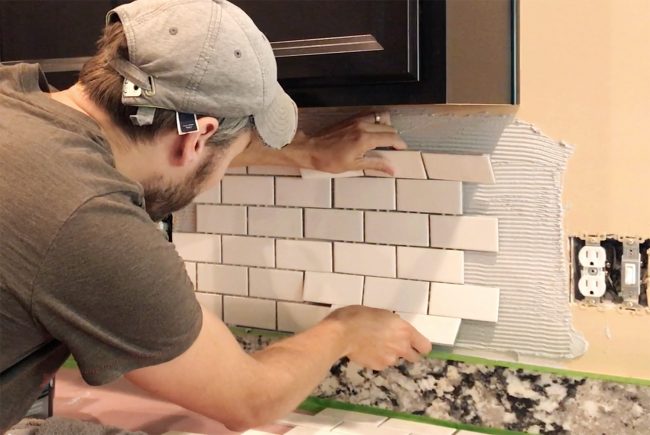 Once the surface is prepped and the materials are ready, it's time to start tiling. Begin at the center of the wall and work your way outwards, using spacers to ensure even spacing between each tile. Apply adhesive to the back of the tile and press firmly onto the wall. Continue this process until all the tiles are in place, making sure to periodically check for levelness. Once the tiles are all in place, allow them to dry completely before moving on to the next step.
Patience is key when it comes to tiling, as rushing can result in mistakes and a less-than-desirable outcome.
Once the surface is prepped and the materials are ready, it's time to start tiling. Begin at the center of the wall and work your way outwards, using spacers to ensure even spacing between each tile. Apply adhesive to the back of the tile and press firmly onto the wall. Continue this process until all the tiles are in place, making sure to periodically check for levelness. Once the tiles are all in place, allow them to dry completely before moving on to the next step.
Patience is key when it comes to tiling, as rushing can result in mistakes and a less-than-desirable outcome.
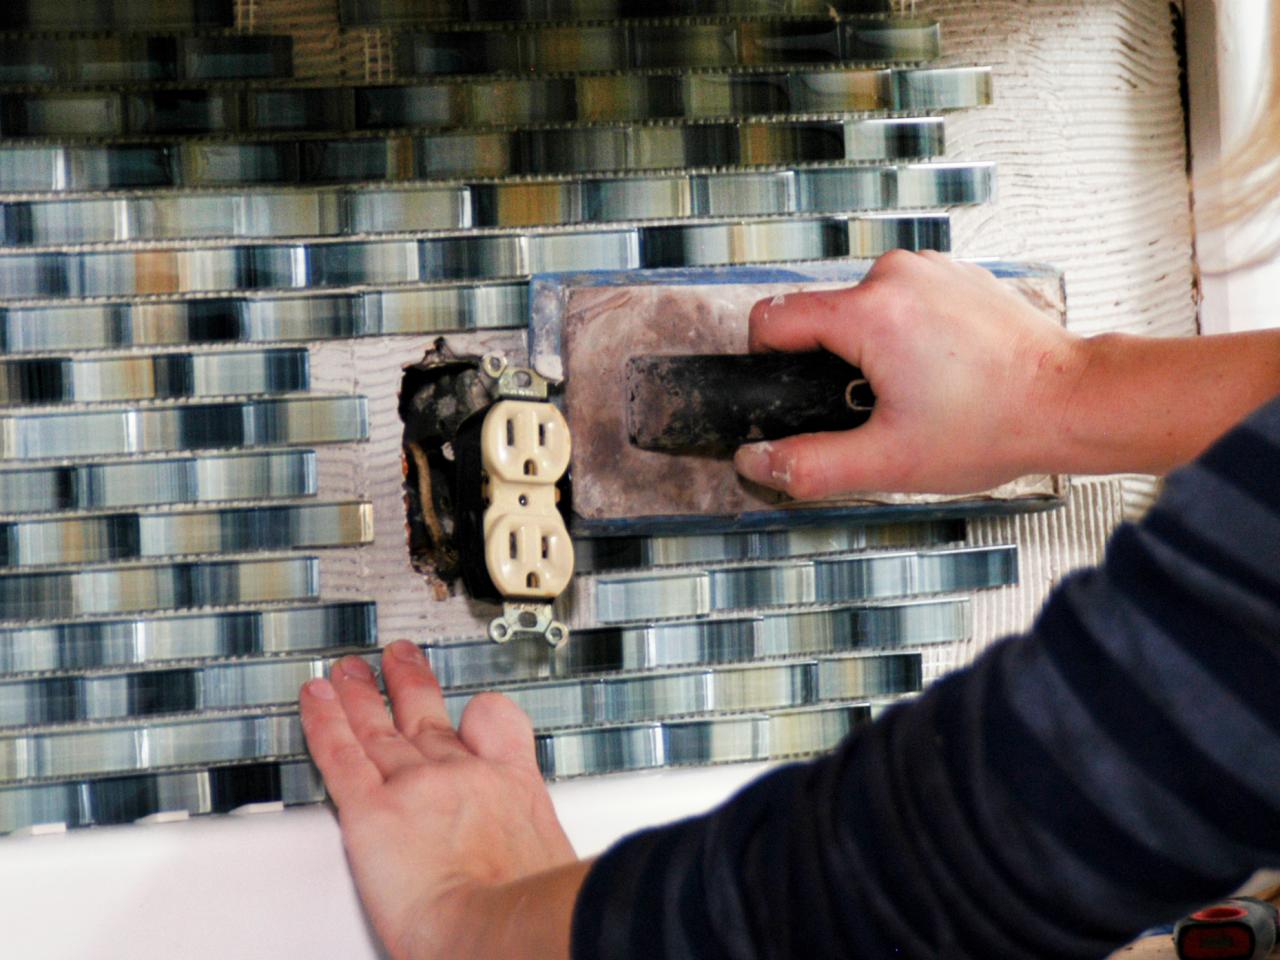
Grout and Finish
 After the adhesive has dried, it's time to grout the tiles. Mix the grout according to the manufacturer's instructions and use a grout float to apply it between the tiles. Wipe away any excess grout with a damp sponge and allow it to dry for at least 24 hours. Once the grout has fully dried, use a grout sealer to protect it from stains and moisture.
This final step will give your wall tile a polished and professional look.
After the adhesive has dried, it's time to grout the tiles. Mix the grout according to the manufacturer's instructions and use a grout float to apply it between the tiles. Wipe away any excess grout with a damp sponge and allow it to dry for at least 24 hours. Once the grout has fully dried, use a grout sealer to protect it from stains and moisture.
This final step will give your wall tile a polished and professional look.
In Conclusion
 Installing wall tile in your kitchen is a great way to enhance the overall design and functionality of the space. With the right materials, preparation, and techniques, you can achieve a beautiful and durable result.
Don't be afraid to get creative with your tile choices and design, as it can truly transform your kitchen into a stunning and unique space.
Follow these tips and you'll be on your way to a successful wall tile installation in no time.
Installing wall tile in your kitchen is a great way to enhance the overall design and functionality of the space. With the right materials, preparation, and techniques, you can achieve a beautiful and durable result.
Don't be afraid to get creative with your tile choices and design, as it can truly transform your kitchen into a stunning and unique space.
Follow these tips and you'll be on your way to a successful wall tile installation in no time.