How to Fix an Air Mattress Hole
An air mattress can be a lifesaver for unexpected guests or a comfortable sleeping option for camping trips. However, nothing is more frustrating than discovering a hole in your air mattress. Not only does it make sleeping uncomfortable, but it can also render your mattress completely useless if not fixed properly. In this article, we will guide you on how to fix an air mattress hole so you can enjoy a good night's sleep without any worries.
How to Repair an Air Mattress Hole
Before we dive into the step-by-step guide, it's essential to understand that there are different ways to repair an air mattress hole, depending on the size and location of the hole. Some methods may work better for smaller holes, while others may be more suitable for larger ones. The key is to assess the damage and choose the best method for your specific situation.
DIY Air Mattress Hole Repair
If you're on a budget or prefer to fix things yourself, there are several DIY methods for repairing an air mattress hole. One popular option is using duct tape to cover the hole. Simply clean the area around the hole, cut a piece of duct tape slightly larger than the hole, and press it firmly onto the mattress. This method may not be the most aesthetically pleasing, but it can provide a quick and easy fix.
Quick and Easy Air Mattress Hole Fix
If you want a more long-term solution, there are air mattress repair kits available in most hardware or camping stores. These kits usually include patches specifically designed for air mattresses, along with adhesive and instructions on how to use them. This method is more durable than duct tape and can last for multiple uses.
Best Products for Fixing an Air Mattress Hole
Aside from repair kits, there are also other products that can help with fixing an air mattress hole. Seam sealant is a great option for small holes or leaks along the seams of the mattress. It can effectively seal the hole without adding any extra weight or bulk to your mattress. Another useful product is liquid rubber, which can be poured into larger holes and dries into a flexible rubber coating.
Step-by-Step Guide for Fixing an Air Mattress Hole
Now that you know your options let's walk through a step-by-step guide for fixing an air mattress hole:
Step 1: Locate the hole by inflating the mattress and listening for any hissing sounds or feeling for any air escaping.
Step 2: Clean the area around the hole with a damp cloth to remove any dirt or debris.
Step 3: If using a repair kit, follow the instructions provided to cut and apply the patch onto the hole. If using a DIY method, apply the chosen material (duct tape, seam sealant, liquid rubber) onto the hole, making sure it covers the entire area.
Step 4: Let the patch or material dry completely before deflating the mattress.
Step 5: Once dry, reinflate the mattress and check for any additional leaks. If there are still leaks, repeat the process until the mattress is completely sealed.
Common Causes of Air Mattress Holes and How to Fix Them
Understanding the common causes of air mattress holes can help prevent them from happening in the first place. Some of the most common causes include sharp objects, pets, and overinflating the mattress. To avoid these issues, make sure to carefully inspect the area where you will be placing your air mattress and keep sharp objects and pets away from it. Additionally, be mindful of how much air you are inflating the mattress with to prevent any tears or leaks.
Expert Tips for Fixing an Air Mattress Hole
If you're still having trouble fixing your air mattress hole, here are some expert tips to help you out:
Tip 1: Use a flashlight to locate the hole more easily.
Tip 2: Apply a small amount of dish soap on the area around the hole to help identify any escaping air bubbles.
Tip 3: If using a patch, make sure to smooth out any air bubbles and allow enough time for the adhesive to dry completely.
How to Prevent Air Mattress Holes in the Future
While it's impossible to completely prevent air mattress holes, there are some steps you can take to minimize the risk. Always be careful when setting up your air mattress and avoid placing it on rough or sharp surfaces. If using it outside, place a tarp or blanket underneath to protect it. Additionally, consider investing in a more durable air mattress made with thicker materials to prevent any tears or punctures.
Professional Air Mattress Hole Repair Services
If you've tried all these methods and still can't seem to fix your air mattress hole, don't worry. There are professional air mattress repair services available that can help you restore your mattress to its former glory. They have the expertise and tools to fix even the most stubborn holes, so you can rest easy knowing your air mattress is in good hands.
In conclusion, a hole in your air mattress doesn't have to be the end of the world. With the right tools and techniques, you can easily fix it and continue enjoying a comfortable and restful sleep. Just remember to assess the damage, choose the best method for your situation, and take preventive measures to avoid any future holes. Happy sleeping!
Fixing an Air Mattress Hole: A Guide for Homeowners

Air mattresses are a convenient and comfortable option for guests or temporary sleeping arrangements. However, just like any other inflatable item, they are susceptible to punctures and holes. This can be frustrating, especially if you have guests coming over or if you need the mattress for immediate use. But fear not, as we have compiled a guide to help you fix an air mattress hole and have it ready for use in no time.
Step 1: Locate the Hole

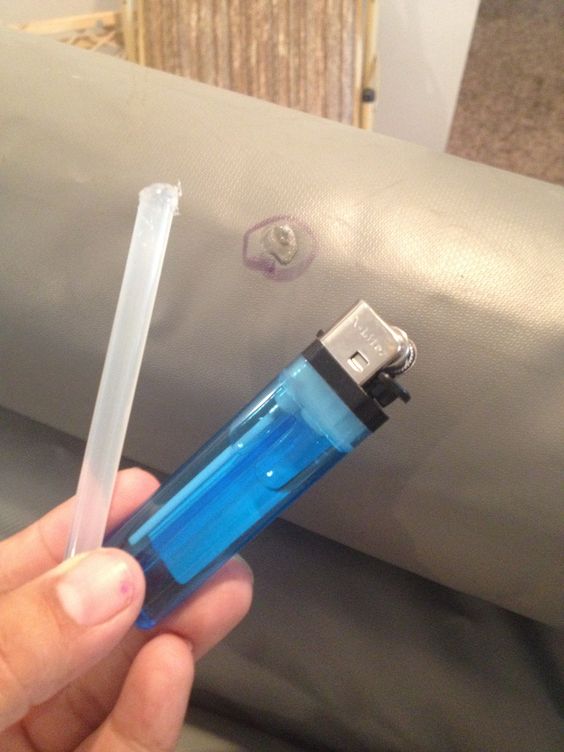
The first step to fixing an air mattress hole is to locate the source of the leak. This can be done by inflating the mattress and listening for the sound of air escaping or by applying a mixture of soap and water on the surface and looking for bubbles. Once you have identified the hole, mark it with a bold marker or tape for easier reference.
Step 2: Clean and Dry the Area
Before beginning the repair, it is important to clean and dry the area around the hole. Use a mild soap and water to gently clean the surface, then pat it dry with a clean cloth. This will ensure that the adhesive used for the repair sticks properly.
Step 3: Prepare the Patch

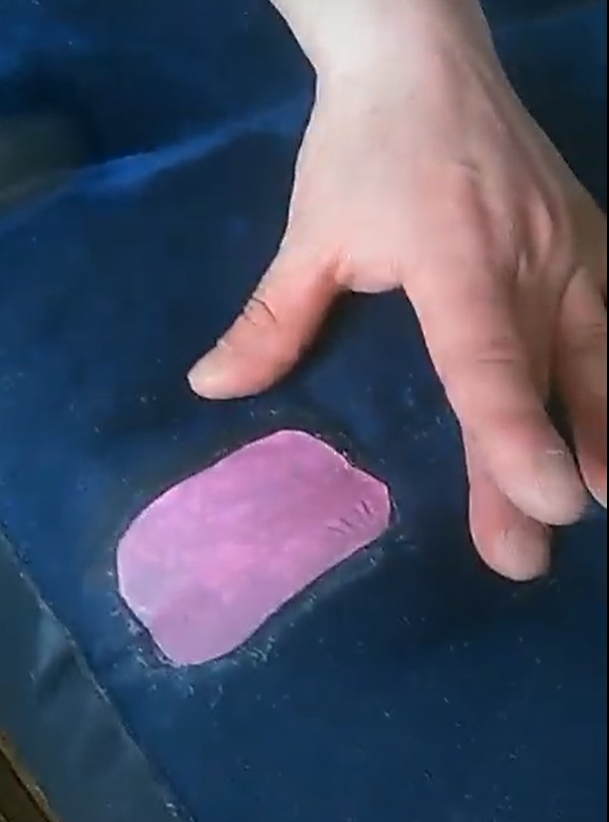
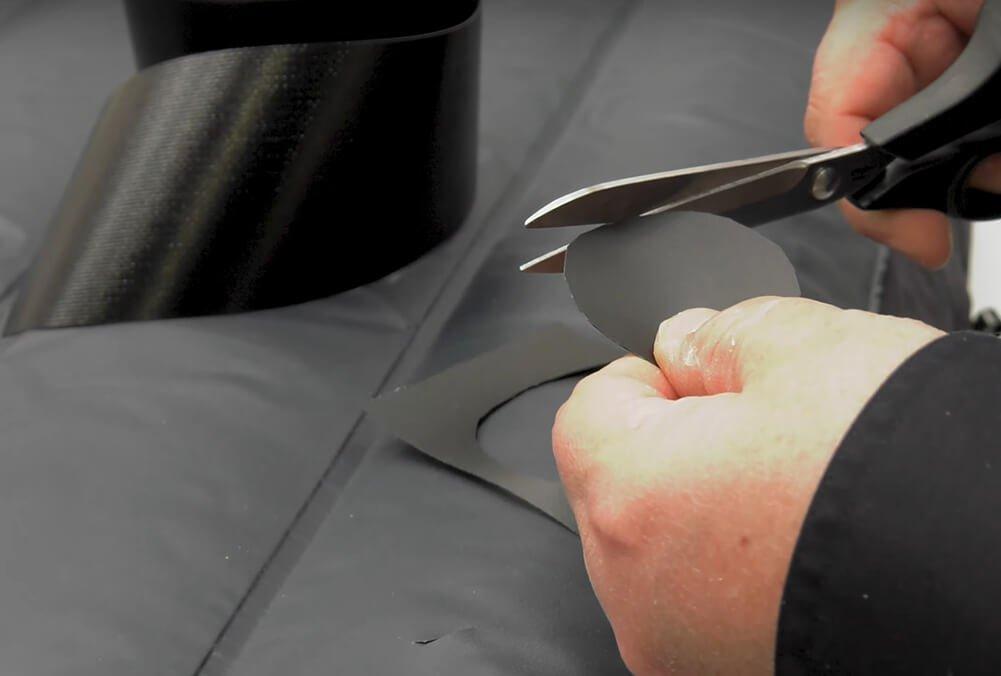
There are various options for patching an air mattress hole, such as using a patch kit specifically designed for inflatable items or using a piece of duct tape. Whichever option you choose, make sure to cut the patch to a size slightly larger than the hole for a better seal.
Step 4: Apply the Patch

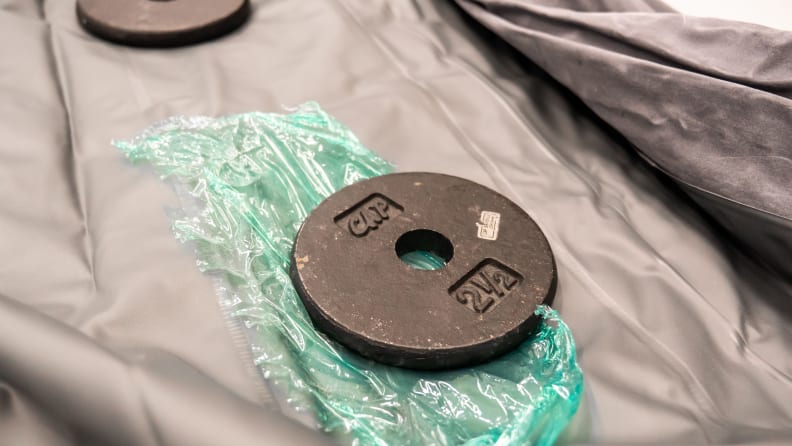
Apply the adhesive onto the patch and let it dry for a few seconds before placing it over the hole. Press down firmly to ensure a strong bond. If using duct tape, apply it directly over the hole and press down firmly to seal it.
Step 5: Let it Dry

Once the patch is applied, let it dry completely before using the air mattress. It is recommended to leave the mattress inflated for at least 24 hours to ensure that the patch has fully adhered to the surface.
Step 6: Test for Leaks

After the patch has dried, test for leaks by inflating the mattress again and applying pressure on the repaired area. If you notice any air escaping, you may need to repeat the patching process or use a stronger adhesive.
By following these simple steps, you can easily fix an air mattress hole and have your mattress ready for use again. Remember to always keep a patch kit on hand for any future emergencies and to regularly check for leaks to prevent any unwanted surprises.




















:max_bytes(150000):strip_icc()/home-water-pressure-problems-2718730-v4-3639a1eeda0945239e64b0fe6b6d3401.gif)

